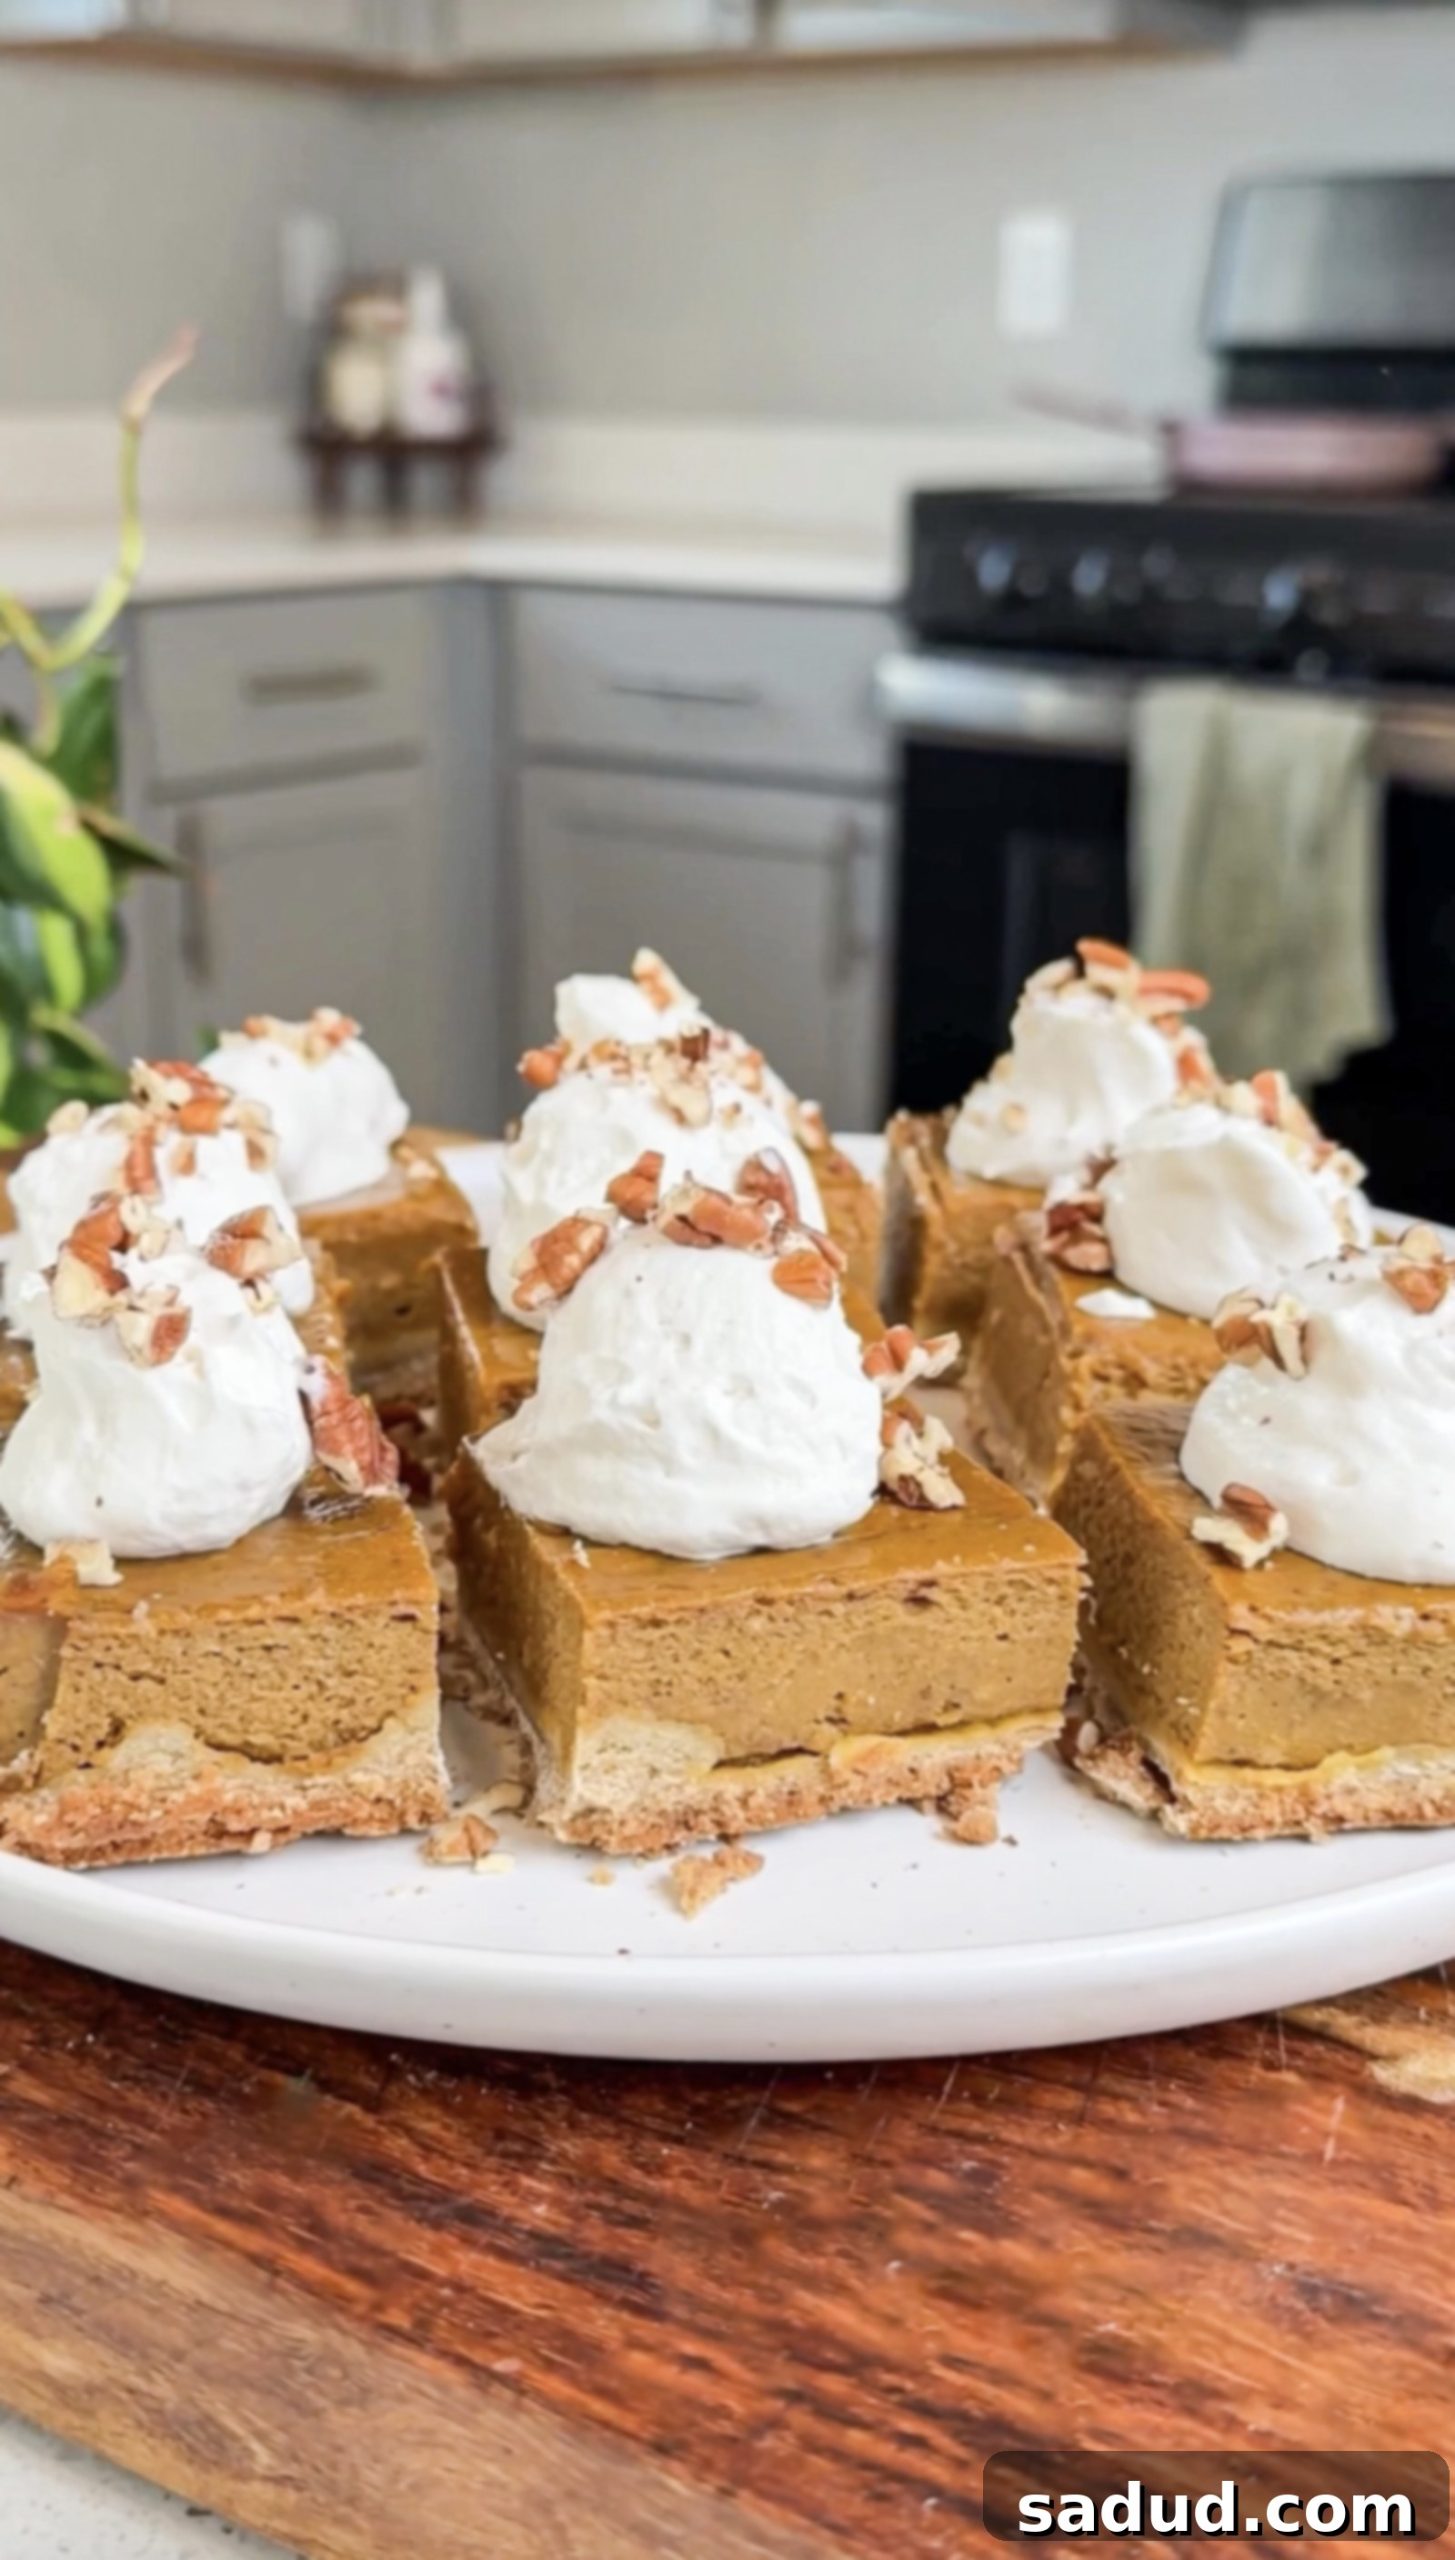
Delicious & Easy Gluten-Free Pumpkin Pie Bars: Your Ultimate Healthy Fall & Holiday Dessert
These gluten-free pumpkin pie bars offer the perfect fusion of a lusciously creamy, perfectly spiced pumpkin pie filling atop a wonderfully buttery shortbread crust. This recipe delivers the most delightful gluten-free and dairy-free dessert with minimal effort and time, making it an ideal choice for the vibrant fall season, festive Thanksgiving gatherings, cozy Christmas celebrations, or any holiday get-together!
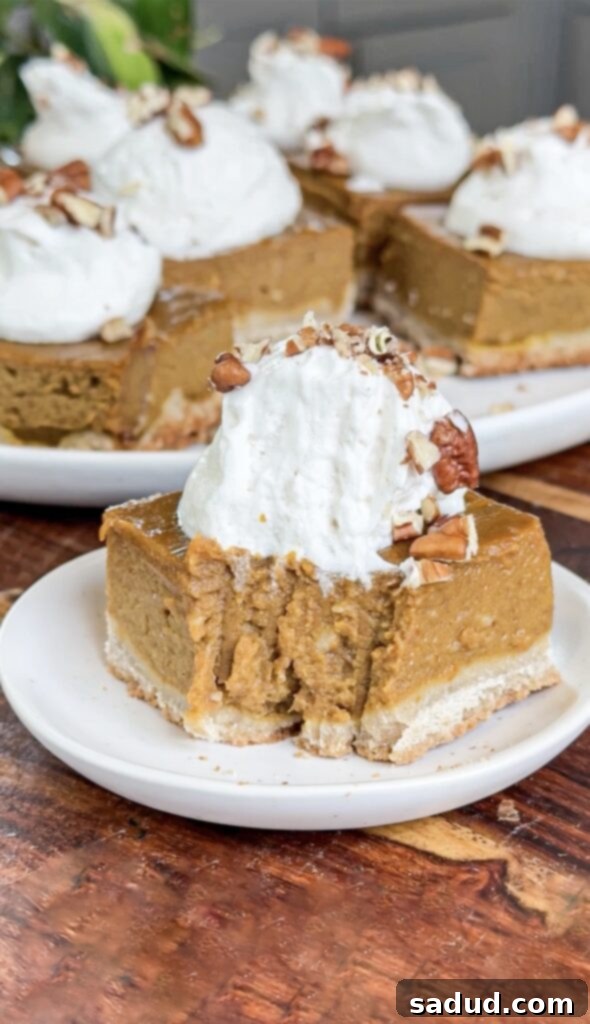
Do you adore the classic taste of pumpkin pie but dread the extensive preparation and effort it often demands? Are you searching for an effortlessly delicious or last-minute holiday dessert to impress your guests this Thanksgiving or Christmas? Look no further – I’ve got the perfect solution for you! I’ve been incredibly excited to share this recipe for pumpkin pie bars, which capture everything you love about traditional pumpkin pie but in a much more convenient and approachable bar form.
This less intimidating version of a holiday favorite doesn’t require a plethora of specialized equipment, nor does it demand hours of your precious time and effort. In fact, it comes together surprisingly quickly, making it an excellent choice for both seasoned bakers and beginners alike. Unlike some finicky traditional pie recipes, this one is straightforward and forgiving, ensuring a successful and delicious outcome every time. Say goodbye to complicated crust techniques and lengthy chilling times; these bars are all about ease and enjoyment, delivering maximum flavor with minimum fuss.
The truly remarkable aspect of these pumpkin pie bars is that they are entirely gluten-free, dairy-free, and even refined-sugar-free, yet absolutely nobody would ever guess! They boast an exquisite balance of a perfectly flaky, tender crust and the most delectable, warmly spiced pumpkin pie filling. The texture is wonderfully creamy, and the flavors are deep and comforting, evoking all the essence of autumn. These bars have become a cherished tradition and a constant on our fall and holiday dessert rotation, and I genuinely hope they will quickly become a beloved staple in your home as well. They’re a testament that healthy eating doesn’t mean sacrificing flavor or festive indulgence!
Pumpkin Pie Bars Recipe Video
Why You’ll Love This Gluten-Free & Dairy-Free Pumpkin Pie Bar Recipe
- Effortlessly Easy: This pumpkin pie bar recipe is designed for simplicity. All the ingredients come together quickly in just one bowl or a food processor, minimizing both your effort in the kitchen and the amount of cleanup afterward. This makes it perfect for busy holiday seasons when you want a delicious homemade treat without the stress. You’ll be amazed at how quickly you can create such a show-stopping dessert!
- Dietary Inclusive & Friendly: Catering to various dietary needs, these bars are a fantastic option for almost any guest. They are naturally dairy-free, gluten-free, refined sugar-free, and paleo-friendly. For those following a vegan diet, you can easily adapt the recipe by simply substituting the eggs in the filling with your favorite vegan or eggless pumpkin pie filling recipe. This versatility ensures everyone can enjoy a slice of this delightful dessert.
- Wholesome & Nourishing Ingredients: Unlike many traditional pumpkin pie recipes that rely on processed ingredients and high amounts of sugar, these bars are crafted with simple, whole food components. They are significantly lower in sugar and packed with more nourishing ingredients, making them a healthier indulgence that you can feel good about serving to your family and friends. Enjoy a dessert that truly feeds your body!
- Irresistible Flavor & Texture: Despite being a healthier alternative, these pumpkin pie bars are bursting with incredible flavor. You won’t believe they’re a “healthier option” once you taste the perfectly spiced, subtly sweetened, and wonderfully creamy filling. The buttery shortbread crust provides a delightful contrast in texture, making each bite an unforgettable experience. The rich pumpkin taste combined with warming spices like cinnamon and nutmeg will tantalize your taste buds.
- The Ultimate Holiday or Fall Time Dessert: If you’re searching for a last-minute, low-effort, yet impressive dessert for Thanksgiving, Christmas, or any fall gathering, your search ends here. These bars are not only convenient but also incredibly festive and comforting, making them a crowd-pleaser for any autumnal or winter celebration. They offer all the beloved flavors of the season in an easy-to-serve format.
How to Make The Best Gluten-Free Pumpkin Pie Bars
Full ingredients, precise measurements, and the complete recipe are provided in the comprehensive recipe card at the bottom of this post! I particularly enjoy serving dessert bars at holiday gatherings and parties because they offer the flexibility of smaller, more manageable pieces. This is perfect for those who might just want “a taste” of everything, or for guests (like me, lol!) who aren’t quite ready for an entire slice of traditional pie. Bars are also incredibly easy to transport and serve, making them a fantastic choice for potlucks and family get-togethers.
Essential Equipment for Pumpkin Pie Bars
To whip up these amazing gluten-free pumpkin pie bars, you’ll need a couple of key kitchen tools:
- Food processor: This is highly recommended for quickly and efficiently combining the crust ingredients, ensuring a uniform and perfectly textured dough. While you can use a bowl and your hands, a food processor significantly speeds up the process and achieves a finer crumb.
- 9×9 square baking dish: The ideal size for these bars, ensuring the right thickness for both the crust and the filling. Using parchment paper to line the dish will also make for easy removal and clean slices.
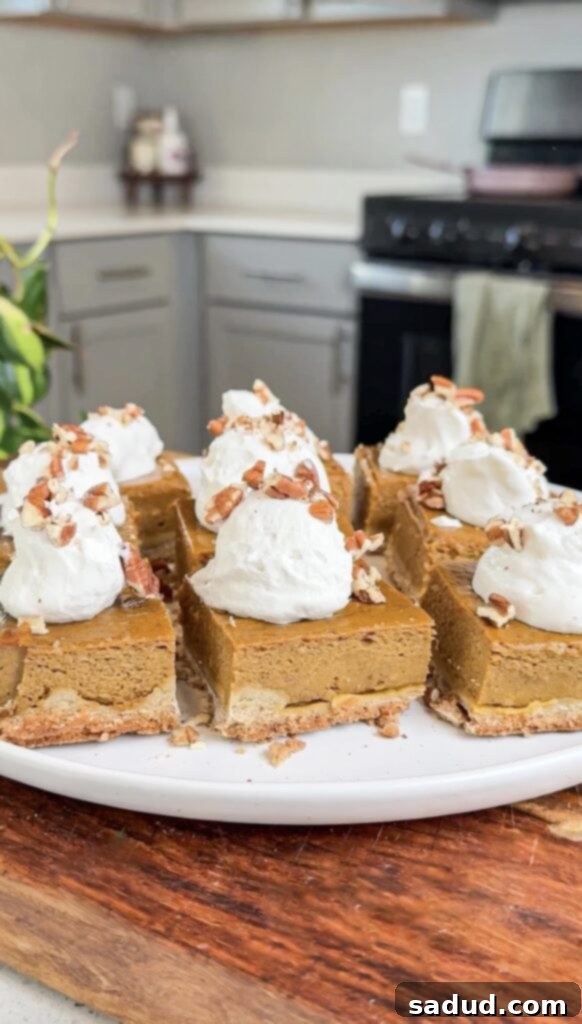
Key Ingredients for Healthy Pumpkin Pie Bars
Crafting these delectable pumpkin pie bars requires a thoughtful selection of wholesome and flavorful ingredients. Here’s a detailed look at what you’ll need for both the crust and the creamy filling, along with helpful notes on substitutions to ensure your baking success.
For the Buttery Shortbread Crust:
- Almond flour: This fine flour made from blanched almonds is the cornerstone of our gluten-free crust. It provides a delicate, tender texture and a rich, nutty flavor. For a nut-free alternative, tiger nut flour works as an excellent 1:1 substitute, offering a similar texture and a slightly earthy sweetness. Cashew flour is another fantastic 1:1 option for a different nutty flavor profile.
- Coconut flour: A highly absorbent flour that is crucial for the structure of this crust. Unfortunately, there are no direct substitutes for coconut flour in this specific recipe, as its unique properties are essential for creating a sturdy, yet tender, shortbread-like base that holds up well to the creamy filling.
- Maple syrup: Our natural liquid sweetener for the crust, adding a touch of warmth and balancing the flavors. You can easily substitute honey or agave nectar at a 1:1 ratio. Keep in mind that honey will impart a more distinct floral note to the crust.
- Coconut oil: This provides the necessary fat for a rich and buttery texture while keeping the bars dairy-free. If you’re not concerned with dairy-free, you can substitute grass-fed butter or ghee for a classic shortbread taste. Avocado oil is also a neutral-flavored option that works well. Use refined coconut oil if you prefer no coconut flavor in your crust.
- Vanilla extract & sea salt: Essential flavor enhancers. Vanilla adds a touch of sweetness and aroma, while a good pinch of sea salt balances the sweetness and brings out the depth of the other ingredients.
For the Creamy Pumpkin Pie Filling:
- Pumpkin puree: The star of the show! Ensure you are using 100% pure pumpkin puree from a can, and emphatically *not* pumpkin pie filling, which contains added sugars and spices.
- Eggs: These act as a binder and help create the classic custardy texture of pumpkin pie. If you are unable to consume eggs, I highly recommend using your favorite vegan or eggless pumpkin pie filling recipe. You can simply prepare that filling, pour it over this baked crust, and follow the baking instructions for your chosen vegan filling.
- Maple syrup: Used again here as our natural sweetener, complementing the pumpkin flavor beautifully. Honey or agave can also be substituted; just remember that honey will give the filling a more pronounced honey flavor.
- Full-fat canned coconut milk: This is key for achieving the incredibly creamy, rich, and dairy-free texture of the filling. While I haven’t personally tested substitutes, a heavy cream would likely work if you are not strictly dairy-free.
- Arrowroot starch/flour: This natural thickener helps the filling set perfectly, giving it that classic smooth consistency. Cornstarch is a perfectly acceptable 1:1 substitute if you have it on hand.
- Coconut sugar: An optional but highly recommended addition that adds a lovely caramelized depth of flavor to the pumpkin filling. It enhances the overall sweetness and complexity.
- Baking staples: Vanilla extract for aroma and sweetness, pumpkin pie spice for that unmistakable fall flavor blend, and extra cinnamon to boost the warmth and spice profile. A good pinch of sea salt is also crucial to round out and enhance all the sweet and spicy notes.
Step-by-Step Guide to Making Gluten-Free Pumpkin Pie Bars
Follow these straightforward steps to create your perfect batch of gluten-free and dairy-free pumpkin pie bars. Remember to preheat your oven to 350°F (175°C) and line an 8×8 inch square baking pan with parchment paper or grease it thoroughly for easy removal.
- Step 1: Prepare and Bake the Crust. Begin by adding all the measured crust ingredients – almond flour, coconut flour, maple syrup, coconut oil, vanilla extract, and sea salt – into a large mixing bowl or your food processor. Mix until the ingredients are thoroughly combined and the dough comes together. The mixture should be sticky enough to hold its shape. If you find the dough too dry or crumbly, add another tablespoon of melted coconut oil, mixing again until the desired consistency is reached. Press this dough evenly into the bottom of your prepared 8×8 inch baking pan. Bake the crust in the preheated oven for 8-10 minutes, or until the edges are lightly golden and fragrant. Once baked, remove the crust from the oven and set it aside to cool slightly while you prepare the filling.
- Step 2: Blend the Creamy Filling. While the crust is baking and cooling, gather all your pumpkin pie filling ingredients: pumpkin puree, full-fat canned coconut milk, maple syrup, coconut sugar (if using), vanilla extract, arrowroot powder, eggs, pumpkin pie spice, cinnamon, and a pinch of sea salt. Combine all these ingredients in a blender or a large bowl and mix until the mixture is completely smooth and well-combined. Ensure there are no lumps for a silky-smooth pie filling. Once the crust has cooled for at least 5 minutes, it’s ready for the filling.
- Step 3: Assemble and Bake to Perfection. Carefully pour the blended pumpkin pie filling over the partially baked and cooled crust. Use a spatula to gently spread the filling out evenly, ensuring it covers the entire crust from edge to edge. Return the pan to the oven and bake for an additional 40-45 minutes. The bars are ready when the center is set to the touch, though it’s perfectly normal and desirable for it to still have a slight jiggle. Over-baking can lead to a firmer, less creamy filling, so be mindful not to overcook!
- Step 4: Cool, Chill, and Serve! After baking, remove the pumpkin pie bars from the oven and allow them to cool at room temperature for at least 30 minutes. This initial cooling helps them begin to set. Once partially cooled, transfer the baking dish to the refrigerator and chill for a minimum of 2-3 hours. This crucial chilling time allows the filling to fully set, making the bars firm enough to slice cleanly. Once thoroughly chilled, lift the parchment paper to remove the bars from the pan, cut them into your desired bar shapes, and serve. I love to top mine with a generous dollop of creamy coconut whipped cream and a sprinkle of chopped pecans for added texture and flavor!
Creative Serving Suggestions for Your Pumpkin Pie Bars
While these gluten-free pumpkin pie bars are absolutely delicious on their own, a few simple additions can elevate them into an even more decadent dessert. Here are some delightful serving suggestions:
- Creamy Toppings: A classic choice! Top your pumpkin pie bars with a scoop of your favorite vanilla ice cream (dairy or non-dairy), or a generous dollop of homemade or store-bought coconut whipped cream for an extra layer of richness and a beautiful presentation.
- Crunchy Nuts: Add a wonderful textural contrast by sprinkling chopped pecans, walnuts, or even candied nuts over the top of each bar. The crunch pairs perfectly with the creamy filling.
- Extra Spice: For those who love a bold spice flavor, add an extra sprinkle of cinnamon, nutmeg, or even a dash of pumpkin pie spice blend directly over the whipped cream or on the bare bar.
- Sweet Drizzles: Elevate the sweetness and presentation with a drizzle of homemade caramel glaze (ensure it’s dairy-free if needed), a touch of chocolate sauce, or a simple maple glaze.
- Fresh Fruit: A surprising but delightful addition, a few fresh cranberries or thinly sliced apples can add a tart counterpoint to the sweetness of the bars, especially during the holiday season.
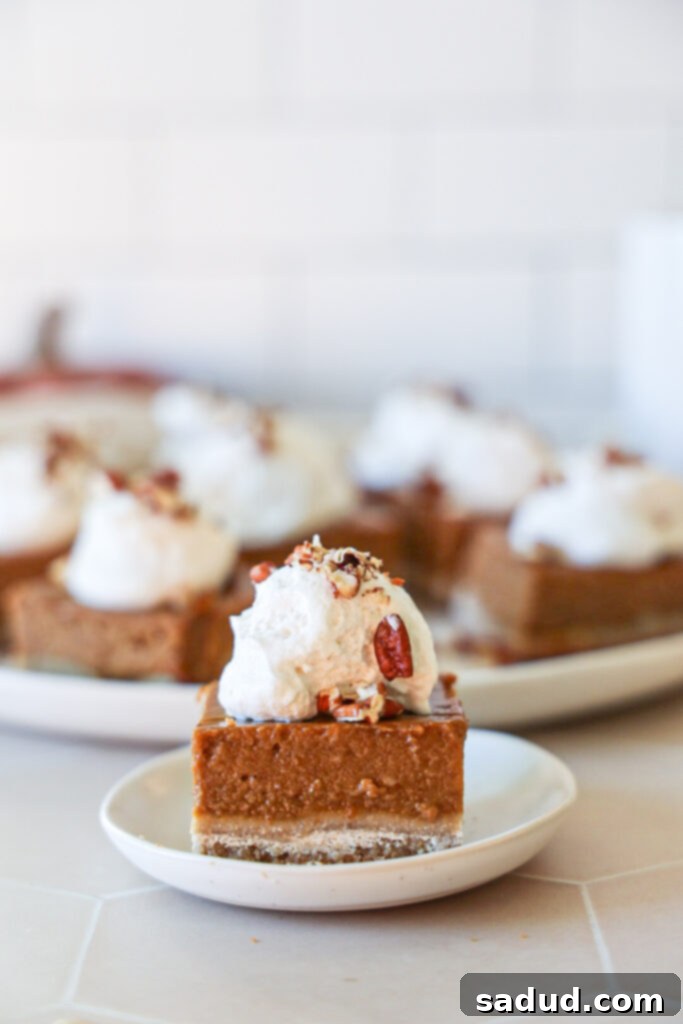
Expert Tips for Perfect Pumpkin Pie Bars
Achieving bakery-quality pumpkin pie bars is simple with a few expert tips. Follow these guidelines to ensure your bars turn out perfectly every time:
- Avoid Over-Baking! This is perhaps the most crucial tip. Over-baking the pumpkin pie filling will result in a firmer, denser, and less creamy texture, resembling more of a cake than a pie. The filling should still have a slight jiggle in the very center when you gently shake the pan. It will continue to set as it cools, especially during the chilling process.
- Cool and Chill Thoroughly: Patience is key! After baking, allow the bars to cool completely at room temperature before transferring them to the refrigerator. Chilling for at least 2-3 hours (or preferably overnight) is essential for the filling to fully set and for the bars to firm up enough to be cut into clean, distinct squares. Rushing this step will result in messy slices.
- Use Parchment Paper for Easy Removal: Always line your baking dish with parchment paper, leaving an overhang on the sides. This creates “handles” that allow you to easily lift the entire slab of bars out of the pan once chilled, making cutting and serving a breeze without damaging the crust.
- Accurate Ingredient Measurement: Especially with gluten-free baking, precise measurements are important. Use a kitchen scale for flour if possible, or use the “spoon and level” method for measuring flours to ensure you don’t compact them, which can lead to a dry crust.
- Don’t Skimp on Spices: The blend of pumpkin pie spice and extra cinnamon is what gives these bars their iconic fall flavor. Feel free to adjust the amount of spices to your personal preference for a milder or bolder taste. A little fresh grated nutmeg can also make a huge difference!
- Refined Coconut Oil for Neutral Flavor: If you prefer that your crust doesn’t have a subtle coconut flavor, opt for refined coconut oil instead of virgin coconut oil. Refined coconut oil is neutral in taste, allowing the other flavors to shine through.
Frequently Asked Questions About Gluten-Free Pumpkin Pie Bars
Here are answers to some common questions you might have when preparing these delicious gluten-free pumpkin pie bars:
- Can I make this recipe in a traditional pie pan instead of a square dish? Absolutely! While designed for bars, this recipe can certainly be made in a standard 9-inch pie pan. The baking times for the crust and filling might need slight adjustments. You would then slice it into wedges rather than bars.
- How should I store leftover pumpkin pie bars? Store any leftover bars in an airtight container in the refrigerator. They will remain fresh and delicious for 3-4 days. However, for the best taste and texture, it’s recommended to enjoy them within the first day or two after baking.
- Can these pumpkin pie bars be made ahead of time? Yes, these bars are an excellent make-ahead dessert! You can prepare and bake them up to 1-2 days in advance. Simply cool them completely, chill them in the refrigerator, and then cover tightly until ready to serve. This makes them perfect for holiday meal prep.
- Can I make these bars completely vegan? While the crust is naturally vegan (ensure your maple syrup is vegan-certified), the filling currently uses eggs. To make the entire recipe vegan, you would need to use a reliable egg substitute or, as mentioned in the ingredient notes, use your favorite pre-tested vegan or eggless pumpkin pie filling recipe and follow its specific instructions for baking.
- Can I freeze these pumpkin pie bars? Yes, these bars freeze well! Once fully cooled and chilled, cut them into individual bars. Place them on a baking sheet and freeze until firm (about an hour), then transfer them to an airtight freezer-safe container or bag. They can be frozen for up to 1-2 months. Thaw in the refrigerator overnight before serving.
More Healthy & Delicious Dessert Recipes to Try
If you loved these wholesome pumpkin pie bars, you’ll surely enjoy exploring these other healthy and delicious dessert options from our kitchen. Each recipe is crafted with care to offer delightful flavors while keeping dietary needs in mind!
- Gluten-Free Brown Sugar Cinnamon Pop Tarts: A nostalgic treat, reimagined to be gluten-free and healthier.
- 2 Ingredient Rolo’s: Incredibly simple and satisfying, a quick bite for chocolate and caramel lovers.
- Healthy Twix Cups: All the flavors of your favorite candy bar, but made with wholesome ingredients.
- Healthy Almond Joys: A tropical escape in every bite, dairy-free and guilt-free.
- Pumpkin Streusel Bread: A cozy, spiced bread perfect for breakfast or a snack during fall.
- Banana Nut Scones (Paleo, Gluten-Free): A delightful morning pastry, soft, flavorful, and diet-friendly.
- Cinnamon Swirl Banana Bread: A classic comfort food with a delicious, spiced swirl.
- Gluten-Free Pumpkin Spice Scones: Another fantastic pumpkin-spiced treat, perfect with your morning coffee or tea.
I genuinely believe you will absolutely adore these paleo, gluten-free, and dairy-free pumpkin pie bars! If you take the time to make this recipe, it would truly mean the world to me if you left a star rating and a review below to share your experience. Also, please be sure to tag me in your beautiful creations on Instagram @danishealthyeats – I love seeing your culinary triumphs!
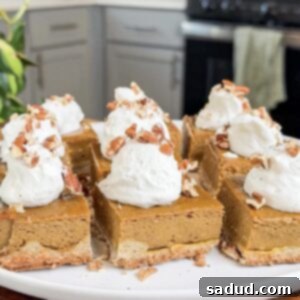
Gluten-Free Pumpkin Pie Bars
Pin Recipe
Ingredients
Crust
- 1 1/2 cups almond flour
- 1/2 cup coconut flour
- 1/4 cup maple syrup
- 1/4 cup coconut oil *use refined coconut oil for no coconut flavor
- 1 tsp vanilla extract & good pinch of sea salt
Filling
- 1 15 oz can Pumpkin puree *NOT pumpkin pie filling!
- 1/3 cup full-fat canned coconut milk
- 1/2 cup maple syrup
- 2 tbsp coconut sugar *optional, but I love the flavor it adds!
- 2 tsp vanilla extract
- 1 tbsp arrowroot powder (can sub cornstarch)
- 2 eggs
- 1 tbsp pumpkin pie spice
- 1/2 tsp cinnamon
- good pinch of sea salt
Optional toppings
- whipped cream (I used coconut whipped cream)
- chopped pecans
Instructions
-
Preheat oven to 350F. Line an 8×8 square baking pan with parchment paper or grease it really well.
-
Add all the crust ingredients to a bowl or food processor, mixing until combined. The dough should stick together. If it’s dry, add another tbsp of melted coconut oil. Then, press the crust into the bottom of the pan. Bake for 8-10 minutes, until lightly golden around the edges. Remove from oven and let cool.
-
While the crust bakes, combine all of the pumpkin pie filling ingredients in a blender or bowl, until combined. Remove the crust from the oven and let cool for at least 5 minutes before adding the pie filling.
-
Pour the pumpkin pie filling onto the crust, using a spatula to make sure it’s spread out evenly. Bake again for 40-45 minutes until the center is set to touch. It’s okay if it’s still just slightly jiggly – you don’t want to over-bake it!
-
Let the pumpkin pie bars cool for 30 minutes or so before placing them in the fridge to set for 2-3 hours before cutting into bars and enjoying!
Video
