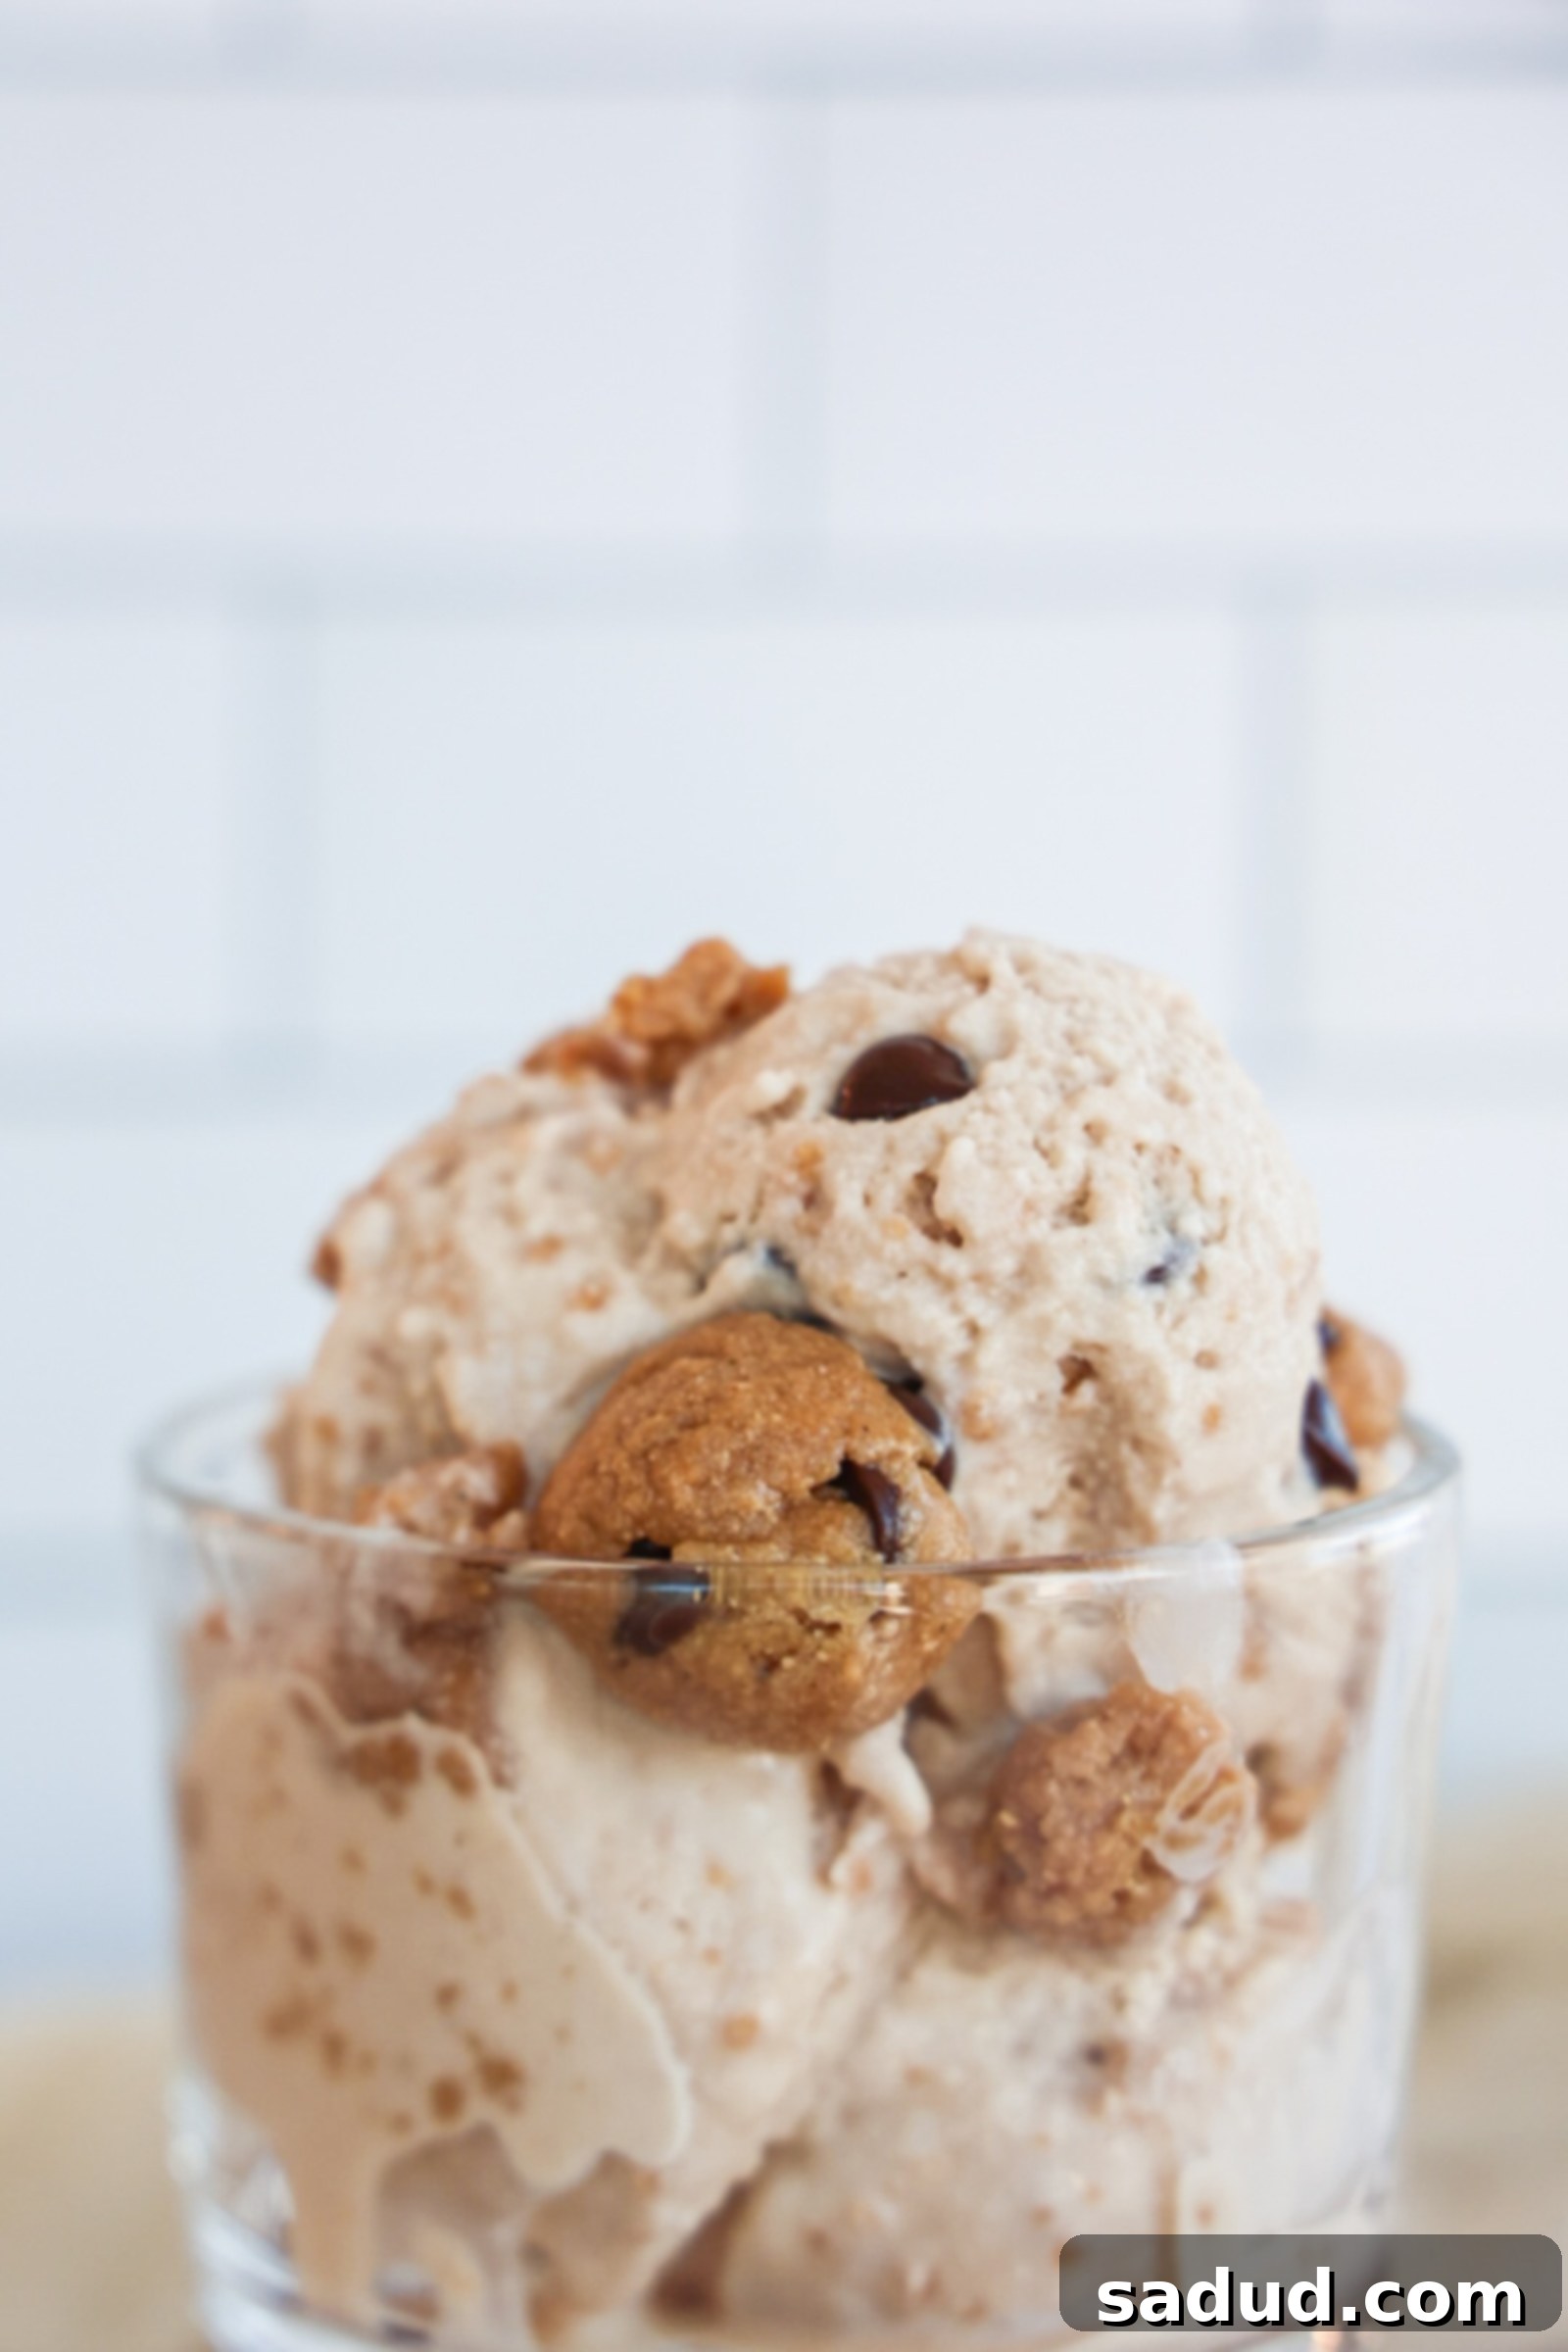
The Ultimate High-Protein Vegan Chocolate Chip Cookie Dough Blizzard (Dairy-Free, Gluten-Free, Copycat Dairy Queen Recipe)
Craving the nostalgic delight of a Dairy Queen Chocolate Chip Cookie Dough Blizzard but seeking a healthier, more wholesome option? Look no further! This high-protein, healthy copycat Dairy Queen Chocolate Chip Cookie Dough Blizzard recipe is about to become your new favorite treat. It’s the perfect indulgent dessert that truly satisfies, while being remarkably diet-friendly: completely dairy-free, gluten-free, vegan, and packed with muscle-building protein! Plus, you can whip up this creamy, dreamy healthy ice cream in your trusty blender or a Ninja Creami, making homemade frozen treats more accessible than ever.
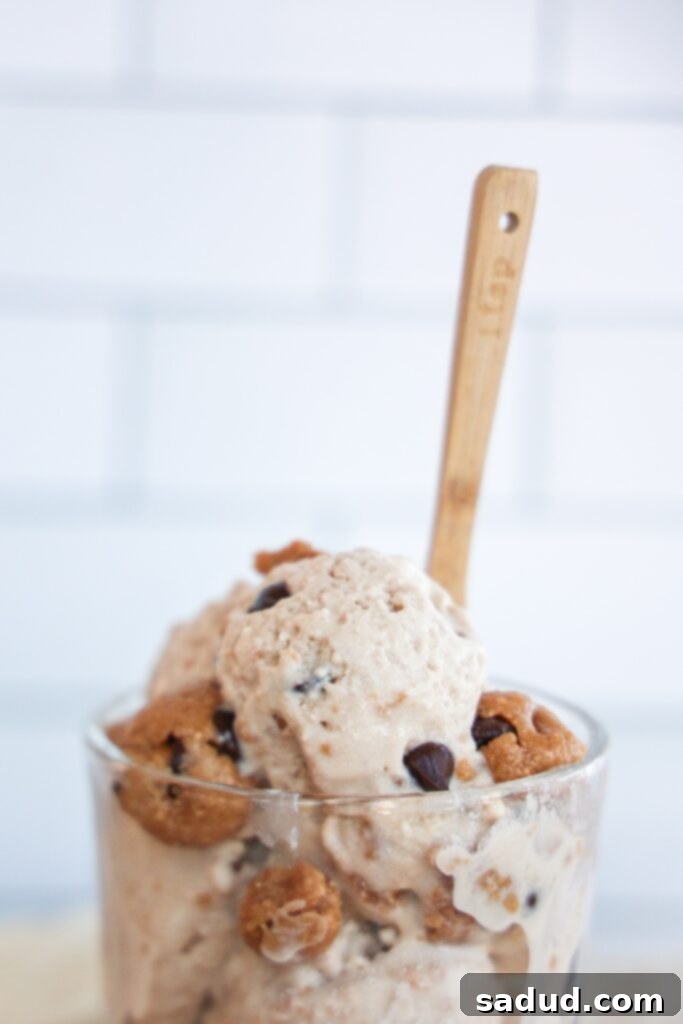
Reimagining the Classic: Why This Healthy Dairy Queen Blizzard Stands Out
Growing up, a Dairy Queen Blizzard was an absolute staple. Who could resist that iconic blend of creamy soft-serve ice cream mixed with generous chunks of your favorite candies or cookies? The sheer joy of turning it upside down without spilling a drop was a rite of passage! However, as I got older and became more mindful of what I was fueling my body with, I started to take a closer look at the ingredients list of those beloved Blizzards. A quick glance at the nutrition label reveals a less-than-ideal concoction: high-fructose corn syrup, astonishing amounts of refined sugar, artificial flavors, preservatives, carrageenan, and a host of other questionable ingredients.
This realization sparked a mission: to create a homemade alternative that captured all the irresistible flavor and texture of a classic Dairy Queen Blizzard, but with a wholesome twist. My Healthy Cookie Dough Protein Blizzard is crafted with a thoughtful mix of whole, healthy, unrefined, and good-for-you ingredients. This means you can indulge in all the goodness of that nostalgic ice cream treat without any of the guilt. The best part? It comes together with surprising ease, proving that healthy doesn’t have to mean complicated or time-consuming.
If you’re a fellow Dairy Queen fan looking for more healthy remakes, be sure to try my homemade, high-protein Dilly Bars!
Why You’ll Fall in Love with This Copycat Blizzard Recipe
This isn’t just another ice cream recipe; it’s a game-changer for anyone seeking a healthier way to enjoy their favorite frozen dessert. Here’s why this homemade Dairy Queen Blizzard will quickly earn a permanent spot in your recipe rotation:
- Completely Dairy-Free & Vegan: Perfect for those with lactose intolerance, dairy allergies, or following a plant-based lifestyle. You won’t miss the dairy one bit thanks to our clever ingredient choices that deliver incredible creaminess.
- Gluten-Free & Gentle on Sensitive Stomachs: Made with naturally gluten-free ingredients, this blizzard is safe and delicious for individuals with gluten sensitivities or celiac disease, ensuring everyone can enjoy a delightful treat.
- Naturally Sweetened & Refined Sugar-Free: Say goodbye to processed sugars and high-fructose corn syrup. We sweeten this blizzard exclusively with natural alternatives like maple syrup or honey, providing a balanced sweetness without the sugar crash.
- Unbelievably Creamy, Thick Texture: Prepare for a truly authentic ice cream shop experience! This recipe delivers a rich, thick, and velvety texture that perfectly mimics your favorite blizzard, making it hard to believe it’s healthy.
- Quick & Easy: Ready in Under 15 Minutes (Active Prep Time): While the base requires freezing time, the active preparation is incredibly fast. You can have a gourmet-quality frozen dessert ready to enjoy in just minutes once your base is frozen.
- Packed with Protein: With a significant boost from protein powder, this blizzard transforms from a mere dessert into a satisfying, muscle-supporting snack or post-workout treat.
Recipe Video: Watch How to Make Your Homemade Cookie Dough Blizzard
The Secret to Creamy, Banana-Free “Nice Cream”
Many healthy ice cream recipes, often referred to as “nice cream,” rely heavily on frozen bananas for their creamy texture and natural sweetness. While delicious, I’m quite particular when it comes to banana-based treats, as the flavor can sometimes be a bit overpowering and mask other ingredients. That’s why I set out to create a truly healthy, rich, and creamy ice cream that’s completely fruit-free, without sacrificing an ounce of flavor or that coveted smooth texture! This homemade blizzard achieves the perfect balance of natural sweetness and turns out incredibly ultra-creamy, proving you don’t need bananas to make a fantastic frozen treat.
Crafting Your Healthy Dairy Queen Cookie Dough Blizzard: A Step-by-Step Guide
Creating this delicious, wholesome blizzard is straightforward, whether you’re a seasoned chef or a beginner in the kitchen. Here’s an overview, with the full detailed recipe card available at the bottom of the post.
Tools You’ll Need
- Ninja Creami OR High-Speed Blender: I cannot recommend the Ninja Creami enough for anyone serious about homemade ice cream. It literally transforms almost anything into a creamy, perfect ice cream consistency. However, if you don’t have one, a powerful high-speed blender (like a Vitamix with a tamper) can also produce excellent results for homemade ice cream. We’ll cover specific tips for both methods in the instructions!
- Silicone Ice Cube Trays (for blender method)
- Air-tight container or freezer bag
- Mixing bowls & Measuring tools
Essential Ingredients for Your Protein Ice Cream Base
Each ingredient plays a crucial role in achieving the perfect flavor and consistency for your healthy ice cream:
- Protein Powder: This is where the “high-protein” magic happens! I highly recommend a vanilla or cookie dough flavored vegan protein powder. Brands like Macro Mike are fantastic because they genuinely taste like dessert and contribute significantly to the creaminess and flavor of the ice cream, all while being made with wholesome ingredients. You can even use my code “amb_dani” for a discount! If you don’t use protein powder, you might need to adjust the sweetener slightly and the texture might be a little less rich.
- Lite Canned Coconut Milk: This is our secret weapon for dairy-free creaminess. Lite coconut milk provides a smooth texture without being overly rich, but if you desire an even more indulgent and decadent ice cream, feel free to substitute with full-fat canned coconut milk.
- Raw Cashews (or Cashew/Almond Butter): Raw cashews, when blended, create an incredibly rich and smooth base, mimicking the mouthfeel of traditional dairy. If you don’t have raw cashews, an equal amount of good quality cashew butter or almond butter works wonderfully as a substitute.
- Maple Syrup or Honey: For natural sweetness that’s refined sugar-free. Adjust the amount to your personal taste. If you’re omitting the protein powder (which often adds a touch of sweetness), you might want to add an extra tablespoon of sweetener.
- Vanilla Extract & Sea Salt: These are essential flavor enhancers. Vanilla extract deepens the sweet notes, while a pinch of sea salt balances the sweetness and brings out all the other flavors, making the ice cream taste even more vibrant.
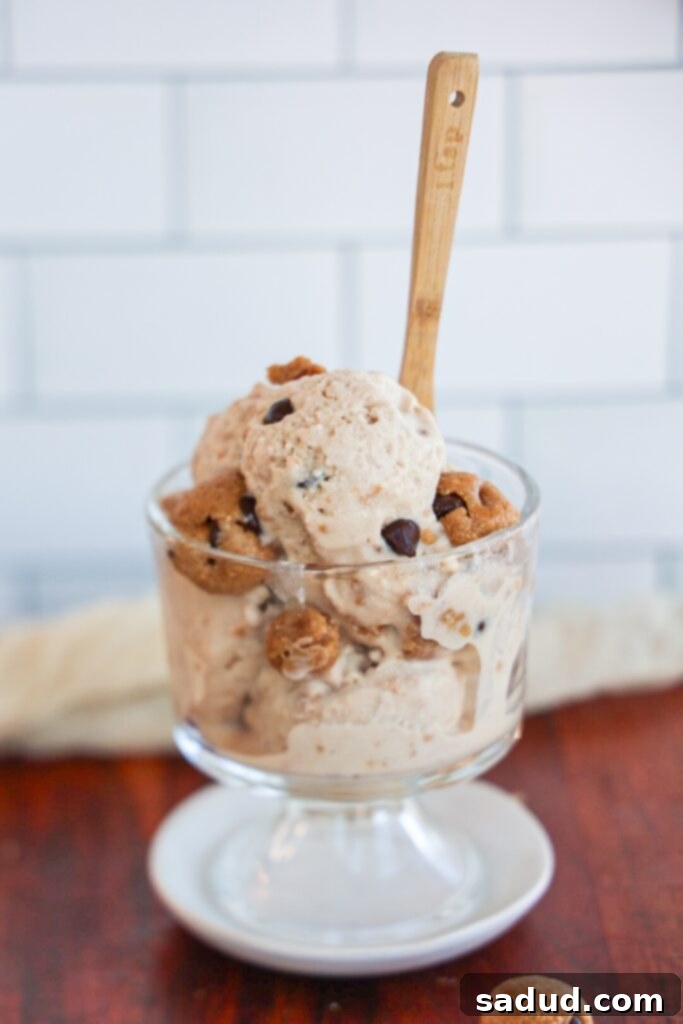
Detailed Instructions for the Perfect Homemade Blizzard
Step 1: Prepare the Velvety Ice Cream Base
- In a high-speed blender or food processor, combine all of your ice cream base ingredients (coconut milk, cashews/nut butter, maple syrup/honey, protein powder, vanilla extract, and sea salt). Blend on high until the mixture is completely smooth and creamy, with no cashew bits remaining. This might take a couple of minutes.
- If using a Ninja Creami: Pour the smooth mixture into your Ninja Creami pint, secure the lid, and place it in the freezer. It needs to freeze completely solid, which typically takes overnight or at least 5-8 hours. You can prep multiple pints ahead of time for quick blizzards whenever a craving strikes!
- If using the Blender Method: Pour the ice cream mixture into silicone ice cube trays. Freezing it in cubes is crucial for the blender method, as it helps achieve that thick, soft-serve consistency without turning into a milkshake. Freeze overnight or for 5-8 hours until the cubes are fully solid.
Step 2: Whip Up Your Healthy Cookie Dough Bites
- While your ice cream base is freezing, prepare the star mix-in: the healthy cookie dough! In a medium bowl, mix together all the cookie dough ingredients (almond flour, protein powder, cashew/almond butter, maple syrup/honey, melted coconut oil, vanilla extract, and sea salt) until a cohesive dough forms. If your dough seems a bit too dry, start by adding just 1/2 to 1 tablespoon of dairy-free milk until it reaches a pliable, rollable consistency. Avoid adding too much liquid.
- Once the dough is ready, fold in your favorite dairy-free chocolate chips.
- Roll the cookie dough mixture into small, bite-sized pieces or mini balls. Place them on a small plate or in an airtight container and pop them into the freezer. This helps them firm up and prevents them from melting too quickly when mixed into the blizzard. They can stay in the freezer until you’re ready to assemble your blizzard.
Step 3: Blend, Mix, and Indulge!
The moment of truth – turning your frozen base into a dreamy blizzard!
- For the Ninja Creami Method:
- Once your pint is completely frozen, take it out of the freezer and let it sit on the counter for about 10 minutes. This slight thaw helps the Creami process it more smoothly.
- Place the pint into the Ninja Creami outer bowl and select the “Ice Cream” setting. I often find running it twice yields an extra creamy consistency. You can add a tiny splash (1-2 tablespoons) of dairy-free milk during the second spin if it’s too crumbly.
- After achieving your desired creamy ice cream texture, create a small well in the center of the pint. Add your prepared cookie dough pieces (saving a few for garnish, if desired). Select the “Mix-in” setting on your Ninja Creami. This will evenly distribute the cookie dough throughout your blizzard.
- Scoop into a bowl, sprinkle with any reserved cookie dough pieces and chocolate chips, and enjoy immediately!
- For the High-Speed Blender Method:
- Add your frozen ice cream cubes to your high-speed blender. Start blending, using a tamper (if your blender has one, like a Vitamix) to push the cubes down into the blades. This is key for achieving a thick, soft-serve consistency.
- Add only a tiny splash (start with 1-2 tablespoons) of dairy-free milk at a time, just enough to help the blades move the mixture. Be very careful not to add too much liquid, or you’ll end up with a milkshake instead of a thick blizzard.
- Blend until thick and smooth, scraping down the sides as needed.
- Once it reaches a creamy, soft-serve consistency, transfer it to a bowl and gently fold in the frozen cookie dough pieces.
- Serve immediately and enjoy your homemade cookie dough blizzard!
- For the Traditional Ice Cream Machine Method (if you have one):
- Ensure your ice cream machine bowl has been frozen for at least 12-24 hours prior to making the ice cream.
- Blend all of the ice cream base ingredients in a high-powered blender until smooth, as in Step 1.
- Turn on your ice cream maker and pour the mixture directly into the churning bowl. Follow your specific ice cream maker’s instructions, as churning times can vary. It usually takes 20-30 minutes to reach a soft-serve consistency.
- Once the ice cream is churned, you can either fold in the cookie dough chunks by hand or, for a more even distribution, add them to the machine during the last few minutes of churning.
- Serve immediately or transfer to an airtight container and freeze for a firmer consistency.
Exciting Blizzard Recipe Variations & Customizations
This healthy cookie dough blizzard is fantastic as is, but it also serves as a wonderful canvas for creativity! Feel free to experiment with these variations to make it your own:
- Nut-Free Option: If you have nut allergies or prefer to avoid nuts, it’s easy to adapt this recipe. Replace almond flour in the cookie dough with oat flour, and use a seed butter, such as sunflower seed butter (like SunButter), in place of cashews/cashew butter in both the ice cream base and the cookie dough. Ensure your protein powder is also nut-free.
- Add More Crunch & Texture: For an extra layer of textural delight, sprinkle in crushed gluten-free pretzels, chopped walnuts or pecans (if not nut-free), a handful of granola, or even some vegan white chocolate chips.
- Lower-Sugar Alternative: If you’re looking to further reduce the sugar content, you can replace the maple syrup with a sugar-free alternative like monk fruit syrup or a few drops of liquid stevia. Taste and adjust to your preference, as the sweetness levels of sugar substitutes can vary.
- Different Flavors: Don’t limit yourself to chocolate chip cookie dough!
- Peanut Butter Bliss: Add 2-3 tablespoons of peanut butter to the ice cream base and use peanut butter instead of cashew/almond butter in the cookie dough.
- Mint Chocolate Chip: Add 1/2-1 teaspoon of peppermint extract to the ice cream base.
- Chocolate Lover’s Dream: Replace vanilla protein powder with chocolate protein powder and add 1-2 tablespoons of cocoa powder to the ice cream base for a richer chocolate flavor.
- Swirls & Sauces: Before the final mix-in, drizzle in some homemade berry compote, a swirl of dairy-free caramel sauce, or a rich chocolate fudge sauce for an extra burst of flavor.
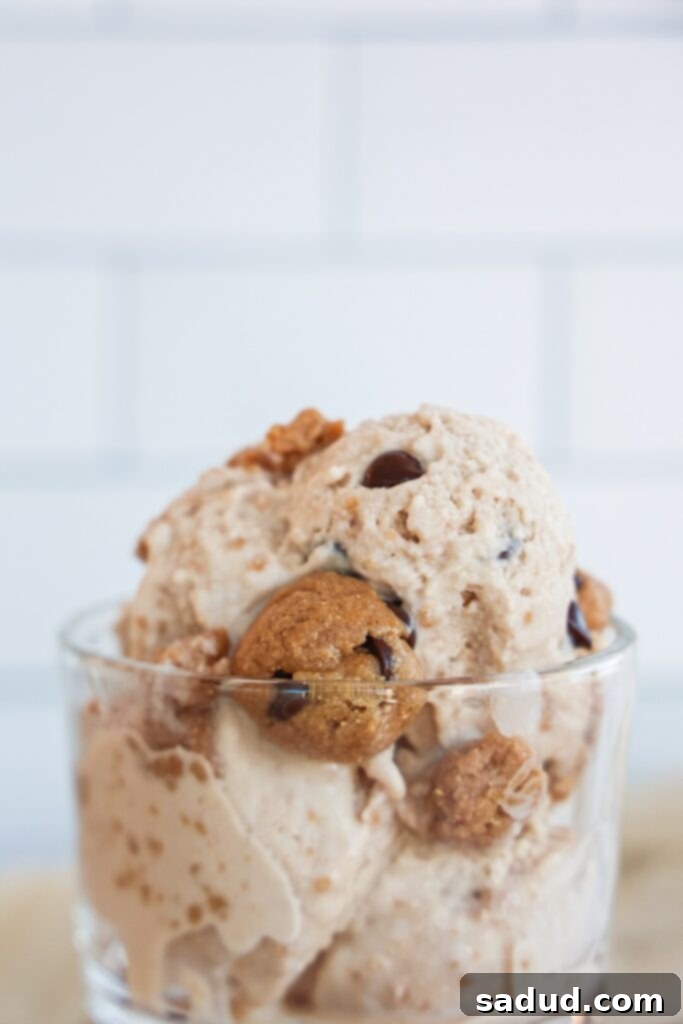
Frequently Asked Questions (FAQs) for Your Healthy Blizzard
Here are some common questions you might have about making and enjoying this healthy copycat blizzard:
Can I make this blizzard ahead of time?
Absolutely! The beauty of this recipe is its make-ahead potential. You can prepare multiple Ninja Creami pints and store them in the freezer, ready to be churned whenever a craving hits. Similarly, the cookie dough bites can be made in advance and stored separately in an airtight container in the freezer. For the blender method, you can pour the ice cream mixture into ice cube trays, freeze them, and then transfer the frozen cubes to a freezer bag or air-tight container to blend up whenever you’d like a fresh blizzard.
Is this kid-friendly?
Yes, this blizzard is incredibly kid-friendly! It’s a fantastic way to offer children a sweet, indulgent treat without the processed junk, excessive refined sugar, and artificial ingredients often found in store-bought desserts. Kids will love the taste and texture, and you’ll love that they’re getting extra protein and wholesome ingredients.
What’s the best type of protein powder to use?
For optimal flavor and texture, a good quality vanilla or cookie dough flavored vegan protein powder works best. Look for brands that blend smoothly and don’t have a strong aftertaste. Pea protein or a blend of plant-based proteins are usually great choices for creamy results. Avoid unflavored or very chalky protein powders, as they can impact the final taste and consistency.
How do I get the perfect creamy consistency?
The key to creaminess lies in a few factors:
- Proper Freezing: Ensure your base is completely frozen solid (for both Ninja Creami and ice cube methods).
- Minimal Liquid: When processing (especially with a blender), add liquid sparingly. Too much liquid will turn it into a milkshake.
- High-Speed Blending/Ninja Creami: A powerful appliance is essential. For blenders, use the tamper to keep the mixture moving. For Ninja Creami, letting the pint sit out for 10 minutes and running it twice on the “Ice Cream” setting helps.
How long can I store leftovers?
This blizzard is best enjoyed immediately after preparation, especially if made with a blender or Ninja Creami for that perfect soft-serve consistency. If you have leftovers from the Ninja Creami or blender method, you can store them in an airtight container in the freezer. However, they will freeze very solid. You may need to let them thaw on the counter for 10-20 minutes or re-spin them in the Ninja Creami (if you have one) to regain a softer texture.
Discover More Healthy Ice Cream & Frozen Dessert Recipes
If you loved this healthy blizzard, you’ll definitely want to explore more of our delicious and nutritious frozen treats:
- High-Protein Ninja Creami Strawberry Ice Cream
- Healthy Snickers Ice Cream Bars (Dairy & Refined Sugar-Free)
- Guilt-Free Ice Cream Brownie Bites
- Creamy Sugar Cookie Ice Cream (Vegan)
- Homemade Mint Chocolate Chip Ice Cream (Vegan)
- Healthy Peanut Butter Cup Ice Cream
- Rich & Creamy Vegan Pistachio Ice Cream
If you try this healthy Dairy Queen copycat blizzard recipe and absolutely love it, it would mean the world to me if you left a star rating & review below! Don’t forget to tag me on Instagram @danishealthyeats with your delicious creations – I love seeing what you make!
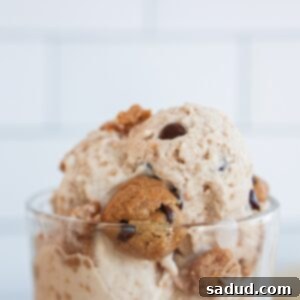
Healthy Dairy Queen Chocolate Chip Cookie Dough Blizzard
Pin Recipe
Ingredients
Ice cream
- 1 can lite coconut milk *can sub dairy-free creamer like NutPods. If you want it creamier, use full-fat.
- 1/2 cup raw cashews (or 1/4 cup cashew butter)
- 3 tbsp maple syrup or honey *if not using protein, you may want to add an extra tbsp
- 1 1/2 scoops vanilla protein powder
- 1 1/2 tsp vanilla extract
- 1/4 tsp sea salt
Cookie dough
- 1/4 cup almond flour
- 1/4 cup protein powder (could sub more almond flour or oat flour)
- 1 tbsp cashew or almond butter
- 2 tbsp maple syrup or honey
- 1/2 tbsp coconut oil, melted
- 1 tsp vanilla extract & good pinch sea salt
Instructions
-
Make the cookie dough – mix together everything in a bowl. If you need to add a splash of milk because your dough is dry, start with 1/2-1 tbsp. If the texture is good for you, don’t add any liquid! Fold in the chocolate chips.
-
Roll the dough into small balls and place in an air-tight container or baggie and store in the freezer/fridge until you are ready to prepare your ice cream!
Making cookie dough blizzard with a Ninja Creami
-
Note: If making ice cream with the Ninja Creami, the ice cream mixture will need to be frozen over-night or for 4-5 hours until completely solid. Just keep that in mind incase you’re planning on enjoying it at a certain time! You can always prep pints ahead of time to store in the freezer so they’re ready to go when you want them!
-
Blend all of the ice cream ingredients in a high powered blender until smooth. You can taste the mixture & add extra sweetener, if needed (keep in mind the mixture tastes more sweet before freezing/making into ice cream).
-
Pour the mixture into a Ninja Creami pint and freeze over-night or for 8ish hours until completely solid. Then use your Ninja Creami on the Ice Cream setting. I like to let my pint sit out on the counter for 10 minutes or so prior to blending, then run it twice to get it extra creamy. You can add a small splash of milk to help it get creamier as well.
-
You can either fold in the cookie dough chunks OR add them to the center of the pint and re-spin it on the “mix-ins” setting. I like to save a few balls to add on top!
Ice cream machine method
-
Note: Freeze the ice cream bowl in the freeze the night before or the morning of making your ice cream.
-
Blend all of the ice cream ingredients in a high powered blender until smooth. You can taste the mixture & add extra sweetener, if needed (keep in mind the mixture tastes more sweet before freezing/making into ice cream). Then turn the ice cream maker on and follow your ice cream makers directions on how to make the ice cream (usually you just pour it right in while it’s running!)
-
Fold in the cookie dough chunks last or once the ice cream is done, while the machine is still running, just throw them into the machine and let it mix it up for you. Enjoy!
Blender method
-
Blend all of the ingredients for the pistachio ice cream until smooth. You can taste the mixture & add extra sweetener, if needed (keep in mind the mixture tastes more sweet before freezing/making into ice cream).
-
Pour the ice cream mixture into a silicone ice cube tray. The next day, once they’re frozen, pop them out and re-blend into creamy ice cream/soft serve! I like to use a blender with a tamper (like a Vitamix) so you can actively press the cubes down into the blades to help them blend.
-
If you need to add a splash of milk, start with just a tiny amount and keep blending. If you add too much, it can turn into a milkshake.
-
Once it’s creamy, fold in the cookie dough chunks. Enjoy!
