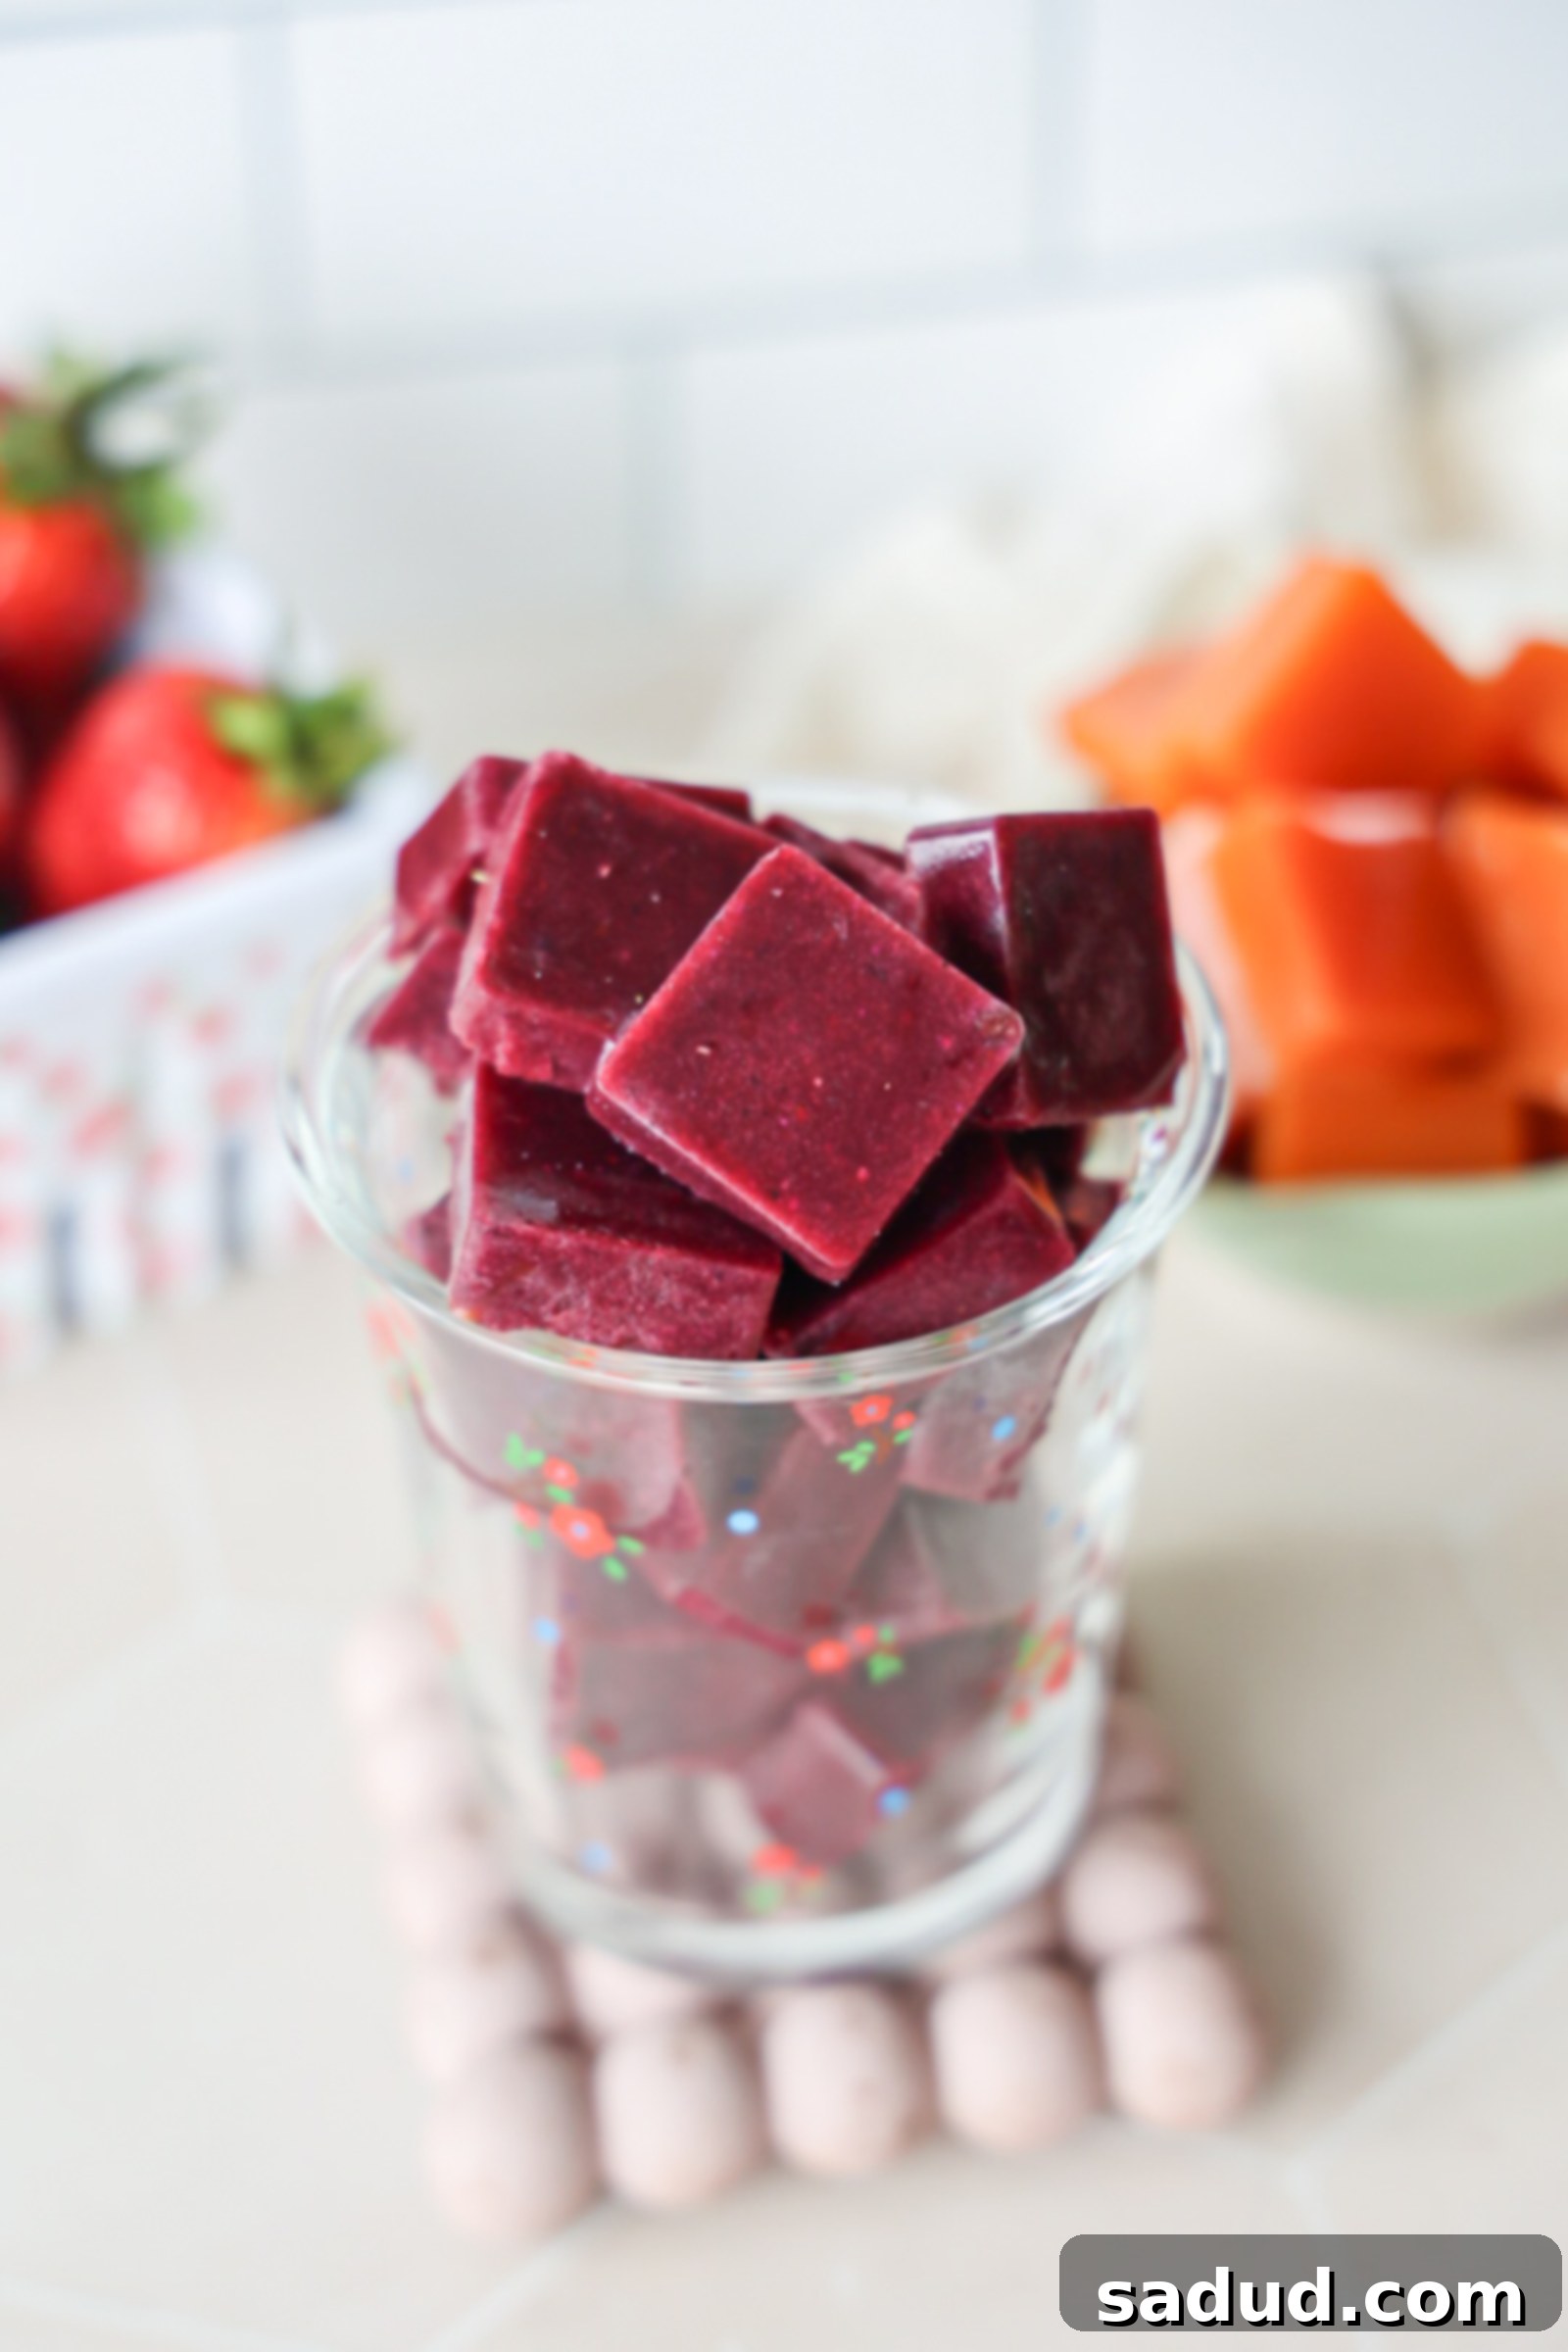
Homemade Gut Health Gummies: Your Delicious Secret for Radiant Hair, Skin, Nails, and a Happy Gut!
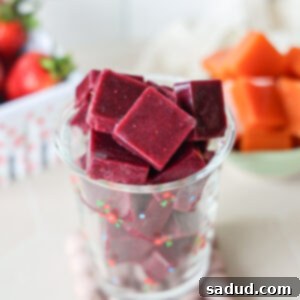
Unlock the incredible benefits of homemade fruit gummies, meticulously crafted to be a powerhouse of antioxidants, essential proteins, vital nutrients, and gut-healing gelatin. These delightful treats are a true gift for your hair, skin, nails, and digestive system. Best of all, they come together in mere minutes, making them the perfect healthy snack to prepare and enjoy throughout the week.
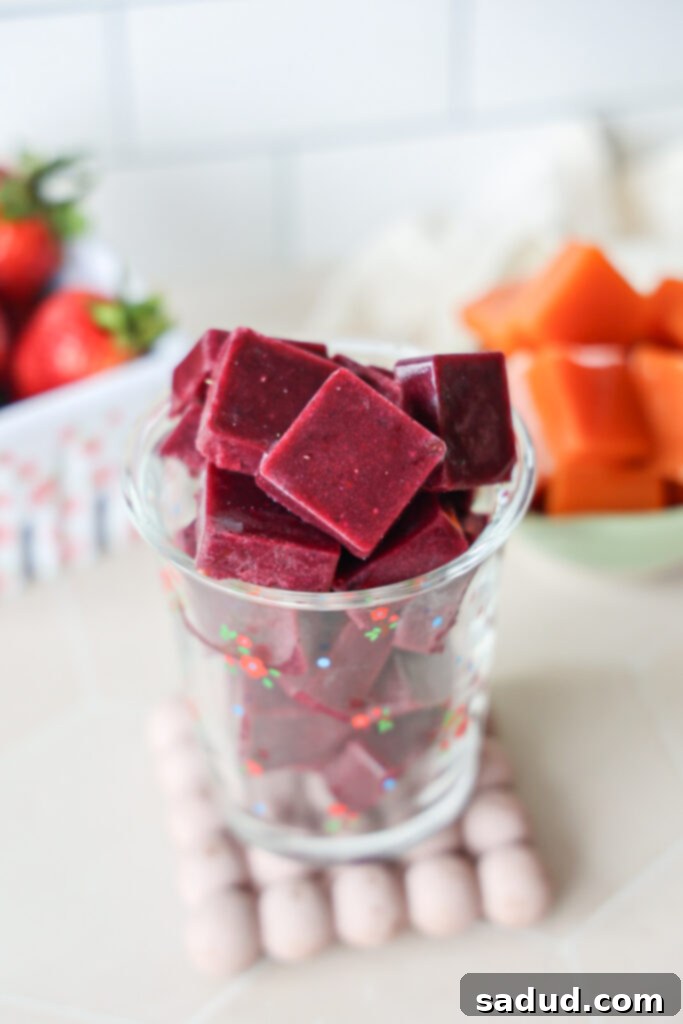
Do you adore the chewy texture and sweet burst of gummy bears or other gummy candies but cringe at the thought of their excessive added sugars, artificial colors, and mysterious ingredients? You’re not alone, and I’ve got the perfect solution! Imagine indulging in delicious gummy candies that not only satisfy your sweet tooth but also actively nourish your gut health, strengthen your hair, brighten your skin, and fortify your nails. Sounds almost too good to be true, doesn’t it? Well, it’s absolutely real!
In this comprehensive guide, I’ll reveal just how incredibly simple it is to create your own homemade gummy candies right in your kitchen. We’ll use only pure, *real fruit*, high-quality organic ingredients, and completely avoid any refined sugars, artificial colorings, synthetic flavors, or unwanted additives. Get ready to transform your snack routine into a beauty-boosting, gut-loving experience!
For the past few years, collagen and gelatin have been the undisputed darlings of the beauty and wellness world, and for excellent reasons. While many of us are familiar with adding collagen powder to our morning coffee or incorporating it into baked goods, working with gelatin might seem a bit more daunting. However, I’m here to demystify the process and show you that harnessing the power of gelatin is not only easy but incredibly rewarding, especially when it comes to making these beneficial gummies.
Why You’ll Fall in Love with These Gut-Health Gummies
These homemade gummies aren’t just a treat; they’re a smart, wholesome choice for everyone in your family. Here’s why they’ll become a staple in your healthy lifestyle:
- A Wholesome Snack for All Ages: Crafted with grass-fed gelatin, these gummies are an ideal, healthy snack even for the youngest members of your family – kids and toddlers will adore them, and you can feel good about what they’re eating. Forget the sugary, artificial options from the store!
- Packed with Nourishing Power: Every bite is loaded with essential amino acids, powerful antioxidants, and a spectrum of nutrients specifically chosen to benefit your hair, promote glowing skin, and strengthen your nails from the inside out.
- Endlessly Versatile for Your Taste Buds: The beauty of these gut health gummies lies in their adaptability. You have complete freedom to experiment with a wide array of fruits, allowing you to create countless flavor combinations. From tangy berries to sweet stone fruits, the possibilities are delicious!
- Perfect for Meal Prep: These gummies are incredibly convenient for meal prepping. Make a batch at the beginning of the week, and you’ll have a grab-and-go healthy snack ready whenever hunger strikes.
- Effortlessly Easy to Make: Don’t be intimidated by the idea of making your own gummies. This recipe is designed for simplicity and speed, coming together quickly with minimal fuss.
- Diet-Friendly and Delicious: Our beauty gummies are naturally gluten-free, dairy-free, grain-free, refined sugar-free, and perfectly align with a paleo lifestyle, making them suitable for a wide range of dietary needs and preferences.
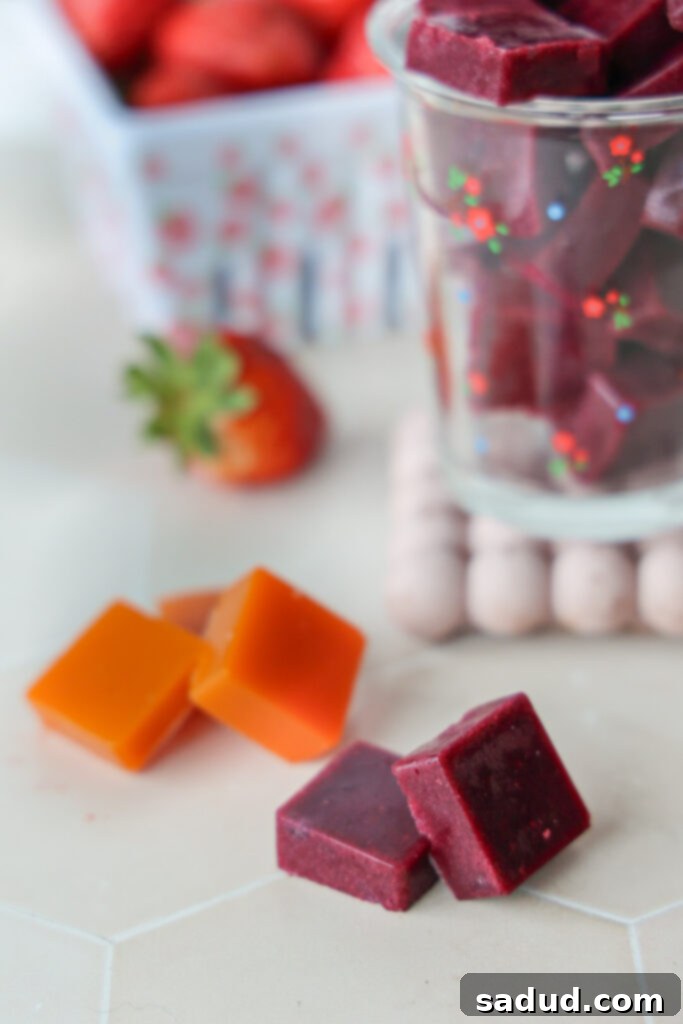
The Remarkable Benefits of Grass-Fed Gelatin
Gelatin, particularly grass-fed gelatin, is a nutritional powerhouse derived from collagen. When consumed, its unique amino acid profile offers a myriad of health and beauty benefits:
- Radiant, Healthy Skin: Gelatin is rich in specific proteins, including glycine and proline, which are crucial for collagen production. By supplementing these, it significantly improves your skin’s natural moisture retention, boosts elasticity, and promotes a youthful, glowing complexion.
- Heals and Soothes the Intestinal Tract: One of gelatin’s most celebrated benefits is its ability to support gut health. It helps to coat and calm irritation and inflammation within the intestinal lining, fostering a healthier gut environment.
- Supports Enhanced Mobility and Joint Health: The amino acids in gelatin play a vital role in synthesizing and repairing connective tissues throughout the body. This promotes healing, reduces discomfort, and supports overall joint and cartilage health, crucial for active lifestyles.
- Fortifies Bones: Beyond joints, gelatin contributes to stronger bones by providing essential proteins that are integral to bone matrix structure and density.
- Superior Amino Acid Profile: Gelatin boasts a distinctive amino acid profile that includes glycine, proline, and hydroxyproline – amino acids often scarce in modern diets but essential for various bodily functions, from detoxification to tissue repair.
- Repairs the Gut Lining: For individuals dealing with issues like “leaky gut” (increased intestinal permeability), gelatin is an exceptional ally. It helps to rebuild and strengthen the gut barrier, reducing the passage of unwanted substances into the bloodstream and alleviating associated symptoms.
Not All Gelatin is Created Equal: The Importance of Grass-Fed vs. Grain-Fed
When selecting gelatin for your homemade gummies, the source truly matters. The quality of gelatin is directly tied to the health and diet of the animal it comes from. Grass-fed gelatin is partially hydrolyzed collagen extracted from the bones and connective tissues of cattle that have been raised on a natural, grass-based diet. The process involves boiling collagen at temperatures above 40 degrees Celsius, breaking it down into smaller protein chains known as gelatin. Upon cooling, this forms the familiar jelly-like substance.
Here’s a crucial distinction:
- Grass-fed gelatin: Sourced exclusively from the collagen of cattle that have grazed on natural pastures and consumed a diet primarily of grass.
- Grain-fed gelatin: Derived from the collagen of cattle that have been fed a diet predominantly of grains, often in confined feeding operations.
The implications of this difference are significant. Grain-fed beef products are typically associated with cattle raised in less-than-ideal living conditions, often receiving antibiotics to counteract the health issues that arise from unnatural grain-based diets. Such diets are linked to bovine health problems, including liver masses and inflammation, ultimately yielding lower-quality beef products. This lower quality extends to the collagen and, subsequently, the gelatin derived from these animals.
Conversely, cattle raised on grass-fed diets are healthier, leading to a superior beef nutritional profile. Their meat and connective tissues contain higher amounts of beneficial nutrients, including a more favorable balance of omega-3 fatty acids, crucial vitamins, and, importantly, higher-quality collagen. Simply put, the adage “you are what you eat” extends to what the animal ate. Choosing grass-fed gelatin ensures you’re getting the purest, most nutrient-dense product, maximizing the health benefits for your body.
Homemade Gut-Health Gummies Recipe Video
How to Make Gut-Health Gummies
Crafting these beneficial gummies is a straightforward process, requiring just a few simple pieces of equipment and a handful of wholesome ingredients. Let’s gather what we need.
Equipment
Having the right tools makes the process even smoother and more enjoyable:
- Molds: This is where the fun truly begins! You can shape your homemade gummies into anything your heart desires. While specialty molds add a whimsical touch, they’re not strictly necessary. For a minimalist approach, simply use an 8×8 inch baking pan, and once your gummies are set, cut them into neat squares. If you’re eager for fun shapes, I highly recommend these gummy bear molds or this individual square mold – silicone molds are excellent as they allow for easy release.
- Mixing bowl: A standard mixing bowl will be perfectly adequate for combining your ingredients before heating.
- Spoon or Dropper: While a spoon works fine, a dropper is a game-changer for neatly transferring the gelatin mixture into small molds, minimizing spills and mess.
- High-Powered Blender (for whole fruit option): Essential for achieving a super smooth fruit puree, especially when using whole berries.
- Small Saucepan: For gently heating the fruit mixture and dissolving the gelatin without boiling.
- Whisk: Crucial for thoroughly combining the gelatin and preventing lumps.
Ingredients
Detailed measurements and step-by-step instructions are provided in the comprehensive recipe card at the very bottom of this post!
- Grass-Fed Gelatin: This is the star ingredient for gut-healing power. I personally trust Further Food Gelatin because it’s sourced from grass-fed, pasture-raised cattle, ensuring the highest quality. As discussed, choosing grass-fed is paramount for maximum benefits.
- Fruit or Fruit Juice: You have two fantastic options for the base of your gummies, each yielding a slightly different texture.
- Using Whole Fruit: Berries are consistently the best choice for homemade gummies due to their natural pectin and robust flavor. I love using an antioxidant-rich blend of strawberries, blueberries, dark cherries, and pomegranates for a vibrant color and potent health boost. This option typically results in a softer, jelly-like gummy.
- Using Fruit Juice: Opting for fruit juice (like tart cherry or orange) creates a firmer gummy with a more intense, clear flavor.
- Important Note on Fruit Choices: Be mindful that not all fruits are suitable for gelatin gummies. Pineapple, for example, contains bromelain, an enzyme that breaks down proteins and will prevent your gummies from setting properly. Similarly, kiwi, mango, and papaya also contain enzymes that can interfere with gelatin’s setting process. Always stick to fresh or frozen berries or other gelatin-friendly fruits. If using frozen fruit, allow it to thaw completely and drain any excess liquid before blending.
- Coconut Water (for whole fruit option): While regular water can be used, organic coconut water significantly elevates the nutritional profile. It’s renowned for its rich electrolyte composition and offers numerous skin benefits, including deep hydration, reducing the appearance of fine lines and wrinkles, improving skin elasticity, combating acne, and soothing sunburned skin. Always choose an organic brand with no added sugar or other unnecessary ingredients.
- Natural Sweetener: A touch of natural sweetener enhances the fruity flavors. I often use local honey for its additional nutritional benefits, but you can easily substitute it with maple syrup, agave nectar, or even monk fruit extract for a completely sugar-free alternative.
- Lemon Juice: Fresh lemon juice isn’t just for flavor; it brightens the taste of the gummies and adds a nutritional kick, including a dose of Vitamin C and digestive support.
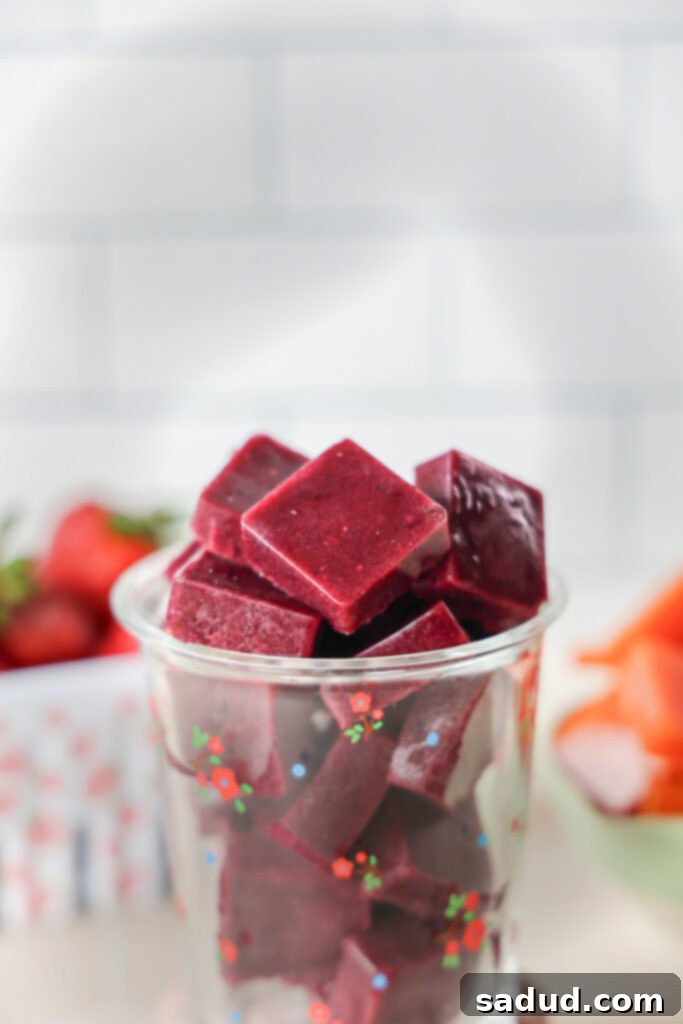
Steps to Make Gut-Health Gummies (General Overview)
Here’s a simplified overview of the process. Remember to consult the recipe card below for precise instructions for each gummy type:
- Prepare the Fruit Mixture: If using whole fruit, combine your chosen berries, coconut water (or regular water), sweetener, and lemon juice in a high-powered blender. Blend thoroughly until the mixture is completely smooth – this might take a few minutes. If you notice any large lumps or excessive seeds that you prefer not to have in your gummies, you can strain the mixture through a fine-mesh sieve at this stage.
- Gentle Warming: Pour the smooth fruit mixture into a deep saucepan. Heat it over low heat, ensuring it becomes warm but *never* reaches a rolling boil. Gentle heat is key to preserving nutrient integrity and properly dissolving the gelatin.
- Incorporate Gelatin: Once the mixture is warm, sprinkle the grass-fed gelatin evenly over the surface. Use a whisk to continuously stir the mixture until all the gelatin is completely dissolved and no lumps remain. This step requires patience and consistent whisking; sometimes, it can take 5-10 minutes. If you encounter any stubborn lumps that refuse to dissolve, simply use a small spoon to remove them.
- Pour into Molds: Carefully pour the warm, gelatin-infused mixture into your prepared pan or distribute it amongst your silicone molds.
- Set and Chill: Allow the filled molds or pan to sit at room temperature for about an hour to begin setting. Then, transfer them to the refrigerator for another 30 minutes to an hour (or longer, depending on the size of your gummies and fruit type) until they are completely firm and set.
- Enjoy and Store: Once firm, carefully remove the gummies from their molds. Store your homemade gut-health gummies in an airtight container in the refrigerator to maintain their freshness and texture.
Storing Your Homemade Gut-Health Gummies & Shelf Life
To keep your delicious and beneficial homemade gummies fresh and firm, it’s essential to store them correctly. Always place your gummies in an airtight container and keep them refrigerated. Thanks to the natural preservatives in fruit and the setting properties of gelatin, these healthy treats will last wonderfully for up to 2 weeks in the fridge. While they can soften slightly if left at room temperature for an hour or so, their real-fruit base means refrigeration is best for long-term storage and optimal texture.
Frequently Asked Questions & Expert Tips
To help you perfect your homemade gut-health gummies, here are answers to common questions and some helpful tips:
- Which fruits should I avoid for gummies? As mentioned, some fruits contain enzymes that interfere with gelatin’s ability to set. Specifically, **pineapple** (due to bromelain), **kiwi, mango, and papaya** are known culprits. These fruits will prevent your gummies from forming a firm shape. Stick to berries (strawberries, blueberries, cherries, pomegranates work great), grapes, or other enzyme-free fruit juices for best results.
- Is a silicone mold necessary? Not at all! While silicone molds offer fun shapes and easy release, they are optional. You can simply pour your gelatin mixture into a glass baking dish (like an 8×8 inch pan), let it cool and set in the refrigerator, and then cut it into squares or rectangles before serving.
- Do homemade gummies require refrigeration? Yes, absolutely. Because these gut-health and beauty gummies are made with real, fresh fruit and natural ingredients without artificial preservatives, they need to be refrigerated. They might hold up at room temperature for a short period (an hour or so), but for food safety, optimal texture, and longevity, always store them in the fridge.
- Pro Tip for Filling Molds: For a cleaner and more efficient transfer of the gelatin mixture into intricate or small molds, consider using a dropper. This minimizes spills and ensures each mold cavity is perfectly filled.
- Adjusting Sweetness: Always taste your fruit puree before adding gelatin. Different fruits have varying levels of natural sweetness. Adjust the amount of honey, maple syrup, or monk fruit to your preference for the perfect balance.
- Texture Variation: Gummy texture can vary based on the fruit and the amount of liquid. Gummies made with pure fruit juice tend to be firmer, while those made with whole, blended berries might be slightly softer and more jelly-like. Both are equally delicious and beneficial!
More Healthy Snacks to Try
If you’re looking for more delicious and healthy snack ideas, explore these fantastic recipes:
- Raw Vegan Cinnamon Rolls (Erewhon Copycat)
- Healthy Chocolate Yogurt Bites
- Healthy Almond Joys
- No Bake Cosmic Protein Brownies
- Homemade Dilly Bars
- Carrot Cake Truffles
- Strawberry Cheesecake Yogurt Parfait
- Baklava Granola Clusters
- Strawberry Yogurt Clusters
Gut Health Gummies
Pin Recipe
Ingredients
Gummies made with fruit juice (for a firmer gummy)
- 2 cups fruit juice (e.g., tart cherry, orange, apple)
- 1/4 cup grass-fed gelatin
- 2 tbsp lemon juice
- 3-4 tbsp maple syrup or honey (adjust to taste)
Gummies made with whole berries (for a softer, jelly-like gummy)
- 2 heaping cups berries (I used an antioxidant blend from Whole Foods with blueberries, strawberries, dark cherries & pomegranates) *See notes on fruits to avoid below!
- 1/2 cup coconut water or regular water
- 1/4 cup lemon juice
- 2-3 tbsp honey, maple syrup, or monk fruit (adjust to taste)
- 1/4 cup grass-fed gelatin *I used the Further Food brand
Vegan Fruit Gummies (using agar powder)
- 1 cup fruit juice (see blog post on fruits that won’t work!)
- 2-3 tsp agave or maple syrup
- 1 1/2 tsp agar powder
Instructions
Gummies using Fruit Juice
-
In a small saucepan, gently heat the fruit juice over medium heat until it’s warm/hot, but ensure it does not come to a boil.
-
Remove the saucepan from the heat and whisk in your chosen sweetener (honey or maple syrup). Then, gradually whisk in the grass-fed gelatin, adding 1 tablespoon at a time. Whisk thoroughly until each addition of gelatin is fully dissolved before adding the next. Continue stirring the mixture until all the gelatin is completely dissolved – this crucial step can sometimes take 5-10 minutes.
-
Carefully transfer the liquid mixture into your silicone gummy molds. Refrigerate for 1-2 hours, or until the gummies are completely firm. The setting time may vary depending on the size and thickness of your gummies. Once firm, gently remove them from the molds and enjoy! Store them in an airtight container at room temperature or in the fridge.
Gummies using Whole Berries
-
In a high-powered blender, combine your chosen fresh or thawed berries, lemon juice, natural sweetener (honey, maple syrup, or monk fruit), and coconut water (or regular water). Blend for a few minutes until the mixture is completely smooth and free of large chunks. If you prefer a completely smooth gummy and notice many seeds or fibrous bits that won’t blend, you have the option to strain the mixture through a fine-mesh sieve, though I often skip this step for a more rustic texture! Taste the mixture and adjust the sweetener if needed.
-
Pour the fruit puree into a large saucepan and heat it over low heat. As soon as the mixture becomes warm (do not boil), sprinkle the grass-fed gelatin over the top. Whisk continuously for several minutes until the gelatin is completely dissolved and no lumps remain. If you find any stubborn, small lumps that won’t whisk in, simply remove them with a small spoon.
-
Carefully pour the mixture into a lightly greased glass container (e.g., an 8×8 inch baking dish) if you plan to cut them into squares later, OR evenly distribute the mixture amongst your chosen silicone molds.
-
Let the gummies set at room temperature for approximately one hour. After this initial setting, transfer them to the refrigerator for another 30 minutes to an hour (or longer if needed) until they are fully firm and easily removable from the molds. If using a glass container, cut them into desired squares or shapes before attempting to remove them with a spatula. If you find them sticking to the mold, they likely need a bit more time in the fridge. Different fruits can sometimes affect setting time.
-
Store your homemade gummies in an airtight container in the refrigerator for up to 2 weeks. While gummies might soften slightly (but still hold their shape) if left out at room temperature – which is often my preferred way to eat them for a softer chew – they are made with real fruit and are best kept in the fridge most of the time. I typically let them sit at room temperature for a few minutes before enjoying for optimal texture.
Vegan Gummies (using Agar Powder)
-
In a small saucepan, gently heat the fruit juice along with maple syrup or agave over low-medium heat. Add in the agar powder and simmer the mixture over low-medium heat for 5 minutes, whisking continuously to ensure the agar dissolves completely and prevents clumping.
-
Allow the mixture to cool slightly for about 5 minutes. Then, carefully pour the warm liquid into your chosen gummy molds. Place the molds in the refrigerator for approximately 10 minutes, or until the vegan gummies have fully set and are firm to the touch.
-
Once set, transfer the vegan gummies to an airtight container and store them in the refrigerator to maintain their texture and freshness.
Video
Notes
-
- Which fruits should be avoided for gelatin gummies? Berries consistently yield the best results. I particularly enjoy an antioxidant blend of strawberries, blueberries, dark cherries, and pomegranates. However, it’s crucial to note: **Pineapple** contains bromelain, an enzyme that aids in protein digestion and will prevent your gummies from setting. Similarly, **kiwi, mango, and papaya** can also cause issues with the setting process due to their enzymatic content. Fresh or frozen berries work perfectly; if using frozen, ensure they are thawed and any excess liquid is drained before use.
-
- Is a silicone mold essential? You don’t necessarily need a silicone mold for this recipe. An excellent alternative is to pour the mixture into a glass baking dish, allow it to cool and set in the refrigerator, and then simply cut it into desired pieces.
-
- Do homemade gummies need refrigeration? Yes. Because these gut-health and beauty gummies are made with real fruit, they require refrigeration to maintain freshness and texture. While they can be left at room temperature for about an hour without issue, they are best stored in the fridge for longer preservation.
-
- For easier and less messy transfer of the gelatin mixture into your molds, especially small ones, using a dropper is highly recommended!
