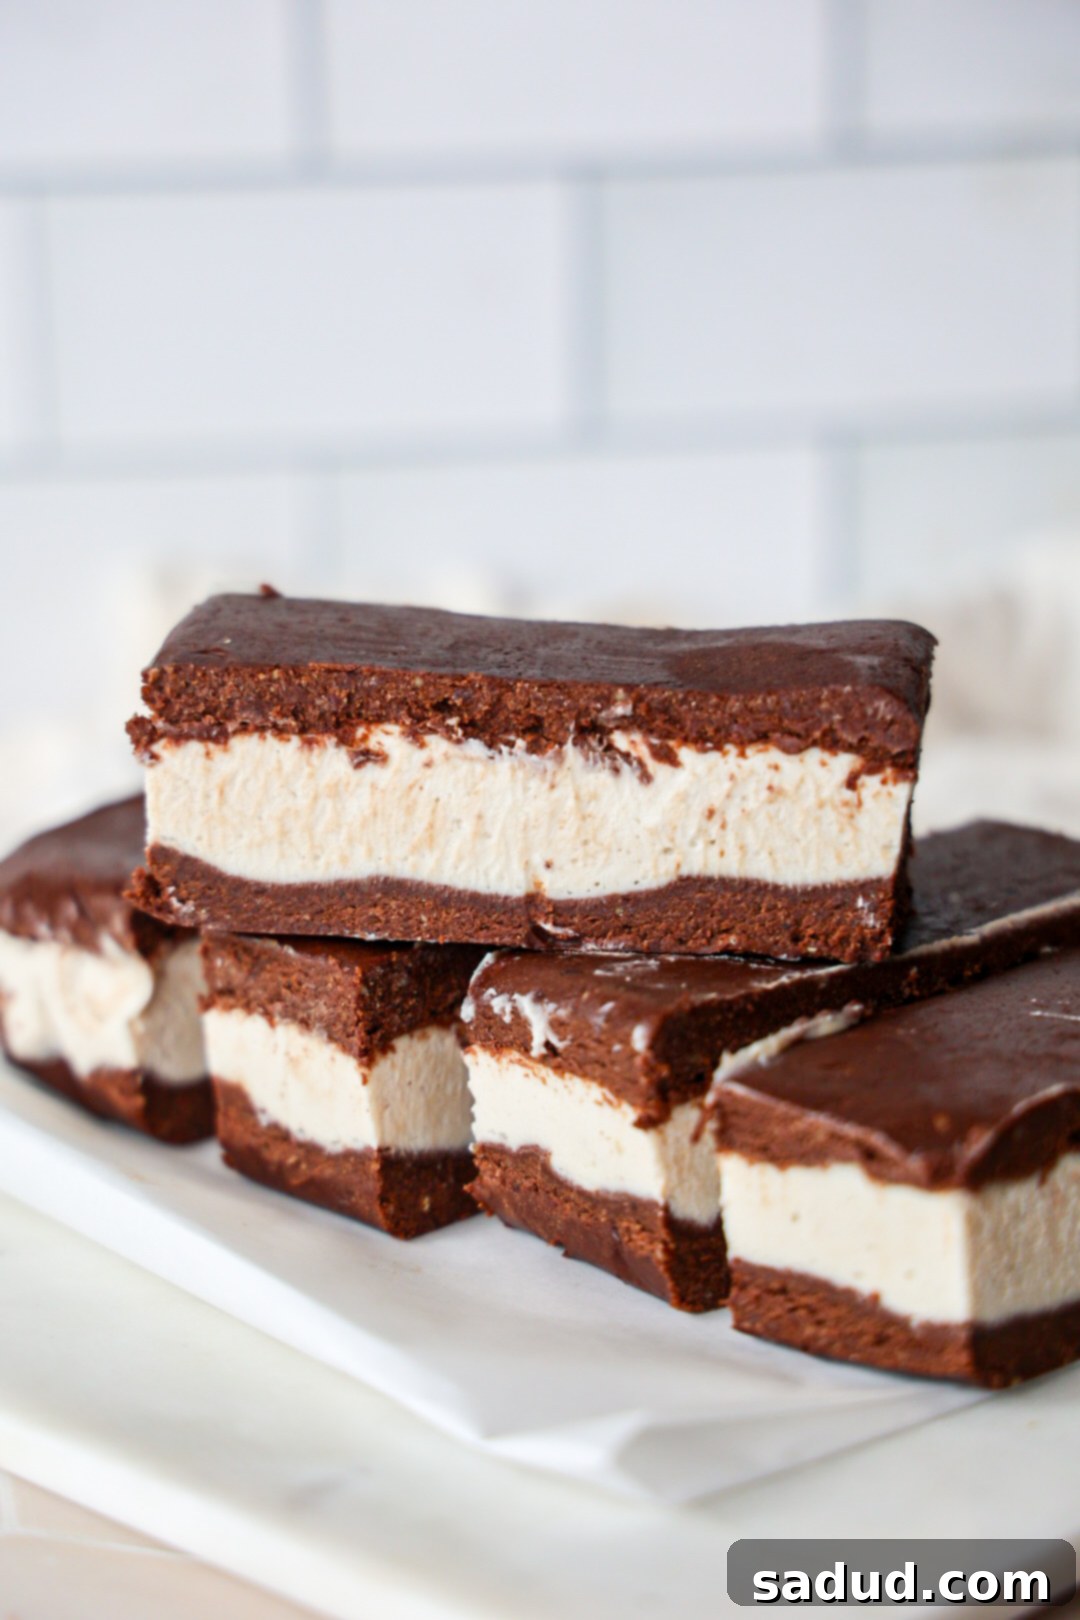
Irresistible Homemade Gluten-Free & Dairy-Free Ice Cream Sandwiches: Easy No-Bake Recipe for Summer
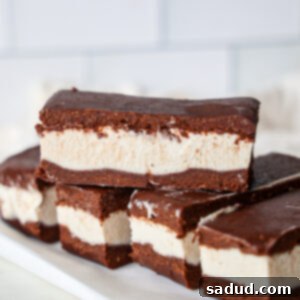
Forget the ice cream truck! You can easily create the most delicious and wholesome Ice Cream Sandwiches right at home. These delightful frozen treats feature a rich, no-churn vanilla ice cream nestled between soft, no-bake chocolate cookies. They are incredibly simple to prepare, making it easy to keep your freezer stocked with a healthy, satisfying dessert all summer long. Best of all, they are naturally gluten-free, dairy-free, and require no special ice cream maker!
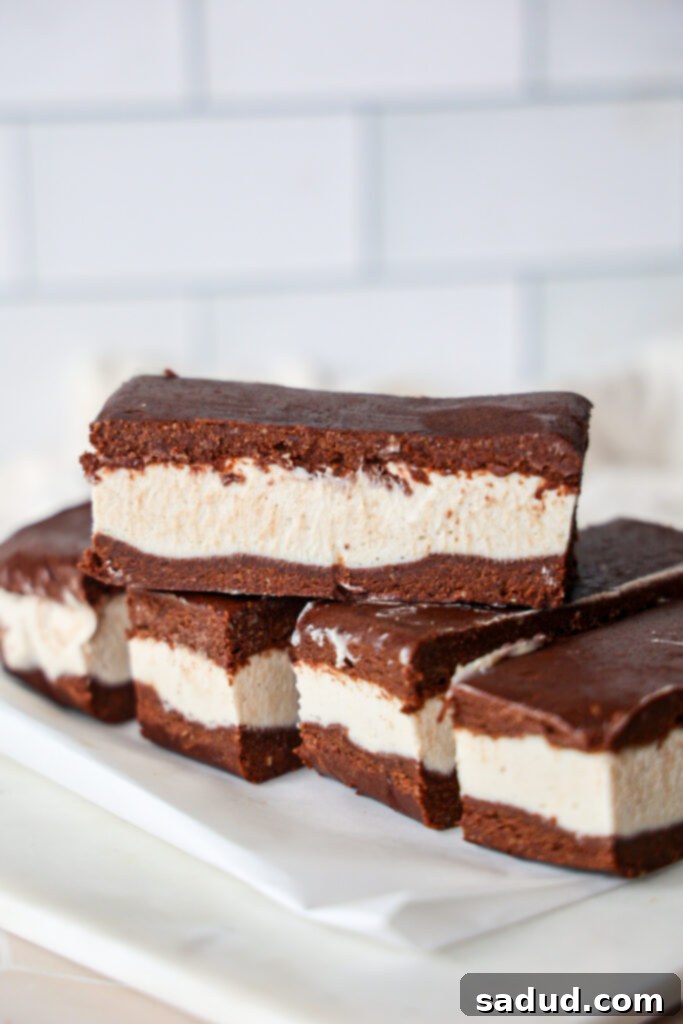
Ice cream sandwiches hold a special place in our hearts as the quintessential nostalgic summertime treat. I fondly recall them being my absolute favorite frozen dessert during my childhood summers. There was a unique charm in trying to devour them quickly in the scorching heat, feeling the ice cream and chocolate melt and drip all the way down our arms – a messy but undeniably joyful experience!
My passion lies in recreating these beloved childhood classics at home, but with a focus on more wholesome, nourishing ingredients. This recipe begins with a simple, no-bake chocolate cookie base, crafted from nutritious oats, rich cacao powder, and naturally sweet Medjool dates. These soft cookie layers then cradle an incredibly creamy, cashew-based vanilla ice cream. The result is a treat that’s wonderfully soft, lusciously creamy, and utterly indulgent, yet contains only a fraction of the refined sugar found in traditional ice cream bars. These homemade delights are perfectly suited for anyone following a gluten-free, vegan, grain-free, or even a paleo-ish diet, proving that healthy can be incredibly delicious!
While classic ice cream sandwiches typically consist of vanilla ice cream sandwiched between chocolate wafer cookies, my goal was to develop a no-bake version that was not only nutrient-dense but also managed to capture the familiar flavor and delightful texture of the original. I am absolutely obsessed with how these bars turned out and am confident that you will fall in love with them too!
Why You’ll Love This Homemade Ice Cream Sandwich Recipe
These homemade gluten-free and dairy-free ice cream sandwiches are a true game-changer for anyone craving a healthy, delicious frozen treat. Here’s why this recipe will quickly become your new favorite:
- Healthier & Wholesome Ingredients: Unlike traditional recipes that rely on heavy cream, butter, sweetened condensed milk, and refined sugar, our version uses natural, plant-based alternatives. You can enjoy these guilt-free, knowing they’re packed with good-for-you ingredients.
- Effortless & Accessible: No oven, no problem! These ice cream sandwiches are completely no-bake, perfect for hot summer days when you want to avoid turning on the oven. Plus, there’s no need for an expensive ice cream machine to achieve that perfectly creamy texture.
- Dietary-Friendly: This recipe is a dream come true for those with dietary restrictions. It’s naturally gluten-free, refined sugar-free, and dairy-free, making it suitable for vegan, grain-free, and even paleo-ish diets. A truly inclusive dessert!
- Authentic Nostalgic Taste: Despite being made with healthier ingredients, these sandwiches deliver that classic, comforting flavor and texture of the frozen treats from your childhood. Prepare for a delicious trip down memory lane!
- Kid & Toddler-Friendly: Looking for a healthy snack option for your little ones? These individual ice cream sandwiches are a fantastic choice, offering a delicious and nutritious alternative to store-bought options.
- Incredibly Versatile: Get creative with your fillings! You can easily customize the ice cream layer by adding your favorite fruits, chocolate chips, nuts, or even a swirl of nut butter. The possibilities are endless for creating your unique flavor combinations.
- Perfect for Any Occasion: Individual ice cream sandwiches are fun to eat and mess-free, making them ideal for poolside parties, barbecues, picnics, or simply as a refreshing treat on a warm afternoon.
Homemade Gluten-Free Ice Cream Sandwich Recipe Video
Watch this quick video to see just how easy it is to create these amazing homemade ice cream sandwiches. From preparing the no-bake cookie dough to blending the creamy, no-churn ice cream, this visual guide will walk you through every step, ensuring perfect results every time.
How to Make Homemade Ice Cream Sandwiches
For precise measurements and detailed step-by-step instructions, please refer to the comprehensive recipe card located at the bottom of this post.
Essential Equipment
Gathering the right tools beforehand will make the preparation process even smoother:
- Food processor: Essential for blending the cookie dough ingredients into a smooth, cohesive mixture.
- Loaf pan: A standard 9×5 inch (23×13 cm) loaf pan is perfect for shaping your ice cream sandwiches.
- Spatula: For pressing the cookie dough and spreading the ice cream filling evenly.
- High-powered blender: Crucial for achieving an ultra-creamy, smooth cashew-based ice cream without any grittiness.
Key Ingredients & Thoughtful Substitutions
Each ingredient in this recipe plays a vital role in creating perfectly balanced and delicious gluten-free, dairy-free ice cream sandwiches. Here’s a deeper look and some helpful substitution tips:
No-Bake Chocolate Cookie Layers:
- Oat flour: This acts as the backbone of our no-bake cookie crust. Since the ice cream filling is rich in healthy fats, the oat flour provides energizing complex carbohydrates. It blends beautifully to create a soft, yet firm cookie-like texture and is a cost-effective, naturally gluten-free option. Ensure you use certified gluten-free oats if you have an allergy.
- Chocolate Protein Powder: Beyond adding a delightful chocolate flavor, protein powder boosts the nutritional profile of these bars. It contributes to satiety and makes them a more substantial snack. If you prefer not to use protein powder, you can easily substitute it with an equal amount of additional oat flour, though the texture might be slightly denser. I highly recommend Ka’chava chocolate protein powder for its incredible flavor and natural sweetness without any refined or processed sugars. Use my link for 15% off or code “DANIBREINER”.
- Cacao Powder: This superfood ingredient not only provides a deep, rich chocolate flavor but also packs a punch with its high antioxidant content. If cacao powder isn’t readily available, regular unsweetened cocoa powder works perfectly fine as a direct substitute.
- Nut/Seed Butter: Almond butter, cashew butter, sunflower butter, or granola butter all work wonderfully to bind the cookie dough and add a delicious richness. They help create that soft, chewy texture. I generally advise against using peanut butter here, as its strong flavor can sometimes overpower the delicate balance of the other ingredients.
- Medjool Dates: These naturally sweet, caramel-like dates are crucial for binding the cookie dough together, providing a sticky base that holds its shape. They also lend a lovely natural sweetness, reducing the need for excessive added sweeteners. Medjool dates, known for their softness and moisture, are highly recommended for the best results. Make sure they are pitted before use!
- Maple Syrup (or Honey): This natural liquid sweetener not only enhances the cookie’s sweetness but also acts as an additional binder, ensuring the dough comes together perfectly. You can use either maple syrup for a vegan option or honey if preferred.
- Pantry Staples: A touch of vanilla extract deepens the flavor profile, while a pinch of sea salt beautifully balances the sweetness and enhances the chocolate notes. A small amount of water is added gradually, as needed, to achieve the ideal dough consistency.
Creamy No-Churn Ice Cream Filling:
- Raw Cashews: These are the star ingredient for creating an ultra-creamy, rich, and dairy-free ice cream base. When blended, they create a smooth, velvety texture that mimics traditional ice cream. For the absolute creamiest results, it’s essential to soak the cashews beforehand. This bag is a great bulk option for the best price!
- Full-Fat Canned Coconut Cream (or the solid cream from full-fat coconut milk): The high-fat content from full-fat coconut milk (specifically the thick, solid cream that separates at the top) is vital for achieving an incredibly creamy ice cream layer that remains smooth and doesn’t turn icy when frozen. Make sure to chill your can of coconut milk overnight to easily scoop out the thick cream.
- Coconut Milk (liquid portion from the can): The thinner liquid remaining in the can of full-fat coconut milk is used to adjust the ice cream’s consistency, ensuring it blends smoothly into a pourable mixture without being too thin or too thick.
- Coconut Oil: This acts as a stabilizer for the ice cream, helping it firm up nicely in the freezer while maintaining a lush, creamy mouthfeel, preventing it from becoming rock-hard.
- Maple Syrup (or Honey): Provides the perfect amount of natural sweetness to the ice cream filling. Again, you can use either for a vegan option or honey.
- Lemon Juice: A surprising but essential ingredient! A small amount of lemon juice brightens the flavors of the ice cream, cuts through the richness, and prevents it from tasting overly sweet or heavy. Don’t skip it!
- Pantry Staples: Vanilla extract is crucial for that classic vanilla ice cream flavor, and a good pinch of sea salt enhances all the flavors, balancing the sweetness.
Step-by-Step Guide to Crafting Your Homemade Ice Cream Sandwiches
Follow these simple steps to create your own batch of delicious and healthy ice cream sandwiches:
- Prepare the Cookie Base: Begin by adding all the ingredients for the no-bake cookie crust into your food processor. Process until the mixture comes together into a sticky, uniform dough. It should be firm enough to press without being too crumbly.
- Form the First Cookie Layer: Line a loaf pan with parchment paper, ensuring enough overhang on the sides to easily lift the finished layers. Press half of the prepared cookie dough evenly and firmly into the bottom of the pan. Use the parchment paper to carefully remove this layer from the pan. Fold the parchment paper over the dough and place it flat in the freezer. This will become the top cookie layer of your ice cream sandwiches.
- Form the Second Cookie Layer: Place another piece of parchment paper into the same loaf pan. Press the remaining half of the cookie dough into the bottom, evenly and firmly, just as you did with the first layer. Leave this layer in the pan; it will serve as the bottom cookie layer for your ice cream sandwiches.
- Blend the Ice Cream Filling: Next, combine all the ingredients for the ice cream filling (including the soaked cashews) in a high-powered blender. Blend until the mixture is completely smooth and ultra-creamy, scraping down the sides as needed to ensure everything is fully incorporated.
- Assemble and Freeze: Pour the freshly blended ice cream mixture over the bottom cookie layer that is still in the loaf pan. Gently smooth the top with a spatula. Place the entire pan into the freezer for 2-3 hours, or until the ice cream layer is firm enough to easily press the top cookie layer onto it.
- Complete the Sandwich: Once the ice cream is set, retrieve the top cookie layer from the freezer (the one you set aside earlier). Carefully place it over the frozen ice cream layer, gently pressing down to ensure it adheres well and creates a cohesive sandwich.
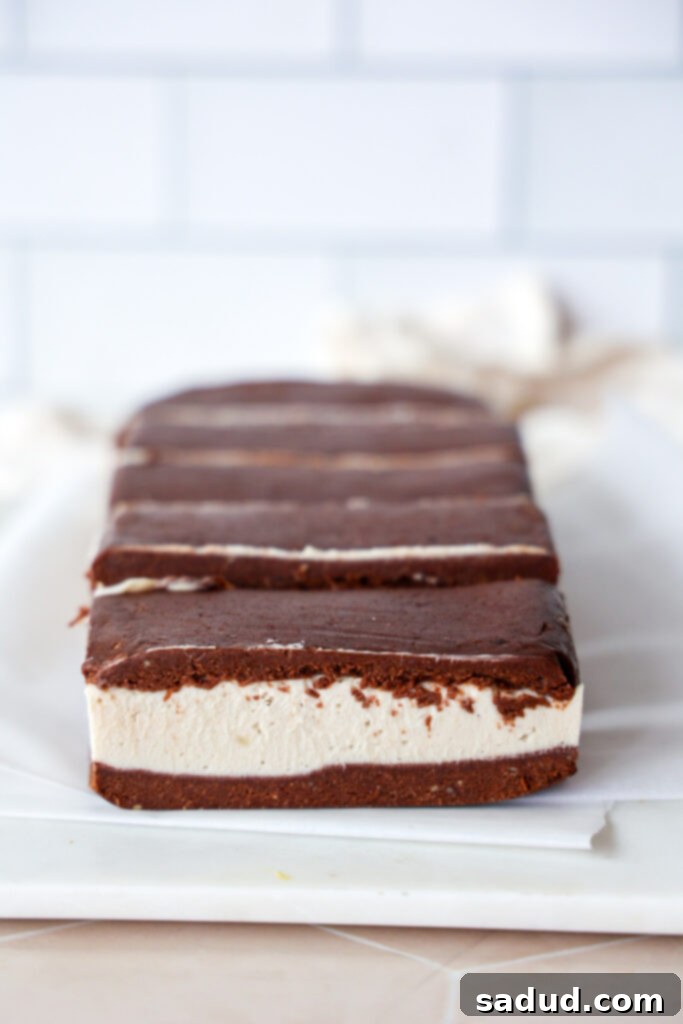
- Final Freeze & Slice: Return the assembled bars to the freezer for at least another hour to fully firm up. Once completely firm, remove the entire block from the loaf pan using the parchment paper overhang. Carefully slice into individual bars using a sharp knife.
- Store & Enjoy: Store the individual ice cream sandwiches in an airtight container in the freezer. For the absolute creamiest texture, allow them to sit at room temperature for about 5-10 minutes before enjoying.
Can I Use Store-Bought Ice Cream for This Recipe?
Absolutely! While our homemade cashew-based ice cream is incredibly delicious and dairy-free, you can certainly use your favorite store-bought ice cream if you’re looking for an even quicker assembly. To make it easier to spread, I recommend letting the store-bought ice cream thaw a little at room temperature until it’s soft enough to work with, but not completely melted. Simply spread the softened ice cream evenly over your prepared bottom cookie layer in the loaf pan, then gently press the top cookie layer over it. Return the pan to the freezer for an hour or so until everything is firm again before slicing into bars. This is a great shortcut for those busy days!
FAQ’s, Expert Tips, & Smart Tricks
To help you get the most out of your homemade ice cream sandwiches, here are some frequently asked questions, along with valuable tips and tricks:
- How to achieve clean cut sandwiches: For neat and tidy edges, I like to trim off the very edges of the entire frozen block before cutting it into individual bars. Then, slice the block into rectangle bars or squares. For extra precise cuts, run your knife under hot water for a few seconds, wipe it dry, and then slice. Repeat for each cut. You can also cut each larger bar into thirds to create charming, smaller bite-sized sandwiches, perfect for parties or portion control.
- Optimal storage for homemade ice cream sandwiches: To keep your ice cream sandwiches fresh and prevent freezer burn, store them in an airtight container in the freezer. For best results, you can individually wrap each sandwich in parchment paper or plastic wrap before placing them in the container.
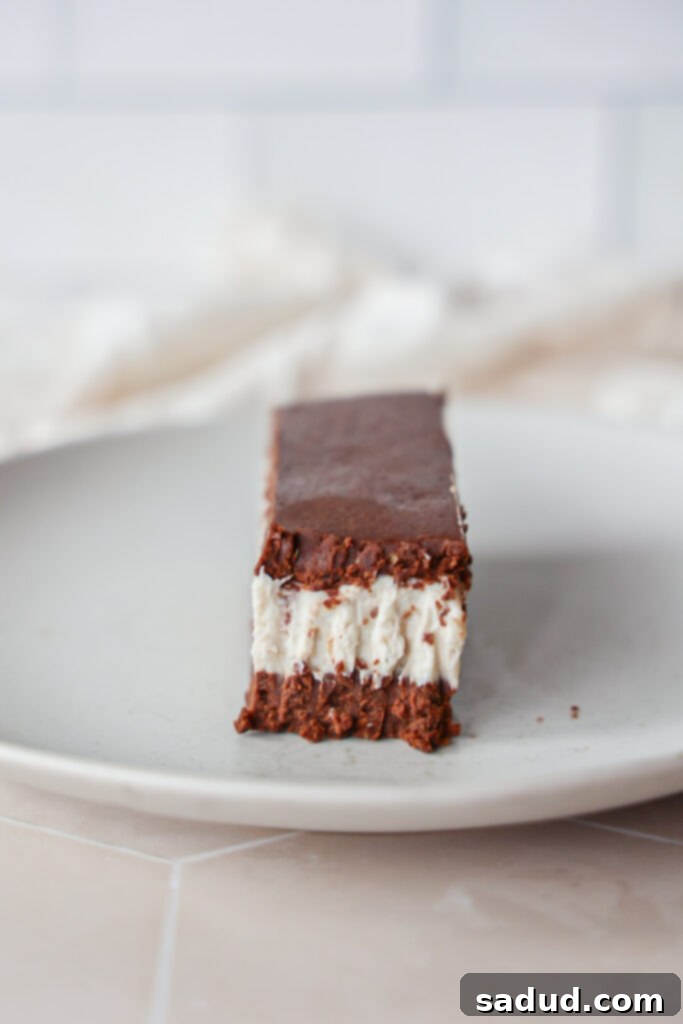
- The secret to the creamiest texture: If your bars feel too firm straight out of the freezer, simply let them sit out at room temperature for about 5 minutes before enjoying. This brief thaw allows the ice cream to soften slightly, bringing out its ultra-creamy, melt-in-your-mouth texture.
- How long do homemade ice cream sandwiches last? When stored properly in an airtight container, these delicious ice cream sandwiches will keep beautifully in your freezer for up to one month, so you can enjoy them whenever a craving strikes!
- Pro Tip for serving: Instead of cutting them into larger bars or rectangles, consider slicing them into smaller squares. This not only yields more servings but also creates delightful single-serving bites that are perfect for sharing or a quick treat.
- Making the ice cream even creamier (cashew soaking): If you don’t have a high-powered blender or simply want to ensure the absolute creamiest texture for your cashew ice cream, pre-soaking the cashews is a game-changer. Bring a small pot of water to a boil, add the raw cashews, turn off the heat, and let them soak for about 20 minutes. Strain the water thoroughly before using the cashews in the recipe.
Delicious Ice Cream Sandwich Variations to Try
These homemade ice cream sandwiches are fantastic as is, but they’re also a blank canvas for your creativity! Experiment with these fun variations to customize your frozen treats:
- Sprinkle Fun: Add a generous amount of colorful sprinkles to the top of the ice cream layer before the final freeze for a festive touch that kids (and adults!) will love.
- Extra Chocolate Crunch: Stir cacao nibs or mini chocolate chips into the cookie dough mixture for an added textural contrast and intensified chocolate flavor.
- Cookies and Cream Dream: For a delightful cookies and cream experience, crush a few of your favorite gluten-free or regular cookies and gently fold them into the ice cream filling before pouring it over the cookie base.
- Cookie Dough Delight: Incorporate some small, homemade or store-bought (ensure they’re edible raw!) cookie dough protein balls into the ice cream filling for decadent cookie dough ice cream sandwiches.
- Fruity Freshness: For a burst of fruity flavor, stir fresh, finely diced strawberries (or other berries) into the ice cream filling. This creates vibrant and refreshing strawberry ice cream bars.
- Nutty Crunch: Fold in chopped nuts like pistachios, almonds, or walnuts into the ice cream for an added layer of flavor and crunch.
- Mint Chocolate Chip: Add a few drops of peppermint extract to the ice cream mixture and stir in some mini chocolate chips for a refreshing mint chocolate chip flavor.
More Healthy Ice Cream & Frozen Dessert Recipes to Explore
If you loved these homemade ice cream sandwiches, be sure to check out these other delightful and healthy frozen treats:
- Strawberry Shortcake Ice Cream Bars
- Vegan Pistachio Ice Cream
- Frozen Yogurt Bites
- Chocolate Covered Yogurt Clusters
- Snickers Ice Cream Cake
- Healthy Cookie Dough Ice Cream
- Protein Ice Cream Bites
- Vegan Frozen Yogurt
- Blueberry Crisp Ice Cream
If you try this recipe and love it as much as I do, it would mean the world to me if you left a star rating and review below! Don’t forget to tag me in your delicious creations @danishealthyeats on Instagram! x
Homemade Ice Cream Sandwiches (Gluten-free, Dairy-free)
Pin Recipe
Dessert, Snack
American
12
Ingredients
Cookie layers
- 1 cup oat flour
- 1/3 cup of your favorite chocolate protein powder *See notes. Can sub more oat flour
- 1/2 cup cacao powder
- 1/3 cup + 2 tbsp almond butter, cashew butter, sunflower butter, granola butter *I wouldn’t use peanut butter!
- 1/2 cup packed medjool dates
- 3-4 tbsp maple syrup
- 1 tsp vanilla extract
- 1 tsp sea salt
- 1-2 tbsp water, as needed
Ice cream
- 1 1/2 cups cashews
- 2/3 cup coconut cream *solid white cream from the top of a can of full-fat coconut milk
- 1/3 cup maple syrup or honey
- 1/3 cup coconut milk *from the can of coconut milk. The liquid!
- 1 1/2 tsp vanilla extract
- 1 tbsp lemon juice
- 2 tbsp coconut oil, melted
- good pinch of sea salt
Instructions
-
If you don’t have a high-powered blender, or you want to ensure you get super creamy ice cream, soak the cashews prior to using! Set a small pot of water over high heat. Add the raw cashews. Let the water come to a boil, then turn the water off. You can leave the pot on the burner. Let the cashews soak for 20 minutes or so, strain the water, then use them in the recipe!
Cookie layers
-
Add all of the dough ingredients besides the milk or water to a food processor, processing until everything comes together. The mixture shouldn’t quite be a dough yet. You can taste it and decide if you’ll want it a little sweeter – if so, you can add 1-2 tbsp extra maple syrup and process again. (Skip this if you don’t want it sweeter). Then, Gradually add 1 tbsp water at a time, as needed, until a smooth dough forms. It shouldn’t be sticky, but rather form a nice, smooth dough that holds together easily.
-
Grab a bread loaf pan and line it with parchment paper. Press half of the dough into the bottom of the pan, evenly and firmly. Using the parchment paper, remove it from the pan. Fold the parchment paper over the dough and place it in a flat place in the freezer. This is going to be the top cookie layer for the ice cream sandwiches
-
.Place another piece of parchment paper into the loaf pan and do the same with the remaining dough. Leave this layer in the pan.
Ice cream
-
Next, make the ice cream filling by blending everything together in a high powered blender until smooth, scraping down the sides as needed. You can taste & adjust as you’d like. Pour the ice cream mixture over the bottom cookie layer.
-
Place the pan in the freezer for 2-3 hours until it’s firm enough to press the other cookie layer over top.
-
Once it’s set, place the other cookie layer on top, gently press it down onto the ice cream layer to ensure it all sticks and stays together. Place back in the freezer for an hour or so before removing them from the pan and slicing into bars.
-
Store the individual bars in an air-tight container in the freezer. Let thaw at room temp for 5-10 minutes prior to eating for the creamiest texture!
Video
Notes
-
- Chocolate Protein powder: Chocolate protein powder adds a little extra flavor and protein to the recipe, however you can sub in more oat flour! I love using Ka’chava chocolate protein powder as it adds so much flavor and sweetness without adding refined/processed sugar! My link will give you 15% off or you can use my code “DANIBREINER”.
- How to make clean cut sandwiches: Before cutting them into bars, I like to trim the very edges to create clean cut lines. Then I cut them into rectangle bars/sandwiches. You can then cut each bar into thirds to create smaller bite-sized sandwiches.
-
- How to store homemade ice cream sandwiches: Store ice cream sandwiches in an air-tight container in the freezer. If your bars are too firm for your liking, let them sit out at room temp for 5 minutes before enjoying for the creamiest texture!
-
- How long do ice cream sandwiches last? They will last up to a month in the freezer!
-
- Tip: Instead of cutting them into larger bars/rectangles, you can cut them into smaller squares to make more and have more of a single serving bite!
-
- Can I use store-bought ice cream? Yes! I would let the ice cream thaw a little to make it easier to work with. Simply spread it out evenly over the bottom cookie layer, then press the top cookie layer over top. Return to the freezer for an hour or so before cutting into slices.
dairy free ice cream sandwich, gluten free ice cream sandwich, ice cream sandwiches, vegan ice cream sandwich
