Decadent & Healthy No-Bake Peanut Butter Bars: Your Easy Vegan & Gluten-Free Treat!
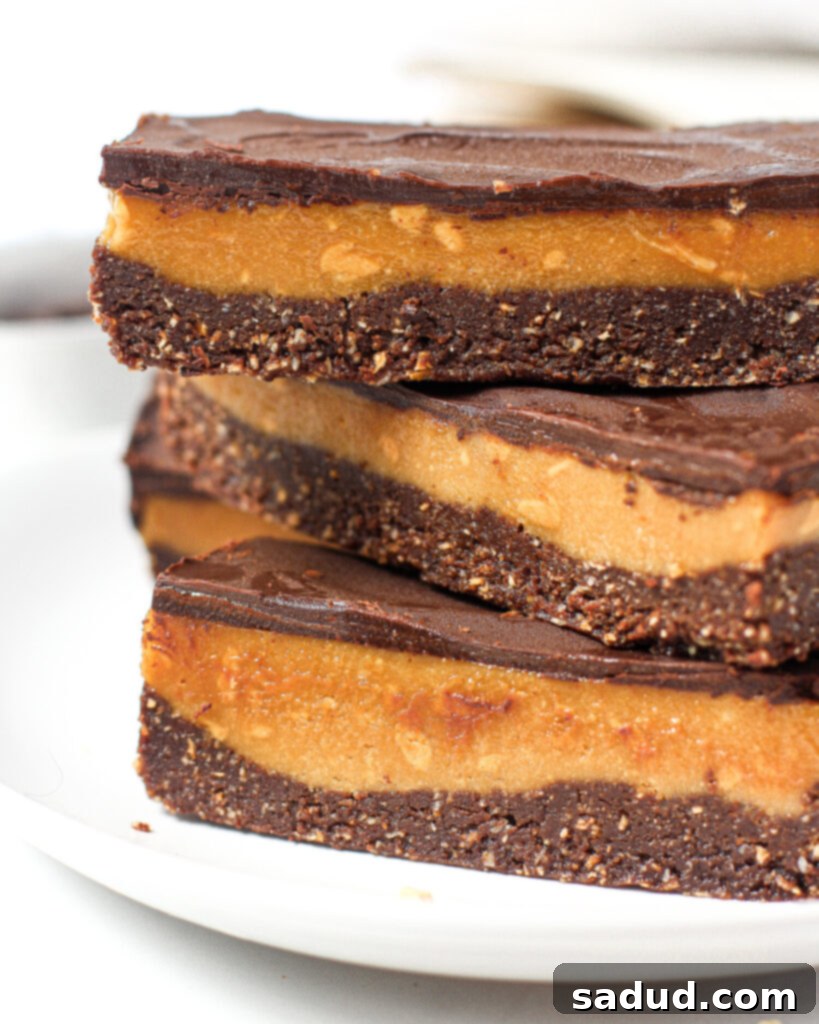
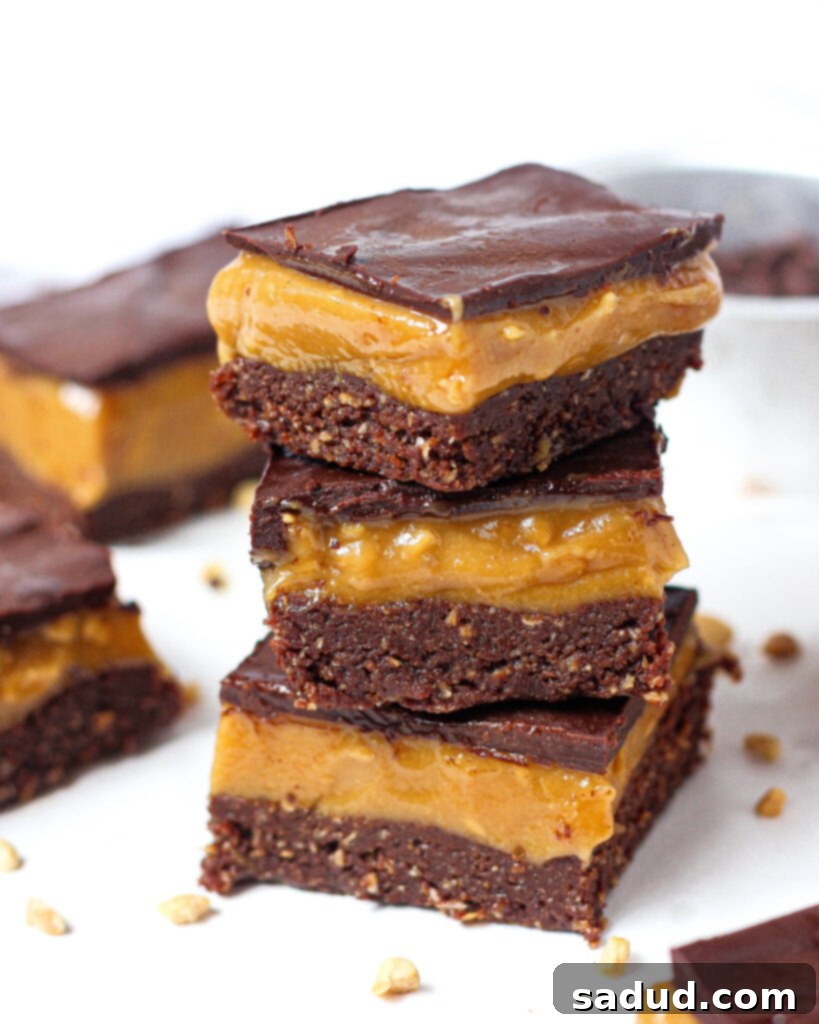
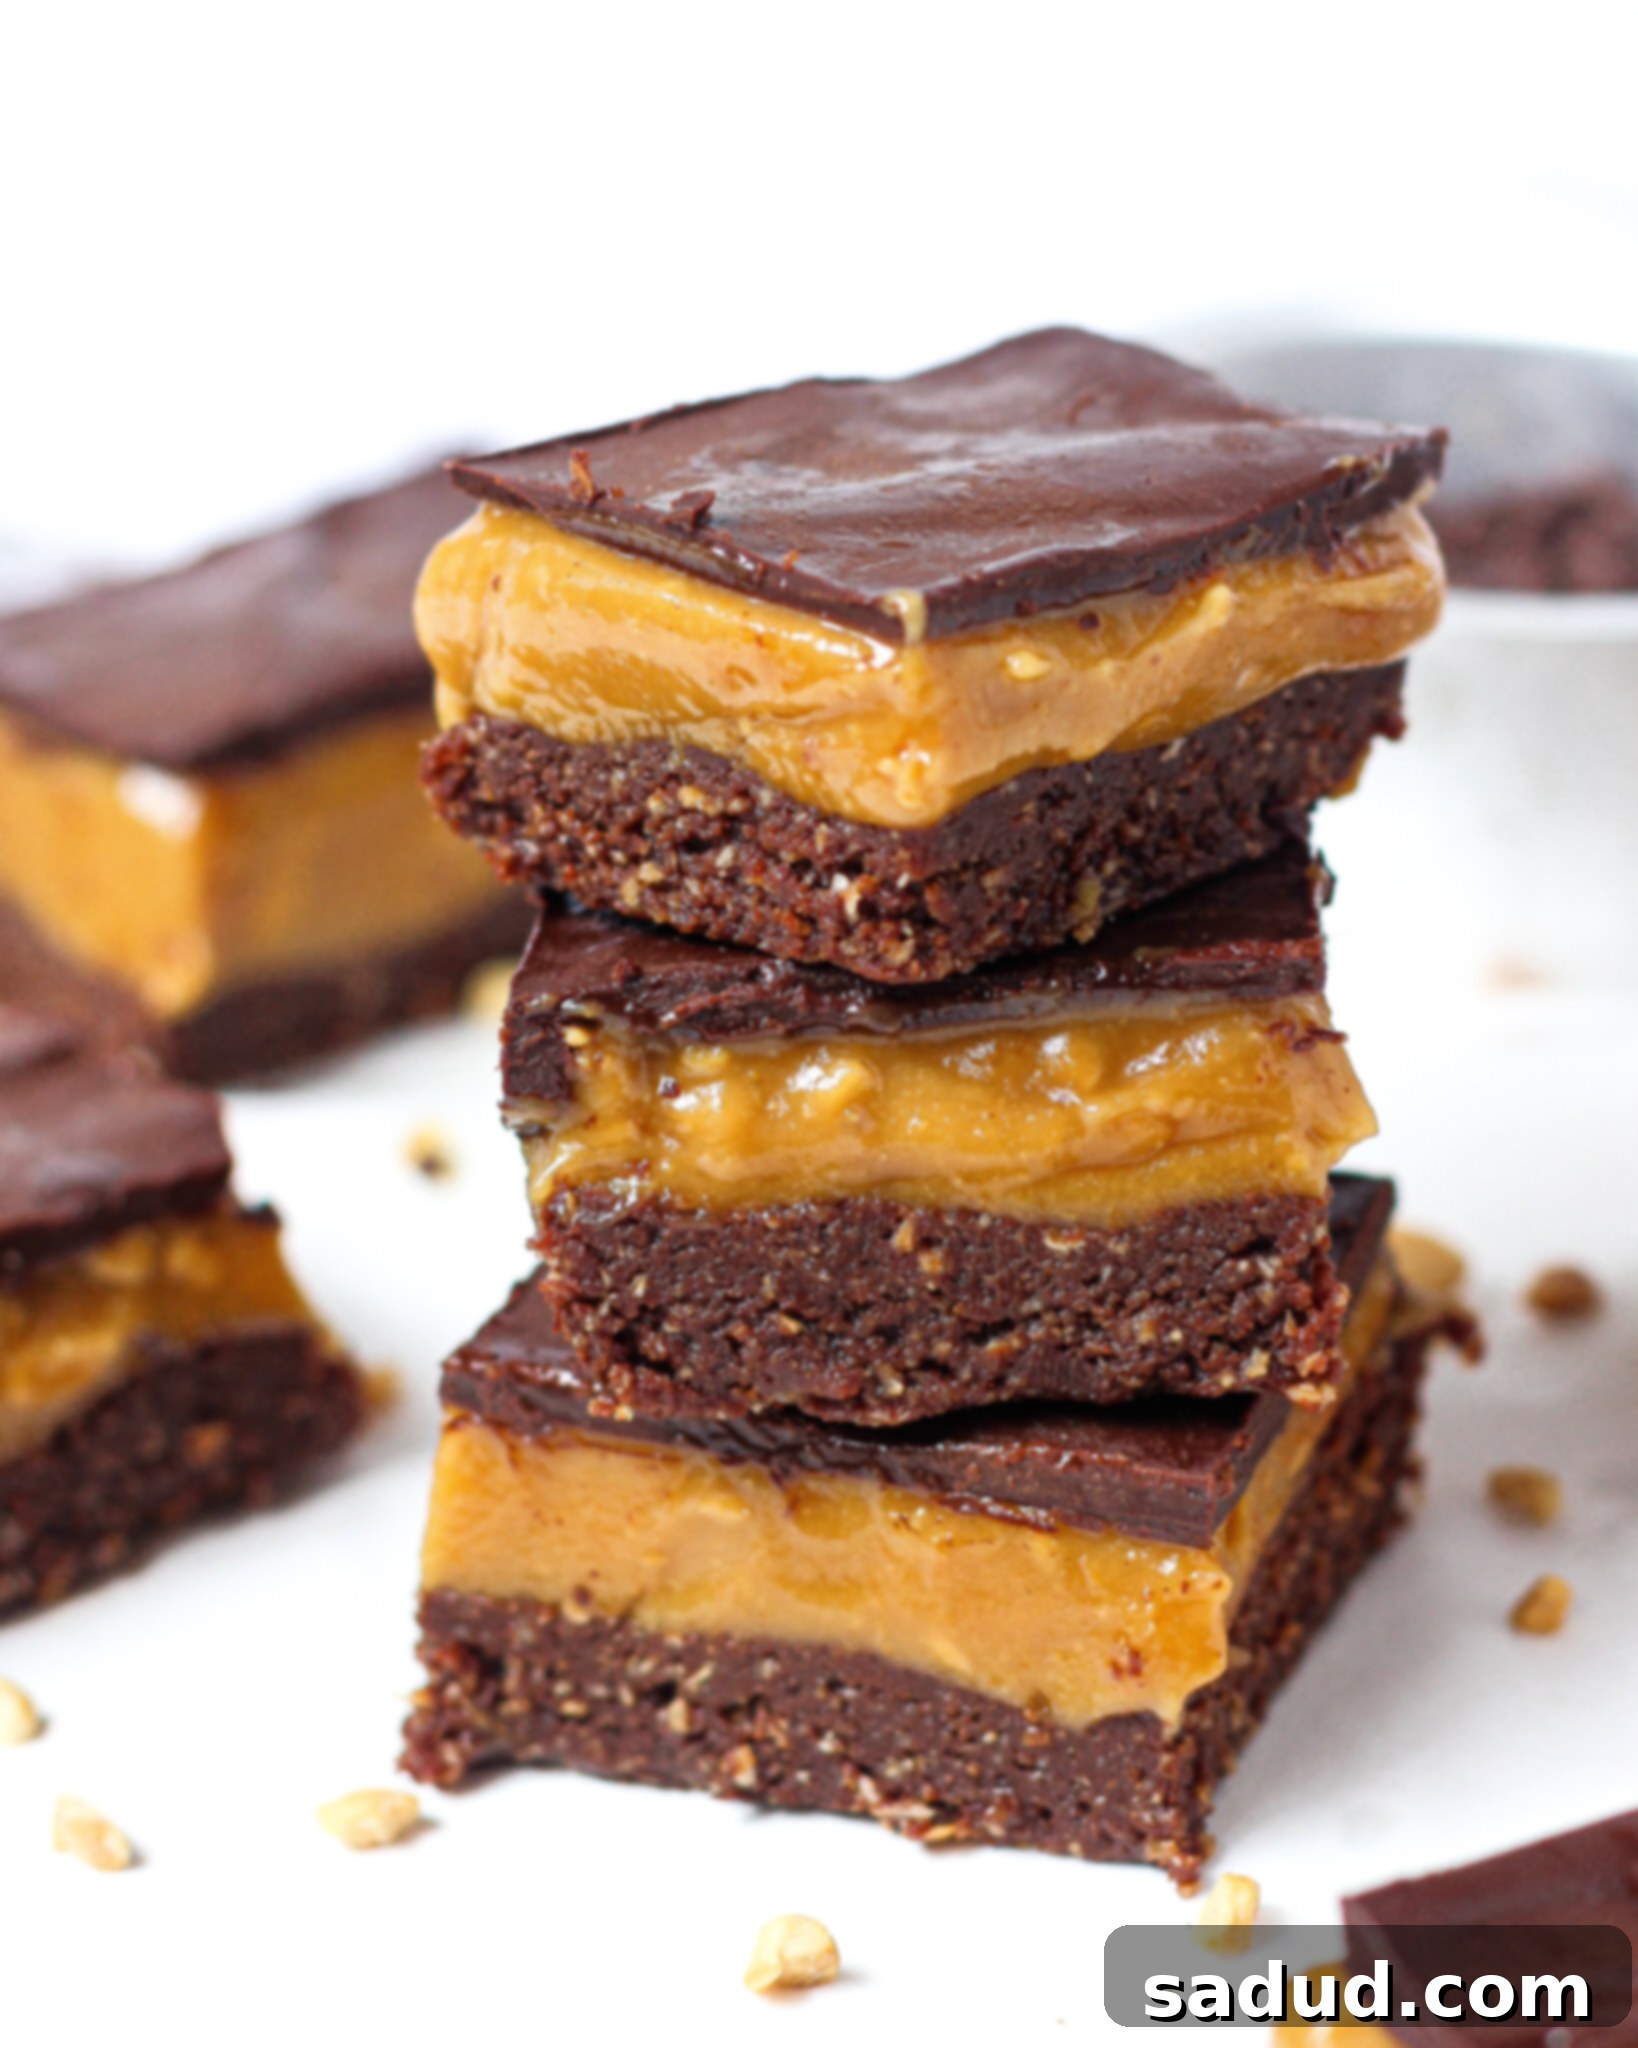
Indulge in the luscious taste of these incredibly healthy no-bake peanut butter bars, affectionately known as “crack bars” for their irresistible nature! Each bite offers a harmonious blend of a rich, brownie-like base, a sumptuously smooth peanut butter caramel filling, all crowned with a glistening, decadent chocolate layer. The best part? They require absolutely no baking, are remarkably foolproof to prepare, and cater to various dietary needs as they are naturally vegan and gluten-free. Plus, with simple adjustments, you can even make them entirely nut-free, ensuring everyone can enjoy this delightful treat!

Why You’ll Fall in Love with These No-Bake Peanut Butter Bars
These aren’t just any dessert bars; they’re a revelation! Here’s why these healthy no-bake peanut butter bars are destined to become a staple in your kitchen:
- Effortlessly Easy & No-Bake: Forget preheating the oven and complicated baking steps! This recipe is designed for maximum convenience. Simply mix, press, chill, and enjoy. It’s perfect for beginner bakers or anyone looking for a quick, stress-free dessert solution, especially during warmer months when you want to avoid heating up your kitchen.
- Customizable to Your Heart’s Content: While the classic peanut butter and chocolate combination is a winner, this recipe offers incredible flexibility. You can easily swap out nuts for seeds, experiment with different nut butters, or even adjust the level of sweetness to perfectly match your preferences. Make it truly yours!
- Inclusive Nut-Free Option: Worried about nut allergies? No problem! We provide clear instructions and ingredient alternatives to make these bars completely nut-free, allowing everyone—from those with allergies to those simply preferring alternatives—to safely enjoy this delicious treat.
- Dietary Friendly & Wholesome: These bars tick so many boxes! They are naturally refined sugar-free, vegan (dairy-free and egg-free), gluten-free, and can even be adapted for a paleo diet (by choosing specific nut/seed butters). You can feel good about indulging in a dessert packed with wholesome, nourishing ingredients.
- Perfectly Freezer Friendly: Make a big batch and store them in the freezer for whenever a craving strikes! They keep beautifully, making them ideal for meal prep, spontaneous entertaining, or simply ensuring you always have a healthy, decadent treat on hand. Just grab and thaw briefly before enjoying.
- A Decadent yet Healthy Indulgence: These bars strike the perfect balance between rich, satisfying decadence and genuinely healthy ingredients. They taste incredibly indulgent, like a luxurious dessert, but are made with whole foods that provide sustained energy and nutrients, making them a fantastic healthy snack option too.
- Packed with Nutrient-Dense Ingredients: Every layer of these bars is crafted with ingredients that contribute to your well-being. From healthy fats in nuts and nut butter to antioxidants in cacao and natural sweetness from dates, you’re nourishing your body with every delicious bite.

Essential Ingredients & Smart Substitutions for Your No-Bake Bars
Crafting these delectable no-bake peanut butter bars is simple, thanks to a list of readily available and versatile ingredients. Here’s a closer look at what you’ll need and how you can adapt the recipe to your pantry and dietary preferences:
- Peanut Butter: The star of the show! Opt for a natural, creamy peanut butter with no added sugars or oils. Its rich flavor and smooth texture are crucial for the filling.
- Substitution: For a different flavor profile or to make these nut-free, feel free to substitute with almond butter, cashew butter, or even a sunflower seed butter (like SunButter) for a delicious and safe alternative. Ensure your chosen butter is smooth and drippy for the best results.
- Raw Cacao Powder: This ingredient gives our base its incredible dark chocolate flavor and a healthy dose of antioxidants. Raw cacao is less processed than cocoa powder, retaining more nutrients and a richer, slightly bitter chocolate taste.
- Substitution: Regular unsweetened cocoa powder can be used if raw cacao is unavailable, though the nutritional benefits might be slightly reduced.
- Walnuts (for the Base): Walnuts provide a fantastic texture and nutty depth to the brownie-like base. They’re also known for their omega-3 fatty acids.
- Substitution: You can easily swap walnuts for other nuts like cashews or almonds. For a completely nut-free base, use an equal amount of rolled oats or a combination of sunflower seeds and pumpkin seeds, processed until fine.
- Maple Syrup: Our primary natural sweetener! Pure maple syrup adds a lovely caramel note and helps bind the filling ingredients.
- Substitution: Any sticky liquid sweetener will work here, such as agave nectar or date syrup. Adjust the amount to your desired sweetness level. Honey can be used if not strictly vegan.
- Chocolate (for the Topping): A high-quality chocolate is key for a truly decadent topping. I personally love and recommend Hu Kitchen chocolate for its clean ingredients and rich flavor (and a little secret: use code “Danishealthyeats” for a discount!).
- Substitution: Any good quality dark chocolate chips or bars (ensure they are dairy-free for vegan version) will work. Aim for 70% cacao or higher for a less sweet, more intense chocolate flavor.
- Coconut Oil: This versatile ingredient acts as a binder and helps the layers set beautifully in the freezer. It provides healthy medium-chain triglycerides (MCTs).
- Substitution: In most cases, coconut oil is essential for the setting property. For a substitution in the filling, a very firm nut butter or cocoa butter could potentially work, but may alter the final texture slightly. In the chocolate topping, it helps achieve a smooth consistency; without it, the chocolate might be thicker.
- Unsweetened Coconut Flakes (for the Base): These contribute to the chewy texture and subtle tropical flavor of the base.
- Substitution: If you’re not a fan of coconut or have an allergy, you can substitute with an equal amount of rolled oats for a similar binding and textural effect.
- Peanuts (for Garnish/Texture): A sprinkle of chopped peanuts on top adds a lovely crunch and enhances the peanut butter flavor.
- Substitution: Feel free to use any chopped nut you prefer, like almonds or cashews, or even toasted pumpkin seeds for a nut-free option.
- Baking Essentials: Vanilla Extract & Sea Salt: Don’t underestimate these! Vanilla adds warmth and depth to both the base and filling, while a good pinch of sea salt balances the sweetness and elevates all the flavors, especially the chocolate and peanut butter.
Simple Steps to Crafting Your Perfect No-Bake Peanut Butter Bars
Creating these delicious bars is incredibly straightforward. Follow these easy steps for a foolproof no-bake treat:
- Prepare the Decadent Base: Start by processing the base ingredients in a food processor until a sticky, uniform dough forms. This will be the foundation of your bars. Once ready, firmly press this mixture into a parchment-lined loaf pan, ensuring an even and compact layer. This provides a sturdy foundation for the rich layers to come.
- Whip Up the Creamy Peanut Butter Filling: In a separate bowl, combine all the filling ingredients. Mix them thoroughly until you achieve a wonderfully smooth, creamy consistency, reminiscent of a luscious peanut butter caramel. Spread this irresistible filling evenly over your prepared base layer, creating a thick, enticing middle.
- Create the Glossy Chocolate Topping: Gently melt your chosen chocolate with a touch of coconut oil until it’s perfectly smooth and fluid. This step is crucial for a beautiful, even layer. Carefully pour this molten chocolate over the peanut butter filling, spreading it out to cover every inch, ensuring a truly decadent finish.
- Chill to Perfection: The final, and perhaps most important, step is patience! Place your layered creation into the freezer. Allow it to set completely for at least 2 hours. This chilling time is essential for the bars to firm up, making them easy to slice into clean, beautiful portions without any mess.
Frequently Asked Questions About These No-Bake Peanut Butter Bars
Got questions? We’ve got answers to help you make the most of your delicious no-bake peanut butter bars:
- How do you store the bars for optimal freshness?
To maintain their perfect texture and prevent them from getting too soft, these bars are best stored in an airtight container in the freezer. When you’re ready to enjoy one, simply take it out of the freezer and let it thaw at room temperature for about 5-10 minutes. This brief thaw time ensures they reach that ideal chewy-yet-firm consistency. They can last for up to 2-3 weeks in the freezer. - Can you take these no-bake bars on the go?
You certainly can, but with a word of caution: prepare for a potential mess if they’re not kept cold! Since these bars rely on coconut oil and solid fats to maintain their structure, they will soften and eventually melt if left out at room temperature for too long, especially on a warm day. If you plan to transport them, we recommend using an insulated bag with an ice pack, or only taking them for very short journeys. - How long do they need to be frozen for to set properly?
Patience is a virtue when it comes to no-bake treats! To ensure your bars are firm enough to cut cleanly and hold their shape beautifully, you’ll want to allow them to freeze for a minimum of 2 hours. For the absolute best results and a truly solid set, overnight freezing is ideal. This ensures every layer is perfectly firm and ready for slicing. - Can I reduce the sweetness in this recipe?
Absolutely! The sweetness level is quite adaptable. You can start by reducing the amount of maple syrup in both the base and the filling. For the base, you can also use slightly less dates. Taste the base and filling mixtures before pressing and spreading to adjust to your preference. Remember, the natural sweetness from dates is also a factor. - What kind of peanut butter works best for this recipe?
For the best texture and flavor, we highly recommend using a natural, creamy peanut butter that lists only peanuts (and perhaps a little salt) as its ingredients. The runnier, natural varieties work perfectly for creating a smooth caramel-like filling. Avoid overly thick, highly processed, or sweetened peanut butters, as they may alter the texture and taste. - Can I add protein powder to these bars?
Yes, you can! If you’re looking to boost the protein content, you can try adding 1-2 tablespoons of your favorite vanilla or unflavored protein powder to the peanut butter filling mixture. You might need to add an extra tablespoon of plant milk or a tiny bit more maple syrup to maintain the creamy consistency, as protein powder can absorb liquid.
Tips for Achieving the Perfect No-Bake Peanut Butter Bars Every Time
While this recipe is incredibly forgiving, a few expert tips can elevate your no-bake bars from great to absolutely extraordinary:
- Use a Good Food Processor: For the base, a robust food processor is your best friend. It ensures the nuts and coconut are finely processed and the dates are perfectly incorporated, creating a cohesive, sticky dough. If your dates aren’t soft enough, soak them in warm water for 10 minutes, then drain thoroughly before using.
- Press the Base Firmly: When pressing the base into the loaf pan, use the back of a spoon or your knuckles to ensure it’s tightly packed and even. A firm base will prevent crumbling and provide a sturdy foundation for the other layers.
- Chill Between Layers (Especially the Filling): While the recipe specifies chilling the filling before adding the chocolate, don’t skip this step! It helps the peanut butter layer firm up, preventing it from mixing with the warm chocolate topping and allowing for distinct, beautiful layers. Even a quick 15-20 minutes in the freezer makes a difference.
- Melt Chocolate Gently: Overheating chocolate can cause it to seize or become grainy. Whether you’re using a double boiler or a microwave, melt the chocolate and coconut oil slowly and gently. Stir frequently when microwaving (in 30-second intervals) until just smooth.
- Warm Your Knife for Clean Cuts: For perfectly clean slices, run a sharp knife under hot water, wipe it dry, and then make your cuts. Repeat this process for each slice. This warms the blade slightly, allowing it to glide through the chocolate and filling without cracking or dragging.
More Wholesome & Delicious Recipes to Try
If you’ve loved these no-bake peanut butter bars, you’re in for a treat with these other healthy indulgences from Dani’s Healthy Eats! Expand your repertoire of wholesome desserts and snacks with these fantastic options:
- Peanut Butter Oatmeal Fudge Bars: Another incredibly satisfying and healthy bar that combines the best of peanut butter, oats, and fudge.
- Vegan Twix Cookies: A healthier, plant-based take on a classic candy bar, featuring a shortbread base, caramel, and chocolate.
- No-Bake Peanut Butter Oatmeal Energy Balls: Perfect for a quick, grab-and-go snack or pre-workout boost, packed with energy and flavor.
- Peanut Butter S’mores Bars: Enjoy the nostalgic flavors of s’mores with a healthy, peanut butter twist, all in a convenient bar form.
- Vegan Fudge Stripes: Recreate your favorite childhood cookie with this wholesome and delicious vegan version.
We truly hope you adore these healthy no-bake peanut butter bars as much as we do! Your creations inspire us, so if you whip up a batch, be sure to tag me on Instagram @danishealthyeats so I can see and share your delicious results!

Healthy No-Bake Peanut Butter Bars
Pin Recipe
Ingredients
For the Decadent Brownie-Like Base
- 1/2 cup raw peanuts
- 1/2 cup walnuts or cashews * For a nut-free option, substitute with rolled oats or a mix of sunflower/pumpkin seeds.
- 1/4 cup raw cacao powder (or unsweetened cocoa powder)
- 1 cup unsweetened shredded coconut flakes (can sub with rolled oats if avoiding coconut)
- 3/4 cup soft pitted Medjool dates tightly packed (ensure they are very soft; soak in warm water if needed, then drain well)
- 1 tsp pure vanilla extract
- good pinch of sea salt
- 2-3 tbsp plant milk (almond, soy, or oat milk, as needed to achieve a sticky dough consistency)
For the Creamy Peanut Butter Caramel Filling
- 3/4 cup natural creamy peanut butter (or desired nut/seed butter for substitution)
- 1/4 cup pure maple syrup
- 3 tbsp coconut oil (melted)
- pinch sea salt
- 1 tsp pure vanilla extract
For the Decadent Chocolate Topping
- 1 1/4 cups dairy-free dark chocolate chips or chopped chocolate bar (I recommend Hu Kitchen chocolate!)
- 1 tbsp coconut oil (*optional, but highly recommended to help thin the chocolate for a smooth, glossy finish)
Instructions
Preparing the Brownie-Like Base
-
Begin by lining a standard bread loaf pan (approx. 9×5 inches) with parchment paper, allowing some overhang on the sides for easy removal later. Set this prepared pan aside. In the bowl of a food processor, add the peanuts, walnuts (or chosen nuts/seeds), and unsweetened coconut flakes. Process for about 1-2 minutes, or until the ingredients are finely broken down into a coarse meal.
-
Next, add the raw cacao powder, soft pitted dates, vanilla extract, and a good pinch of sea salt to the food processor. Continue processing. The mixture should start to come together into a sticky, cohesive dough. If it appears too dry or crumbly, add the plant milk one tablespoon at a time, processing after each addition, until the dough holds together when pressed between your fingers. Taste and adjust sweetness or salt if desired. Evenly press this dough firmly into the bottom of your prepared loaf pan to form a compact base layer.
Crafting the Peanut Butter Caramel Filling
-
In a medium-sized bowl, combine the natural creamy peanut butter, maple syrup, melted coconut oil, another pinch of sea salt, and vanilla extract. Whisk or mix by hand vigorously until all ingredients are thoroughly combined and the mixture is completely smooth and creamy, resembling a rich caramel.
-
Evenly spread this luxurious peanut butter caramel mixture over the prepared base layer in the loaf pan. Ensure it’s spread right to the edges for a consistent layer. Place the pan in the freezer for about 15-20 minutes. This quick chill will help the filling set slightly, making it ready for the chocolate topping without the layers blending.
Adding the Decadent Chocolate Topping
-
In a microwave-safe bowl or using a double boiler, melt the dairy-free dark chocolate chips (or chopped chocolate) together with the additional tablespoon of coconut oil. If using a microwave, heat in 30-second increments, stirring well after each, until the chocolate is completely smooth and glossy. The coconut oil helps achieve a beautiful, pourable consistency.
-
Carefully pour the melted chocolate mixture over the slightly set peanut butter layer, spreading it out evenly with an offset spatula or the back of a spoon to create a smooth, appealing top layer. If desired, sprinkle with extra chopped peanuts or a flaky sea salt for garnish. Place the loaf pan back into the freezer for at least 2 hours (or preferably overnight) until all layers are completely hardened.
-
Once fully set, remove the pan from the freezer and lift the entire block out using the parchment paper overhang. Allow it to sit at room temperature for 5-10 minutes to slightly soften before cutting. This makes for easier and cleaner slices. Using a sharp knife warmed under hot water (and wiped dry) will help achieve perfectly clean cuts. Slice into 8-12 bars and enjoy your homemade, healthy, and decadent treat!
Notes
