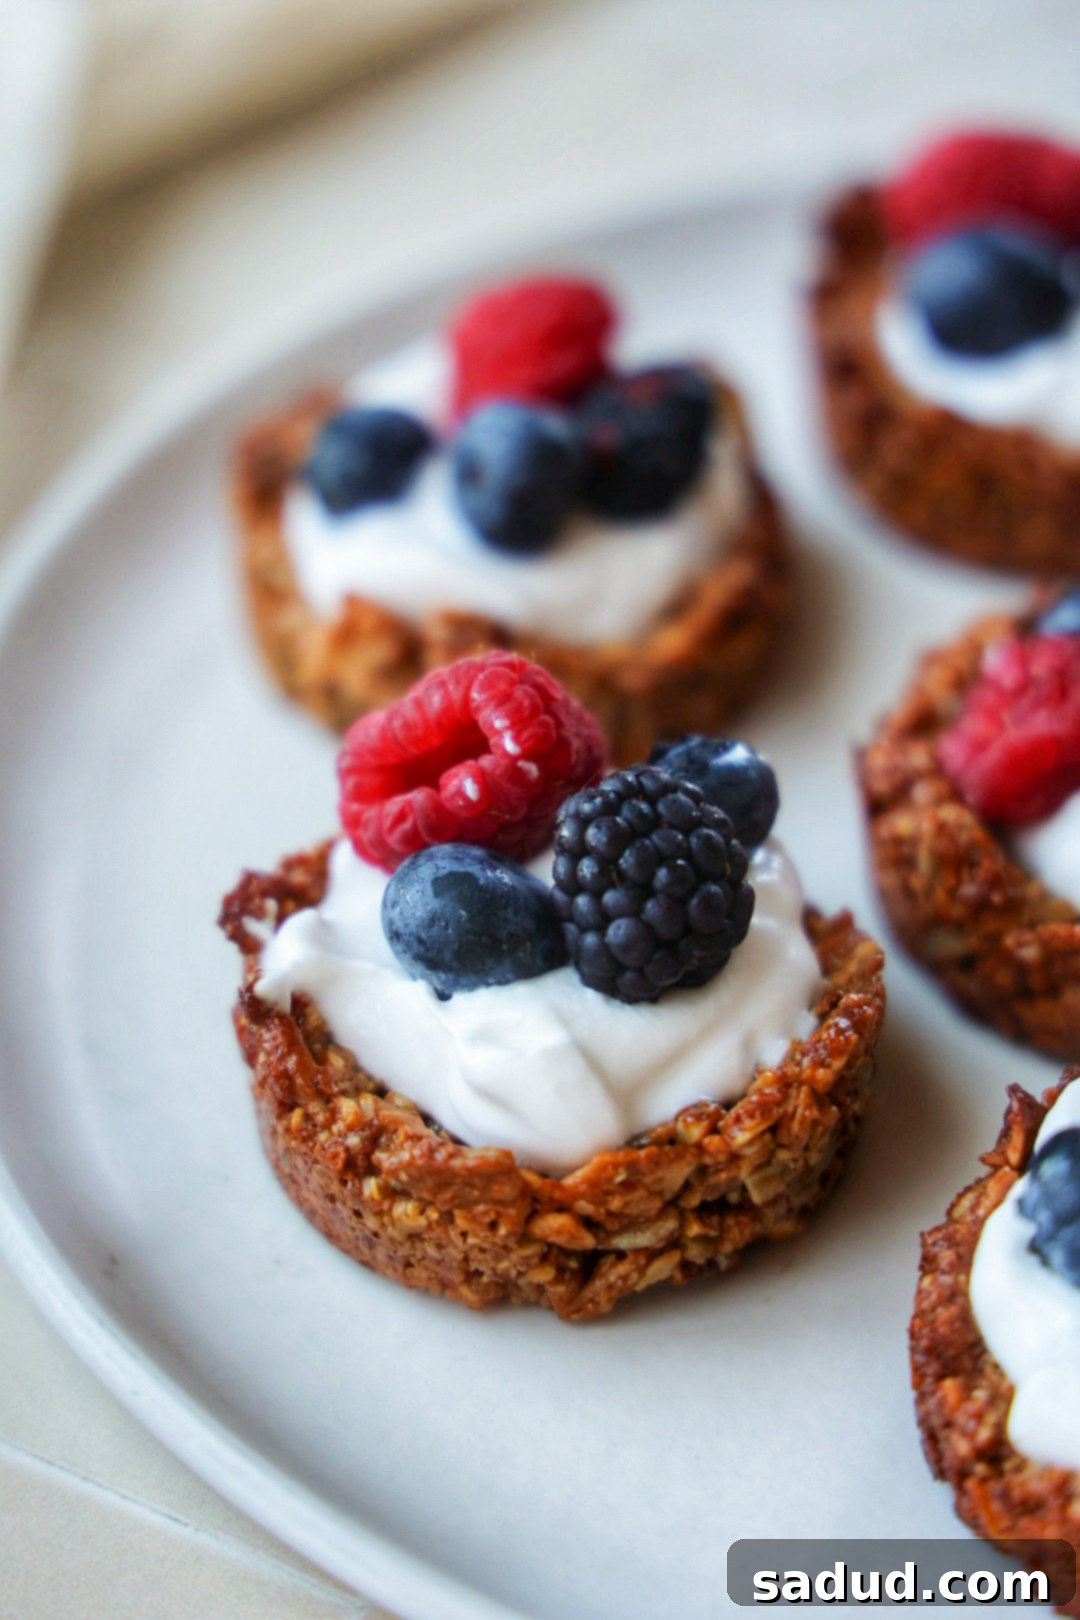
Delicious & Easy Granola Cups with Yogurt and Berries: Your Perfect Healthy Breakfast or Snack!
Looking for a nutritious, versatile, and incredibly easy breakfast or snack option? These delightful granola cups, brimming with creamy yogurt and fresh berries, are an absolute game-changer! Imagine a crunchy, golden granola base, perfectly portioned, ready to be filled with your favorite yogurt and topped with vibrant fruits. They’re not just a treat for your taste buds but also a powerhouse of nutrients, making them ideal for busy mornings or a satisfying pick-me-up. Whether you’re a fan of classic Greek yogurt or prefer a dairy-free alternative like coconut yogurt, this recipe is fully customizable to fit your dietary needs and preferences. Get ready to fall in love with your new go-to healthy bite!
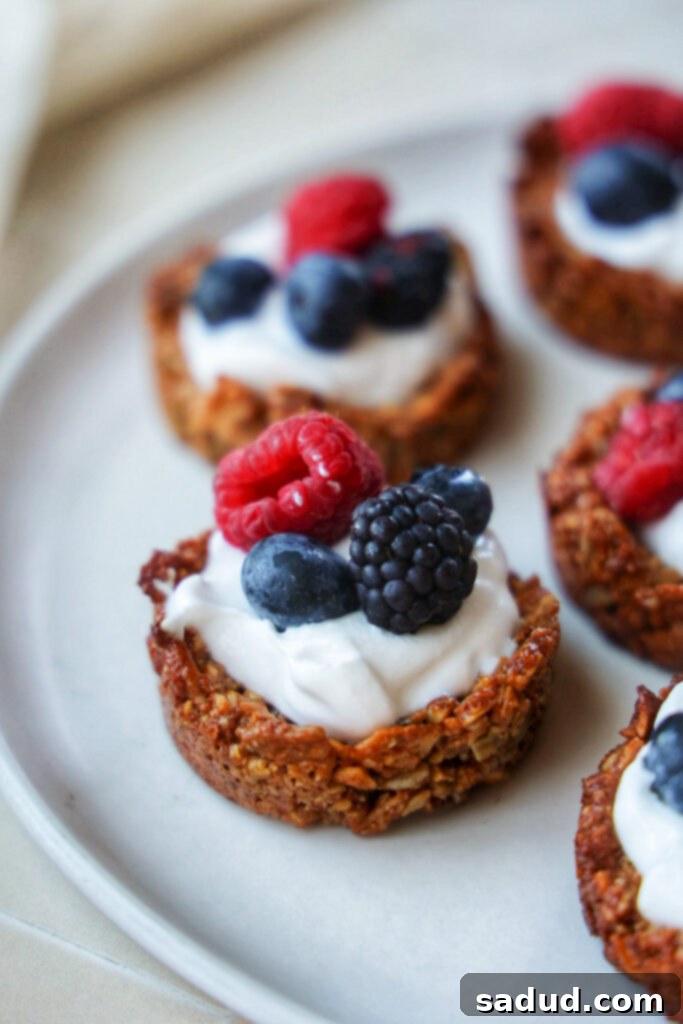
Why You’ll Absolutely Love This Yogurt Granola Tart Recipe
These granola cups aren’t just food; they’re a convenient, healthy lifestyle choice that you’ll eagerly add to your rotation. Here’s why this recipe stands out:
- The Flavor Possibilities Are Truly Endless: From sweet to tangy, fruity to chocolatey, the filling and topping combinations for these granola cups are limited only by your imagination. You can experiment with different fruits, nuts, seeds, spices, and even a drizzle of honey or chocolate to create a new experience every time. This ensures you’ll never get bored and can tailor each cup to your current cravings.
- Perfectly Customizable for Any Diet: This recipe is incredibly adaptable, allowing you to easily swap ingredients to meet specific dietary preferences or restrictions. Whether you’re dairy-free, vegan, gluten-free, or just trying to reduce sugar, you can choose granolas, yogurts, and binders that fit your lifestyle. Coconut yogurt makes it dairy-free and vegan, while gluten-free granola ensures it suits those with sensitivities.
- Super Quick and Effortless to Make: With minimal prep time and simple steps, these granola cups are ideal for anyone with a busy schedule. The base comes together in minutes in a food processor, and baking is quick. This means you can whip up a batch on a weekend and enjoy healthy breakfasts or snacks throughout the week without hassle.
- A Truly Nutritious Snack Option: Packed with fiber from granola, protein from yogurt, and vitamins from berries, these cups offer a balanced nutritional profile. They provide sustained energy, help keep you feeling full, and contribute to your daily intake of essential nutrients, making them a much healthier choice than many processed snacks.
- A Fantastic Snack for Kids (and Adults!): Kids love the fun, individual portions and the ability to choose their own toppings. They’re a great way to encourage healthy eating habits and involve children in the kitchen. Plus, they’re easy to grab and go, making them perfect for lunchboxes or after-school munchies.
- Excellent for Meal Prepping: The granola bases can be baked and stored in advance, keeping their crunchiness intact. When you’re ready to eat, simply add your yogurt and toppings. This meal prep hack saves valuable time during the week, ensuring you always have a healthy option readily available.
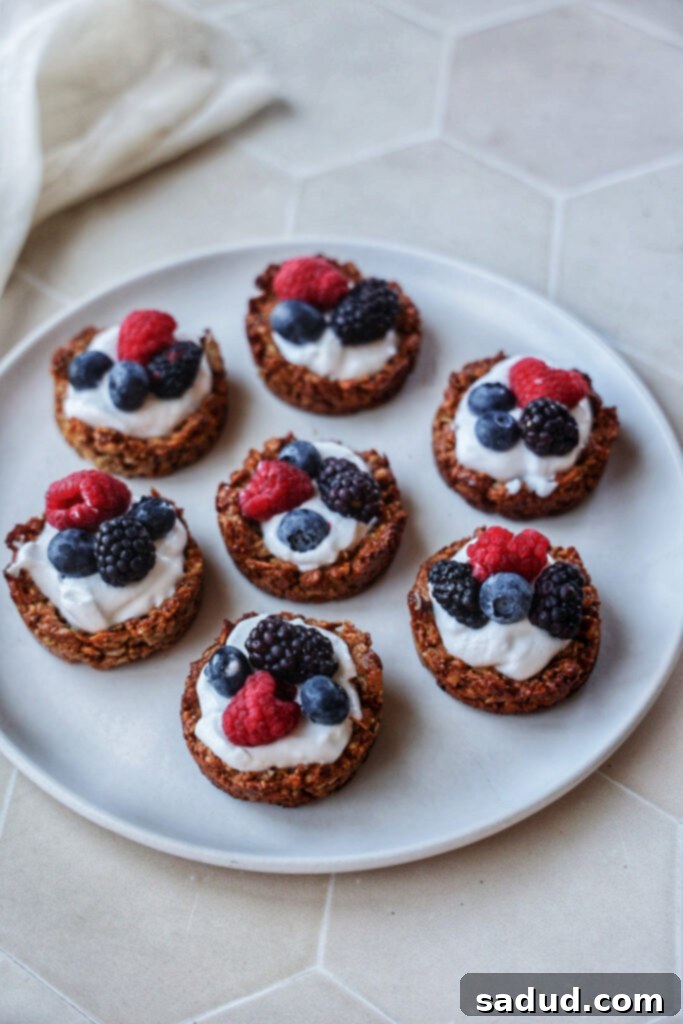
Essential Ingredients and Smart Substitutions for Your Granola Cups
Crafting the perfect granola cup starts with understanding each ingredient and the flexibility you have:
Granola: The foundation of these cups is a good, crunchy granola. The key here is “crunchy” – it holds its shape much better. While you can certainly use homemade crunchy granola, store-bought options are perfectly fine and time-saving. When selecting a store-bought brand, I recommend opting for varieties with minimal added sugars. Brands like Purely Elizabeth, often sweetened with coconut sugar, or various paleo granolas, are excellent choices as they provide great flavor without excessive sweetness. If you’re looking for a gluten-free option, ensure your chosen granola is certified as such. The type of grains (oats, nuts, seeds) in your granola will also impact the final texture and flavor of your cup base.
Almond Butter: This creamy, flavorful ingredient plays a crucial role as a binder, helping to hold the granola crust together. Its natural oils and stickiness ensure your cups stay intact. If you have an almond allergy or simply prefer a different flavor, you can easily swap it for any other nut or seed butter. Peanut butter, cashew butter, sunflower seed butter (for nut-free options), or even tahini can work wonderfully, each adding its unique nuance to the base. Just make sure it’s a smooth, runny consistency for easy mixing.
Maple Syrup: Serving as both a natural sweetener and another vital binder, maple syrup contributes to the cohesive texture of the granola base. Its distinct flavor also adds a lovely depth to the overall taste. If maple syrup isn’t readily available or you prefer an alternative, honey is an excellent substitute, offering a similar binding quality and a slightly different sweet profile. For a low-sugar alternative, a sugar-free syrup could potentially work, though it might slightly alter the texture and flavor.
Yogurt: The heart of the filling! For these cups, thick yogurts are always the best choice as they provide a sturdy and satisfying creaminess without making the granola soggy too quickly. My personal preference is coconut yogurt for a rich, dairy-free, and vegan option, which also adds a lovely subtle tropical note. However, traditional Greek yogurt is an equally fantastic choice, renowned for its high protein content and thick, tangy texture. Skyr or even a thick plain regular yogurt could also be used. Flavored yogurts are an option, but plain yogurt allows you to control the sweetness and add your own flavorings.
Toppings: This is where you can truly unleash your creativity! Toppings not only add visual appeal but also introduce varying textures and bursts of flavor. Consider a diverse array:
- Fresh Berries: Strawberries, blueberries, raspberries, blackberries – offering natural sweetness and antioxidants.
- Other Fresh Fruits: Sliced banana, kiwi, mango chunks, pomegranate seeds for different textures and flavors.
- Chocolatey Goodness: Dark chocolate chips, mini chocolate chips, or cacao nibs for a hint of bitterness and crunch.
- Dried Fruits: Goji berries, dried cranberries, chopped apricots, raisins for concentrated sweetness and chewiness.
- Nuts: Chopped almonds, walnuts, pecans, pistachios for healthy fats and extra crunch.
- Seeds: Hemp seeds, chia seeds, flax seeds, pumpkin seeds, sunflower seeds for added nutrition and texture.
- Spices: A sprinkle of cinnamon or nutmeg for warmth.
- Sweet Drizzles: A swirl of extra maple syrup, honey, or a touch of fruit compote.
- Other Fun Options: Shredded coconut, a dollop of fruit jam, or a sprinkle of freeze-dried fruit pieces.
Choose a combination that excites you!
How to Make Your Own Delicious Yogurt Granola Cups: A Step-by-Step Guide
Creating these wholesome granola cups is remarkably straightforward. Follow these simple steps for perfect results every time:
- Prepare Your Granola Base: Begin by adding your chosen crunchy granola, almond butter (or your preferred nut/seed butter), and maple syrup (or honey) into a food processor. Process the ingredients for a few seconds. The goal is to achieve a sticky, cohesive mixture that holds together when pressed. It shouldn’t be completely pulverized, but rather a texture where the granola is broken down slightly and evenly coated by the binders. If the mixture seems too dry, add a tiny bit more maple syrup or nut butter; if too wet, a spoon of extra granola.
- Form the Cups: Once your granola mixture is ready, press it firmly into the bottoms and slightly up the sides of a standard 12-cup muffin tin. You can grease the tin lightly or use silicone muffin liners (which make removal incredibly easy). Use the back of a spoon or your fingers to ensure the mixture is tightly packed and evenly distributed, forming sturdy cup shapes. This firm pressing is crucial for the cups to hold their shape after baking.
- Bake to Golden Perfection: Place your muffin tin with the granola bases into a preheated oven (refer to the recipe card below for exact temperature). Bake until the edges turn a beautiful golden brown and the bases feel firm. This usually takes about 14-15 minutes. Once baked, remove the tin from the oven and let the granola cups cool completely in the tin on a wire rack. For an extra-crispy texture, once slightly cooled, you can transfer them to the freezer for about 20 minutes before filling. This helps them firm up and become delightfully crunchy.
- Fill and Top: Once the granola cups are fully cooled and firm, carefully remove them from the muffin tin. Now for the best part: fill each cup with a generous spoonful of your chosen thick yogurt. You can use plain yogurt and sweeten it with a dash of maple syrup, or opt for a flavored yogurt. Finally, adorn your cups with your favorite toppings – a colorful array of fresh berries, a sprinkle of chocolate chips, crunchy nuts, or superfood seeds.
- Chill and Enjoy: For best results and to allow the flavors to meld, place the filled granola cups in the fridge until you’re ready to indulge. This keeps the yogurt cool and the granola base crisp. Enjoy them as a refreshing breakfast, a satisfying snack, or even a light dessert!
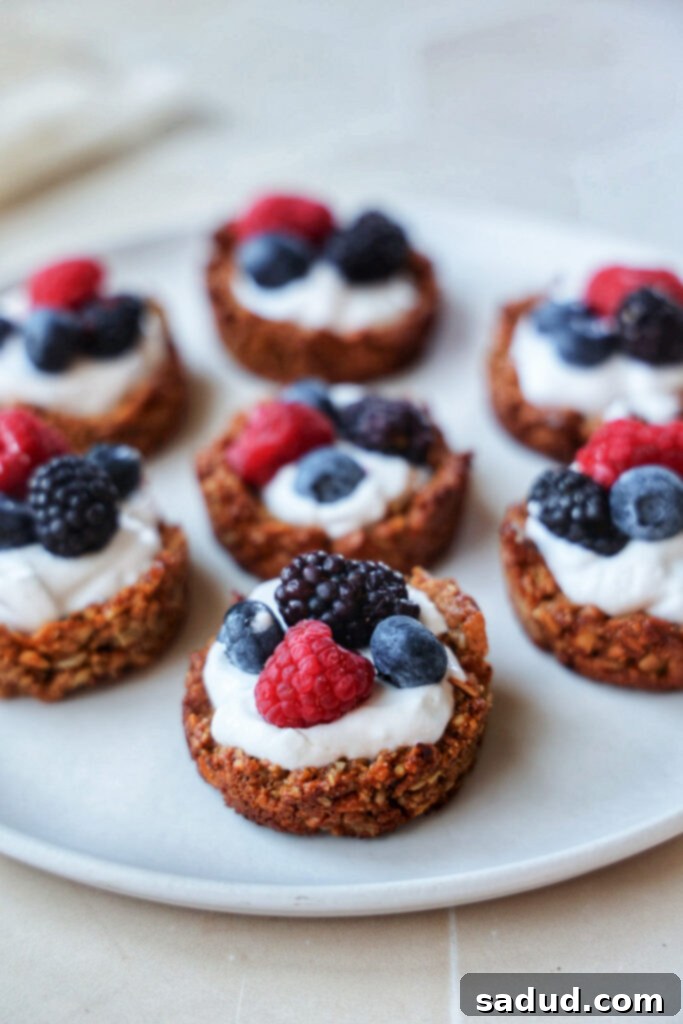
Storing Your Granola Cups for Maximum Freshness and Crunch
Proper storage is key to enjoying your granola cups at their best, especially if you’re meal prepping. The secret to maintaining that desirable crunch is to keep the granola bases and wet ingredients separate until you’re ready to eat.
Storing the Granola Tarts (Unfilled): Once your granola cups have completely cooled after baking, carefully remove them from the muffin tin. Store the empty, crunchy granola tarts in an airtight container at room temperature for up to 3-4 days, or in the fridge for up to a week. Keeping them separate from the yogurt prevents them from becoming soggy. You can also freeze the baked granola cups for up to 1-2 months. Just be sure to separate layers with parchment paper if stacking, and thaw them at room temperature before filling.
Storing the Yogurt and Toppings: Keep your yogurt in its original container or an airtight bowl in the fridge. Prepare your toppings (wash berries, chop nuts, etc.) and store them in separate small containers or bags in the refrigerator. This way, everything is fresh and ready to go when you assemble your cups.
Assembly: When you’re ready for a delicious breakfast or snack, simply grab a granola cup base, spoon in your desired amount of yogurt, and add your favorite toppings. This method ensures that every bite is perfectly crunchy and fresh, just as if you made it moments ago!
Frequently Asked Questions About Granola Cups
Here are answers to some common questions you might have about making and enjoying these healthy granola cups:
Q: Can I make these granola cups gluten-free?
A: Absolutely! The recipe is easily adaptable for a gluten-free diet. Simply ensure that the granola you choose is certified gluten-free. Many brands offer delicious GF granola options, making it simple to enjoy these cups without worry.
Q: How long do granola cups last?
A: The baked granola bases, when stored in an airtight container at room temperature, will stay fresh and crunchy for about 3-4 days. If refrigerated, they can last up to a week. Once filled with yogurt, they are best enjoyed within a few hours to prevent the granola from getting soggy, although they can last a day in the fridge if sealed well.
Q: Can I use soft or chewy granola for this recipe?
A: While you *can* use soft granola, a crunchy variety is highly recommended. Crunchy granola holds its shape much better during processing and baking, resulting in a more sturdy and satisfying cup. Soft granola might not bind as well and could lead to a crumbly or less defined cup shape.
Q: Do I need a food processor to make the granola base?
A: A food processor makes the process incredibly quick and ensures an even consistency. However, if you don’t have one, you can still make these! You’ll need to finely chop your granola by hand or by placing it in a bag and crushing it with a rolling pin. Then, thoroughly mix it with the almond butter and maple syrup in a bowl until everything is well combined and sticky. It might require a bit more elbow grease, but the results will still be delicious!
Q: Can I prepare the filled granola cups in advance for a party?
A: For the best texture, it’s always recommended to assemble the cups just before serving, especially if you want to maintain the granola’s crispness. If you absolutely need to prepare them ahead for a party, fill them no more than an hour or two in advance and keep them chilled. For longer parties, consider setting up a “granola cup bar” where guests can fill and top their own cups.
More Wholesome & Delicious Recipes You’ll Love
If you enjoyed these yogurt granola cups, you’re in for a treat with these other healthy and easy recipes:
Strawberry Matcha Yogurt Granola Tarts – A unique flavor combination for a delightful twist.
Healthy Granola Bites – Perfect for a quick energy boost on the go.
Healthy Samoa Caramel Apple Slices – A guilt-free indulgence reminiscent of your favorite cookie.
No-Bake Peanut Butter Oatmeal Balls – A simple, delicious, and satisfying treat with no baking required.
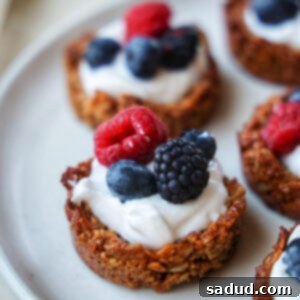
Granola Cups with Yogurt and Berries
Pin Recipe
Ingredients
For the Crunchy Granola Base
- 2 cups crunchy granola
- 2 heaping tbsp almond butter *or any other nut or seed butter of choice
- 3 tbsp maple syrup *or honey
For the Filling & Toppings
- Thick Yogurt *Greek yogurt, coconut yogurt (dairy-free/vegan), or preferred thick yogurt
- Toppings of Choice *fresh berries, sliced fruit, chocolate chips, cacao nibs, nuts, seeds, etc.
Instructions
-
Preheat your oven to 350°F (175°C). Prepare a standard 12-cup muffin tin by greasing it well or, for easiest removal, use silicone cupcake liners.
-
Add the granola, almond butter, and maple syrup into a food processor. Process for approximately 30 seconds, or until a sticky mixture forms that holds together when pressed. The granola should be broken down but not completely pulverized.
-
Evenly divide the granola mixture among the muffin cups. Press the mixture firmly into the bottom and slightly up the sides of each cup to form a well-defined tart shape.
-
Bake for 14-15 minutes, or until the edges of the granola cups are golden brown and crisp. Allow the cups to cool in the muffin tin for a few minutes, then transfer the entire tin to the freezer for about 20 minutes. This step helps them become extra crunchy.
-
Once completely cooled and firm, carefully remove the granola cups from the tin. Fill each cup with your preferred thick yogurt (plain, flavored, or sweetened with maple syrup). Top generously with fresh berries, nuts, seeds, or any other toppings you desire. Serve immediately or keep chilled until ready to eat. Enjoy your wholesome and delicious granola cups!
