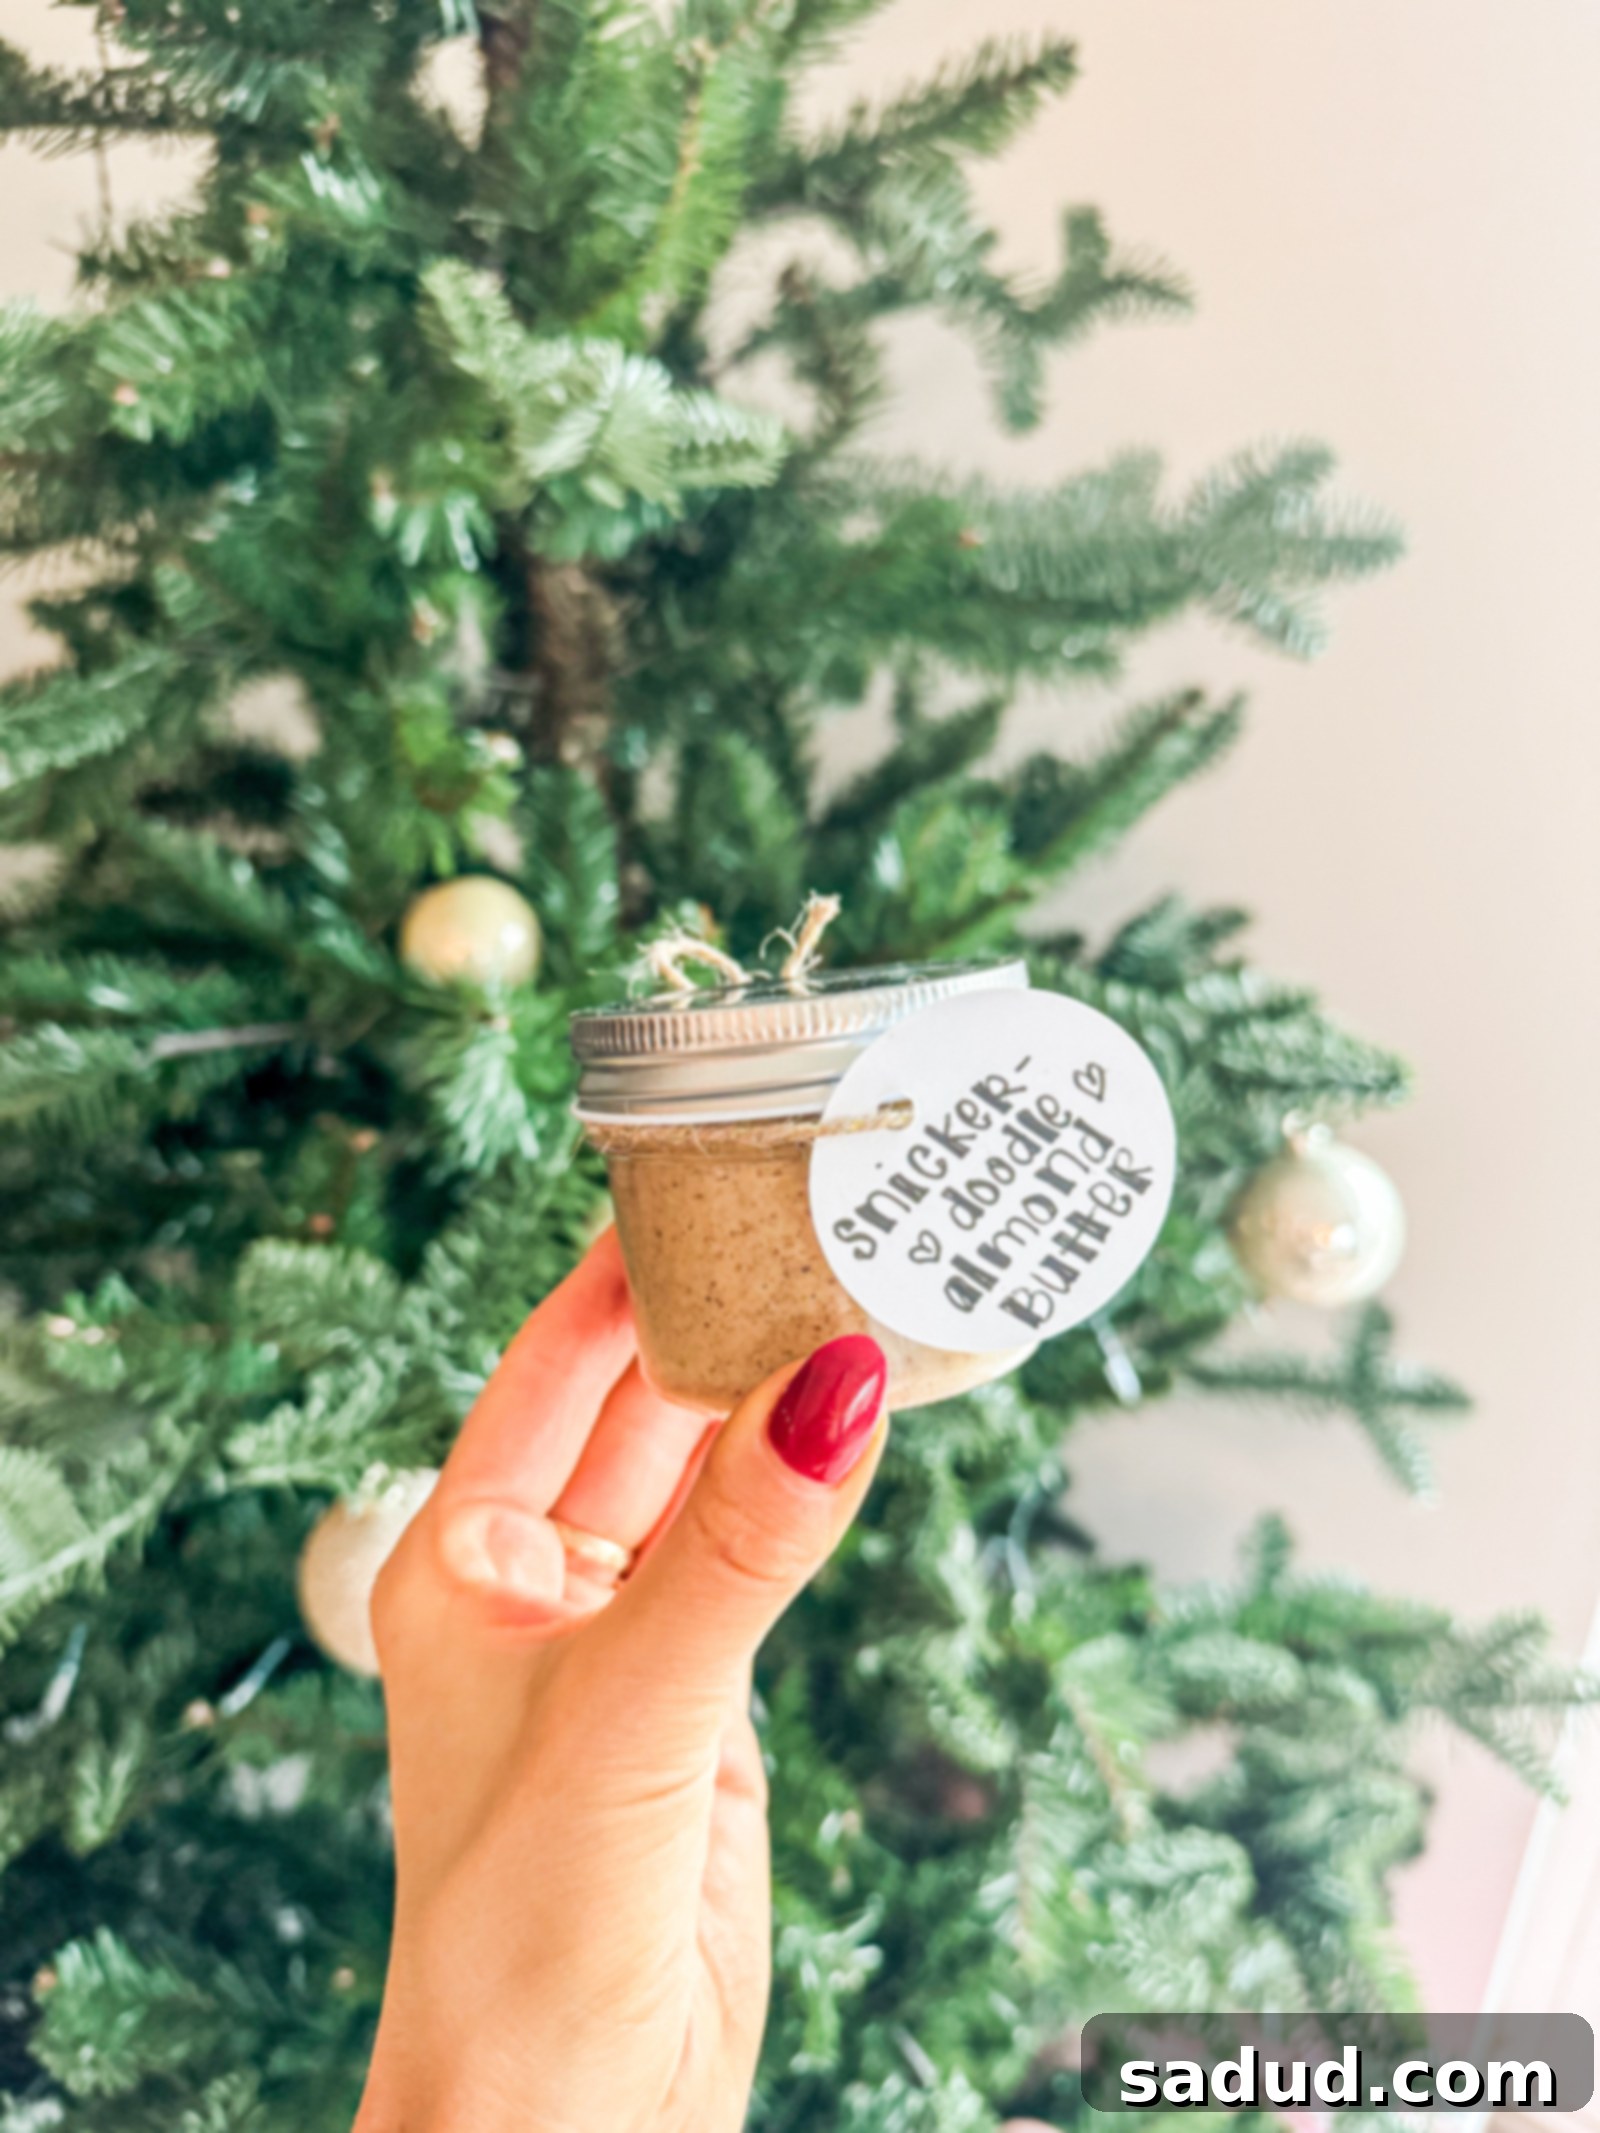
Delicious & Easy DIY Edible Christmas Gifts: Homemade Treats for Festive Giving
The holiday season is a time for joy, togetherness, and thoughtful gestures. What better way to show your love and appreciation than with homemade edible Christmas gifts? Crafting these delightful treats not only adds a personal touch but also fills your home with the wonderful aromas of festive cooking. Forget the generic store-bought presents; a handcrafted jar of deliciousness speaks volumes!
This year, we’re diving into the joy of creating five easy, fun, and absolutely delicious DIY edible gifts. Perfect for curating charming little baskets, these goodies come alive in pretty glass jars and baggies. We’ll be making whipped cinnamon vanilla honey, savory garlic & rosemary infused olive oil, delightful snickerdoodle marshmallows, rich snickerdoodle almond butter, and decadent chocolate cashew butter. Each recipe is designed to be straightforward, allowing you to create beautiful and tasty gifts without stress. Let’s get crafting!
Why Choose Homemade Edible Gifts This Christmas?
In a world full of mass-produced items, a homemade gift stands out. Edible presents are not just thoughtful; they are also:
- Personal & Unique: Tailor flavors to the recipient’s taste, showing you put extra thought into their gift.
- Budget-Friendly: Often, making gifts in batches is more economical than buying individual presents.
- Eco-Conscious: Reduce waste by using reusable jars and minimal packaging.
- Memorable: Food brings people together, and a delicious homemade treat often creates lasting memories.
- Delicious: Who doesn’t love a tasty treat, especially during the holidays?
These five recipes are perfect for anyone on your list – from neighbors and teachers to friends and family. Prepare to spread some serious holiday cheer, one delicious jar at a time!
Whipped Cinnamon Vanilla Honey
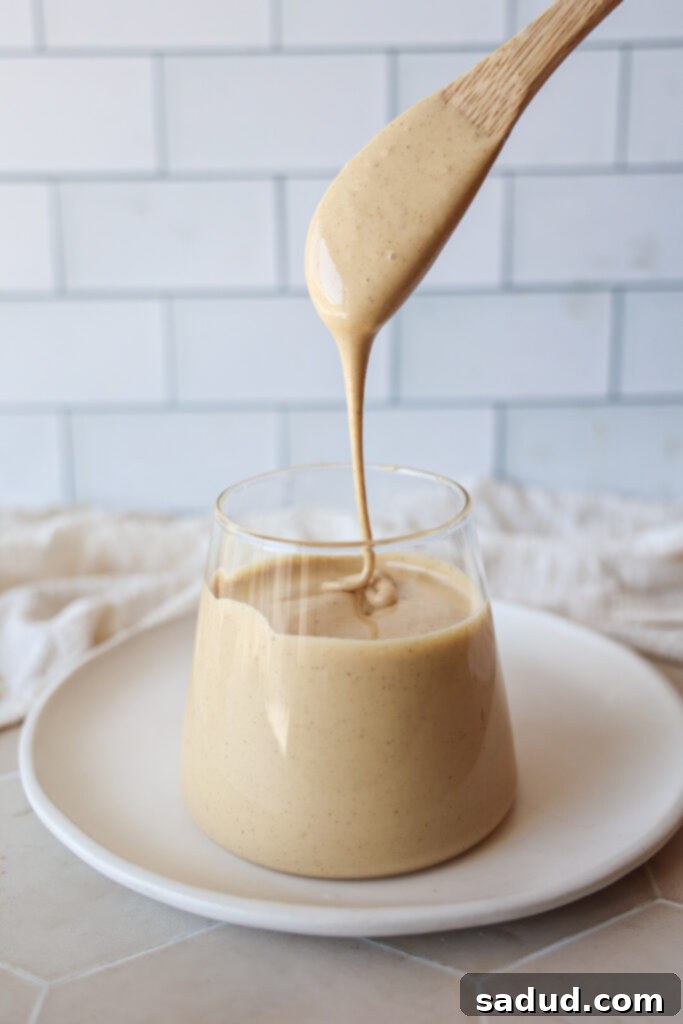
Whipped honey is an absolute dream, transforming ordinary honey into a light, creamy spread that’s perfect on virtually everything! Think slathering it on toast, stirring it into coffee or tea, drizzling it over yogurt, or enjoying it with fresh fruit. The best part? It’s incredibly easy to make, and with the added warmth of cinnamon and vanilla, it becomes truly unreal.
Using a stand mixer is the easiest route: simply add your honey and let it work its magic, incorporating air until it’s light and fluffy. A hand mixer can also do the job, though it might require a bit more time and effort. Once whipped, the honey’s texture is transformed into a luxurious, spreadable delight. We’ve enhanced this recipe with a touch of vanilla extract and a sprinkle of cinnamon, creating a flavor profile that’s both comforting and gourmet.
What You’ll Need:
- 2 cups raw honey (or your preferred honey)
- 1-2 teaspoons vanilla extract (to taste)
- 1 teaspoon ground cinnamon (or more, to taste)
Step-by-Step Instructions:
- Pour the honey into the bowl of a stand mixer fitted with the whisk attachment.
- Begin mixing on low speed, gradually increasing to medium-high.
- Whip the honey for about 10-15 minutes, or until it becomes noticeably lighter in color and develops a thick, creamy, spreadable consistency. It should resemble softened butter or a thick frosting.
- During the last minute of whipping, add the vanilla extract and cinnamon. Continue to mix until fully incorporated.
- Once whipped to perfection, carefully spoon the honey into clean, airtight Weck jars or other decorative containers.
Gifting & Storage Tips:
This whipped honey makes for an elegant and practical gift. Store it in cute Weck jars, which not only look beautiful but also seal well. Add a small label with “Cinnamon Vanilla Whipped Honey” and perhaps a “Best By” date (it typically lasts for several months at room temperature, just like regular honey). Pair it with a loaf of homemade bread, some artisan crackers, or a selection of teas for a truly thoughtful basket. It’s a sweet indulgence that everyone will adore! For a detailed recipe, check out the original post: Recipe here!
Snickerdoodle Marshmallows
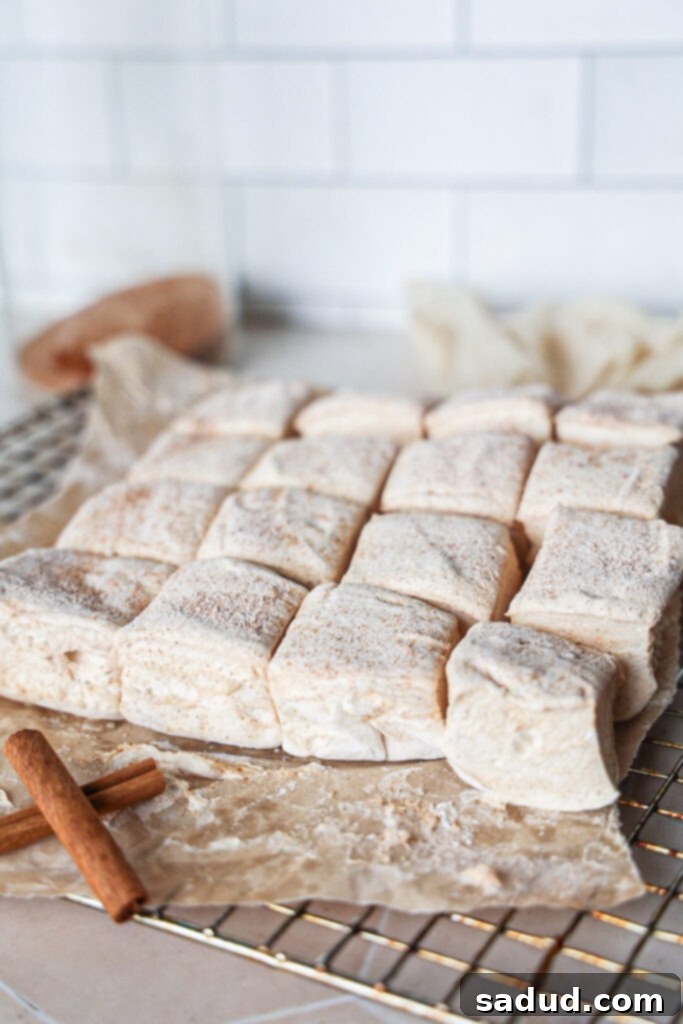
Imagine biting into a fluffy, pillowy cloud that tastes exactly like a snickerdoodle cookie – that’s what these healthy homemade Snickerdoodle marshmallows deliver! Unlike traditional marshmallows, these are made without corn syrup, relying instead on natural sweeteners like maple syrup or honey. This makes them a paleo-friendly treat that’s not only delicious but also a healthier alternative for your holiday indulgences.
These delightful marshmallows come together effortlessly and quickly, requiring just a few simple ingredients. The recipe is incredibly forgiving and even includes tips on how to make them with or without a candy/sugar thermometer, making it accessible for all skill levels. Their soft, airy texture and warm cinnamon-sugar flavor make them an irresistible addition to any holiday gift basket. They’re perfect for dropping into a mug of hot chocolate, toasting for s’mores, or simply enjoying as a sweet snack.
What You’ll Need:
For detailed ingredients, please refer to the full recipe link below. Generally, you will need:
- Gelatin powder
- Maple syrup or honey
- Water
- Vanilla extract
- Cinnamon & sugar mixture for dusting
- Cream of tartar (optional, for stabilization)
Step-by-Step Instructions:
While the full instructions are linked, the process generally involves blooming gelatin, heating your chosen sweetener with water, combining the two, and whipping until fluffy. The mixture is then spread into a pan, allowed to set, and finally cut and dusted with a snickerdoodle-inspired cinnamon-sugar coating. The recipe offers excellent guidance on achieving the perfect texture.
Gifting & Storage Tips:
Once cooled and cut, these marshmallows are beautiful when stored in little candy baggies or clear cellophane bags, tied with festive ribbon. They make an excellent addition to a hot chocolate gift kit, paired with gourmet cocoa mix and a cute mug. Store them in an airtight container at room temperature for up to a week, or in the refrigerator for longer. They hold their shape and flavor beautifully. Find the complete recipe and all the helpful tips here: Recipe here!
Garlic Rosemary Infused Olive Oil
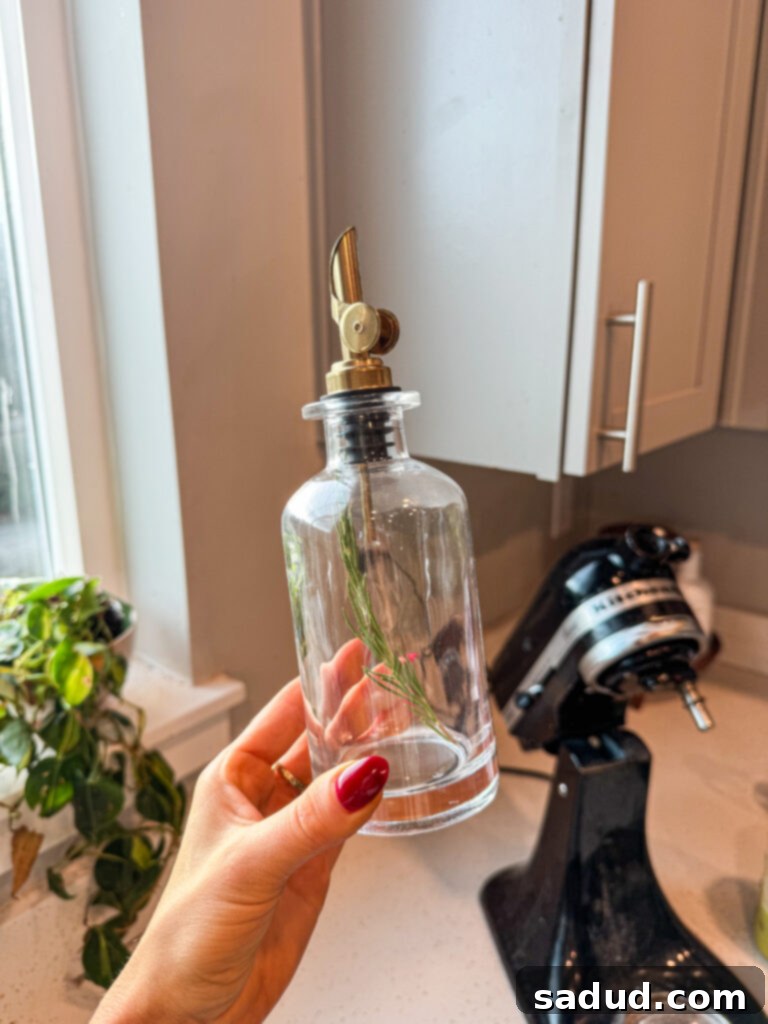
Elevate any savory dish with this incredibly easy and intensely flavorful garlic rosemary infused olive oil. It’s a versatile pantry staple that makes for an exceptionally gourmet edible gift. Imagine tossing fresh potatoes in this aromatic oil before roasting them to golden perfection – absolutely delicious! It also adds a profound depth of flavor to roasted vegetables, grilled proteins, pasta dishes, and even as a simple dipping oil for crusty bread.
The beauty of this gift lies in its simplicity and the rich, complex flavors it imparts. The gentle infusion process allows the pungent garlic and fragrant rosemary to slowly release their essences into the olive oil, creating a culinary masterpiece. It’s not just an oil; it’s an experience for the senses, bringing the essence of a Mediterranean kitchen into any home.
Important Safety Note on Infused Oils:
When infusing oil with fresh ingredients like garlic and herbs, there is a risk of botulism if not prepared and stored correctly. The crucial step is to remove all solid ingredients (garlic, rosemary) after the infusion process. Do NOT store fresh garlic or herbs in the oil for extended periods. For best safety practices, this infused oil should be refrigerated and used within 7-10 days. If you wish to store it longer, consider using dried herbs and garlic, or freeze the infused oil in smaller portions. Always use clean, sterilized jars.
Ingredients:
- 4 to 5 fresh rosemary sprigs
- 3 to 4 garlic cloves, peeled and lightly crushed
- 2 cups good quality olive oil
Instructions:
- Gently wash the fresh rosemary sprigs and pat them completely dry. Any water can cause spoilage.
- In a clean saucepan, pour the olive oil. Add the peeled and lightly crushed garlic cloves and the dried rosemary sprigs.
- Heat the oil over a very low-medium heat. The goal is to gently warm the oil and infuse the flavors, not to fry the ingredients rapidly. Continue cooking the garlic until it turns a delicate golden brown. This indicates that the flavors have been released.
- Once the garlic is golden, switch off the heat. Allow the oil to cool down completely to room temperature. This slow cooling further deepens the infusion.
- Once cool, carefully strain the oil through a fine-mesh sieve into a clean, sterilized glass jar. This step is crucial for safety – discard all solid ingredients (garlic cloves and rosemary sprigs used for infusion).
- If desired for presentation, you can add a *fresh, clean, and completely dry* rosemary sprig to the strained oil in the jar *just before gifting*. Remind the recipient to remove it quickly and store the oil in the refrigerator.
Gifting & Storage Tips:
Present this beautiful oil in elegant, clean glass bottles. We love these pretty jars for a sophisticated look. Attach a label with the name of the oil, your name, and a reminder to refrigerate and use within 7-10 days. Suggest uses like bread dipping, salad dressings, or as a marinade. This gourmet gift is perfect for any food lover or home cook!
Snickerdoodle Almond Butter
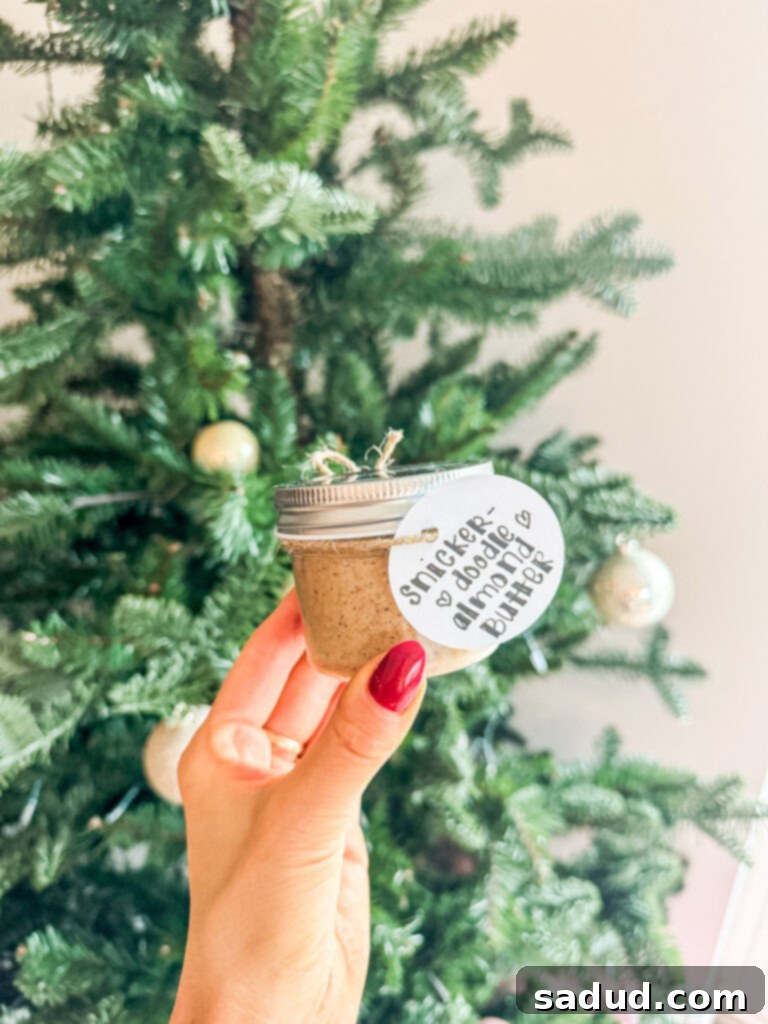
Indulge in the comforting flavors of snickerdoodle cookies in a creamy, spreadable form with this delightful almond butter. This gift offers flexibility in preparation, catering to both the time-constrained and the ambitious home cook. You can take the easy route by enhancing store-bought almond butter (which is what we often do for speed and convenience!) or embark on a truly homemade journey starting with raw nuts. Whichever method you choose, the result is a warmly spiced, subtly sweet almond butter that’s perfect for spreading on toast, adding to smoothies, swirling into oatmeal, or simply enjoying by the spoonful.
For those without a high-powered blender, the store-bought method is a fantastic way to achieve gourmet results without the fuss. There’s absolutely no shame in taking a shortcut when the outcome is this delicious and gift-worthy! We like to store these luscious nut butters in charming Weck jars or classic mason jars, making them visually appealing gifts.
Method using Store-Bought Almond Butter (The Easy Way):
This method is quick, simple, and yields a fantastic result with minimal effort.
Ingredients:
- 12 oz jar of creamy almond butter (unsweetened, if possible)
- 1 tablespoon ground cinnamon
- 3-4 tablespoons coconut sugar (adjust to your sweetness preference)
- 2 teaspoons vanilla extract
- Good pinch of sea salt
Instructions:
- In a medium bowl, combine the store-bought almond butter, ground cinnamon, coconut sugar, vanilla extract, and sea salt.
- Stir vigorously with a spoon or whisk until all ingredients are thoroughly combined and the mixture is smooth. If the almond butter is very thick, you can gently warm it slightly in a microwave-safe bowl (30 seconds at a time) to make it easier to mix.
- Taste and adjust seasoning if necessary, adding more cinnamon, sugar, or salt as desired.
- Spoon the snickerdoodle almond butter into your chosen clean glass jars.
Method using Raw Nuts (For the Homemade Enthusiast):
For a truly artisanal touch, making almond butter from scratch allows you to control the freshness and roast of the nuts.
Ingredients:
- 1 ½ cups raw almonds
- 1 ½ cups raw cashews (the cashews add extra creaminess)
- 1 tablespoon ground cinnamon
- 1 tablespoon vanilla extract
- Good pinch of sea salt
- 3 tablespoons coconut sugar (or to taste)
- 2-3 teaspoons coconut oil (if needed, to help blend and achieve desired consistency)
Instructions:
- Toast the nuts: Preheat your oven to 350°F (175°C). Spread the raw almonds and cashews in a single layer on a baking sheet lined with parchment paper. Toast for 10 minutes, giving the nuts a stir every 2-3 minutes to ensure even browning. The nuts are done when they are fragrant and lightly golden; be careful not to let them burn, as this can make the butter bitter. Let them cool slightly.
- Process the nuts: Place the slightly warm toasted nuts in a high-powered food processor or blender. Process on high speed. Initially, the nuts will break down into a fine meal, then form a thick paste, and eventually release their oils to become smooth and creamy. This process can take 8-15 minutes, depending on your machine. You will need to stop and scrape down the sides of the bowl every so often to ensure even processing.
- Add flavorings: Once the nut butter is smooth and creamy, add the ground cinnamon, vanilla extract, coconut sugar, and sea salt. If the mixture seems too thick or isn’t blending smoothly, add 1-2 teaspoons of coconut oil at a time.
- Final Blend: Continue to blend for another 1-2 minutes until all the flavorings are fully incorporated and the butter reaches a super smooth, spreadable consistency.
- Spoon the homemade snickerdoodle almond butter into clean glass jars.
Gifting & Storage Tips:
Both methods result in a delicious gift. Store the nut butter in airtight glass containers, such as Weck jars or mason jars. It can be kept at room temperature for a couple of weeks, but for longer-term storage (up to a month or more), it’s best to store it in the fridge. Label your jars with the flavor and a “Best By” date. This makes a wonderful gift for breakfast lovers or anyone who appreciates gourmet spreads!
Chocolate Cashew Butter

For the chocolate lovers on your list, this decadent chocolate cashew butter is an absolute dream come true. Creamy, rich, and intensely chocolatey, it’s a gourmet spread that feels incredibly luxurious but is surprisingly simple to make. Cashew butter itself is known for its silky smooth texture, and when combined with melted chocolate, vanilla, and a touch of sea salt, it transforms into an irresistible treat that’s hard to put down.
This chocolate cashew butter is perfect for spreading on fruit, stirring into oatmeal, slathering on toast, or enjoying as a dip for pretzels or graham crackers. It’s a fantastic gift for anyone who appreciates a sweet, indulgent treat, offering a healthier twist on traditional chocolate spreads. Present it in a beautiful jar, and watch faces light up!
Ingredients:
- 3 cups raw cashews
- 5 tablespoons good quality chocolate chips (dark or semi-sweet work best)
- 2 tablespoons melted coconut oil
- 2 teaspoons vanilla extract
- ½ teaspoon sea salt
Instructions:
- Process Cashews: Add the raw cashews to the bowl of a high-powered food processor. Process on high speed. The cashews will first turn into a fine meal. After 2-3 minutes, they will start to form clumps. Stop the processor and scrape down the sides of the bowl.
- Continue Processing: Continue processing. As the cashews release their natural oils, the mixture will begin to smooth out into a thick paste. This can take 8-12 minutes, depending on your machine.
- Add Coconut Oil: Once the mixture starts to smooth out significantly and becomes more fluid, add the melted coconut oil. Continue processing until the cashew butter becomes smooth, creamy, and reaches your desired consistency.
- Melt Chocolate: While the cashews are processing, gently melt your chocolate chips. You can do this in a microwave (30 seconds at a time, stirring between) or over a double boiler. Let it cool slightly.
- Add Flavorings: To the smooth cashew butter in the food processor, add the slightly cooled melted chocolate chips, vanilla extract, and sea salt.
- Final Blend: Process for another 1-2 minutes, or until all ingredients are fully incorporated and the chocolate cashew butter reaches a uniformly creamy, rich consistency.
Gifting & Storage Tips:
Spoon the luxurious chocolate cashew butter into clean, airtight glass jars. Label them beautifully, perhaps with a festive ribbon. This butter can be stored at room temperature for up to two weeks, but for optimal freshness and a firmer consistency, refrigeration is recommended (it will firm up slightly). It’s an excellent gift for a hostess, a sweet-toothed friend, or as part of a gourmet breakfast basket.
General Tips for Gifting Edible Treats
Making delicious treats is only half the fun; presentation is key to making your DIY edible gifts truly special:
- Choose Quality Containers: Glass jars (like Weck or mason jars), cellophane bags, and decorative tins not only look great but also help preserve freshness.
- Labels are Love: Hand-write or print attractive labels with the name of the treat, key ingredients (especially for allergens), and storage instructions. Add a “Made with Love by [Your Name]” touch!
- Ribbons & Tags: Elevate your packaging with festive ribbons, twine, or decorative tags.
- Personalize: Consider the recipient’s preferences. Do they love spicy food? Are they vegan? Tailor your selection!
- Curate a Basket: For an extra special gift, combine a few different treats into a themed basket. For example, the whipped honey with some gourmet tea, or the infused oil with a small bottle of balsamic vinegar and artisan bread.
- Add a Recipe Card: Include a small card with the recipe for the gift, allowing the recipient to recreate it themselves or simply appreciate the effort.
Conclusion: Spread Joy with Homemade Goodness
This holiday season, embrace the warmth and personal touch of homemade edible gifts. From the sweet embrace of whipped cinnamon vanilla honey to the savory delight of garlic rosemary infused olive oil, and the comforting indulgence of snickerdoodle marshmallows and nut butters, these five recipes offer something truly special for everyone on your list. Not only are they easy and fun to make, but they also convey a heartfelt message of care and generosity that store-bought items simply can’t replicate.
So gather your ingredients, turn on some festive tunes, and start crafting these delicious expressions of holiday cheer. Your friends and family will surely appreciate the effort, the flavor, and the love baked into every single bite. Happy gifting and happy holidays!
