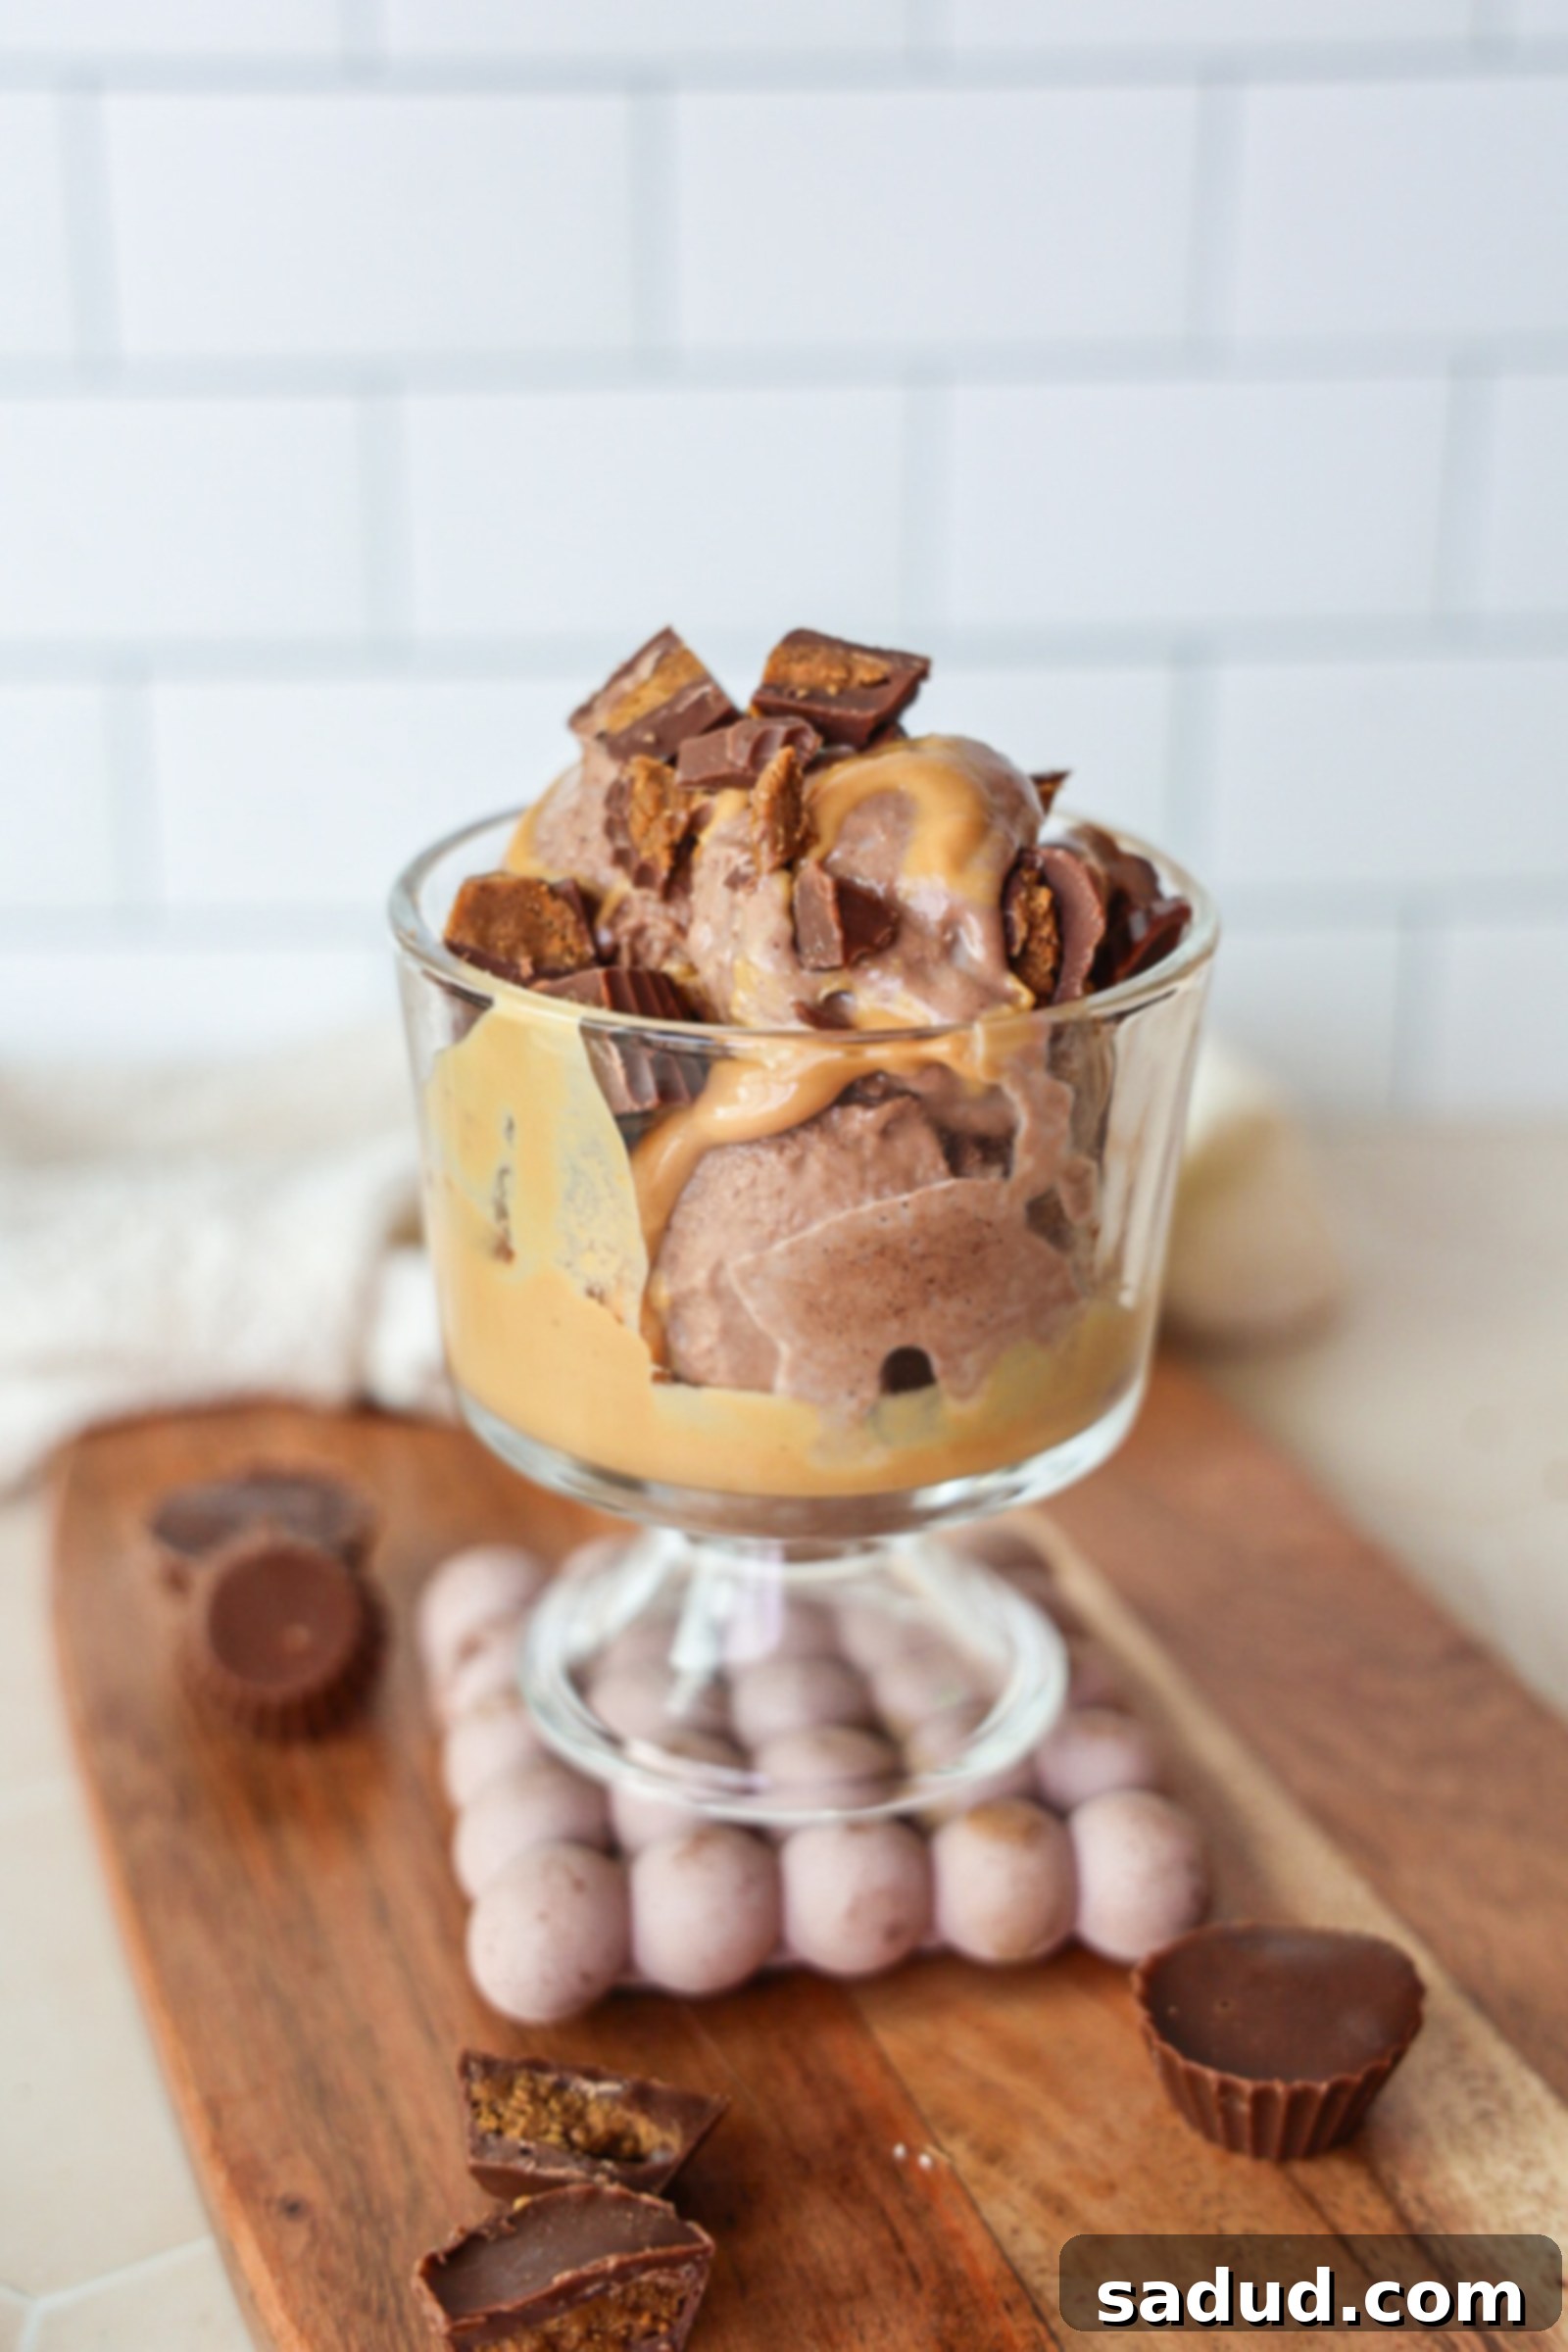
Decadent & Healthy Vegan Peanut Butter Cup Protein Ice Cream (Ninja Creami + No Churn Options)
This healthy vegan peanut butter cup ice cream is a dream come true for dessert lovers! It’s incredibly creamy and tastes utterly decadent, yet it’s secretly packed with good-for-you ingredients and a generous boost of protein. We’re talking about the easiest homemade protein peanut butter cups folded right into the mix, then topped with a luscious peanut butter magic shell. The best part? It’s completely vegan, gluten-free, and refined sugar-free, making it a perfect guilt-free treat for any time of year.
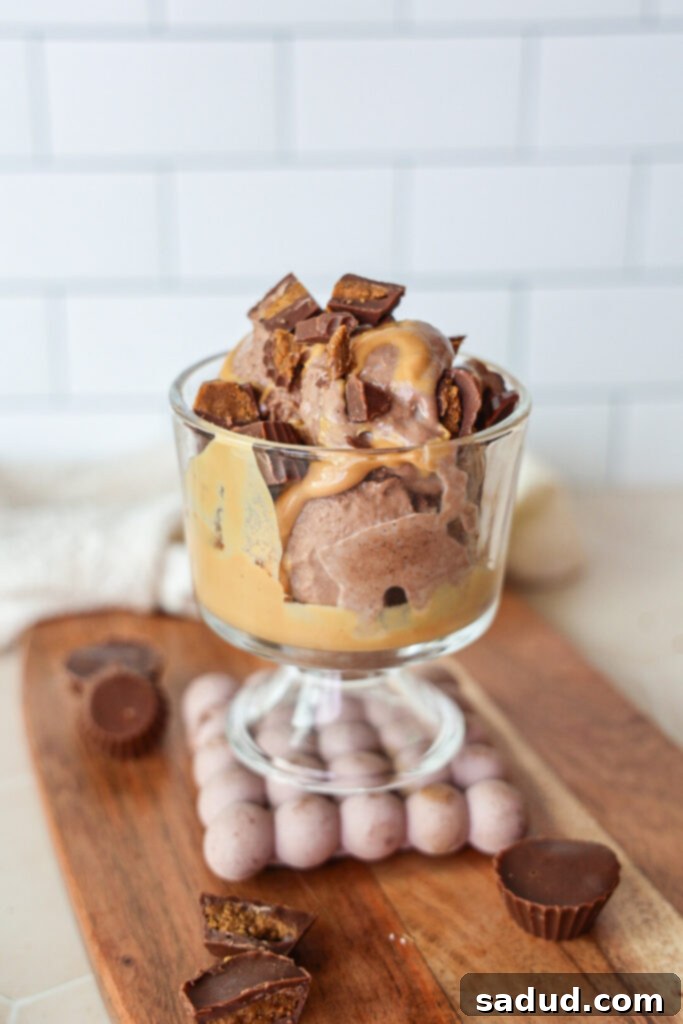
For me, ice cream isn’t just a summer treat – it’s a year-round passion! Whether the sun is shining or I’m cozying up next to my heater, a bowl of creamy, dreamy ice cream always hits the spot. While you don’t need any specialized equipment to whip up this incredible recipe, I must confess that the Ninja Creami has become my absolute favorite and most-used kitchen appliance this past year. It’s truly revolutionary how you can transform a simple protein shake into a thick, satisfying ice cream. This means I can happily enjoy protein-packed ice cream for breakfast or as a post-workout recovery treat without an ounce of guilt!
This irresistible peanut butter cup ice cream is designed to be dairy-free, gluten-free, refined sugar-free, and surprisingly simple to prepare. The basic process involves throwing all your base ingredients into a blender, blending until smooth, and then freezing. To elevate the experience, I’ve included instructions for making quick, homemade peanut butter cups that get folded throughout the ice cream, adding delightful texture and bursts of flavor. And for the ultimate finish? A super easy, three-ingredient peanut butter magic shell that hardens instantly and is simply DELISH.
Why You’ll Fall in Love with This Healthy Vegan Protein Ice Cream
This isn’t just another ice cream recipe; it’s a wholesome indulgence that ticks all the boxes. Here’s why this healthy peanut butter cup ice cream will quickly become a staple in your kitchen:
- Incredibly Versatile! One of the best aspects of this recipe is its adaptability. You can easily customize it with your favorite mix-ins like chopped nuts, granola, extra chocolate chunks, or even a different nut butter for the cups. This ensures you never get bored and can enjoy a new flavor adventure every time you make it!
- Wholesome Goodness – We believe in treating ourselves without compromise. This vegan ice cream is crafted with dairy-free, gluten-free, and refined sugar-free ingredients. Plus, with simple ingredient swaps, it can readily fit into paleo and keto diets, making it accessible to a wider range of dietary needs. It’s truly packed with ingredients that nourish your body while delighting your taste buds.
- Packed with Protein – Forget sugary snacks that leave you feeling sluggish. This healthy protein ice cream serves as an excellent high-protein snack or a satisfying dessert. The added protein helps keep you full, supports muscle recovery, and makes it a fantastic option for a post-workout treat or a balanced indulgence any time of day.
- Perfect for Meal Prep – Why wait for a craving to strike? You can easily prepare a batch of this delicious ice cream and store it in your freezer for the week. Having a healthy, ready-to-eat dessert on hand means you’re always prepared when that sweet tooth hits, making healthy eating convenient and enjoyable.
- No Fancy Equipment Needed to make it – Don’t have a Ninja Creami or a traditional ice cream maker? No problem! While those machines offer fantastic results, this recipe is designed to be accessible to everyone. We provide three different methods in the recipe card – including a simple blend, freeze, and blend option using just a high-powered blender – so you can make luscious, creamy ice cream regardless of your kitchen setup.
Watch How to Make This Creamy Peanut Butter Cup Ice Cream!
How to Make Healthy Peanut Butter Cup Ice Cream: A Step-by-Step Guide
Crafting this healthy vegan peanut butter cup ice cream is simpler than you might imagine, and the results are truly worth every step. Below, we’ll walk you through the essential equipment, key ingredients, and detailed instructions for making both the delightful homemade peanut butter cups and the ultra-creamy ice cream itself. Remember, the full recipe with precise measurements can always be found in the comprehensive recipe card at the bottom of this post!
Essential Equipment for Homemade Ice Cream
While some methods are truly no-frills, having the right tools can make your ice cream-making journey even more enjoyable. Here’s what you might need:
- Blender: A high-powered blender is crucial for achieving a super smooth and creamy ice cream base, especially if you’re using dates as a sweetener. It’s also essential for the “blend, freeze, blend” method.
- Ice Cream Maker Options:
- Traditional Ice Cream Maker: If you have one, it’s a classic way to achieve excellent creamy results.
- Ninja Creami: My personal favorite for protein ice cream, it creates an exceptionally thick and creamy texture from frozen bases.
- Ice Cube Tray: For the “blend, freeze, blend” method, an ice cube tray is perfect for freezing your base into manageable chunks that your blender can handle.
Key Ingredients for Your Healthy Peanut Butter Cup Ice Cream
Each ingredient plays a vital role in the flavor, texture, and health profile of this amazing dessert. Here’s a closer look at what you’ll need and why:
- Raw Cacao Powder: While regular cocoa powder works just fine, raw cacao powder is a superfood packed with antioxidants, magnesium, and iron, giving your ice cream a deeper chocolate flavor and added nutritional punch. It contributes to the rich, dark chocolate notes.
- Plant-Based Milk: I typically use unsweetened plant-based milk like almond or cashew milk for a lighter base. However, for an ultra-rich and incredibly creamy ice cream, I highly recommend swapping in full-fat canned coconut milk. The higher fat content yields a more luxurious texture, especially important for dairy-free recipes.
- Thick Plant-Based Yogurt (Optional but Recommended): This ingredient is truly a game-changer for the texture! Adding a thick Greek-style plant-based yogurt or a dense coconut yogurt (like SO Delicious or Siggi’s plant-based options) significantly enhances the creaminess and body of the ice cream, preventing it from becoming too icy. If you don’t have thick yogurt, you can simply use more plant-based milk, though the texture might be slightly less dense.
- Chocolate Protein Powder: Choose a high-quality chocolate protein powder whose flavor you genuinely love, as it will greatly contribute to the overall richness, sweetness, and chocolatey depth of your ice cream. For a vegan recipe, ensure you’re using a plant-based protein powder (e.g., pea protein, rice protein, or a blend). It’s essential for the “protein” aspect of this healthy treat!
- Natural Peanut Butter: Any creamy, natural nut butter will work beautifully here, but good old peanut butter is key for that classic peanut butter cup flavor. Opt for varieties with just peanuts and salt for the healthiest option. If you have a peanut allergy or preference, almond or cashew butter are great substitutes.
- Sweetener of Choice: You have several options to sweeten your ice cream naturally. Pitted Medjool dates offer a rich, caramel-like sweetness and added fiber. Alternatively, maple syrup provides a liquid sweetener that blends easily, or you can use a calorie-free option like monk fruit for a sugar-free alternative. Adjust to your personal taste!
- Dairy-Free Chocolate Chips: These are for the homemade peanut butter cups and for any extra mix-ins you desire. Look for dairy-free or dark chocolate chips to keep the recipe vegan and refined sugar-free if preferred.
- Vanilla Extract & Sea Salt: These two humble ingredients are flavor enhancers. Vanilla adds warmth and depth, while a good pinch of sea salt balances the sweetness and makes all the chocolate and peanut butter flavors pop. Don’t skip the salt!
- Protein Bar (Optional for Peanut Butter Cups): This is a secret weapon for super easy and extra-protein-packed peanut butter cups! Instead of just peanut butter, I like to use a clean protein bar (like Rise Bar, code: DANI for a discount) for the filling. It gives the cups a lovely chewy texture and boosts their protein content. Of course, using plain peanut butter for the filling is also perfectly fine and delicious.
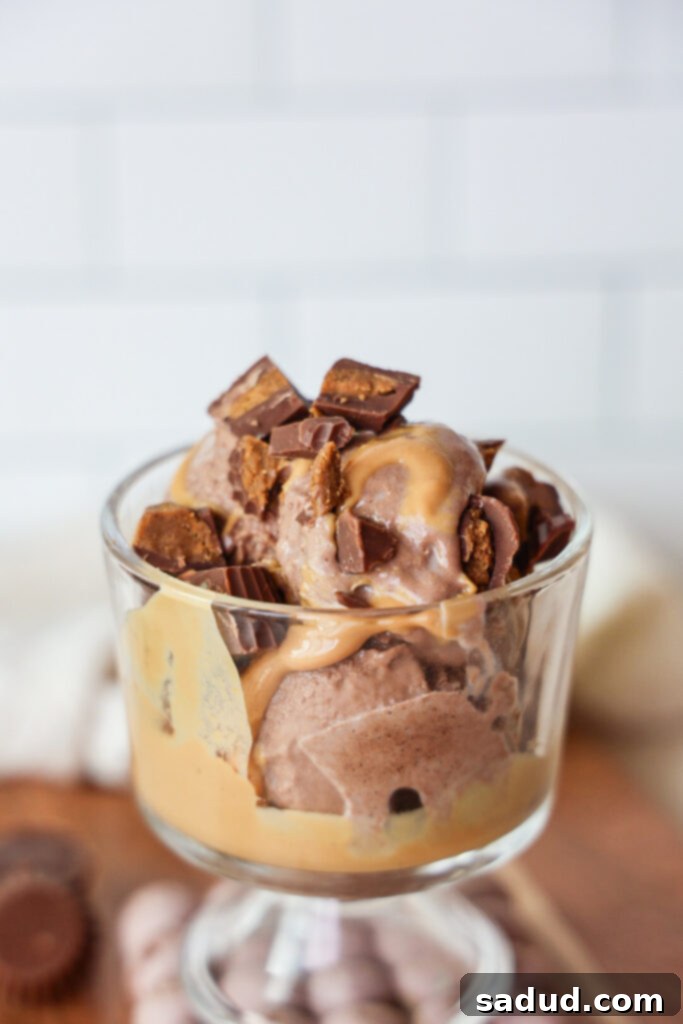
Crafting Your Vegan Peanut Butter Cups
These homemade peanut butter cups are simple to make and add an incredible element to the ice cream. You’ll likely make more than you need for the ice cream, which means delicious leftovers for snacking!
- Melt the Chocolate: In a small, microwave-safe bowl, melt your dairy-free chocolate chips until completely smooth. You can achieve this using a double-boiler method on the stovetop or by heating them in the microwave in 20-second intervals, stirring thoroughly after each interval, until the chocolate is glossy and fluid.
- Prepare the Molds: Spoon a small amount of melted chocolate into the bottom of each cavity of a peanut butter cup mold (silicone molds work best for easy removal) or a mini muffin tin lined with paper liners. Using a small knife or a chopstick, gently spread the chocolate up the sides of the mold slightly. This creates a chocolate shell for your filling. Place the mold into the freezer for just a few minutes to allow the chocolate to firm up quickly.
- Add the Filling: If you’re using a peanut butter protein bar, break it into small, manageable pieces. Remove your chocolate-lined molds from the freezer. Press a small piece of the protein bar firmly into the bottom of each cup, directly on top of the hardened chocolate layer. If you’re using just peanut butter, spoon a small dollop into the center.
- Seal with Chocolate: Pour the remaining melted chocolate over the peanut butter filling, ensuring it completely covers the top. This creates the top chocolate layer of your peanut butter cups. Return the molds to the freezer and allow them to chill until the cups are completely firm and easily removable, typically about 15-20 minutes.
Step-by-Step Methods for Ultra-Creamy Ice Cream
No matter what equipment you have, you can achieve delicious results. Choose the method that best suits your kitchen setup:
Option 1: The Ninja Creami Method (Highly Recommended!)
The Ninja Creami is fantastic for achieving an incredibly dense and creamy protein ice cream texture with minimal effort.
- Blend the Base: Add all of your ice cream base ingredients (milk, yogurt, protein powder, cacao, peanut butter, sweetener, vanilla, salt) to a high-speed blender. Blend for 1-2 minutes until the mixture is perfectly smooth, with no lumps of dates or protein powder remaining.
- Freeze the Pint: Pour the blended ice cream mixture into your Ninja Creami pint, secure the lid, and place it in the freezer. For optimal results, freeze it overnight or for at least 24 hours until it’s completely solid.
- Process with Creami: When you’re ready to enjoy, let the frozen pint sit on the counter for about 5-10 minutes to slightly soften the edges. Then, place the pint into your Ninja Creami machine. Run it on the “Lite Ice Cream” setting for the first round.
- Re-Mix and Add Inclusions: After the first spin, the ice cream might appear crumbly. Use the “Re-Mix” button to run it for a second round. This significantly improves the texture, making it super creamy. Once re-mixed, break up some of your homemade peanut butter cups into smaller pieces. Create a hole in the center of your ice cream pint (if needed) and add the peanut butter cup pieces. Use the “Mix-Ins” button to perfectly incorporate them throughout the ice cream. Serve immediately!
Option 2: Traditional Ice Cream Maker Method
For those with a classic ice cream maker, this method yields a wonderfully smooth and soft-serve consistency.
- Blend the Base: Combine all ice cream base ingredients in a blender and blend for 1-2 minutes until thoroughly smooth and creamy.
- Chill the Base: For best results, chill the blended ice cream base in the refrigerator for at least 2-4 hours, or even overnight. A cold base churns faster and results in a creamier ice cream.
- Churn the Ice Cream: Make sure your ice cream maker bowl is thoroughly frozen (follow your manufacturer’s instructions). Turn on your ice cream maker and, as it’s churning, pour the chilled ice cream base into the machine.
- Add Mix-Ins: Let the machine churn for about 20-30 minutes, or until the ice cream reaches a thick, soft-serve consistency. In the last minute or two of churning, toss in your broken homemade peanut butter cups or any other desired mix-ins. Allow them to mix in thoroughly.
- Serve or Freeze: Enjoy immediately for a soft-serve texture, or transfer to an airtight freezer-safe container and freeze for another 2-4 hours for a firmer scoopable ice cream.
Option 3: Blend, Freeze, Blend (No-Churn) Method
No special machines? No problem! This method relies on freezing your base in cubes and then re-blending for creaminess.
- Blend and Freeze into Cubes: Add all ice cream base ingredients to a blender. Blend for 1-2 minutes until completely smooth. Pour the mixture into ice cube trays and freeze until solid, ideally overnight.
- Re-Blend for Creaminess: When you’re ready to make ice cream, remove the frozen cubes from the tray and let them sit on the counter for 10-15 minutes to slightly soften. Transfer the cubes to a high-powered blender (like a Vitamix) or a robust food processor. Blend for several minutes, stopping frequently to scrape down the sides, until the mixture transforms into a super thick, creamy, and smooth ice cream texture.
- Adjust Consistency (if needed): If your blender struggles or the mixture is too thick to blend, add a tiny splash of plant-based milk (1-2 tablespoons at a time). Be cautious not to add too much, as this can turn your ice cream into more of a smoothie consistency.
- Add Mix-Ins and Serve: Once creamy, transfer the ice cream to a bowl and stir in your broken peanut butter cups and any other mix-ins. Enjoy immediately!
- Storage: Store any leftovers in an airtight ice cream pint or freezer-safe container in the freezer. For best texture when serving from frozen, let it thaw on the counter for about 10-15 minutes before scooping.
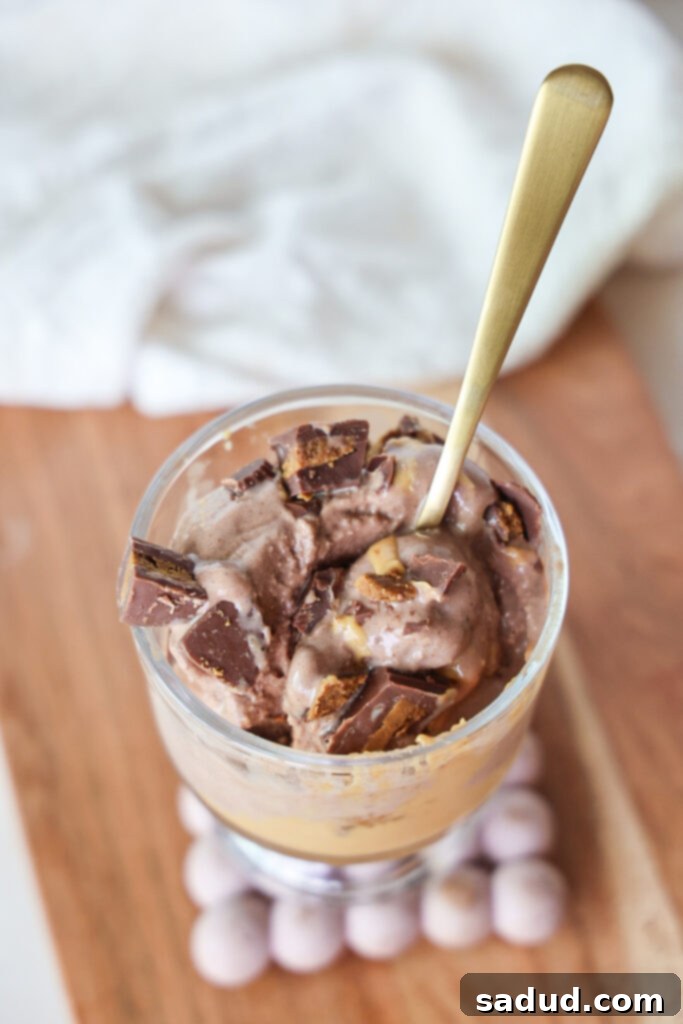
Expert Tips for the Perfect Healthy Protein Ice Cream
Achieving the perfect creamy, delicious healthy ice cream is easy with a few insider tips:
- Ninja Creami Specific Tips:
- Pre-Thaw for Creaminess: Always let your frozen Ninja Creami pint sit on the counter for 10-15 minutes before processing. This slight thaw creates a noticeably creamier, less icy outcome.
- Don’t Skip the Re-Mix: Even if it looks good after the first spin, a second pass with the “Re-Mix” button almost always yields a superior, smoother, and silkier texture.
- Mix-In Timing: For the best distribution of your peanut butter cups, create a small well in the center of your ice cream after the first or second spin, add your mix-ins, then use the “Mix-In” function.
- Blend, Freeze, Blend Method Tips:
- Counter Thaw is Key: Just like with the Ninja Creami, allowing your frozen ice cubes to sit out for 10-15 minutes before re-blending is crucial. This pre-softening allows your blender to work more effectively and produces a much creamier, less icy texture.
- High-Powered Blender Essential: This method truly benefits from a Vitamix or another high-powered blender that can handle frozen ingredients without burning out the motor.
- Add Liquid Sparingly: If your blender is struggling, add milk one tablespoon at a time. Too much liquid will turn your ice cream into a smoothie.
- Ingredient Quality Matters: Using good quality, natural peanut butter (just peanuts and salt), high-quality protein powder, and fresh dates will significantly impact the flavor and texture of your ice cream.
- Adjust Sweetness to Taste: Sweetness preferences vary. Start with the suggested amount of sweetener and taste the base before freezing. You can always add more to the blended mixture.
- Storage for Best Results: Store homemade ice cream in an airtight container with a piece of parchment paper pressed directly onto the surface to prevent ice crystals from forming. This keeps it fresh and delicious for up to a week.
- Serving from Frozen: If your ice cream becomes very hard after freezing, let it sit on the counter for 10-15 minutes (or even longer for the no-churn method) to soften slightly before scooping for the ideal creamy texture.
More Healthy, Dairy-Free Ice Cream Recipes to Try
If you loved this recipe, you’re in for a treat! Explore more of our delicious and healthy dairy-free ice cream creations:
- Snickers Ice Cream Cake
- Vegan Pumpkin Ice Cream
- No-Bake Homemade Ice Cream Sandwiches
- Strawberry Shortcake Ice Cream Bars
- Healthy Cookie Dough Ice Cream
- Dragon Fruit Ice Cream with Peanut Butter Cookie Dough Chunks
- Vegan Pistachio Ice Cream
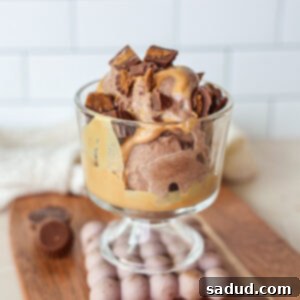
Vegan Peanut Butter Cup Protein Ice Cream
Pin Recipe
10 minutes
Dessert, Snack
American
Ingredients
For the Creamy Ice Cream Base
- 1 cup lite canned coconut milk (or other thicker plant-based milk like cashew or oat) *For the absolute creamiest texture, opt for full-fat canned coconut milk!
- 1/4 cup thick plant-based yogurt (e.g., Greek-style almond or coconut yogurt; can substitute with more milk for a lighter option)
- 1 scoop (approx. 3 tbsp) of your favorite chocolate protein powder
- 1 1/2 tbsp raw cacao powder (or unsweetened cocoa powder)
- 1-2 pitted Medjool dates or sweetener of choice, to taste (maple syrup, honey (if not vegan), or monk fruit for sugar-free)
- 1 1/2 tbsp natural peanut butter (smooth, unsweetened)
- 1/4 tsp vanilla extract & a generous pinch of sea salt
- 1-2 tbsp powdered peanut butter (optional, for extra peanut flavor and protein boost)
For the Homemade Peanut Butter Cups (makes extra!)
- 1/3 cup dairy-free chocolate chips (or dark chocolate chips)
- natural peanut butter or a peanut butter protein bar (for the filling)
Instructions
Preparing the Homemade Peanut Butter Cups
-
In a small, microwave-safe bowl, melt the chocolate chips until completely smooth. Use either the double-boiler method or heat in the microwave in 20-second increments, stirring well after each, until fluid.
-
Add a little melted chocolate to the bottoms of your peanut butter cup molds (or mini muffin tin liners). Use a small knife or chopstick to spread the chocolate slightly up the sides of the mold. Place in the freezer for a few minutes to firm up quickly.
-
If using a peanut butter protein bar, break it into small pieces. Remove the mold from the freezer. Press a small piece of the bar (or a dollop of peanut butter) into the bottom of each chocolate-lined cup. Use the remaining melted chocolate to cover the peanut butter filling completely. Return to the freezer until the peanut butter cups are fully firm.
Method 1: Ninja Creami
-
Prepare the Base: Add all ice cream base ingredients to a high-speed blender. Blend for 1-2 minutes until completely smooth. Pour the mixture into your Ninja Creami pint. Secure the lid and freeze overnight or for at least 24 hours until solid.
-
Process: When ready to serve, let the pint sit on the counter for 5-10 minutes. Place it in the Ninja Creami machine and run it on the “Lite Ice Cream” setting. Use the “Re-Mix” button for a second spin to achieve optimal creaminess. Break up some of the homemade peanut butter cups, add them to the pint, and use the “Mix-Ins” button to incorporate them thoroughly. Serve immediately.
Method 2: Traditional Ice Cream Machine
-
Prepare & Chill Base: Add all ice cream base ingredients to a blender. Blend for 1-2 minutes until completely smooth. Chill the blended mixture in the refrigerator for at least 2-4 hours, or ideally overnight, before churning.
-
Churn & Mix-In: Turn on your ice cream maker (ensure the bowl is pre-frozen) and pour the chilled base into the machine as it’s running (or according to your machine’s instructions). Let it churn for 20-30 minutes until thickened to a soft-serve consistency. In the last minute or so, add your broken peanut butter cups or other mix-ins to incorporate. Enjoy immediately, or freeze for a firmer texture.
Method 3: Blend, Freeze, Blend (No-Churn)
-
Prepare & Freeze Cubes: Add all ice cream base ingredients to a blender. Blend for 1-2 minutes until completely smooth. Pour the mixture into ice cube trays and freeze until solid, typically overnight.
-
Re-Blend for Creaminess: When ready to serve, remove the frozen cubes and let them thaw on the counter for 10-15 minutes. Transfer to a Vitamix or high-powered blender/food processor and blend for several minutes until super thick and creamy, scraping down the sides as needed. If too thick, add a tiny splash of milk (1 tbsp at a time) sparingly.
-
Serve & Store: Once creamy, transfer to a bowl and stir in your broken peanut butter cup mix-ins. Store any leftovers in an ice cream pint or airtight container in the freezer. Let it thaw for 10-15 minutes before enjoying again for optimal texture.
Video
healthy dessert, healthy ice cream, healthy peanut butter cups, healthy vegan desserts, ninja creami recipe, protein dessert, protein ice cream, vegan ice cream, dairy-free ice cream, gluten-free ice cream
