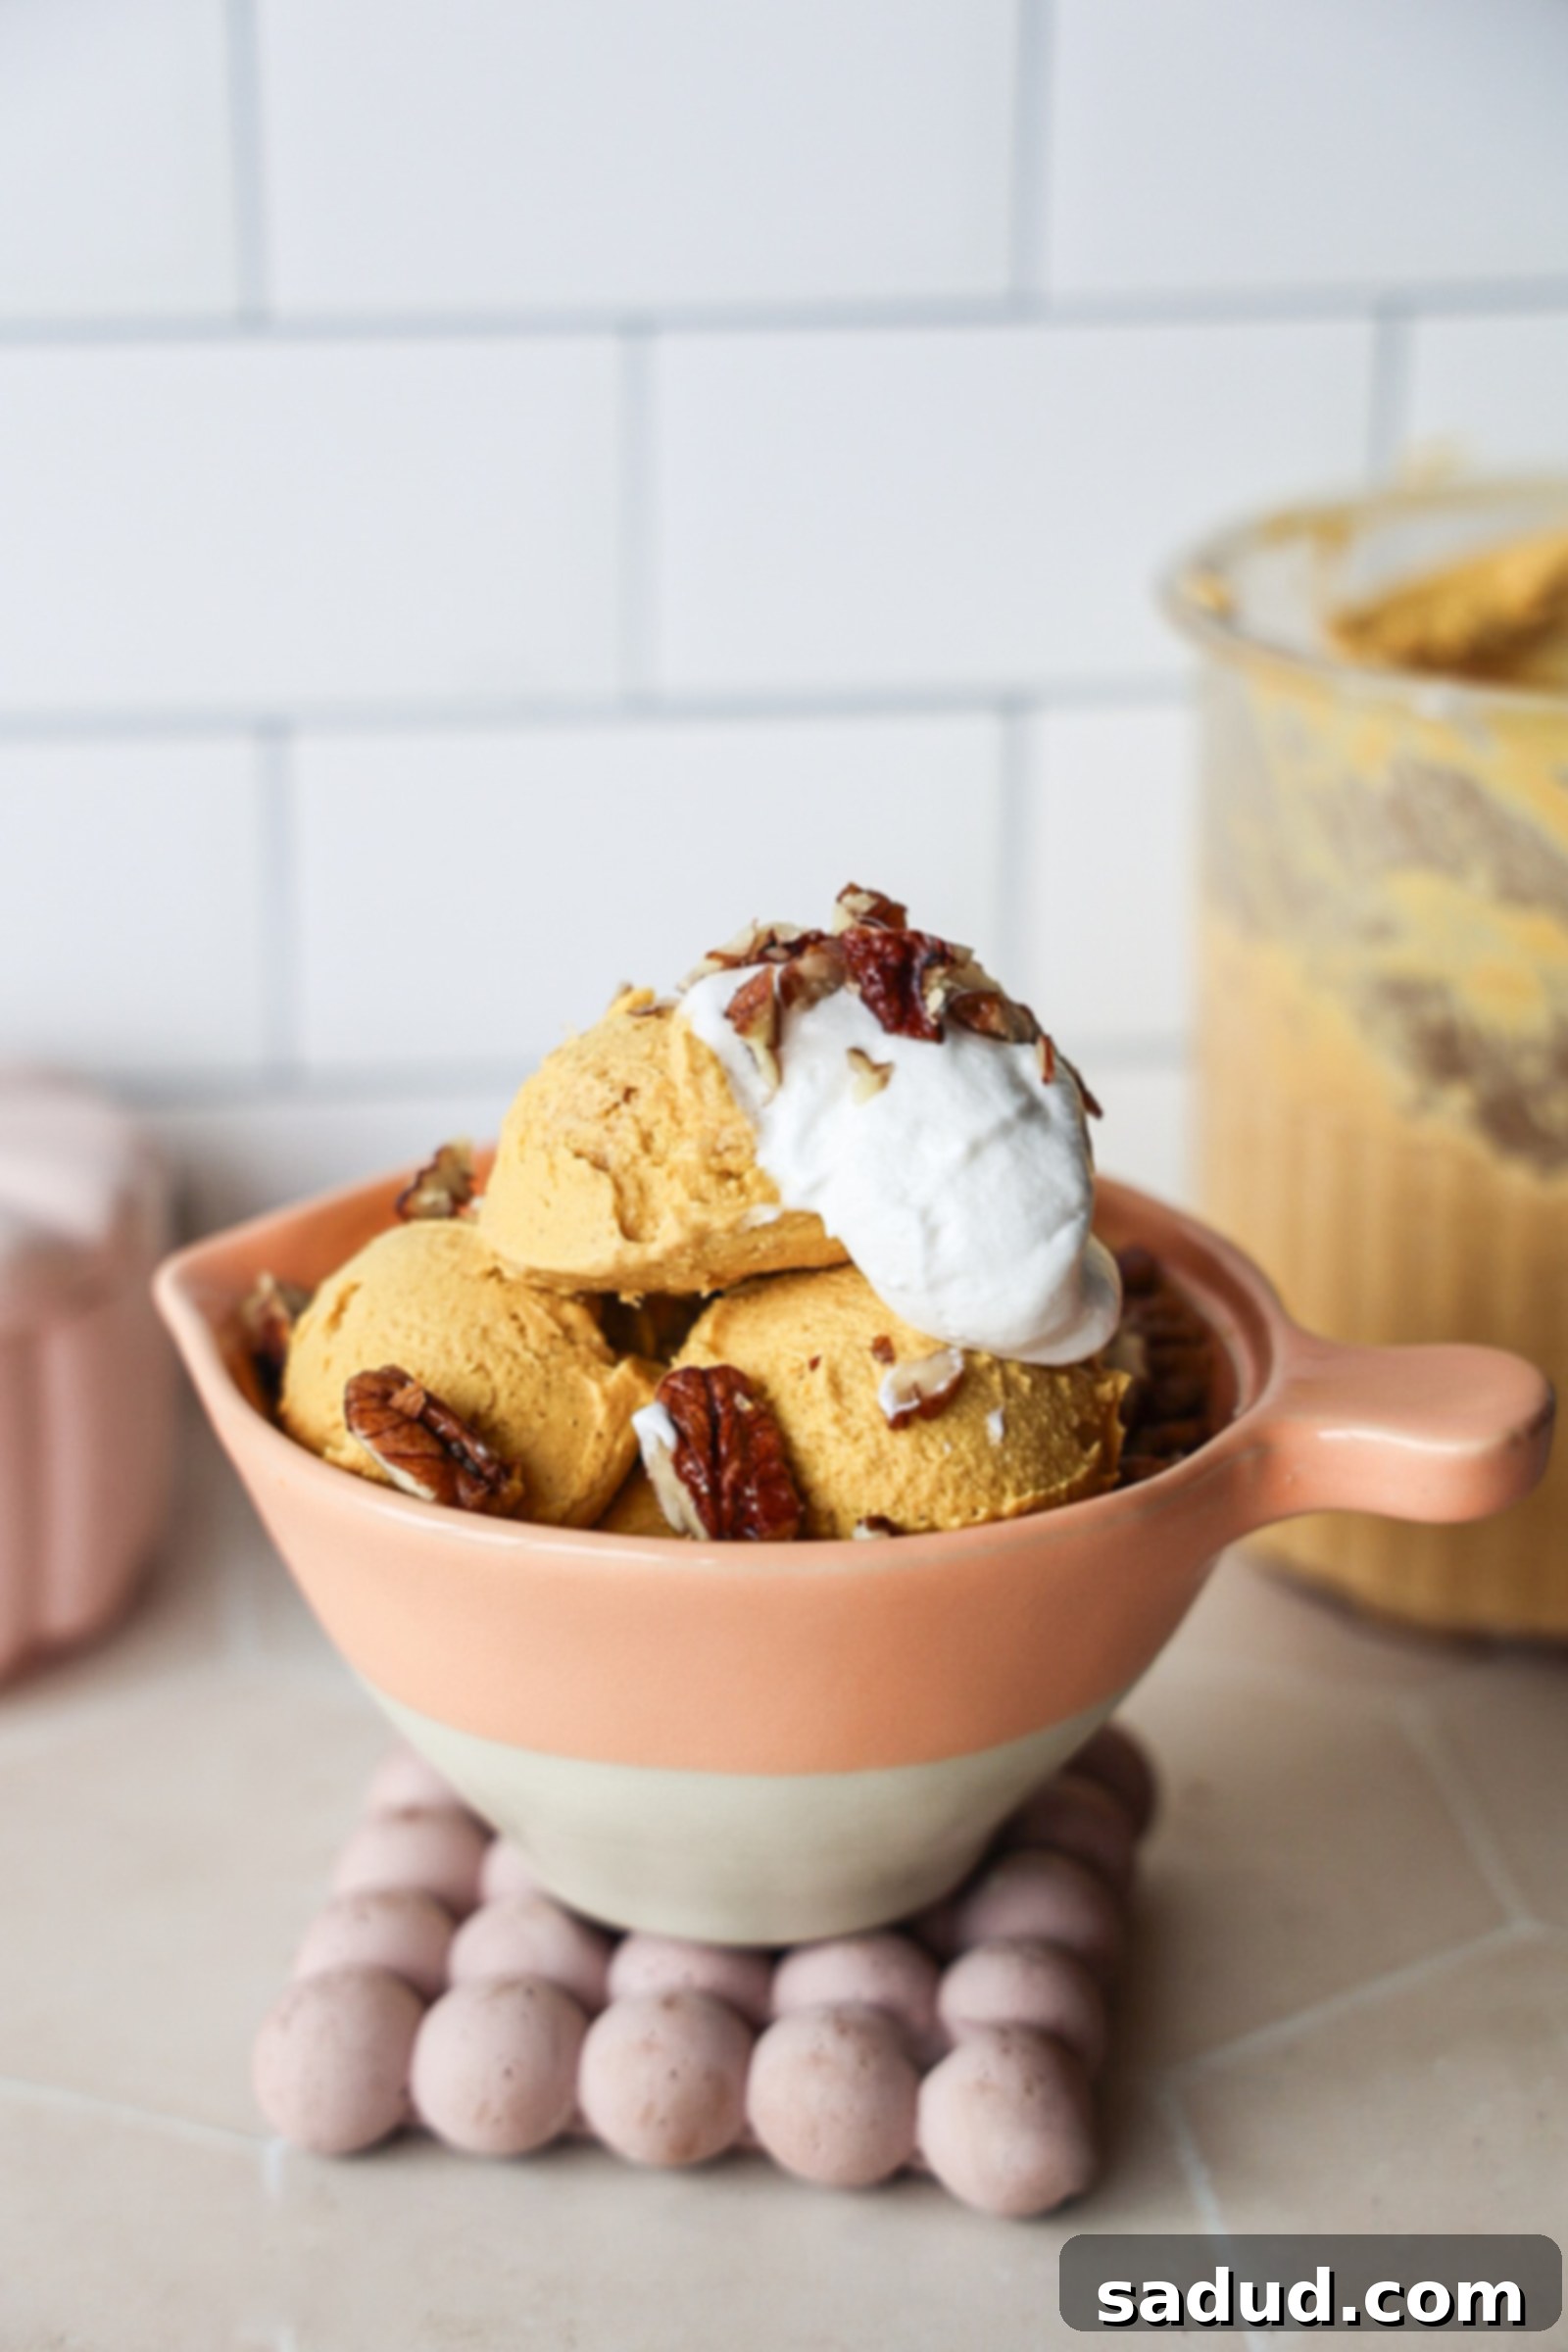
The Ultimate Healthy Vegan Pumpkin Ice Cream: Creamy, Easy, & Perfect for Fall
Say goodbye to summer with a delicious, healthy transition into autumn! This **ultra-creamy vegan pumpkin ice cream** is incredibly easy to whip up, bringing all the comforting flavors of pumpkin pie without the need for a crust. It’s the ideal treat to welcome cooler weather, packed with rich, aromatic pumpkin spice goodness. Best of all, you don’t need any fancy gadgets! This recipe offers a versatile **no-churn** method, but also includes instructions for those with a Ninja Creami or traditional ice cream maker, ensuring everyone can enjoy this delightful, wholesome dessert.
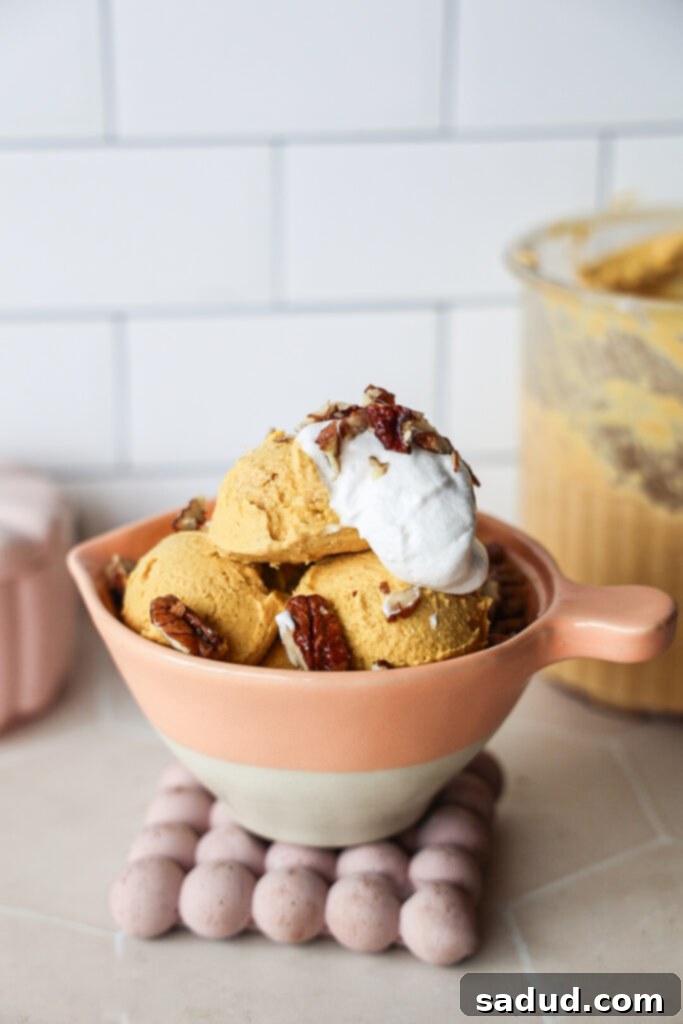
As the days grow shorter and the air turns crisp, many of us find ourselves torn between clinging to summer’s warmth and embracing the cozy charm of autumn. While it’s hard for a “sun baby” like me to fully let go of those long, bright days, the allure of pumpkin spice season is simply irresistible. And as a true ice cream aficionado, I believe there’s no bad time for a scoop (or two!), even when the temperatures drop.
This recipe perfectly marries my unwavering love for creamy ice cream with my growing excitement for everything pumpkin spice. The result? A pumpkin ice cream that is genuinely out of this world! Forget complicated desserts; homemade ice cream doesn’t have to be a daunting task. This recipe is surprisingly straightforward, requiring minimal effort with just about 5 minutes of active preparation time.
One of the most appealing aspects of this pumpkin ice cream is its flexibility. Whether you’re a culinary novice or a seasoned dessert maker, you can create this rich, creamy vegan delight. We’ve outlined three distinct methods, accommodating every kitchen setup. You don’t need any specialized machinery, making it accessible to all. However, if you happen to own an ice cream maker or a Ninja Creami, you’ll find that these tools can elevate the texture to an even more ethereal level of creaminess. No matter your equipment, a luscious, dairy-free pumpkin ice cream is well within your reach.
Why You’ll Fall in Love with This Vegan Pumpkin Ice Cream Recipe
-
Effortlessly Easy to Make: Forget complicated techniques or lengthy chilling times. This recipe is designed for simplicity. With just a quick blend of ingredients and a freeze, you’ll have a delectable dessert ready to enjoy. While it shines with a Ninja Creami or traditional ice cream maker, our comprehensive no-churn method ensures anyone can achieve perfect results with standard kitchen tools. It’s truly a 5-minute prep wonder!
-
Made with Wholesome, Health-Conscious Ingredients: We believe delicious doesn’t have to mean unhealthy. This pumpkin ice cream is crafted with nutritious components, making it entirely dairy-free and vegan, suitable for those avoiding animal products. It’s also refined sugar-free, relying on natural sweeteners for its delightful taste. Plus, it’s gluten-free and paleo-friendly, catering to a wide range of dietary preferences without compromising on flavor or texture. Enjoy a treat you can feel good about!
-
Achieves an ULTRA Creamy Texture: Prepare for an incredibly smooth and luxurious ice cream experience. The secret to its velvety consistency lies in carefully selected ingredients, including raw cashews (or a suitable nut butter alternative) and a clever use of yogurt. Even without traditional dairy, this recipe delivers a richness that will surprise and delight. We even show you how to achieve this incredible creaminess without relying on coconut milk, offering even more options for diverse tastes.
-
The Ultimate Fall and Holiday Dessert: This pumpkin ice cream isn’t just a dessert; it’s an experience. Its warm, comforting pumpkin pie flavors make it an absolute must-have for autumn gatherings, holiday celebrations like Thanksgiving, or simply a cozy night in. Serve it as a stand-alone treat, or elevate other desserts by adding a generous scoop on top of warm apple crisp, freshly baked cookies, a slice of cake, or anywhere you typically crave ice cream.
-
Remarkably Creamy, Even Without Coconut Milk: While full-fat canned coconut milk is often lauded for its cream-enhancing properties in vegan desserts, we’ve developed a recipe that delivers exceptional creaminess even without it. This offers more flexibility and makes it suitable for those who may prefer to avoid coconut. Our blend of cashews (or nut butter) and specific milk choices ensures a rich, smooth texture that rivals any dairy-based ice cream.
Vegan Pumpkin Pie Ice Cream Recipe Video
Crafting Your Creamy Vegan Pumpkin Ice Cream: A Step-by-Step Guide
Below, you’ll find a detailed breakdown of the ingredients and various methods for creating this irresistible dessert. For precise measurements and a printable version of the recipe, please refer to the complete recipe card located at the very bottom of this post.
Essential Ingredients for Perfect Pumpkin Creaminess
The magic of this vegan pumpkin ice cream lies in a thoughtful combination of wholesome ingredients, each playing a crucial role in achieving its signature creamy texture and rich flavor profile:
-
Pumpkin Puree: This is the star of our show, providing that iconic fall flavor and a beautiful orange hue. It’s crucial to use pure pumpkin puree, not pumpkin pie filling. Pie filling contains added sugars, spices, and often other ingredients that would throw off the balance and sweetness of this recipe. Ensure your can is labeled “100% pure pumpkin.”
-
Raw Cashews or Nut Butter: For an unbelievably creamy, dairy-free base, raw cashews are key. When blended, they create a smooth, rich texture without imparting a strong flavor. I highly recommend using raw cashews for the best results, which you can often find affordably on Amazon. If raw cashews aren’t available, you can substitute with about 1/2 cup of creamy cashew butter or almond butter. Note that nut butters may slightly alter the flavor and require less liquid to achieve the desired consistency, so adjust accordingly.
-
Coconut Yogurt or Greek Yogurt: Adding a touch of coconut yogurt (for a fully vegan option) or dairy-free Greek yogurt introduces a subtle tang that balances the sweetness and deepens the overall flavor, much like traditional ice cream. It also contributes to the ice cream’s creamy mouthfeel and offers gut-healthy probiotics. If you prefer to omit it, simply increase your chosen milk by 1/4 cup.
-
Milk of Choice: The type of milk you choose significantly impacts the final texture. For the absolute creamiest ice cream, full-fat canned coconut milk (the thick cream part) is your best bet, as its higher fat content contributes to a decadent mouthfeel. However, any plant-based milk with some fat content, such as almond milk, oat milk, or cashew milk, will also work well. Avoid overly watery milks for the best results.
-
Natural Sweeteners: We use a combination of coconut sugar and maple syrup to sweeten this ice cream. This blend not only provides a rich, caramel-like depth of flavor but also keeps the recipe refined sugar-free. Coconut sugar offers a subtle warmth, while maple syrup adds a classic sweetness that complements the pumpkin perfectly. You can adjust the quantities to suit your preference.
-
Pantry Staples: A trio of classic spices and flavors completes our pumpkin ice cream: vanilla extract, pumpkin pie spice, cinnamon, and a good pinch of sea salt. These ingredients are essential for creating that comforting, quintessential pumpkin pie flavor profile, enhancing the natural sweetness and warmth of the pumpkin.
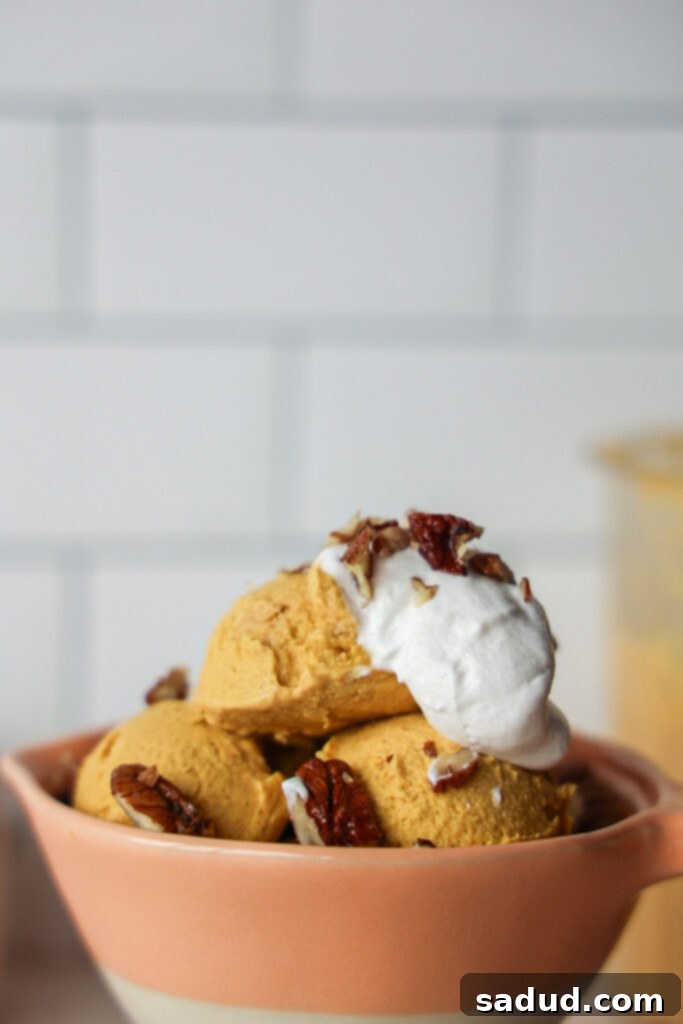
Step-by-Step Methods to Create Your Delicious Pumpkin Ice Cream
One of the best features of this recipe is its adaptability. You can achieve perfectly creamy, healthy pumpkin ice cream using three different methods, whether you own specialized equipment or not. Choose the option that best suits your kitchen and preferences!
-
Option 1: The Ninja Creami Method (for Ultra-Smooth & Personalized Servings)
This method is fantastic for an incredibly smooth texture and the ability to customize individual servings. Begin by adding all your base ingredients (milk, yogurt, cashews, pumpkin, sweeteners, spices, vanilla, and salt) to a high-speed blender. Blend for 1-2 minutes until the mixture is absolutely silken and free of any cashew grit. Taste and adjust sweetness or spice levels if desired. Pour this creamy mixture into your Ninja Creami pint, secure the lid, and freeze for at least 8 hours, preferably overnight, to ensure it’s solid through and through. When ready to enjoy, let the frozen pint rest on the counter for about 5 minutes to slightly temper. Place it into your Ninja Creami machine and select the “Lite Ice Cream” setting for the first churn. If it’s still powdery or crumbly, use the “Re-Mix” button for another round. Once perfectly creamy, you can incorporate your favorite mix-ins like chopped pecans or white chocolate chips using the “Mix-In” option for perfectly distributed additions. Serve immediately and savor the rich, smooth texture!
-
Option 2: The Ice Cream Maker Method (for Classic Churning Perfection)
For those who love the classic ice cream maker experience, this method delivers beautifully churned results. The night before you plan to make your ice cream, ensure the bowl of your ice cream maker is thoroughly frozen (this is crucial for proper churning!). When you’re ready to proceed, combine all the ice cream base ingredients in a high-speed blender. Blend for 1-2 minutes until the mixture is completely smooth and velvety. Taste and adjust the spices or sweetness to your liking. Turn on your pre-chilled ice cream maker and, as it churns, slowly pour the blended pumpkin mixture into the machine. Follow your specific ice cream maker’s instructions for churning time, typically 20-30 minutes, or until the ice cream thickens to a soft-serve consistency. Towards the end of the churning process, you can gently toss in your chosen mix-ins and let the machine run for another minute or so to ensure they are evenly distributed. Enjoy this fresh, churned goodness right away or transfer it to an airtight container and freeze for a firmer scoop.
-
Option 3: The Blend, Freeze, Blend Method (No Special Equipment Required!)
This method is perfect if you don’t have an ice cream maker or Ninja Creami but still want incredible homemade ice cream. Start by blending all your ingredients in a high-powered blender or food processor until the mixture is perfectly smooth and creamy (1-2 minutes). Adjust seasoning and sweetness as needed. Instead of pouring it directly into a pint, pour the mixture into ice cube trays. Freeze these cubes overnight or all day until they are completely solid. When you’re ready for ice cream, transfer the frozen cubes to a powerful blender (like a Vitamix) or a robust food processor. Blend for several minutes, stopping frequently to scrape down the sides, until the cubes transform into a super thick, smooth, and creamy ice cream consistency. If the mixture is too thick to blend, add just a splash of your chosen milk (be cautious not to add too much, as it can turn it into a smoothie!). Once it’s creamy, transfer it to a bowl and fold in your favorite mix-ins. For firmer ice cream, store leftovers in an airtight container in the freezer and let it thaw for about 10 minutes before scooping.
Exciting Ice Cream Variations & Delicious Mix-ins
While this vegan pumpkin ice cream is spectacular on its own, it’s also a fantastic base for customization! Get creative with these variations and mix-ins to make each scoop uniquely yours:
- Mix in **white chocolate chips** (vegan, of course!) for a sweet, creamy contrast to the pumpkin spice.
- Fold in **chopped pecans** or walnuts for a delightful crunch and nutty flavor that complements the fall theme.
- Boost your protein intake by adding a scoop of your favorite **protein powder** into the blender with the other ingredients. I personally love using Macro Mike Vanilla Buttercream protein for its smooth texture and delicious flavor. Don’t forget, you can use my code “amb-dani” for a special discount on your order!
- Serve your pumpkin ice cream in a classic cake cone or a crispy waffle cone for a nostalgic treat.
- Top with fun, colorful **sprinkles**! Because why not add a little extra joy and visual appeal?
- Pair it with texture: spoon it over warm **apple crisp** or a **berry crumble** for an elevated dessert experience.
- For a true pumpkin pie experience, crumble some **gingerbread cookies** or **graham crackers** into the mix or on top.
- Create a decadent swirl with **vegan caramel sauce** or a rich **chocolate fudge sauce**.
- Add a spoonful of **candied pecans** (instructions for a quick homemade version are in the recipe card below!) for an irresistible sweet and crunchy element.
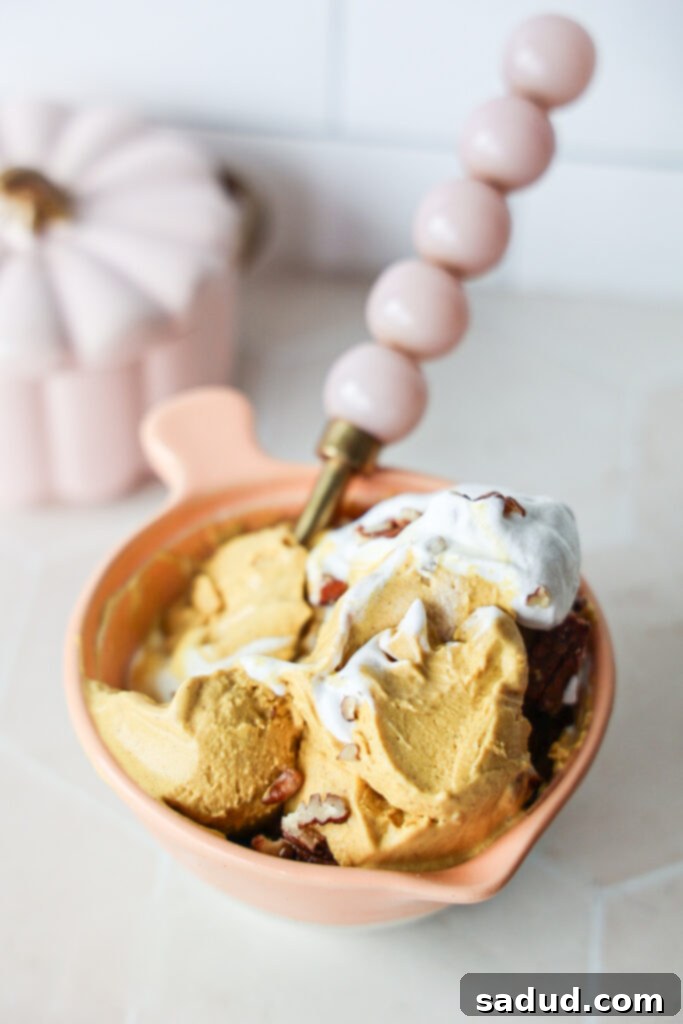
Storing Leftover Vegan Pumpkin Ice Cream for Future Enjoyment
This delicious pumpkin ice cream stores beautifully, allowing you to enjoy it whenever a craving strikes! To maintain its best texture and prevent freezer burn, transfer any leftovers to an airtight ice cream pint or a freezer-safe container immediately after enjoying your first serving. When you’re ready for another scoop, simply let the container sit on the counter for about 10 minutes to allow it to slightly thaw. This tempering process will bring it back to that perfectly creamy, scoopable consistency. Leftovers typically stay fresh and delicious in the freezer for up to 2-3 weeks.
Helpful Recipe Notes & Expert Tips for the Best Results
To ensure your vegan pumpkin ice cream turns out perfectly every time, keep these valuable tips and notes in mind:
-
Can you use something other than cashews for creaminess? Absolutely! If raw cashews aren’t an option, you can certainly use 1/2 cup of a smooth nut butter. Cashew butter or almond butter are excellent choices as they provide creaminess without overpowering the pumpkin flavor. I would recommend steering clear of peanut butter for this recipe, as its strong flavor might clash with the delicate pumpkin spice. If you have a nut allergy, consider using a safe alternative like granola butter or sunflower seed butter, keeping in mind that these may slightly alter the flavor profile.
-
Exploring alternative sweeteners: Our recipe uses coconut sugar and maple syrup for their unique flavor notes and refined sugar-free profile. However, you can certainly experiment with other sweeteners. Honey can be substituted for maple syrup if you don’t mind it not being strictly vegan. For a lower-sugar or sugar-free option, consider swapping coconut sugar for a granulated monk fruit sweetener or golden monk fruit, adjusting to taste as their sweetness intensity can vary.
-
Try a Pumpkin Spice Latte Ice Cream Float! Elevate your coffee experience with this delightful twist. Add a few generous scoops of your homemade pumpkin ice cream to a tall glass, then pour your favorite cold brew coffee over the top. The melting ice cream will create a creamy, spiced latte experience that’s absolutely divine and perfect for a fall afternoon treat.
-
Can I use full-fat canned coconut milk? Yes, and in fact, it’s highly recommended for an even richer, more luxurious texture! While other plant-based milks work well, full-fat canned coconut milk (especially the thick cream from the top of an unshaken can) will deliver unparalleled creaminess and richness, taking your ice cream to the next level. Any plant-based or even dairy milk (if not strictly vegan) will work, but for ultimate decadence, go for full-fat coconut milk.
-
For the creamiest churn: When using an ice cream maker, ensure your base mixture is thoroughly chilled before churning. Placing your blended ice cream base in the refrigerator for an hour or two before adding it to the machine will result in a much firmer and smoother end product.
-
Adjusting spice levels: Pumpkin pie spice blends can vary in intensity. Feel free to adjust the amount of pumpkin pie spice and cinnamon to your personal preference. Taste the blended mixture before freezing and add more if you like a bolder spice flavor.
More Healthy & Delicious Vegan Ice Cream Recipes to Explore
If you loved this pumpkin ice cream, you’re in for a treat! Here are more of my favorite healthy and vegan-friendly ice cream recipes to satisfy your sweet cravings:
- Homemade Ice Cream Sandwiches
- Vegan Snickers Ice Cream Cake
- Vegan Pistachio Ice Cream
- Strawberry Shortcake Ice Cream Bars
- Healthy Cookie Dough Ice Cream/Frozen Yogurt
- Healthy Blueberry Crisp Ice Cream
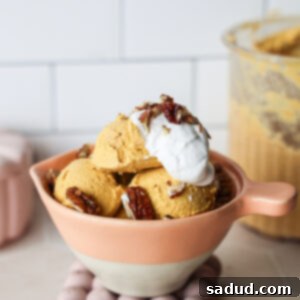
Vegan Pumpkin Ice Cream
Pin Recipe
5 minutes
Dessert, Snack
American
Ingredients
Ice Cream Base
- 1 cup milk of choice *For ultimate creaminess, use full-fat canned coconut milk (the thick cream part). Almond milk is also a great option.
- 1/2 cup coconut yogurt or dairy-free Greek yogurt *Adds tang and probiotics. Can substitute with an additional 1/4 cup milk.
- 1 cup raw cashews *Soak in hot water for 15 mins then drain, or overnight. Can substitute with 1/2 cup cashew butter for a slightly different texture.
- 3/4 cup pumpkin puree *Ensure it’s 100% pure pumpkin, not pie filling.
- 1/4 cup maple syrup *Adjust to desired sweetness.
- 1/4 cup coconut sugar *Contributes to rich flavor. Can substitute with golden monk fruit for a lower sugar option.
- 3/4 tsp cinnamon
- 1 1/2 tsp pumpkin pie spice *Adjust to personal taste for spice intensity.
- 1 1/2 tsp vanilla extract
- good pinch sea salt *Enhances all flavors.
Optional Mix-Ins & Toppings
- Candied pecans (Heat 1/3 cup pecans, 1 tbsp coconut sugar, & 1 tbsp water in a sauce pan over medium heat until they become sticky and caramelized!)
- Crumbled crunchy cookies (like Simple Mills or Siete brand, or even graham crackers for a classic touch)
- Vegan white chocolate chips
- Vegan caramel drizzle
- A scoop of protein powder (Macro Mike Vanilla Buttercream is a great choice!)
Instructions
Method 1: Ninja Creami
-
Add all ice cream base ingredients (milk, yogurt, cashews, pumpkin puree, maple syrup, coconut sugar, cinnamon, pumpkin pie spice, vanilla extract, and sea salt) to a high-speed blender. Blend for 1-2 minutes until the mixture is completely smooth and creamy, ensuring no cashew pieces remain. Taste and adjust the spice and sweetness as needed to suit your preference. Pour the silky-smooth ice cream base into your Ninja Creami pint. Secure the lid on top and place the pint in the freezer. Freeze overnight or for at least 8 hours until solid.
-
When you’re ready to enjoy, remove the pint from the freezer and let it sit on the counter for about 5 minutes to slightly temper. Place the pint into your Ninja Creami machine. Run it for the first round on the “Lite Ice Cream” setting. If the texture is still crumbly or powdery, use the “Re-Mix” button for another round until it reaches a smooth, creamy consistency. If desired, you can add in chopped pecans, white chocolate chips, or any other mix-ins using the “Mix-In” option. Serve immediately and enjoy your perfectly creamy vegan pumpkin ice cream!
Method 2: Ice Cream Maker
-
The night before you plan to make your ice cream, place the bowl of your ice cream maker in the freezer. Ensure it is completely frozen according to your machine’s instructions.
-
When ready to make the ice cream, add all ice cream base ingredients (milk, yogurt, cashews, pumpkin puree, maple syrup, coconut sugar, cinnamon, pumpkin pie spice, vanilla extract, and sea salt) to a high-speed blender. Blend for 1-2 minutes until the mixture is completely smooth and free of any lumps. Taste and adjust the spice and sweetness as needed. For best results, chill this mixture in the refrigerator for at least 30 minutes.
-
Turn on your chilled ice cream maker. Pour the cold ice cream mixture into the machine as it is running (or following your specific ice cream maker’s instructions). Let the machine churn its magic for 20-30 minutes, or until the ice cream reaches a soft-serve consistency. Once thickened, you can gently toss in your desired mix-ins (like chopped pecans or white chocolate chips) and let it churn for another minute or so to thoroughly mix them in. Enjoy immediately for soft-serve style or transfer to an airtight container and freeze for 2-4 hours for a firmer scoop.
-
Store any leftovers in an ice cream pint or a freezer-safe container in the freezer. Let it thaw for 10 minutes or so prior to enjoying your next serving to restore its creamy texture.
Method 3: Blend, Freeze, Blend (No-Churn)
-
Add all ice cream base ingredients (milk, yogurt, cashews, pumpkin puree, maple syrup, coconut sugar, cinnamon, pumpkin pie spice, vanilla extract, and sea salt) to a high-speed blender. Blend for 1-2 minutes until the mixture is completely smooth and creamy. Taste and adjust the spice and sweetness as needed. Pour the mixture into an ice cube tray, then place the tray in the freezer overnight or all day until the cubes are completely solid.
-
When you’re ready to make your ice cream, transfer the frozen pumpkin ice cream cubes to a Vitamix or other high-powered blender or a food processor. Blend for a few minutes, stopping and scraping down the sides as needed, until the cubes transform into a super thick, smooth, and creamy soft-serve consistency. If your blender struggles to process the cubes, add a very small splash of milk (1-2 tablespoons at a time) to help it blend, but be cautious not to add too much, as this can result in a smoothie-like consistency.
-
Once creamy, transfer to a bowl and stir in your favorite mix-ins. Enjoy immediately for a soft-serve texture. Store any leftovers in an ice cream pint or a freezer-safe container in the freezer. Let it thaw for 10 minutes or so prior to enjoying to achieve a scoopable consistency.
Video
Notes
dairy-free pumpkin ice cream, fall desserts, healthy fall desserts, healthy fall recipes, healthy ice cream, paleo ice cream, pumpkin ice cream, pumpkin pie ice cream, pumpkin spice desserts, vegan ice cream
