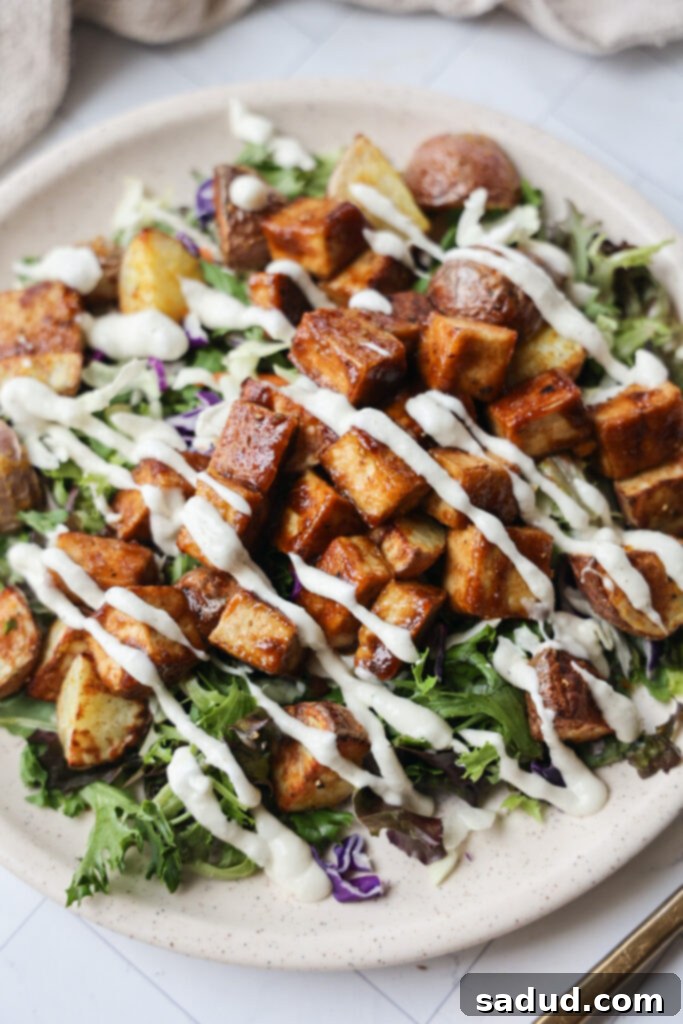
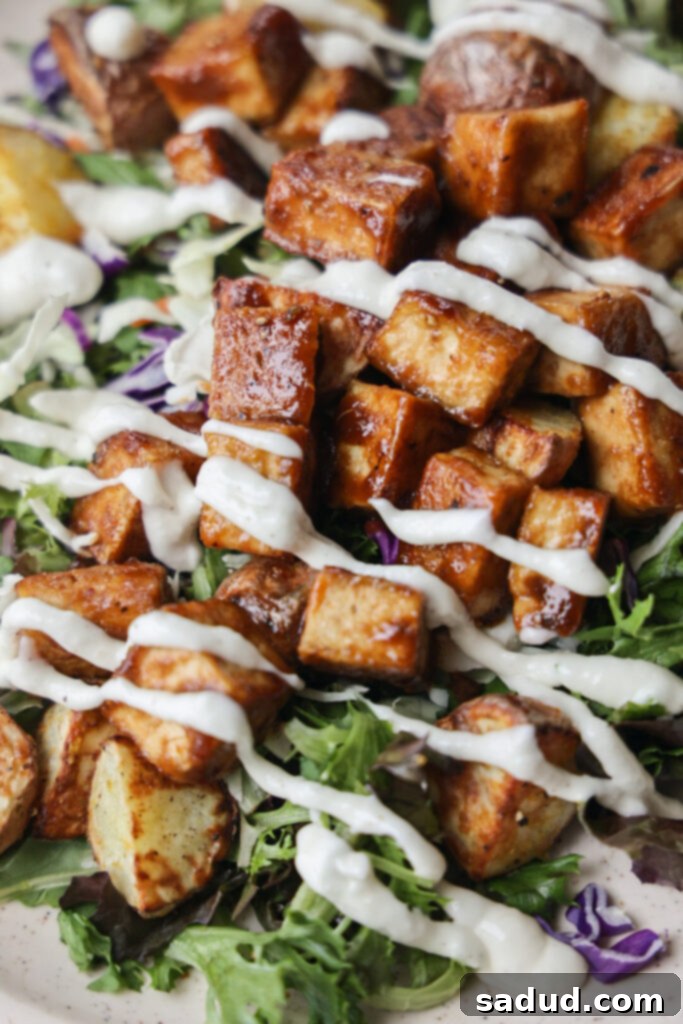
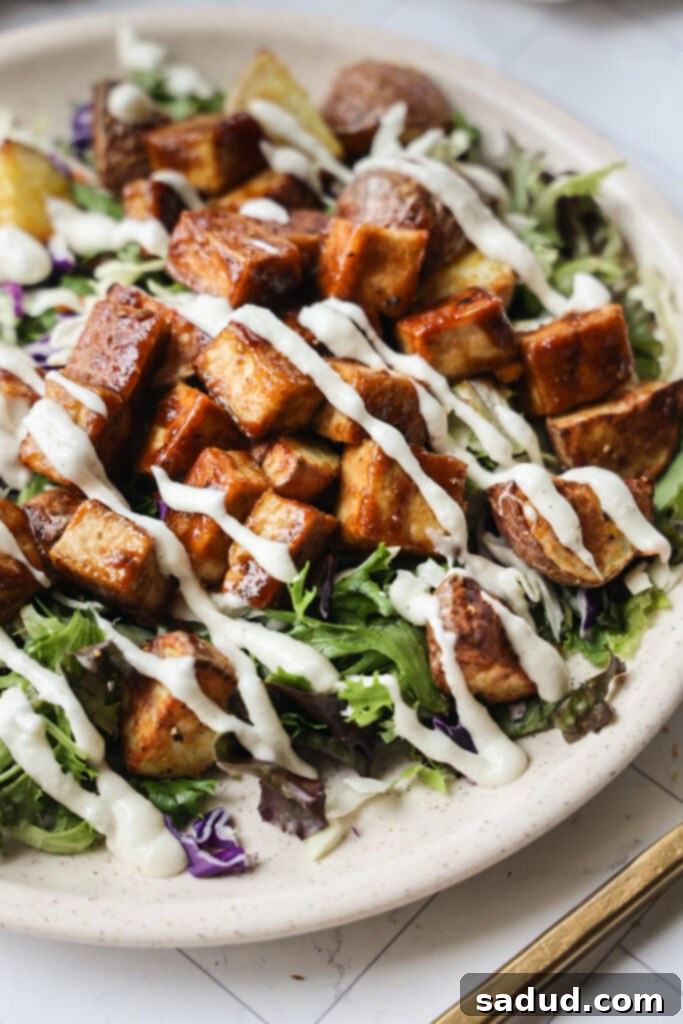
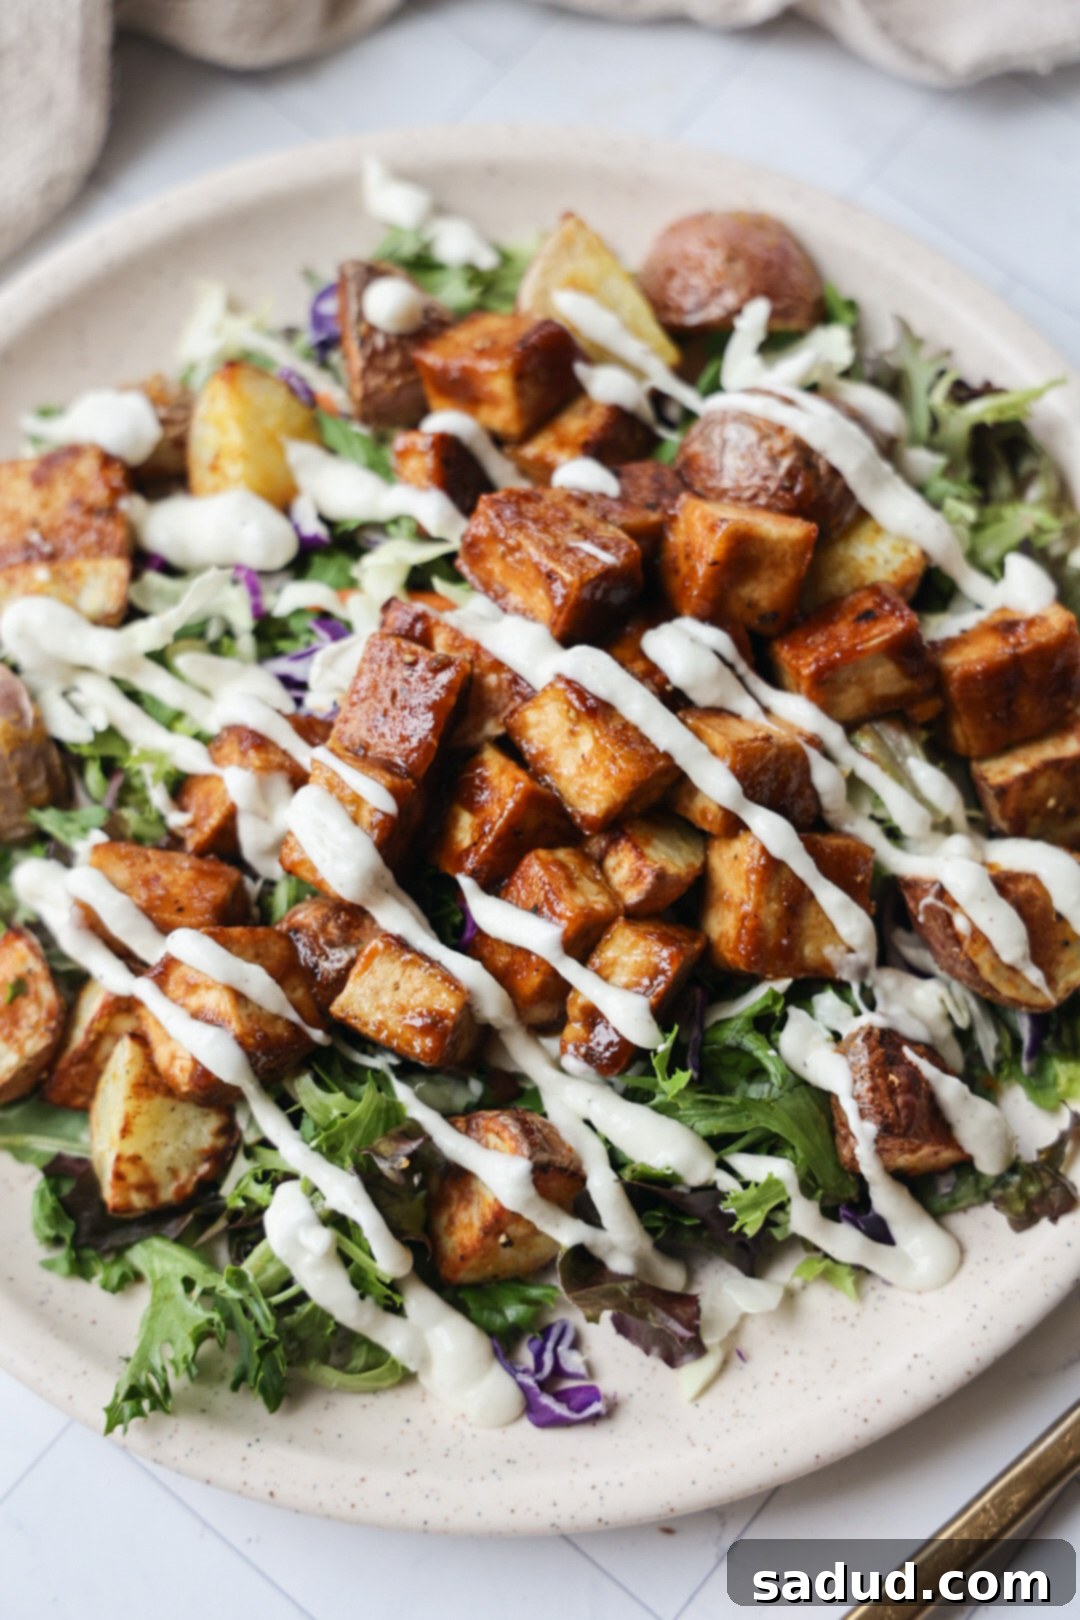
Crispy Balsamic Tofu: The Ultimate Vegan Protein for Quick & Healthy Meals
Discover the magic of perfectly pan-seared or air-fried Crispy Balsamic Tofu, a plant-based protein powerhouse that comes together in just 20 minutes! This recipe is not just quick and satisfying; it’s a game-changer for anyone looking to incorporate more delicious vegan options into their diet. Fresh, incredibly flavorful, and honestly so addicting, this dish will transform even the most skeptical into a tofu enthusiast. Whether you serve it atop a vibrant bed of salad greens, in a nourishing Buddha bowl, or simply over a comforting plate of rice, this crispy tofu brings an irresistible zest to any meal.

What Type of Tofu is Best for Achieving the Perfect Crisp?
The secret to truly crispy tofu begins with selecting the right type. While you can technically achieve some crispiness with various firm, extra-firm, or high-protein tofu varieties, for optimal results, I wholeheartedly recommend opting for extra-firm or high-protein tofu. My personal favorite is the high-protein variety often found at stores like Trader Joe’s or Walmart. The primary advantage of these types is their significantly lower water content, which means you often don’t need to press them, saving valuable prep time. Furthermore, their denser texture provides a superior chew and a remarkable ability to crisp up beautifully, creating that delightful contrast we all crave.
When shopping, look for packages explicitly labeled “extra-firm” or “high-protein.” If the packaging mentions “super firm,” that’s even better! These varieties are designed to be denser, making them easier to work with and ensuring a more consistent, satisfying texture in your final dish. Avoid silken or soft tofu for this recipe, as their high water content will make them crumble and prevent them from getting crispy.
How to Properly Press Tofu for Maximum Crispiness
Many people find tofu preparation intimidating, especially the idea of “pressing” it. I recall my first attempt, wondering what in the world I was getting into! But fear not, it’s a straightforward process that makes a world of difference. Tofu is traditionally stored in water, and it readily absorbs it. To achieve that coveted crispy exterior, it’s crucial to press out as much excess water as possible before cutting and cooking. This step allows the tofu to absorb marinades more effectively and prevents it from steaming in the pan instead of crisping.
Using a Tofu Press (The Easy Way)
In our modern world, there’s a gadget for almost everything! A dedicated tofu press is an excellent investment if you plan on making tofu regularly. I personally use this tofu press, and it has undeniably simplified my cooking routine. To use it, simply place the block of tofu inside, tighten the knob (or follow the specific instructions for your model) to apply gentle pressure, and let it sit for a designated period – usually 15-30 minutes. The water will slowly and efficiently drain out, leaving you with perfectly pressed tofu, ready for the next step. It’s a hands-off method that guarantees consistent results.
DIY Tofu Press (No Special Equipment Needed)
If you don’t have a fancy tofu press, don’t worry! You can easily press tofu using items you likely already have in your kitchen. Here’s how:
- Prepare Your Station: Grab a large baking sheet (or a dinner plate with a slight rim) and place a wire cooling rack on top. This setup allows the water to drain away from the tofu.
- Slice and Arrange: Carefully remove the tofu block from its packaging and drain any standing water. Gently slice the tofu block into smaller, even squares or slabs. This increases the surface area for pressing and speeds up the process. Arrange the cut tofu pieces in a single layer on the wire rack.
- Layer and Weigh: Place a clean kitchen towel (paper towels work too, but a cloth towel is more eco-friendly) directly over the tofu. Then, place another baking sheet or a sturdy cutting board on top of the towel.
- Apply Pressure: Stack heavy objects on top of the upper baking sheet/cutting board. Books, heavy cans, a cast-iron skillet, or even a few full water bottles work perfectly to create consistent weight.
- Press Time: Allow the tofu to press for at least 30 minutes. For super-firm tofu, 15-20 minutes might suffice, but for regular firm tofu, 30 minutes to an hour is ideal. You’ll be surprised by how much water drains onto the bottom baking sheet!
- Ready to Cook: Once pressed, carefully remove the top weights and baking sheet. Discard the drained water. Your tofu is now significantly firmer and ready to absorb flavors and crisp up beautifully during cooking.
This pressing step is crucial because it removes moisture that would otherwise turn your tofu mushy. Less water means a drier surface, which is essential for achieving that golden-brown, satisfying crunch when pan-frying or air-frying.

Essential Ingredients and Smart Substitutions
This Crispy Balsamic Tofu recipe relies on a few key ingredients to build its incredible flavor and texture. Here’s a detailed look at what you’ll need and how you can adapt it to your pantry or dietary needs:
Tapioca Starch: This is our secret weapon for achieving that extra-crispy exterior. Tapioca starch creates a light, delicate crust that locks in moisture and browns beautifully.
- Substitutions: Arrowroot starch is an excellent 1:1 substitute, offering very similar results. Cornstarch is another widely available alternative that will also work well to provide crispiness. All three options are gluten-free, making this recipe suitable for those with sensitivities. Most well-stocked grocery stores now carry both tapioca and arrowroot, which are my preferred choices for their superior texture.
Tofu: As discussed, make sure to use an extra-firm or high-protein variety. Its low water content is essential for achieving the desired crispiness. No compromises here for the best texture!
Balsamic Vinegar: This provides the signature tangy and slightly sweet flavor to our glaze. The quality of your balsamic can really shine through.
- Tip: Opt for a balsamic vinegar without added sugars. Many commercial brands sneak in extra sweeteners, which can make the glaze overly sweet or prone to burning. A good quality balsamic will have a richer, more complex flavor naturally.
Dijon Mustard: Adds a subtle tang and emulsifies the balsamic glaze, helping it coat the tofu evenly.
- Substitutions: Any good quality Dijon mustard will work. A stone-ground mustard can also be used for a slightly coarser texture and more robust flavor.
Maple Syrup: Provides a touch of sweetness to balance the tartness of the balsamic and aids in the caramelization process, creating that beautiful sticky glaze.
- Substitutions: Honey is an excellent alternative if you don’t need the recipe to be strictly vegan. Agave nectar could also be used for a similar sweetness profile.
Liquid or Coconut Aminos: These add a savory, umami depth to the sauce without relying on soy sauce, making it a great option for those avoiding soy.
- Substitutions: Regular soy sauce or tamari (for a gluten-free option) can be used in equal measure if liquid/coconut aminos are not available or preferred.
Garlic Powder: A staple for a reason, it brings an aromatic depth that complements the tangy balsamic. Feel free to adjust the amount to your preference.
Nutritional Yeast (Optional but Recommended): Adds a cheesy, umami flavor that further enhances the savory profile of the tofu, especially for plant-based dishes. It’s a wonderful addition for an extra layer of deliciousness.
Olive Oil, Sea Salt & Pepper: Standard pantry essentials for cooking the tofu and seasoning it to perfection. Use a good quality olive oil for flavor and cooking. Feel free to adjust salt and pepper to your taste.
Step-by-Step: How to Make Crispy Balsamic Tofu
Preparing this incredibly flavorful and crispy balsamic tofu is surprisingly simple and comes together quickly, making it ideal for busy weeknights. Here’s a detailed breakdown of the process:
- Prepare the Tofu: Begin by ensuring your tofu is properly pressed. As mentioned above, if using super-firm or high-protein tofu, pressing might not be necessary. However, for most other firm varieties, don’t skip this step for optimal crispiness. Once pressed, cut the tofu block into uniform bite-sized cubes, typically about 1-inch squares. Place the cubes in a large bowl.
- Coat for Crispiness: Sprinkle the tapioca starch (or arrowroot/cornstarch), nutritional yeast (if using), sea salt, and black pepper over the tofu cubes. Toss everything gently but thoroughly, ensuring each piece of tofu is evenly coated. The starch is key to creating that wonderful crispy crust, while the nutritional yeast adds a savory, cheesy depth.
- Pan-Fry to Perfection: Heat the olive oil in a large non-stick pan or cast-iron skillet over medium-high heat. Once the oil is shimmering, carefully add the coated tofu cubes to the pan. Avoid overcrowding the pan; if necessary, cook the tofu in batches to ensure even crisping. Cook for 2-4 minutes per side, turning frequently with tongs, until all sides are golden brown and wonderfully crispy. Don’t rush this step – patience is rewarded with superior texture!
- Whisk the Balsamic Glaze: While the tofu is crisping, combine all the balsamic sauce ingredients (balsamic vinegar, Dijon mustard, maple syrup/honey, liquid/coconut aminos, and garlic powder) in a small bowl. Whisk vigorously until the mixture is well combined and smooth.
- Glaze and Caramelize: Once the tofu has reached your desired level of crispiness, pour the prepared balsamic sauce directly into the pan with the tofu. Give everything a good toss, ensuring all the crispy tofu pieces are coated in the luscious glaze. Continue to cook for another 1-2 minutes, stirring constantly. The sauce will bubble, thicken, and reduce, beautifully caramelizing and clinging to the tofu. This process enhances the flavor and creates a lovely sticky coating.
- Serve and Enjoy: Remove the pan from the heat. Your crispy balsamic tofu is now ready to be enjoyed! It’s fantastic immediately, fresh out of the pan. Serve it as a main protein for your favorite meals – be it a salad, a grain bowl, or alongside roasted vegetables.
The Best Salad Formula for a Truly Satisfying Meal
When I set out to build a salad, my goal is always to create something that’s not just delicious, but genuinely filling and nourishing. A great salad goes beyond just greens; it’s a balanced meal that supports your energy and overall well-being. Here’s my go-to formula for a truly satiating and delightful salad:
1. Healthy Fats: The Key to Satiety and Brain Health
Fats are absolutely vital for our brain function, hormone health, and the absorption of fat-soluble vitamins. Crucially, they are one of the most satiating macronutrients, meaning they help keep you fuller for longer and prevent those post-meal cravings. Incorporating a healthy fat into your salad is incredibly important for sustained energy.
- Easy Ways to Incorporate: Sprinkle in a handful of your favorite nuts (almonds, walnuts, pecans) or seeds (chia, flax, pumpkin, sunflower). A quarter to half an avocado adds creamy texture and healthy monounsaturated fats. A generous drizzle of high-quality extra virgin olive oil or a creamy, healthy homemade dressing is also perfect.
- Examples: Sliced avocado, chopped walnuts, hemp seeds, a tahini-based dressing, a spoonful of hummus.
2. Protein: The Building Block for Every Cell
It’s mind-boggling to think that every single cell in the human body contains protein! This macronutrient is essential for muscle repair, immune function, and the health of your hair, skin, and nails. Ensuring you include a quality source of protein in every meal is a fantastic way to meet your daily requirements and feel satisfied.
- Our Star Protein: In this recipe, our Crispy Balsamic Tofu is the perfect plant-based protein, offering a fantastic texture and flavor.
- Other Plant-Based Options: Cooked lentils, chickpeas, black beans, edamame, tempeh, or even a sprinkle of nutritional yeast can boost your protein content. For omnivores, grilled chicken, salmon, or hard-boiled eggs also work wonders.
3. Veggies: A Rainbow of Nutrients
My motto for vegetables is simple: add as much color as possible! Different colors in fruits and vegetables often indicate different beneficial plant compounds (phytonutrients). A wide variety ensures you’re getting a broad spectrum of vitamins, minerals, and antioxidants.
- Mix It Up: Don’t just stick to lettuce! Combine different sources of leafy greens (spinach, kale, romaine, mixed greens), shredded carrots, vibrant red cabbage, earthy beets, crisp radishes, juicy tomatoes, cool cucumbers, crunchy bell peppers (all colors!), or briny artichoke hearts. The more variety, the better for both flavor and nutrition.
- Tip: Incorporate both raw and lightly steamed/roasted vegetables for diverse textures and nutrient profiles.
4. Fiber: For Digestion and Gut Health
Adding a generous source of fiber to your salad is crucial for several reasons: it keeps you feeling fuller for longer, acts as prebiotics to feed your beneficial gut bacteria, and significantly aids digestion. Prebiotic-rich foods are especially important for a healthy microbiome.
- Excellent Fiber Sources: Incorporate root vegetables like cooked sweet potatoes or cassava. A sprinkle of chia or flax seeds offers a concentrated fiber boost. However, my absolute favorite sources for fiber and plant-based protein are beans or lentils. Quinoa or farro can also provide both fiber and complex carbohydrates.
- Starches: A healthy source of complex carbohydrates like roasted sweet potatoes, quinoa, or whole-grain croutons can further enhance the salad’s satiating power.

Can You Make Crispy Tofu in an Air Fryer? Absolutely!
Yes, absolutely! The air fryer is a fantastic tool for making crispy tofu with minimal oil and effort. It delivers consistently crunchy results and is often my preferred method for quick preparation. Here’s how to do it:
- Prep as Usual: Follow the same steps for pressing and coating your tofu with tapioca starch and seasonings.
- Arrange in Air Fryer: Place the seasoned tofu cubes in your air fryer basket in a single layer. Ensure there’s enough space between the pieces for air to circulate, which is key to even crisping. If necessary, cook in batches.
- Air Fry: “Bake” the tofu at 400°F (200°C) for 10-15 minutes. Halfway through the cooking time (around 5-7 minutes), gently shake the basket or toss the tofu with tongs to ensure all sides crisp up evenly.
- Add Glaze: Once the tofu is crispy, transfer it to a bowl and toss with the prepared balsamic glaze. For an extra sticky glaze, you can return the glazed tofu to the air fryer for another 2-3 minutes at a slightly lower temperature (e.g., 375°F/190°C), shaking occasionally, until the sauce reduces and clings tightly.
Air frying often results in a slightly lighter, more uniformly crispy texture compared to pan-frying, and it requires less active cooking time. It’s an excellent alternative, especially if you’re looking to reduce oil usage.
Storing and Reheating Leftover Crispy Balsamic Tofu
If you happen to have any leftovers of this delicious crispy balsamic tofu (which is a rare occurrence in my kitchen!), proper storage and reheating can help maintain its quality and texture. However, it’s worth noting that freshly made crispy tofu is always best.
Storage: Store any extra crispy tofu in an airtight container in the refrigerator for up to 3-4 days. While the tofu will lose some of its crispiness as it sits in the fridge, the flavors will continue to meld beautifully.
Reheating for Softness: If you’re simply looking to warm up the tofu without focusing on restoring its crispiness, you can place it in the microwave for 30-60 seconds, or until heated through. This is a quick and convenient option for adding to a warm grain bowl.
Reheating for Crispiness: To bring back some of that delightful crunch, reheating on a skillet or in an air fryer is your best bet.
- Skillet: Heat a small amount of oil in a non-stick skillet over medium heat. Add the leftover tofu and cook for a few minutes, tossing occasionally, until it’s heated through and the exterior starts to crisp up again.
- Air Fryer: Arrange the leftover tofu in a single layer in your air fryer basket. Air fry at 375°F (190°C) for 5-7 minutes, shaking the basket halfway through, until the tofu is warm and crispy once more. This method generally yields the best results for regaining crispiness.
More Tofu Recipes You’ll Absolutely Love
Tofu is an incredibly versatile ingredient, and if you’ve enjoyed this crispy balsamic rendition, you’re in for a treat! Here are a few more of my favorite tofu-centric recipes that showcase its diverse potential:
- Tofu Scramble Breakfast Bowl
- Buffalo Tofu Ranch Salad
- Healthy Vegan Tofu Omelette
- Grilled Tofu California Wrap
- Tofu Peanut Satay

Crispy Balsamic Tofu
Pin Recipe
Ingredients
Tofu
- 1 block extra-firm or super-firm tofu, pressed if needed
- 2 tbsp olive oil
- sea salt & pepper to taste
- 2 tbsp nutritional yeast *optional, for umami flavor
- 2-3 tbsp tapioca flour or arrowroot starch **See notes for subs (cornstarch also works)
Balsamic Sauce
- 1/4 cup balsamic vinegar (sugar-free preferred)
- 2 tbsp Dijon mustard
- 1 1/2 tbsp maple syrup or honey
- 1 tbsp liquid or coconut aminos ***see notes for subs (soy sauce/tamari)
- 1 tsp garlic powder
Creamy Garlic Dressing (Optional, but highly recommended for salads)
- 3/4 cup coconut yogurt or Greek yogurt
- 2 tbps tahini or cashew butter
- 2 garlic cloves, minced
- 2 tsp lemon juice
- 1/4-1/3 cup water, to thin
- sea salt & pepper, to taste
- 2 tsp apple cider vinegar
- fresh herbs, of your choice (dill, parsley, chives are great)
- 1 tsp maple syrup
Instructions
-
Prepare Tofu: Press the tofu if needed (refer to the “How to Properly Press Tofu” section for detailed instructions). If using super firm/high-protein tofu, you may not need to press it. Once ready, cut the tofu into even 1-inch cubes.
-
Coat Tofu: Place the cubed tofu in a large bowl. Sprinkle over the tapioca flour (or chosen starch), nutritional yeast (if using), sea salt, and pepper. Toss gently to ensure all tofu cubes are thoroughly and evenly coated.
-
Cook Tofu: Heat the olive oil in a large non-stick pan or cast-iron skillet over medium-high heat. Once hot and shimmering, add the coated tofu cubes in a single layer. Cook for 2-4 minutes per side, tossing frequently, until golden brown and crispy to your liking. Cook in batches if necessary to avoid overcrowding.
-
Make Balsamic Sauce: While the tofu cooks, combine all balsamic sauce ingredients (balsamic vinegar, Dijon, maple syrup/honey, aminos, garlic powder) in a small bowl and whisk until well combined. Once tofu is crispy, pour the balsamic sauce into the pan and toss everything together.
-
Glaze and Serve: The sauce will quickly bubble, thicken, and reduce, sticking beautifully to the tofu cubes, creating a delicious caramelization. Continue cooking for another minute or two, stirring, until the sauce is fully absorbed. Remove from heat immediately.
-
Serve the crispy balsamic tofu hot as a protein for salads, grain bowls, or alongside your favorite vegetables. Enjoy!
Dressing (Optional)
-
Blend Dressing: Combine all creamy garlic dressing ingredients in a blender or food processor. Blend until smooth and creamy. Taste and adjust seasonings (salt, pepper, lemon juice, maple syrup) as needed. If too thick, add a little more water until desired consistency is reached. Store in an air-tight container in the fridge for up to 5 days.
Notes
*** You can use soy sauce or tamari (for gluten-free) as a substitute for liquid or coconut aminos. Adjust to your sodium preference.
