Homemade Samoa Protein Bars: Your Ultimate Gluten-Free & Refined Sugar-Free Treat
If you’re a devoted fan of those irresistible Girl Scout Samoa cookies, get ready to discover your new favorite obsession! These incredible Samoa cookie protein bars capture all the beloved flavors you crave – the satisfying cookie base, the rich caramel coconut filling, and a decadent chocolate topping – but with a wholesome, guilt-free twist. They are crafted to be gluten-free and entirely free of refined sugars, making them an ideal meal prep treat that you can enjoy throughout the week without derailing your health goals.
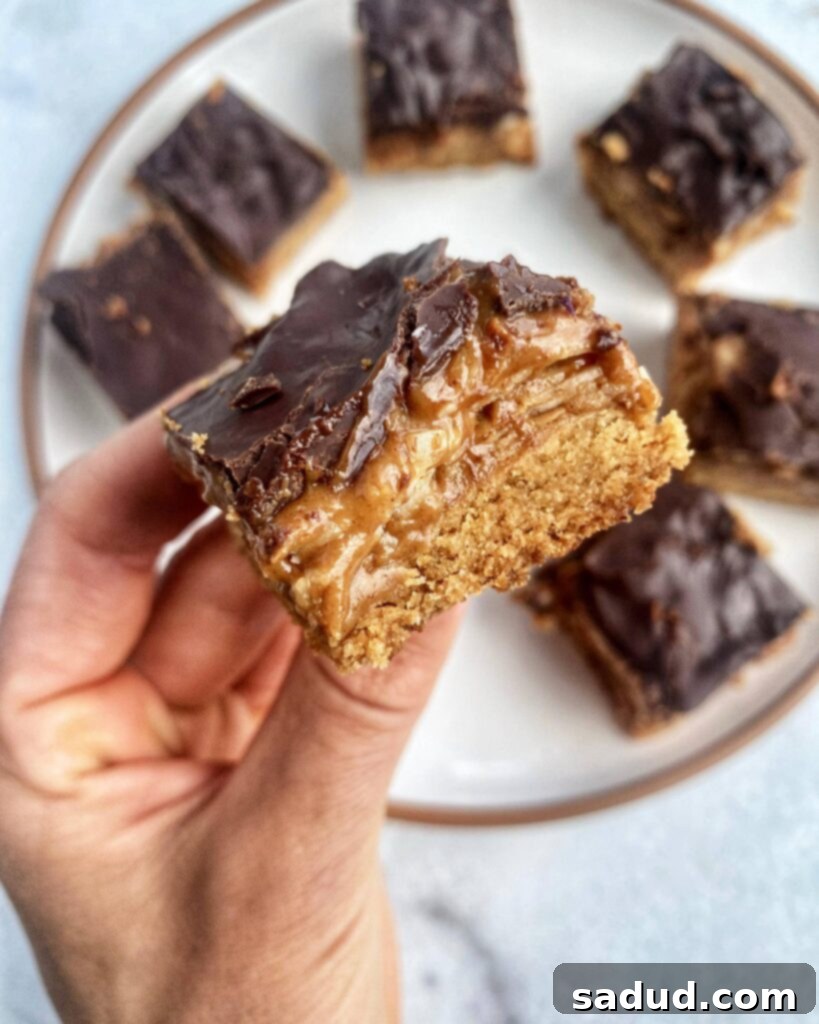
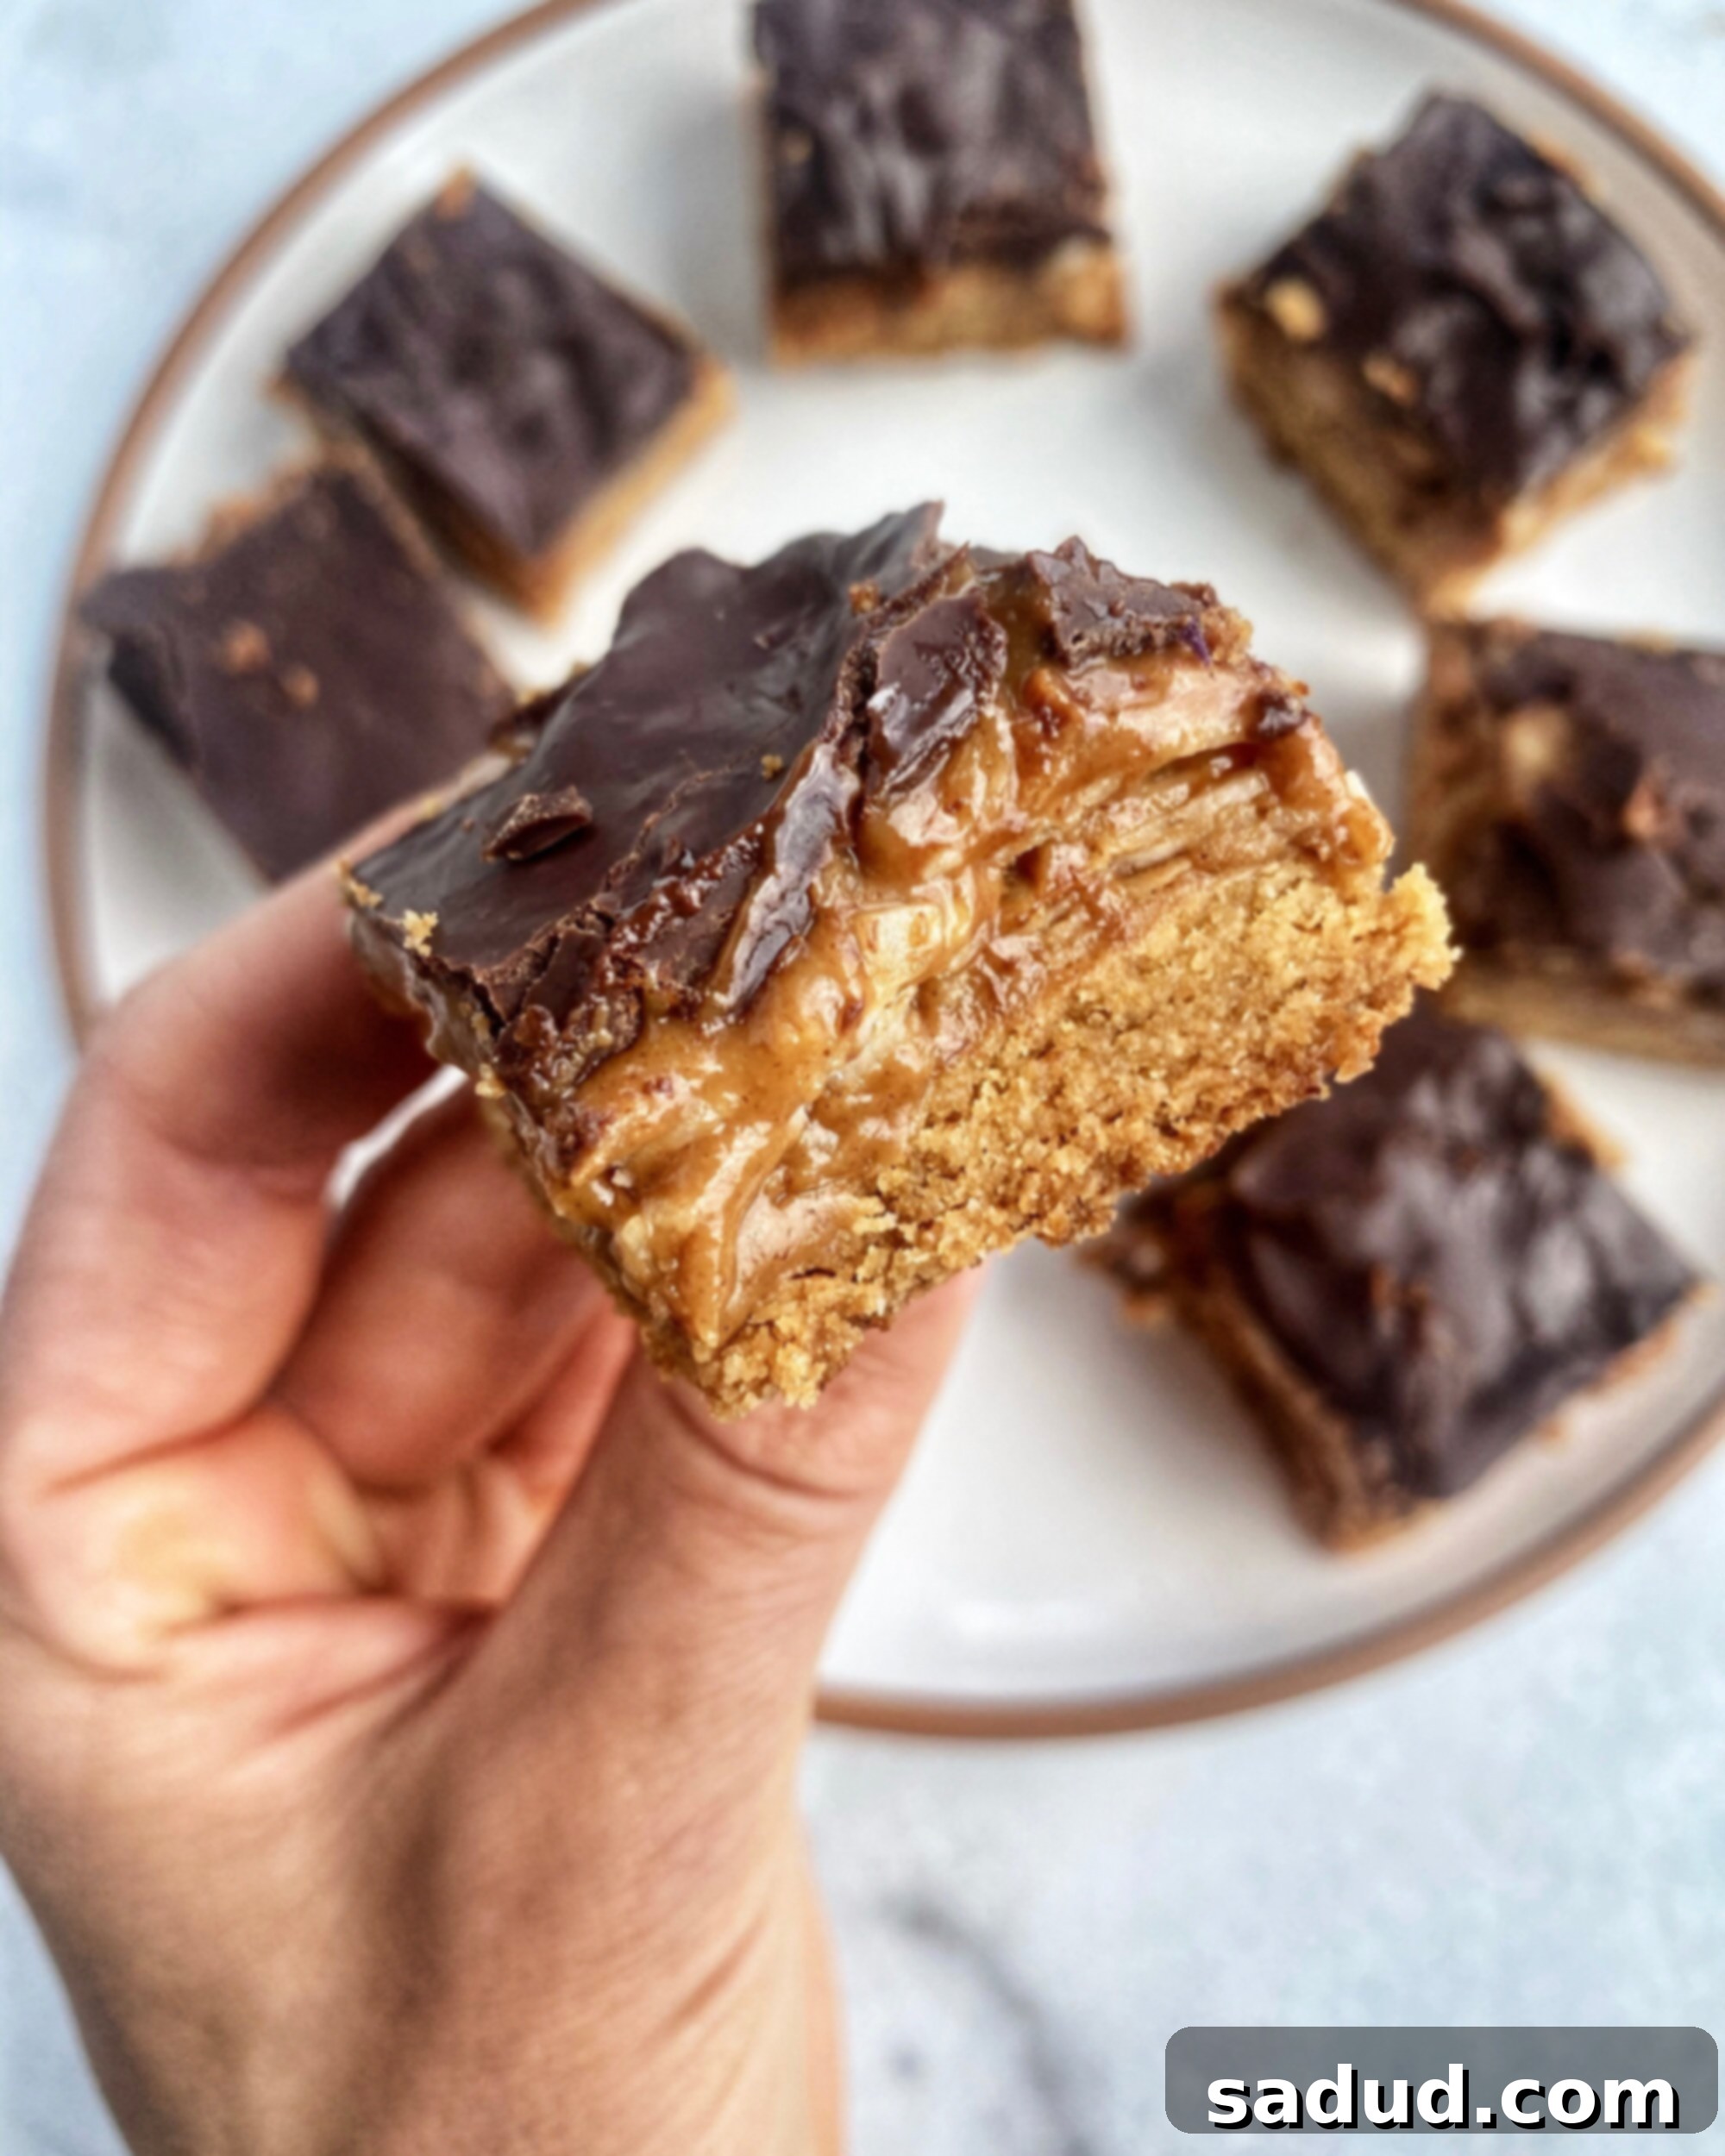
Imagine biting into a soft, slightly chewy base, followed by a luscious layer of sweet, toasted coconut and a hint of caramel, all enrobed in a crisp chocolate shell. This recipe transforms a classic indulgence into a powerhouse snack, perfect for fueling your body, satisfying sweet cravings, and keeping your blood sugar balanced. Whether you’re an athlete looking for a post-workout boost, a busy professional needing a healthy grab-and-go option, or simply someone who loves delicious, better-for-you desserts, these Samoa protein bars are designed for you.

Why You’ll Fall in Love with These Healthy Samoa Protein Bars
These homemade Samoa protein bars aren’t just delicious; they’re a smart choice for a healthy lifestyle. Here’s why they deserve a permanent spot in your freezer:
- Authentic Samoa Flavor, Healthier Version: We’ve meticulously recreated the iconic taste profile of the classic Girl Scout Samoa cookie – chocolate, coconut, and caramel – using natural, wholesome ingredients. You won’t miss the original!
- Packed with Protein: With protein powder integrated into the base, these bars offer a significant protein boost, helping to keep you feeling fuller for longer, supporting muscle recovery, and stabilizing blood sugar levels. This makes them perfect as a pre or post-workout snack, or just a satisfying treat.
- Gluten-Free Goodness: Using oat flour and coconut flour ensures these bars are naturally gluten-free, catering to those with sensitivities or choosing a gluten-free diet.
- Refined Sugar-Free: Say goodbye to processed sugars! Maple syrup provides natural sweetness, allowing you to enjoy a delightful dessert without the sugar crash or guilt. For an even lower sugar option, monk fruit sweetened maple syrup works wonderfully.
- Excellent for Meal Prep: These bars are incredibly easy to make in a large batch and store in the freezer. They’re ready whenever you need a quick, healthy snack or dessert, saving you time and effort during busy weeks.
- Simple Ingredients, Big Flavor: The recipe calls for common pantry staples, making it accessible for everyone. Each ingredient plays a crucial role in building the layers of texture and flavor that make these bars so special.
Essential Ingredients for Crafting Your Samoa Protein Bars
Creating these delightful Samoa protein bars involves simple, wholesome ingredients that come together to form a truly irresistible treat. Here’s a closer look at what you’ll need and why each component is important:
For the Crunchy Cookie Base:
- Oat Flour: This gluten-free flour provides a tender yet sturdy base. You can easily make your own by blending rolled oats into a fine powder, or simply purchase it pre-made. It’s a fantastic alternative to wheat flour, offering a delicate texture.
- Coconut Flour: A unique and highly absorbent flour, coconut flour is key to achieving that slightly crunchy, cookie-like texture in the base that makes these bars so satisfying. Due to its high absorbency, it’s not easily substituted, as it significantly impacts the final consistency.
- Protein Powder (Optional but Recommended): While you can substitute this with more oat flour, incorporating protein powder not only boosts the nutritional value but also helps balance blood sugar and enhances satiety. Choose a flavor you genuinely enjoy, as it will subtly influence the base’s taste. My favorite is [insert preferred brand/type, e.g., a vanilla or unflavored whey/plant-based protein]. Use code “amb-dani” for a discount on my favorite protein powder!
- Melted Coconut Oil or Olive Oil: This acts as the binding agent for the base, ensuring it presses together firmly and bakes to a perfect golden crisp. Any neutral-flavored oil will work here, but coconut oil adds a lovely subtle tropical note.
- Maple Syrup: Our primary natural sweetener for the base. Its rich, caramel-like notes complement the overall Samoa flavor profile beautifully. You can use any sticky sweetener like agave or honey. For a lower-sugar option, a monk fruit sweetened maple syrup is an excellent choice.
- Vanilla Extract: A touch of vanilla enhances all the other flavors, adding warmth and depth to the cookie base.
For the Irresistible Caramel Coconut Filling:
- Almond Butter: This forms the rich, creamy backbone of our “caramel” layer. While any nut or seed butter can be used, the combination of coconut and almond butter creates a truly harmonious and delicious flavor that perfectly mimics the Samoa experience. Ensure it’s a smooth, drippy kind for best results.
- Olive Oil: A small amount of olive oil helps achieve the desired smoothness and prevents the filling from becoming too stiff, contributing to that luscious, melt-in-your-mouth texture. A light, neutral olive oil is best.
- Maple Syrup: Again, maple syrup is used here to sweeten the filling naturally and contribute to its caramel-like consistency and flavor. Adjust to your sweetness preference.
- Vanilla Extract: Essential for rounding out the “caramel” flavor and adding an extra layer of aroma.
- Toasted Coconut Flakes: These are non-negotiable for authentic Samoa flavor! Toasting the coconut flakes intensifies their flavor and gives them a wonderful crispness, mimicking the signature texture of the original cookie. You can buy them pre-toasted or easily toast them yourself (see FAQ below).
- Pinch of Sea Salt: A little salt goes a long way in balancing the sweetness and enhancing the caramel notes, making the flavors pop. Don’t skip this!
For the Decadent Chocolate Topping:
- Chocolate Chips: The final flourish! I always opt for Hu Kitchen chocolate chips to ensure the topping remains refined sugar-free and made with high-quality ingredients. Dark chocolate chips are excellent for a rich, intense flavor, but you can choose your favorite. Remember to use code “danishealthyeats” for a discount on any Hu Kitchen order!
Step-by-Step Guide: How to Make Your Samoa Protein Bars
Making these protein-packed Samoa bars is surprisingly simple and incredibly rewarding. Follow these steps for perfect results every time:
1. Prepare the Cookie Base:
- Begin by preheating your oven to 350°F (175°C). This ensures your oven is at the optimal temperature for even baking.
- In a medium-sized mixing bowl, combine all the cookie base ingredients: coconut flour, oat flour, protein powder (if using), melted coconut oil or olive oil, maple syrup, and vanilla extract. Stir well until a thick, sticky dough forms. It should be pliable enough to press.
- Line an 8×8 inch (or similar loaf) pan with parchment paper, leaving an overhang on the sides for easy removal later. Press the cookie dough evenly into the bottom of the prepared pan, ensuring it’s compact and flat.
- Bake the base for 18-20 minutes, or until the edges are golden brown and the center is set. Baking time can vary slightly depending on your oven. Once baked, remove from the oven and allow it to cool completely in the pan. A fully cooled base is crucial to prevent the filling from melting into it.
2. Craft the Caramel Coconut Filling:
- While the base is cooling, prepare your filling. In a separate bowl, combine the almond butter, olive oil, maple syrup, vanilla extract, and a pinch of sea salt. Mix vigorously until the mixture is completely smooth and creamy, resembling a rich caramel sauce.
- Gently fold in the toasted coconut flakes. Ensure they are evenly distributed throughout the “caramel” mixture. The toasted flakes add essential texture and intensified coconut flavor.
- Once the cookie base has completely cooled, spread the caramel coconut filling evenly over the top, using a spatula to ensure a smooth, consistent layer from edge to edge.
3. The Perfect Chocolate Topping:
- Melt the chocolate chips using your preferred method – a double boiler or microwave in short intervals, stirring frequently. If the melted chocolate seems too thick, add a tiny amount of coconut oil (half a teaspoon at a time) and stir until it reaches a smooth, pourable consistency.
- Pour the melted chocolate evenly over the caramel coconut filling, spreading it quickly with a spatula to cover the entire surface.
- Place the entire pan into the freezer. Allow it to firm up for at least 2 hours, or until the chocolate topping and filling are completely set. This firming time is crucial for clean cuts.
- Once fully set, remove the pan from the freezer, lift the bar out using the parchment paper overhangs, and cut into individual bars. Enjoy your homemade Samoa protein bars immediately or store them for later!
Storage Tips for Your Homemade Samoa Protein Bars
Proper storage is key to maintaining the freshness and texture of these delicious protein bars. Because of their soft filling and chocolate topping, they are best kept cold:
- Freezer Storage is Best: Store your Samoa protein bars in an airtight container in the freezer. This will keep them fresh and firm, preserving their texture for up to several weeks.
- Thawing Before Enjoying: When you’re ready to enjoy a bar, simply take it out of the freezer and let it thaw for a few minutes at room temperature. The cookie base will soften slightly, and the filling will become perfectly chewy.
- Avoid Room Temperature: Due to the nature of the filling and chocolate, these bars can become very soft and messy if left at room temperature for extended periods.
Frequently Asked Questions (FAQ) About Samoa Protein Bars
Can I make these bars vegan?
Absolutely! The recipe as written is already nearly vegan. Just ensure your protein powder is plant-based (e.g., pea protein, brown rice protein) and that your chocolate chips are dairy-free. Most dark chocolate chips are naturally dairy-free, but always check the label.
What if I don’t have protein powder?
No problem! If you prefer not to use protein powder, you can simply substitute it with an equal amount of additional oat flour. The bars will still be delicious and hold their shape, just with slightly less protein content. You might need to adjust the liquid very slightly if the dough feels too dry or wet, but usually, it’s a 1:1 swap.
How do I toast coconut flakes?
Toasting coconut flakes is easy and greatly enhances their flavor! Spread them in a single layer on a baking sheet. Bake in a preheated oven at 300°F (150°C) for 5-10 minutes, stirring occasionally, until they are golden brown and fragrant. Alternatively, you can toast them in a dry skillet over medium-low heat, stirring constantly, until golden. Watch them closely, as they can burn quickly!
Can I use a different sweetener?
Yes, maple syrup can be substituted with other liquid sweeteners like agave nectar or honey (if not vegan). For a significantly lower sugar option, a monk fruit sweetened maple syrup blend works well without altering the texture too much. Granulated sweeteners like erythritol are not recommended as they won’t provide the necessary binding and texture.
How long do these bars last?
Stored in an airtight container in the freezer, these Samoa protein bars can last for up to 2-3 weeks, maintaining their freshness and flavor. You can also store them in the refrigerator for up to 5-7 days, but they will be softer.
Why Choose Homemade Samoa Protein Bars Over Store-Bought?
In a world full of convenience, opting for homemade treats like these Samoa protein bars offers numerous advantages over their store-bought counterparts:
- Ingredient Control: When you make your own, you know exactly what goes into your food. You can select high-quality, organic ingredients, avoid artificial flavors, preservatives, and unnecessary fillers often found in commercial products.
- Tailored to Your Needs: Dietary restrictions or preferences? No problem. You can easily adjust the recipe to be vegan, nut-free (by using seed butter), or even lower sugar by choosing specific sweeteners or protein powders.
- Freshness and Flavor: There’s simply no comparison to the taste of freshly made food. Homemade bars burst with vibrant flavors and offer a texture that store-bought versions often lack.
- Cost-Effective: While an initial investment in certain ingredients might be required, making your own protein bars is generally more economical in the long run compared to purchasing expensive gourmet or health-focused snack bars.
- A Sense of Accomplishment: There’s a unique satisfaction that comes from creating something delicious and healthy with your own hands. Plus, you get to impress your friends and family with your culinary skills!
Conclusion: Indulge Guilt-Free with Your Own Samoa Protein Bars!
These homemade Samoa protein bars are truly a game-changer for anyone who loves the classic cookie but seeks a healthier, more nourishing option. With their rich flavor, satisfying texture, and impressive nutritional profile, they prove that healthy eating doesn’t mean sacrificing taste. Whip up a batch, store them in your freezer, and enjoy a delicious, gluten-free, and refined sugar-free treat that supports your well-being. Get ready to fall in love with your new favorite healthy snack!

Samoa Protein Bars
Pin Recipe
10 minutes
2 hours
Dessert, Snack
American
8
Bars
1
kcal
Ingredients
Base
- 1/3 cup coconut flour
- 1/3 cup protein powder
- 1/3 cup oat flour
- 1/3 cup melted coconut oil or olive oil
- 4 tbsp maple syrup
- 1 tsp vanilla
Filling
-
3/4 cup almond butter
* - 2 tbsp olive oil
- 1/4 cup maple syrup
- 1 tsp vanilla
- 3/4 cup toasted coconut flakes
- Pinch of sea salt
Topping
-
1 1/3
cups
chocolate chips
Instructions
-
Preheat oven to 350f.
-
Combine all the base ingredients together until a sticky dough forms.
-
Spread into the bottom of an 8×8 pan. Bake for 18-20 mins or until golden around the edges. Let cool.
-
Mix together all the filling ingredients until completely smooth. Spread over the base.
-
Melt the chocolate until smooth (add a little coconut oil to thin if needed) and spread it evenly over the top.
-
Pop in the freezer to set! Cut into bars & enjoy!
Notes
Chocolate, coconut, Dessert, easy recipe, healthy snack, high protein, protein bar, samoa
