Ultimate Creamy Vegan Cherry Pie Ice Cream: A Healthy, Dairy-Free & Gluten-Free Delight
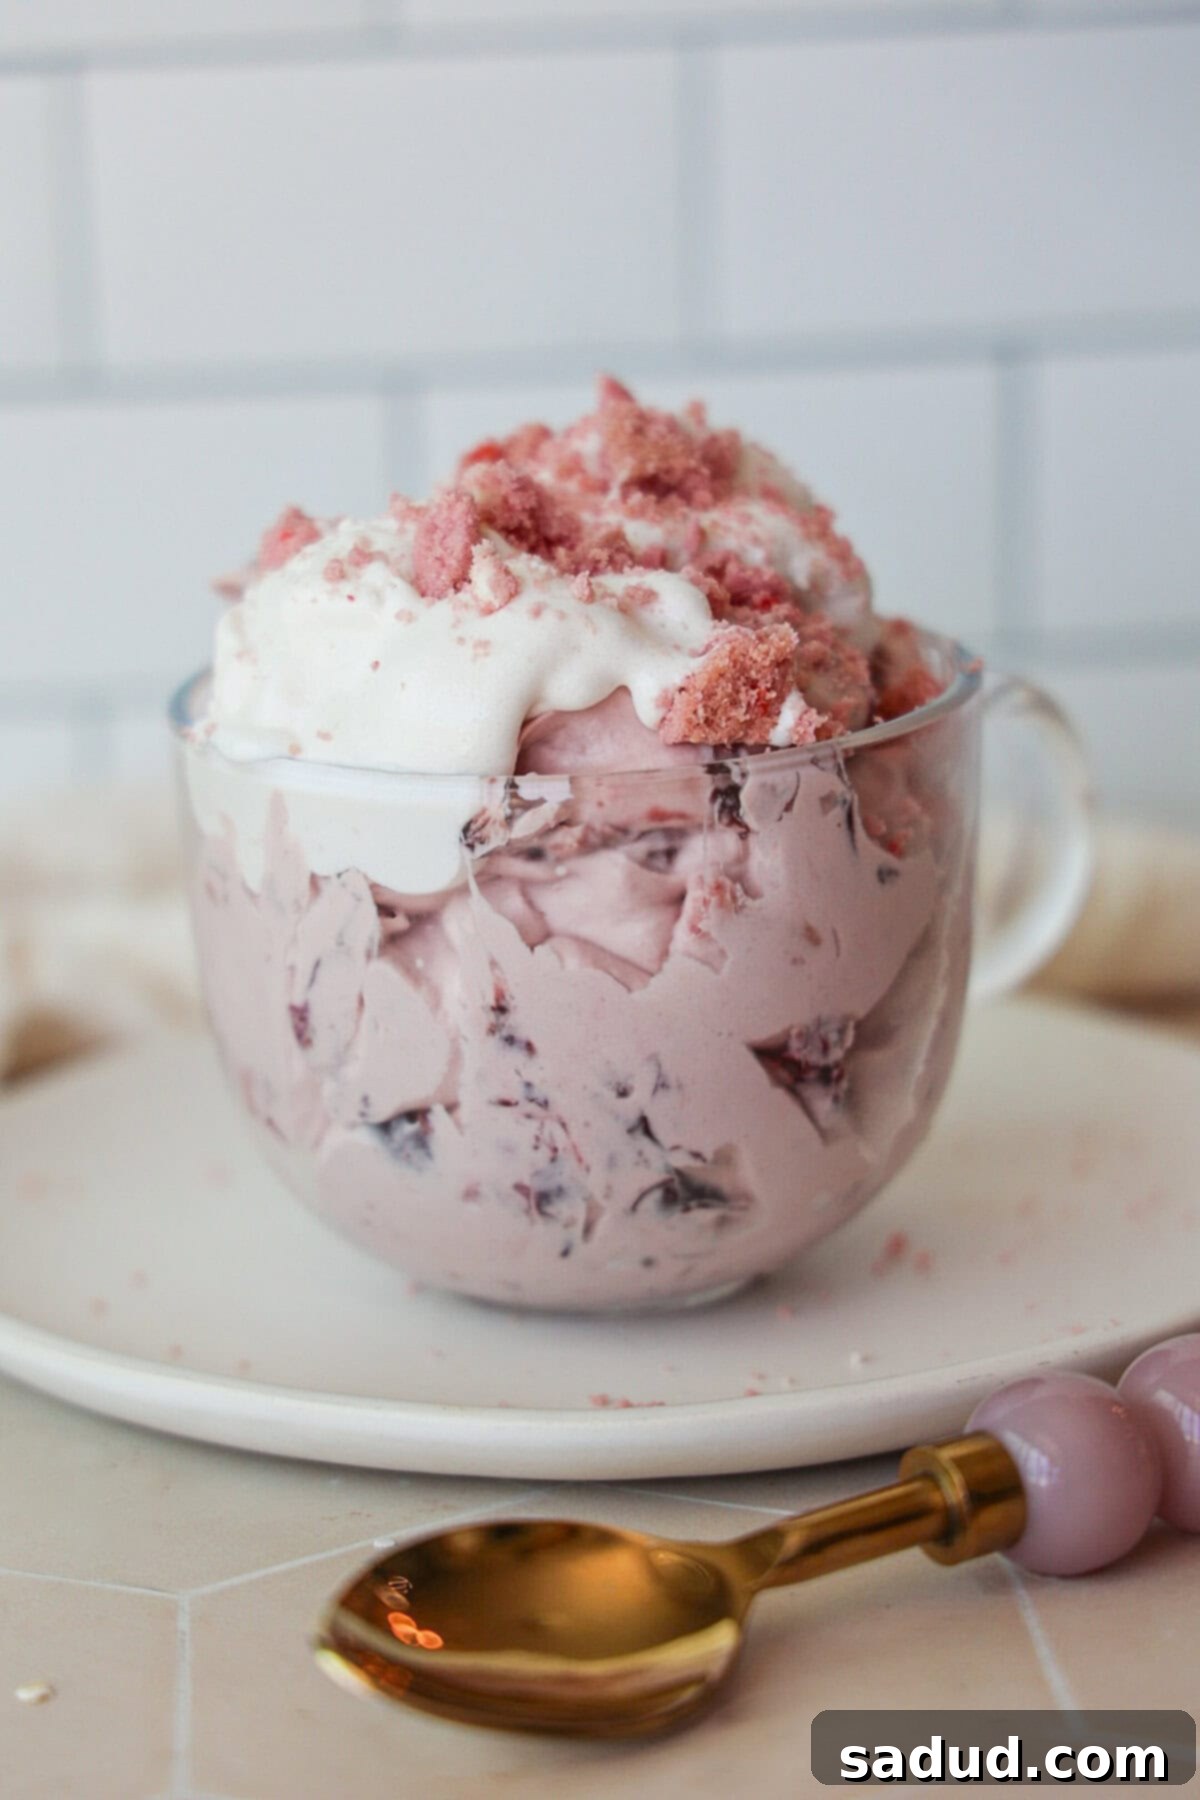
Prepare to be enchanted by this luscious and ultra-creamy vegan cherry pie ice cream! It’s generously enrobed with a vibrant homemade cherry compote and delightful pieces of cherry cookies, delivering an authentic cherry pie taste in every spoonful. Unlike many dairy-free alternatives that compromise on flavor or texture, this recipe is crafted with a base of wholesome, healthy ingredients, ensuring a truly satisfying dessert. Best of all, it’s completely gluten-free, dairy-free, and refined sugar-free, making it a guilt-free indulgence for everyone.
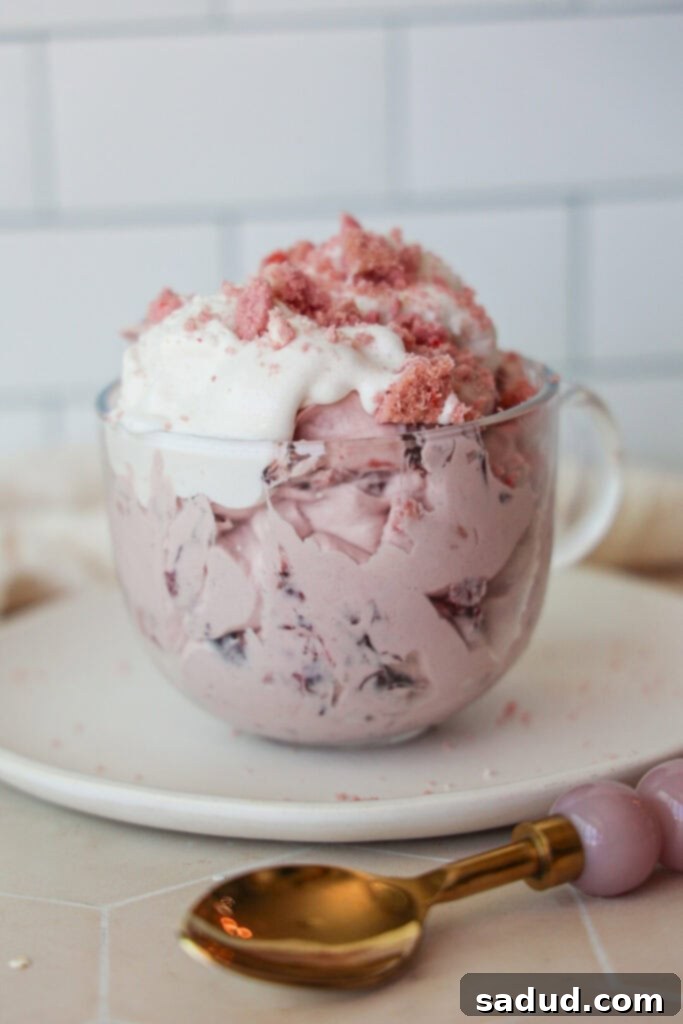
Growing up, my dad always made sure our freezer was stocked with Ben & Jerry’s Cherry Garcia ice cream. It was a staple in our household and, honestly, the only cherry dessert I genuinely enjoyed. When I transitioned to a dairy-free diet, I tried recreating that nostalgic flavor with “nice creams” made from frozen bananas and cherries. While undeniably delicious and a fantastic healthy option, the banana base often overpowered the delicate cherry notes, preventing it from truly measuring up to the original creamy delight.
This recipe changes everything. By using a rich base of coconut cream and soaked raw cashews, we achieve an unparalleled creamy texture that rivals traditional dairy ice cream. This innovative approach allows the authentic cherry flavor to shine through beautifully, without any competing tastes. There’s no need for a complex custard base, no eggs, and minimal cooking time (just for the compote). It’s a quick whirl in the blender with a few simple, healthy ingredients, transforming into an unbelievably smooth and flavorful frozen dessert that truly tastes like cherry pie!
Why You’ll Love This Healthy Ice Cream
This homemade vegan cherry pie ice cream isn’t just a treat for your taste buds; it’s a smart choice for a healthier lifestyle. Here’s why you’ll fall in love with this recipe:
- Dietary-Friendly & Wholesome: This ice cream is completely dairy-free, vegan, gluten-free, and significantly lower in refined sugar compared to most commercial ice creams. It caters to various dietary needs without sacrificing flavor or enjoyment.
- Effortless Preparation: Say goodbye to complicated custard bases and egg tempering! This recipe is egg-free and requires no cooking for the ice cream base itself, making the process quick and straightforward.
- Authentic Cherry Pie Flavor: It delivers the quintessential taste of cherry pie – sweet, tart, and comforting – but in a refreshing, cool, and creamy frozen dessert form. The cherry flavor is prominent and truly delicious.
- Incredibly Easy to Make: With simple steps and minimal equipment, even novice cooks can master this recipe. It’s designed for maximum flavor with minimum fuss.
- Excellent for Meal Prep: This ice cream freezes beautifully, allowing you to prepare it ahead of time. It’s perfect for entertaining or having a healthy dessert ready whenever a craving strikes.
- Highly Customizable: Easily adapt the flavors and add-ins to suit your preferences. Whether you want more crunch, extra sweetness, or a chocolatey swirl, this base is incredibly versatile.
- Flexible Preparation Methods: While an ice cream machine yields the best, silkiest texture, you can absolutely make this without churning. We provide instructions for both methods, ensuring everyone can enjoy this delightful treat.
Key Ingredients for Your Healthy Cherry Ice Cream
You’ll find full measurements and detailed steps in the recipe card at the bottom of this post.
Crafting this healthy, dairy-free cherry ice cream relies on a few key ingredients, each playing a vital role in achieving its incredible flavor and creamy texture:
- Cherries: The star of our show! Cherries are not only delicious but also incredibly nutritious. They are a powerhouse of vitamins C and E, potassium, magnesium, iron, and folate. Furthermore, they contain 19 times more beta-carotene than strawberries and blueberries, an important antioxidant. Cherries are also one of the few natural food sources of melatonin, which helps regulate sleep cycles and heart rhythms. Their vibrant red color comes from anthocyanins, powerful antioxidants known to help reduce the risk of heart disease, inflammation, and certain cancers. We’ll use frozen cherries for the compote, and you can also add some fresh ones for extra bursts of flavor and texture if desired.
- Raw Cashews: These are the secret to our ice cream’s luxurious, creamy, and thick texture without any dairy! When soaked and blended, raw cashews create a smooth, rich base that mimics heavy cream perfectly. They also contribute healthy fats and some protein to the dessert. Ensure they are raw, not roasted or salted, for the best result.
- Thick Coconut Yogurt or Greek Yogurt (Dairy-Free): Opt for a genuinely thick yogurt to achieve the desired consistency. Thin, low-fat yogurts won’t provide the richness needed for this ice cream. Thick coconut yogurt adds a subtle tang and extra creaminess, enhancing the overall profile. If you’re not strictly vegan, a full-fat dairy Greek yogurt would also work, but stick to the dairy-free options for a truly vegan treat.
- Full-Fat Canned Coconut Milk: This ingredient is crucial for ultimate creaminess. Ensure you use full-fat canned coconut milk, not the beverage-style coconut milk, as the higher fat content is essential for the ice cream’s texture. For those who can’t consume coconut, you might experiment with other thick vegan creams, but be aware it could alter the flavor slightly.
- Maple Syrup & Coconut Sugar: Our chosen natural sweeteners. Maple syrup provides a rich, warm sweetness, while coconut sugar adds a caramel-like depth and is a great unrefined sugar alternative. You have flexibility here; honey can be substituted for maple syrup if not strictly vegan, and monk fruit or erythritol can replace coconut sugar for a lower-carb option. Adjust quantities to your personal sweetness preference.
- Pantry Staples: A splash of Vanilla extract enhances all the flavors, adding a comforting warmth. A pinch of sea salt balances the sweetness and brings out the fruity notes of the cherries.
- Cookies or Pie Crust: These are essential for the “pie” in cherry pie ice cream! I personally loved using Sprouts Gluten-Free Cherry cookies for their delightful flavor and beautiful appearance, but any crunchy cookie will work. Graham crackers or a homemade pie crust (baked and broken into pieces) are also excellent choices. They add a wonderful textural contrast and that classic pie experience.
- Orange Juice: Just two tablespoons in the compote provide a bright, zesty counterpoint to the sweetness of the cherries. If you don’t have orange juice, water works just as well without impacting the flavor significantly.
- Tapioca Flour/Starch: An optional ingredient for the compote. A small amount helps to thicken the compote, giving it a more jam-like consistency. If you prefer a looser, more syrupy compote, you can omit it.
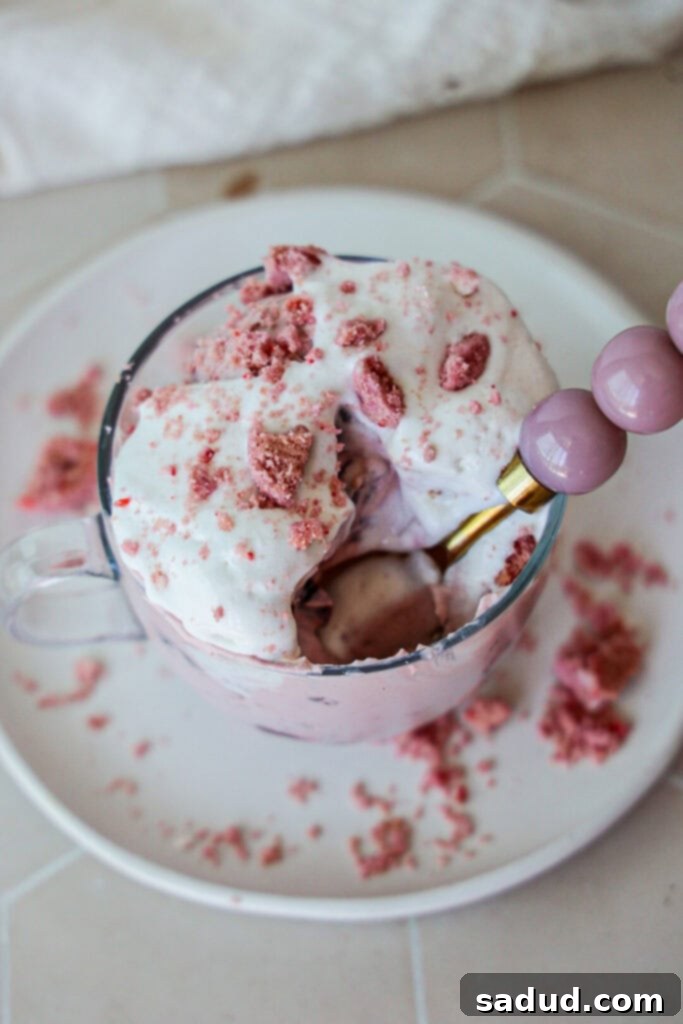
How to Make This Delicious Cherry Pie Ice Cream
My favorite homemade ice creams are those that demand very little effort but deliver maximum flavor. This recipe fits the bill perfectly! It’s incredibly easy to make, even for beginners. While you can opt for store-bought cherry jam to speed things up, I highly recommend making the homemade cherry compote. It truly elevates this ice cream, taking it from delicious to absolutely extraordinary!
Essential Equipment
- High-Speed Blender: For a truly smooth and creamy ice cream base, a powerful blender is key. I cannot recommend a Vitamix enough; I use mine daily for everything from smoothies to sauces. If you’re looking for something more compact yet still powerful, I also adore my Beast Blender. A good blender ensures your cashews are pulverized into a silky smooth cream, preventing any grainy texture in your finished ice cream.
- Ice Cream Machine: While not strictly necessary (a no-churn method is provided below), an ice cream machine is a game-changer for achieving the ultimate creamy, scoopable texture. I used to think it would be another bulky appliance, but it’s become one of my most-used kitchen tools. This affordable model is the one I have – it’s not too big, works wonderfully, and you don’t need a super expensive machine for fantastic results. Mine was only around $60 and yields professional-quality ice cream every time!
Step-by-Step Instructions
Note: For best results, place your ice cream maker bowl in the freezer the night before (or at least 12-24 hours prior) you plan to make your ice cream. It needs to be completely frozen solid for proper churning.
- Step One: Prepare Your Crunchy Bits. Begin by crushing the cookies you plan to use for your “pie crust” pieces. Place them in a small, sturdy bag (like a Ziploc) and use a rolling pin or the bottom of a heavy glass to gently smash them into small, bite-sized crumbs. If you’re opting for homemade pie crust, prepare, bake, and allow it to cool completely before breaking it into similar small pieces. Set aside a small portion for garnish.
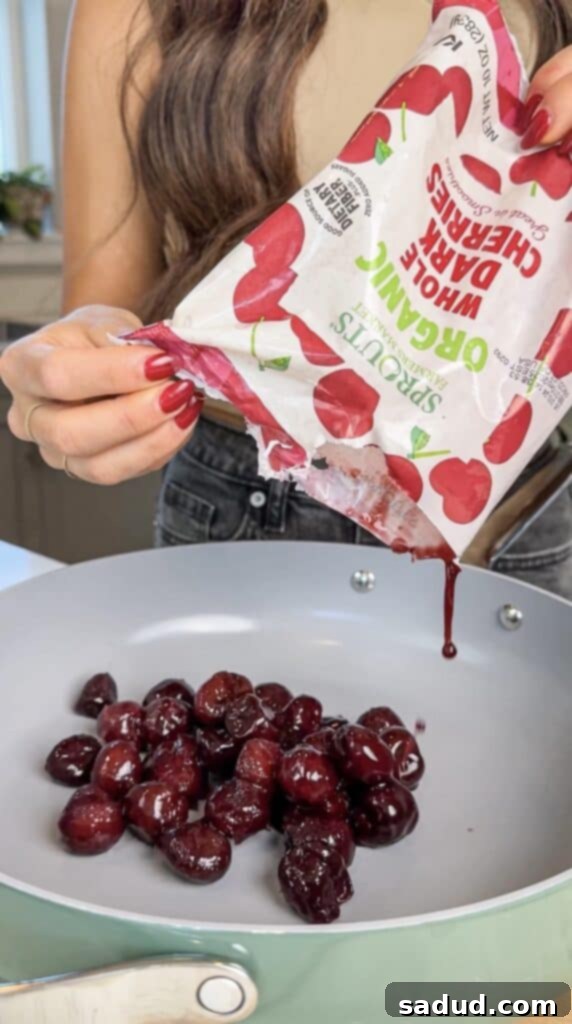
- Step Two: Craft the Cherry Compote. In a small saucepan, combine your frozen cherries, orange juice (or water), and your chosen sweetener. Heat this mixture over medium heat, stirring occasionally. As the cherries soften, use a fork or potato masher to gently break them down, creating a rustic, chunky sauce. Once the mixture reaches a slight simmer and most of the cherries have broken apart, stir in the optional tapioca flour/starch. This will help thicken the compote to a beautiful, jam-like consistency. Mix well until no lumps remain, then remove from heat and let it cool completely.
- Step Three: Blend the Ice Cream Base. In your high-speed blender, combine all of your ice cream base ingredients (soaked cashews, coconut milk, yogurt, lemon juice, maple syrup, coconut sugar, melted coconut oil, and vanilla extract). Blend on high speed until the mixture is incredibly smooth and creamy, with no trace of cashew bits. The consistency should be pourable but thick. Now, turn on your ice cream maker, ensuring the frozen bowl is in place.
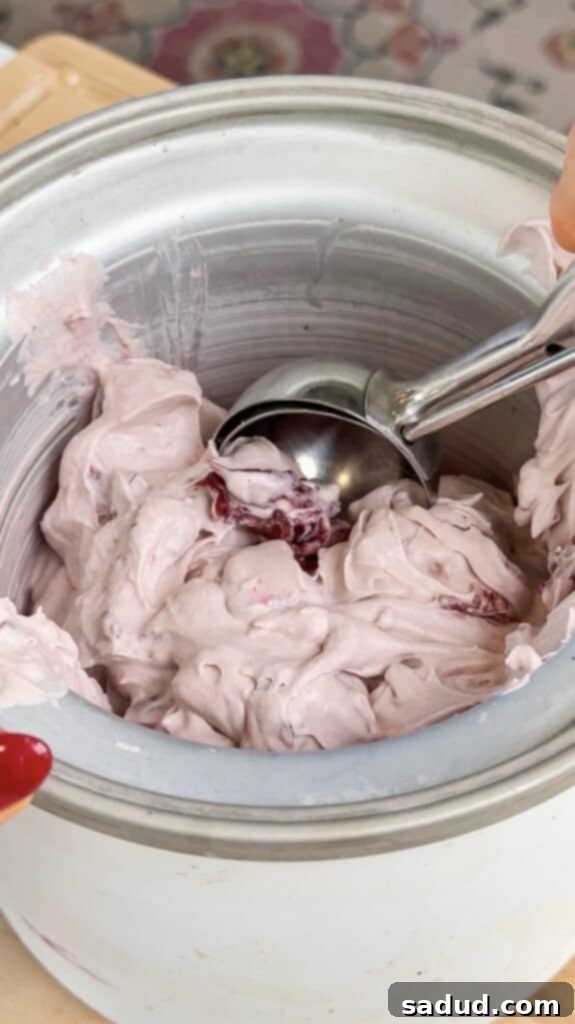
- Step Four: Churn and Combine. Pour the smoothly blended ice cream mixture into your pre-chilled ice cream machine. Churn according to your machine’s instructions, typically for 20-25 minutes, or until the ice cream is thick and resembles soft-serve. Once it’s pretty firm and churned to your desired consistency, gradually add the cooled cherry compote, allowing it to swirl gently into the ice cream. Then, add about 3/4 of your prepared crushed cookies or pie crust pieces, letting them incorporate evenly. Avoid over-mixing once the add-ins are in.
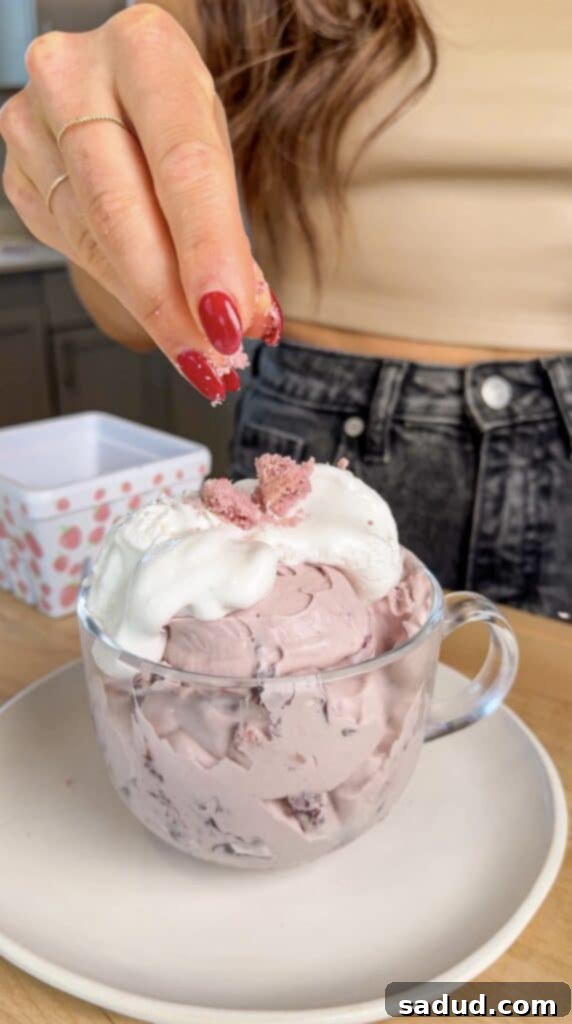
- Step Five: Serve or Store. For a wonderfully soft-serve texture, serve your freshly churned ice cream immediately with an extra sprinkle of the reserved cookies/crust pieces on top. If you prefer a firmer ice cream, transfer it to an airtight container and freeze for at least 2-4 hours, or until solid. Before serving, let it thaw on the counter for about 10-15 minutes to reach a perfect scooping consistency. Sprinkle with the remaining cookies/crust for that extra “pie” crunch!
How to Make Healthy Ice Cream Without an Ice Cream Maker (No-Churn Method)
While an ice cream machine is highly recommended for the ultimate creamy texture, you can absolutely make this delicious healthy ice cream without one! The no-churn method requires a little more patience but still yields a delightful frozen treat.
Here’s how to do it:
- Prepare the Base: First, blend all the ice cream base ingredients (soaked cashews, coconut milk, yogurt, lemon juice, maple syrup, coconut sugar, melted coconut oil, and vanilla extract) in a high-speed blender until the mixture is exceptionally smooth and free of any gritty cashew pieces.
- Combine Add-ins: Pour the smooth ice cream mixture into a large, freezer-safe Tupperware or loaf pan. Stir in the cooled cherry compote and the crushed cookie or pie crust pieces until they are evenly distributed throughout the mixture.
- Freeze and Stir: Place a lid securely on the container and transfer it to the freezer. To prevent the formation of large ice crystals and achieve a smoother texture, remove the ice cream from the freezer and give it a thorough stir every hour for the first two to three hours. This helps break up any forming ice and keeps the texture creamy.
- Final Freeze & Thaw: Allow the ice cream to freeze undisturbed for a total of about 6-7 hours, or until it’s completely firm. When you’re ready to enjoy it, remove the container from the freezer and let it thaw on the counter for approximately 20-30 minutes. This allows it to soften slightly, making it easier to scoop and enjoy its creamy consistency.
While the texture might be slightly different from churned ice cream, this no-churn method still delivers all the incredible flavor of our vegan cherry pie ice cream!
How to Store & Defrost Leftover Cherry Ice Cream
Storing your homemade vegan cherry pie ice cream correctly will ensure you can enjoy its deliciousness for days to come. Transfer any leftover ice cream to an airtight container. I often prefer to store mine in individual serving-sized containers; this makes portioning easier and helps prevent the entire batch from thawing and refreezing repeatedly.
When you’re ready to enjoy your leftovers, take the container out of the freezer and let it thaw on the counter for about 20-30 minutes. Homemade dairy-free ice cream tends to freeze quite solid, so this thawing period is crucial to achieve that perfect scoopable, creamy texture. Once softened, give the ice cream a good stir with a spoon before serving to redistribute any flavors and ensure optimal creaminess.
Serving Suggestions and Creative Variations
This vegan cherry pie ice cream is fantastic on its own, but it also lends itself beautifully to various serving suggestions and delicious variations:
- Chocolate Cherry Bliss: Cherries and dark chocolate are a match made in heaven! Swirl in some vegan chocolate chips, add dark chocolate chunks, or shave some dark chocolate over the top for an irresistible combination.
- Colorful Sprinkles: Who says healthy ice cream can’t be fun? A generous sprinkle of colorful vegan sprinkles instantly adds a festive touch and extra joy, making it perfect for celebrations or just a bright everyday treat.
- Creamy Toppings: Top your scoop with a dollop of coconut whip cream or your favorite store-bought vegan whipped cream for an extra layer of decadence and creaminess.
- Classic Cone Experience: Serve your healthy ice cream in a crisp cake cone, a crunchy waffle cone, or a sugar cone for that nostalgic ice cream parlor feel.
- Nutty Crunch: Add some toasted chopped almonds, pecans, or walnuts to the ice cream base during the last few minutes of churning, or sprinkle them on top for added texture and a nutty flavor.
- Berry Medley: While cherry is the star, don’t shy away from adding other berries! A swirl of raspberry sauce or a few fresh blueberries could add another layer of fruity complexity.
- Vegan Fudge Swirl: For a truly indulgent variation, gently swirl in some homemade or store-bought vegan hot fudge sauce into the ice cream as it finishes churning, or drizzle it over individual servings.
Tips, Tricks, & FAQs for Perfect Vegan Cherry Pie Ice Cream
- Serve in Chilled Bowls: To keep your ice cream from melting too quickly and staying wonderfully firm, serve it in bowls that have been chilled in the freezer for at least 15-20 minutes beforehand.
- Real Buttery Crust Pieces: If you crave the authentic taste of a flaky, buttery pie crust, simply bake your favorite vegan pie crust recipe. Once cooled, crunch it into bite-sized pieces and use it in place of the cookies for a truly gourmet “pie” experience.
- Soak Your Cashews: For the smoothest possible ice cream base, make sure to soak your raw cashews! For at least 4 hours (or overnight), submerge them in hot water. If you’re in a hurry, you can boil them for 15-20 minutes, then drain and rinse thoroughly. Soaking softens them, allowing them to blend into a truly silky cream.
- Adjust Sweetness to Taste: The amount of sweetener suggested is a guideline. Feel free to taste the ice cream base before churning and adjust the maple syrup or coconut sugar to match your personal preference. Remember, ice cream tastes less sweet when frozen.
- Preventing Ice Crystals in No-Churn: If you’re using the no-churn method, the hourly stirring is essential. This breaks up ice crystals as they form, leading to a much creamier final product. If you forget to stir, the ice cream will still be delicious but might have a slightly icier texture.
- Using Fresh Cherries: You can certainly use fresh pitted cherries for the compote when they are in season! The cooking time might vary slightly as frozen cherries tend to break down a bit faster.
- Don’t Overfill Your Machine: Always follow your ice cream maker’s capacity guidelines. Overfilling can prevent proper churning and result in a less creamy consistency.
- Coconut Oil for Stability: The melted coconut oil in the base is not just for flavor; it acts as a stabilizer. It helps the ice cream achieve a firmer, less icy texture when frozen solid, giving it a better mouthfeel.
More Healthy Frozen Desserts to Try
- Healthy Cookie Dough Ice Cream
- Frozen Yogurt Bites
- Creamy Vegan Frozen Yogurt
- No-Bake Strawberry Cheesecake Parfaits
- Chocolate Covered Yogurt Bites
- Healthy Dilly Bars
- 2-Ingredient Orange Sorbet
- White Chocolate Covered Strawberry Yogurt Bites
Vegan Cherry Pie Ice Cream
Vegan cherry pie ice cream is luscious, ultra-creamy, packed with cherry compote and pieces of cherry cookies that taste like pie! This ice cream recipe is made with wholesome, healthy ingredients and is gluten-free, dairy-free, and refined sugar-free!
Pin Recipe
Ingredients
Cherry Ice Cream Base
- 1 1/4 cups raw cashews (soaked in hot water for at least 30 minutes, then drained and rinsed)
- 1 cup full-fat canned coconut milk (shaken well before opening)
- 2/3 cup THICK coconut yogurt or dairy-free Greek yogurt
- 2 tbsp lemon juice
- 1/4 cup maple syrup
- 3 tbsp coconut sugar (or monk fruit for lower sugar)
- 3 tbsp melted coconut oil (helps stabilize)
- 1 1/2 tsp vanilla extract
- Pinch sea salt
Cherry Compote
- 1 10oz bag frozen cherries (about 2 cups)
- 1/4 cup orange juice or water
- 2 tbsp coconut sugar or monk fruit
- 1 tsp tapioca flour/starch (optional, for thickening)
Crust/Cookies
- 1 bag Sprouts gluten-free cherry cookies, graham crackers, or homemade pie crust broken into pieces (approx. 3.5oz bag of cookies)
Instructions
The Night Before:
- Place your ice cream maker bowl in the freezer the night before you plan to make your ice cream. It needs to be completely frozen solid.
- Soak your raw cashews for the ice cream base in hot water for at least 30 minutes, or cold water overnight. Drain and rinse thoroughly before use.
Cherry Compote:
- Add the frozen cherries, orange juice (or water), and sweetener to a small saucepan. Heat over medium heat, bringing it to a low boil. Once boiling, reduce the temperature to medium-low, cover with a lid, and allow to cook for 10 minutes, or until the cherries soften and begin to break apart easily. Use a fork or potato masher to further mash them to your desired consistency.
- Remove the lid, bring the heat down to low, and cook for an additional 5 minutes until the compote thickens and the cherries are coated in a syrupy sauce. If you desire a thicker compote, stir in 1 teaspoon of tapioca starch and mix well until dissolved. Remove from heat and let cool completely.
Ice Cream:
- In a high-speed blender, combine all the ice cream base ingredients (soaked and drained cashews, coconut milk, yogurt, lemon juice, maple syrup, coconut sugar, melted coconut oil, vanilla extract, and sea salt). Blend until the mixture is super smooth and creamy, with no visible cashew pieces.
- Turn on your pre-chilled ice cream maker. Pour the ice cream mixture into the machine and churn according to its instructions (typically 20-25 minutes), until it reaches the consistency of soft-serve.
- While the ice cream is churning, prepare your cookies or pie crust by crunching them into small, bite-sized pieces. Set aside a small portion for garnish.
- Once the ice cream is thick and resembles soft-serve, gradually add the cooled cherry compote, allowing it to swirl into the ice cream. Then, add about 3/4 of the chopped cookies or pie crust. Continue churning briefly until well mixed, then turn off the machine and remove the bowl.
- Serve immediately for a soft-serve consistency, topped with the reserved cookie/crust pieces. For a firmer ice cream, transfer it to an airtight container and freeze for 2-4 hours. Let it thaw for 10-15 minutes on the counter before scooping and serving with the remaining crunchy bits.
Notes
How to Make Healthy Ice Cream Without an Ice Cream Maker:
Although an ice cream maker is highly recommended for the best texture, you can still make this delicious, healthy ice cream without a machine. Simply blend all of the ice cream ingredients until super smooth. Then, pour the mixture into a large freezer-safe container (like a Tupperware or loaf pan). Stir in the cooled compote and cookie crust pieces. Place a lid on top and freeze. To prevent an icy texture, remove the ice cream from the freezer and give it a good stir every hour for the first two to three hours. When the ice cream is totally firm (about 6-7 hours), let it thaw on the counter for 20-30 minutes before enjoying its creamy texture.
