High-Protein Peanut Butter Yogurt Bites: A Healthy Snickers-Inspired Frozen Treat
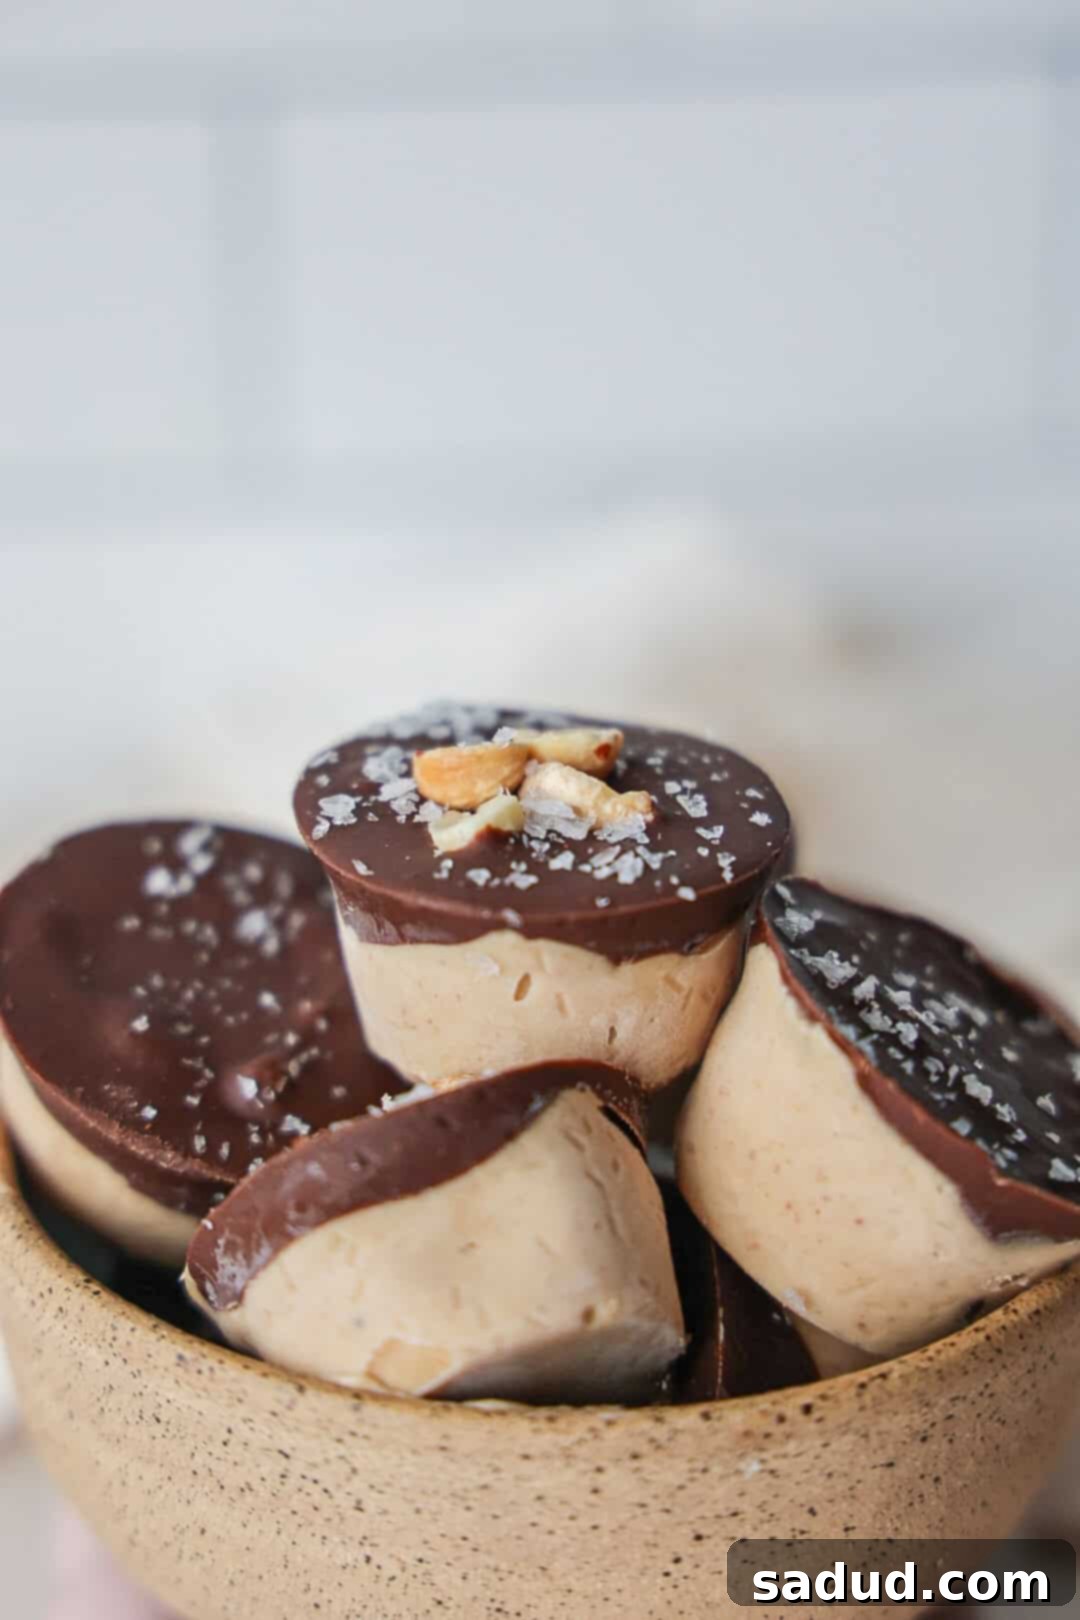
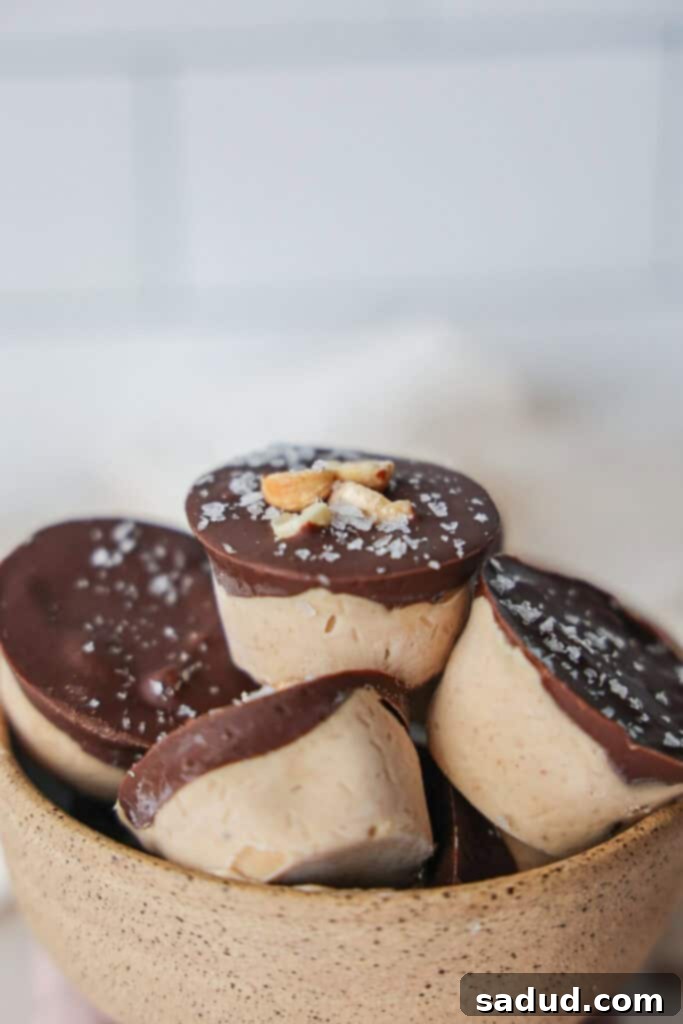
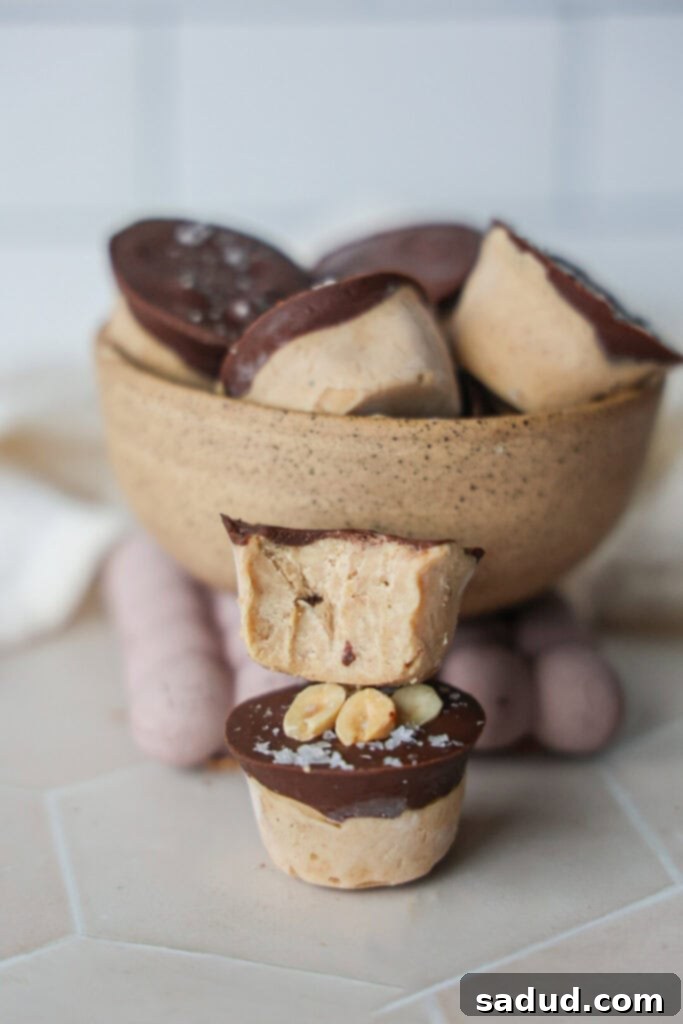
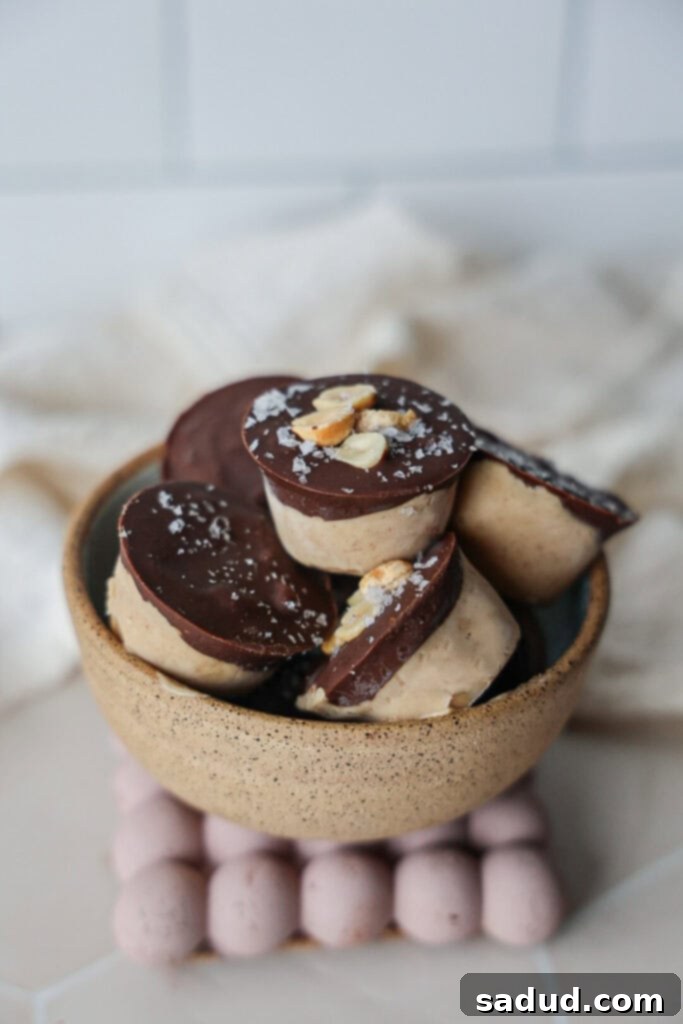
Indulge in these ultra-creamy peanut butter yogurt bites, a truly delightful snack that tastes like a little piece of heaven, all while being packed with protein! We’re talking about a luscious peanut butter yogurt filling, generously studded with chewy, caramel-like dates, all encased in a crisp chocolate shell, sprinkled with crunchy peanuts and a hint of sea salt. These delectable treats evoke the nostalgic flavors of a Snickers bar, making them the perfect healthy snack you’ll want to enjoy again and again!
Disclosure: This post may contain affiliate links. I may earn a small commission for my endorsement, recommendation, testimonial, and/or link to any products or services from this website.
If you’ve spent any time scrolling through TikTok or Instagram recently, you’ve undoubtedly encountered the viral yogurt clusters that have taken the internet by storm. Typically, these popular treats feature a base of Greek yogurt, sweetened with honey or maple syrup, and mixed with fresh fruits like strawberries or mango, then finished with a scattering of semi-sweet chocolate chips. But today, in true Dani fashion, I’m excited to share a unique and utterly delicious Snickers-inspired twist on this viral sensation! If, however, your taste buds are craving something more on the fruity side, my strawberry yogurt bites are an absolute must-try – they are simply divine!
Beyond these tempting peanut butter yogurt bites, if you’re on the hunt for more refreshing frozen treats, be sure to explore some of my other favorites: my easy frozen yogurt bites, my healthy cookie dough ice cream, and my homemade Dilly Bars. Each offers a delicious way to cool down and satisfy your sweet cravings with healthier ingredients.
Why You’ll Absolutely Love These Peanut Butter Yogurt Bites
These peanut butter yogurt bites aren’t just a fleeting trend; they’re a delicious and genuinely convenient addition to any healthy eating routine. Here’s why they’re destined to become a staple in your freezer:
- Effortless Preparation: All the magic happens in a single bowl! This means minimal cleanup and a straightforward process that’s perfect for busy schedules. They’re also an incredible option for meal prepping, allowing you to whip up a batch and have healthy, protein-packed snacks ready to grab throughout the week.
- Wholesome Ingredients: We focus on real, nourishing ingredients you can feel good about. With a short and simple list, you won’t find any obscure additives, just pure deliciousness.
- High-Protein Powerhouse: Thanks to the thick yogurt and the addition of powdered peanut butter, these bites are an excellent source of protein. This makes them ideal for a post-workout refuel, a satisfying midday snack, or even a healthier dessert option that helps keep you full and energized.
- Smart Sweet Treat: If you have a sweet tooth but are looking to reduce your sugar intake, these yogurt clusters are your answer. They offer all the satisfaction of a decadent dessert with significantly less added sugar than traditional treats, proving that healthy can be incredibly delicious.
- Customizable for Dietary Needs: Whether you’re dairy-free or vegan, these bites can be easily adapted! Simply opt for your favorite dairy-free yogurt, such as a thick coconut yogurt, and ensure your sweetener and chocolate choices align with your dietary preferences.
- Perfect No-Bake Indulgence: There’s no oven required, making these the ultimate no-bake dessert or snack. They’re especially wonderful during warmer months when you want a refreshing, frozen treat without turning on the oven, keeping your kitchen cool.
- Extra Protein Boost: For those looking to maximize their protein intake, using high-quality Greek yogurt provides an extra dose of muscle-building goodness, making these an even more functional snack.
How to Make Peanut Butter Yogurt Bites
You’ll find the complete measurements and detailed steps in the recipe card at the very bottom of this post, but let’s walk through the process!
Ingredients & Substitutions for the Perfect Bites
These viral bites achieved their widespread fame for a very good reason: their incredible ease of preparation and a remarkably short, simple list of ingredients. You’ll likely find most of what you need already stocked in your pantry!
- Yogurt: The key to the ultra-creamy texture is using thick yogurt. Both Greek yogurt and a good quality coconut yogurt work exceptionally well. If your yogurt is too runny, the bites won’t set properly or achieve that desired creamy consistency. For dairy-free options, I highly recommend brands like Cocojune and Culina for their superior thickness and flavor.
- Powdered Peanut Butter: This ingredient is a game-changer! Powdered peanut butter not only boosts the healthy protein content of the recipe without the need for traditional protein powder but also intensifies that rich peanut butter flavor. As an alternative, you can absolutely swap in your favorite protein powder. Refer to the notes in the recipe card for specific recommendations on this substitution.
- Peanut Butter: Adding regular peanut butter is crucial for two reasons: it helps to further thicken the mixture and ensures the bites firm up perfectly in the freezer. The healthy fats in the peanut butter also contribute significantly to the creamy texture, preventing the bites from becoming overly “icy.”
- Maple Syrup or Honey: These natural sweeteners add just the right touch of sweetness. Maple syrup is a great vegan option, while honey provides a slightly different flavor profile. Adjust the amount to your personal preference.
- Baking Staples: A generous pinch of sea salt enhances all the flavors, especially the chocolate and peanut butter, and a splash of vanilla extract adds depth and warmth to the overall taste.
- Chocolate Chips: For the decadent shell, you can use either chopped chocolate bars or your preferred chocolate chips. I’m a big fan of Hu Kitchen chocolate bars/chips, which come in both dark chocolate and grass-fed milk chocolate options. They’re fantastic for creating a dairy-free shell. You can use my code “danishealthyeats” for a discount on their products!
- Dates: These add a fantastic natural sweetness and a chewy, caramel-like texture, reminiscent of a classic Snickers bar. You can chop them finely and fold them into the yogurt mixture, or for a more distinct caramel center, pit them, halve them, and roll them into small balls before placing them in the yogurt.
Selecting the Best Molds or Pan for Your Yogurt Bites
To ensure a smooth and easy removal process for your frozen yogurt bites, I highly recommend using a silicone pan or mold. Attempting to extract these from a metal pan can be quite challenging and messy, unless you line each cavity with cupcake liners. Silicone’s flexibility makes all the difference. Here are a few excellent options that I personally love and recommend:
- Silicone Mini Muffin Pan: This is my go-to choice. The smaller, individual cavities are perfect for creating bite-sized portions, and the flexible silicone makes popping out the frozen bites incredibly simple and clean.
- Silicone Bar Mold: If you prefer a larger, more substantial treat, a rectangular bar mold is ideal. You can use these to create yogurt bars that can then be sliced into individual portions if desired.
- Ice Cube Tray: For a more casual or readily available option, a standard silicone ice cube tray works wonderfully. It creates perfectly portioned cubes that are just as easy to remove.
Regardless of the mold you choose, make sure it’s clean and ready before you start filling. No need to grease silicone molds, as the frozen bites will release easily.
Step-by-Step Guide to Making Your Yogurt Bites
Follow these simple steps to create your delicious, high-protein peanut butter yogurt bites:
- Step 1: Prepare the Yogurt Mixture. In a large mixing bowl, combine all the core yogurt cluster ingredients (yogurt, powdered peanut butter, regular peanut butter, maple syrup/honey, vanilla extract, and sea salt). Stir everything together thoroughly until the mixture is completely smooth and well-combined. This ensures a consistent flavor and texture throughout your bites. Take a moment to taste and adjust the sweetness if needed – you can always add a little more maple syrup or honey.
- Step 2: Incorporate the Dates. Now it’s time to add those delightful, chewy dates! First, open the dates and carefully remove their pits. You have two options here: either rip each date half into a small ball for a distinct caramel-like center, or chop them finely and fold them directly into the yogurt mixture. The “rolled ball” method provides a more prominent Snickers-like experience, as showcased in the video. You can also add other mix-ins like cacao nibs for extra crunch at this stage.
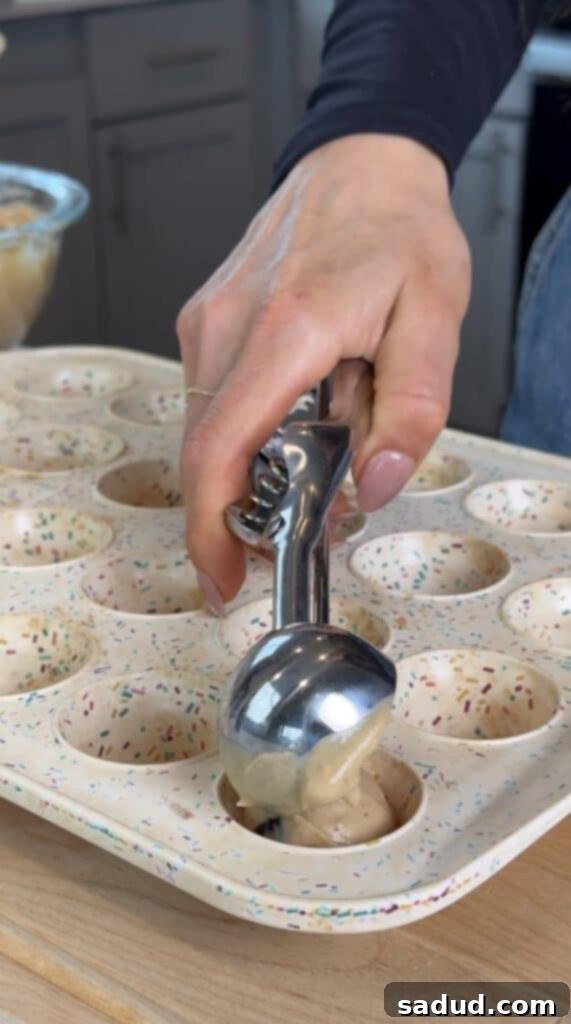
- Step 3: Fill the Molds. Once your yogurt mixture is ready, it’s time to portion it into your chosen molds. Using a mini muffin tin (preferably silicone), divide the yogurt mixture evenly, filling each crevice about two-thirds of the way. I find that a 1-tablespoon sized cookie scoop makes this process much quicker and far less messy, ensuring uniform bites. Gently press a date ball (if using) into the center of each portion.
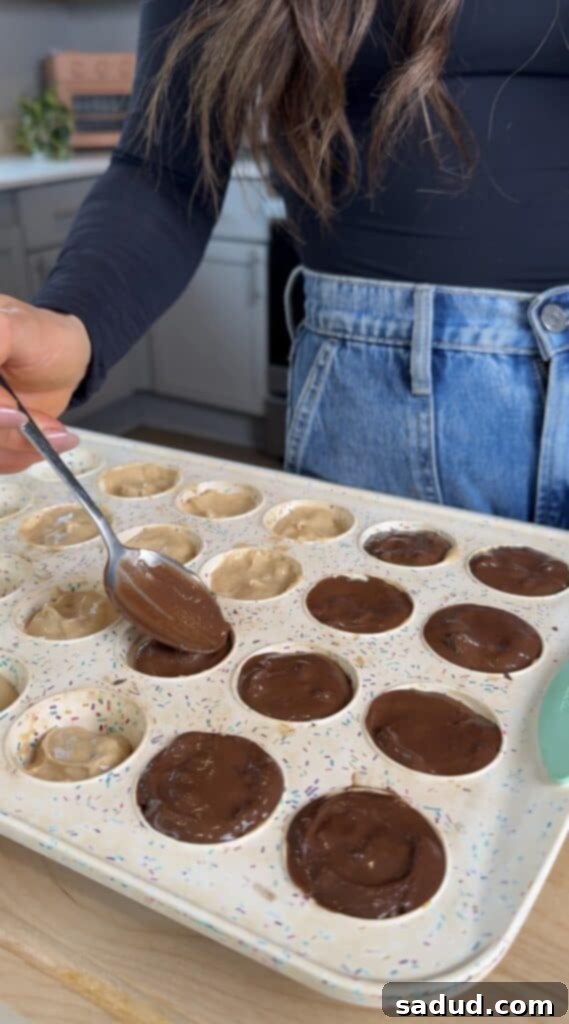
- Step 4: Create the Chocolate Shell. In a small, microwave-safe bowl, combine your chocolate chips or chopped chocolate with the coconut oil. The coconut oil is essential here as it helps to thin out the chocolate, creating a smooth, pourable consistency that will harden beautifully into a crisp shell. Microwave the chocolate in 30-second increments, stirring very well after each interval, until it’s completely melted and smooth. Avoid overheating. Carefully spoon a little melted chocolate over the top of each yogurt bite, ensuring the yogurt is fully covered. For an extra touch, you can sprinkle a few chopped peanuts on top of the wet chocolate.
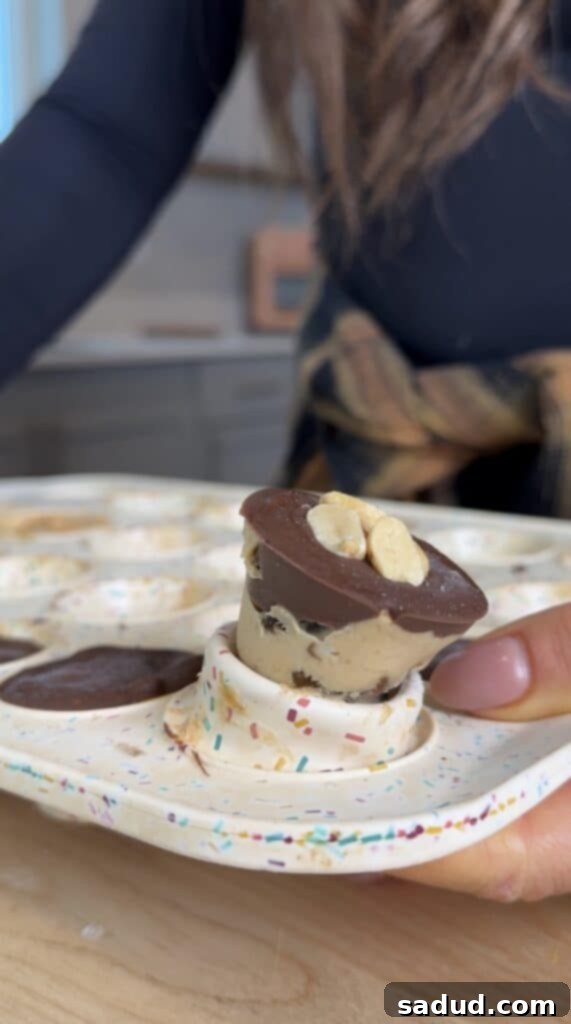
- Step 5: Freeze and Store. Place your filled molds into the freezer. Allow them to freeze for approximately 2-3 hours, or until they are completely firm and solid. The freezing time can vary slightly depending on your freezer’s power. Once fully firm, gently remove the bites from the muffin tin or mold. Store your finished peanut butter yogurt bites in an airtight container in the freezer. They’ll keep wonderfully for up to a month, ready whenever a craving strikes! For best results, I like to add a final sprinkle of flaky sea salt *after* they’ve frozen, for a perfect sweet and salty crunch.
Delicious Variations for Your Yogurt Clusters
While these peanut butter chocolate yogurt clusters are absolutely divine as they are, one of their best qualities is how incredibly versatile they are! Feel free to get creative and customize them to your heart’s content. Here are some fantastic ways to switch them up:
- Add Fresh Fruit: For a lighter, fruitier bite, you can easily adapt the recipe. Skip the powdered peanut butter, swap the regular peanut butter for almond or cashew butter (if preferred), and fold in your favorite chopped fresh fruit. Strawberries, blueberries, raspberries, mango, and even crisp apples are all wonderful choices. I’m already dreaming of a batch made with sweet, tart cherries – imagine the flavor!
- Additional Mix-ins for Texture and Flavor: Beyond dates, there’s a world of delightful mix-ins you can incorporate into your yogurt base or sprinkle on top. Consider adding a handful of crunchy granola for an extra satisfying bite, nutrient-rich cacao nibs for a subtle chocolatey crunch, colorful sprinkles for a fun touch, various dried fruits (like cranberries or apricots) for different textures, or an assortment of chopped nuts and seeds for added protein and healthy fats.
- Low Sugar/Keto-Friendly Options: If you’re managing your sugar intake or following a keto diet, these bites can be easily modified. Replace the maple syrup or honey with your preferred sugar-free liquid sweetener, such as monk fruit drops, stevia, or erythritol-based syrups. Just be sure to taste and adjust to your desired sweetness level, as these sweeteners can vary in intensity.
- Dairy-Free/Vegan Version: Making these bites vegan is a breeze! Simply ensure you’re using a high-quality dairy-free yogurt (coconut yogurt is a fantastic option due to its natural thickness and creamy texture) and stick with maple syrup as your sweetener instead of honey. Always double-check your chocolate chips to confirm they are dairy-free as well.
Expert Tips & FAQs for Perfect Peanut Butter Yogurt Bites
To ensure your peanut butter yogurt bites turn out perfectly every time, keep these expert tips in mind and get answers to common questions:
- The Best Yogurt to Use: This is arguably the most crucial tip! I cannot stress enough the importance of using a THICK yogurt. Greek yogurt (full-fat or 0%) and specific brands of coconut yogurt (like Cocojune or Culina) work best because their inherent thickness allows the bites to set firmly and maintain that desired ultra-creamy texture. If you use a runnier yogurt, your bites will likely be too soft, won’t hold their shape, and will have an unpleasantly icy rather than creamy consistency. If you only have thinner yogurt, you can try straining it through a cheesecloth-lined sieve for a few hours in the fridge to remove excess liquid and thicken it up.
- Do You Have to Use Powdered Peanut Butter? No, it’s not strictly mandatory, but it’s highly recommended! Powdered peanut butter serves two key purposes: it significantly amplifies the peanut butter flavor and provides a wonderful boost of protein without making the texture gritty. If you choose to omit it, the bites will still be delicious but will have a slightly milder peanut flavor and less protein. If you’re looking for a great option, I love this Organic Powdered Peanut Butter!
- Melting the Chocolate Successfully: Do not skip the coconut oil when melting your chocolate! This small addition is vital for thinning the chocolate, creating a smooth, glossy shell that’s easy to drizzle and hardens perfectly without cracking. If you prefer not to use a microwave, the double-boiler method is an excellent alternative: place your chocolate and coconut oil in a heat-proof bowl set over a pot of simmering water, stirring until melted. My biggest tip, regardless of method, is to stir the chocolate really well and frequently in between heating increments. This constant stirring helps to distribute heat evenly and is key to preventing the chocolate from overheating and seizing (becoming thick and unworkable). If your chocolate does seize, you can sometimes rescue it by stirring in a tiny bit of hot water or more melted coconut oil, but prevention is best!
- Use a Cookie Scoop for Uniformity: While a regular spoon will work for scooping the yogurt mixture into your molds, a small cookie scoop (I recommend a 1-tablespoon size) will make the process incredibly quick, neat, and efficient. It ensures that all your bites are uniform in size and shape, which not only looks professional but also helps them freeze and thaw more evenly.
- Allow Them to Freeze Long Enough! Patience is key here. It’s absolutely crucial to let your yogurt bites freeze completely until they are solid and firm. If you attempt to remove them from the pan before they are adequately frozen, they will be a messy, melty disaster. Depending on the strength of your freezer, this typically takes between 2 to 4 hours. Give them that time; you’ll be rewarded with perfectly formed, easy-to-handle treats.
- Storing Leftovers Properly: These peanut butter yogurt bites are excellent for make-ahead snacking. Once they are fully frozen and removed from their molds, transfer them to an airtight freezer-safe container or a resealable bag. Stored correctly, they will maintain their deliciousness and texture in the freezer for up to a month. This makes them a fantastic meal-prep option!
- Can I Add Protein Powder for an Extra Boost? Absolutely! If you want to supercharge the protein content even further, you can omit the powdered peanut butter and instead mix in about 1/4 cup of your favorite protein powder. I’ve had fantastic results using Macro Mike’s salted caramel or peanut butter flavored protein powders in this recipe – they make the bites taste even more like a decadent dessert while boosting nutritional value! You can use my code “amb-dani” to save on any order.
- Nutritional Benefits: These bites are not just tasty; they’re beneficial! They provide a good source of protein for muscle repair and satiety, healthy fats from peanut butter for sustained energy, and essential nutrients from yogurt. They’re a balanced snack that can help curb cravings without the guilt.
- Kid-Friendly Snack: With their sweet taste and fun size, these yogurt bites are usually a hit with kids! They’re a much healthier alternative to many store-bought snacks and can be a great way to sneak in some extra protein and calcium.
More Healthy Snack Recipes to Try
If you’ve enjoyed these delicious peanut butter yogurt bites, you’re in for a treat with these other healthy and satisfying snack recipes:
- Classic Chocolate Covered Yogurt Bites/Clusters
- Healthy Ice Cream / Frozen Yogurt (perfect with an ice cream maker or Ninja Creami!)
- Simple Frozen Yogurt Bites
- Refreshing Strawberry Yogurt Bites
- Decadent Strawberry Cheesecake Yogurt Parfait
- Peanut Butter Cookie Dough Blizzard
If you try these incredibly delicious peanut butter yogurt bites and fall in love with them, it would truly mean the world to me if you left a star rating and a review below! Don’t forget to tag me in your delightful creations on Instagram @danishealthyeats – I absolutely love seeing what you make!
Peanut Butter Yogurt Bites
These ultra-creamy peanut butter yogurt bites taste like little sinful bites of heaven, while being packed with protein! Chewy bits of caramel-like dates are folded into a creamy peanut butter yogurt filling, topped with a chocolate shell, crunchy peanuts, and sea salt. They remind me of Snickers – you’ll want this healthy snack on repeat!
Pin Recipe
- Prep Time
- 10 mins
- Set Time
- 3 hrs
- Total Time
- 3 hrs 7 mins
- Course
- Appetizer, Dessert, Snack
- Cuisine
- American
- Servings
- 12 Bites
Ingredients
Yogurt Bites
- 1 cup THICK yogurt (*greek or coconut yogurt work best)
- 1/4 cup powdered peanut butter (*Can also sub peanut butter or vanilla flavored protein powder)
- 3 tbsp peanut butter
- 3-4 tbsp maple syrup or honey
- dates (ripped in half & rolled into balls or you can chop some up & fold them in – *see video!)
- 1 tsp vanilla extract
- Generous pinch of sea salt
Topping
- 1 cup chopped chocolate or chocolate chips
- 1 tsp coconut oil
Instructions
- In a large bowl, combine all of the yogurt bite ingredients (yogurt, powdered peanut butter, peanut butter, maple syrup/honey, vanilla extract, and sea salt), mixing until completely smooth. Taste and add a little extra maple syrup/honey if needed.
- Open the dates and remove the pits. Rip them in half, then roll each half into a small ball. Alternatively, you could chop them up and fold them into the yogurt mixture, but I love having them as a chewy caramel-like center!
- Divide the yogurt mixture amongst your mini muffin tin, filling each crevice about 1/3 way, leaving the last 1/3 for chocolate. I find it easiest to use a tbsp sized cookie scoop. Place a date ball into the center of each one, slightly pressing it down.
- In a small bowl, add the chocolate and coconut oil. The coconut oil is used to help thin the chocolate a bit. Heat in the microwave in 30-second increments, stirring well between each, until melted and smooth. Add a little chocolate to the top of each bite, covering the yogurt. Top with some chopped peanuts.
- Place in the freezer for 2-3 hours to allow them to completely firm up. I like to top mine with sea salt once they’re firm! Once firm, remove from the muffin tin or mold and store in an air-tight container in the freezer.
Notes
- Storing leftovers: These will keep in the freezer for up to a month in an airtight container!
- Can I add protein powder? Yes! I would omit the powdered peanut butter and add in 1/4 cup of your preferred protein powder.
- You MUST use a thick yogurt for these to turn out the best! Thinner yogurts will not set up the same or be as thick/creamy.
- Keyword
- dairy free frozen yogurt, dairy-free snacks, frozen yogurt bites, greek yogurt, healthy snickers, Peanut Butter, vegan frozen yogurt
