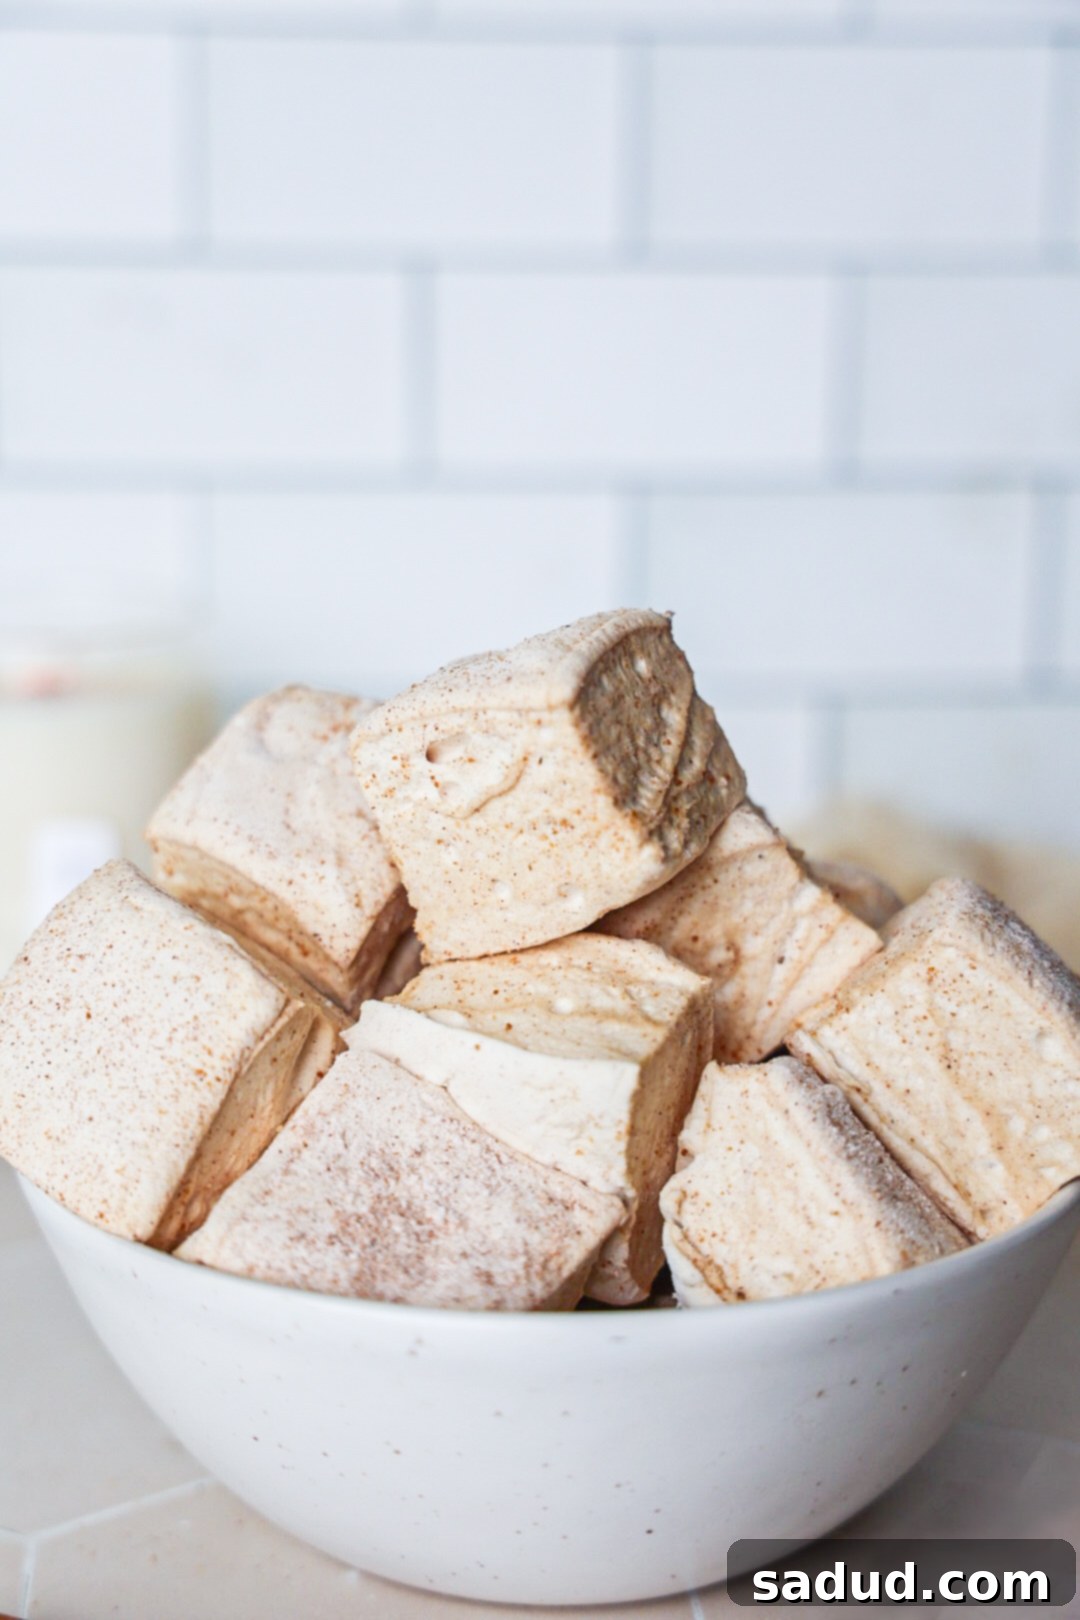
Homemade Snickerdoodle Marshmallows: Your Guide to Healthy, Corn Syrup-Free, & Paleo-Friendly Treats
Discover the joy of crafting your own fluffy, pillowy healthy homemade Snickerdoodle marshmallows. Unlike their store-bought counterparts, these delectable treats are completely free from corn syrup, relying instead on the natural sweetness of maple syrup or honey. Not only are they incredibly easy to make with just 4 essential ingredients, but they’re also a fantastic paleo-friendly option. This comprehensive guide provides all the insider tips for successful homemade marshmallow making, including how to achieve perfect results even without a candy thermometer!
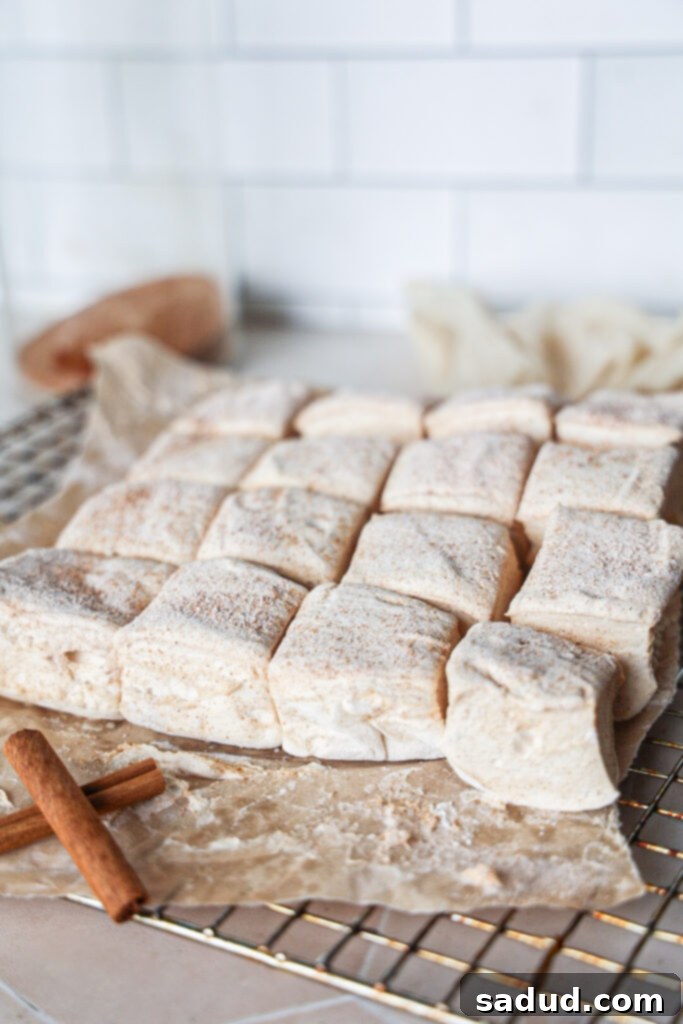
For years now, I’ve been making homemade marshmallows, and honestly, it’s completely spoiled me. The contrast between these fresh, wholesome treats and store-bought versions is stark; mass-produced marshmallows often taste artificial and lack that true, melt-in-your-mouth quality. There’s simply nothing that compares to the superior taste and texture of a homemade marshmallow. Beyond the incredible flavor, crafting them at home gives you complete control over the ingredients. This means you can ensure they’re made with healthier, natural components and, even better, customize the flavors to your heart’s content – which is always a delightful adventure!
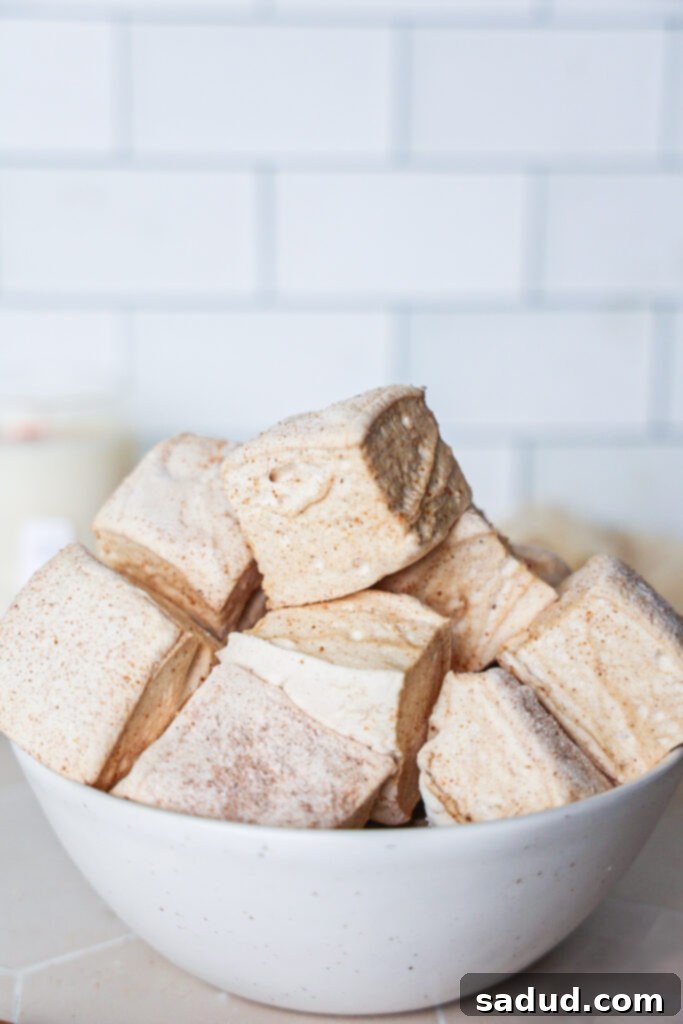
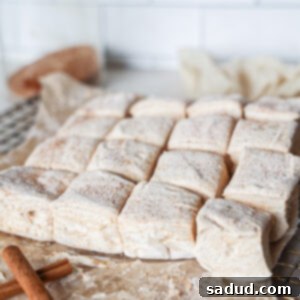
The texture of these homemade snickerdoodle marshmallows is truly a revelation. They are exquisitely fluffy, perfectly pillowy, and bursting with a rich, authentic flavor that store-bought varieties simply can’t replicate. Each bite is a delightful combination of sweet and perfectly spiced cinnamon goodness. With the holiday season and cozy fall evenings just around the corner, I wanted to create a flavor that truly embodied the festive spirit. Snickerdoodle immediately came to mind – a classic cookie flavor transformed into a soft, airy marshmallow. These healthy homemade snickerdoodle marshmallows are the perfect companion for your favorite warm beverages, whether it’s a steaming mug of hot chocolate, a comforting chai latte, or any other cozy drink you enjoy. But their versatility doesn’t stop there! They’re also wonderfully delicious as a standalone snack, dipped in a bit of melted white chocolate for an extra touch of decadence, or incorporated into your favorite holiday desserts. The possibilities are genuinely endless when it comes to enjoying these gourmet marshmallows.
If you’re eager to explore more unique and delightful marshmallow flavors, be sure to try my strawberry marshmallows – they’re another fantastic, fruity option that’s equally delicious and fun to make!
Why You’ll Adore These Healthy Homemade Snickerdoodle Marshmallows
Once you try these snickerdoodle marshmallows, you’ll understand why they’re a game-changer. Here’s a closer look at what makes them so special:
- Gut-Healthy Goodness: These marshmallows are crafted with high-quality grass-fed gelatin, an ingredient celebrated for its gut-healing properties. It’s a sweet treat that secretly supports your digestive health!
- Naturally Sweetened & Protein-Packed: Say goodbye to refined sugars and corn syrup. Sweetened naturally with maple syrup or honey, these marshmallows offer a lower-sugar alternative. Plus, the gelatin also contributes a good boost of protein.
- Perfect for Fall & Holidays: The warm, inviting flavors of cinnamon and sugar make these snickerdoodle marshmallows an ideal treat for autumn gatherings, Halloween parties, Thanksgiving desserts, and all your festive holiday celebrations.
- Melts Just Like Store-Bought: Don’t let their healthy nature fool you; these homemade marshmallows melt beautifully, just like traditional ones. This makes them perfect for hot beverages or s’mores!
- Thoughtful DIY Gift Idea: Looking for a unique and heartfelt gift? Package these delightful marshmallows in a pretty box or cellophane bag for a charming homemade present that everyone will appreciate.
- Versatile Pairing: They are an exquisite addition to hot cocoa, matcha lattes, or even dipped in melted chocolate for an extra decadent snack.
- Healthier Sweet Snack: Enjoy a sweet treat without the guilt. These paleo marshmallows offer a significantly lower sugar option compared to standard marshmallows, making them a smart choice for a healthier lifestyle.
- S’mores Upgrade: Elevate your s’mores experience! The snickerdoodle flavor adds a delightful twist to the classic campfire treat.
Homemade Marshmallow Recipe Video Guide
For a visual step-by-step walkthrough, be sure to watch our detailed recipe video. It will guide you through each stage of the marshmallow-making process, ensuring you achieve perfect, fluffy results every time.
How to Make Homemade Snickerdoodle Marshmallows: A Detailed Guide
Making homemade marshmallows might seem daunting at first, but with the right equipment and a clear understanding of the process, it’s surprisingly straightforward and incredibly rewarding. Below, we’ll cover the essential tools and ingredients you’ll need, along with a detailed breakdown of each step. Remember, the full recipe and exact measurements are always available in the recipe card at the very bottom of this post for your convenience.
Essential Equipment for Perfect Marshmallows
Having the right tools can make all the difference in achieving that perfect fluffy marshmallow texture. Here’s what you’ll need:
- Stand Mixer or Hand Mixer: While a stand mixer is highly recommended for the easiest and most consistent results (it allows the mixture to whip for an extended period without constant supervision), a powerful hand-held electric mixer can also get the job done. I personally love my KitchenAid stand mixer, but for a more budget-friendly option, consider this alternative. The key is a mixer capable of whipping the mixture to significant volume.
- Spatula: Essential for scraping down the sides of the bowl and transferring the sticky marshmallow fluff to your baking dish.
- Square Baking Dish: A 9×9 inch square pan is ideal for producing thicker, classic-sized marshmallows. If you prefer smaller, mini marshmallows, a larger rectangular pan will work just as well.
- Small Saucepan: For preparing your syrup mixture. Choose one with a heavy bottom to ensure even heating.
- Candy Thermometer (Optional but Recommended): This tool is incredibly helpful for accurately measuring the temperature of your sugar syrup, ensuring it reaches the ideal boiling point (at least 220F, ideally 240F for best consistency). While a candy thermometer certainly makes the process foolproof, don’t worry if you don’t have one! I’ve successfully made batches without it, and I’ll include detailed notes in the recipe card on how to achieve great results by monitoring boiling time.
Key Ingredients & Thoughtful Substitutions
The beauty of these homemade snickerdoodle marshmallows lies in their simple, high-quality ingredients:
- Grass-Fed Gelatin: This is the secret to both the marshmallow’s structure and its health benefits. It’s crucial to select a high-quality, grass-fed gelatin. Not all gelatins are created equal, and choosing a superior product ensures you reap the gut-healthy, skin, hair, and nail-boosting benefits. I highly recommend Further Foods, as it is pasture-raised, grass-fed, non-GMO, and gluten-free, making it an excellent choice for nurturing your body from the inside out.
- Natural Sweeteners: Honey or Maple Syrup: Instead of corn syrup, these marshmallows are naturally sweetened with either pure honey or 100% maple syrup. Both options provide a delightful, nuanced sweetness and offer a healthier alternative to refined sugars. Choose your favorite for a slightly different flavor profile.
- Coconut Sugar: A small amount of coconut sugar is used primarily for the delightful cinnamon-sugar coating that gives these marshmallows their signature “snickerdoodle” finish. It adds a lovely texture and a touch more natural sweetness to the exterior.
- Baking Staples: Vanilla Extract, Sea Salt, Cinnamon: These pantry essentials are vital for building the classic snickerdoodle flavor profile. Vanilla extract enhances the sweetness, a pinch of sea salt balances the flavors, and cinnamon is, of course, the star spice, providing warmth and aromatic richness.
- Tapioca Flour (for dusting): This is essential for preventing stickiness and ensuring your marshmallows are easy to handle and cut. Arrowroot powder is a suitable substitute if you don’t have tapioca flour.
Step-by-Step Guide to Crafting Your Homemade Snickerdoodle Marshmallows
Follow these easy steps to create your own batch of delightful, healthy marshmallows:
- Prepare Your Pan: Begin by lining a 9×9 inch square baking pan with parchment paper. This parchment paper should extend up the sides to make removing the marshmallows easier. Lightly spray the parchment paper with a neutral cooking oil, then generously sprinkle 2-3 tablespoons of tapioca flour (or arrowroot powder) evenly across the bottom and sides. This step is crucial; it acts as a non-stick barrier, ensuring your precious marshmallows don’t adhere to the pan. In the bowl of your stand mixer (or a large mixing bowl if using a hand mixer), combine 1/2 cup of water and the grass-fed gelatin. Give it a quick stir to combine, then let it sit undisturbed while you prepare your syrup. This allows the gelatin to “bloom,” meaning it absorbs the liquid and becomes hydrated, which is vital for the marshmallow’s structure.
- Create the Sweet Syrup: In a small, heavy-bottomed saucepan, combine the remaining 1/2 cup of water with your chosen sweetener (maple syrup or honey) and the vanilla extract. Bring this mixture to a rolling boil over medium-high heat. Allow it to boil for approximately 10 minutes. If you are using a candy thermometer, aim for the syrup to reach a temperature between 220-240°F (104-116°C). If you don’t have a thermometer, don’t stress! Boiling the syrup vigorously for about 10 minutes at a consistent high heat is typically sufficient to reach the desired consistency and temperature without precise measurement. This boiling process is critical for concentrating the sugar and activating the gelatin properly.
- Whip to Fluffy Perfection: Carefully remove the saucepan from the heat. Attach the bowl with the bloomed gelatin to your stand mixer, fitted with the whisk attachment. Start the mixer on a low speed. Slowly and steadily drizzle the hot syrup mixture into the gelatin. Once all the syrup has been incorporated, increase the mixer speed to high. Allow the mixture to whip continuously for about 5 minutes. During this time, you’ll witness a magical transformation: the mixture will triple in size, becoming incredibly thick, fluffy, and brilliantly white. You’ll know it’s ready when you lift the whisk attachment and the marshmallow mixture forms soft, stable peaks that cling to the whisk. Be mindful not to over-whip, as this can lead to a dense, almost “brain-like” texture. The goal is voluminous, airy fluff that’s still pourable.
- Pour and Set: As soon as the whipping is complete, work quickly. Use a clean spatula to transfer the marshmallow mixture into your prepared baking pan. The mixture will be sticky and thick, so use the spatula to gently press it firmly into the pan and smooth out the top surface as much as possible. A helpful trick: if the marshmallow is too sticky to smooth with the spatula, lightly wet your hands with water and use them to gently pat and smooth the top. This prevents sticking and creates a beautifully even surface.
- Cure and Coat: Cover the pan lightly with plastic wrap (or another piece of parchment paper) and let it sit at room temperature for 30-60 minutes, or until it feels firm to the touch. For an even quicker set, you can place it in the refrigerator for about an hour. Once firm, prepare your snickerdoodle coating: in a small bowl, whisk together 2 tablespoons of coconut sugar and 1/2 teaspoon of cinnamon. Sprinkle this delicious cinnamon-sugar mixture generously over the top of the set marshmallow slab.
- Cut and Enjoy: Now for the fun part – cutting your marshmallows! I’ve found that kitchen scissors are the easiest and cleanest tool for this, as a knife can sometimes drag and stick. Lightly grease your scissors with a little oil or dust them with tapioca flour to prevent sticking. Cut the large marshmallow slab into your desired square or rectangular shapes. For the neatest presentation, you can trim off the edges, but this is entirely optional.
Inspiring Serving Suggestions for Your Homemade Snickerdoodle Marshmallows
These versatile snickerdoodle marshmallows are perfect for so much more than just a quick snack. Get creative with these delightful serving ideas:
- Elevated S’mores: Take your campfire classic to the next level! Use them in traditional s’mores for a burst of cinnamon flavor, or get adventurous by adding them to s’mores made with peanut butter cups for an irresistible combination.
- Cozy Beverage Companion: Float a few of these fluffy treats in your favorite warm drinks. They’re heavenly in a rich hot cocoa, a soothing matcha latte, or even a spicy chai. The snickerdoodle flavor truly complements these warm libations.
- Snickerdoodle Rice Crispy Treats: Imagine the chewy, cinnamon-spiced goodness! Replace regular marshmallows with these snickerdoodle versions to create a unique and utterly delicious batch of rice crispy treats.
- Chocolate Dipped Delights: For an extra layer of indulgence, dip your marshmallows in melted dark, milk, or white chocolate. Let them set in the freezer for a few minutes, and you’ll have a sophisticated sweet treat that’s perfect for entertaining or a personal indulgence.
- Thoughtful DIY Gifts: Package these beautiful marshmallows in cute treat boxes, clear cellophane bags, or decorative jars. They make fantastic homemade birthday presents, charming Christmas gifts, or delightful party favors that show you put in extra care.
- Marshmallow Pops: Insert lollipop or cake-pop sticks into each marshmallow before they fully set (or carefully after). Decorate with sprinkles or a drizzle of chocolate for a fun, handheld dessert perfect for kids and adults alike.
- Baked into Cookies: Add a few chopped snickerdoodle marshmallows to your favorite chocolate chip cookie dough before baking, or use them to make incredible S’mores cookies for an unexpected gooey center.
Expert Tips, Smart Tricks, & Common FAQs for Homemade Marshmallows
Making marshmallows is an enjoyable process, and a few key insights can ensure your success and address common questions:
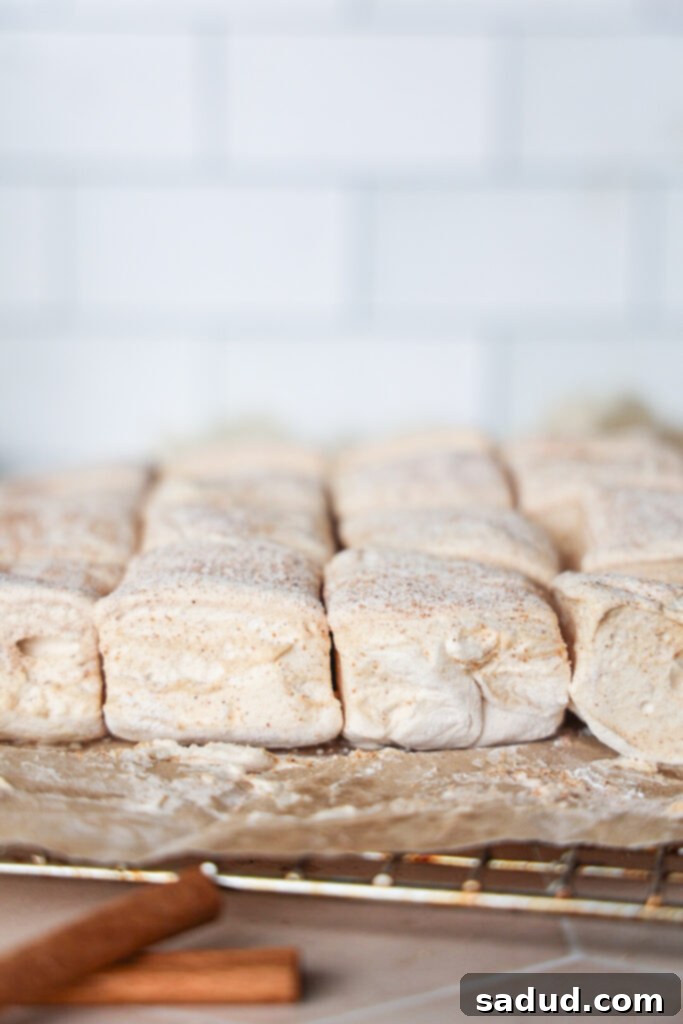
- Tips for Cutting Marshmallows: The stickiness of freshly made marshmallows can sometimes make cutting a bit challenging. I’ve discovered that kitchen scissors are often the easiest and most effective tool for cutting clean, crisp squares. If using a knife, lightly oiling the blade or dusting it with tapioca flour between cuts can help prevent sticking.
- How to Make Marshmallows Without a Candy Thermometer: While a candy thermometer offers precision, it’s absolutely possible to make excellent marshmallows without one. Typically, you’d aim for the sugar mixture to reach around 242°F (117°C) for optimal texture, but even reaching 220°F (104°C) will yield great results. This temperature is usually achieved by boiling the syrup vigorously for approximately 10 minutes over medium-high heat. If you don’t have a thermometer, simply ensure your mixture boils consistently for at least 10 minutes; this duration is generally sufficient to get the syrup to the necessary temperature for proper setting.
- Can You Make Marshmallows Vegan? Yes, you can! Traditional marshmallows use gelatin, which is an animal-derived product. However, you can substitute gelatin with agar-agar, a plant-based gelling agent, to create delicious vegan marshmallows. For a reliable recipe, here is a fantastic vegan marshmallow recipe to guide you.
- Can You Roast Paleo Marshmallows? Absolutely! These paleo-friendly marshmallows are designed to behave just like their conventional counterparts when heated. They will roast beautifully over a fire, on a stovetop, or under a broiler, achieving that wonderful golden-brown exterior and gooey interior, making them perfect for s’mores or simply enjoyed warm.
- Preventing Sticky Hands: When handling or smoothing the marshmallow mixture, lightly wetting your hands with water or dusting them with tapioca flour will prevent the sticky fluff from adhering to your skin, making the process much cleaner and easier.
- Variations: Feel free to experiment with other spices! A pinch of nutmeg or cardamom could add another layer of warmth, or you could try different extracts like almond or peppermint for seasonal twists.
Proper Storage for Snickerdoodle Marshmallows
To keep your healthy homemade snickerdoodle marshmallows fresh, soft, and ready to enjoy, store them in an airtight container at room temperature. They will maintain their deliciousness and ideal texture for up to two weeks. Avoid refrigerating them, as this can sometimes make them too firm and dry out their delicate texture.
More Healthy & Delicious Recipes to Try
If you’ve enjoyed making these healthy snickerdoodle marshmallows, you’ll love exploring these other wholesome and delightful recipes:
- Gut-Healthy Homemade Fruit Gummies: Another fantastic way to incorporate gelatin into your diet.
- Raw Vegan Cinnamon Rolls (Erewhon Copycat!): A truly indulgent yet healthy breakfast or dessert option.
- Strawberry Frozen Yogurt Bites: A refreshing and easy sweet treat.
- Strawberry Shortcake Ice Cream Bars (Vegan, Paleo): A nostalgic dessert made healthier.
- Dairy-Free Homemade Ice Cream Sandwiches: Perfect for a hot day, without the dairy.
- Strawberry Almond Joy Bites: A delightful no-bake treat inspired by a classic candy bar.
Homemade Snickerdoodle Marshmallows without Corn Syrup
Ingredients
- 1 cup water, divided
- 3 tbsp grass-fed gelatin
- 1 cup maple syrup or honey
- 1 1/2-2 tsp cinnamon
- 1 tsp vanilla extract
- pinch sea salt
- 2 tbsp coconut sugar *optional
- 2-3 tbsp tapioca flour
Instructions
-
Line a 9×9 square baking pan with parchment paper. Spray the parchment paper with spray oil. Then, sprinkle 2-3 tablespoons tapioca flour (or arrowroot powder) on the bottom of the parchment paper in an even layer. Be sure not to skip this – it helps ensure the marshmallows don’t stick!
-
In the bowl of your stand mixer, add 1/2 cup water and the gelatin. Give it a quick mix, then sprinkle the gelatin over top. Let it sit for 5 minutes to bloom while you start the syrup.
-
In a small saucepan over medium-high heat, add the other 1/2 cup water, maple syrup or honey, cinnamon, and vanilla. Let the mixture come to a boil and continue to boil for about 10 minutes. If you have a candy thermometer, you want it to reach a temperature between 220-240F. If you don’t have a thermometer, no stress – letting it boil for 10 minutes at a high heat is usually enough!
-
Remove the pot from the heat. Attach the bowl with the bloomed gelatin to your stand mixer with the whisk attachment. With the mixer going on low, slowly drizzle in the hot syrup mixture. Once it’s all poured in, turn the mixer to high and let it beat for about 5 minutes until it triples in size and gets super thick and fluffy. You’ll know it’s done when you lift the head of the mixer and the marshmallow fluff sticks like peaks to the whisk attachment. Be careful not to over-whip, or it’ll thicken too much & turn into what looks like “brains.” The mixture should have tripled in size and stick to the whisk when you remove it, while still being pourable.
-
Working quickly, use a spatula to pour the marshmallow fluff into the lined baking pan. You can use the spatula to press it in firmly and smooth the top. If it’s too sticky, wet your hands slightly with water and use them to smooth the surface, which can be easier.
-
Cover the pan and place it in the fridge for an hour or two, or leave them on the counter for at least 2-3 hours until they’re fully set and no longer sticky. In a small bowl, combine 2 tablespoons coconut sugar and 1/2 teaspoon cinnamon. Sprinkle this mixture generously over the top of the marshmallows.
-
Then, use a sharp knife or (even easier) kitchen scissors to cut them into squares. I like to cut off the edges to make cleaner squares, but this is optional.
-
Store marshmallows in a covered container at room-temperature for up to two weeks!
Video
Notes
- Tips for cutting marshmallows: I’ve found it easiest to cut the mixture into marshmallows using kitchen scissors. Sometimes they can be difficult to cut with a knife due to stickiness. Lightly oiling or dusting your scissors/knife with tapioca flour can also help.
- How to make marshmallows without a candy thermometer: Typically, you’d want to use a thermometer to make sure the sugar mixture reaches around 240°F (116°C), but they will also work if you can get the mixture around 220°F (104°C). This usually takes about 10 minutes of strong boiling. If you don’t have a thermometer, simply boil the mixture for at least 10 minutes, as this should be long enough to get them to the correct temperature!
- Can you make marshmallows vegan? You can make vegan marshmallows using agar agar. Here is a great vegan marshmallow recipe!
- Can you roast paleo marshmallows? Yes! These will roast great, just like store-bought marshmallows, making them perfect for s’mores.
