Indulge Guilt-Free: The Ultimate Healthy Baked Gluten-Free & Paleo Donuts Recipe
Say goodbye to greasy, guilt-laden treats! These healthy baked donuts are incredibly soft, wonderfully fluffy, and packed with wholesome goodness. Forget deep-frying – our recipe ensures a delightfully light texture by baking them to perfection. Crafted with just a handful of simple, nourishing ingredients, these donuts are naturally gluten-free, dairy-free, and refined sugar-free. The best part? They taste so incredibly good, no one will ever suspect they’re healthy!
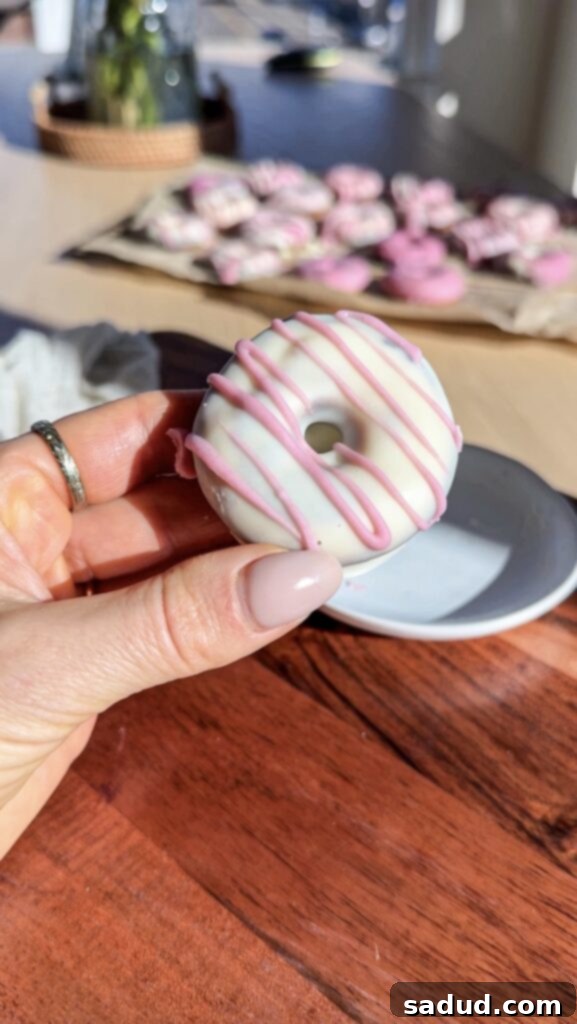
Healthy Baked Donuts: Your New Favorite Wholesome Treat
If you’re constantly on the lookout for a sweet treat that aligns with your health goals without compromising on flavor, these **gluten-free and paleo baked donuts** are about to become your new obsession. Far from traditional fried donuts, our recipe focuses on nourishing ingredients that deliver a satisfying experience. By using a clever blend of **almond flour and tapioca flour**, we achieve an unbelievably fluffy, melt-in-your-mouth texture that’s entirely grain-free, dairy-free, and free from refined sugars.
Whether you’re managing blood sugar levels, adhering to a paleo lifestyle, or simply seeking a more wholesome indulgence, these baked donuts are the perfect solution. With only 1/4 cup of total natural sweetener, they provide just enough sweetness to curb those cravings without causing an energy crash. They’re a fantastic option for a quick breakfast, an afternoon pick-me-up, or a delightful dessert that everyone can enjoy.
These versatile donuts are perfect for any time of the year! I particularly love making them for Valentine’s Day due to their charming appearance, but they are equally wonderful for any special occasion. Imagine how adorable these mini donuts would be for a baby shower, a gender reveal party, a birthday celebration, or even as festive holiday treats. And if you’re exploring more healthy dessert ideas, especially for Valentine’s Day, be sure to try my paleo strawberry marshmallows or my strawberry brownies for more delicious inspiration!
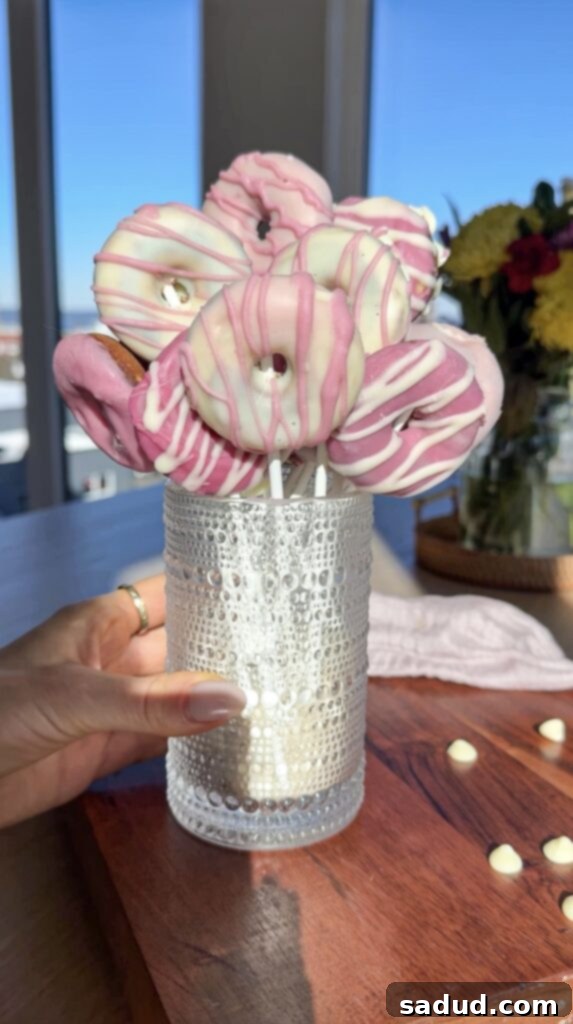
Watch Me Create a Healthy Donut Bouquet!
See just how easy and fun it is to make these delightful healthy donuts and arrange them into a beautiful, edible bouquet. This video provides a visual guide to the entire process, from mixing the batter to the final decorative touches, proving that healthy treats can be just as appealing and celebratory as traditional ones.
Why Opt for Paleo and Gluten-Free Baked Donuts?
The appeal of a donut is undeniable, but traditional varieties often come with a heavy dose of deep-frying, highly processed sugars, and refined flours. While an occasional treat is perfectly fine, consistently consuming such items can lead to blood sugar spikes and leave you feeling sluggish. For those of us who love sweet treats more than just “every now and then,” making healthy versions at home is a game-changer. These baked donuts offer a superior alternative, boasting several key benefits:
- Gluten-Free & Paleo-Friendly: Ideal for individuals with gluten sensitivities, celiac disease, or those following a paleo diet, these donuts are crafted from whole, unprocessed ingredients. This means no grains, no dairy, and a focus on nutrient-dense flours like almond and tapioca, supporting digestive health and overall well-being.
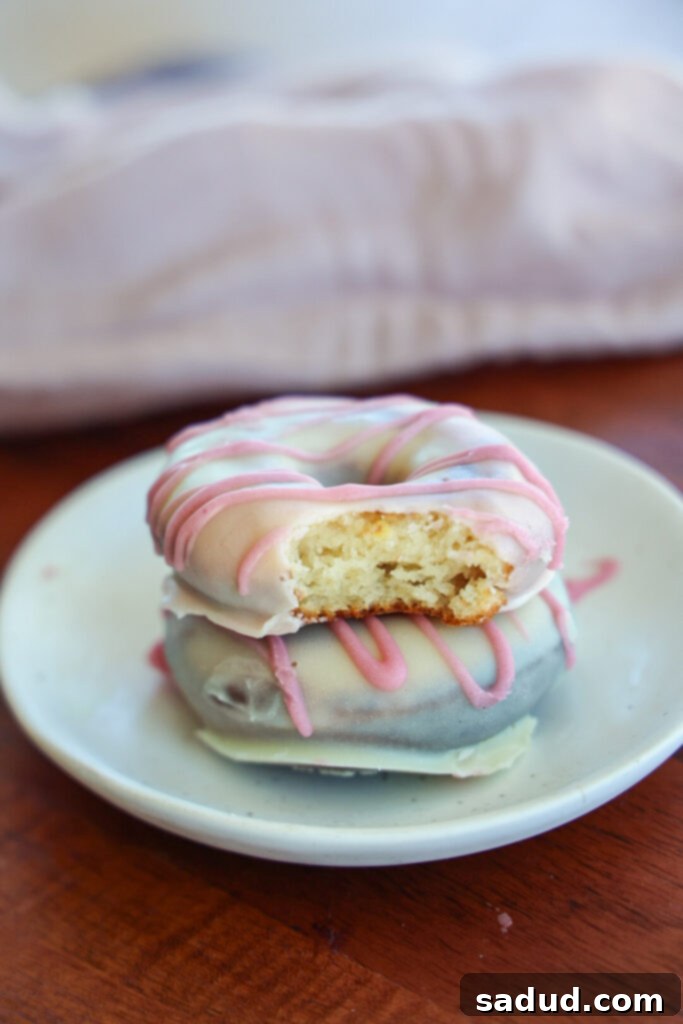
- Irresistibly Soft & Fluffy Texture: Despite being baked, these donuts achieve a perfectly tender, moist interior with a subtly crisp, light exterior. The combination of almond and tapioca flours, along with careful baking, mimics the desired texture of traditional donuts without the added grease.
- Naturally Sweetened: We use natural sweeteners like honey or maple syrup, which are excellent alternatives to refined sugar. These natural options offer a lower glycemic impact and come with their own trace minerals and antioxidants, making your indulgence a little more beneficial.
- Baked, Not Fried: This is a major health advantage. Baking significantly reduces the fat content and calories compared to deep-frying, resulting in a much lighter treat. You get all the flavor and satisfaction of a donut without the heavy feeling.
- Super Easy & Yeast-Free: Forget complex baking processes involving yeast and long proofing times. This recipe comes together incredibly quickly, making it accessible for even novice bakers. The simplicity means you can enjoy fresh, healthy donuts whenever the craving strikes!
How to Make Healthy Baked Donuts
Creating these delicious and healthy baked donuts is surprisingly straightforward. Below, you’ll find an overview of the process, with the complete detailed recipe available in the recipe card at the very bottom of this post. Let’s get baking!
Essential Equipment
To ensure your donut-making experience is smooth and successful, gather these basic kitchen tools:
- Donut Pan, Mini Donut Pan, or Donut Maker: The type of pan or appliance will determine the size and baking time of your donuts. A mini donut pan is great for bite-sized treats, while a donut maker offers quick, convenient baking.
- Mixing Bowl (Large): For combining your dry and wet ingredients.
- Small Bowl: For creating your “buttermilk” substitute.
- Whisk or Spatula: For mixing the batter until just combined.
Key Ingredients
Each ingredient plays a vital role in achieving the perfect texture and flavor for these healthy baked donuts:
- Almond Flour: This forms the base of our gluten-free and paleo recipe, providing a rich, slightly nutty flavor and contributing to the donut’s moist and tender crumb. It’s also packed with protein and healthy fats. For those with nut allergies or preferences, tiger nut flour or cashew flour can be used as a 1:1 substitute. Tiger nut flour is an excellent nut-free option!
- Tapioca Flour: Essential for adding elasticity and a characteristic chewiness to the donuts, tapioca flour helps to perfectly mimic the light and fluffy texture of traditional baked goods, without any gluten. Arrowroot flour is a suitable alternative if tapioca flour is unavailable.
- Egg (Room Temperature): In grain-free baking, eggs are crucial for providing structure, binding the ingredients, and ensuring a light, fluffy rise. I haven’t personally tested an egg substitute for this particular recipe, so I cannot guarantee the same results without it. For the best outcome, using a room-temperature egg is recommended.
- Coconut Oil (Melted): This healthy fat contributes to the donut’s moisture and subtle flavor. If you prefer, avocado oil or a light-tasting olive oil can be used as a neutral alternative. Ensure it’s melted before adding to the batter.
- Maple Syrup or Honey: Our natural sweeteners of choice! Both maple syrup and honey offer a delightful sweetness along with beneficial trace minerals. Agave nectar can also be used as a substitute if preferred.
- Plant-Based Milk or Regular Milk: Any milk will work here to create a luscious, tender batter. When combined with apple cider vinegar, it creates a “buttermilk” effect that significantly enhances the texture.
- Pantry Staples:
- Apple Cider Vinegar: Reacts with baking powder and milk to create a “buttermilk” effect, enhancing the fluffiness and tenderness of the donuts.
- Baking Powder: Our primary leavening agent, ensuring these donuts rise beautifully and achieve that airy texture.
- Vanilla Extract: A classic flavor enhancer that adds warmth and depth to the donuts.
- Sea Salt: Balances the sweetness and brings out the other flavors in the recipe.
- Frosting/Decorating Ingredients: Get creative! This could include white chocolate, powdered sugar (regular or monk fruit for sugar-free), natural food coloring, sprinkles, or other toppings of your choice.
Step-by-Step Instructions for Perfect Baked Donuts
Follow these easy steps to bake a batch of delicious, healthy donuts:
- Prepare Your Baking Device: Start by turning on your donut maker if using, or preheating your oven to 350°F (175°C) if using a donut pan. Lightly spray your mini donut pan or regular donut pan with cooking spray to prevent sticking. This ensures easy removal and beautifully shaped donuts.
- Create the “Buttermilk” Substitute: In a small bowl, whisk together the milk (plant-based or regular) and apple cider vinegar. Set this mixture aside for about 10 minutes. This crucial step allows the milk to curdle slightly, mimicking buttermilk, which adds a wonderful tenderness and subtle tang to the donuts.
- Combine Dry and Wet Ingredients: In a large mixing bowl, combine the almond flour, tapioca flour, baking powder, and sea salt. Whisk these dry ingredients together until well combined. Then, add the room-temperature egg, melted coconut oil, maple syrup (or honey), and vanilla extract. Mix everything thoroughly.
- Incorporate the Milk Mixture: Pour the prepared “buttermilk” mixture into the large bowl with the rest of the ingredients. Mix until just combined. Be careful not to overmix; overmixing can lead to tougher donuts. A few lumps are perfectly fine.
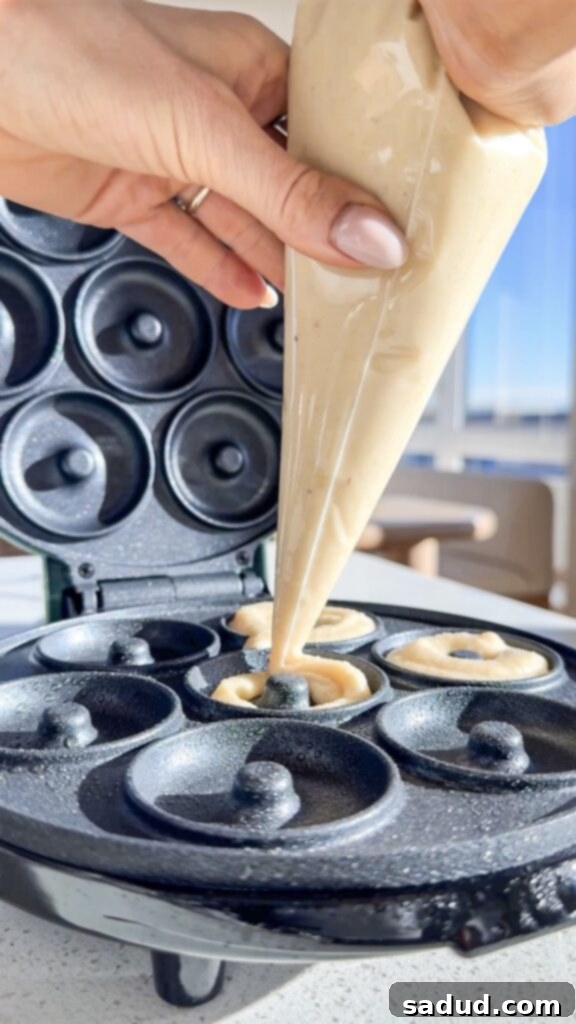
- Fill and Cook/Bake: Carefully pour or spoon the batter into your donut maker or the greased donut pan.
- For a Donut Maker: Cook according to your appliance’s instructions, typically until the tops are firm to the touch. This can be very quick, often just a few minutes.
- For an Oven-Baked Pan: Place the pan in the preheated oven. While I typically use a donut maker, for oven baking, I’d recommend checking them around the 10-minute mark. The exact time will vary based on your oven and pan size.
- Important Note for Standard Donut Pans: If using a standard-sized donut pan, you may need to bake them for a bit longer than mini donuts. Keep a close eye on them, and try to avoid opening the oven door too frequently, which can cause them to deflate. The donuts are done when they spring back lightly when touched and are golden brown around the edges.
- Cool Completely: Once baked, remove the donuts from the donut maker or oven. Allow them to cool in the pan for a few minutes before gently transferring them to a wire rack to cool completely. Cooling thoroughly is essential before frosting or decorating to prevent melting and ensure the glaze sets properly.
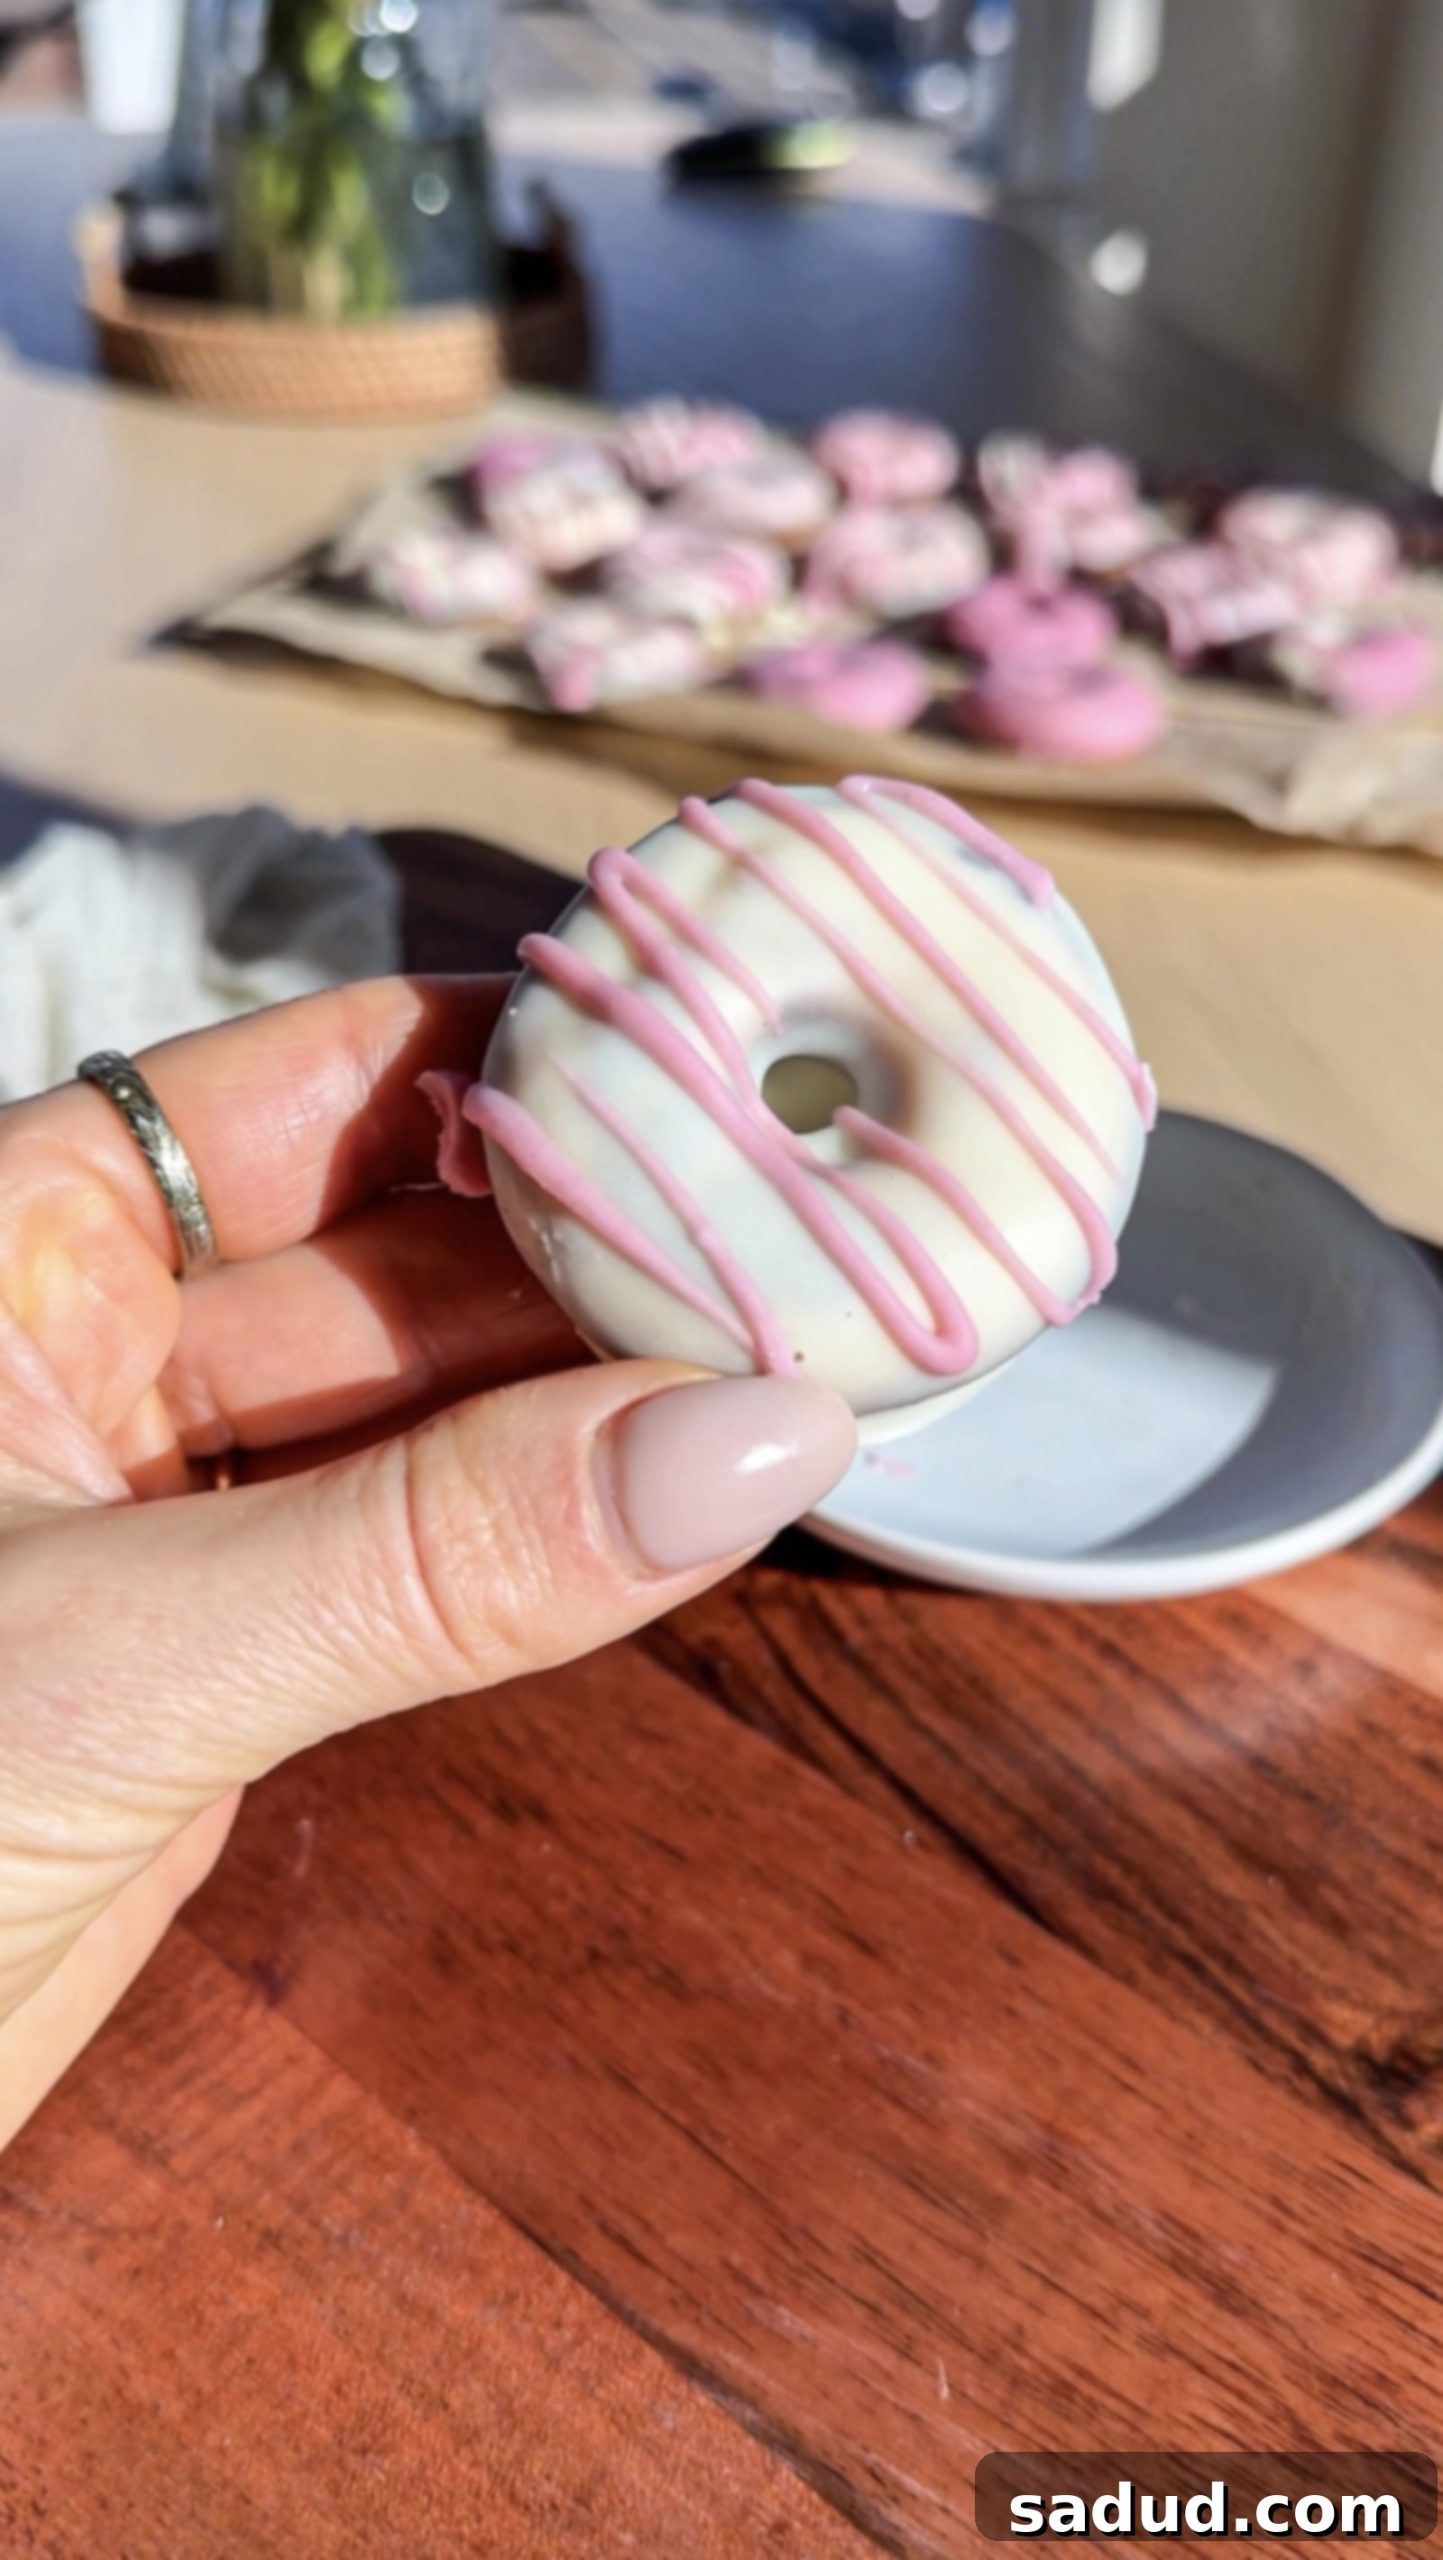
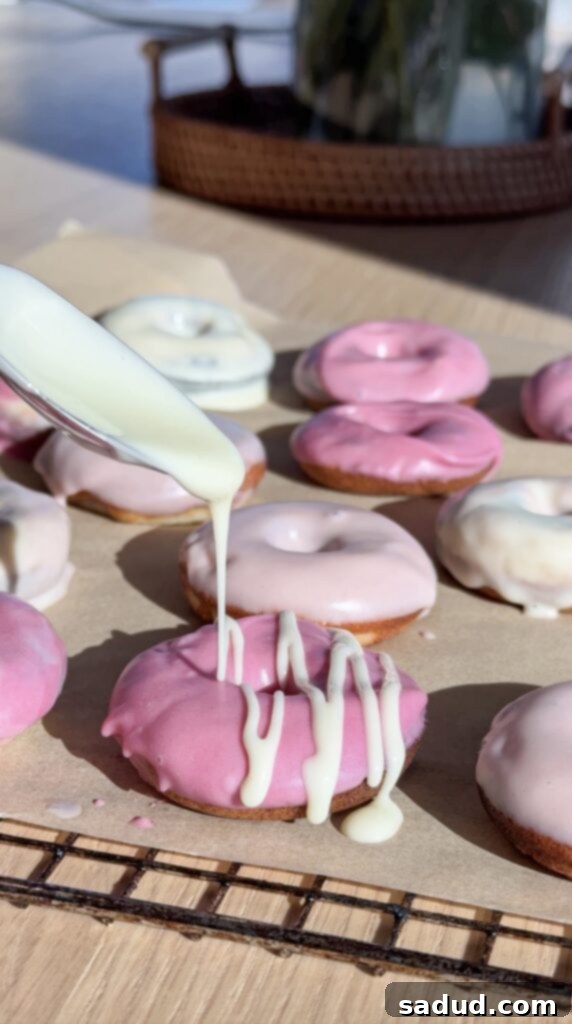
- Decorate to Your Heart’s Content: Now for the fun part! You can frost or decorate your donuts however you like. One delightful option is to melt some white chocolate (choose a dairy-free variety if strictly paleo/dairy-free) and divide it into two bowls. Add a few drops of all-natural red food coloring to one bowl to create a beautiful pink hue. Dip the cooled donuts into the melted chocolate, allowing any excess to drip off, then place them on a wire rack lined with parchment paper. Pop them into the fridge for a few minutes to allow the chocolate to firm up.
- Storage Tip: If you opt for a chocolate coating, remember that these donuts will need to be stored in the fridge, as the chocolate will soften and melt at room temperature. For other glazes, they might be fine at room temperature, but refrigeration often helps maintain freshness for longer.
Creative Variations & Delicious Toppings
While these paleo baked donuts are fantastic on their own, a touch of creativity with glazes and toppings can elevate them to another level. Here are some ideas to make them even more special:
- Rich Chocolate Drizzle: For the chocolate lovers, melt your favorite dark chocolate (ensure it’s dairy-free and refined sugar-free for paleo) and drizzle it generously over the cooled donuts. A sprinkle of sea salt flakes over the chocolate can add a gourmet touch.
- Classic Cinnamon Sugar Coating: Achieve that classic donut shop flavor by brushing the still-warm donuts with a little melted coconut oil, grass-fed butter, or ghee. Then, gently toss them in a mixture of cinnamon and coconut sugar. This creates a delightful, lightly spiced crust.
- Vibrant Berry Glaze: Create a naturally sweet and colorful glaze by blending fresh or frozen berries (strawberries, raspberries, or blueberries work wonderfully) with a small amount of honey or maple syrup and a dash of monk fruit powdered sugar for thickening. Strain for a smooth glaze or leave pulpy for a rustic look.
- Simple Powdered Sugar Finish: For a timeless look, simply toss the cooled donuts in monk fruit powdered sugar (for a truly sugar-free option) or regular powdered sugar. This creates a delicate, melt-in-your-mouth coating that’s always a crowd-pleaser.
- Zesty Lemon Glaze: Whisk together powdered monk fruit sweetener (or regular powdered sugar) with fresh lemon juice until you reach a pourable consistency. The bright, tangy flavor is a wonderful contrast to the sweet donut.
- Nut Butter Swirl: Gently warm your favorite healthy nut butter (like almond or cashew butter) until it’s slightly runny. Drizzle or swirl it over the donuts for an extra layer of protein and rich flavor.
- Tropical Coconut Flakes: After applying a glaze or chocolate coating, sprinkle with unsweetened shredded coconut for a tropical twist and added texture.
- Chopped Nut Crunch: For extra crunch and healthy fats, press finely chopped nuts (pecans, walnuts, or almonds) onto a wet glaze or melted chocolate.
Tips for Success and Storage
- Don’t Overmix: Overmixing the batter can develop the gluten in flours (even gluten-free ones, causing them to be tough). Mix until just combined.
- Room Temperature Ingredients: Ensure your egg is at room temperature. This helps it incorporate more smoothly into the batter, leading to a better texture.
- Filling Donut Pans: For perfectly shaped donuts, use a piping bag (or a ziploc bag with the corner snipped off) to pipe the batter into the donut pan cavities. This is much neater than spooning.
- Cooling is Key: Allow donuts to cool completely on a wire rack before glazing or frosting. This prevents the glaze from melting and ensures it sets properly.
- Storage: Store plain baked donuts in an airtight container at room temperature for up to 2-3 days. If frosted with chocolate or a dairy-based glaze, they are best stored in the refrigerator for up to 5 days. You can also freeze plain donuts for up to 3 months; thaw at room temperature before enjoying or decorating.
More Healthy Desserts to Satisfy Your Sweet Tooth
If you’re loving these healthy baked donuts and are eager for more guilt-free treats, explore some of my other popular recipes:
- 2 Ingredient Fudge: Surprisingly simple and delicious!
- Healthy Samoa Cookie Recipe: A beloved classic, made healthier.
- Snickers Ice Cream Cake (Vegan, Healthy!): Indulgent, but surprisingly good for you.
- Super Moist Protein Banana Bread: A wholesome and filling snack.
- Chocolate Covered Yogurt Clusters: A quick, refreshing, and delicious treat.
- Vegan Cherry Pie Ice Cream: Creamy, fruity, and entirely plant-based.
- Easy Frozen Yogurt Bites: A simple, cool snack for any time.
- Healthy Dilly Bars: A nostalgic treat, reimagined for health.
If you try this healthy baked donut recipe, I would absolutely love to hear from you! Please leave a star rating & review below to share your experience, and don’t forget to tag me in your delightful creations on Instagram @danishealthyeats!

Healthy Baked Donuts
Pin Recipe
Ingredients
- 2 cups almond flour
- 1/2 cup + 2 tbsp tapioca flour
- 1 egg, room temp
- 1/2 tbsp apple cider vinegar
- 1/4 cup melted coconut oil
- 1/4 cup maple syrup or honey
- 1/2 cup plant-based milk or regular milk
- 1 1/2 tsp vanilla extract
- 1 tsp baking powder
- 1/2 tsp sea salt
Instructions
-
Turn your donut maker on/plug it in or preheat your oven to 350f. Spray your mini donut pan with spray oil.
-
In a small bowl, combine the milk and apple cider vinegar and set aside for 10 minutes or so, as this creates a “buttermilk” like substitute and really adds to the texture of these donuts!
-
. In a large bowl, combine the remaining ingredients. Mix well, then add in the milk mixture, mixing until just combined.
-
Pour the batter into the donut maker or greased pan and cook until the tops are firm to touch – keep in mind the time will vary depending on the donut maker you’re using or the pan you’re baking with. I haven’t baked these in the oven, so i’d check them around 10 minutes.
-
Note: if you’re using a standard donut pan, you may need to bake them longer. Just keep an eye on them and try not to open the oven too many times!
-
Once they’re done, remove them from the oven and allow them to cool completely.
-
You can frost them or decorate them however you’d like! I melted some white chocolate and separated it between two bowls. I added some all-natural red food coloring to one bowl to create the pretty pink color. I dipped the donuts in the melted chocolate and placed them on a wire rack covered with a piece of parchment paper, then popped them in the fridge to firm up.
-
Keep in mind if you use chocolate, the donuts will need to be stored in the fridge as the chocolate will melt if left at room-temp. You can also use a regular glaze, etc.!
Video
