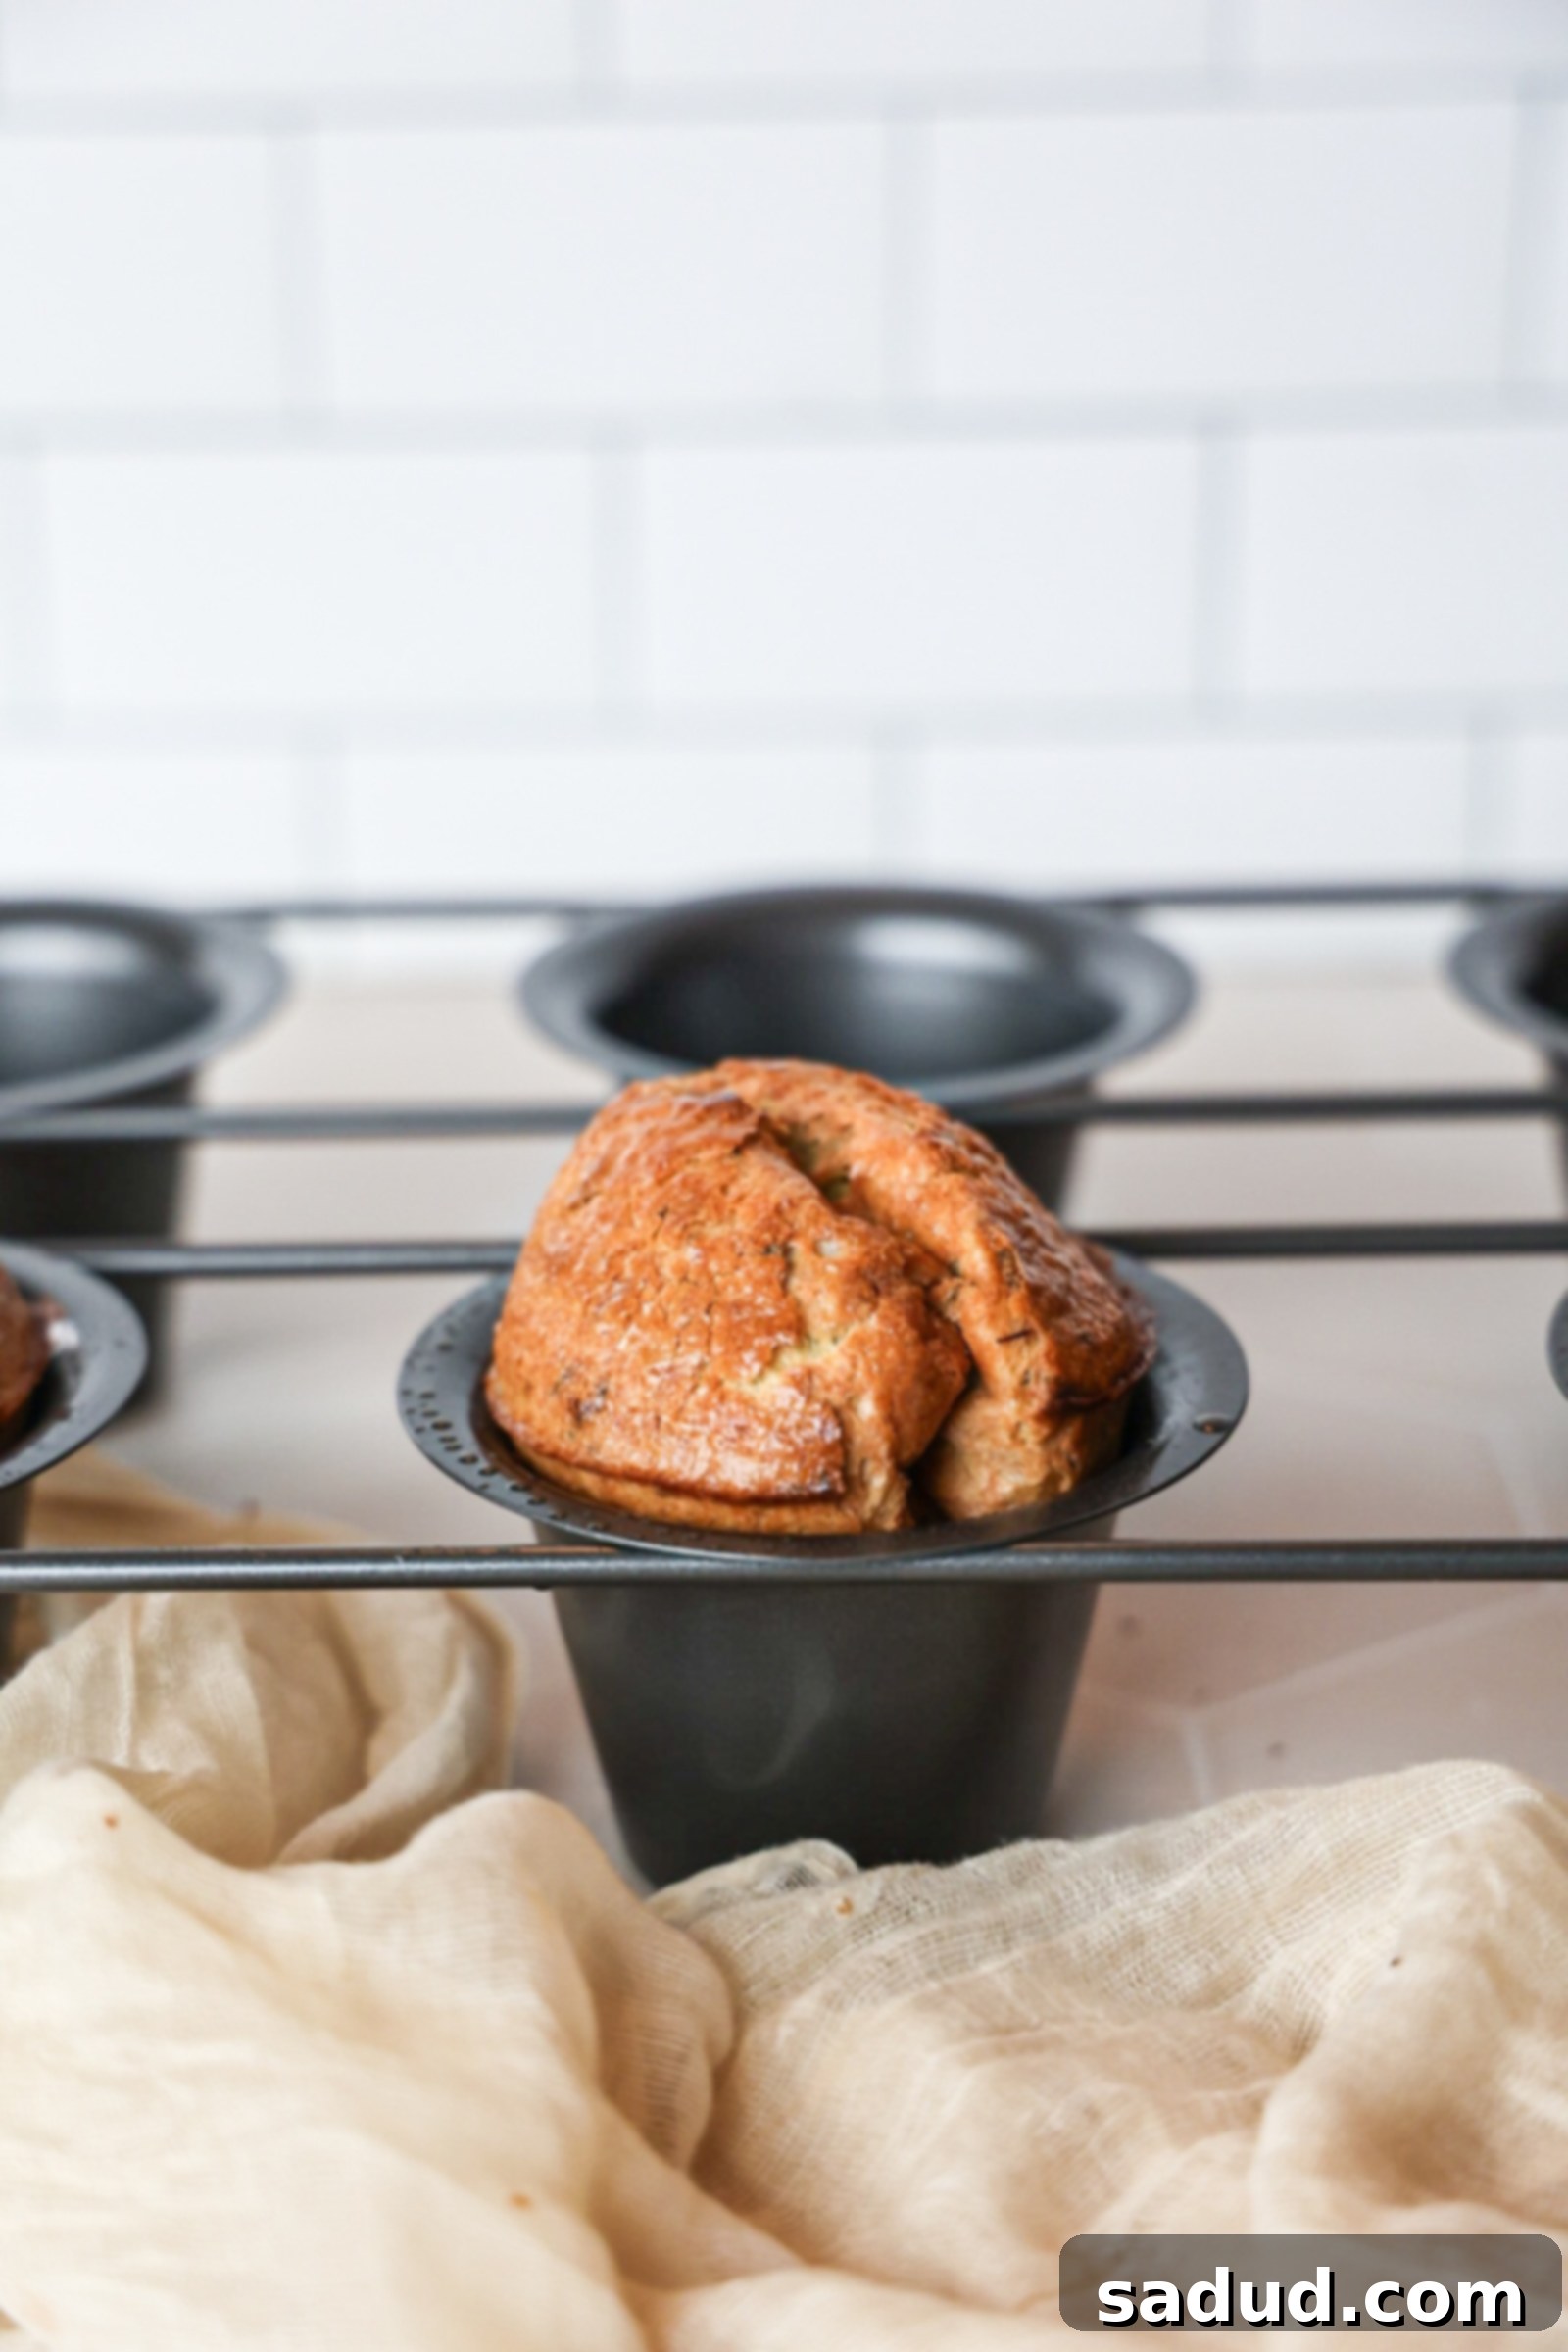
Perfectly Light & Fluffy Gluten-Free Popovers: An Easy 5-Ingredient Recipe
These incredibly easy gluten-free popovers are a guaranteed success every single time! Crafted with a mere 5 simple, wholesome ingredients, they emerge from the oven beautifully airy, wonderfully light, and irresistibly fluffy, all encased in a delightfully crisp exterior. Served piping hot, they are nothing short of absolute heaven.
What is a Popover?
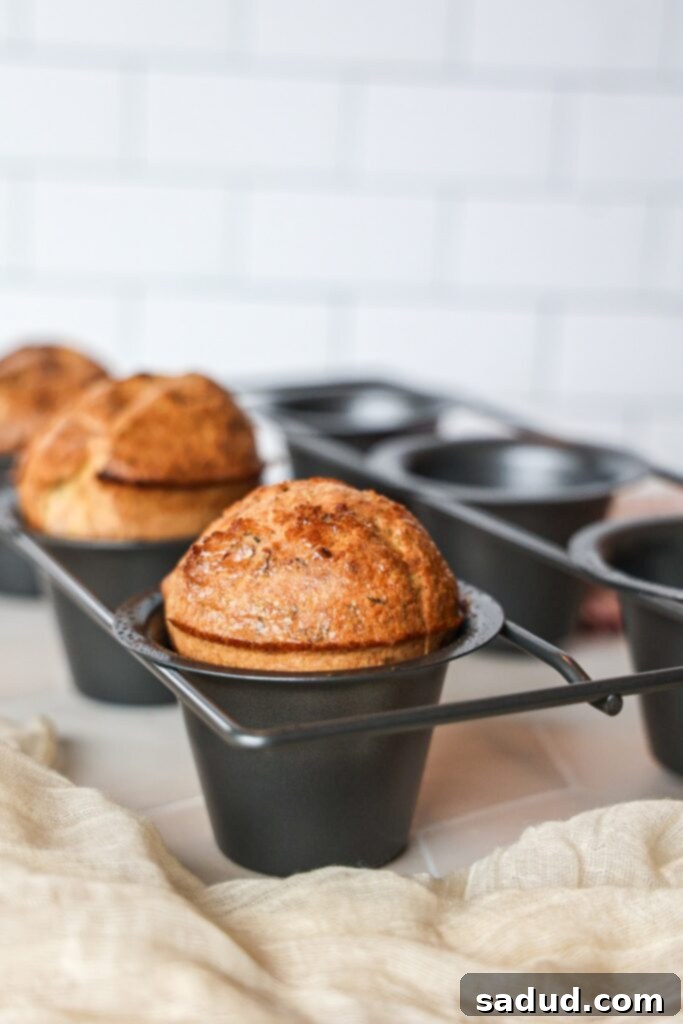
A popover is a unique and delightful light roll, characterized by its hollow center and airy texture. It’s made from a simple egg-rich batter, quite similar in composition to that used for traditional Yorkshire pudding. Popovers get their distinctive shape and name from the way the batter dramatically swells, or “pops,” over the top of the baking tin during the high-heat cooking process.
These versatile baked goods are typically prepared in specialized popover pans, which feature deep, straight-walled wells that encourage maximum rise. However, a standard muffin tin with deep cups can also be used effectively, although the shape might be slightly different. The magic of a popover lies in its contrasting textures: a beautifully crisp, golden-brown exterior giving way to a soft, custardy, and eggy interior. Popovers are a fantastic addition to any meal, whether enjoyed as a breakfast treat or a savory side dish.
One of the best qualities of popovers is their incredible adaptability. They can easily be customized to suit any palate, serving as both a sweet indulgence or a savory accompaniment. For a sweet version, try them topped with fresh fruit, your favorite jam, a dollop of butter or whipped cream, or a generous drizzle of maple syrup. You can also infuse the batter itself with flavors like orange zest and cardamom for an aromatic twist. If you prefer savory (my personal favorite!), consider incorporating ingredients like vibrant pesto, shredded cheese, herbs, or even a hint of garlic powder directly into the batter.
Gluten-Free Popovers Recipe Video
Watch this quick video to see just how simple it is to whip up a batch of these amazing gluten-free popovers from start to finish. Visual learners will appreciate the step-by-step guide to achieving perfect results every time.
Why You’ll Love This Gluten-Free Popover Recipe
There are countless reasons why these gluten-free popovers will quickly become a staple in your kitchen. This recipe stands out for its simplicity, health benefits, and incredible versatility.
- Wholesome Goodness: Crafted with only 5 simple, wholesome ingredients, these popovers offer a healthier, more balanced alternative to traditional bread options. You can feel good about what you’re eating and serving.
- Dietary-Friendly & Inclusive: Whether you follow a gluten-free, Keto, Paleo, or dairy-free diet, this popover recipe is designed to fit seamlessly into your lifestyle without compromising on taste or texture. It’s truly a recipe for everyone!
- Quick & Effortless: Say goodbye to complicated baking. This popover recipe is incredibly easy to prepare, requiring minimal effort and just a few common pantry staples. Perfect for busy weeknights or impromptu gatherings.
- Versatile Meal Enhancer: Popovers aren’t just for breakfast! They make a fantastic higher-protein snack, a light lunch option, or a superb dinner side. They are also a hit with kids and toddlers, and can even be packed for school lunches the next day.
- Irresistible Texture: Prepare for a sensory delight. These popovers boast a unique texture – light, airy, and buttery on the inside, with a wonderfully crispy exterior that gives a satisfying crunch with every bite. The contrast is simply divine.
How to Make Perfect Gluten-Free Popovers
Creating these delightful gluten-free popovers is surprisingly straightforward. The full, detailed recipe card is conveniently located at the bottom of this post, but let’s walk through the general process and essential components.
Essential Equipment
Having the right tools can make all the difference in achieving those signature tall, puffed popovers.
- Popover Pan: While not strictly mandatory, a dedicated popover pan with its deep, straight-sided wells is ideal for encouraging maximum rise and creating the classic popover shape.
- Muffin Tin: If you don’t own a popover pan, a standard muffin tin (especially one with deeper wells) can be used. Just be aware that your popovers might be smaller and slightly denser.
- Large Mixing Bowl: For easily combining your batter ingredients.
- Whisk: To ensure a smooth, well-aerated batter.
Key Ingredients
Traditional popovers rely on wheat flour, butter, and milk. However, to cater to gluten-free and dairy-free dietary needs, this recipe makes a few smart swaps that deliver all the flavor and texture without compromise. Instead of relying on various gluten-free flour blends (which can behave inconsistently between brands), we use a specific combination to ensure consistent success for everyone.
- Eggs (Room Temperature): The star of popovers! Eggs are crucial for structure, richness, and the dramatic “pop.” Ensure they are at room temperature for optimal batter consistency and rise.
- Tapioca Flour or Arrowroot Flour: These starches contribute to the popovers’ light, crispy exterior and help achieve that signature chewy-soft interior.
- Coconut Flour: A low-carb, high-fiber gluten-free flour that absorbs moisture well, contributing to the structure and fluffiness without the need for gluten.
- Full-Fat Canned Coconut Milk (Room Temperature): This is an excellent dairy-free alternative that provides the necessary fat content for a rich, tender popover. While other plant-based or dairy milks can work, a higher fat content milk will yield the best texture. Ensure it’s at room temperature (or slightly warm).
- Avocado Oil: A neutral-tasting healthy fat that helps achieve a crispy crust. Refined coconut oil, grass-fed butter, or your preferred vegan butter can also be used as substitutes.
- Spices: A pinch of sea salt enhances all the flavors. Garlic powder is optional but highly recommended for savory popovers, adding a subtle depth. Omit for sweet variations.
- Pesto (Optional): For a savory kick, adding a tablespoon or two of pesto directly into the batter is a game-changer. You can use your favorite store-bought pesto or whip up a homemade batch!
Step-by-Step Instructions for Gluten-Free Popovers
Follow these simple steps to create impressive, perfectly puffed popovers:
- Prepare Your Pesto (if using): If making homemade pesto, simply combine your chosen ingredients in a food processor and pulse until well combined. If you prefer a thinner consistency, add an extra tablespoon or two of oil and pulse again. Taste and adjust seasonings as desired. Store any extra pesto in an airtight container in the fridge.
- Preheat Oven & Pan: Preheat your oven to a scorching 425°F (218°C). Crucially, place your popover pan (or muffin tin) into the oven while it’s preheating. A hot pan is key to the popovers’ dramatic rise.
- Whisk the Eggs: In a large mixing bowl, add the room temperature eggs and whisk them thoroughly until light and frothy. This incorporates air, which contributes to the popovers’ airy texture.
- Combine Remaining Ingredients: Add the remaining ingredients (tapioca flour, coconut flour, coconut milk, avocado oil, sea salt, garlic powder if using, and optional pesto) to the whisked eggs. Mix until just combined. A few small lumps are perfectly fine and often lead to a better texture; overmixing can result in tough popovers.
- Fill the Hot Pan: Carefully and quickly remove the very hot popover pan from the oven. Spray each well generously with oil or drizzle a little oil into each crevice. Fill each well about 1/2 of the way up with the batter. Work quickly to ensure the pan remains hot.
- Bake to Perfection: Immediately return the filled pan to the preheated oven. Bake for 20 minutes until the popovers have dramatically puffed up and are beautifully golden brown. They should feel firm to the touch when gently pressed. IMPORTANT: Do NOT open the oven door during baking, especially during the initial rise, as this will cause the popovers to deflate and lose their characteristic height.
- Cool & Serve: Carefully remove the popovers from the pan immediately after baking (they might stick if left too long). Transfer them to a cooling rack to cool for just a few minutes. Serve them warm for the best experience!
Making Popovers in a Muffin Tin
Don’t have a dedicated popover pan? No problem! You can still enjoy delicious popovers by using a standard muffin tin. While they might turn out a bit smaller and potentially denser than those baked in a popover pan (due to the shallower wells), they will still be incredibly tasty and satisfy your craving.
When using a muffin tin, I recommend using one with deep wells if possible, as this will provide more room for the batter to expand upwards. I haven’t personally tested this specific recipe in a muffin tin, but typically, when converting from a popover pan, you might need to slightly reduce the cooking time. I would suggest starting with a reduction of about 5 minutes and then monitoring them closely. Look for that golden-brown color and firm-to-the-touch exterior.
The principle remains the same: preheat the muffin tin in the oven, fill with batter, and avoid opening the oven door during the baking process to ensure they puff up as much as possible.
Expert Tips & FAQs for Perfect Popovers
Achieving consistently perfect popovers can be an art, but with these expert tips and answers to common questions, you’ll be baking like a pro in no time.
- Resist the Urge to Peek!: This is perhaps the most critical rule. Do not open the oven door during baking! The sudden drop in temperature will cause the popovers to deflate, and they won’t recover their lofty height. Trust the process.
- Serve Fresh & Warm: Popovers are at their absolute peak when served fresh, straight out of the oven. The crispy exterior and steamy, soft interior are unparalleled. However, you can certainly make them a couple of hours ahead of time; just ensure they are stored properly (see below) and gently reheated.
- Room Temperature Ingredients are Key: For the fluffiest baked goods, ensure your eggs and milk (or coconut milk) are at room temperature, and ideally, the milk is slightly warm before mixing. This helps the batter emulsify better and contributes to a more even, dramatic rise.
- Preheat the Pan: Always place your popover or muffin pan in the oven while it’s preheating. Adding the batter to a scorching hot pan creates an immediate burst of steam, which is essential for the rapid expansion and signature “pop.”
- Do I need a special popover pan? No, you don’t *absolutely need* a dedicated popover pan, but it genuinely helps achieve the classic tall shape. The deep, straight wells allow the popovers to rise without spreading too much. If you don’t have one, a muffin pan with deep wells like this one is your next best option. The high heat circulating around the batter in deep wells, rather than leavening agents like yeast or baking soda, is what makes popovers “poof” up! I personally use and highly recommend this popover pan.
- How do I know they’re done? Finished popovers will be a beautiful golden-brown color and should feel firm and dry to the touch on the outside.
- Cooling is Important: Once baked, carefully turn the popovers out onto a drying rack or plate immediately. Allowing them to cool on the rack for a few minutes before serving helps prevent them from becoming soggy on the bottom and maintains their crispness.
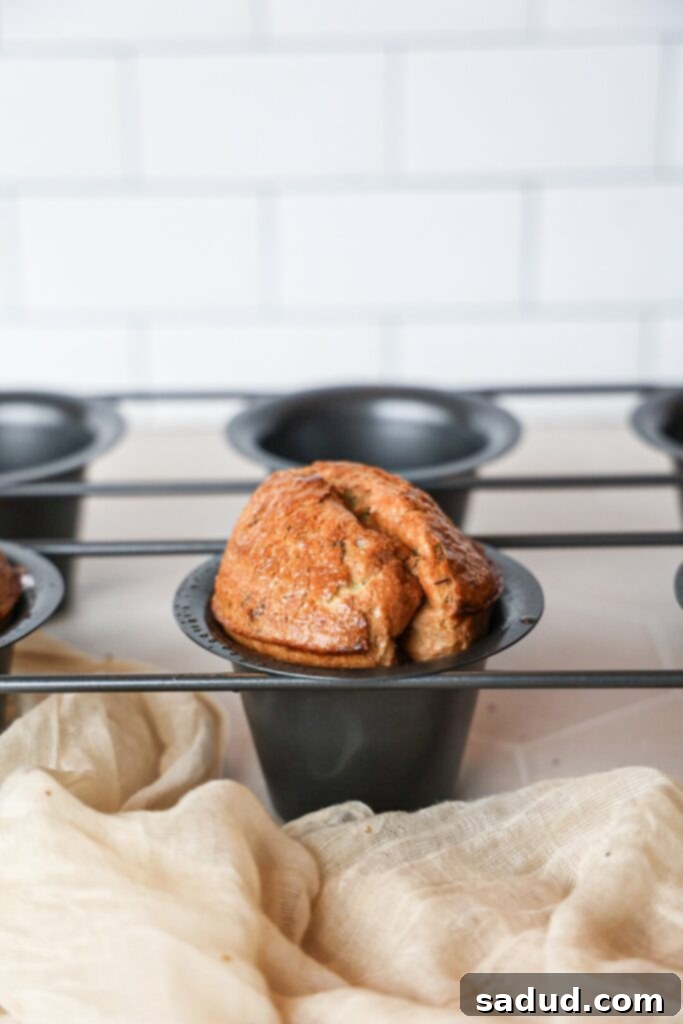
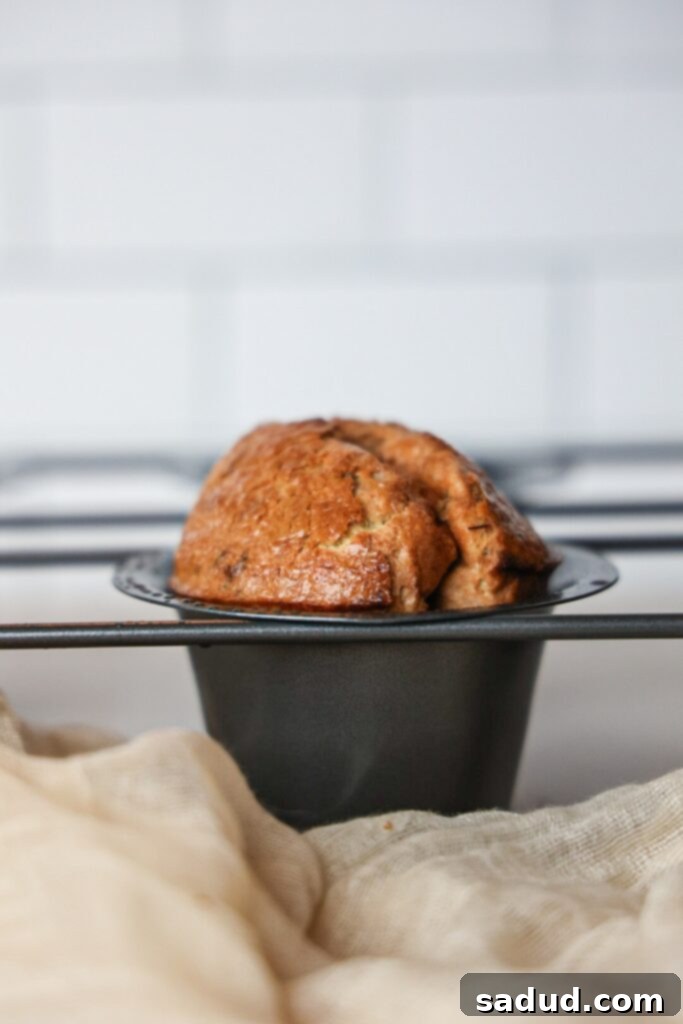
- Embrace Their Unique Shapes: Popovers are known for their whimsical and often irregular shapes. Each batch will look a little different as they rise and expand, so don’t be surprised if you see some strangely shaped ones! They truly have minds of their own, and that’s part of their charm. 😉
- Storage and Reheating: Leftover popovers can be stored in an airtight container at room temperature for up to 2 days, or in the refrigerator for up to 4 days. To reheat, place them on a baking sheet in a 350°F (175°C) oven for 5-10 minutes, or until warmed through and the crust has re-crisped.
- Troubleshooting Flat Popovers: If your popovers don’t puff up, here are common culprits:
- Oven door opened during baking.
- Ingredients were not at room temperature.
- Pan was not hot enough before adding batter.
- Batter was overmixed.
- Oven temperature was too low or inconsistent.
Creative Ways to Serve Gluten-Free Popovers
The versatility of these gluten-free popovers means they can elevate almost any meal. Here are some delicious serving suggestions, from simple to gourmet:
- Classic Dinner Roll: Serve them warm alongside your favorite dinner. They are particularly wonderful with a rich gravy, making for a truly cozy and satisfying side.
- Breakfast Delight: Enjoy them simply with a generous slather of butter and your favorite fruit jam or preserves.
- Soup’s Best Friend: Pair them with a hearty bowl of soup, stew, or chili. Their light texture is perfect for soaking up broth.
- Sweet Indulgence: Transform them into a dessert by drizzling with honey or maple syrup, topping with fresh berries, and a cloud of whipped cream (dairy or plant-based).
- Simply As Is: Sometimes, the best way to enjoy a popover is in its pure, unadorned form, savoring its unique texture and flavor.
- Cheesy Snack: For a savory twist, sprinkle a little shredded cheese (dairy or vegan) on top during the last few minutes of baking, or immediately after, for a melty, gooey snack.
- Savory Spread Companion: Serve with a variety of savory spreads like hummus, olive tapenade, or a creamy herb dip.
- Breakfast Sandwich Base: Slice them horizontally and use them as a unique and delicious gluten-free base for mini breakfast sandwiches with egg, cheese, and bacon.
More Healthy & Delicious Recipes to Explore
If you loved these gluten-free popovers, you’ll surely enjoy these other healthy and easy recipes from my kitchen. Each one is designed with wellness and flavor in mind!
- Healthy Chili Cornbread Casserole: A comforting and wholesome twist on a classic.
- Creamy Vegan Broccoli Cheese Soup: Rich, satisfying, and entirely plant-based.
- Healthy Chicken Broccoli Rice Casserole: A nourishing family favorite.
- Wholesome Chicken Pot Pie Soup: All the flavors of pot pie, without the crust!
- Zesty Japanese Carrot Ginger Salad Dressing: Brighten up any salad with this homemade dressing.
- Viral TikTok One-Pan Egg Breakfast Sandwich: Quick, easy, and endlessly customizable.
- One-Pan Enchilada Breakfast Skillet: A hearty and flavorful start to your day.
- Soft Paleo Sandwich Bread: A delicious gluten-free and grain-free bread option.
- Nutritious Breakfast Egg Stuffed Peppers: A colorful and protein-packed breakfast.
- Vibrant Thai Crunch Salad with Peanut Dressing: A refreshing and satisfying meal.
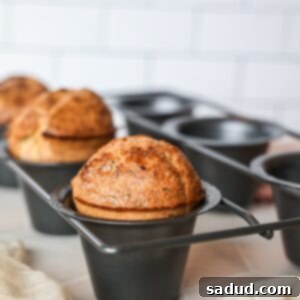
Perfect Gluten-Free Popovers
Pin Recipe
10 minutes
20 minutes
30 minutes
Appetizer, Dessert, Dinner, Lunch, Side Dish
American
5
popovers (in a popover pan)
Ingredients
Flourless & Dairy-Free Version (Our Recommended 5-Ingredient Recipe)
-
4
Large Eggs, room temperature -
2
tbsp
Tapioca Flour or Arrowroot Flour -
2
tbsp
Coconut Flour -
1/4
cup
Full-Fat Canned Coconut Milk or other high-fat milk, room temperature
(Full-fat options create the best texture and rise!) -
1
tbsp
Avocado oil, refined coconut oil, grass-fed butter, or vegan butter -
1/2
tsp
Sea Salt -
1/2
tsp
Garlic Powder (omit for sweet popovers) -
1/4
cup
Pesto (optional, for savory popovers)
Alternative: Gluten-Free Flour Blend Version (Not Dairy-Free)
Note: This alternative version uses a specific gluten-free flour blend. Results may vary significantly with other brands.
-
1
cup
Better Batter Gluten-Free Flour
(I haven’t tested other brands, and they all don’t work the same!) -
1/4
cup
Melted Grass-Fed Butter or Avocado Oil -
1
cup
Plant-Based Milk or Regular Milk -
2
Large Eggs, room temperature -
1/2
tsp
Sea Salt
Instructions
For the Flourless (Coconut/Tapioca Flour) Version:
-
Preheat your oven to 425°F (218°C). Place your popover pan (or muffin tin) into the oven while it’s preheating to get it nice and hot.
-
In a large bowl, add the room temperature eggs and give them a good whisk until slightly frothy. Then, add the remaining ingredients (tapioca flour, coconut flour, full-fat coconut milk, avocado oil, sea salt, garlic powder (if using), and optional pesto). Whisk until just combined – some small lumps are absolutely okay and often desirable!
-
Carefully remove the hot pan from the oven. Spray each well generously with oil or drizzle a little oil into each crevice. Fill each one about 1/2 of the way up with the batter. Immediately return the pan to the hot oven. Bake for 20 minutes until they’ve puffed up significantly and are beautifully golden brown. They should feel firm to the touch. IMPORTANT NOTE: Do NOT open the oven door during cooking! This will cause the popovers to deflate.
-
Carefully remove the popovers from the pan and allow them to cool on a cooling rack for a few minutes. Serve warm! Note: If you opted to leave out the pesto, these are fantastic served with butter and jam!
For the Gluten-Free Flour Blend Version (Alternative):
-
Follow the same preparation instructions as above for mixing the batter and preheating the pan. However, for baking, preheat the oven to 450°F (232°C) and bake for 10 minutes at this high temperature. Then, without opening the oven door, reduce the heat to 375°F (190°C) and continue cooking for another 20 minutes. After 20 minutes at the lower temperature, remove the popovers from the oven and continue to Step 4 for cooling and serving.
Video
Notes
-
- Do NOT open the oven door during baking, as this will cause the popovers to deflate and not rise properly.
- Popovers are truly at their best when they are fresh and warm, right out of the oven. However, you can absolutely make them a couple of hours ahead of time and gently reheat them before serving.
- Ensure eggs and milk are at room temperature and the milk is slightly warm before mixing. This critical step helps create a more stable batter and ensures a wonderfully fluffy final baked good.
- Always place the popover pan in the oven while it’s preheating. Adding the batter to a very hot pan is essential for the popovers to achieve their impressive puff!
- Do you need a specific popover pan? No, you don’t need a popover pan, but it is highly recommended for the best results. If you don’t have one, you do need at least a muffin pan with deep wells like this one. I personally love and use this popover pan. Popovers rise dramatically without yeast, baking powder, or baking soda, primarily because of the hot air circulating around the batter in deep wells, creating steam and a rapid rise.
- Finished popovers will be golden-brown and feel quite dry to the touch on the exterior. Turn them out onto a drying rack or plate to cool for a few minutes before serving to maintain their crispness.
- Popovers are known for their whimsical and unique shapes as they rise. Don’t be concerned if you see some strange or irregular-looking ones! They’ve definitely got minds of their own when baking! 😉
gluten-free bread, gluten-free popover, gluten-free rolls, popovers
