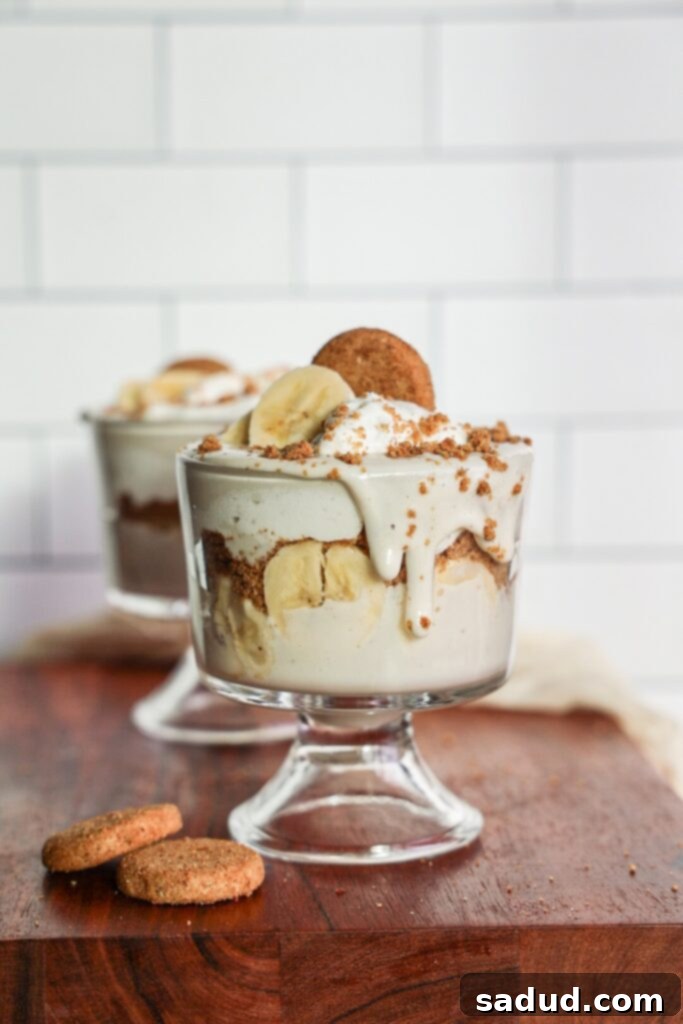
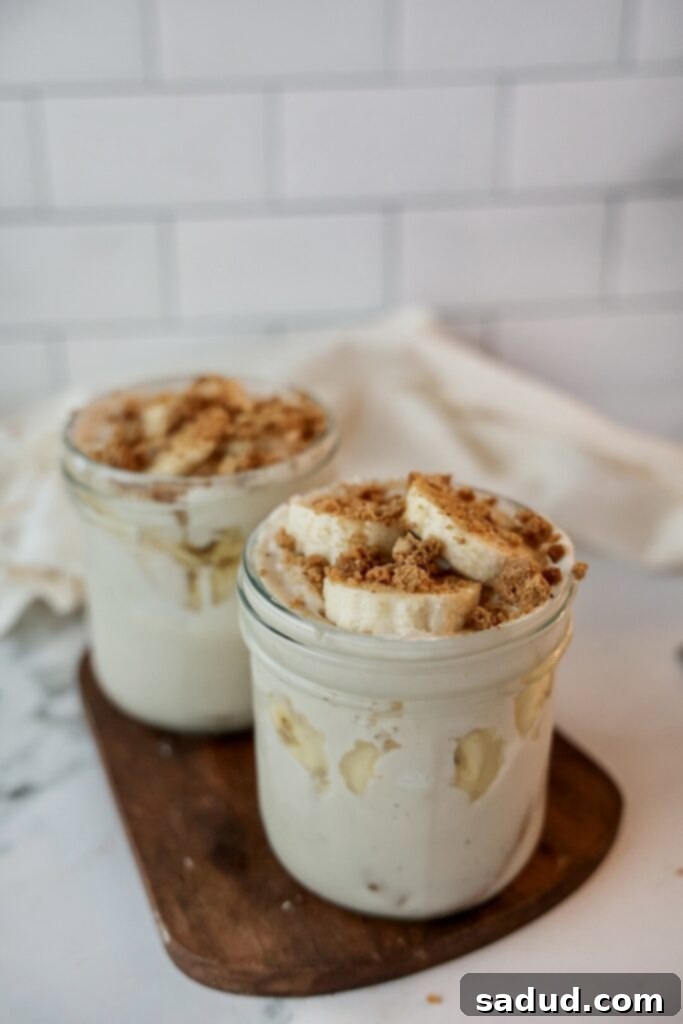
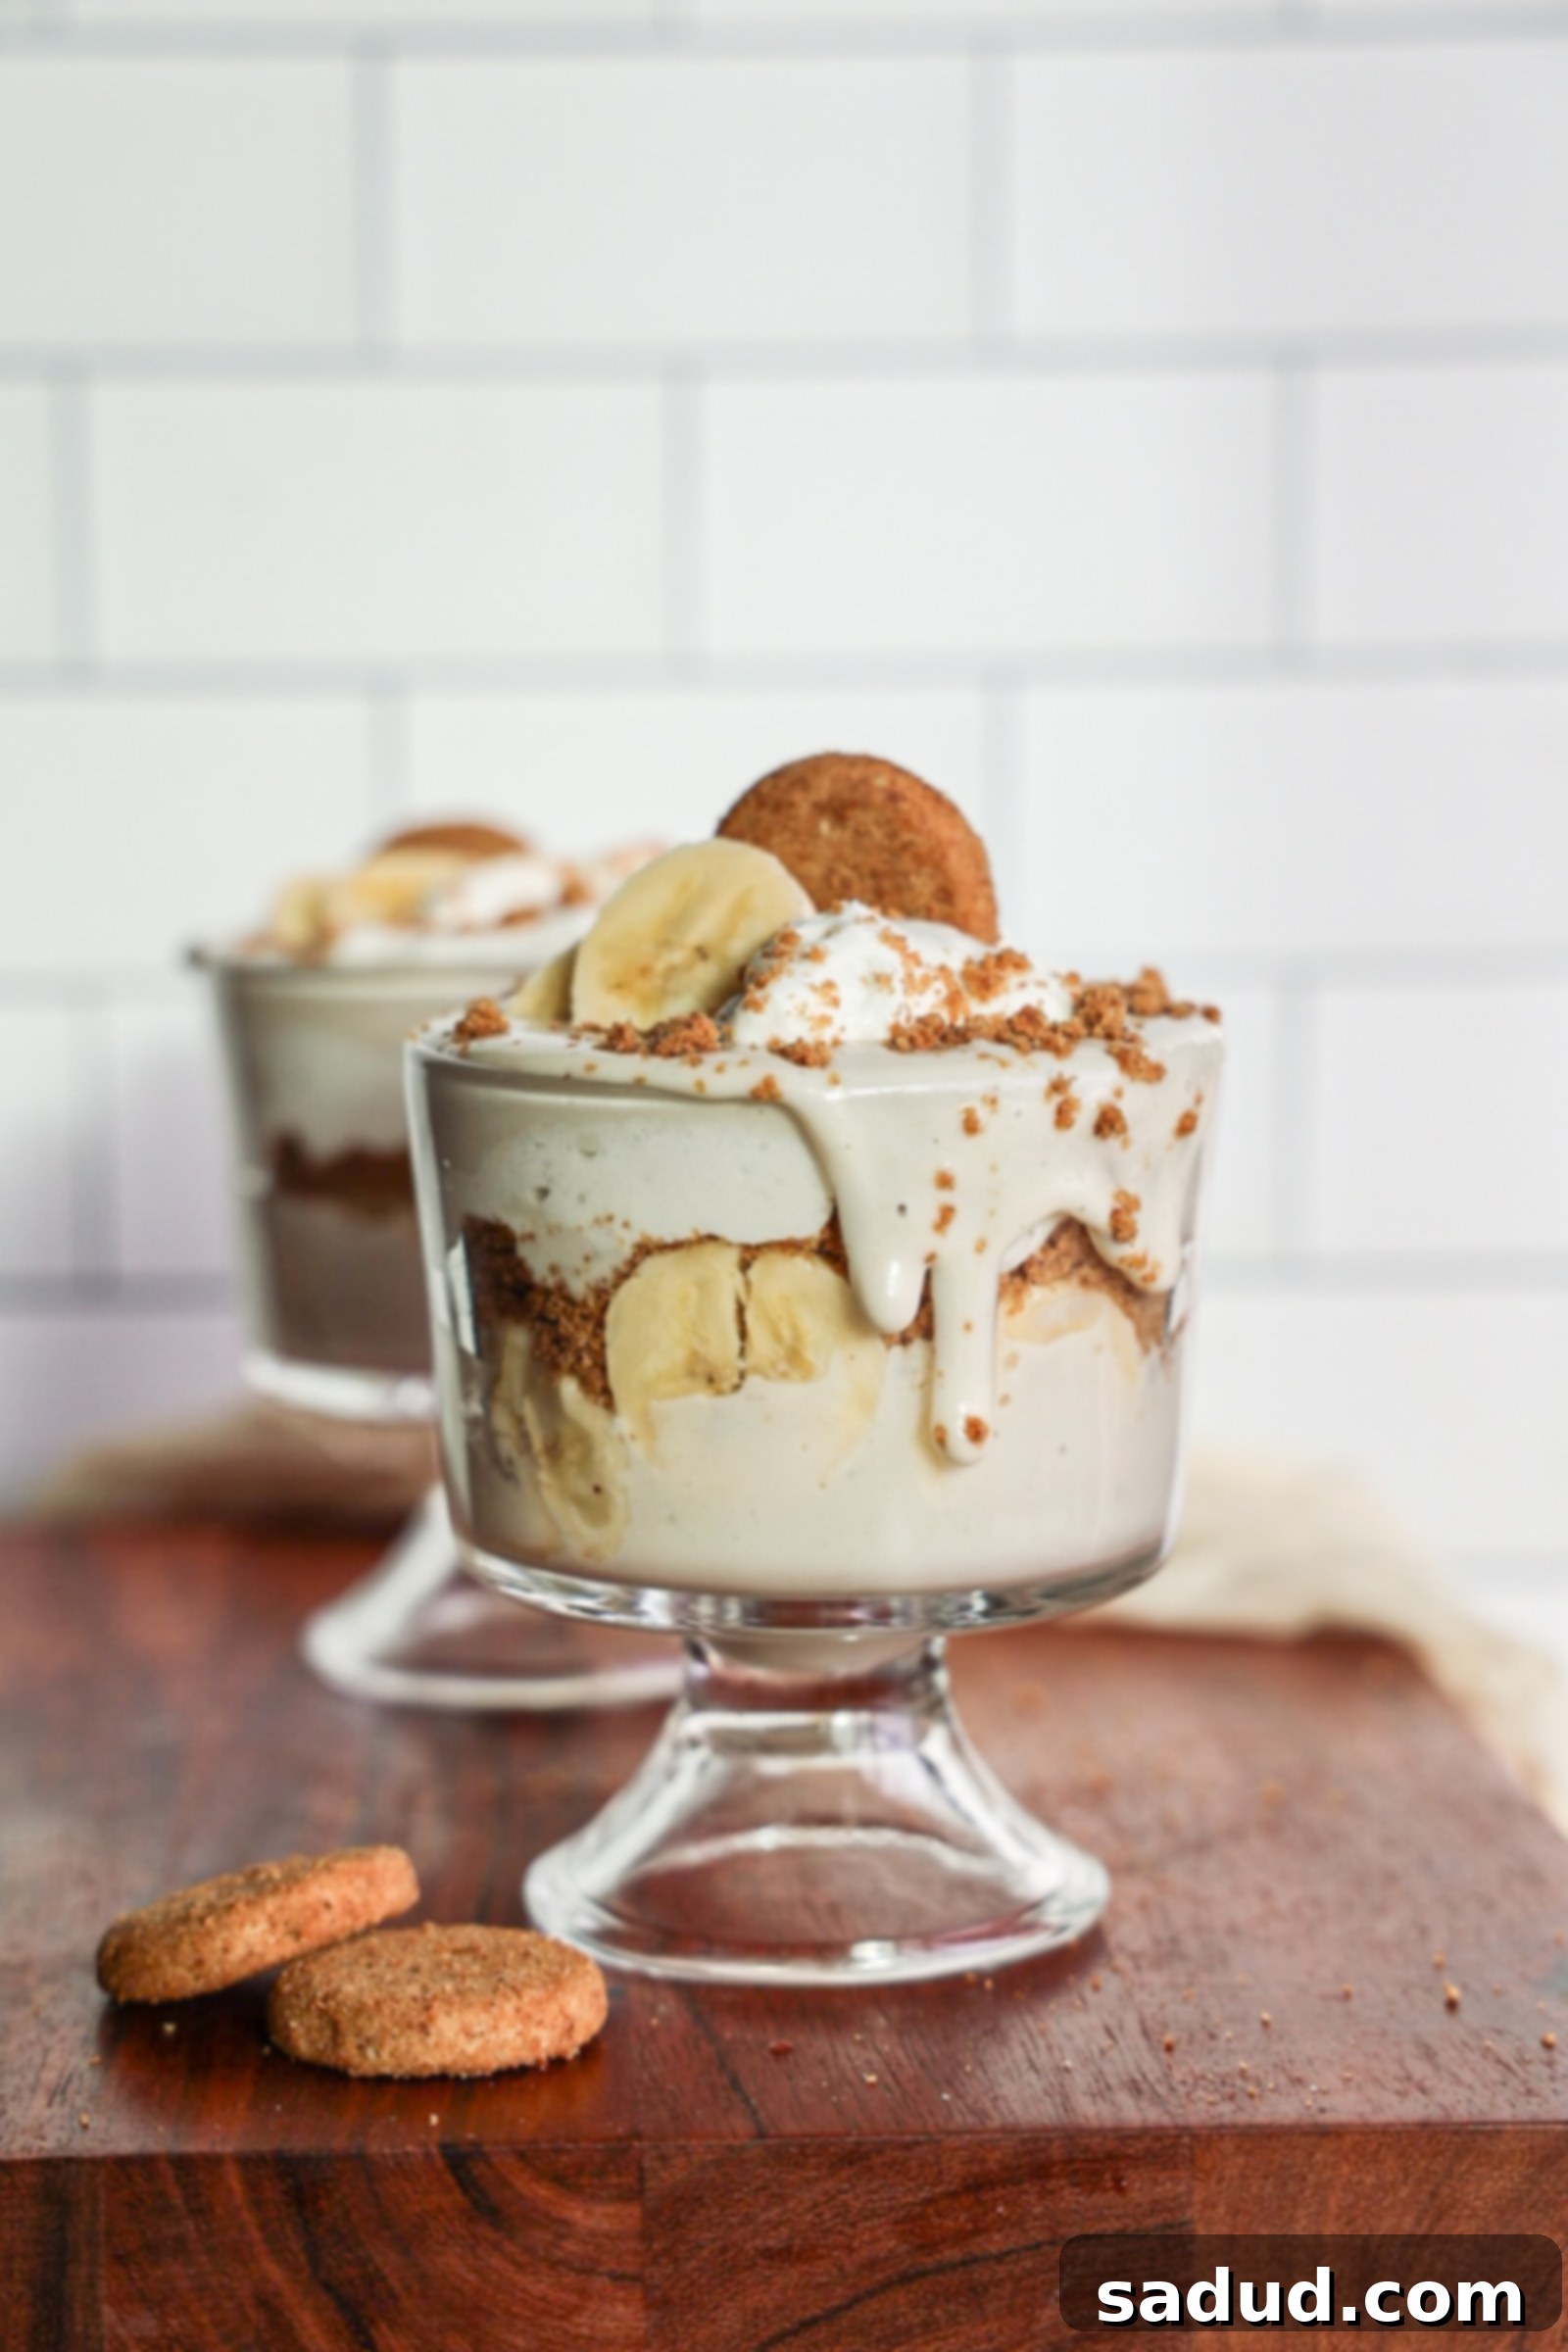
Healthy No-Bake Banana Pudding: Your Ultimate Dairy-Free, Gluten-Free & Vegan Dessert
Indulge in a wholesome twist on a beloved classic with this incredible healthy no-bake banana pudding. This recipe redefines the traditional treat, delivering all the rich taste, creamy texture, and satisfying sweetness you crave, but without dairy, gluten, eggs, or refined sugar. It’s a guilt-free pleasure that doesn’t compromise on flavor – in fact, it’s so good that even my friends who usually shy away from banana pudding were asking for seconds!

Why You’ll Fall in Love with This Healthy No-Bake Banana Pudding
This isn’t just another dessert; it’s a game-changer for anyone seeking a delicious yet diet-friendly treat. Here’s why this no-bake, gluten-free, and vegan banana pudding will become your new go-to recipe:
- Effortlessly Made in a Blender: Say goodbye to complicated cooking methods! The silky-smooth pudding base comes together beautifully in your blender, making prep quick and cleanup a breeze. Just toss in your ingredients, blend, and you’re halfway to dessert heaven.
- Absolutely No Cooking Required: Perfect for warm summer days or when you just don’t feel like turning on the oven. This no-bake recipe means less time in the kitchen and more time enjoying your delicious creation. It’s the ultimate fuss-free dessert for any occasion.
- Naturally Gluten-Free, Vegan, and Refined Sugar-Free: Catering to various dietary needs has never been easier or more delicious. This pudding is crafted without common allergens and uses natural sweeteners, ensuring everyone can enjoy a slice of this delightful treat without compromise.
- Crafted with Wholesome, Feel-Good Ingredients: Forget artificial additives and overly processed components. We use nutrient-dense cashews for an incredibly creamy base, natural fruits, and healthy fats, so you can indulge knowing you’re nourishing your body with quality ingredients.
- A Versatile Delight: Dessert, Snack, or Treat: Whether you’re looking for an impressive dessert to serve guests, a satisfying afternoon snack, or a sweet pick-me-up, this banana pudding fits the bill. Its wholesome nature makes it suitable for almost any time of day.
- Prepped Ahead for Ultimate Convenience: This pudding actually benefits from chilling time, making it an ideal make-ahead option for parties, meal prep, or simply having a delicious treat ready when cravings strike. Prepare it the night before and enjoy it perfectly set and flavored the next day.
Watch How to Make This Banana Pudding! (Recipe Video)
For a visual guide to crafting this delectable dessert, check out our step-by-step video. It’s the perfect way to see just how easy and fun it is to make your own healthy banana pudding!
Essential Ingredients for Your Healthy Banana Pudding
This recipe calls for simple, wholesome ingredients that come together to create an unforgettable dessert. Here’s a closer look at what you’ll need and why each component is key:
- Raw Cashews: These are the secret to our ultra-creamy, dairy-free pudding base. When soaked and blended, cashews create a rich, smooth texture that mimics traditional dairy pudding without any actual dairy. They also contribute healthy fats and a subtle nutty flavor.
- Ripe Bananas: The star of the show! You’ll need extra ripe, spotty bananas for layering. Their natural sweetness and soft texture are essential for that classic banana pudding experience. The riper they are, the sweeter and more flavorful your pudding will be.
- Cookies (Your Choice!): For that beloved crunch and “nilla wafer” feel, I highly recommendSimple Mills Toasted Pecan Cookies. They offer a fantastic healthier, store-bought, and gluten-free alternative that reminds me of graham crackers. However, feel free to use your favorite gluten-free graham crackers, or even Siete’s Mexican Wedding Cookies for a unique twist. Any crisp, mild cookie you enjoy will work!
- Maple Syrup: Our natural liquid sweetener of choice. It provides a lovely depth of flavor and sweetness without the need for refined sugars. You can also substitute with honey if you prefer, or agave for a fully vegan option.
- Full-Fat Coconut Milk (Canned): Crucial for the pudding’s creamy consistency. You’ll primarily use the thick cream from the top of a chilled can, which helps create a rich and indulgent texture.
- Coconut Oil (Melted): A small amount helps bind the pudding and contributes to its smooth mouthfeel.
- Coconut Yogurt: Adds a delightful tang and extra creaminess to the pudding. If you’re not dairy-free, feel free to use plain Greek yogurt for a similar effect.
- Vanilla Extract: Enhances all the sweet flavors and adds that comforting, classic dessert aroma.
- Lemon Juice: A touch of lemon juice brightens the flavors and helps prevent the layered bananas from browning too quickly.
- Sea Salt: A pinch of salt balances the sweetness and brings out the full depth of flavors in the pudding.
- Optional Vanilla Protein Powder: For an added nutritional boost, a scoop of your favorite vanilla protein powder can be blended in. Just make sure it’s a flavor you truly love, as it will subtly influence the pudding’s taste.
- Coconut Whip: This airy, sweet topping is essential for banana pudding. You can easily make it homemade (recipe below!) or opt for a convenient store-bought version. I personally love the So Delicious CocoWhip, often found in the freezer section of most grocery stores.
Step-by-Step Guide: How to Make This Healthy No-Bake Banana Pudding
For detailed measurements and full instructions, please refer to the complete recipe card below!
Crafting this healthy banana pudding is a joyful and straightforward process. Follow these simple steps for a perfect, layered dessert:
- Prepare Your Coconut Whip (if homemade): If you’re going the homemade route for your coconut whipped cream, this is where you’ll start. Ensure your full-fat coconut milk has been chilled overnight. Scoop out the thick cream, then whip it with vanilla extract and maple syrup using a stand mixer (like my trusty KitchenAid) or a hand mixer until light and fluffy. Once done, set it aside in the fridge to chill further while you prepare the pudding.
- Soak Your Cashews (Crucial for Creaminess): For the absolute creamiest pudding, don’t skip this step! Bring a small pot of water to a boil, add your raw cashews, then turn off the heat and let them soak for at least 20-30 minutes. This softens them perfectly for blending. Drain them thoroughly before use.
- Make the Luscious Pudding Base: In a high-powered blender, combine the drained, soaked cashews, the thick cream from your chilled can of full-fat coconut milk (discarding or saving the coconut water), maple syrup, melted coconut oil, spotty ripe banana, vanilla extract, a good pinch of sea salt, and lemon juice. Blend on high until the mixture is incredibly smooth and creamy, without any grainy texture. Stop to scrape down the sides as needed. Taste and adjust sweetness or vanilla as desired.
- Assemble Your Jars (or Pie Dish!): This is where the magic happens! You can create individual servings in small mason jars or a beautiful dessert in a large pie dish.
- For Jars: Start by breaking your chosen cookies into smaller, bite-sized chunks. Add a layer of crushed cookies to the bottom of each jar, followed by a sprinkle of candied pecans (if using). Then, pipe or spoon in a generous layer of your creamy banana pudding, followed by a layer of freshly sliced ripe bananas, and finally, a dollop of coconut whip. Repeat these layers until your jar is full, finishing with a final flourish of whip and cookie crumbs or pecans on top.
- For a Pie Dish: Arrange a single layer of whole or broken cookies at the bottom of your dish. Spread half of the banana pudding evenly over the cookies. Add a layer of sliced bananas, then a layer of coconut whip. Repeat these layers, finishing with the remaining coconut whip and a sprinkle of crushed cookies or candied pecans.
- Chill and Enjoy: Once assembled, cover your pudding jars or pie dish and place them in the fridge. This step is essential for the pudding to firm up and for the flavors to meld beautifully. Chill for a minimum of 4 hours, or ideally, overnight. Then, simply grab a spoon and savor every delicious bite!

Making Homemade Coconut Whipped Cream
While I often reach for the convenience of store-bought coconut whip (it truly reminds me of classic Cool Whip!), making your own at home is incredibly easy and adds a lovely fresh touch. The full recipe is in the recipe card below, but here’s what you’ll need and a quick overview:
- 1 Can Full-Fat Coconut Milk, Chilled Overnight: The key here is to chill it in the fridge for at least 12-24 hours. This allows the thick cream to separate from the liquid.
- Vanilla Extract: For that sweet, aromatic flavor.
- Maple Syrup: To sweeten your whip naturally.
Simply scoop out the thick, solid coconut cream from the top of the chilled can into a mixing bowl. Add the vanilla extract and maple syrup. Using a hand mixer or stand mixer, whip on high speed until light, fluffy, and smooth, resembling traditional whipped cream. Be careful not to over-whip, as it can sometimes become grainy. Place it back in the fridge to chill until you’re ready to assemble your pudding.
Frequently Asked Questions (FAQ’s) About Healthy Banana Pudding
Here are some common questions to help you perfect your healthy no-bake banana pudding:
- How do I achieve the creamiest pudding texture and why soak cashews? Soaking raw cashews is the absolute best way to ensure an ultra-creamy, perfectly smooth pudding. Cashews are naturally hard, and soaking them softens their texture, allowing them to blend into a truly silky consistency without any grittiness. To soak, simply bring a small pot of water to a boil, add the cashews, turn off the heat, and let them sit for 20-30 minutes. Then drain them well before blending.
- What are the best ways to store leftovers? This banana pudding is best enjoyed within 1-2 days of making for optimal freshness and texture. Store individual jars or the pie dish covered tightly with lids or plastic wrap in the refrigerator. You can also freeze individual servings for a longer storage option! Just ensure they are in airtight, freezer-safe containers with lids. When you’re ready to enjoy, let them defrost for about 30 minutes at room temperature. The texture will be slightly thicker, almost like a banana “nice cream” or ice cream, which is incredibly delicious!
- Can I make this banana pudding ahead of time? Absolutely, and it’s actually encouraged! This no-bake banana pudding requires time in the fridge to set properly and allow all the wonderful flavors to meld together. You can easily prepare it in the morning to serve in the evening, or even assemble it the night before a gathering. While it’s best consumed within a day or two, it holds up well, making it a fantastic make-ahead dessert for busy schedules or entertaining.
- Can I substitute other nuts for cashews? While cashews provide the ideal creamy, neutral base, you *could* experiment with blanched almonds or macadamia nuts for a similar texture. However, be aware that these will impart a slightly different flavor profile to the pudding. Ensure they are soaked thoroughly as well.
- How do I prevent the bananas from browning? The small amount of lemon juice in the pudding mixture helps, but for the sliced bananas layered in the dessert, browning is natural over time. To minimize it, slice your bananas just before assembling and work quickly. The layers of pudding and whipped cream will also help protect them from air exposure.
More Healthy Banana Recipes to Explore
Love bananas as much as we do? Here are some other delightful and healthy banana-centric recipes you might enjoy trying next:
- Wholesome Banana Nut Scones
- Irresistible Banana Caramel “Twix” Bars
- Decadent Banana Foster Chia Pudding
- Nourishing Snickers Banana Bread
- Comforting Cinnamon Roll Banana Coffee Cake
- Quick Blender Banana Coffee Cake Muffins

Healthy Banana Pudding (Gluten-Free, Dairy-Free, Vegan)
Pin Recipe
Ingredients
Banana pudding
- 1 cup raw cashews *Soaked – see notes.
- 3/4 cup full-fat canned coconut milk *You’ll want to use the cream from the top of the can, then any liquid left over to make 3/4 cup
- 1/4 cup maple syrup
- 1 tbsp coconut oil, melted
- 1/2 spotty, ripe banana
- 1 1/2 tsp vanilla extract
- good pinch sea salt
- 1 tsp lemon juice
- 1 scoop of your FAVE vanilla protein *totally optional!* *Note: Only use a protein powder you love the flavor of as it’ll affect the flavor of the pudding!
For layering
- 3-4 bananas
- 1 box Simple mills toasted pecan cookies, graham crackers, or Siete Mexican wedding cookies *Or graham crackers or similar
- 1 container of So Delicious Coconut whip *Or cool whip of choice OR homemade whip
Candied pecans
- 1 cup halved or chopped pecans
- 3 tbsp maple syrup
- 1 tsp coconut oil or avocado oil
- pinch sea salt
- 1/4 tsp cinnamon
Instructions
-
Note: I recommend making these in smaller mason jars to get more servings, or you can serve them in 2 larger jars/glasses, just know that will be two servings per glass!
Candied Pecans (Optional, but highly recommended for extra crunch!)
-
In a medium pan, combine the pecans, coconut or avocado oil, maple syrup, salt, and cinnamon. Stir everything together well over low heat until all the pecans are evenly coated in the syrup mixture. Increase the heat to medium and continue to stir gently until the syrup begins to bubble around the pecans.
-
Allow the pecans to cook for 3-5 minutes, stirring occasionally to ensure even coating and prevent them from sticking to the pan. Once the nuts appear sticky and slightly caramelized, transfer them immediately to a sheet of parchment paper laid on a baking sheet. Spread the nuts out in a single layer to cool for about 30 minutes. This step is crucial to prevent them from clumping together as they cool.
Prepare the Banana Pudding Base
-
First, start by soaking your raw cashews to ensure the creamiest pudding texture possible. See the “Notes” section below for detailed soaking instructions. If you are making homemade coconut whipped cream, prepare that now and place it in the fridge to chill while you proceed with the pudding.
-
To make the pudding itself, add the thoroughly drained, soaked cashews to a high-powered blender. Open your can of chilled full-fat coconut milk and carefully scrape out only the thick, solid cream from the top into the blender (you can discard the coconut water or save it for smoothies). Add the maple syrup, melted coconut oil, 1/2 spotty ripe banana, vanilla extract, sea salt, and lemon juice to the blender. Blend on high speed until the mixture is completely smooth and free of any cashew bits. Taste and adjust the sweetness or vanilla if needed.
Assemble Your Delicious Banana Pudding
-
Decide whether you’d like to create your pudding in a large pie dish for sharing or in smaller individual mason jars for portion control and presentation. Slice your remaining ripe bananas into thin coins just before assembly to minimize browning.
-
If making individual jars: Layer as follows: start with a base of crushed cookies at the bottom of the jar. Follow with a sprinkle of candied pecans (if using), then a layer of the creamy banana pudding, a layer of sliced bananas, and finally, a generous dollop of coconut whip. Repeat these layers until your jar is nicely filled, topping with more crushed cookies or candied pecans.
-
If making in a large pie dish: Arrange a single layer of whole or broken cookies across the bottom of the dish. Carefully spread half of the prepared banana pudding over the cookies. Add an even layer of sliced bananas, followed by half of the coconut whip. Repeat these layers with the remaining pudding, bananas, and whip. Finish by sprinkling the top with crushed cookies and/or candied pecans.
-
Once assembled, cover the pudding jars or the pie dish tightly with lids or plastic wrap. Place them in the fridge to chill and firm up for at least four hours, or ideally, overnight. This chilling time is essential for the pudding to set and for the flavors to fully develop. Enjoy your perfectly healthy and delicious banana pudding!
Notes
We hope you adore this healthier take on banana pudding as much as we do! It’s a testament that wholesome eating can be incredibly indulgent and satisfying. Don’t forget to share your creations and tag us on social media!
