Perfect Mesquite Grilled Chicken: Your Ultimate Recipe for a Smoky, Juicy Summer BBQ
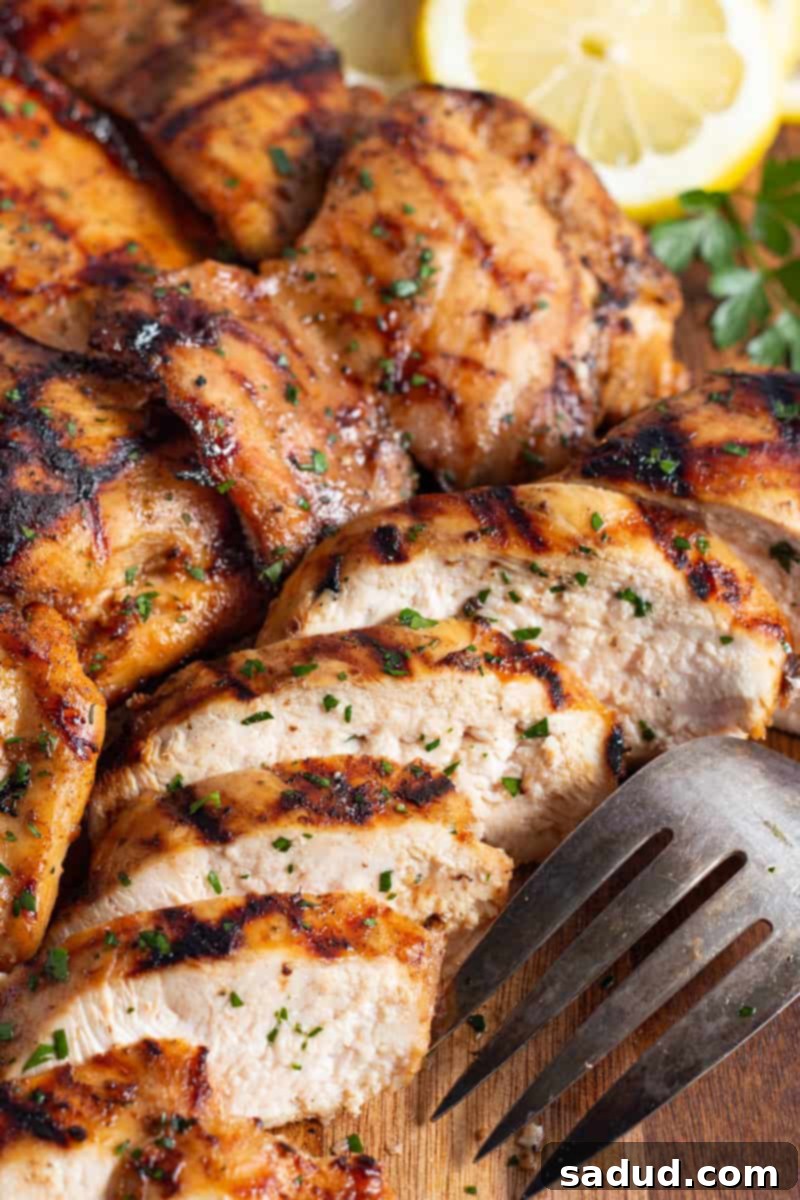
Prepare to elevate your summer cookouts with this truly outstanding mesquite grilled chicken. Each bite delivers an irresistible balance of sweet and smoky flavors, making it a star attraction at any gathering. Thanks to a simple yet powerful marinade infused with liquid smoke, your chicken breasts and thighs will transform into incredibly tender, juicy, and beautifully charred masterpieces. Forget bland grilled chicken; this recipe promises an unforgettable culinary experience that will have everyone asking for seconds.
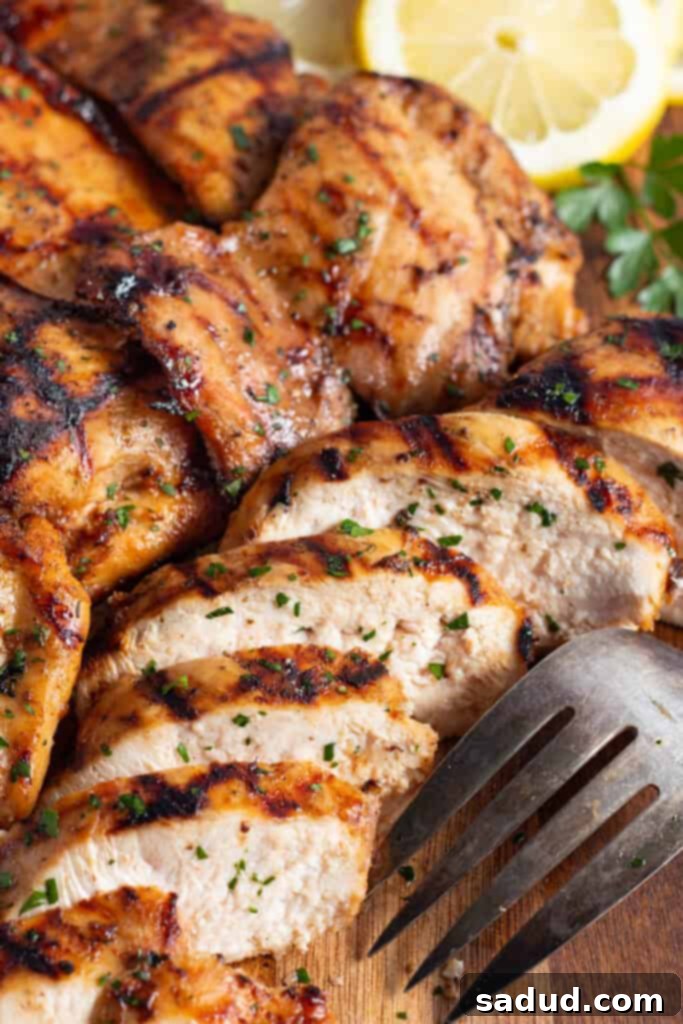
Why This Mesquite Grilled Chicken Recipe Is a Must-Try
- It’s universally acknowledged that grilling imparts an unparalleled depth of flavor and richness to food, a quality unmatched by other cooking methods. This particular recipe takes that inherent grilled goodness a significant step further by **introducing an incredible smokiness that typically requires a dedicated smoker.** Yet, the distinct mesquite flavor, while prominent and alluring, never overwhelms the delicate balance of the other ingredients in the marinade. The result is perfectly grilled chicken that is wonderfully smoky, delightfully tangy from the vinegar and lemon, subtly sweet from the brown sugar, and consistently succulent and juicy. It’s a flavor profile that truly stands out.
- Are you a fan of meal prepping but find yourself weary of the same old baked chicken? **This mesquite grilled chicken offers the perfect, exciting alternative.** Its versatile flavor makes it an excellent addition to a variety of dishes. Imagine it sliced over fresh salads, tucked into hearty sandwiches or wraps, as a flavorful filling for tacos and quesadillas, or simply served alongside your favorite rice and roasted vegetables. The beauty of this recipe is its adaptability. Consider doubling the batch, and you’ll have a supply of delectable, smoky grilled chicken ready to be incorporated into your meals for days, making healthy eating both convenient and incredibly delicious!
Chef’s Expert Grilling Tips for Perfect Mesquite Chicken
- The marinade is unequivocally the hero of this recipe; **it truly dictates the success and flavor of the entire dish.** Without its rich blend of ingredients, you’d simply end up with plain grilled chicken. For the star ingredient, mesquite liquid smoke is generally available in most grocery stores, often found near other spices or BBQ sauces. If mesquite is unavailable, hickory liquid smoke makes an excellent substitute, offering a similar, albeit slightly different, smoky profile. Should you be unable to find either, don’t despair! You can omit the liquid smoke entirely, as the remaining components of the marinade still create a deliciously tangy and sweet flavor that will perfectly complement your chicken.
- While marination is key to flavor and tenderness, it’s crucial to exercise caution: **do not over-marinate the chicken.** For optimal juiciness and flavor absorption, allow the chicken to marinate for a minimum of 2 hours. This timeframe ensures the flavors penetrate the meat effectively. However, **exceeding 12 hours is not recommended.** The acidic components in the marinade, such as vinegar and lemon juice, will begin to break down the chicken’s protein fibers too aggressively. This can lead to a textural change, resulting in chicken that is unexpectedly chewy and rubbery, rather than tender and moist. Always aim for that sweet spot of 2 to 12 hours.
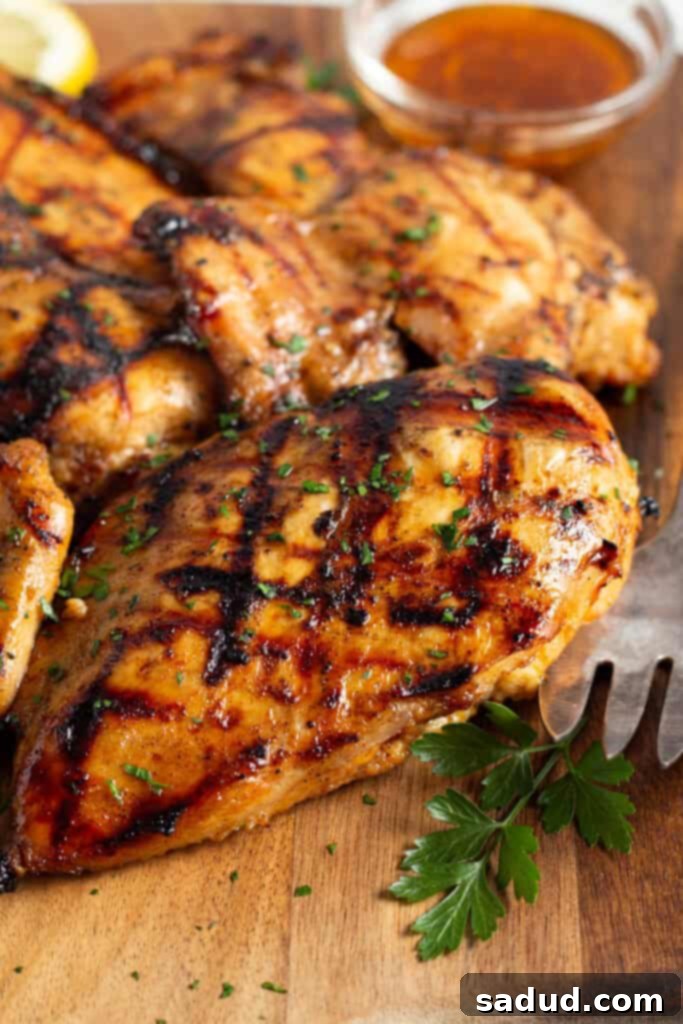
- Aspiring to achieve those stunning, perfectly defined, master-chef-level grill marks on your chicken? The secret lies in one critical step: **ensure your grill is intensely hot** before you even think about placing the chicken breasts or thighs onto the grates. A well-preheated grill is essential for searing the chicken quickly upon contact, creating those coveted dark lines. If the grates aren’t sufficiently hot to begin with, the chicken will cook more slowly, and those beautiful grill marks simply won’t develop, leaving you with a less visually appealing (though still tasty) result.
- **Allowing the chicken to rest after grilling is an incredibly important, non-negotiable step.** While you might be tempted to skip it and dive straight into carving, we urge you: DON’T! Resting the meat serves a dual purpose. Firstly, and crucially, it **locks in all those delectable, savory juices** that have migrated to the center of the chicken during cooking. If you slice the chicken immediately off the grill, these juices will simply spill out onto your cutting board, leaving you with dry, less flavorful meat. Secondly, resting allows for what’s known as “carryover cooking,” meaning the chicken continues to cook slightly even after being removed from the heat. We intentionally take the chicken off the grill when its internal temperature reaches around 160°F to account for this residual cooking. This ensures it reaches the food-safe temperature of 165°F as it rests, guaranteeing perfectly cooked chicken that is both safe and wonderfully tender. Skipping this step risks eating slightly underdone chicken, which is something we strongly advise against for both taste and safety.
- **Pound Your Chicken for Even Cooking:** For exceptionally juicy and uniformly cooked chicken, particularly breasts, consider pounding them to an even thickness (about ¾ inch) before marinating. This simple step ensures that all parts of the chicken cook at the same rate, preventing thinner edges from drying out while thicker parts finish cooking.
- **Pat Dry for Optimal Sear:** Before placing your marinated chicken on the hot grill, gently pat each piece dry with paper towels. Removing excess moisture promotes better caramelization and more pronounced grill marks, leading to a more flavorful crust.
- **Don’t Forget to Oil Your Grates:** A lightly oiled grill grate prevents the chicken from sticking and helps create those beautiful grill marks. After preheating, clean your grates with a wire brush, then use a paper towel dipped in high-smoke-point oil (like canola or grapeseed) and held with tongs to lightly coat the hot grates.
More Delicious Chicken Recipes You’ll Love
- Crusted Chicken Romano
- Chicken Parm Sandwich
- Grilled Chicken And Rice
- Keto Orange Chicken
- Marry Me Chicken (Chicken In A Sun Dried Tomato Cream Sauce)
If you loved this recipe as much as we did, don’t forget to leave us a review below. ★ Follow Easy Healthy Recipes on Pinterest, Facebook, and Instagram, too!
For more delicious recipes, visit our sister sites, 40 Aprons and Easy Cheap Recipes.
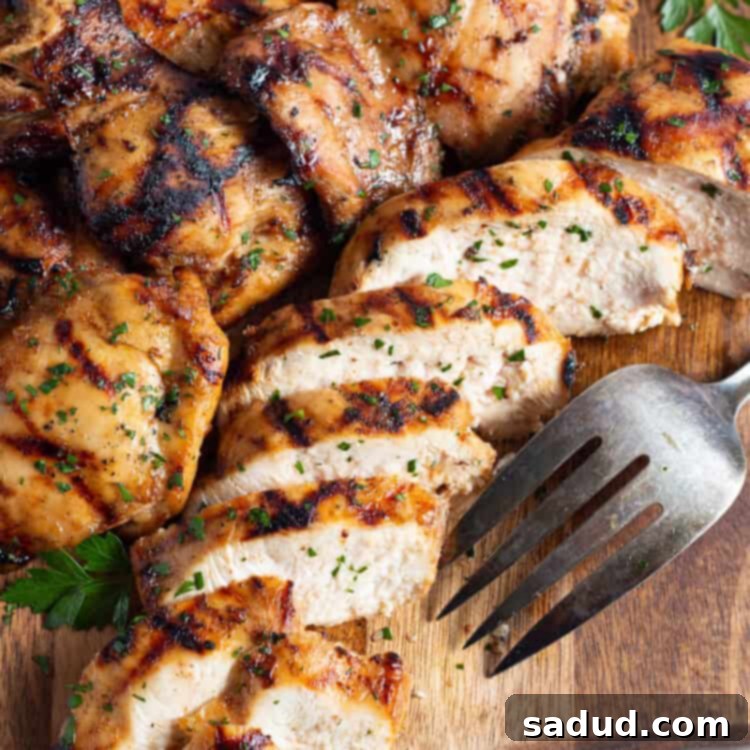
Mesquite Grilled Chicken
 Cheryl Malik
Print
SaveSaved!
Ingredients
For the Chicken
- 2 pounds boneless, skinless chicken breasts and/or thighs, ideally of similar thickness for even cooking
For the Mesquite Marinade
- ¼ cup olive oil
- ¼ cup white wine vinegar or apple cider vinegar, for a tangy kick
- 3 packed tablespoons brown sugar
- 1 teaspoon mesquite liquid smoke see Notes for alternatives
- 1 teaspoon Worcestershire sauce
- 4-5 cloves garlic minced, for aromatic depth
- ½ teaspoon onion powder
- ½ teaspoon smoked paprika
- juice of half a lemon approximately 1-2 tablespoons, for brightness
- ½ teaspoon salt add more or less to taste
- ½ teaspoon pepper add more or less to taste
Equipment
-
sealable food-safe bag for marinating the chicken evenly and mess-free
-
Small bowl
-
whisk
-
Grill (charcoal or gas)
-
Tongs for safely handling chicken on the hot grill
-
Internal meat thermometer essential for ensuring food safety and perfectly cooked chicken
Instructions
-
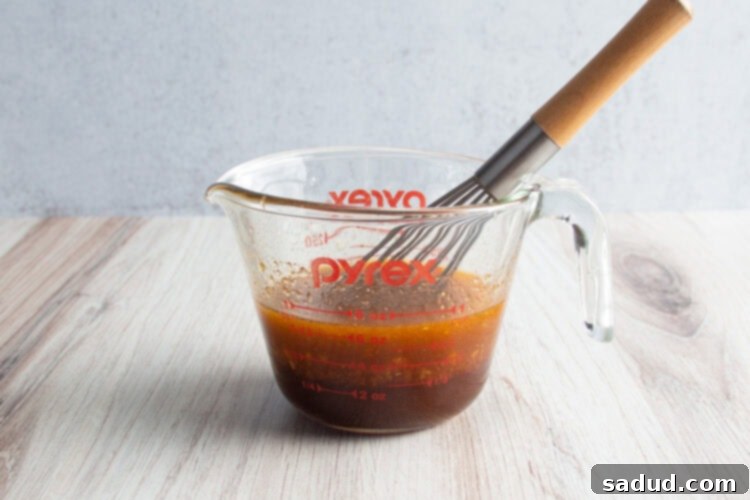
Carefully place your boneless, skinless chicken breasts and/or thighs into a large, sealable food-safe bag. Set this aside temporarily. In a separate small bowl, combine all the marinade ingredients: olive oil, white wine vinegar (or apple cider vinegar), packed brown sugar, mesquite liquid smoke, Worcestershire sauce, minced garlic, onion powder, smoked paprika, lemon juice, salt, and pepper. Whisk these ingredients together vigorously for 1-2 minutes until they are thoroughly combined and create a smooth, emulsified marinade.

-
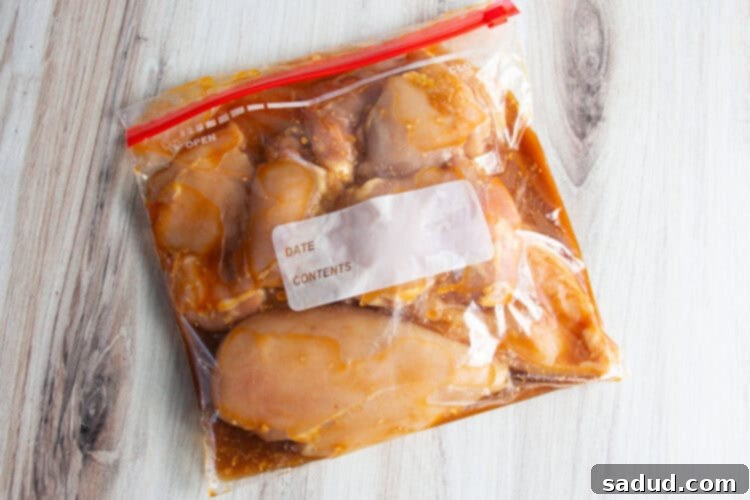
Pour the prepared mesquite marinade directly over the chicken in the sealable bag. Once the marinade is in, seal the bag tightly, making sure to press out as much excess air as possible. Then, gently massage the marinade into the chicken through the bag for about 1 to 2 minutes, ensuring every piece is thoroughly coated. Place the sealed bag in the refrigerator and allow the chicken to marinate for a minimum of 2 hours for optimal flavor penetration, but do not exceed 12 hours to prevent the chicken from becoming rubbery due to the acids.

-
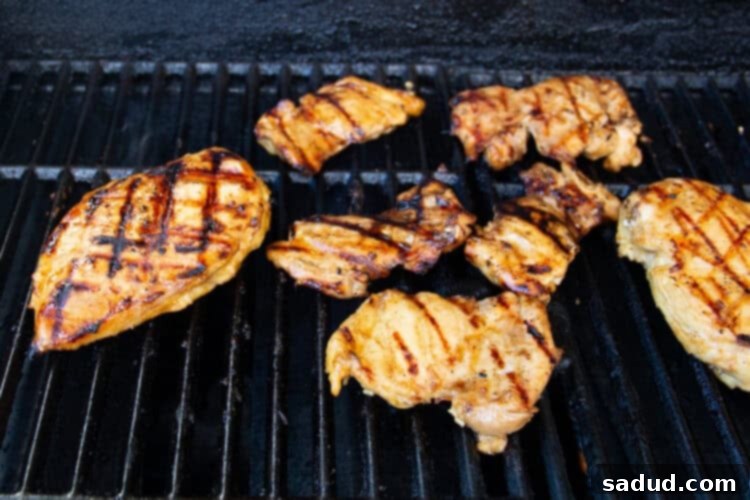
Before grilling, preheat your grill to a medium-high heat setting, aiming for a temperature range of approximately 375° to 450° Fahrenheit. This high heat is crucial for achieving excellent searing and those beautiful grill marks. Once the grill is thoroughly hot, carefully remove the chicken from the marinade, allowing any excess marinade to drip off. Place the chicken directly onto the clean, hot grill grates, positioning it over indirect heat if possible to prevent charring while ensuring thorough cooking.
-
Grill the chicken with the lid open for the first 6 to 8 minutes, or until you see a beautiful golden-brown sear and well-defined grill marks. Then, using tongs, carefully flip the chicken over. Continue grilling for another 6 to 7 minutes, or until the chicken reaches an internal temperature of 160° Fahrenheit. Always use an internal meat thermometer inserted into the thickest part of the chicken (avoiding bone) to accurately measure its doneness, ensuring it’s safe to eat.

-
Once the chicken reaches 160°F, immediately remove it from the grill and transfer it to a clean cutting board. It is vital to let the chicken rest uncovered for at least 5 minutes. This resting period allows the juices to redistribute throughout the meat, resulting in a more tender and moist final product. During this time, carryover cooking will bring the internal temperature up to the food-safe 165°F. After resting, slice the chicken against the grain and serve warm with your preferred side dishes.
Notes
- If your chicken pieces, especially breasts, are significantly thick or vary greatly in thickness, I highly recommend tenderizing them first. You can achieve this by placing the chicken between two sheets of plastic wrap and pounding it gently with a meat mallet or a heavy pan until it reaches a more uniform thickness (around ¾ inch). This ensures all parts of the chicken cook evenly, preventing some sections from drying out while others are still cooking.
- The exact cook times for your mesquite grilled chicken will naturally vary based on several factors, including the size and initial thickness of your chicken pieces, as well as whether you’re using breasts or thighs. Thicker cuts will require more time, and chicken thighs generally take slightly longer to cook than breasts. Therefore, it is absolutely essential to use an internal meat thermometer to verify that the chicken reaches a food-safe temperature of 165°F (after resting) before serving. This is the best way to ensure both safety and optimal doneness.
- Liquid Smoke: Mesquite liquid smoke is typically available in the spice or condiment aisle of most major grocery stores. However, if you’re having trouble locating it, hickory liquid smoke is an excellent and widely available alternative that will still impart a wonderful smoky depth to your chicken. If both are elusive, you can still proceed with the recipe by omitting the liquid smoke; the other marinade ingredients will still deliver a flavorful result.
- Make it Keto-Friendly: To adapt this recipe for a ketogenic diet, simply substitute the brown sugar with an equivalent amount of a brown sugar alternative, such as Brown Swerve or erythritol-based brown sugar substitute. This modification allows you to enjoy the same great flavor while keeping the carb count low.
Nutrition Information
Number of total servings shown is approximate. Actual number of servings will depend on your preferred portion sizes.
Nutritional values shown are general guidelines and reflect information for 1 serving using the ingredients listed, not including any optional ingredients. Actual macros may vary slightly depending on specific brands and types of ingredients used.
To determine the weight of one serving, prepare the recipe as instructed. Weigh the finished recipe, then divide the weight of the finished recipe (not including the weight of the container the food is in) by the desired number of servings. Result will be the weight of one serving.
