Cheesecake Factory Copycat Crusted Chicken Romano: Crispy, Flavorful & Easy Homemade Perfection
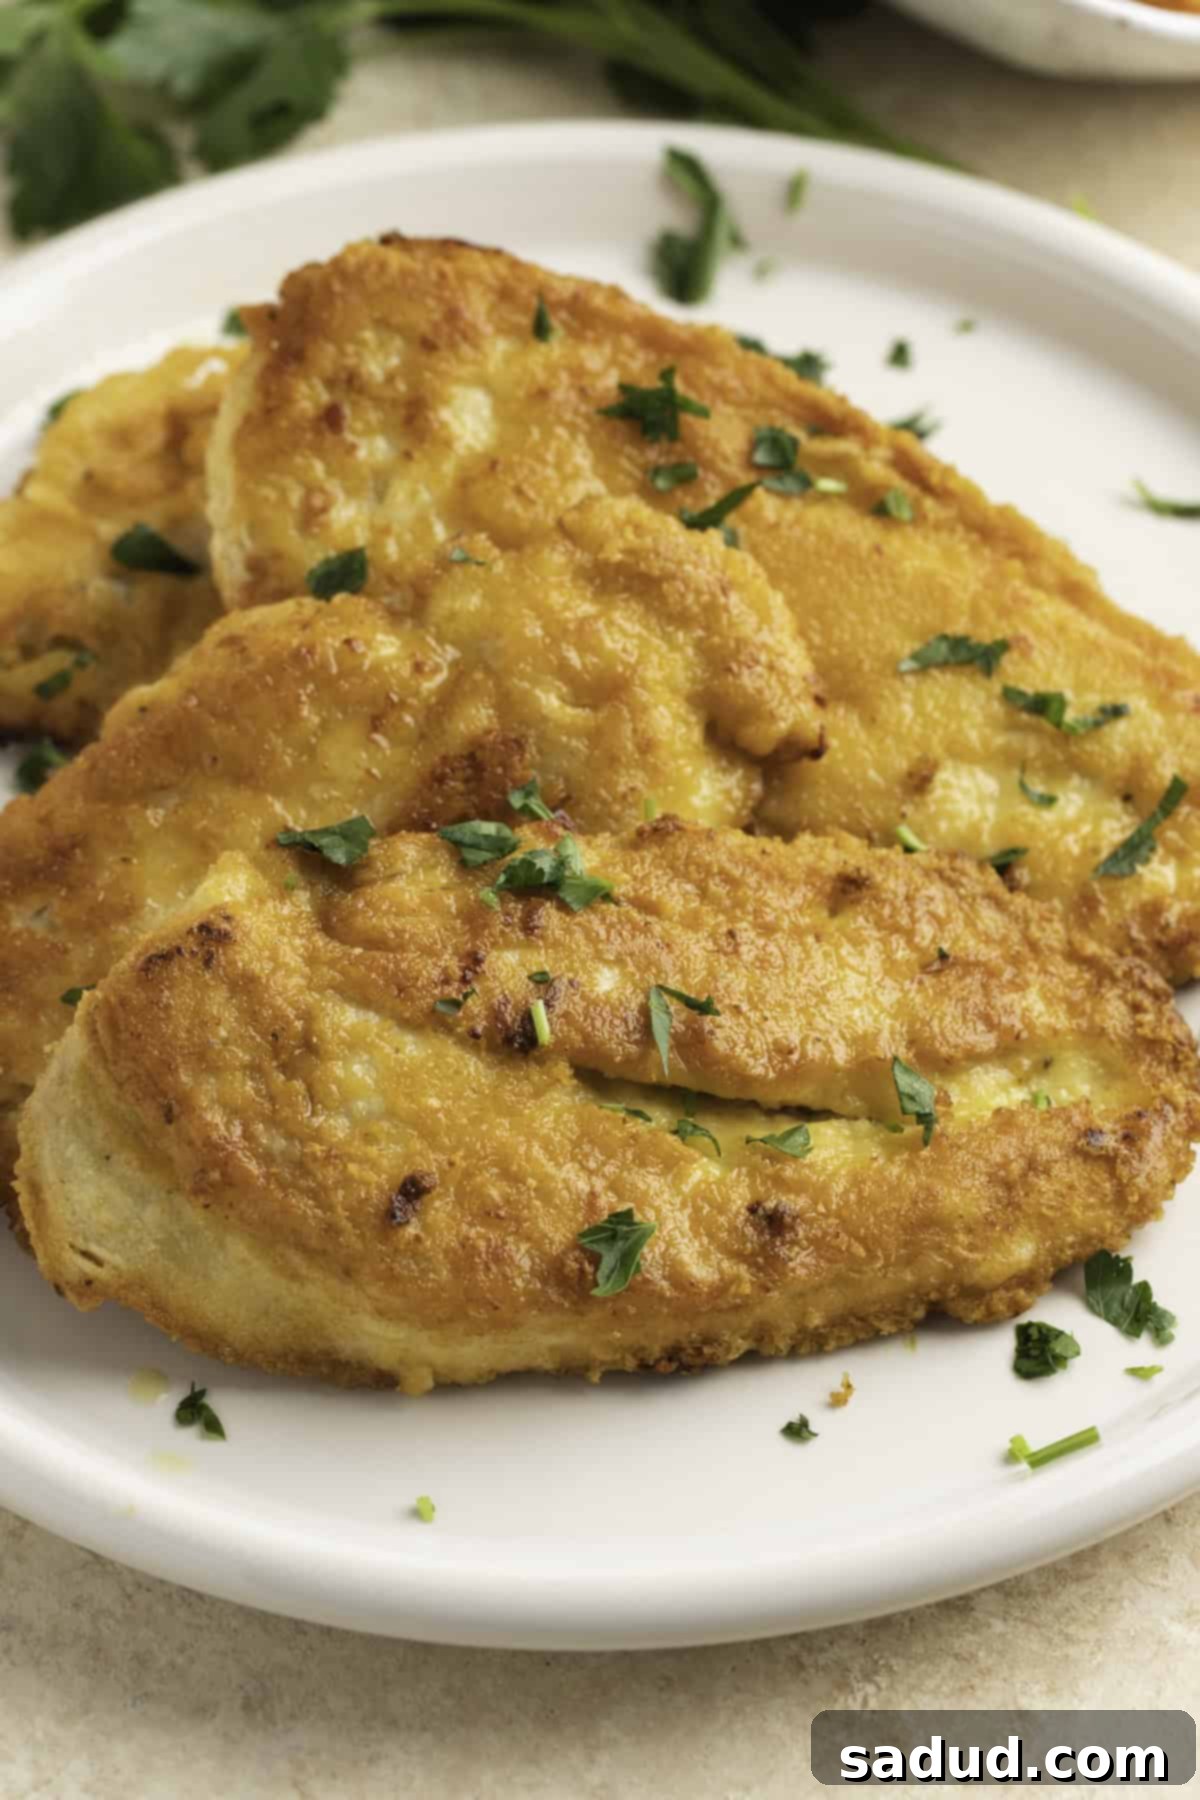
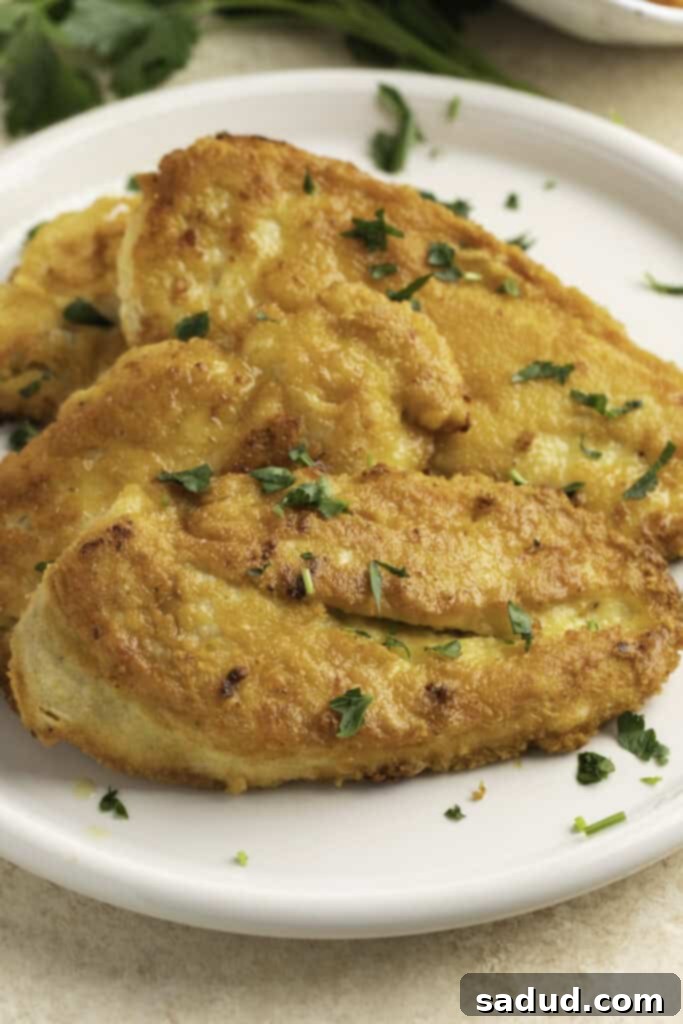
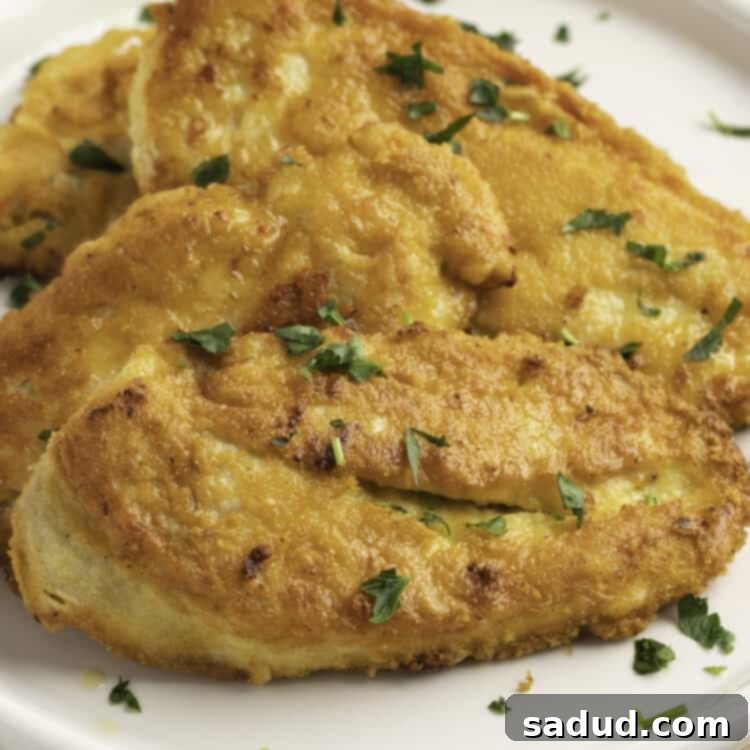
Prepare to delight your taste buds with this incredible Crusted Chicken Romano recipe, a perfect copycat of the famed Cheesecake Factory dish. Imagine tender, juicy chicken breast cutlets, meticulously coated in a seasoned breading featuring all-purpose flour and savory Pecorino Romano cheese, then pan-fried to golden perfection. The result is an irresistibly crisp exterior that locks in moisture, creating a dish that’s both elegant and comforting. This homemade version not only rivals the restaurant original in flavor and texture but also brings the joy of a gourmet meal right to your kitchen table with surprising ease. Say goodbye to long waits and high prices, and hello to your new favorite homemade classic!
Why You’ll Fall in Love with This Crusted Chicken Romano Recipe
This isn’t just another chicken recipe; it’s a culinary experience that combines convenience with gourmet flair. Here’s why this Crusted Chicken Romano is about to become your new go-to dish for satisfying weeknight meals and special occasions alike:
-
A Savory, Hearty, and Delicious Entree in 30 Minutes or Less: Yes, you read that right! This recipe is a weeknight warrior, allowing you to whip up a satisfying, restaurant-quality meal without spending hours in the kitchen. In our busy lives, finding a dish that delivers on both flavor and speed is a true win. Keep your sides simple – a fresh, light salad or a serving of your favorite pasta noodles tossed in butter or marinara – and you’ve got a complete, satisfying dinner that feels indulgent but comes together with minimal effort. It’s perfect for those evenings when you crave something special but are short on time, making it an ideal family meal solution.
-
A Simple At-Home Copycat of the Popular Cheesecake Factory Dish: Who doesn’t love the Cheesecake Factory’s iconic Crusted Chicken Romano? Now you can recreate that authentic, beloved taste in your own home! This recipe is specifically designed to be super easy to make, ensuring you get that familiar, delicious flavor without the complicated steps often associated with gourmet cooking. Beyond the delicious taste, making it yourself is significantly easier on the wallet, allowing you to enjoy this favorite dish more often without breaking the bank or waiting in long restaurant lines. Impress your family and friends with a dish they’d swear came from a professional kitchen.
-
An Incredible Crisp Crust Without Feeling Heavy: The secret to this dish’s success lies in its perfectly executed breading technique. We utilize three light layers – seasoned all-purpose flour, a delicate egg wash, and finally, the star, savory Pecorino Romano cheese – to give the chicken cutlets an unbelievably crisp and flavorful crust. Unlike some heavily battered dishes, this method ensures a delicate crunch that enhances the tender chicken beneath, rather than overshadowing it with excess breading. The flour coating is expertly seasoned with just the right amount of salt and pepper, allowing the sharp, nutty notes of the Romano cheese to truly shine through and create a harmonious, deeply satisfying flavor profile that isn’t greasy.
-
Made with Fresh, Quality Ingredients: When you cook at home, you have complete control over the quality of your ingredients. Opting for fresh, high-quality chicken breasts and freshly grated Pecorino Romano cheese elevates this dish from good to extraordinary. The difference in flavor and texture when using premium components is noticeable and contributes significantly to the overall success and authentic taste of this copycat recipe. It’s a healthier and often more delicious alternative to restaurant versions, where ingredient sourcing might be less transparent.
Expert Chef’s Tips for Perfect Crusted Chicken Romano
Achieving restaurant-quality results at home is easier than you think, especially with a few key insights. These tips will help you master your Crusted Chicken Romano, ensuring every bite is as delicious and perfectly textured as the original:
-
Ensure Your Chicken Cutlets are Really Thin: This is arguably the most crucial step for replicating the Cheesecake Factory’s signature dish. If your chicken breasts are too thick, they won’t cook evenly or quickly, and they won’t achieve that characteristic tender, flat cutlet appearance. To get thin cutlets, you can either butterfly large chicken breasts by slicing them horizontally through the middle, then slice the butterflied halves again if desired. Alternatively, place whole chicken breasts between two sheets of plastic wrap and pound them gently but firmly with a meat mallet or rolling pin until they are uniformly about ¼ to ½ inch thick. This ensures quick cooking, maximum tenderness, and a consistent crispy crust.
-
Don’t Apply Breading Layers Too Thickly: While a crisp crust is highly desirable, an overly thick breading can lead to a heavy, soggy, or uneven texture that pulls away from the chicken. The goal is a light, even coating for each layer. After dredging the chicken in the seasoned flour, gently shake off any excess flour back into the bowl; a thin, barely visible coating is key for the egg to adhere properly. Similarly, when dipping in the egg wash, allow any extra to drip off before moving to the cheese. This meticulous approach guarantees a uniformly crispy and golden-brown crust that adheres perfectly to the chicken, without becoming overwhelming.
-
Use Freshly Grated Pecorino Romano Cheese: This ingredient is the heart of the dish, and quality matters! While pre-grated cheese is convenient, freshly grated Pecorino Romano cheese makes a significant difference in both flavor and texture. Freshly grated cheese melts and crisps better, providing a more robust, savory, and less clumpy coating. Its sharp, salty, and slightly tangy notes are key to the dish’s distinct taste. Take the extra minute to grate it yourself – you’ll notice the superior flavor and superior crispness in the final product!
-
Maintain the Right Oil Temperature: For that perfect golden, crispy exterior, the oil in your skillet needs to be at the right temperature – medium heat is ideal. If the oil isn’t hot enough, the breading will absorb too much oil, resulting in a greasy, pale crust. If it’s too hot, the crust will burn quickly before the chicken has a chance to cook through to the center. You’re looking for shimmering oil, not smoking oil. A small test piece of breading or a tiny drop of water (carefully!) will sizzle immediately if the temperature is correct. This consistent temperature ensures even cooking and a beautiful crust.
-
Avoid Overcrowding the Pan: When pan-frying, it’s crucial to give each chicken cutlet enough space. Cook the chicken cutlets in batches if necessary, rather than trying to fit them all into one pan. Overcrowding the skillet will significantly lower the oil’s temperature, leading to steaming instead of frying. This prevents the breading from becoming crisp, can make it soggy, and will result in unevenly cooked chicken. Patience and proper spacing are key to achieving uniformly golden and crispy results.
Serving Suggestions for Crusted Chicken Romano
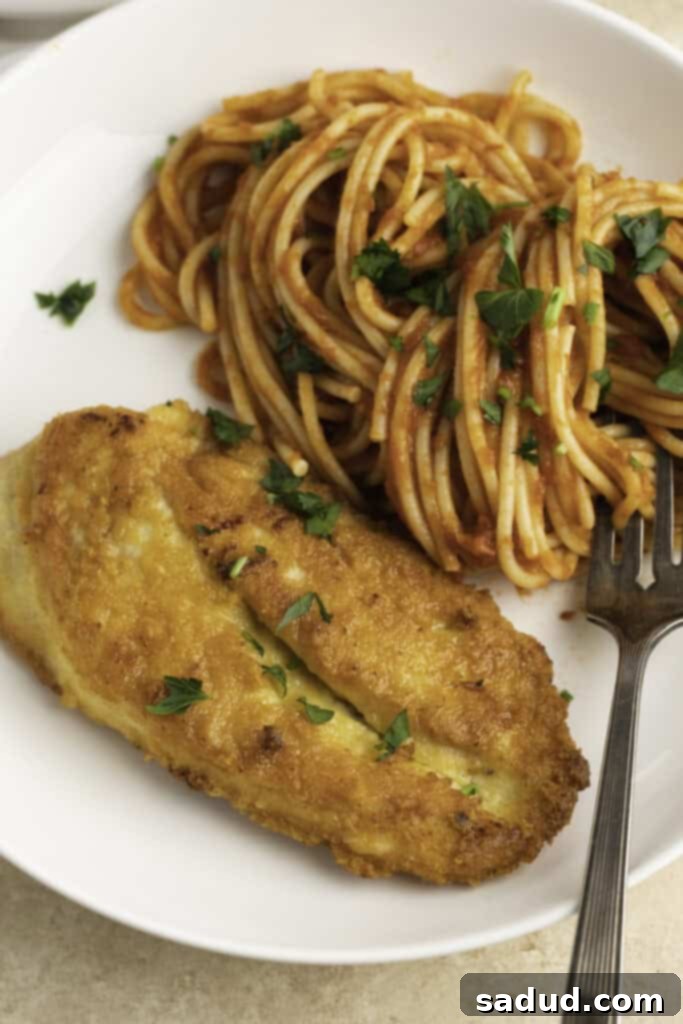
This versatile dish pairs beautifully with a variety of sides, allowing you to customize your meal to your preference and dietary needs. For a truly authentic experience reminiscent of its restaurant counterpart, serve your Crusted Chicken Romano with a simple side of buttered pasta, such as spaghetti or linguine, or pasta tossed in a light marinara sauce. The richness of the chicken is perfectly complemented by the acidity of a tomato-based sauce or the simplicity of buttered noodles. If you’re looking for lighter options, a fresh, crisp green salad with a vibrant vinaigrette dressing provides a refreshing contrast, while steamed or roasted vegetables like asparagus, broccoli, or green beans add a touch of healthful green to your plate. A squeeze of fresh lemon juice over the finished chicken can also brighten the flavors beautifully, adding a zesty counterpoint to the savory crust.
Other Delicious Chicken Recipes You’ll Love
If you’re a fan of flavorful and easy chicken dishes, then you’re in for a treat! After mastering this Crusted Chicken Romano, you might want to explore other exciting ways to prepare chicken. From spicy to comforting, there’s a chicken recipe out there for every palate and occasion. Expand your culinary repertoire with these fantastic options that are sure to become new favorites in your kitchen:
- Buffalo Chicken Thighs: For those who love a bit of heat and a lot of flavor, these thighs are an absolute must-try. Perfect for game day or a spicy weeknight treat.
- Chicken Parm Sandwich: A classic comfort food, combining crispy chicken, melted cheese, and marinara in a convenient sandwich form, perfect for lunch or a casual dinner.
- Instant Pot Buffalo Chicken Dip: An incredibly easy-to-make and crowd-pleasing appetizer that’s ready in minutes, ideal for parties or snacking.
- Air Fryer Pecan-Crusted Chicken: Another fantastic crusted chicken option, offering a different flavor profile with a nutty crunch and the convenience of an air fryer for a healthier twist.
- Instant Pot Chicken Paprikash: A hearty and aromatic dish that brings the rich, comforting flavors of Eastern Europe to your table with minimal effort, thanks to the Instant Pot.
If you loved this recipe as much as we did, don’t forget to leave us a review below. Your feedback helps us grow and inspires others! ★ Follow Easy Healthy Recipes on Pinterest, Facebook, and Instagram, too, for daily recipe inspiration and behind-the-scenes content!
For more delicious and inspiring recipes, be sure to visit our sister sites, 40 Aprons and Easy Cheap Recipes. They offer a diverse range of culinary delights to suit every taste and budget!
Crusted Chicken Romano
 Cheryl Malik
Print
SaveSaved!
Ingredients
- ½ cup all-purpose flour (The foundational base for our crispy coating, providing initial structure and aiding in achieving a golden-brown finish.)
- 1 teaspoon salt (Essential for seasoning both the chicken itself and contributing to the overall flavor of the crust. Adjust to your taste.)
- ½ teaspoon freshly cracked black pepper (Adds a subtle warmth and aromatic depth to the breading, enhancing the savory profile.)
- 1 large egg (Acts as the crucial binder, helping the flour and the subsequent Romano cheese layer adhere perfectly to the chicken.)
- 1 tablespoon water room temperature (Thins the egg wash slightly, ensuring a lighter, more even coating that isn’t too thick or gloopy.)
- 2 large chicken breasts halved and pounded thin to make 4 cutlets (The star protein; ensuring they are thin is crucial for quick and even cooking, as well as an authentic copycat texture.)
- ½ cup freshly grated Pecorino Romano cheese (The key flavor component, providing a sharp, salty, umami-rich, and incredibly crispy crust that defines this dish.)
- neutral oil (Such as canola, vegetable, grapeseed, or sunflower oil, perfect for pan-frying to a beautiful golden crisp without imparting unwanted flavors.)
Equipment
-
3 large, shallow bowls (Essential for setting up your organized and efficient breading station, preventing messes.)
-
2 whisks (One for the dry flour mixture and one for the egg wash, preventing cross-contamination and ensuring smooth consistency.)
-
Cheese grater (For achieving that perfect finely grated texture with your fresh Pecorino Romano cheese, for optimal crisping.)
-
Large plate or cutting board (For holding your prepped, breaded cutlets before they go into the pan, keeping your workflow smooth.)
-
Large skillet (A heavy-bottomed skillet, such as cast iron or stainless steel, is recommended for even heat distribution and consistent frying results.)
-
Internal meat thermometer (Your best friend for ensuring the chicken is cooked perfectly and safely to an internal temperature of 165°F (74°C) without overcooking.)
-
Meat mallet or rolling pin (If you’re pounding your chicken breasts yourself, this will help achieve uniform thinness.)
Instructions
-
Begin by preparing your dry breading mixture. In one large, shallow bowl, combine the all-purpose flour, salt, and freshly cracked black pepper. Use a whisk to thoroughly mix these ingredients until they are well combined and evenly distributed. This ensures that every part of your chicken cutlet receives a consistent burst of flavor and seasoning. Set this bowl aside as your first dredging station.
-
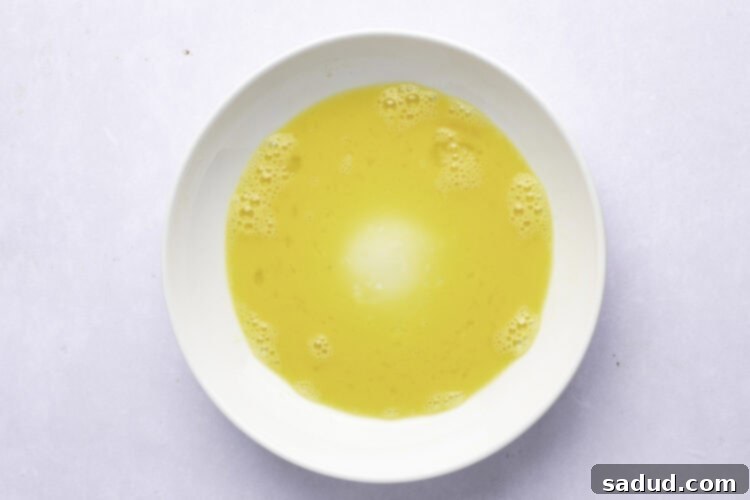
Next, prepare the egg wash. In a second shallow bowl, crack the large egg and add the room temperature water. Whisk these two ingredients together vigorously until the mixture is thoroughly combined, with no visible streaks of egg white or separation. The water helps thin the egg wash slightly, ensuring a lighter, more even coating for the subsequent cheese layer. Place this bowl directly next to the flour mixture to create an efficient breading assembly line.

-
For the final layer, place the freshly grated Pecorino Romano cheese in a third shallow bowl. Spread the cheese into a flat, even layer across the bottom of the bowl. This will be your last dredging station. Arranging your bowls in a logical sequence – flour, egg, then cheese – will make the breading process smooth, quick, and minimize mess.
-
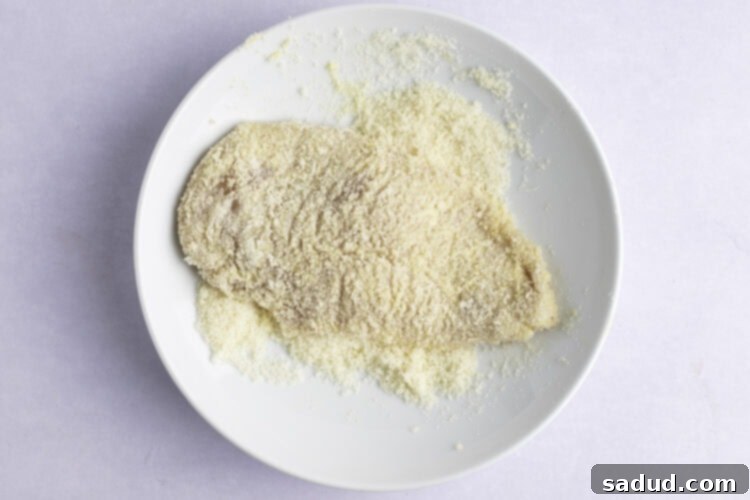
Now, it’s time to bread the chicken! One by one, take each thin chicken cutlet and dredge it thoroughly through the seasoned flour mixture, ensuring it’s completely coated on all sides. Gently shake off any excess flour back into the bowl; a light, even coating is crucial for the egg to adhere properly and for the crust to be crisp, not heavy. Immediately dip the floured chicken into the egg wash, allowing any excess egg to drip back into the bowl. Finally, carefully roll the chicken cutlet in the Pecorino Romano cheese, pressing gently but firmly to ensure the cheese adheres well and coats all sides thoroughly. Place each perfectly coated cutlet aside on a clean plate or cutting board and repeat this precise process until all four chicken cutlets have been breaded.

-
Prepare your skillet for frying. Heat a large, heavy-bottomed skillet over medium heat. Add approximately 1 tablespoon of neutral oil (such as canola, vegetable, or grapeseed oil) to the skillet, adding more as needed to ensure the bottom of the pan is thinly coated. Allow the oil to heat thoroughly until it is hot and shimmering but not smoking. This ideal temperature is absolutely crucial for achieving that crispy, golden-brown crust without burning the exterior or leaving the chicken undercooked.
-
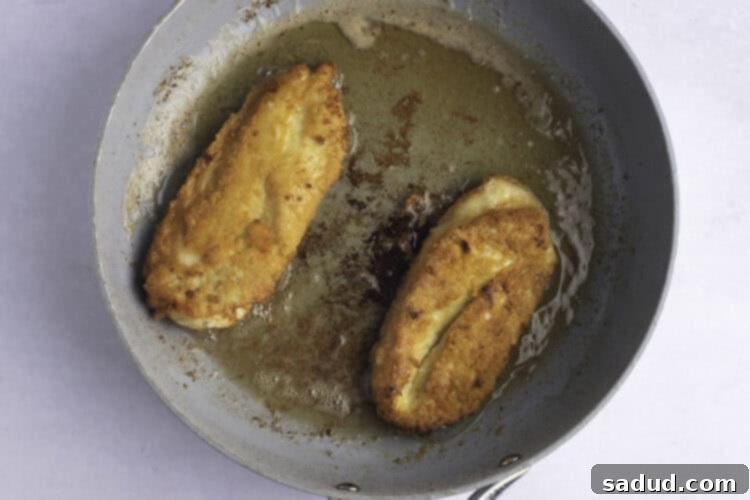
Carefully place the breaded chicken cutlets into the hot skillet. If your pan isn’t large enough to accommodate all four cutlets without overcrowding (which would lower the oil temperature and lead to steaming), work in batches. Cook the cutlets for approximately 3 to 4 minutes on the first side, or until they are beautifully golden brown and wonderfully crispy. Then, using tongs, carefully flip each cutlet and cook for another 3 to 4 minutes on the opposite side, until that side is also golden and crisp. The chicken is fully cooked and safe to eat when its internal temperature reaches 165° Fahrenheit (74°C) when measured with an internal meat thermometer inserted into the thickest part. Once cooked to perfection, transfer the chicken to plates and serve immediately to enjoy the maximum crispness and flavor.

Notes
- Pan Size Matters: Use a skillet large enough to hold all 4 chicken cutlets at once if at all possible. This prevents overcrowding, ensures consistent cooking, and helps each cutlet achieve that desired crispness. If you don’t have a pan that big, it’s always better to work in batches to avoid lowering the oil temperature and steaming the chicken.
- Make it Gluten-Free: This recipe can easily be adapted for those with gluten sensitivities. Simply use a high-quality gluten-free all-purpose flour blend in place of regular flour. Ensure your chosen blend is suitable for breading and performs well in frying applications for the best results.
- Storage & Reheating: Leftover Crusted Chicken Romano can be stored in an airtight container in the refrigerator for up to 3 days. To reheat and maintain its delicious crispness, we highly recommend using an air fryer at 375°F (190°C) for 5-7 minutes, or a conventional oven preheated to 350°F (175°C) for 10-15 minutes, until heated through and crispy again. Avoid the microwave if you want to preserve that desirable crunchy crust, as it tends to make breading soggy.
- Add Fresh Herbs: For an extra touch of freshness and flavor, consider sprinkling some fresh chopped parsley or basil over the finished chicken just before serving.
Nutrition Information
Number of total servings shown is approximate. Actual number of servings will depend on your preferred portion sizes and how generously you serve.
Nutritional values shown are general guidelines and reflect information for 1 serving using the ingredients listed, not including any optional ingredients or serving suggestions. Actual macros may vary slightly depending on specific brands, types of ingredients used, and cooking methods. These figures should be used as an estimate.
To accurately determine the weight of one serving, prepare the recipe as instructed. Weigh the finished recipe in its entirety, then divide the total weight of the finished dish (excluding the weight of the container the food is in) by the desired number of servings. The result will be the precise weight of one serving for your specific preparation.
