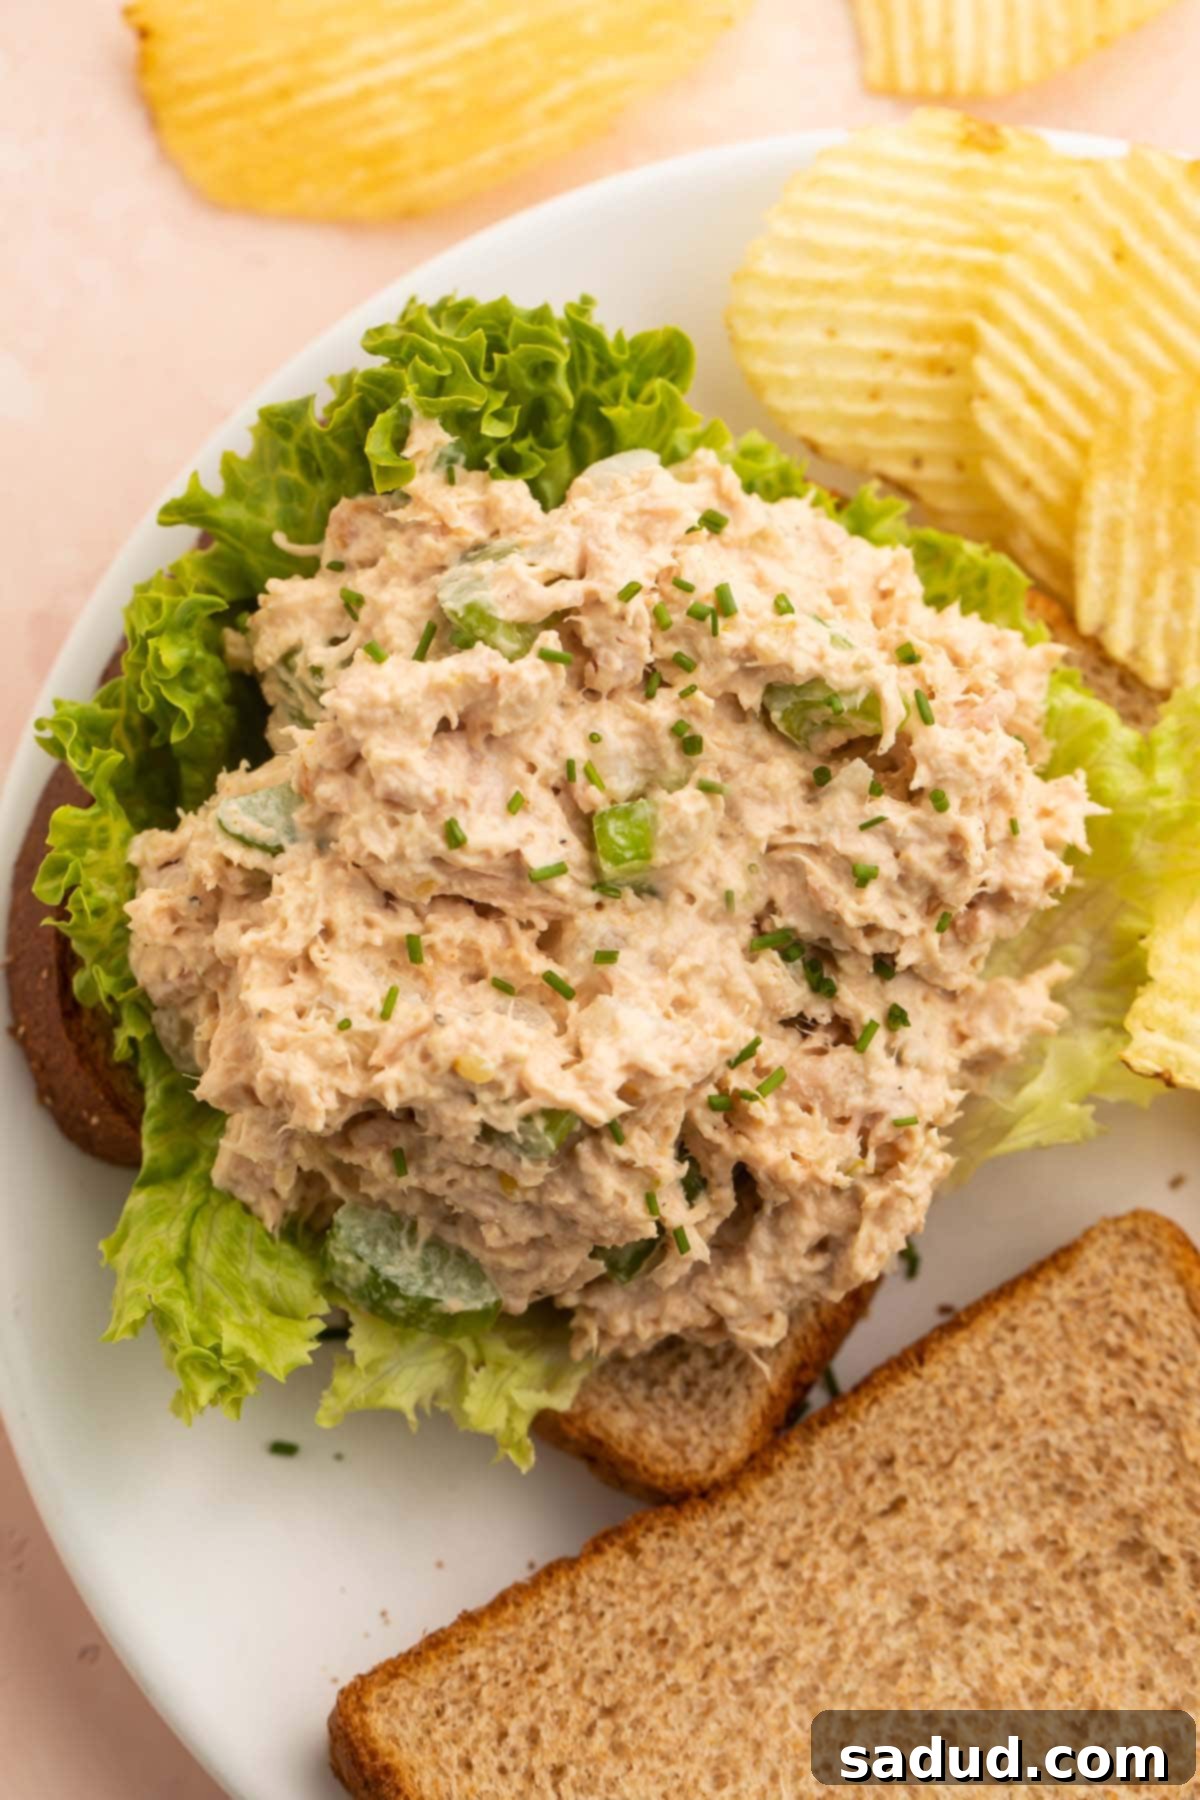
The Best Easy Classic Tuna Salad Recipe: Creamy, Crunchy, and Incredibly Flavorful
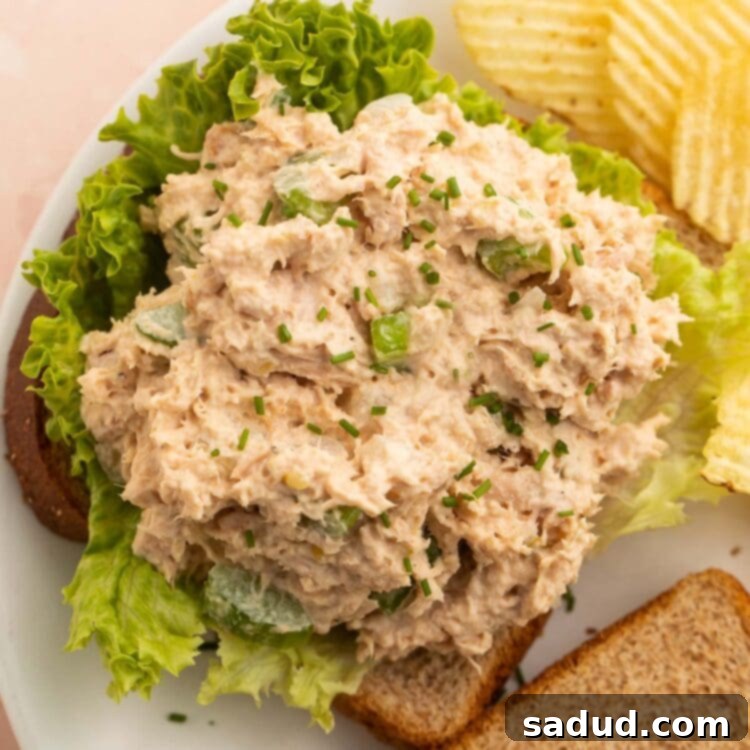
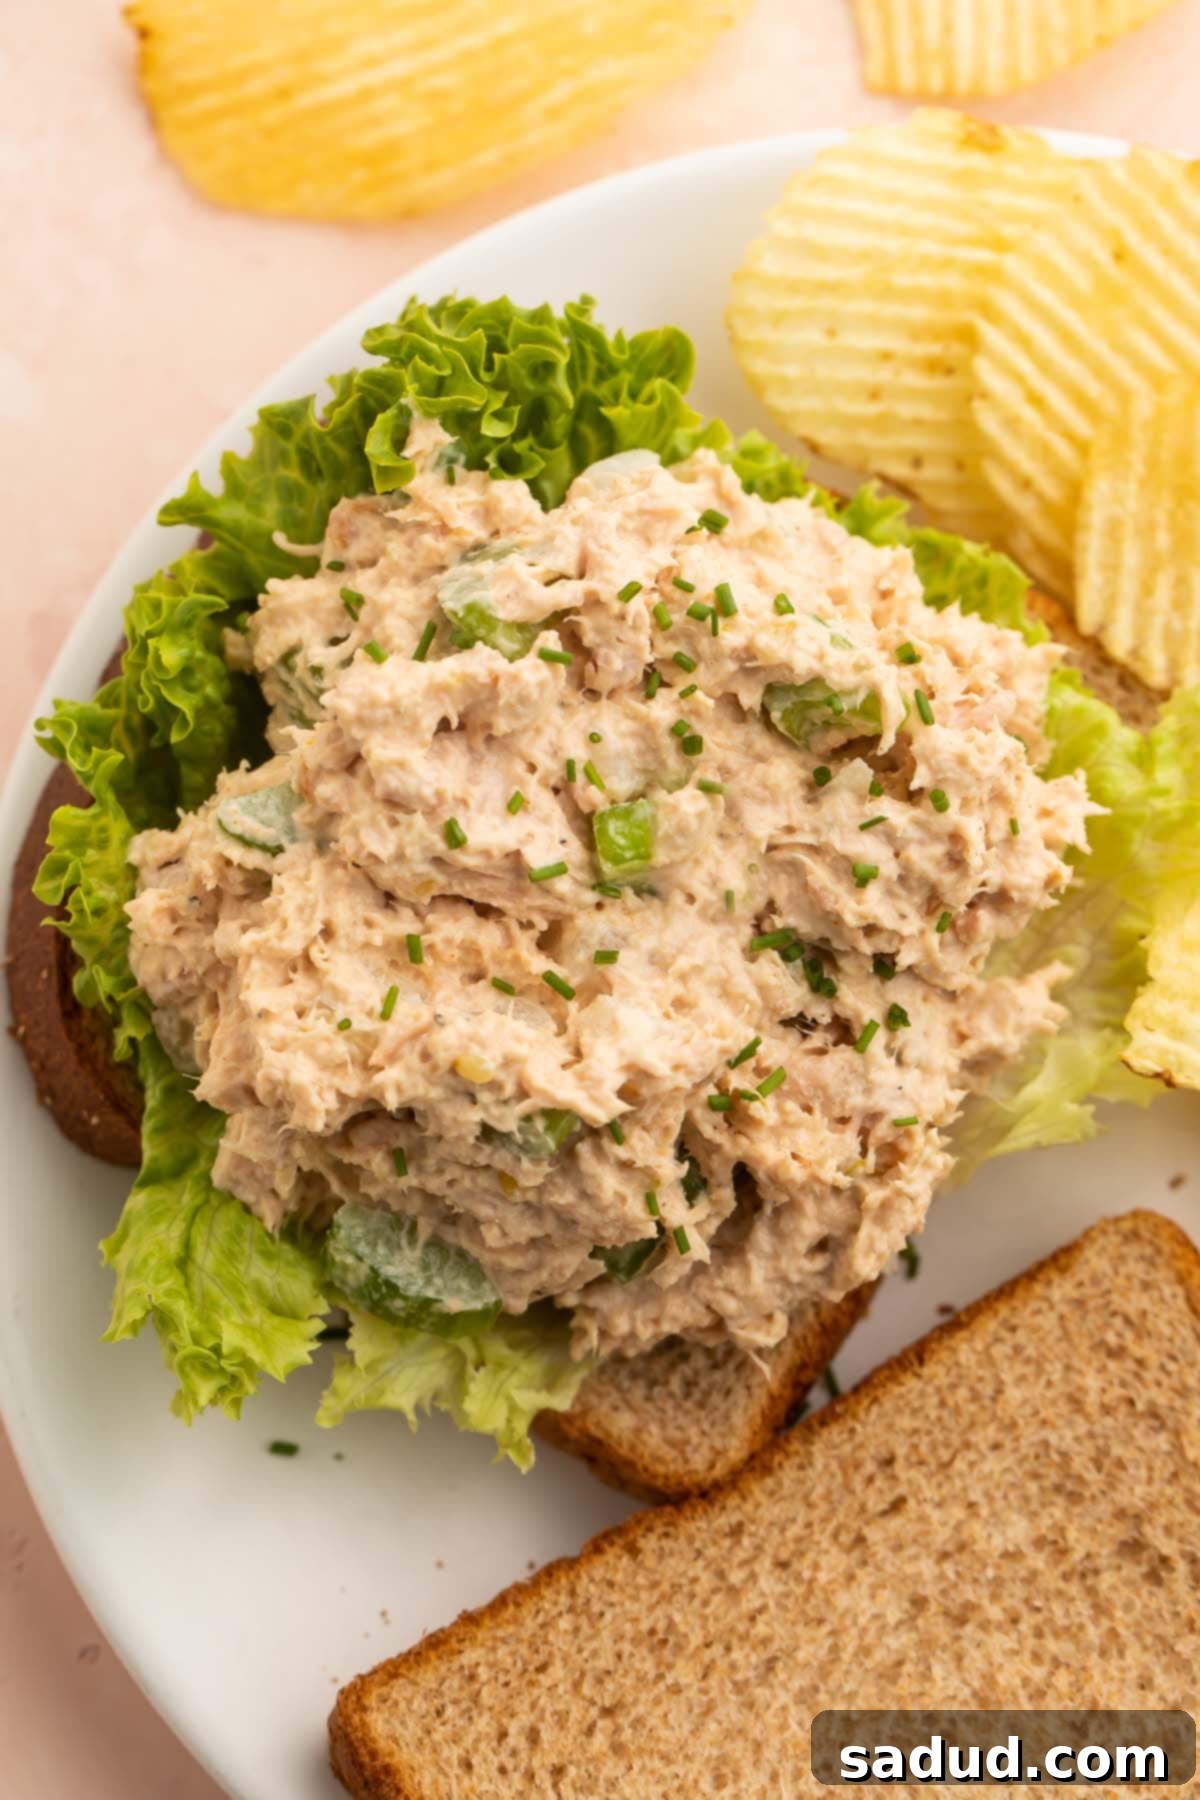
Get ready to elevate your lunch game with this super easy tuna salad recipe that takes a timeless classic and infuses it with an irresistible oomph! We’re talking about a perfectly balanced blend of tender tuna, crisp chopped onions, tangy pickles, and crunchy celery, all brought together with a dash of delicious seasoning. This isn’t just another tuna salad; it’s a vibrant, flavorful creation that turns simple pantry staples into a gourmet experience. Whether you’re a seasoned home cook or just starting in the kitchen, this recipe promises a delightful meal that’s both quick to prepare and incredibly satisfying.

Why You’ll Fall in Love with This Tuna Salad Recipe
There’s a reason tuna salad remains a perennial favorite, and this particular rendition captures everything you love about it and then some. Here’s why this recipe will become a cherished addition to your culinary repertoire:
- Unforgettable Taste and Texture: This isn’t just good tuna salad; it’s truly some of the best we’ve ever tasted. It achieves a remarkable balance: it’s wonderfully light and creamy, without being heavy or greasy. Each bite delivers the perfect amount of sweetness from the creamy dressing, complemented by a beautiful, satisfying crunch from the finely diced vegetables. It’s a symphony of textures and flavors that will leave you wanting more.
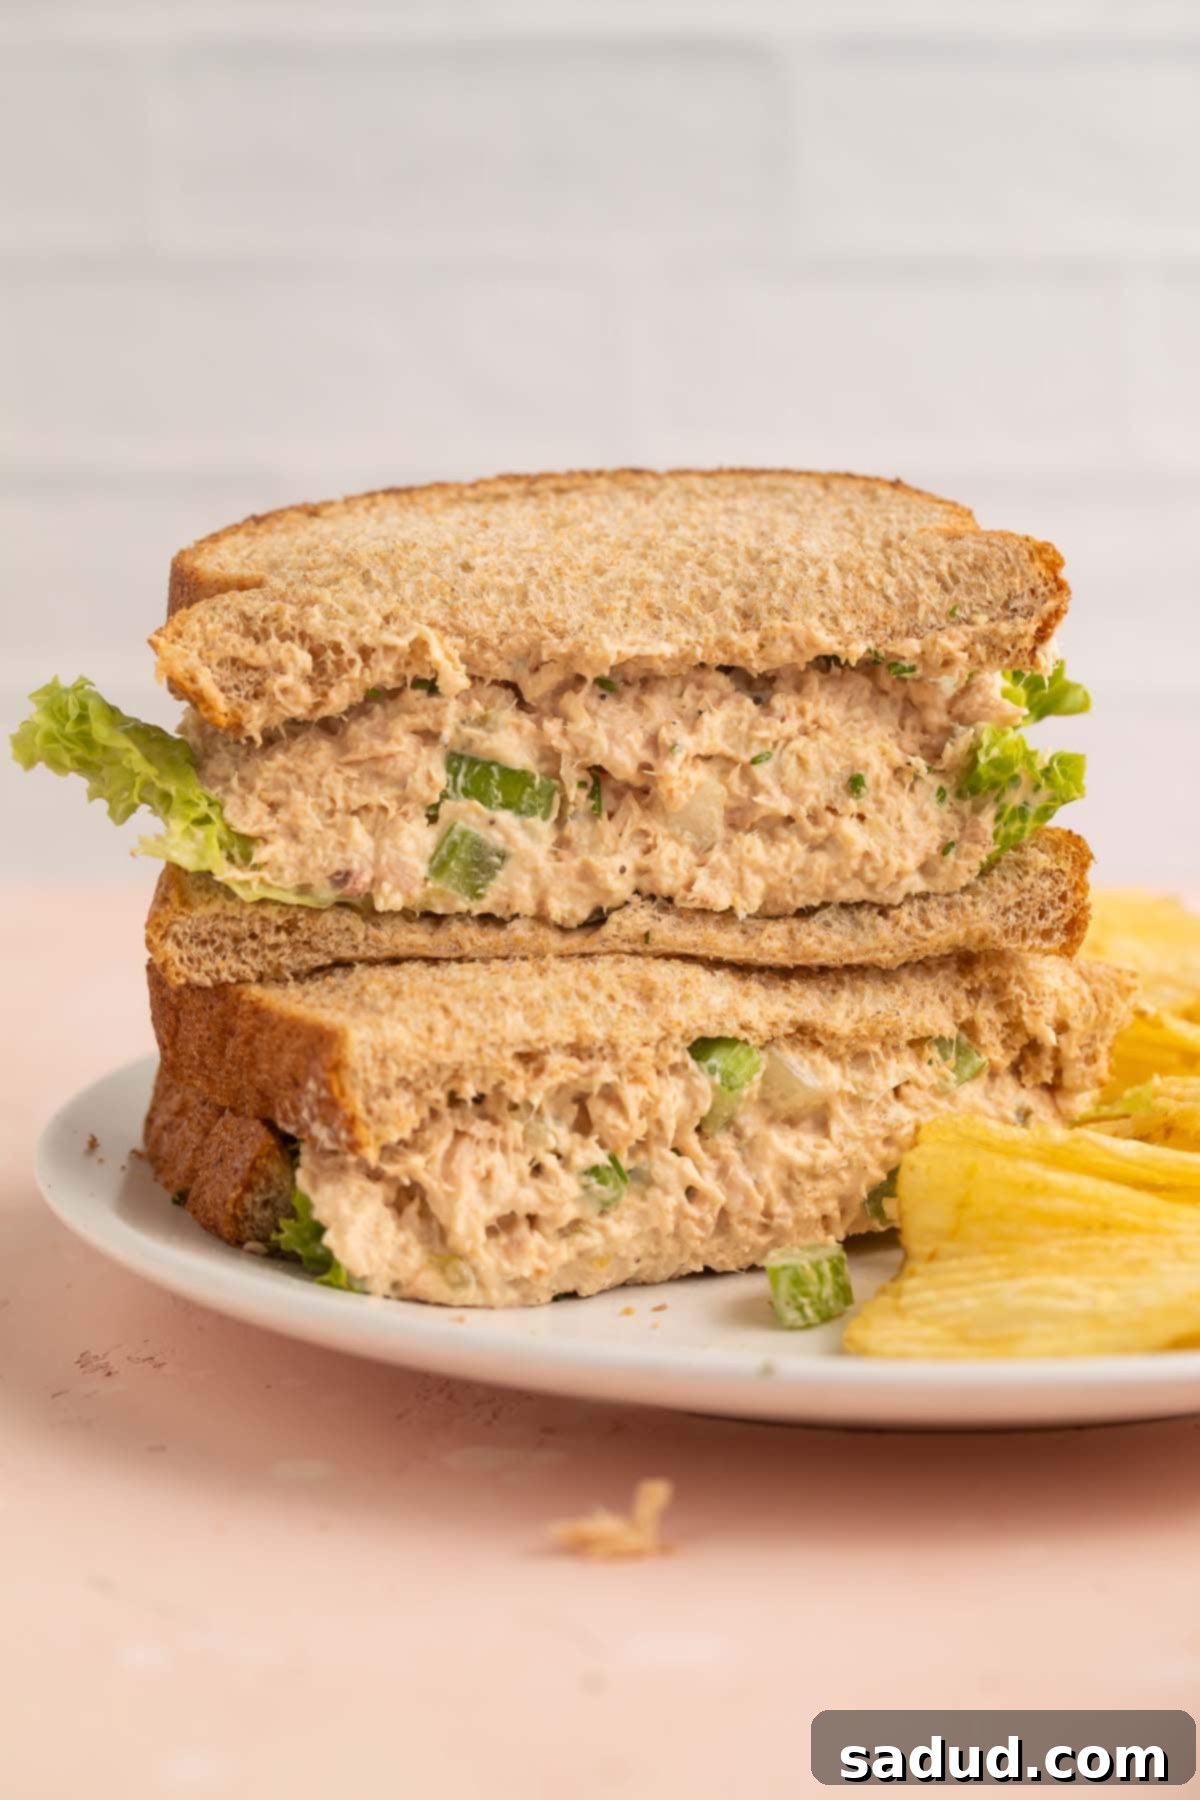
- Remarkably Versatile and Adaptable: The beauty of this tuna salad lies in its incredible versatility! It’s not just for sandwiches (though it makes an absolutely delish one on toast!). You can get creative with how you serve it. Scoop it into crisp lettuce cups for a lighter, low-carb option, enjoy it with your favorite crackers for a quick snack, or pair it with crunchy celery sticks or refreshing cucumber slices for a healthy, satisfying bite. It’s perfect for light lunches, easy meal prep, or even a simple, elegant appetizer.
- Effortlessly Customizable: One of the best aspects of this recipe is how easily you can tailor it to your personal preferences. Feel free to mix things up (no pun intended!) by changing the ingredients a little. For a sweeter tuna salad, swap the dill pickles for sweet relish or bread and butter pickles. Introduce a fruity element by adding finely chopped apples or grapes for a delightful contrast in flavor and texture. If you’re out of fresh onion or prefer a milder taste, swap out the chopped onion and paprika for a pinch of onion powder and garlic powder. For an herbal twist, throw in a little fresh dill or parsley. The possibilities are endless, ensuring you can make it exactly how you like it every time.
Essential Ingredients for Your Perfect Tuna Salad
Crafting the ultimate tuna salad begins with selecting quality ingredients and understanding their role in the overall flavor profile. Here’s a closer look at what you’ll need for this delectable recipe:
- Chunk Light Tuna Packed in Water: We recommend chunk light tuna packed in water for a lighter, fresher taste. Ensure you drain it thoroughly to prevent a watery salad. While tuna packed in oil can be used, it will result in a richer, oilier texture, so adjust your mayonnaise accordingly.
- Mayonnaise: The heart of any creamy tuna salad. Mayonnaise binds all the ingredients together, adding richness and a silky texture. You can use your favorite brand; light mayonnaise works just as well if you’re looking to reduce calories without sacrificing flavor.
- Finely Chopped Dill Pickles (or Dill Relish): These add a critical tangy, briny crunch that cuts through the richness of the mayonnaise and complements the tuna beautifully. If you prefer a smoother texture, dill relish is an excellent alternative.
- Finely Chopped Celery: A non-negotiable for that signature crunch and a hint of fresh, earthy flavor. The celery provides a refreshing contrast to the creamy elements.
- Finely Chopped Onion: A small amount of finely chopped onion adds a pungent, savory kick that brightens the entire salad. Red or white onions work well; just be sure to chop them very finely for even distribution.
- Paprika: This spice offers a subtle warmth and a beautiful hint of color without overpowering the other flavors. Use sweet paprika for a mild touch.
- Salt and Freshly Cracked Black Pepper: Essential for seasoning to taste. Don’t be shy about adjusting these to enhance all the other ingredients and bring them into harmony.
Step-by-Step: How to Make the Best Tuna Salad
Making this incredible tuna salad is refreshingly simple. Follow these easy steps for a delicious and satisfying meal:
- Prepare the Tuna: Begin by thoroughly draining your two 5-ounce cans of chunk light tuna. This step is crucial to prevent your tuna salad from becoming watery. Once drained, scoop the tuna into a medium-sized mixing bowl. You can gently flake it with a fork if it’s too clumpy, but avoid mashing it completely for better texture.
- Combine the Core Ingredients: To the bowl with the tuna, add the ½ cup of mayonnaise, 3 tablespoons of finely chopped dill pickles (or dill relish), 3 tablespoons of finely chopped celery, 2 tablespoons of finely chopped onion, and ¼ teaspoon of paprika. These are the foundational flavors that create our signature “oomph.”
- Season to Perfection: Now, add salt and freshly cracked black pepper to taste. Start with a pinch of each and remember you can always add more later, but you can’t take it away!
- Mix Thoroughly: Using a silicone spatula or a spoon, gently stir all the ingredients together. Mix until everything is thoroughly incorporated and the tuna is evenly coated with the creamy dressing and vegetables. Be careful not to overmix, which can make the tuna mushy.
- Chill for Enhanced Flavor (Chef’s Secret!): While you can absolutely eat the tuna salad right away, we highly recommend taking advantage of an extra 30 minutes or so. After mixing, cover the bowl with a lid or plastic wrap and refrigerate it for at least half an hour. This crucial step allows all the ingredients to meld beautifully, letting the flavors intensify and deepen. It makes a significant difference in the final taste!
- Serve and Enjoy: Once chilled (or immediately, if you can’t wait!), your tuna salad is ready to be enjoyed! Serve it with your favorite saltine crackers, on two slices of perfectly toasted bread, or explore other serving suggestions mentioned below.

Expert Tips for Tuna Salad Perfection
Achieving the best tuna salad involves a few simple tricks. Here are some chef’s tips to ensure your creation is always top-notch:
- The Power of Chilling: As mentioned in the instructions, don’t skip the chilling step if you have the time. Refrigerating the tuna salad for at least 30 minutes (or even a few hours) allows the flavors to truly come together and develop a richer, more cohesive taste. It’s like magic for your taste buds!
- Thorough Draining is Non-Negotiable: Whether your tuna is packed in water or oil, it is absolutely essential to drain it extremely well. Excess liquid will result in a watery, less flavorful salad, diluting the creamy texture you’re aiming for. Press out as much liquid as possible before adding the tuna to your bowl.
- Finely Chop for Uniformity: For the best texture and flavor distribution, make sure your pickles, celery, and onion are all finely chopped. This ensures that every bite contains a harmonious blend of ingredients, rather than large chunks of one component.
- Taste and Adjust: Always taste your tuna salad before serving. Different brands of tuna, mayonnaise, and pickles can vary in saltiness and sweetness. Adjust the salt, pepper, and even a touch more mayonnaise or pickle juice until it perfectly suits your palate.
- Don’t Overmix: While you want the ingredients well combined, vigorous or excessive mixing can break down the tuna too much, leading to a mushy texture. Mix just enough until everything is evenly incorporated.
Tuna Salad Variations & Customization Ideas
This recipe is a fantastic starting point, but don’t hesitate to make it your own! Here are some popular and delicious ways to customize your tuna salad:
- Sweet or Savory: For a noticeably sweeter profile, replace dill pickles with sweet relish or finely chopped bread and butter pickles. A pinch of sugar or a drizzle of honey can also enhance sweetness.
- Herbaceous Additions: Elevate the freshness by stirring in finely chopped fresh herbs like dill, parsley, chives, or even a hint of tarragon.
- A Touch of Heat: If you like a little kick, add a tiny dash of cayenne pepper, a few drops of your favorite hot sauce, or finely diced jalapeños (deseeded for less heat).
- Fruity & Nutty Crunch: Introduce a delightful surprise with finely chopped apples (like Granny Smith for tartness) or red grapes for sweetness. Toasted walnuts or pecans can add an extra layer of crunch and rich flavor.
- Extra Veggies: Boost the nutritional content and texture by adding other finely chopped vegetables such as bell peppers (red, yellow, or green), corn kernels, or even a handful of frozen peas (thawed).
- Mayo Alternatives: For a lighter or tangier dressing, substitute half of the mayonnaise with plain Greek yogurt or a dollop of Dijon mustard. A spoonful of mashed avocado can also add creaminess and healthy fats.
- Smoky Flavor: A tiny pinch of smoked paprika instead of regular paprika can add a subtle, smoky depth.
Storage and Meal Prep Tips
- This tuna salad is a great option for meal preps, and we truly mean it! If stored properly – meaning, refrigerated in an airtight container – then the tuna salad will be good for 4-5 days. This makes it perfect for packing ahead and enjoying throughout your work week or for quick, healthy lunches.
- Freezing is Not Recommended: Due to the mayonnaise, tuna salad does not freeze well. The mayonnaise tends to separate and become watery upon thawing, affecting the texture and overall appeal. It’s best enjoyed fresh within the recommended refrigeration period.
Frequently Asked Questions About Tuna Salad
- What kind of tuna is best for tuna salad?
We recommend chunk light tuna packed in water for a lighter flavor and texture. Solid white albacore tuna is also a good option if you prefer a firmer, meatier fish, but ensure it’s well-drained.
- Can I use tuna packed in oil?
Yes, you can, but be sure to drain it very well. Tuna packed in oil will result in a richer, slightly oilier salad, so you might want to adjust the amount of mayonnaise or add a squeeze of lemon juice to balance the richness.
- How do I prevent my tuna salad from being watery?
The key is thoroughly draining your tuna. After opening the cans, press down on the tuna with the lid or a fork to squeeze out as much liquid as possible. Using a fine-mesh sieve can also help.
- Can I make this tuna salad healthier?
Absolutely! You can substitute some or all of the mayonnaise with Greek yogurt for a protein boost and fewer calories. Adding more vegetables like shredded carrots, bell peppers, or spinach will also increase its nutritional value. Omit the chopped onions for a lower carb option, as mentioned in our notes.
- How long does homemade tuna salad last in the fridge?
When stored in an airtight container in the refrigerator, homemade tuna salad typically lasts for 3-5 days. Always use your best judgment – if it smells or looks off, it’s best to discard it.
More Delicious & Easy Recipes You’ll Love
- Peanut Butter Pancakes (Gluten Free)
- Viral Jennifer Aniston Salad Recipe
- Air Fryer Pizza Rolls
- Easy Frozen Lemonade
- Buffalo Chicken Fries
- Canned Salmon Salad
- Strawberry Vinaigrette
- Walking Taco Casserole
- Keto Broccoli Salad
- Garlic Butter Parsley Potatoes
- Mexican Stuffed Peppers
If you loved this recipe as much as we did, don’t forget to leave us a review below. ★ Follow Easy Healthy Recipes on Pinterest, Facebook, and Instagram, too!
For more delicious recipes, visit our sister sites, 40 Aprons and Easy Cheap Recipes.

Quick & Easy Tuna Salad Recipe
 Cheryl Malik
Print
SaveSaved!
Ingredients
For the Tuna Salad
- 2 5-ounce cans chunk light tuna packed in water, thoroughly drained
- ½ cup mayonnaise
- 3 tablespoons finely chopped dill pickles or dill relish
- 3 tablespoons finely chopped celery
- 2 tablespoons finely chopped onion
- ¼ teaspoon paprika
- salt to taste
- freshly cracked black pepper to taste
Serving Suggestions (All Optional)
- saltine crackers
- 2 slices toast
Equipment
-
medium mixing bowl
-
Silicone spatula
Instructions
-
Drain 2 5-ounce cans chunk light tuna well then scoop tuna out into mixing bowl.
-
Add ½ cup mayonnaise, 3 tablespoons finely chopped dill pickles, 3 tablespoons finely chopped celery, 2 tablespoons finely chopped onion, ¼ teaspoon paprika, salt, and freshly cracked black pepper to mixing bowl.
-
Stir ingredients together until thoroughly incorporated.
-
Serve tuna salad immediately with saltine crackers or 2 slices toast, or cover bowl with lid or plastic wrap and refrigerate until ready to serve.
Notes
- Pickles: For a sweeter tuna salad, use bread and butter pickles instead of dill.
- Make it Lower Carb: Omit the chopped onions for a reduced carbohydrate count.
Nutrition Information
Number of total servings shown is approximate. Actual number of servings will depend on your preferred portion sizes.
Nutritional values shown are general guidelines and reflect information for 1 serving using the ingredients listed, not including any optional ingredients. Actual macros may vary slightly depending on specific brands and types of ingredients used.
To determine the weight of one serving, prepare the recipe as instructed. Weigh the finished recipe, then divide the weight of the finished recipe (not including the weight of the container the food is in) by the desired number of servings. Result will be the weight of one serving.
