Perfect Grilled Acorn Squash: A Sweet & Savory Autumn Delight with Cinnamon Butter and Maple Glaze
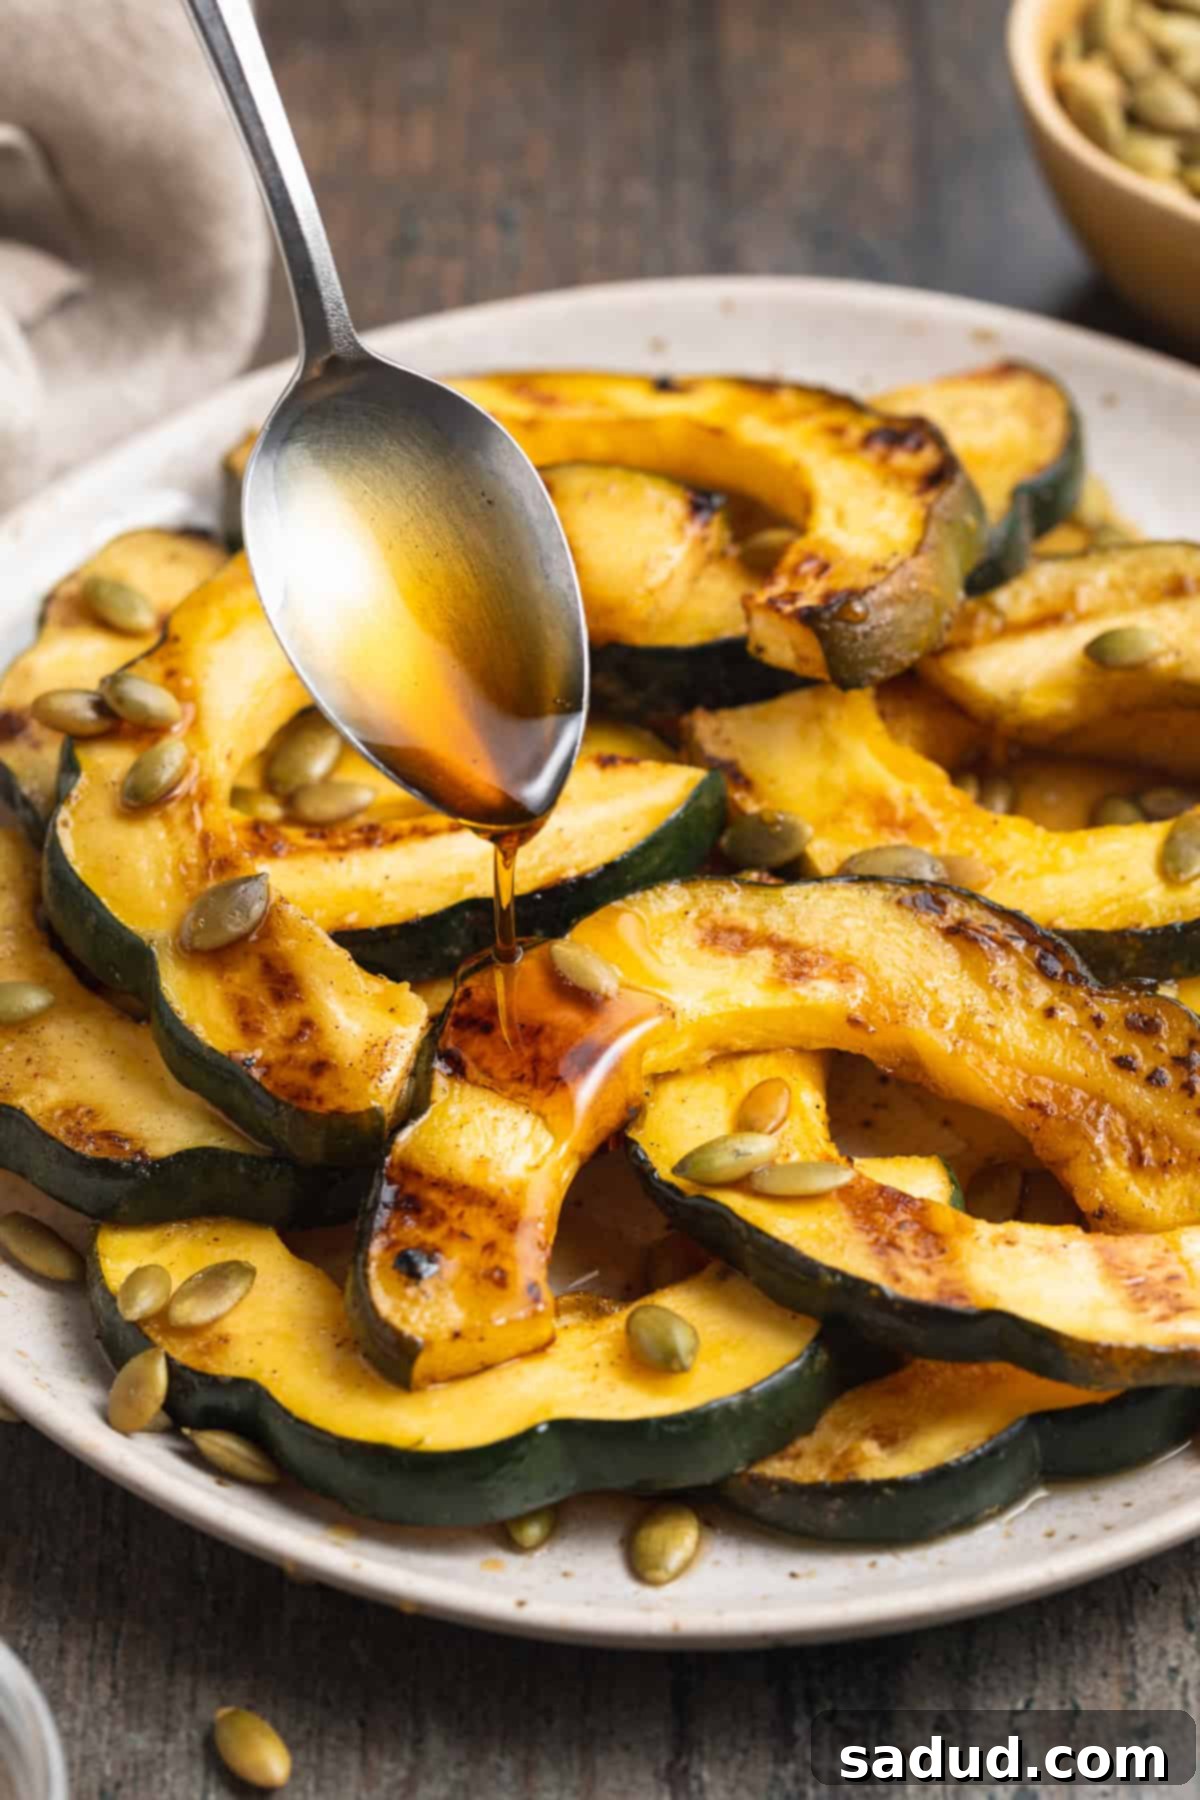
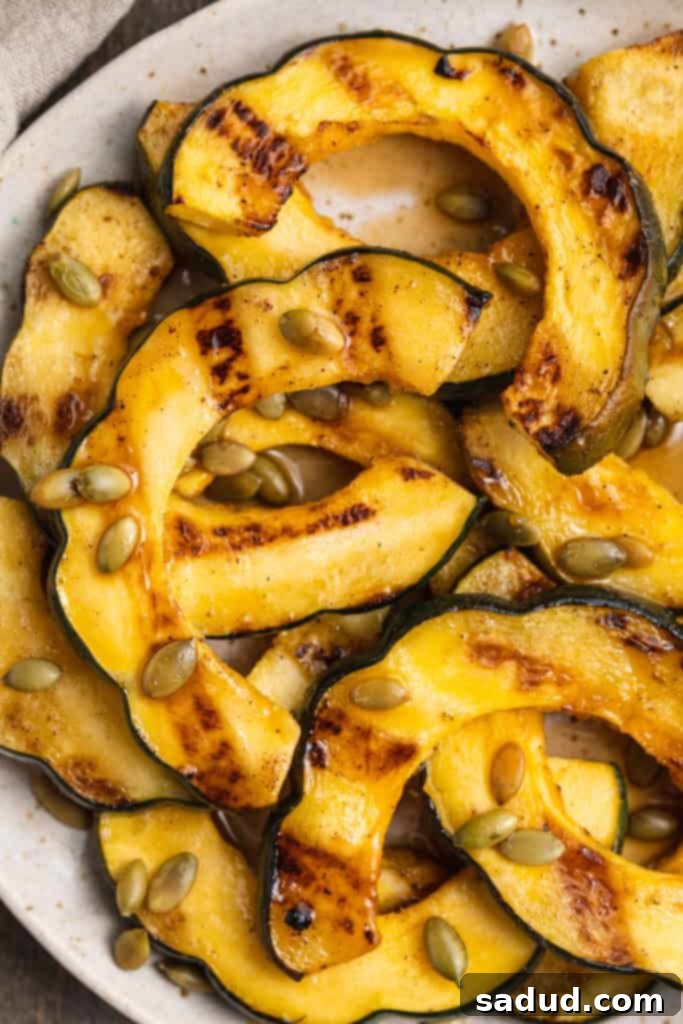
Discover the ultimate fall side dish that perfectly bridges the gap between warm summer evenings and crisp autumn days: our incredibly delicious grilled acorn squash. Seasoned to perfection with a rich, aromatic cinnamon-and-nutmeg butter, then elegantly finished with a sweet drizzle of pure maple syrup and a delightful crunch of perfectly toasted pumpkin seeds, this recipe is a true celebration of seasonal flavors. Each bite offers a harmonious blend of tender, sweet, and savory notes, enhanced by the subtle smokiness imparted by the grill. What’s even better? This easy squash recipe is designed for maximum flavor with minimal effort, ready to tantalize your taste buds in less than 30 minutes, including all your prep time!
Why This Grilled Acorn Squash Recipe is a Must-Try for Fall (and Late Summer!)
- A Seamless Transition from Summer Grilling to Fall Flavors: If you’re not quite ready to pack away your grilling tools but are eagerly anticipating the comforting tastes of autumn, this recipe is your ideal culinary companion. While grocery store shelves begin to fill with various squash varieties, hinting at pumpkin spice season, the weather might still be blazing with sunshine and high temperatures. Grilling offers a fantastic way to enjoy these autumnal ingredients without heating up your kitchen, making it perfect for those transitional September days when you still want to fire up the barbecue. It’s truly the best of both worlds – retaining the joy of outdoor cooking while embracing cozy fall tastes. This method brings a unique char and smoky depth that baking or roasting simply can’t replicate, making your acorn squash truly stand out.
- Explosively Flavorful and Aromatic: This isn’t just any squash recipe; it’s a symphony of flavors designed to excite your palate! The acorn squash slices are generously coated in a mouth-watering butter infused with warm, earthy cinnamon and fragrant nutmeg, creating an irresistible aroma as they cook on the grill. Once cooked to tender perfection, a sweet maple syrup drizzle elevates the natural sweetness of the squash, while a dusting of perfectly toasted pumpkin seeds adds a delightful textural contrast and nutty crunch. Beyond these incredible ingredients, the grill imparts a unique smokiness that cannot be achieved with other cooking methods, adding another layer of complexity to this already rich dish. The result is a tender, sweet, and savory squash with beautiful char marks that speak of artisanal outdoor cooking. (For a super easy way to prepare them, check out this recipe to cook pumpkin seeds in the air fryer, or explore our detailed oven and stovetop methods provided in the notes below!)
- Surprisingly Simple, Quick, and Efficient: Despite its gourmet taste and impressive presentation, this grilled acorn squash is remarkably easy to make. With just a few simple ingredients and straightforward steps, you can have this flavorful side dish on your table in under 30 minutes. The quick cooking time on the grill makes it an excellent option for busy weeknights when you crave something wholesome and delicious but are short on time. It also frees up oven space if you’re preparing a larger meal.
- Healthy, Wholesome, and Incredibly Versatile: Acorn squash is not only delicious but also a nutritional powerhouse, packed with essential vitamins like A and C, dietary fiber, and potassium. This recipe offers a healthy and guilt-free way to enjoy a seasonal vegetable, fitting perfectly into a balanced diet. It’s naturally vegetarian and gluten-free, making it a crowd-pleaser for various dietary preferences. As a side, it complements a wide array of main courses, from grilled chicken and flaky fish to succulent roasted meats. It can even be elevated to a light vegetarian meal on its own, perhaps with some crumbled feta or goat cheese.
Essential Chef’s Tips for Perfect Grilled Acorn Squash
- Elevate the Flavor Profile with a Gourmet Butter: While the simple cinnamon butter in this recipe is truly fantastic, for those looking to truly dial up the flavors and add an extra touch of indulgence, consider using our Copycat Texas Roadhouse Cinnamon Honey Butter. This slightly more involved butter incorporates additional touches of sweet honey, a crucial pinch of salt to balance the flavors, and a hint of vanilla extract, all of which add incredible depth and a luscious, almost dessert-like sweetness that perfectly complements the earthy notes of the squash. The subtle saltiness helps to cut through the richness and enhance the overall taste experience.
- Achieving Perfectly Toasted Pumpkin Seeds: Toasted pumpkin seeds are a game-changer for this recipe, providing an essential textural contrast and a delightful nutty flavor. While you might be able to find pre-toasted pumpkin seeds at your local grocery store, toasting them yourself is incredibly easy and yields a fresher, more aromatic, and ultimately more flavorful result.
- Oven Method: As beautifully demonstrated in our homemade pumpkin seed butter recipe, you can spread rinsed and thoroughly dried seeds on a baking sheet and bake them at 350°F for approximately 15-20 minutes, ensuring you stir them halfway through, until they achieve a beautiful golden brown color and become wonderfully fragrant.
- Air Fryer Method: For an even quicker and more hands-off approach, follow our detailed guide over at 40 Aprons. Simply preheat your air fryer to 360°F, toss the seeds with a small amount of oil and seasoning, and air fry for 7-8 minutes, making sure to shake the basket halfway through to ensure even crispiness and prevent sticking.
- Stovetop Method: A third convenient option is toasting them on the stovetop. Heat a dry, heavy-bottomed skillet (cast iron works wonderfully) over medium heat. Add the pumpkin seeds in a single layer and toast for 5-7 minutes, stirring frequently with a wooden spoon or spatula, until they are fragrant, lightly browned, and some might even start to pop. It’s crucial to watch them closely, as they can burn very quickly.
- Don’t Be Intimidated by Cutting Acorn Squash: Preparing acorn squash is much easier than it looks, even for novice cooks! You’ll primarily need a very sharp chef’s knife for both safety and efficiency, and a sturdy large spoon or an ice cream scoop to remove the seeds.
- Start by carefully trimming a small slice off both the stem and blossom ends of the squash. This creates a stable, flat base, allowing the squash to sit securely on your cutting board, preventing it from rolling while you cut.
- Carefully cut the squash in half lengthwise, from stem to blossom end. You might need to press firmly and gently rock the knife back and forth until it cuts through the tough skin.
- Use your sturdy spoon or scoop to thoroughly remove all the seeds and fibrous strings from the center cavities of both halves.
- From there, cut each half in half again, creating four quarter-sections.
- Finally, carefully slice each quarter into half-moon shapes that are roughly ½-inch thick. The thinner the slices, the faster they will cook on the grill, but exercise caution not to slice them too thin, as delicate pieces can easily burn or fall through the grates. Aim for consistency in thickness across all slices to ensure even cooking results.
- Is Acorn Squash Skin Edible? Absolutely, Yes! This is a very common question, and I’m happy to confirm that acorn squash skin is indeed edible, especially when properly cooked. Whether grilled, roasted, or baked, the skin of acorn squash softens beautifully during the cooking process, becoming tender, palatable, and perfectly safe to eat with a fork. Eating the skin also adds extra dietary fiber and beneficial nutrients to your dish, making it even healthier. If, however, you have a preference not to eat the skin, there’s no need to worry – the tender flesh of the squash separates easily and cleanly from the skin once cooked, so you can simply scoop it out with ease. This means there’s no need for the often-cumbersome step of peeling it beforehand, saving you valuable time and effort in the kitchen.
Versatile Serving Suggestions for Your Grilled Acorn Squash
This cinnamon-maple grilled acorn squash makes an outstanding side dish, but its unique sweet and savory profile also allows for a wealth of creative serving ideas that extend beyond the dinner plate:
- Classic Dinner Side Dish: Serve it warm alongside any grilled or roasted main course. It pairs wonderfully with grilled chicken breasts or thighs, succulent pork chops, a perfectly seared steak, or even a holiday roasted turkey or ham. The sweet and savory notes are a delightful contrast to savory proteins.
- Elevated Vegetarian Main Course: For a satisfying and lighter vegetarian meal, pile the grilled squash high on a bed of fluffy quinoa, hearty wild rice, or a mixed grain salad. You can enhance it further with some crumbled feta or goat cheese, a handful of extra toasted pumpkin seeds, and a drizzle of balsamic glaze.
- Unique Breakfast or Brunch Addition: Yes, seriously! This might sound unconventional, but a smaller portion of grilled acorn squash can be a delightful and wholesome addition to your breakfast or brunch spread. Try serving it alongside a perfectly fried or poached egg, a sprinkle of fresh chopped chives or parsley, and perhaps a dollop of Greek yogurt for a truly unique start to your day.
- Healthy Dessert Twist: For a lighter, naturally sweet treat, omit the pinch of salt from the cinnamon butter, add a touch more maple syrup after grilling, and consider serving it warm with a small dollop of homemade whipped cream or a scoop of premium vanilla bean ice cream. The warm spices and sweet squash create a surprisingly satisfying dessert experience.
- Salad Topper: Let the grilled squash cool slightly, then chop it into smaller pieces and add it to your favorite fall salad for an extra burst of flavor and texture. It works beautifully with mixed greens, apples, pecans, and a light vinaigrette.
Storage and Reheating Tips
Any leftover grilled acorn squash can be easily stored in an airtight container in the refrigerator for up to 3-4 days. To reheat, gently warm portions in the microwave until heated through, or for a crispier texture, spread them on a baking sheet and warm in a preheated oven at around 350°F (175°C) for 10-15 minutes. Alternatively, a skillet over low heat can also work. Be careful not to overcook, as the squash can become overly mushy if reheated for too long.
Frequently Asked Questions About Grilled Acorn Squash
- Can I use other types of winter squash for this recipe? Absolutely! While acorn squash is fantastic for its distinct shape, firm texture, and sweet-nutty flavor, you can certainly adapt this recipe for other popular winter squashes. Butternut squash is a great alternative, though you will need to peel it first and cube it or slice it into similar ½-inch thick pieces. Delicata squash, with its tender, edible skin, is another excellent choice and can be prepared in the same way as acorn squash. Just be mindful that cooking times may vary slightly based on the type and thickness of the squash you choose.
- What if I don’t have a grill? Can I still make this delicious recipe? Yes, absolutely! While grilling imparts a wonderful smoky char, you can easily adapt this recipe for other cooking methods:
- Oven Baking: Preheat your oven to 400°F (200°C). Toss the squash slices with the cinnamon butter mixture, then spread them in a single layer on a baking sheet. Roast for 20-25 minutes, flipping halfway through, until the squash is tender and beautifully caramelized around the edges.
- Pan-Searing: Heat a large, heavy-bottomed skillet (a cast iron skillet works exceptionally well for this) over medium-high heat with a little neutral oil like avocado or olive oil. Add the squash slices in a single layer, working in batches if necessary to avoid overcrowding the pan. Cook for 3-5 minutes per side until they are tender, nicely browned, and slightly caramelized.
- How do I pick a good, ripe acorn squash at the store? When selecting acorn squash, look for ones that feel heavy for their size, which indicates good moisture content. The skin should be dull (not shiny, as shiny skin suggests it was picked too early), dark green, and firm to the touch. It’s perfectly normal to see a small patch of orange or yellow on the skin where the squash rested on the ground; this is a sign of ripeness. Avoid any squash with soft spots, significant blemishes, or cracks, as these can indicate spoilage.
- Can I make this recipe dairy-free or vegan? Yes, easily! To adapt this recipe for a dairy-free or vegan diet, simply substitute the butter with an equal amount of a neutral-tasting oil, such as avocado oil, olive oil, or melted coconut oil. The aromatic spices, natural sweetness of the squash, and the maple syrup will still provide abundant flavor, ensuring a delicious outcome without dairy.
More Hot-Off-the-Grill Recipes to Enjoy
If you’re loving the flavors of outdoor cooking, be sure to check out some of our other fantastic grilling recipes:
- Grilled Chicken And Rice
- Foil-Wrapped Grilled Asparagus
- Grilled Broccolini
- Grilled Mango With Chili-Lime Salt
- Mesquite Grilled Chicken
- 15-Minute Grilled Mahi Mahi
If you loved this recipe as much as we did, don’t forget to leave us a review below. ★ Follow Easy Healthy Recipes on Pinterest, Facebook, and Instagram, too!
For more delicious recipes, visit our sister sites, 40 Aprons and Easy Cheap Recipes.
Grilled Acorn Squash with Cinnamon Butter & Maple Drizzle
 Sam Guarnieri
Print Recipe
SaveSaved!
Ingredients
- ¼ cup unsalted butter melted, or substitute with avocado oil for dairy-free
- ½ teaspoon ground cinnamon adjust to your preference
- ½ teaspoon ground nutmeg adjust to your preference
- ¼ teaspoon ginger powder optional, for extra warmth
- 1 pinch fine sea salt to balance the sweetness
- 2 medium acorn squashes approximately 4 pounds total, halved, seeded, and cut into ½-inch-thick slices
- 2 tablespoons pure maple syrup for drizzling
- ¼ cup toasted pumpkin seeds optional, for serving and crunch. See notes below for detailed toasting methods.
Equipment
-
Grill gas or charcoal
-
Large, microwave-safe bowl
-
Whisk
-
Tongs
-
Sharp Chef’s Knife
-
Large Spoon or Ice Cream Scoop
Instructions
-
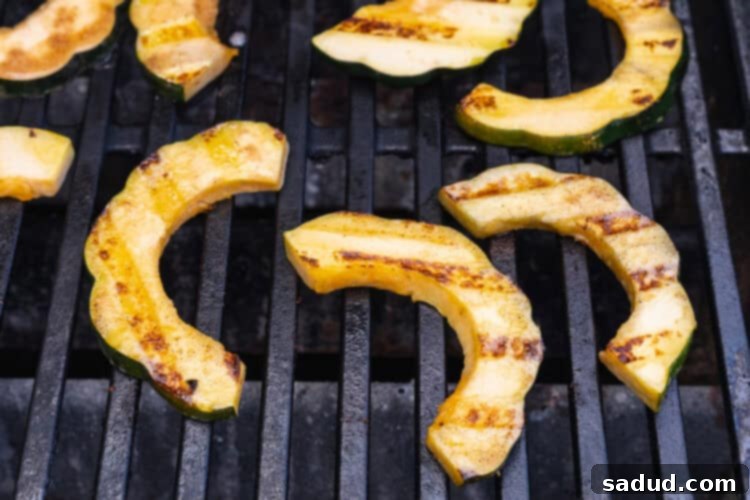
Preheat your grill to medium heat, aiming for a consistent temperature between 350° and 375° Fahrenheit. This moderate heat level is ideal for cooking the squash through without burning the exterior.
-
While the grill is preheating, prepare your delightful cinnamon butter. Melt the butter (or your chosen dairy-free oil substitute) in a large, microwave-safe bowl. Add the ground cinnamon, nutmeg, optional ginger powder, and a pinch of fine sea salt to the melted butter. Whisk thoroughly until all the ingredients are fully combined and the mixture is smooth and wonderfully aromatic.
-
Add the prepared acorn squash slices to the bowl with the cinnamon butter mixture. Carefully toss, gently flip, or stir the squash slices until each piece is thoroughly coated with the flavorful butter. Ensuring an even layer of seasoning is key for uniform flavor distribution and browning.
-
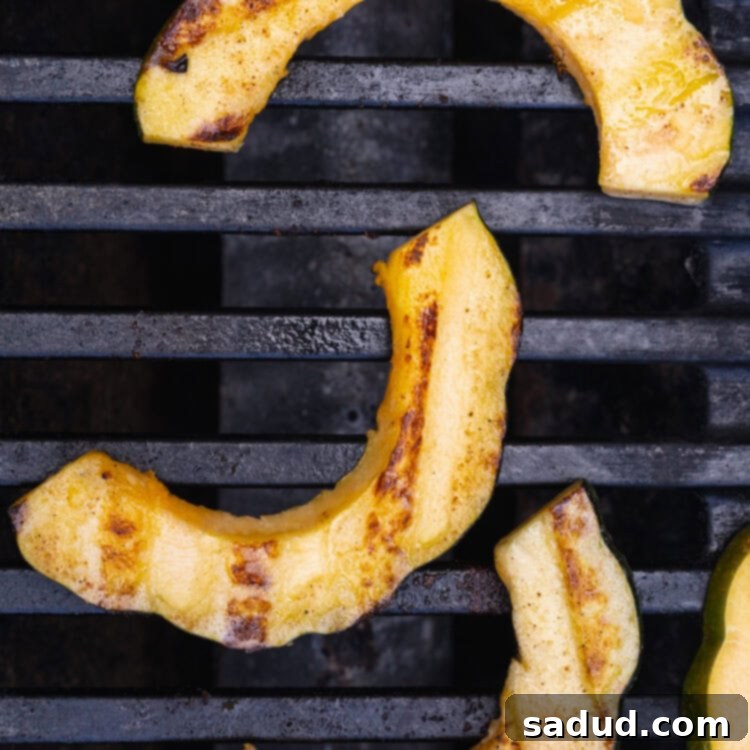
Carefully arrange the buttered squash slices directly on the preheated grill grate over indirect heat. Close the grill lid to allow the heat to circulate and cook the squash evenly. Cook for 1 to 2 minutes on the first side. Open the lid, and using long tongs, carefully flip each squash slice over to cook the other side. Close the lid again and cook for another 1 to 2 minutes. Note: If your squash slices are thicker than ½-inch, you may need to repeat this process, flipping as needed, until the squash is fully tender and cooked through. Total cooking time per side should not exceed 8 minutes to prevent burning and ensure a perfectly tender, not mushy, texture. The goal is to achieve visible, attractive grill marks and a consistency that can be easily pierced with the tines of a fork.

-
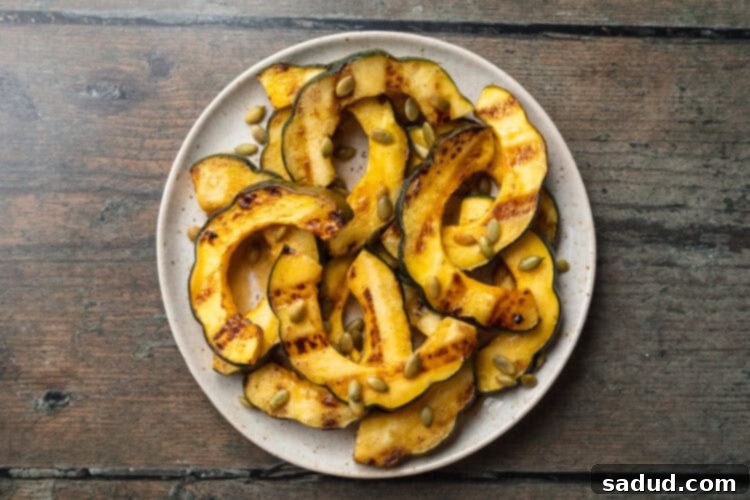
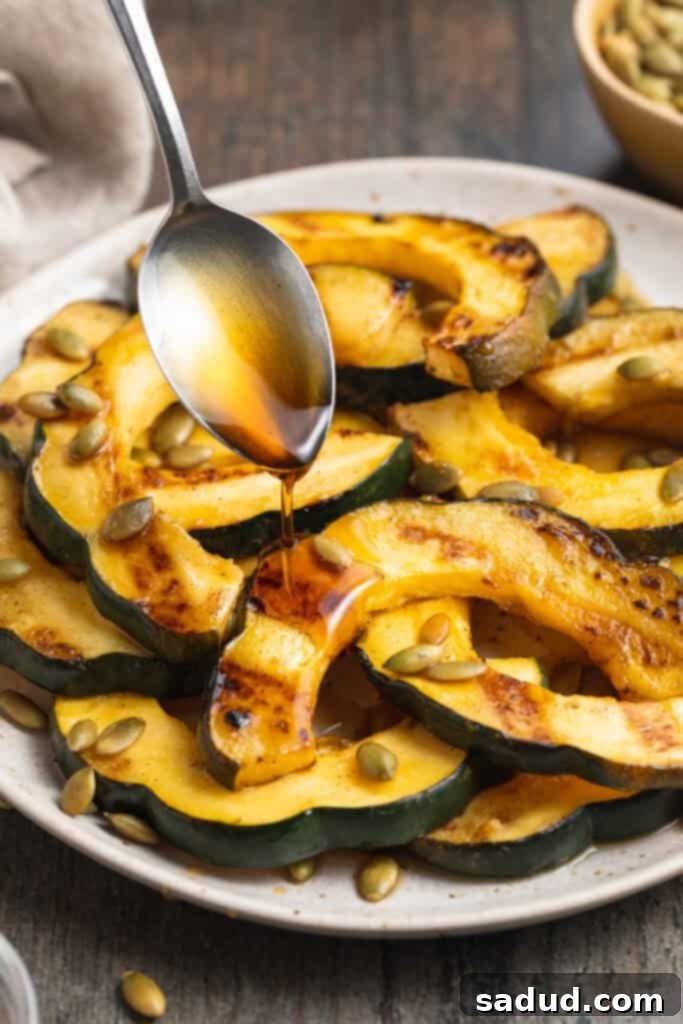
Once the squash slices have developed beautiful grill marks and are fork-tender, they are perfectly cooked. Remove the squash from the grill and transfer them immediately to a warm serving platter or individual plates. Drizzle generously with pure maple syrup, allowing it to coat each tender slice. If desired, sprinkle with the crunchy toasted pumpkin seeds for an added layer of texture and nutty flavor. Serve immediately while warm and fragrant for the best culinary experience.

Recipe Notes & Tips for Success
- Properly Cutting Acorn Squash for Even Cooking: For safe and even slicing, begin by using a very sharp chef’s knife to carefully halve each squash lengthwise, from stem to blossom end. A sturdy cutting board is essential to prevent slippage. Scoop out all the seeds and stringy bits from the center cavities using a large metal spoon or an ice cream scoop. Next, cut each squash half in half again, creating four quarter-sections. From these quarters, carefully slice into half-moon shapes, aiming for a consistent thickness of approximately ½-inch thick. This consistency is absolutely crucial for ensuring that all slices cook uniformly on the grill.
- Melting Butter Safely and Perfectly: When melting butter in the microwave, it’s best to use short bursts to prevent burning. Microwave in 30-second increments, stirring well after each burst, until the butter is completely liquid and smooth. Be vigilant and watch it closely, as butter can go from perfectly melted to burnt very quickly. Alternatively, you can melt it gently on the stovetop over very low heat.
- Make it Dairy Free or Vegan: To adapt this recipe for a dairy-free or vegan diet, simply substitute the butter with an equal amount of a neutral-tasting oil, such as avocado oil, light olive oil, or melted coconut oil. The delightful combination of spices and pure maple syrup will still provide abundant flavor, ensuring a delicious and compliant outcome.
- Choosing the Best Acorn Squash: When selecting acorn squash, look for ones that feel remarkably heavy for their size – this indicates a high moisture content and good ripeness. The skin should be dull (a shiny skin often means it’s unripe), dark green, and firm all around. It’s completely normal and often a sign of ripeness to see a small patch of orange or yellow on the skin where the squash rested on the ground. Always avoid any squash with soft spots, significant bruises, or visible cracks, as these can be signs of spoilage.
Detailed Guide to Toasting Pumpkin Seeds in the Oven for Optimal Flavor and Crunch
Toasting pumpkin seeds at home is incredibly rewarding, bringing out their rich, nutty flavor and adding an irresistible crunch to your dishes. Here’s a comprehensive guide to achieve perfection in the oven:
- Initial Preparation: Begin by preheating your oven to 350° Fahrenheit (175°C). If you are using fresh pumpkin seeds directly from your acorn squash, rinse them thoroughly under cold running water to remove any clinging squash fibers or pulp. Then, spread them out on a clean paper towel or a dry dish towel and pat them completely dry. This crucial step ensures even toasting and prevents them from steaming rather than crisping.
- Simple Seasoning: In a medium-sized mixing bowl, lightly toss the thoroughly dried pumpkin seeds with a very small amount of a neutral oil (approximately ½ teaspoon for every ¼ cup of seeds), and a generous pinch of fine sea salt. For a subtle, sweet undertone that complements the main dish, you can also add a tiny pinch of ground cinnamon, although plain toasted seeds are perfectly delicious and allow the squash’s flavors to shine.
- Even Baking: Spread the seasoned pumpkin seeds out across a baking sheet in a single, even layer. This prevents overcrowding, which can lead to steaming, and ensures each seed gets maximum exposure to the dry heat, promoting crispiness. Place the baking sheet into the preheated oven and bake for an initial period of 7 minutes.
- Stirring and Finishing: After the initial 7 minutes, carefully remove the baking sheet from the oven. Using a spatula or wooden spoon, stir the pumpkin seeds well to prevent them from sticking together or burning on one side. Redistribute them back into an even, single layer across the baking sheet, then return it to the oven. Continue baking for an additional 7-8 minutes, or until the seeds are beautifully golden brown, visibly puffy, and wonderfully fragrant. It’s imperative to keep a close eye on them during these final minutes, as pumpkin seeds can transition from perfectly toasted to burnt very quickly.
- Crucial Cooling Step: Once toasted to your satisfaction, remove the baking sheet from the oven and allow the pumpkin seeds to cool completely to room temperature. They will continue to crisp up significantly as they cool. Store any unused toasted seeds in an airtight container at room temperature for up to a week to maintain their freshness and crunch.
Detailed Guide to Toasting Pumpkin Seeds in the Air Fryer for Speed and Convenience
The air fryer offers an incredibly fast and convenient method for producing perfectly toasted pumpkin seeds with minimal effort and fantastic results:
- Initial Preparation: Begin by preheating your air fryer to 360° Fahrenheit (180°C). As with the oven method, if you’re using fresh pumpkin seeds, rinse them thoroughly under cold water to remove any lingering squash fibers. Then, spread them out on paper towels and pat them completely dry. Dry seeds are essential for achieving optimal crispness in the air fryer.
- Seasoning for Air Frying: In a large mixing bowl, combine the thoroughly dried pumpkin seeds with approximately 1 teaspoon of avocado oil (or another preferred neutral oil). Add a pinch of fine sea salt and, if desired, a dash of freshly ground black pepper for a savory profile. For a sweeter flavor, you could opt for avocado oil and a pinch of cinnamon instead of salt and pepper. Toss or stir the mixture until the pumpkin seeds are uniformly coated with the oil and seasonings.
- Air Frying Process: Transfer the seasoned pumpkin seeds into the air fryer basket. Ensure they are spread in a single layer as much as possible; this allows for optimal hot air circulation, which is key for even cooking and crispiness. Place the basket into the preheated air fryer and cook for an initial duration of 7 minutes.
- Shake and Finish: After the initial 7 minutes, carefully pause the air fryer and remove the basket. Shake the basket vigorously to toss and flip the pumpkin seeds. This step is crucial for preventing them from sticking together and ensures they toast evenly on all sides. Return the basket to the air fryer and continue cooking for another 7-8 minutes, or until the pumpkin seeds are beautifully golden brown, visibly crunchy, and emit a delightful nutty aroma. Keep a close watch during the final minutes, as air fryers cook quickly and seeds can burn if left unattended.
- Crucial Cooling Step: Once toasted to your desired level of crispness, remove the pumpkin seeds from the air fryer and allow them to cool completely to room temperature. They will gain additional crispness and become even more satisfyingly crunchy as they cool. Serve immediately as a garnish or snack, or store any unused seeds in an airtight container for later use.
Nutrition Information
Number of total servings shown is approximate. Actual number of servings will depend on your preferred portion sizes.
Nutritional values shown are general guidelines and reflect information for 1 serving using the ingredients listed, not including any optional ingredients. Actual macros may vary slightly depending on specific brands and types of ingredients used.
To determine the weight of one serving, prepare the recipe as instructed. Weigh the finished recipe, then divide the weight of the finished recipe (not including the weight of the container the food is in) by the desired number of servings. Result will be the weight of one serving.
