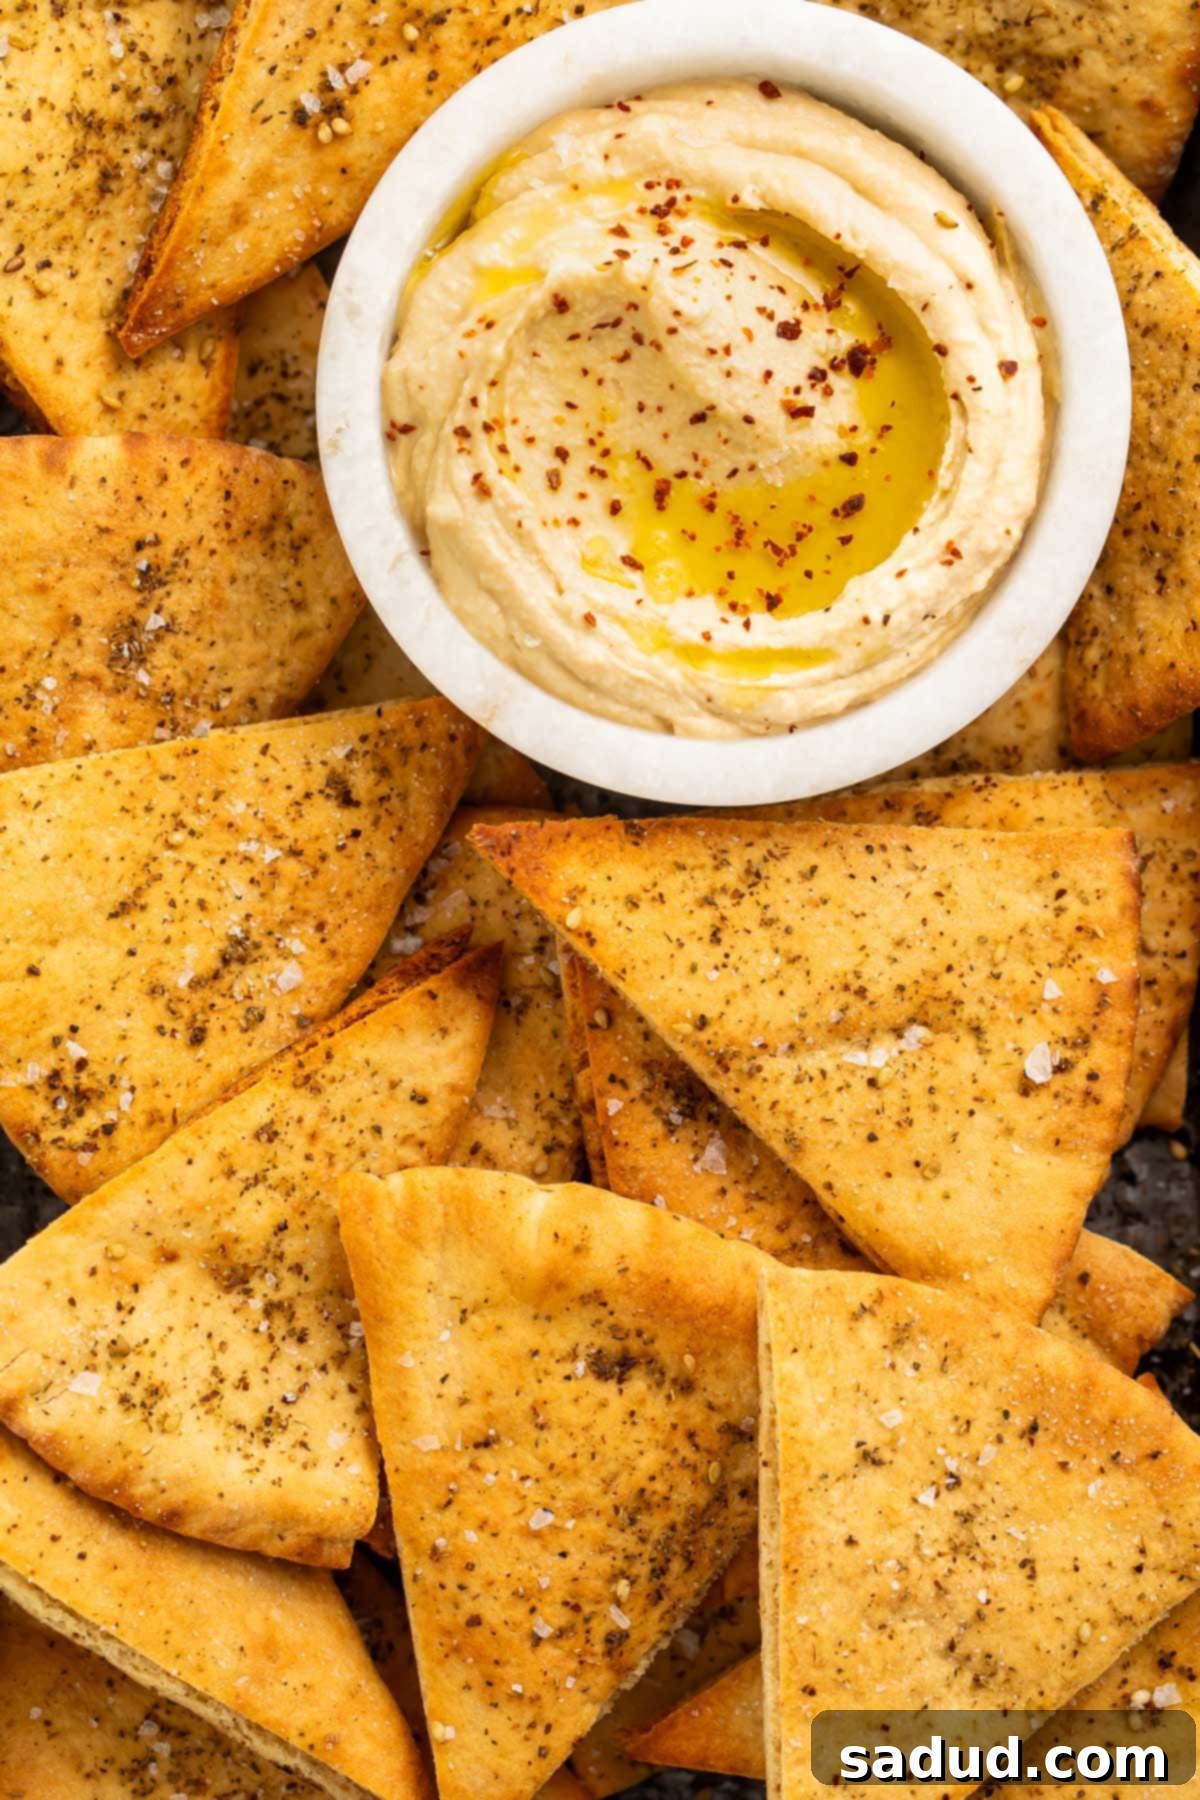
Crispy Homemade Pita Chips: Your Ultimate Guide to Easy, Flavorful Snacking and Dipping
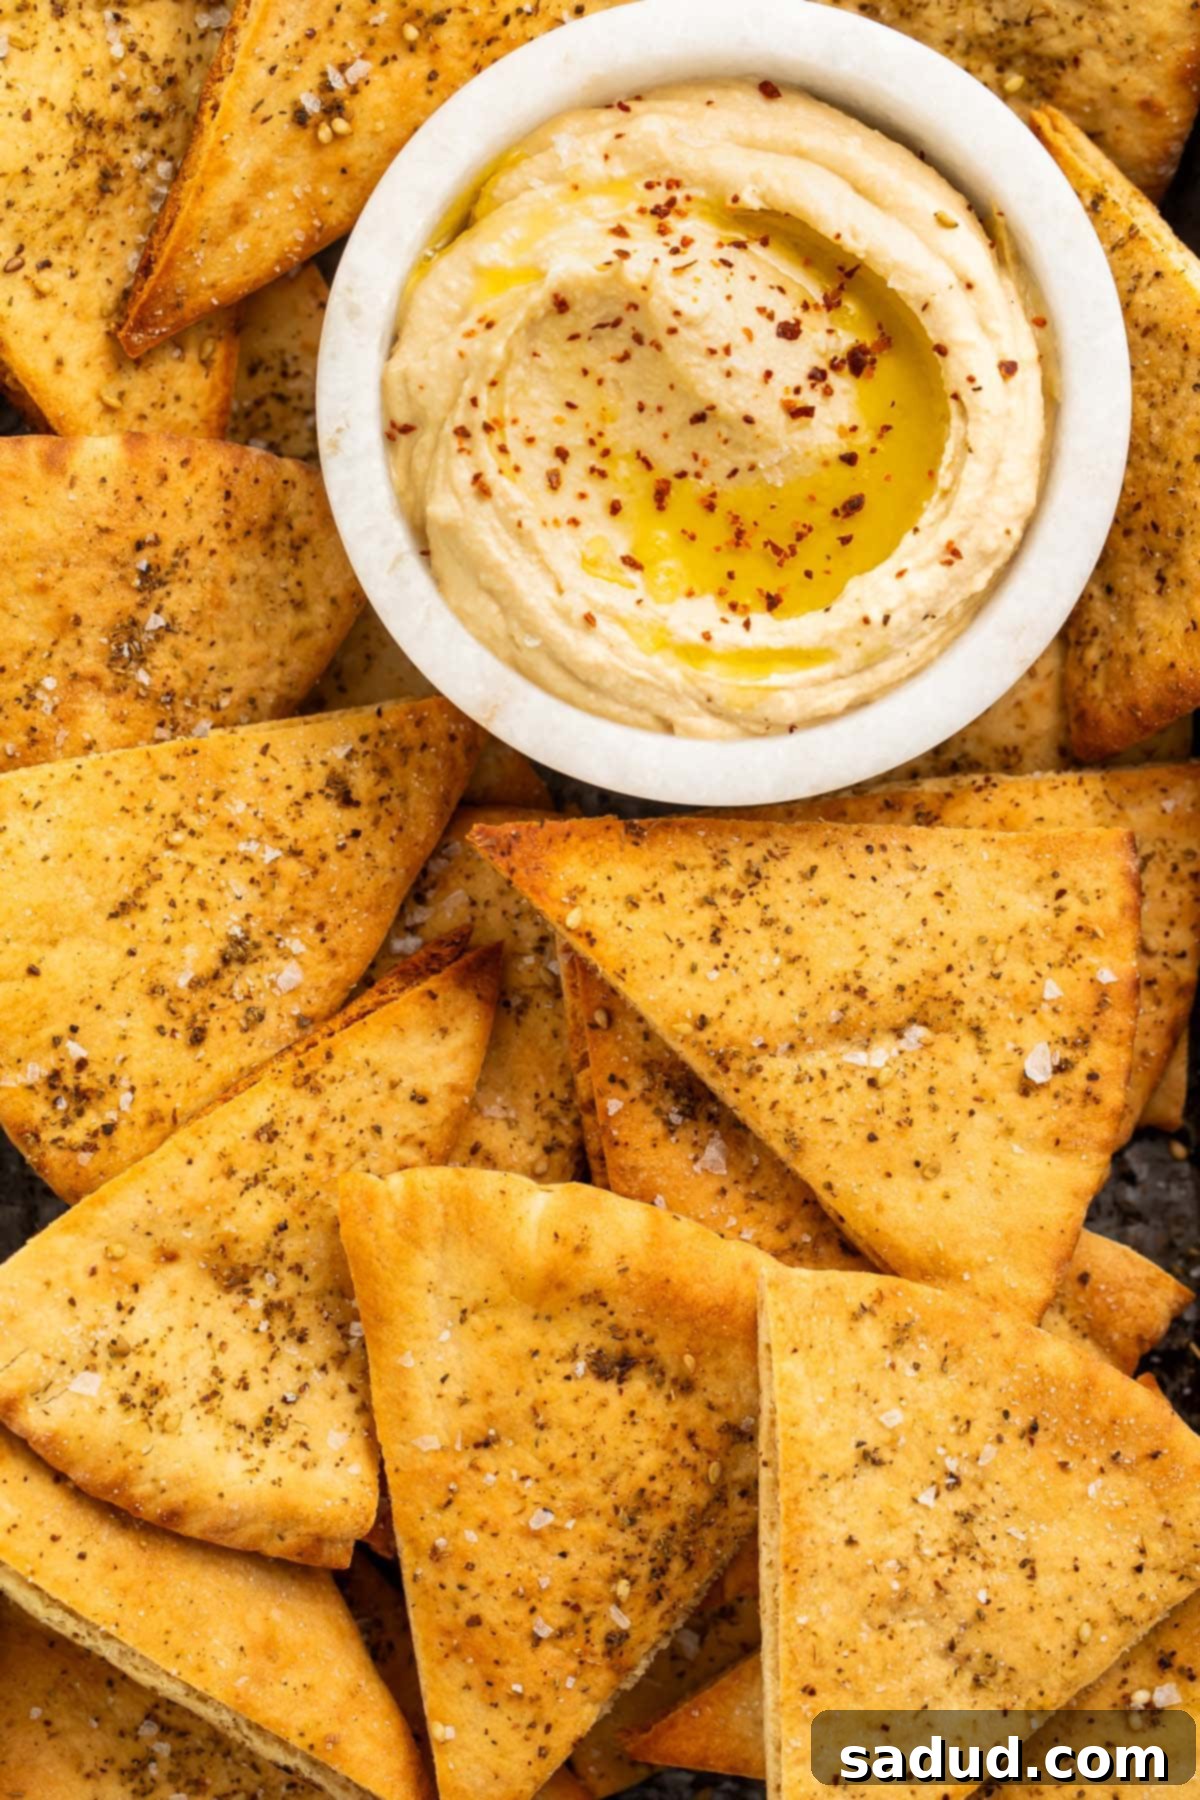
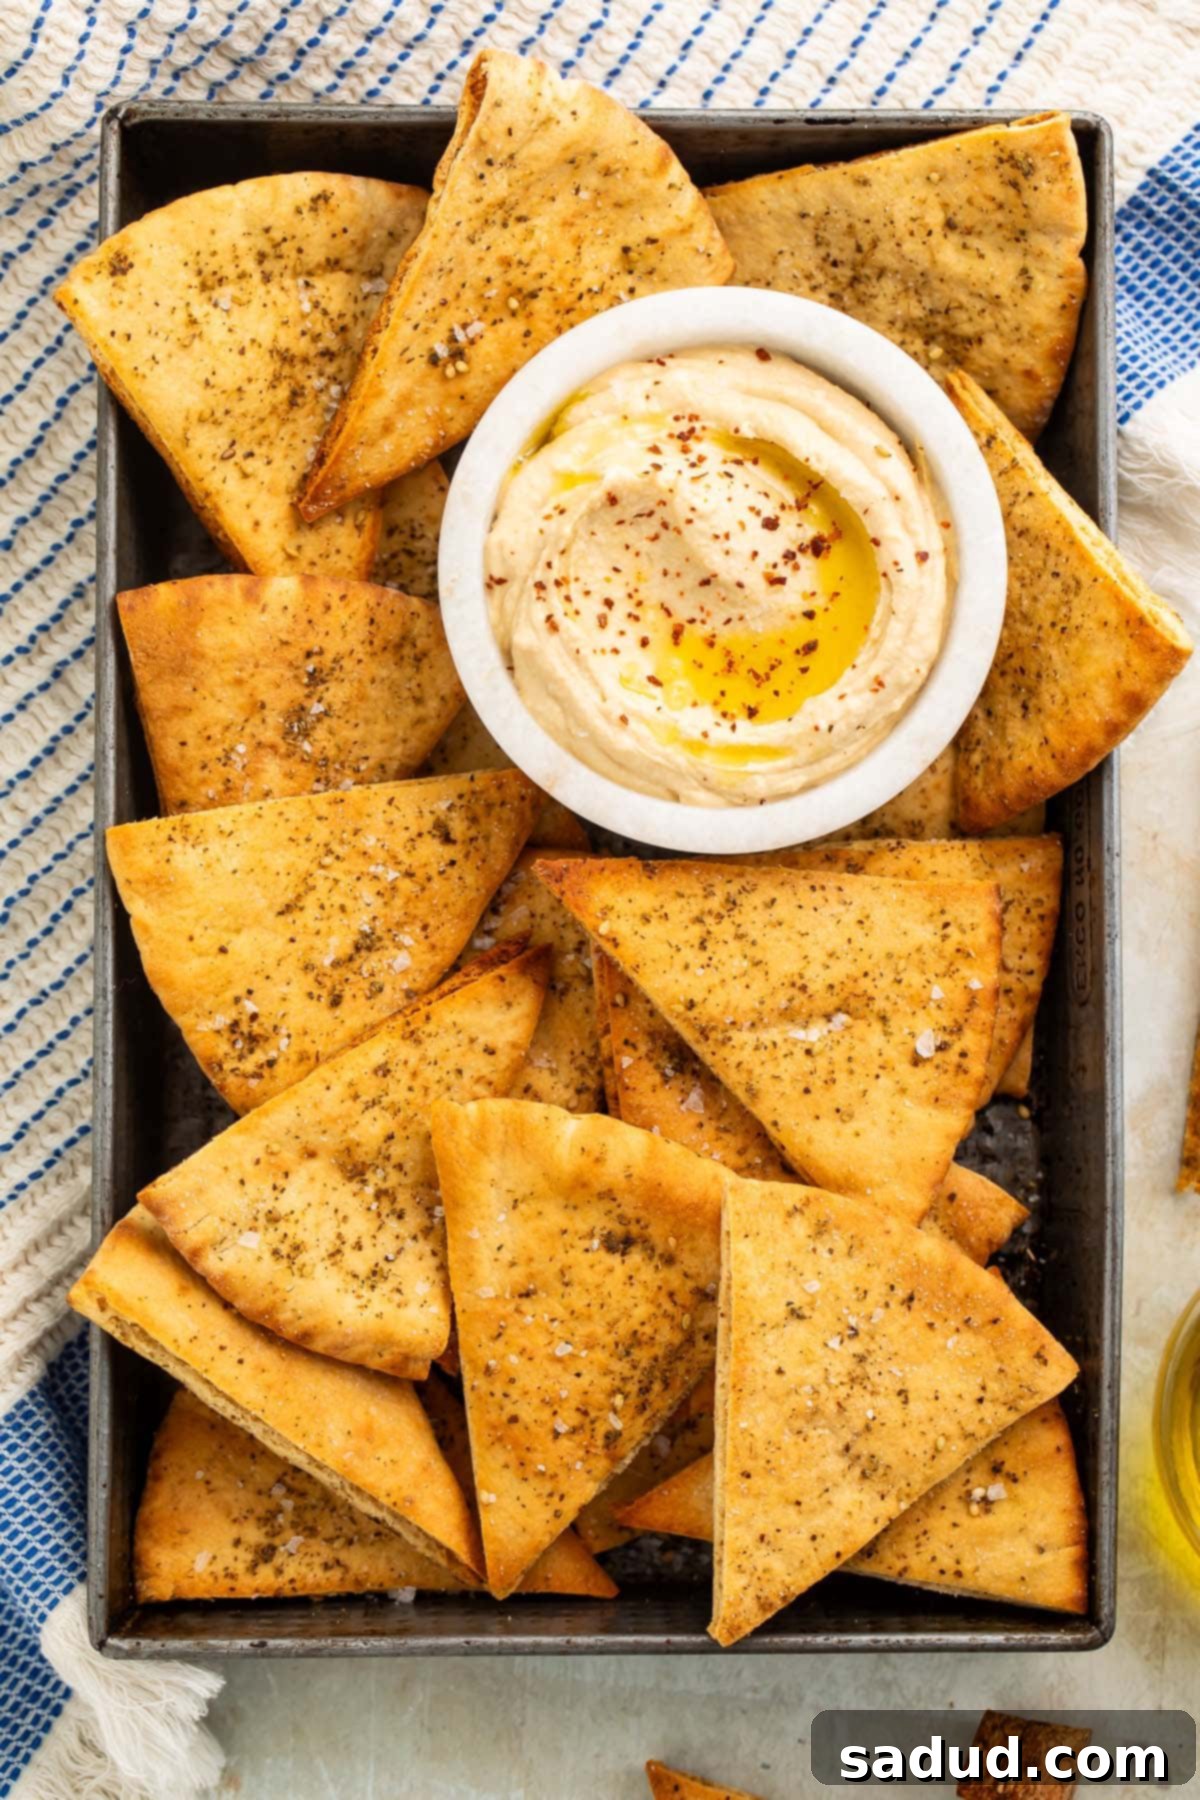
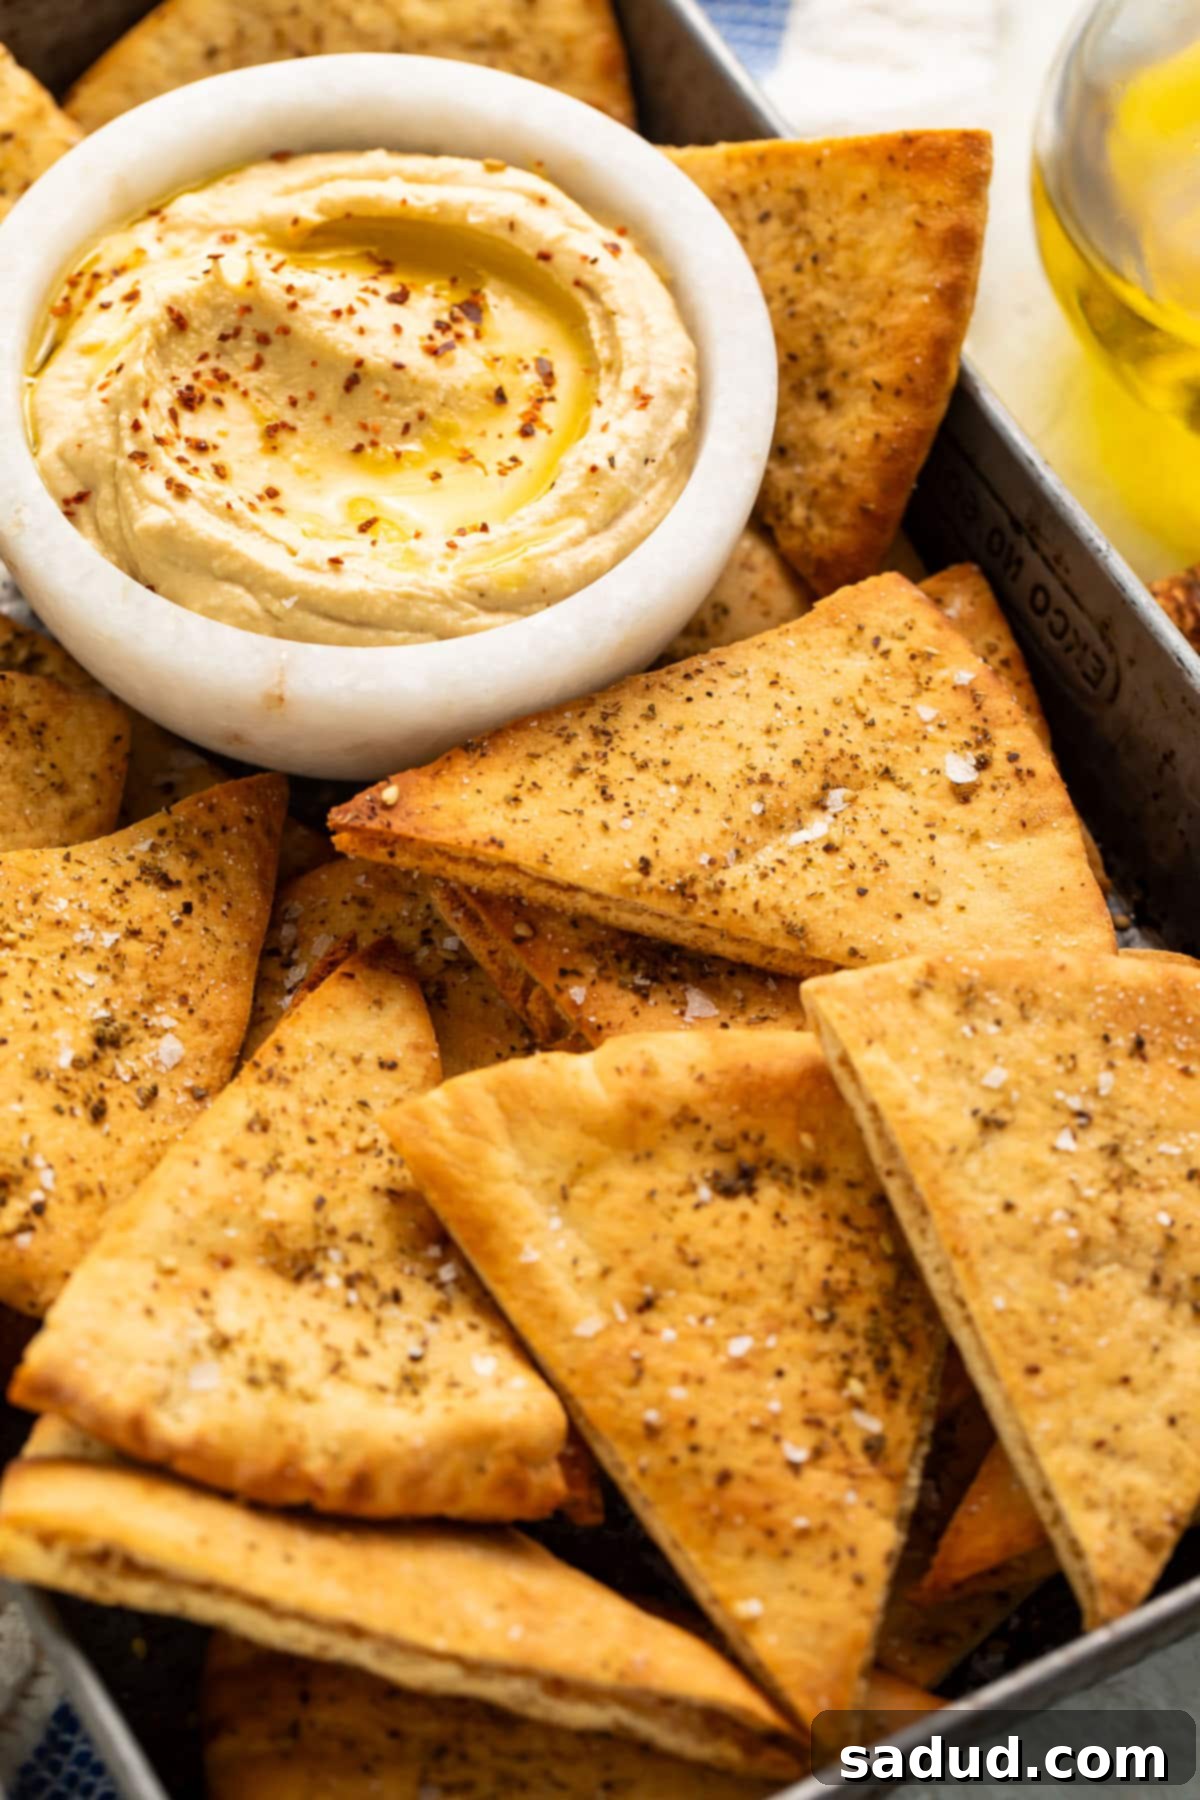
Forget store-bought! These crisp, crunchy homemade pita chips are a revelation of flavor and texture, guaranteed to elevate your snacking experience. Whether enjoyed on their own as a satisfying bite or paired with your favorite dips like creamy hummus, smoky baba ganoush, zesty salsa, or refreshing tzatziki, these effortlessly made chips are a true delight for any snack enthusiast. Preparing them at home not only ensures peak freshness and perfect crispness but also opens up a world of customizable flavor possibilities, making them an indispensable addition to your culinary repertoire. Dive into this simple recipe and discover how easy it is to create a batch of these irresistible, perfectly seasoned pita chips that will have everyone reaching for more.
Why You’ll Love Making Your Own Pita Chips at Home
There’s a distinct charm and undeniable advantage to crafting your own pita chips. Once you experience the superior taste and texture of homemade, you’ll likely never go back to the pre-packaged variety. Here’s what makes this recipe an absolute game-changer:
- Making pita chips yourself is SO easy, and the results are amazing. You’ll achieve wonderfully crispy, perfectly seasoned chips every single time, free from the disappointment of sifting through bags of broken pieces and crumbs. The minimal effort involved truly belies the incredible quality of the finished product.
- With homemade pita chips, you can season them however you like! This isn’t just about adjusting the intensity of a single flavor; it’s about boundless creativity! You can explore a vast array of different flavor profiles by simply switching up your spices and herbs. Craving something smoky? Add paprika. A touch of garlic? Granulated garlic is your friend. The possibilities are endless, ensuring your pita chips always hit the right note.
- Unrivaled Freshness and Texture: Unlike store-bought options that can often taste stale or lack that satisfying snap, homemade pita chips emerge from the oven gloriously fresh and perfectly crisp. The controlled baking process allows you to achieve that ideal crunch, a texture that perfectly complements any dip or stands strong on its own.
- Budget-Friendly Snacking: Crafting your own snacks is often far more economical than purchasing them. Pita bread is typically inexpensive, and a few common pantry staples are all you need to transform it into a gourmet-level snack. This recipe provides a delicious way to enjoy a high-quality treat without breaking the bank.
- Complete Control Over Ingredients: When you make pita chips yourself, you know exactly what goes into them. You can opt for high-quality olive oil, control the amount of salt, and avoid any unwanted additives or preservatives often found in commercial products, making them a healthier choice for you and your family.
Essential Chef’s Tips for Perfect Pita Chips
Achieving the ideal crispy texture and rich flavor for your homemade pita chips is straightforward with a few insider tips. These simple guidelines will help you avoid common pitfalls and ensure your chips are consistently delicious:
- Homemade pita chips will crisp more as they cool, so you want to be careful not to overbake them! Aim for a golden-brown hue and a firm-to-the-touch texture while they’re still warm. If they feel slightly soft in the middle, don’t worry – they’ll firm up as they reach room temperature, transforming into that satisfyingly crunchy chip you desire. Overbaking can lead to burnt, bitter chips, so err on the side of caution.
- If you’re using really thick pitas or pita pockets, you may need to add a few minutes to the bake time. A fantastic trick for pita pockets is to carefully cut them in half at the seam before slicing them into triangles. This creates thinner pieces that crisp up much faster and more evenly, plus it yields a greater quantity of chips, maximizing your snack potential!
- Ensure Even Oil Distribution: For uniform crispness and flavor, ensure each pita triangle is lightly and evenly coated with the olive oil mixture. A pastry brush is your best friend here. Don’t drench them, but make sure there are no dry spots. This fat helps achieve that golden-brown color and the desired crunch.
- Avoid Overcrowding the Baking Sheet: For optimal air circulation and even baking, arrange your pita triangles in a single layer on the parchment-lined baking sheet. Overlapping or overcrowding will steam the pitas instead of crisping them, leading to unevenly baked or soggy chips. If necessary, use two baking sheets.
- Strategic Seasoning: While the recipe calls for salt in the oil, consider adding optional dry seasonings like garlic powder, onion powder, smoked paprika, or a blend of Italian herbs *before* baking for infused flavor. Alternatively, for seasonings that might burn (like fresh herbs) or for a more potent fresh flavor like a squeeze of lemon juice, add them immediately *after* the chips come out of the oven.
- Proper Storage for Longevity: Once completely cooled, store your homemade pita chips in an airtight container at room temperature. This will help maintain their crispness for up to a week. If they lose a bit of their crunch, a quick refresh in a preheated oven (around 300°F/150°C) for a few minutes can bring them back to life.
Delicious Pairings: What to Eat with Homemade Pita Chips
While these incredible homemade pita chips are absolutely fantastic on their own, offering a satisfying crunch and savory flavor, they truly shine as the perfect vehicle for a wide array of delectable dips and spreads. Their sturdy yet light structure makes them ideal for scooping, and their versatile flavor profile complements both savory and sweet accompaniments. Here are some of my absolute favorite pita chip pairings, ranging from classic to creative, ensuring there’s something for every occasion:
- Whipped Cottage Cheese (Sweet or Savory): A surprisingly versatile dip. Blend with herbs and garlic for a savory spread, or with honey and fruit for a sweet treat.
- Black Eyed Pea Hummus: A delightful twist on traditional hummus, offering earthy notes and a creamy texture that pairs beautifully with crispy pita.
- Hummus Without Tahini: For those with tahini sensitivities or simply looking for a lighter take, this version still delivers all the creamy, garlicky goodness.
- Keto Salsa: A fresh and zesty option that adds a vibrant counterpoint to the savory chips. Perfect for a lighter snack.
- Buffalo Hummus: A spicy and tangy dip that brings a kick to every bite, making it an excellent choice for game day or a lively gathering.
- Crockpot Spinach Artichoke Dip: The ultimate comfort food dip! Warm, cheesy, and utterly irresistible, it transforms pita chips into a hearty appetizer.
- Whole30 Tzatziki: A refreshing, cool, and creamy cucumber-garlic yogurt dip that provides a wonderful contrast to the baked pita.
- Warm Truffle Baked Burrata: Indulgent and luxurious, the melting burrata with truffle notes is an exquisite pairing that feels incredibly gourmet.
- Instant Pot Buffalo Chicken Dip: A crowd-pleasing, flavor-packed dip perfect for spreading onto sturdy pita chips for a satisfying bite.
- Baba Ganoush: The smoky, rich flavor of eggplant dip is a classic complement to pita, creating an authentic Mediterranean experience.
- Creamy Guacamole: The rich, fresh flavors of ripe avocado, tangy lime, and bright cilantro make it an irresistible partner.
- Tangy Feta Dip: A salty, herbaceous feta cheese dip, perhaps blended with cream cheese or Greek yogurt, offers a punchy flavor.
- Savory Olive Tapenade: The briny, salty goodness of olive tapenade is a sophisticated choice that perfectly complements the simplicity of pita chips.
Beyond these dips, consider serving pita chips alongside salads for added crunch, or as part of a mezze platter with olives, cheeses, and fresh vegetables for a complete culinary experience. They can even be crushed and used as a crunchy topping for soups or salads!
More Easy and Delicious Snack Recipes to Try
If you’ve enjoyed the simplicity and satisfaction of making these homemade pita chips, you’re in for a treat! Our kitchen is brimming with other easy-to-prepare snack recipes that promise big flavor with minimal effort. Whether you’re looking for something sweet, savory, or a healthy crunch, we’ve got you covered. Expand your snacking horizons with these fantastic options:
- Glazed Pecans: Sweet and crunchy, perfect for a quick energy boost or a topping.
- Air Fryer Kale Chips: A remarkably healthy and satisfyingly crispy green snack.
- No Bake Peanut Butter Energy Balls: Fuel your day with these protein-packed, no-bake delights.
- Avocado Chips: An innovative and surprisingly addictive savory snack made from avocados.
- Keto Rutabaga Fries: A low-carb alternative to traditional fries, offering a unique flavor.
- Chicken Bacon Ranch Sliders: A heartier snack or appetizer, packed with beloved flavors.
- Bacon Chips (Keto): Crispy, savory, and perfect for anyone following a keto diet.
- Cucumber Chips: A light, refreshing, and incredibly simple snack.
- Air Fryer Pizza Rolls: Recreate a classic comfort snack with ease and perfect crispiness.
- Homemade Air Fryer Tortilla Chips: Another fantastic homemade chip option, quick and delicious.
- Carrot Fries: Sweet and savory, these are a colorful and healthy alternative to potato fries.
Frequently Asked Questions About Homemade Pita Chips
- What kind of pita bread is best for pita chips?
While most pita breads will work, a medium-thickness pita is often ideal as it crisps well without becoming too thin or brittle. Thicker pita pockets can be split in half horizontally before cutting into triangles for a more even and faster bake, giving you extra chips!
- Can I make these pita chips in an air fryer?
Absolutely! The air fryer is an excellent tool for making pita chips. To do so, preheat your air fryer to 350°F (175°C). Arrange the seasoned pita triangles in a single layer in the air fryer basket (you may need to work in batches to avoid overcrowding). Air fry for 4-7 minutes, shaking the basket halfway through, until golden brown and crispy. Keep a close eye on them, as air fryer cooking times can vary significantly.
- How do I prevent my pita chips from getting soggy?
The key to preventing sogginess is proper baking and storage. Ensure your pitas are baked until thoroughly golden and crispy, and allow them to cool completely on the baking sheet before storing. Store them in an airtight container at room temperature away from moisture. Humidity is the enemy of crispness, so avoid humid environments or storing them in the refrigerator, which can introduce moisture and soften them.
- Can I prepare these pita chips ahead of time?
Yes, homemade pita chips are excellent for meal prep! You can bake them up to 5-7 days in advance. Just be sure they are fully cooled before storing them in an airtight container. If they lose some crispness over time, a quick 3-5 minute refresh in a 300°F (150°C) oven will bring back their satisfying crunch, making them feel freshly baked again.
- What are some other seasoning ideas beyond salt and za’atar?
The possibilities are truly endless! For savory variations, try garlic powder, onion powder, smoked paprika, chili powder, ground cumin, dried oregano, Italian seasoning, a sprinkle of everything bagel seasoning, or even a dash of nutritional yeast for a cheesy flavor. For a delightful sweet treat, brush with melted unsalted butter and sprinkle generously with cinnamon sugar, or a blend of sugar and pumpkin pie spice. A light drizzle of honey or a sprinkle of powdered sugar post-bake also works wonderfully with sweet variations.
Ready to make these irresistible crispy pita chips yourself? Follow our detailed recipe card below for precise measurements and step-by-step instructions. Don’t forget to scroll down for even more tips and delicious flavor variations!
If you loved this recipe as much as we did, don’t forget to leave us a review below. ★ Follow Easy Healthy Recipes on Pinterest, Facebook, and Instagram, too!
For more delicious recipes, visit our sister sites, 40 Aprons and Easy Cheap Recipes.
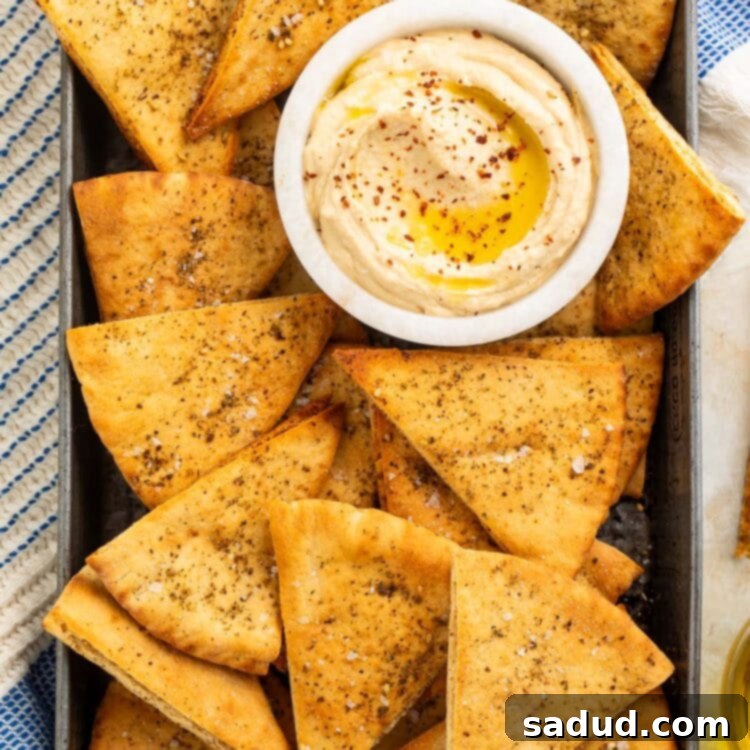
Homemade Pita Chips
10 minutes
10 minutes
20 minutes

Cheryl Malik
Print
Save
Saved!
4
servings
Ingredients
- 4 pitas
- ⅓ cup olive oil
- ½ teaspoon sea salt
- za’atar optional
Equipment
-
Oven
-
large baking sheet
-
Parchment paper
-
kitchen shears or sharp chef’s knife
-
Small mixing bowl
-
whisk
-
pastry brush
Instructions
-
Preheat oven to 400° Fahrenheit. Line large baking sheet with parchment paper. Set aside.
-
Using kitchen scissors or sharp knife, cut 4 pitas as if slicing pizzas, creating 8 small triangular pieces from each pita (32 triangles total).
-
Arrange triangle pieces on baking sheet, making sure not to stack or overlap triangles. Set baking sheet aside.
-
Add ⅓ cup olive oil and ½ teaspoon sea salt to small mixing bowl. Whisk ingredients together until combined.
-
Lightly brush oil mixture over tops of pita triangles, then flip each triangle over and brush oil on other side.
-
Place baking sheet in preheated oven. Bake pitas 8 to 10 minutes or until golden brown and crispy. Be careful not to burn pitas.
-
Once pitas are browned and crisp, carefully remove baking sheet from oven and set aside.
-
Optional: if desired, sprinkle za’atar to taste over pita chips immediately after removing baking sheet from oven.
-
Let pita chips cool completely, then serve as desired.
Notes
- If you’re using very thick pitas or pita pockets, you may need to bake them a little longer that indicated here.
- The pita chips will crisp more as they cool, so be careful not to overbake them.
Flavor Variations
Beyond the simple yet delicious sea salt and optional za’atar, here are some ideas to infuse your homemade pita chips with exciting new flavors:
- Mediterranean Twist: Enhance the savory profile by adding a little smoked paprika and ground cumin to the olive oil mixture. A pinch of dried oregano or thyme would also be a fantastic addition for an authentic Mediterranean taste.
- Sweet “Churro” Style: For a delightful dessert or sweet snack, replace the olive oil with melted unsalted butter. After baking, while still warm, sprinkle generously with a mixture of cinnamon and brown sugar. A light drizzle of honey or a sprinkle of powdered sugar could finish them perfectly.
- Italian Herb Infusion: Achieve a classic Italian flavor by incorporating Italian seasoning, or a combination of dried parsley, oregano, and basil, into the olive oil before brushing it onto the pita. A dash of garlic powder would also complement this perfectly.
- Spicy Kick: Mix a pinch of cayenne pepper or chili powder into your oil for a bit of heat. A sprinkle of red pepper flakes after baking can also add a nice visual and flavor kick, catering to those who love a spicy crunch.
- Garlic Parmesan: Combine finely grated Parmesan cheese with garlic powder and sprinkle generously over the pita chips after brushing with oil, before baking. The cheese will crisp up beautifully and create a savory, irresistible coating.
Nutrition Information
Number of total servings shown is approximate. Actual number of servings will depend on your preferred portion sizes.
Nutritional values shown are general guidelines and reflect information for 1 serving using the ingredients listed, not including any optional ingredients. Actual macros may vary slightly depending on specific brands and types of ingredients used.
To determine the weight of one serving, prepare the recipe as instructed. Weigh the finished recipe, then divide the weight of the finished recipe (not including the weight of the container the food is in) by the desired number of servings. Result will be the weight of one serving.
We hope this comprehensive guide has inspired you to try making your own homemade pita chips. With their irresistible crunch, endless flavor possibilities, and simple preparation, they’re truly a snack time champion. Don’t forget to experiment with different seasonings and enjoy them with your favorite dips. Happy snacking!
