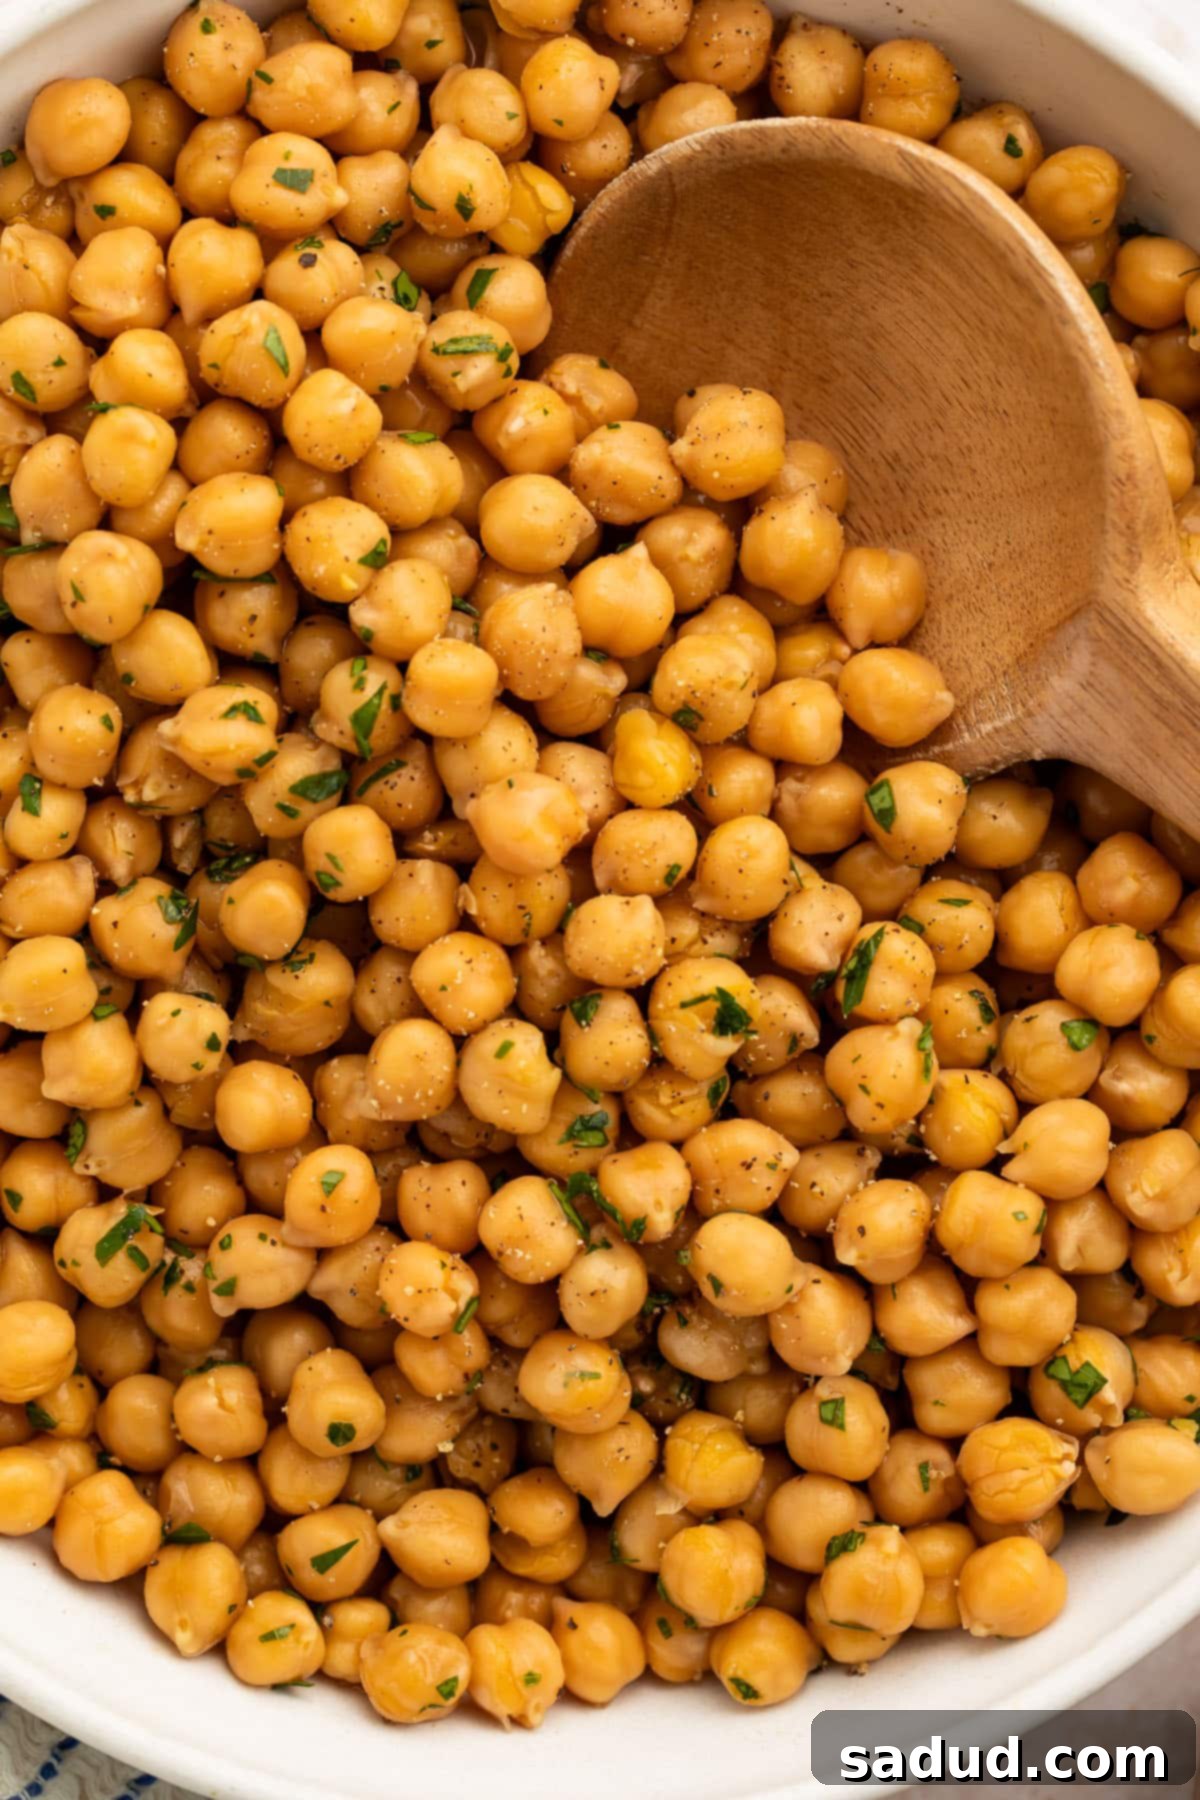
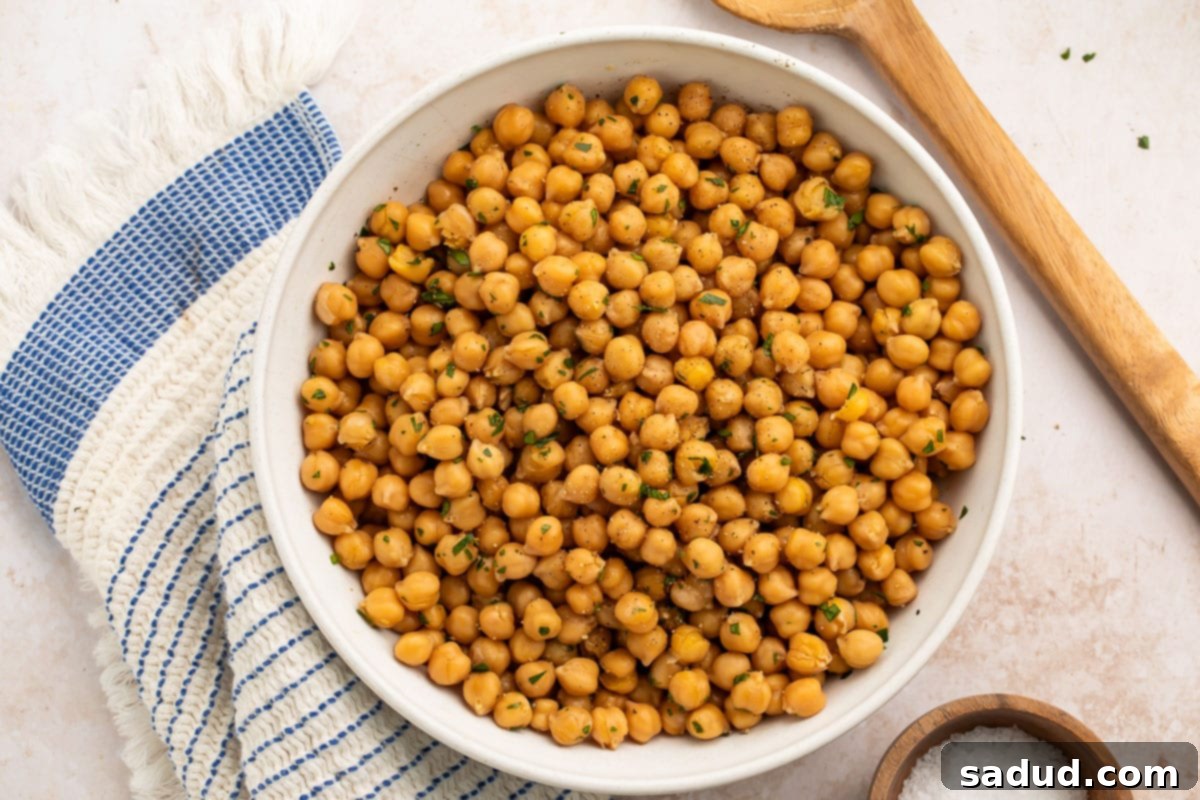
The Ultimate Guide to No-Soak Instant Pot Chickpeas: Perfectly Tender Every Time
Say goodbye to bland, overcooked, or mushy canned chickpeas. The Instant Pot revolutionizes how you prepare these versatile legumes, delivering perfectly tender, flavorful garbanzo beans with minimal effort and absolutely no pre-soaking required. Whether you’re looking for a wholesome side dish, a protein-packed addition to your favorite recipes, or the base for the creamiest homemade hummus, this method guarantees consistent, delicious results. Once you experience the convenience and superior taste of Instant Pot chickpeas, you’ll likely never reach for a can again!

Why You’ll Love This Instant Pot Chickpea Recipe
Cooking chickpeas in your Instant Pot isn’t just a kitchen hack; it’s a game-changer for anyone who enjoys healthy, homemade meals. Here’s why this recipe will become a staple in your culinary repertoire:
- This recipe couldn’t be easier! Forget the endless stirring or the need to constantly monitor a pot on the stove. With the Instant Pot, your involvement is truly hands-off. Simply combine the dry chickpeas and broth, seal the lid, select a few settings, and walk away. For about an hour, your Instant Pot works its magic, leaving you free to tackle other tasks, spend time with family, or simply relax. It’s the epitome of low-effort, high-reward cooking, delivering perfectly tender chickpeas every single time.
- With Instant Pot chickpeas, there’s absolutely no need to soak the beans overnight! This is perhaps the biggest advantage for many home cooks. Traditional methods often require 8-12 hours of soaking to rehydrate the dried beans, which demands foresight and planning. If you’ve ever found yourself craving hummus or a chickpea curry only to realize you forgot to soak the beans, you know the frustration. The Instant Pot bypasses this lengthy prep step entirely, making spontaneous cooking a reality. It’s perfect for busy weeknights, last-minute meal prep, or simply when you want to simplify your cooking process without sacrificing quality.
- Cooking your chickpeas in the Instant Pot instead of buying cans is not only easy, it’s also remarkably good for your wallet and the environment! This recipe makes about 4-6 cans’ worth of chickpeas for a fraction of the cost. Dry chickpeas are significantly cheaper than their canned counterparts, especially when purchased in bulk. This allows you to stock up, cook as needed, and save a substantial amount over time. Furthermore, opting for dry beans reduces packaging waste, making it a more environmentally friendly choice. You’ll also enjoy the peace of mind knowing exactly what goes into your food, free from potential can linings or excessive sodium often found in store-bought options.
Cheryl’s Expert Tips for Perfect Instant Pot Chickpeas
Having perfected this recipe over countless batches, I’ve gathered some invaluable insights to ensure your Instant Pot chickpeas turn out absolutely flawless every time. Follow these tips to elevate your cooking experience and achieve the best possible results:
- A standard can of chickpeas typically contains about 1 ½ cups of cooked beans. To streamline meal prep and make using these Instant Pot chickpeas incredibly convenient, I highly recommend storing them in 1.5-cup portions. Once cooled, divide your batch into individual airtight containers or freezer-safe bags. This way, when a recipe calls for a can of chickpeas, you won’t even have to measure – just grab a pre-portioned container from the fridge or freezer, and you’re ready to go! This simple step saves time and eliminates guesswork, making healthy cooking effortless. Cooked chickpeas can be refrigerated for up to 5 days or frozen for up to 3 months.
- It’s important to remember that all kitchen appliances, including Instant Pots, can behave slightly differently. Even models of the same size and brand might have minor variations in their pressure build-up and cooking efficiency. For my Instant Pot, I’ve found that 50 minutes on high pressure, followed by a 10-minute Natural Release, yields perfectly tender chickpeas. However, your specific appliance might require a minute or two more or less. I strongly advise making this recipe at least once and paying close attention to the texture of your chickpeas. Note any adjustments you need to make for future batches to truly dial in the perfect cook time for your machine and your desired level of tenderness.
- If, after the initial 50 minutes on high pressure and the 10-minute Natural Release, your chickpeas aren’t as tender as you’d like, don’t worry – it’s an easy fix! Simply cook them a little longer. Lock the lid back onto your Instant Pot, ensure the vent is in the Sealing position, and set the pressure cooker to Manual High Pressure again. The additional cook time will depend on how undercooked the garbanzo beans are. If they’re just slightly firm, set the time to 0 minutes; the chickpeas will continue to cook as the Instant Pot comes back up to pressure, which is often enough. For very undercooked beans, set it for 3-5 minutes. Remember that the beans continue to soften during the pressure building phase. Always perform a Quick Release after this second cooking interval to prevent overcooking.
- **Flavor Boost:** While salt is added at the end, consider enhancing the flavor during cooking. Add a bay leaf, a few cloves of crushed garlic, or a pinch of cumin to the Instant Pot along with the chickpeas and broth. These aromatics will infuse the beans with a subtle, delicious flavor that makes them even more enjoyable, whether in a standalone dish or as part of a complex recipe.
- **Rinsing Dry Chickpeas:** Before adding them to the Instant Pot, always rinse your dry chickpeas thoroughly under cold running water. This removes any dust, debris, or small stones that might be present. You don’t need to rub them vigorously, just a good rinse in a colander until the water runs clear.

The Nutritional Powerhouse: Benefits of Chickpeas
Beyond their delicious taste and versatility, chickpeas (or garbanzo beans) are an incredibly nutritious legume, offering a wealth of health benefits. Incorporating them into your diet, especially when prepared fresh in the Instant Pot, is a fantastic way to boost your overall well-being. They are an excellent source of plant-based protein, making them a crucial component for vegetarians, vegans, and anyone looking to reduce their meat consumption. Protein is essential for muscle repair, growth, and satiety, helping you feel fuller for longer.
Furthermore, chickpeas are packed with dietary fiber, both soluble and insoluble. This fiber content is vital for digestive health, promoting regularity and preventing constipation. Soluble fiber also helps to lower bad cholesterol levels and can regulate blood sugar, which is beneficial for managing diabetes and promoting heart health. They also provide a rich array of essential vitamins and minerals, including folate, iron, magnesium, potassium, zinc, and B vitamins. These nutrients play critical roles in energy production, immune function, and maintaining healthy bones and blood. With their low glycemic index, chickpeas help to stabilize blood sugar levels, preventing spikes and crashes, which contributes to sustained energy and mood stability. Adding Instant Pot chickpeas to your meals is truly a simple step towards a healthier lifestyle.
Versatile Ways to Enjoy Your Instant Pot Chickpeas
Once you have a batch of these perfectly tender Instant Pot chickpeas, the culinary possibilities are endless! Their mild, nutty flavor makes them incredibly adaptable to a wide range of dishes and cuisines. Here are just a few ideas to inspire your next meal:
- **Creamy Hummus:** The ultimate use! Blend them with tahini, lemon juice, garlic, and olive oil for homemade hummus far superior to store-bought versions.
- **Salad Topper:** Add them to green salads, grain bowls, or pasta salads for a boost of protein and texture. They pair wonderfully with a variety of dressings and vegetables.
- **Roasted Snack:** Toss with olive oil and your favorite spices (paprika, cumin, chili powder) and roast until crispy for a healthy, satisfying snack.
- **Soups and Stews:** Integrate them into hearty vegetable stews, lentil soups, or a spicy Moroccan tagine for added substance and nutrition.
- **Curries:** A staple in many Indian and Middle Eastern curries, they absorb flavors beautifully and add a delightful chewiness. Try them in a quick chickpea and spinach curry.
- **Chickpea Salad Sandwich:** Mash them with mayonnaise (or a vegan alternative), celery, and herbs for a delicious, plant-based sandwich filling.
- **Falafel:** While some falafel recipes call for ground dry chickpeas, cooked ones can be used in a pinch for a quicker, less traditional version.
- **Grain Bowls:** Layer them with quinoa or brown rice, roasted vegetables, and a flavorful sauce for a nutritious and customizable meal.
- **Mediterranean Bowls:** Combine with cucumber, tomatoes, olives, feta (or a vegan feta), and a lemon-herb dressing for a fresh, vibrant dish.
- **Smashed Chickpea Toast:** Similar to avocado toast, mash chickpeas with seasoning and spread on toast for a quick breakfast or lunch.
More Delicious & Healthy Recipes You’ll Love
Looking for more easy, wholesome meal ideas? Our collection of recipes is designed to inspire healthy eating without compromising on flavor or convenience. From quick weeknight dinners to satisfying sides, you’re sure to find something new to add to your rotation. And many of these would be perfect companions or uses for your freshly cooked Instant Pot chickpeas!
- Easy Tuna Salad
- Keto Broccoli Salad
- Chickpea Gyros
- One-Pot Chicken Pesto Pasta
- Chickpea Salad Sandwich
- Instant Pot Black Rice (aka Forbidden Rice)
- Whipped Cottage Cheese (Sweet or Savory)
If you loved this recipe as much as we did, don’t forget to leave us a review below. ★ Follow Easy Healthy Recipes on Pinterest, Facebook, and Instagram, too!
For more delicious recipes, visit our sister sites, 40 Aprons and Easy Cheap Recipes.

Instant Pot Chickpeas (No Soak!)
 Cheryl Malik
Print
SaveSaved!
Ingredients
- 6 cups chicken stock or vegetable broth, low sodium if desired (for a richer flavor and added nutrients)
- 1 pound dry chickpeas (ensure they are fresh for best results, rinse thoroughly before use)
- 1 teaspoon salt more or less to taste (added at the end to prevent toughening the beans during cooking)
Equipment
-
6-quart Instant Pot or similar electric pressure cooker (a larger pot may require slightly more liquid)
-
large wooden spoon (for gently stirring)
-
colander (for rinsing chickpeas)
-
airtight containers (for storage)
Instructions
-
Carefully add 6 cups chicken stock (or vegetable broth) and the thoroughly rinsed 1 pound dry chickpeas to the inner pot of your Instant Pot. Ensure that the liquid fully covers the chickpeas. Secure the lid on the Instant Pot, ensuring it is properly seated and locked, then twist the vent knob to the Sealing position.
-
Press the “Manual” or “Pressure Cook” button (depending on your model) and set the cook time to 50 minutes on High Pressure. The Instant Pot will take some time to build pressure (usually 10-15 minutes), after which the 50-minute countdown will begin. You can now step away and let the appliance do all the work!
-
Once the 50-minute cook time is complete, allow the Instant Pot to Natural Release (NR) its internal pressure for 10 minutes. This means you do nothing and let the pressure come down gradually on its own. The float valve will remain up during this time.
-
After the 10 minutes of Natural Release, carefully turn the vent knob to the Venting position to Quick Release (QR) any remaining pressure. Use caution, as any escaping steam will be very hot and can cause burns. Once all pressure has been released and the float valve has dropped, you can safely remove the lid from the Instant Pot and set it aside.
-
Add 1 teaspoon salt to the cooked chickpeas in the Instant Pot. Gently stir with a large wooden spoon to ensure the salt is evenly distributed and absorbed by the chickpeas. Taste and adjust salt if desired.
-
Your perfectly cooked chickpeas are now ready to be served immediately as a side dish or incorporated into your favorite recipes. If not using right away, transfer the chickpeas and some of their cooking liquid to an airtight container. Let them cool completely to room temperature before refrigerating for up to 5 days or freezing for longer storage. The cooking liquid adds flavor and helps keep them moist.
Notes
- Storage: Refrigerate cooled chickpeas in an airtight container with some of their cooking liquid for up to 5 days. For longer storage, freeze them in pre-portioned containers or freezer bags for up to 3 months. Thaw in the refrigerator overnight before use or reheat gently on the stovetop or microwave.
- **Freezing Tip:** To prevent sticking, freeze chickpeas spread out on a baking sheet first, then transfer to a freezer bag once solid. This makes it easier to grab just the amount you need.
- **Adjusting Tenderness:** For firmer chickpeas (ideal for salads), reduce cook time by 5 minutes. For creamier chickpeas (perfect for hummus), increase cook time by 5 minutes.
- **Alternative Liquid:** While chicken or vegetable broth adds great flavor, you can certainly use plain water for cooking. Just be sure to add a generous pinch of salt to the cooking water for seasoning.
Nutrition Information
Number of total servings shown is approximate. Actual number of servings will depend on your preferred portion sizes.
Nutritional values shown are general guidelines and reflect information for 1 serving using the ingredients listed, not including any optional ingredients. Actual macros may vary slightly depending on specific brands and types of ingredients used.
To determine the weight of one serving, prepare the recipe as instructed. Weigh the finished recipe, then divide the weight of the finished recipe (not including the weight of the container the food is in) by the desired number of servings. Result will be the weight of one serving.
