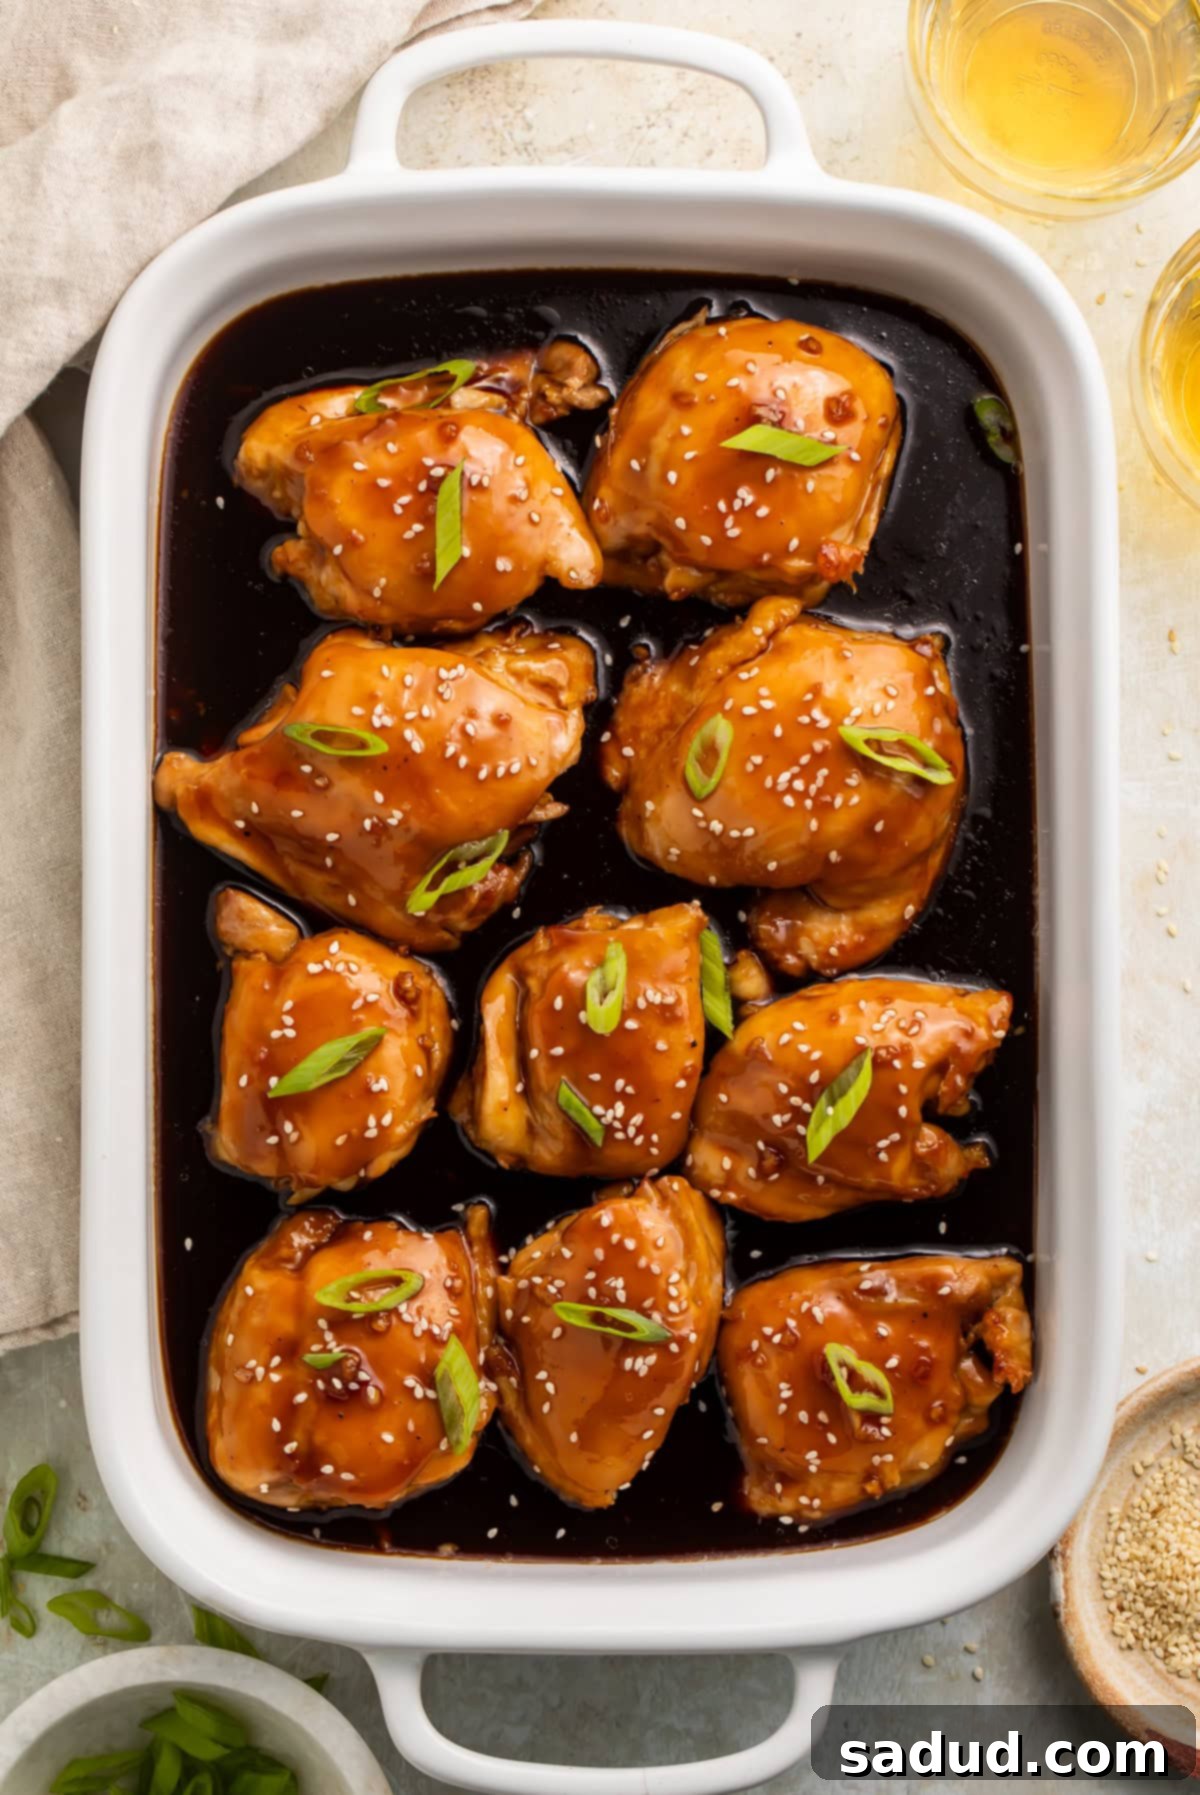
Effortless Baked Teriyaki Chicken Thighs: Your Ultimate Family-Friendly Weeknight Dinner Recipe
Prepare for an incredibly satisfying meal with these tender, juicy chicken thighs, beautifully baked in a luscious, homemade sweet and savory teriyaki sauce. This Baked Teriyaki Chicken recipe is a true game-changer for busy weeknights, offering a simple yet profoundly delicious dinner that the entire family will adore. Not only is it easy to prepare, but it also caters to dietary needs by being effortlessly adaptable for a gluten-free diet. What’s more, the flavors only deepen overnight, making for truly divine leftovers that are equally enjoyable whether served warm or cold, perfect for meal prep or a quick lunch.
Why This Baked Teriyaki Chicken Recipe Is Simply Irresistible
This isn’t just another chicken recipe; it’s a culinary experience designed for maximum flavor with minimal effort. Here’s what sets this Baked Teriyaki Chicken apart and makes it a staple in so many households:
- The Ultimate Homemade Teriyaki Sauce: Forget store-bought bottled sauces that are often laden with artificial ingredients and excessive sodium. Our recipe features a sweet, salty, and gorgeously glossy homemade teriyaki sauce that is not only bursting with authentic flavor but is also significantly healthier. You have complete control over the ingredients, ensuring a fresher, more balanced taste that perfectly complements the chicken. It’s incredibly simple to whisk together and truly elevates the dish from good to unforgettable.
- Perfectly Juicy Chicken Thighs Every Time: While chicken breasts are a popular choice, using boneless, skinless chicken thighs in this recipe is a deliberate decision for superior results. Chicken thighs naturally contain more fat and connective tissue, which renders them incredibly moist and flavorful when baked. Unlike chicken breasts, which can dry out easily in the oven, thighs remain wonderfully juicy and tender, absorbing the rich teriyaki sauce beautifully. This ensures a consistently succulent meal, even if you slightly overcook them.
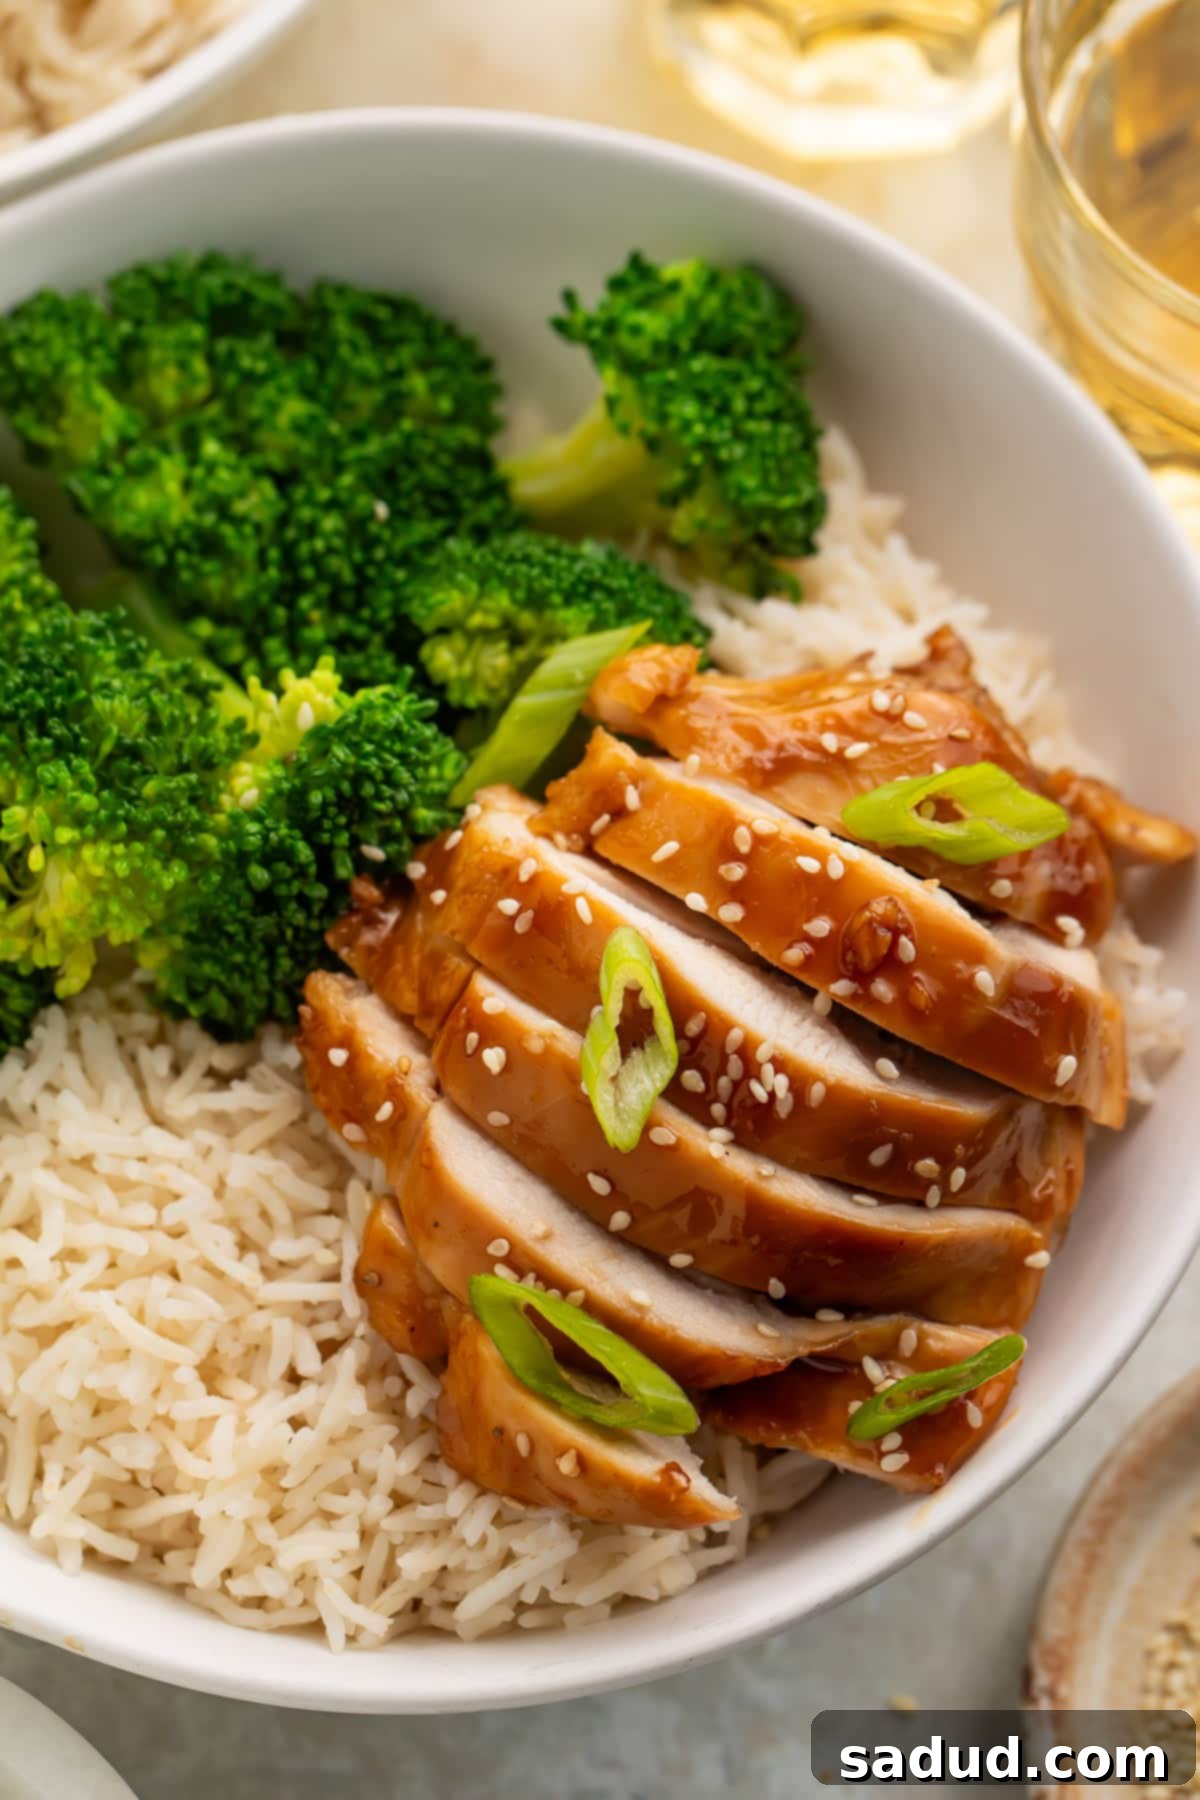
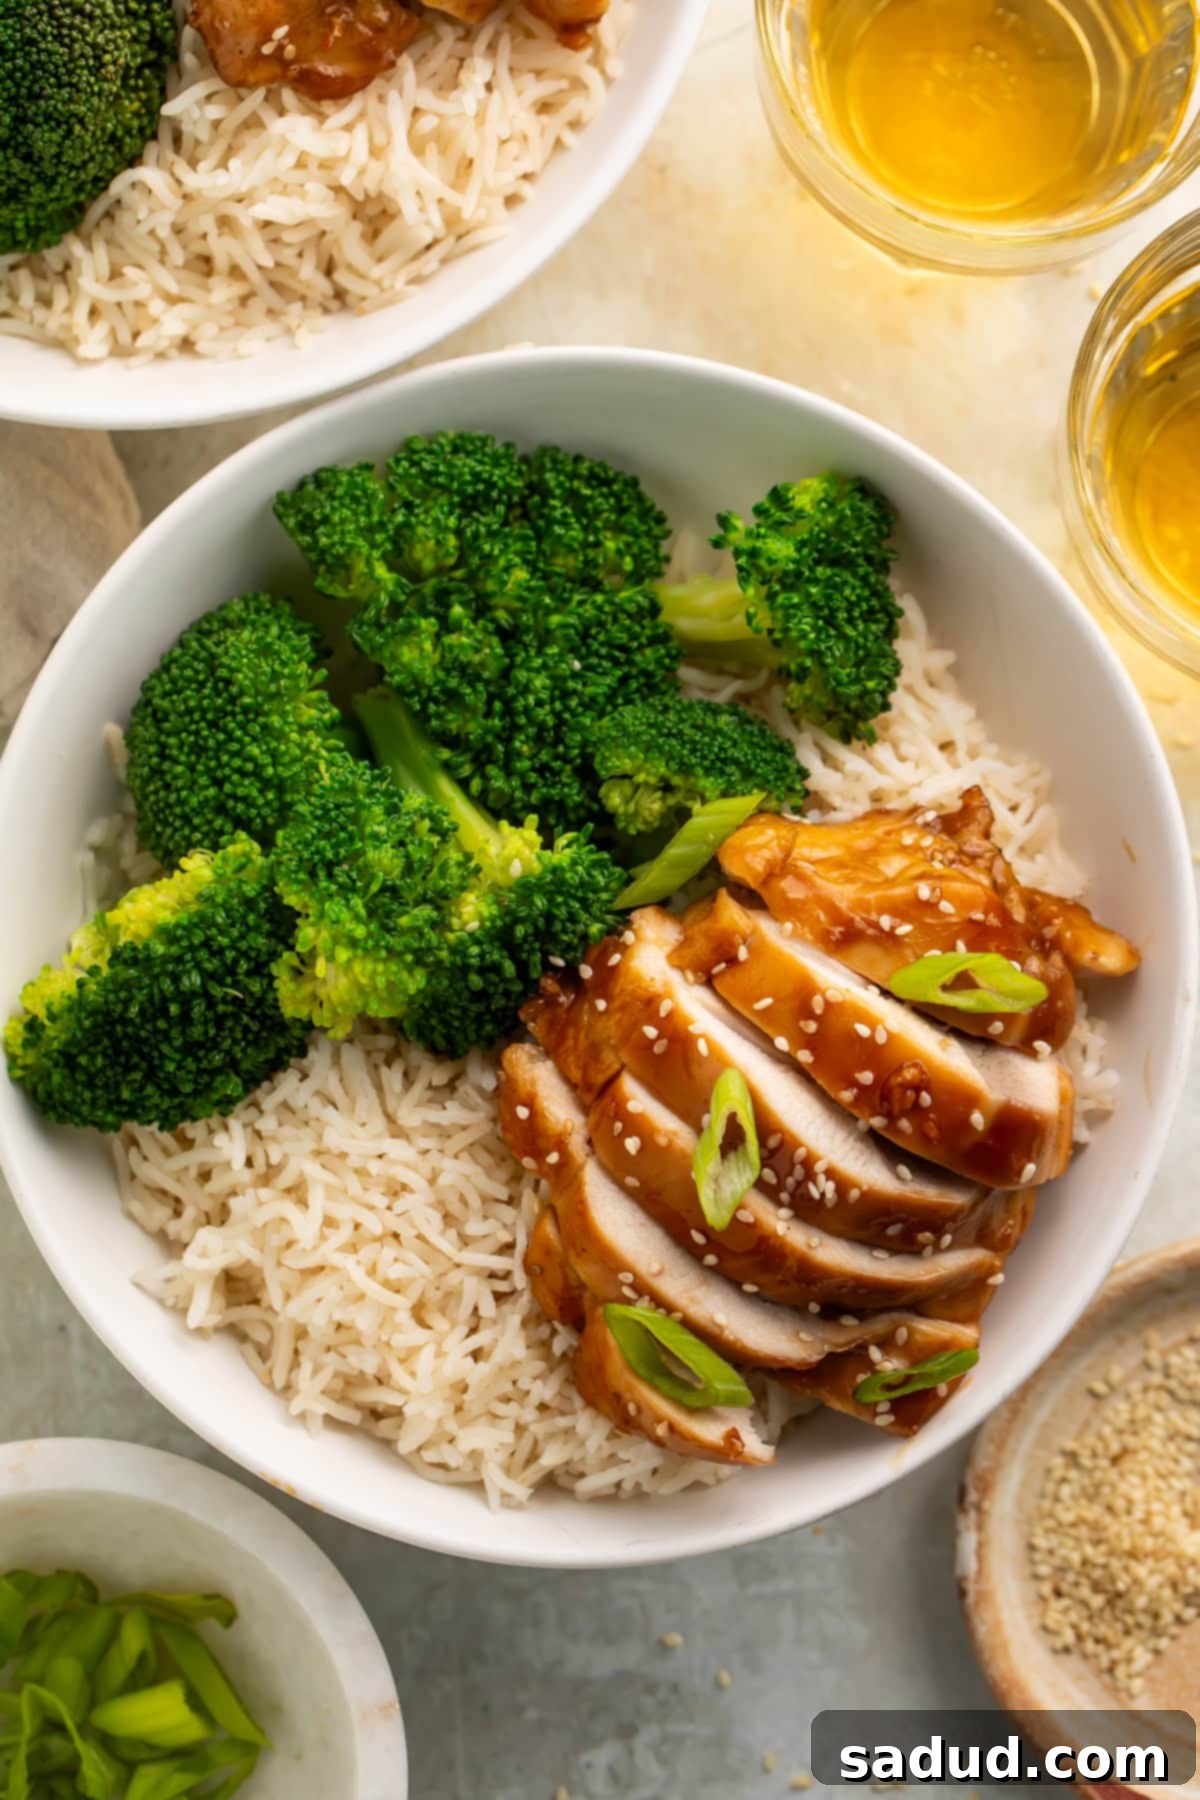
- A Versatile Protein for Any Asian-Inspired Feast: This baked teriyaki chicken is an incredibly versatile main course, ready to anchor a variety of Asian-inspired dinners. It pairs wonderfully with classic accompaniments like fluffy Instant Pot Sushi Rice, a refreshing Asian Cucumber Salad, or crisp, green vegetables such as Grilled Broccolini, Instant Pot Asparagus, or even convenient Air Fryer Frozen Green Beans. Its robust flavor profile makes it compatible with a wide array of side dishes, allowing you to create a complete and balanced meal effortlessly.
- Leftovers That Taste Even Better: One of the greatest perks of this recipe is how well the leftovers keep. The flavors meld and intensify overnight, making the chicken incredibly delicious the next day. Reheat it gently in the sauce for a warm, comforting meal, or slice it cold to add a protein boost to salads, grain bowls, or even sandwiches. This makes it an ideal candidate for meal prepping, ensuring you have tasty, ready-to-eat options throughout the week.
Chef’s Expert Tips for Optimal Flavor and Convenience
Elevate your baked teriyaki chicken experience with these handy tips and tricks from the kitchen:
- Smart Meal Prep and Freezer-Friendly Option: This recipe is a dream for meal prep. You can prepare the teriyaki sauce ahead of time and store it in the refrigerator for up to a week. For an even more convenient “dump-and-bake” meal, combine the cooled homemade teriyaki sauce with the chicken thighs in a freezer-safe bag or container. Freeze it flat for easy storage. When you’re ready to cook, simply thaw the chicken overnight in the refrigerator and bake as directed. This foresight can save precious time on busy weeknights, transforming a delicious meal into an effortless one.
- Enhance with Garnishes for a Restaurant-Quality Touch: To truly level up this baked teriyaki chicken dish and add a burst of fresh flavor and texture, don’t skip the garnishes. A scattering of vibrant sliced green onions (scallions) not only adds a beautiful pop of color but also a mild, crisp oniony bite. Toasted sesame seeds contribute a delightful nutty aroma and a subtle crunch. A drizzle of sriracha for those who enjoy a bit of heat, or a sprinkle of chili flakes, can also add an exciting dimension to the dish.
- Achieving Perfect Sauce Thickness: The cornstarch slurry is key to a glossy, thick sauce. If you find your sauce isn’t as thick as you’d like after simmering, you can always whisk in an additional teaspoon of cornstarch mixed with a tablespoon of cold water, then simmer for another minute until it reaches your desired consistency. Conversely, if it’s too thick, a splash of water or chicken broth can thin it out.
- For Crispier Edges: If you prefer a slightly caramelized and crispier finish on your chicken thighs, after the initial baking and basting, you can turn on the broiler for the last 2-3 minutes of cooking. Keep a very close eye on it, as teriyaki sauce can burn quickly due to its sugar content. This quick broil will give the chicken a beautiful char and deepen the sauce’s flavor on the surface.
Frequently Asked Questions About Baked Teriyaki Chicken
Absolutely! While chicken thighs are recommended for their juiciness, you can certainly use other cuts like chicken breasts, drumsticks, or even wings. If using chicken breasts, consider slicing them into thicker pieces or using bone-in, skin-on cuts to help retain moisture. Always ensure you remove the skin if you prefer a leaner dish, and most importantly, use a cooking thermometer to verify the chicken reaches an internal temperature of 165°F (74°C) to ensure it’s thoroughly cooked and safe to eat without drying out. Remember that bone-in chicken pieces will typically require a longer cooking time than boneless cuts.
Yes, making the teriyaki sauce gluten-free is very simple. The primary ingredient to substitute is soy sauce. Replace regular soy sauce with tamari, which is a gluten-free alternative that offers a similar rich, umami flavor. When using tamari, you might want to use a scant cup (slightly less than a full cup) as it can sometimes be a little saltier than traditional soy sauce. Always taste and adjust to your preference. Also, double-check that your cornstarch is certified gluten-free if cross-contamination is a concern.
To store, allow the chicken and sauce to cool completely before transferring them to an airtight container. Refrigerate for up to 3-4 days. To reheat, you can gently warm the chicken and sauce in a saucepan over medium-low heat on the stovetop until heated through, adding a splash of water or broth if the sauce has thickened too much. Alternatively, microwave individual servings in 30-second intervals, stirring in between, until hot. For best results and to prevent drying out, avoid overheating.
Absolutely! While this recipe is designed for quick preparation, marinating the chicken in a portion of the teriyaki sauce for 30 minutes to an hour (or even overnight in the refrigerator) can infuse even more flavor into the meat. If marinating for longer, make sure to reserve some fresh sauce for basting during cooking to maintain a vibrant, glossy finish.
More Tasty Chicken Recipes You’ll Love
- Grilled Adobo Chicken Recipe
- Air Fryer Chicken Drumsticks
- Pecan Crusted Chicken Breasts
- Herb Crusted Chicken (Texas Roadhouse Copycat Recipe)
- Air Fryer Frozen Chicken Breasts
- Achiote Chicken Thighs Recipe
If you loved this recipe as much as we did, don’t forget to leave us a review below and share your experience! ★ Follow Easy Healthy Recipes on Pinterest, Facebook, and Instagram to discover more delicious and easy meals!
For more delightful culinary creations and budget-friendly meal ideas, be sure to visit our trusted sister sites, 40 Aprons and Easy Cheap Recipes.
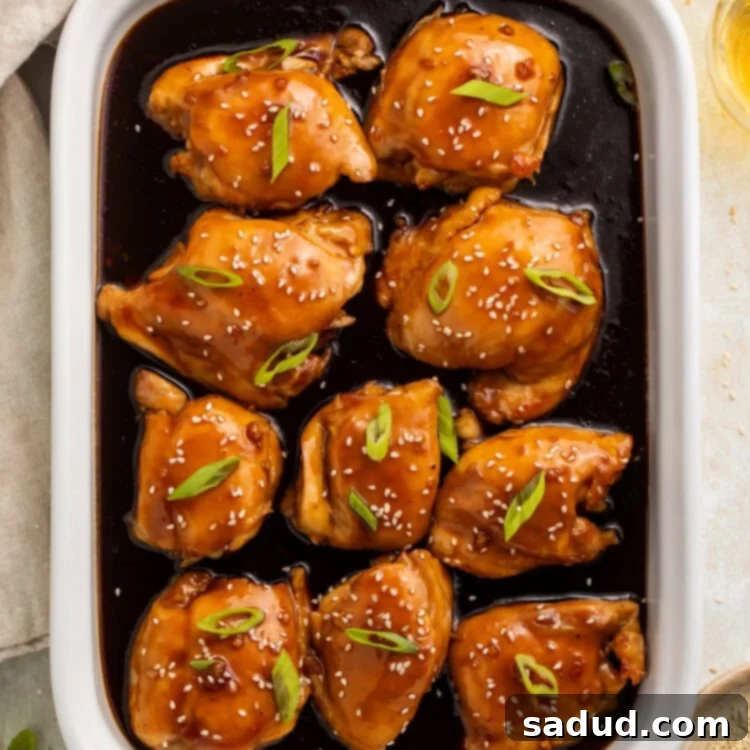
Baked Teriyaki Chicken
 Cheryl Malik
Print
SaveSaved!
Ingredients
- 1 cup soy sauce
- ¾ cup sugar
- ¼ cup apple cider vinegar
- ¼ cup water
- 2 cloves garlic minced
- 1 tsp ground ginger
- 2 Tbsp cornstarch plus 2 Tbsp cold water
- black pepper to taste
- 3 lb boneless skinless chicken thighs
Equipment
-
9×13-inch baking dish
Instructions
-
Preheat your oven to 425 degrees F (220 degrees C). Lightly grease a 9×13-inch baking dish to prevent sticking.
-
In a small saucepan, combine the sugar, soy sauce, apple cider vinegar, the cornstarch mixture (2 Tbsp cornstarch thoroughly mixed with 2 Tbsp cold water), minced garlic, ground ginger, and black pepper. Place the saucepan over low heat and bring the mixture to a gentle simmer, stirring frequently to prevent lumps. Continue to simmer for 3 to 5 minutes, or until the teriyaki sauce thickens to a glossy consistency and begins to bubble. Once thickened, remove the sauce from the heat.
-
Arrange the boneless, skinless chicken thighs in a single layer in the prepared baking dish. Using a pastry brush, generously brush both sides of each chicken thigh with the freshly made teriyaki sauce. Be sure to reserve any extra sauce – it will be used for basting later to build layers of flavor.
-
Bake the chicken in the preheated oven for an initial 30 minutes. This allows the chicken to begin cooking and absorb the initial layer of sauce.
-
After 30 minutes, carefully remove the baking dish from the oven. Flip each chicken thigh to the other side and brush liberally with the reserved teriyaki sauce. Return the dish to the oven and continue to bake, basting with the remaining sauce every 10 minutes, for an additional 20 to 30 minutes. The chicken is fully cooked when it is no longer pink in the center and its juices run clear, reaching an internal temperature of 165°F (74°C).
-
Once cooked, remove the chicken from the oven and let it rest for a few minutes before serving. This helps the juices redistribute, ensuring incredibly tender and flavorful results. Serve hot and enjoy this delicious homemade teriyaki chicken!
Notes
Nutrition Information
Number of total servings shown is approximate. Actual number of servings will depend on your preferred portion sizes.
Nutritional values shown are general guidelines and reflect information for 1 serving using the ingredients listed, not including any optional ingredients. Actual macros may vary slightly depending on specific brands and types of ingredients used.
To determine the weight of one serving, prepare the recipe as instructed. Weigh the finished recipe, then divide the weight of the finished recipe (not including the weight of the container the food is in) by the desired number of servings. Result will be the weight of one serving.
