Irresistibly Fluffy Peanut Butter Pancakes: Your New Favorite Easy Breakfast Recipe
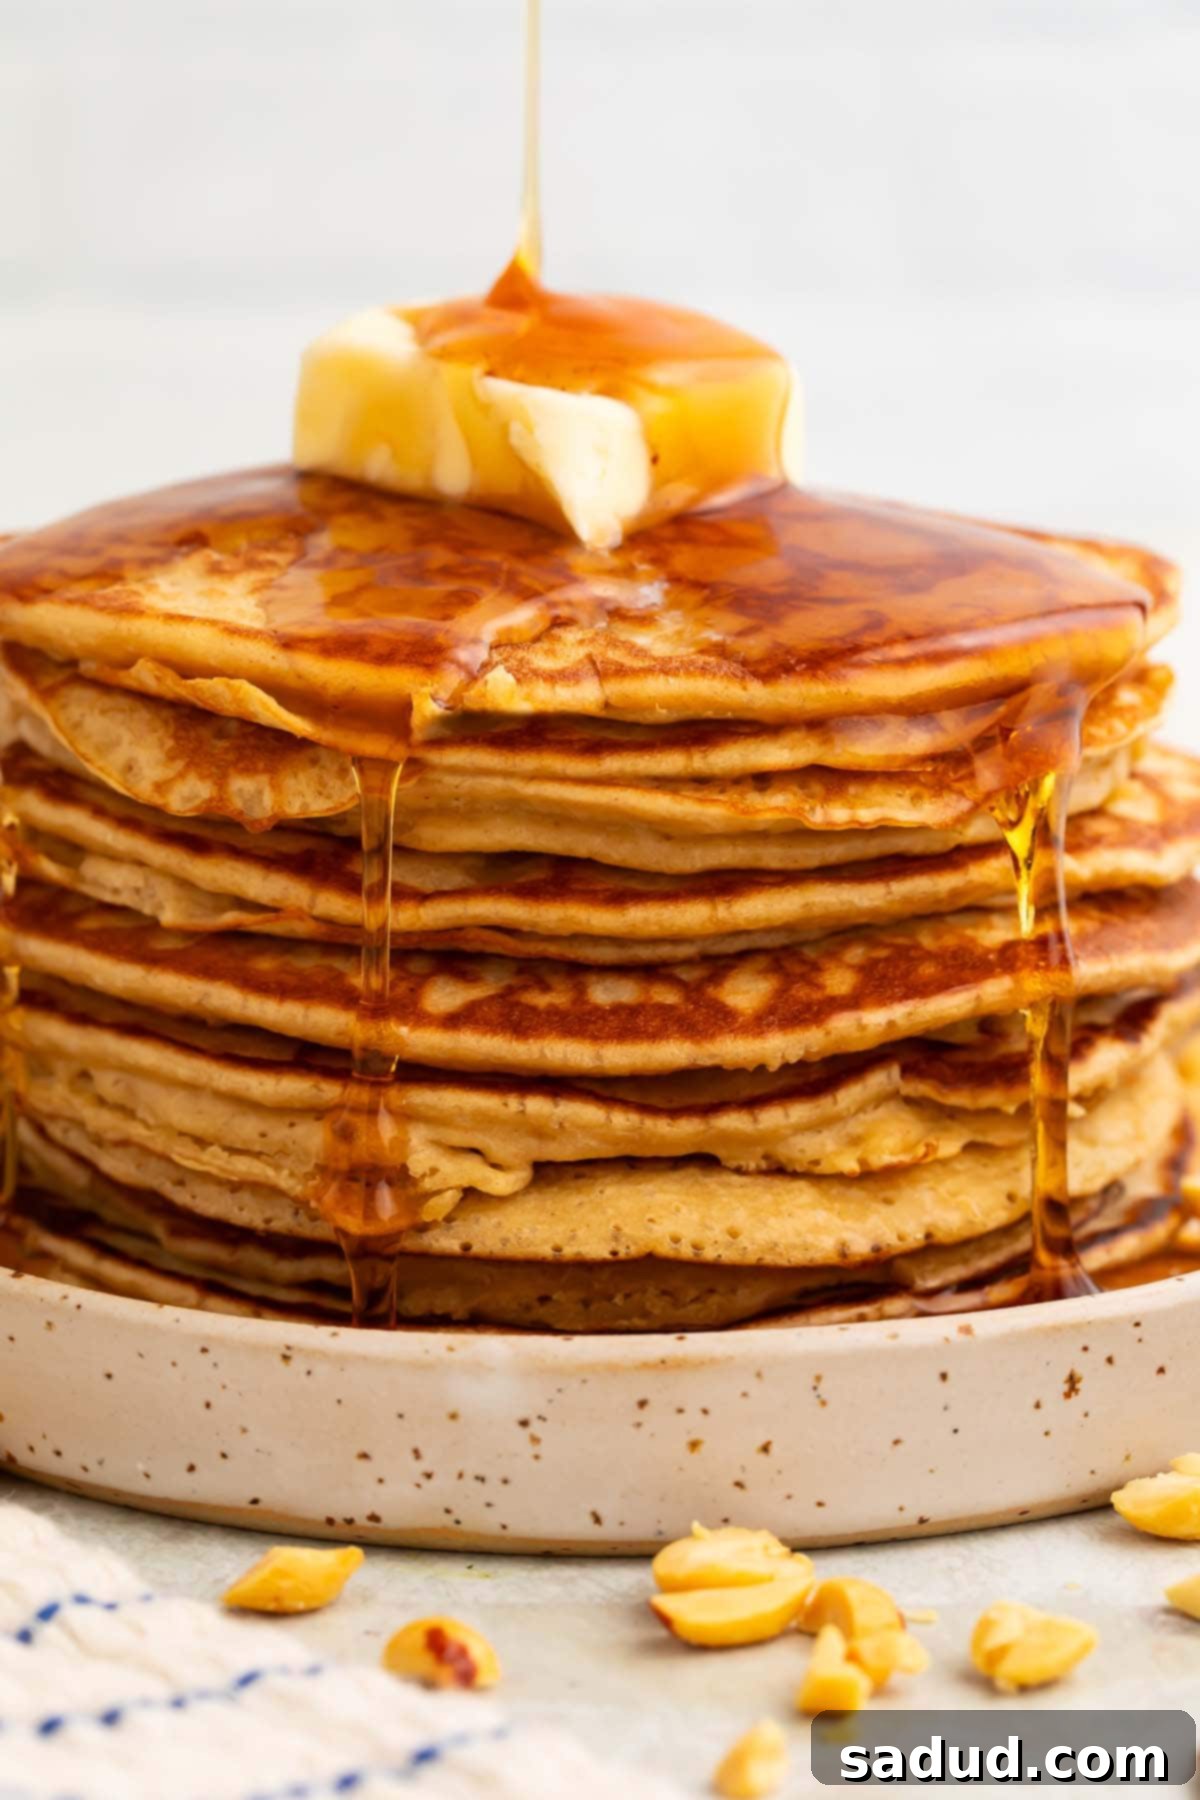
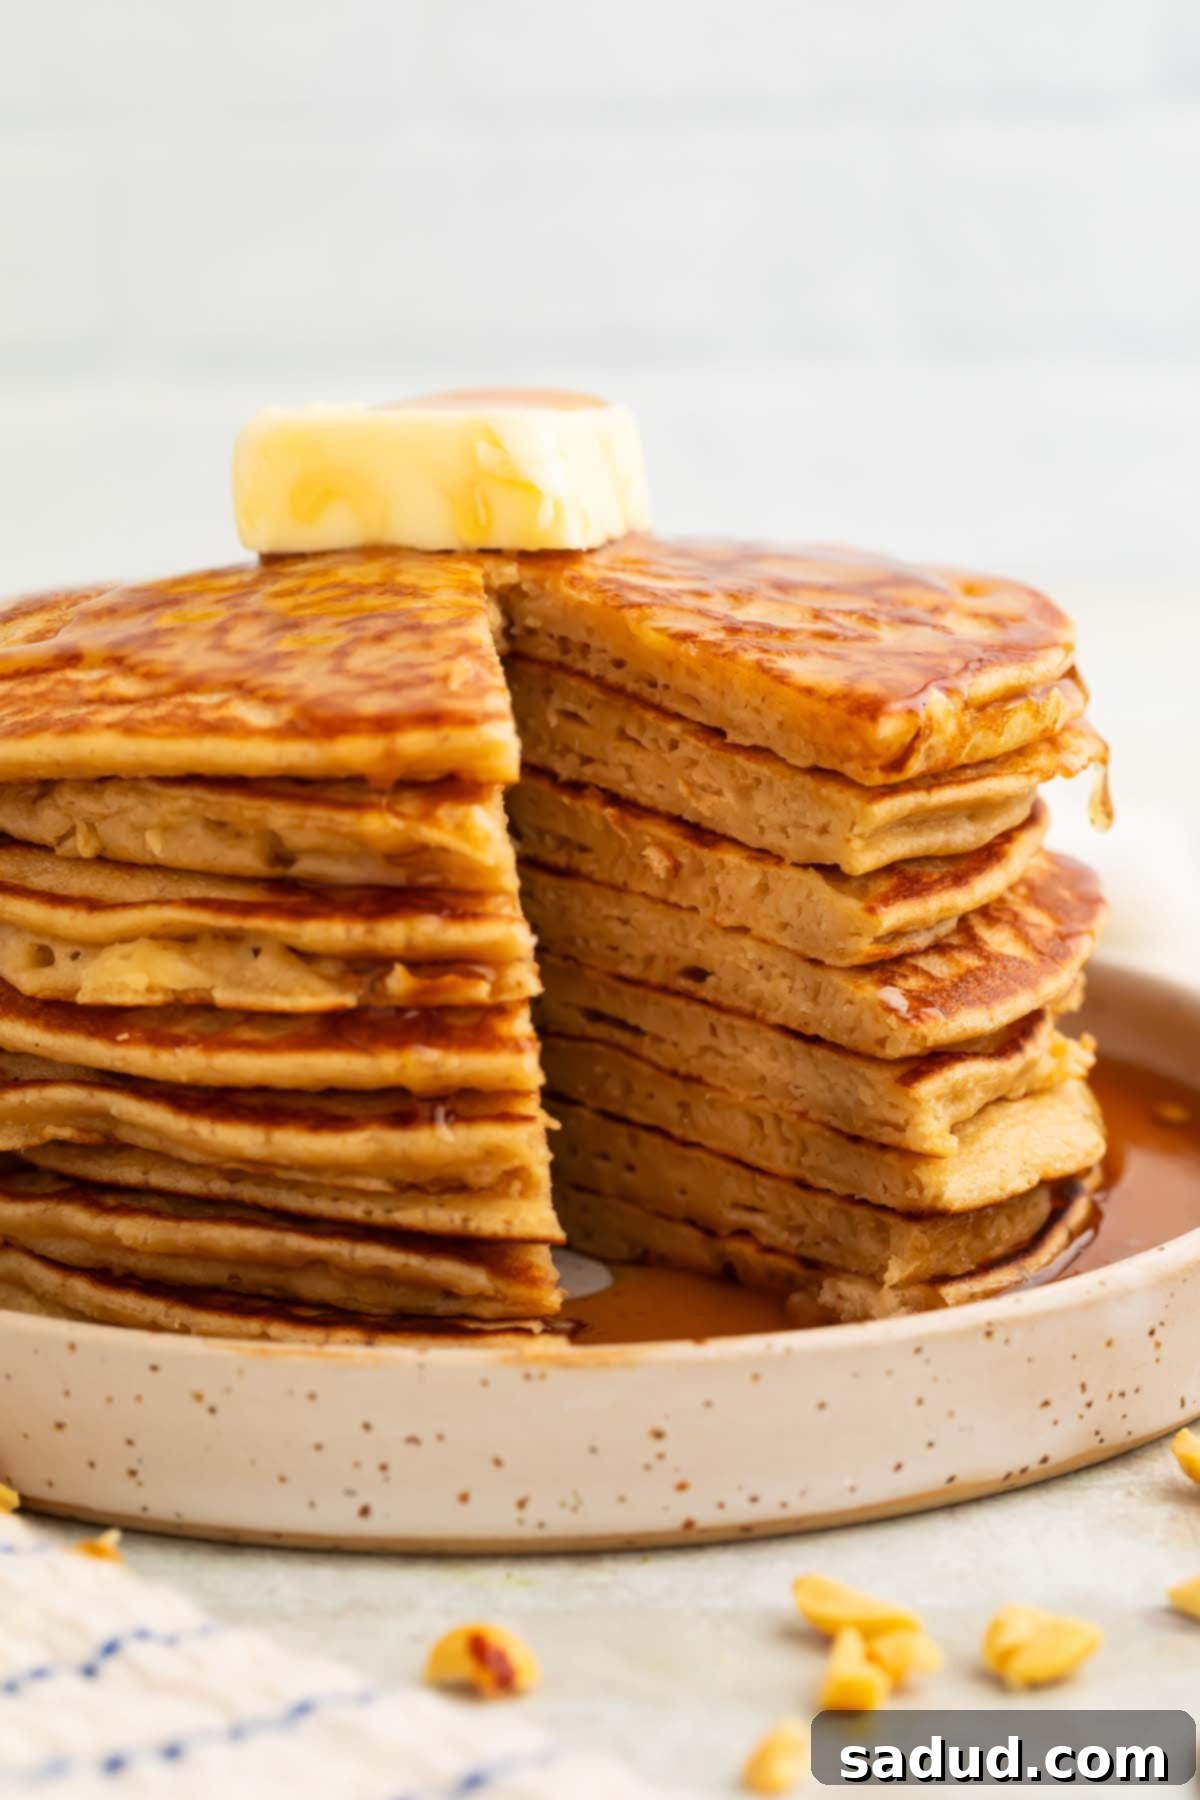
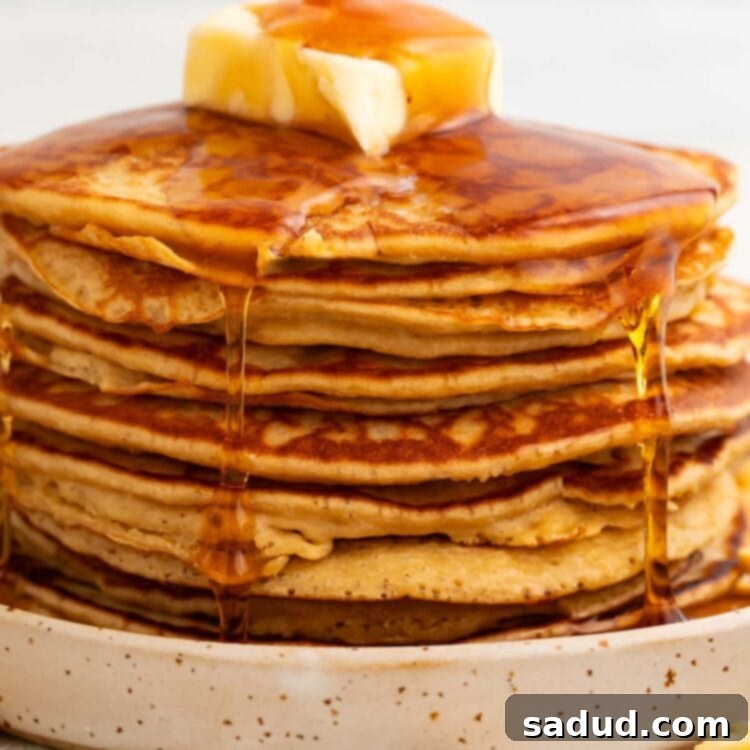
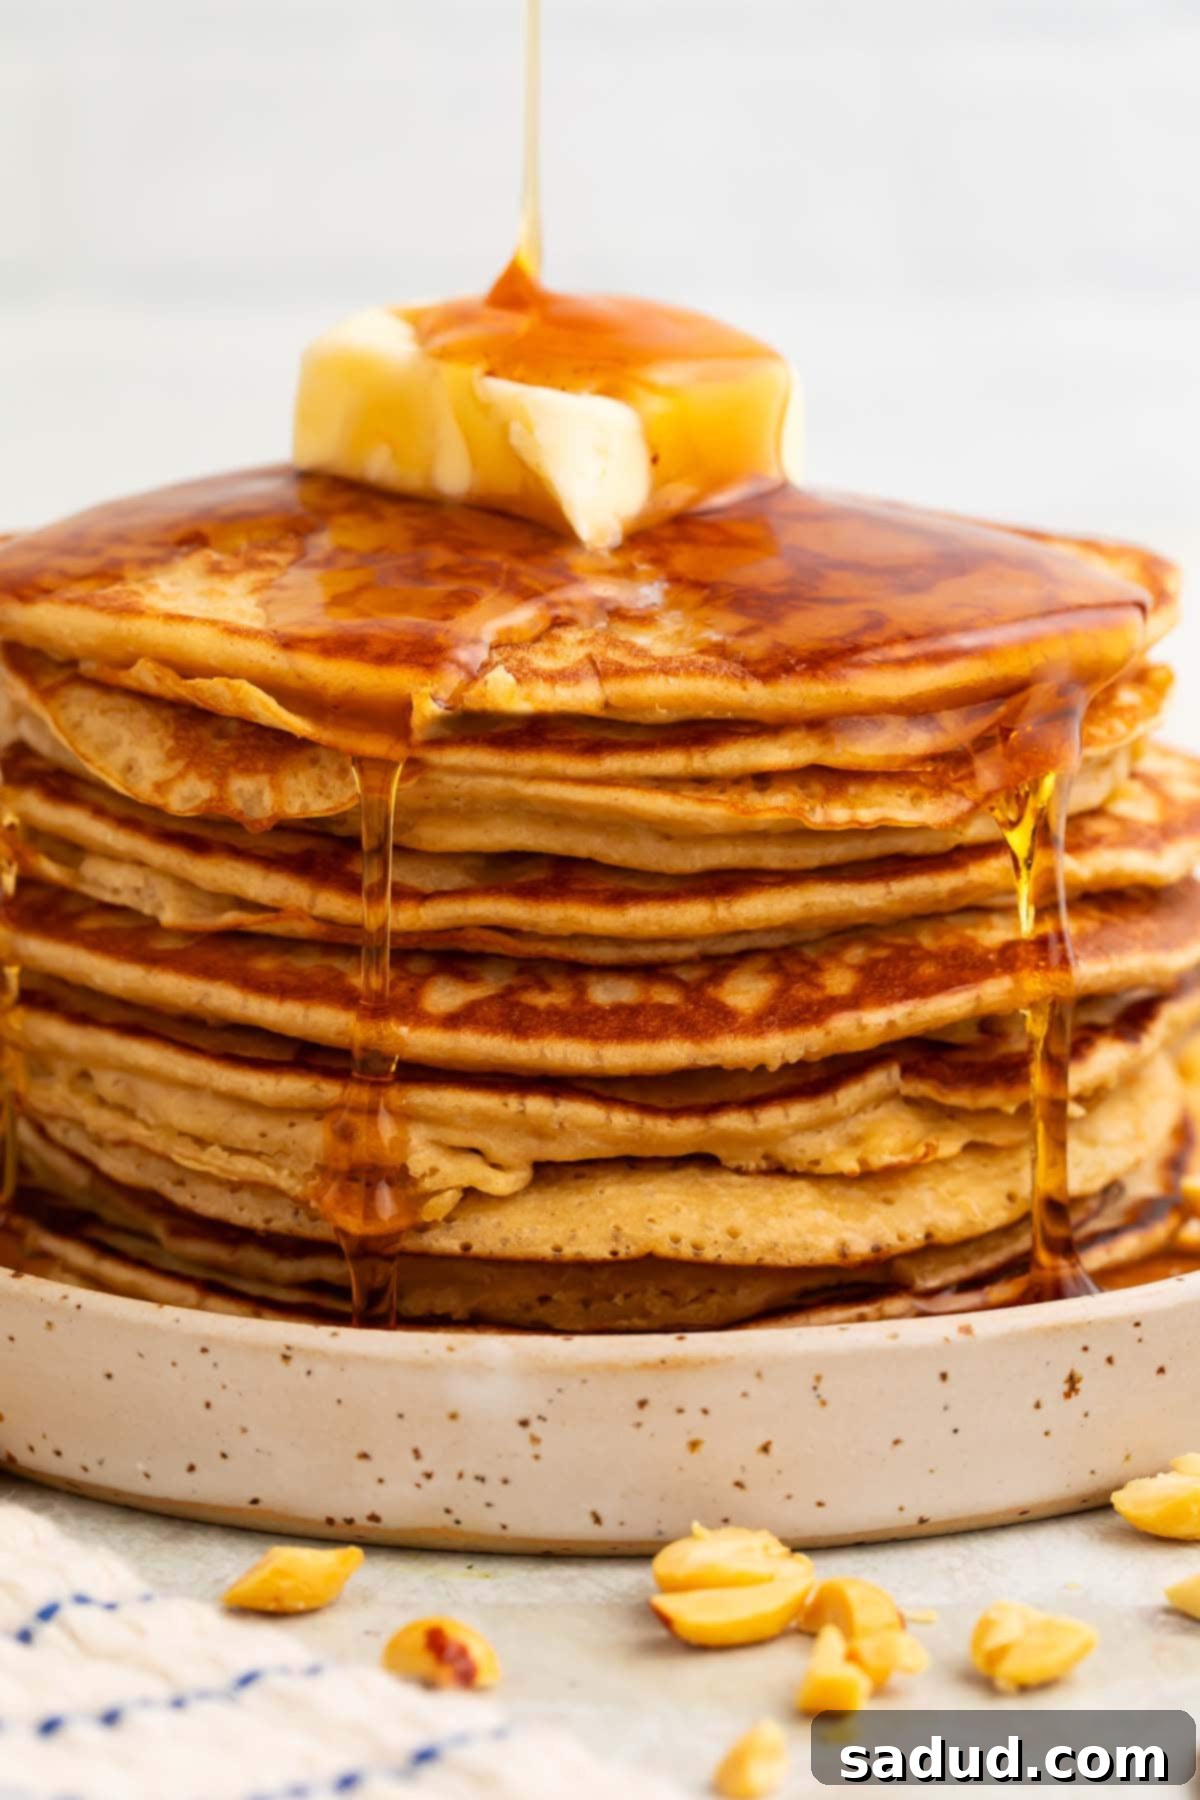
Wake up to a truly delightful breakfast with these incredibly fluffy peanut butter pancakes! Forget your usual morning routine – these rich, buttery stacks infused with the comforting taste of peanut butter are guaranteed to become your go-to. They are surprisingly easy to whip up, taking only minutes to prepare, and are made even better with a generous drizzle of warm maple syrup, a handful of chocolate chips, or a sprinkle of fresh fruit. Perfect for a lazy weekend brunch or a quick weeknight “breakfast for dinner,” these pancakes offer a unique twist on a beloved classic that will satisfy both kids and adults alike.

Why You’ll Fall in Love with This Peanut Butter Pancake Recipe
These aren’t just any pancakes; they’re an experience. Here’s why we believe these peanut butter pancakes will earn a permanent spot in your recipe collection:
- Unmatched Flavor Profile: If peanut butter is your passion, these pancakes are a dream come true! They are every bit as soft, light, and delicious as traditional buttermilk pancakes, but with an irresistible, subtle hint of nuttiness that elevates them to the next level. The peanut butter adds a depth of flavor and a creamy texture that is simply divine. Whether you top them with classic maple syrup, slices of ripe bananas or sweet strawberries, decadent chocolate chips, a swirl of honey, or simply a melting pat of butter, the rich peanut butter flavor shines through beautifully.
- Effortlessly Easy to Make: Mornings can be hectic, but breakfast doesn’t have to be. This recipe is designed for maximum flavor with minimal effort. You can quite literally throw all the ingredients into a blender and have a perfectly smooth, ready-to-cook batter in a matter of minutes. This makes them ideal for busy weekdays when you crave something special, or for a spontaneous breakfast-for-dinner treat that comes together in a flash.
- Protein-Packed Power Start: Thanks to the peanut butter, these pancakes offer a decent boost of protein, making them more satisfying and helping you feel fuller for longer. This makes them a great option for a breakfast that fuels your day without feeling heavy.
- Family-Friendly Favorite: Who doesn’t love pancakes? The addition of peanut butter makes them even more appealing, especially to kids who adore the nutty flavor. They are a fantastic way to introduce a little extra protein and healthy fats into their morning meal, disguised in a fun and delicious format.
- Customizable for Every Palate: While delicious on their own, these peanut butter pancakes serve as a perfect canvas for endless customization. Mix in blueberries, chopped nuts, or even a sprinkle of cinnamon directly into the batter. Top them with fresh fruit, whipped cream, or a dollop of jam for a truly personalized breakfast experience.
Cheryl’s Expert Tips for Perfect Pancakes Every Time
Achieving pancake perfection is easier than you think. Follow these tried-and-true tips from Cheryl to ensure your peanut butter pancakes are consistently light, fluffy, and golden brown:
- Blender Alternatives: While a blender makes quick work of the batter, it’s not strictly necessary. If you don’t have one, you can easily mix everything together by hand in a large bowl with a whisk, or use an electric mixer. The key is to ensure all ingredients are well combined. Take extra care to break up any clumps of flour and fully incorporate all the peanut butter. Lumpy batter leads to lumpy, unevenly cooked pancakes, so whisk until smooth.
- Mastering Pan Temperature: This is crucial for evenly cooked pancakes. Avoid letting your pan overheat. A pan that’s too hot will quickly burn the outside of the pancakes, leaving the inside raw and doughy. Start with medium heat and let the pan preheat for a few minutes. If you notice your pan getting too hot during cooking (e.g., pancakes browning too fast), don’t hesitate to move it off the heat periodically to cool down, or wipe it down between batches with a cool, damp paper towel to regulate the temperature. The ideal temperature results in a golden-brown crust and a fully cooked, fluffy interior.
- Don’t Overmix the Batter: While you want a smooth batter, overmixing can develop the gluten in the flour too much, leading to tough, chewy pancakes instead of light, fluffy ones. Mix until just combined, even if there are a few small lumps remaining. These will often disappear during cooking.
- Let the Batter Rest: For even fluffier results, allow your pancake batter to rest for 5-10 minutes after mixing. This gives the baking powder a chance to activate and the flour to fully hydrate, resulting in a lighter texture.
- Check Baking Powder Freshness: Baking powder is key to fluffy pancakes. To ensure yours is fresh and active, mix a teaspoon of baking powder with a few tablespoons of hot water. If it fizzes vigorously, it’s good to go. If not, it’s time for a new container.
- The Perfect Flip: Wait until bubbles begin to form on the surface of the pancake and the edges look set before attempting to flip. A good pancake spatula should be thin enough to easily slide underneath without tearing. Flip with confidence and a swift motion to ensure the pancake lands flat on the other side.

More Delicious Breakfast Recipes to Brighten Your Day
Looking for more ways to make your mornings extraordinary? Explore these other fantastic breakfast options that are sure to delight:
- Air Fryer Breakfast Potatoes
- Peanut Butter Banana Toast
- Sausage & Egg Keto Breakfast Casserole
- Instant Pot Oatmeal
- Shrimp & Grits
- Mexican Omelette
- How to Cook Turkey Bacon in the Oven
- Gluten Free Crepes
- Frozen Waffles in the Air Fryer
- Crockpot Breakfast Casserole
If you loved this recipe as much as we did, don’t forget to leave us a review below and share your creations on social media. ★ Follow Easy Healthy Recipes on Pinterest, Facebook, and Instagram, too! We love seeing what you make!
For even more delicious and inspiring recipes, be sure to visit our sister sites, 40 Aprons and Easy Cheap Recipes. They’re packed with diverse culinary ideas for every occasion.

Peanut Butter Pancakes: The Fluffy & Easy Recipe
 Cheryl Malik
Print Recipe
Save RecipeSaved!
Ingredients for Fluffy Peanut Butter Pancakes
For the Peanut Butter Pancakes
- 1 large egg for binding and richness
- 1 cup all-purpose flour regular or gluten free blend, for the base
- 3 tablespoons creamy peanut butter for flavor and texture, see notes for best type
- 1 ¼ cup milk of choice whole milk, 2%, unsweetened almond milk, etc. for moisture
- 1 tablespoon granulated sugar for a touch of sweetness
- 2 teaspoons fresh baking powder essential for lift and fluffiness
- ¼ teaspoon salt enhances all the flavors, adjust to taste
- 2 teaspoons neutral-flavored oil avocado oil, vegetable oil, etc. for a tender crumb
Optional Serving Suggestions
- butter a classic topping for richness
- maple syrup pure maple syrup for authentic sweetness
- chocolate chips milk, dark, or semi-sweet for a delicious addition
- Sliced bananas or strawberries for freshness and natural sweetness
- A sprinkle of powdered sugar for a beautiful finish
Essential Equipment
-
Standard blender
-
Silicone spatula useful for scraping down blender sides, or mixing by hand
-
Large non-stick skillet
-
Neutral-flavored cooking spray
-
Batter spoon or scoop with release handle, or a ¼-cup measuring cup for consistent pancake size
-
Sturdy spatula
-
Large plate or wire rack
for holding cooked pancakes
Step-by-Step Instructions
-
To begin, crack 1 large egg directly into your standard blender. Next, add 1 cup all-purpose flour, 3 tablespoons creamy peanut butter, 1 ¼ cup milk of choice (any type works well!), 1 tablespoon granulated sugar, 2 teaspoons fresh baking powder, ¼ teaspoon salt, and 2 teaspoons neutral-flavored oil. Ensure all ingredients are in the blender.
-
Secure the lid tightly on your blender. Blend all the ingredients together on medium-high speed until the mixture is completely smooth and uniform. You may need to stop the blender occasionally to scrape down any ingredients clinging to the sides, ensuring everything is fully incorporated. Once the peanut butter pancake batter is perfectly smooth with no visible lumps, set the blender aside. You can allow the batter to rest for 5-10 minutes if time permits, for extra fluffy results.
-
Lightly spray a large non-stick skillet with neutral-flavored cooking spray. Place the skillet on your stovetop over medium heat and allow it to preheat for a few minutes. Once the pan is hot (a drop of water should sizzle and evaporate), scoop ¼-cup portions of pancake batter out of the blender and onto the skillet. Depending on the size of your skillet, you can usually cook 2 to 3 pancakes at a time. Make sure to leave ample room between each scoop of batter to allow for proper spreading and easy flipping.
-
Cook the pancakes, undisturbed, for approximately 2 to 3 minutes. Resist the urge to press down on them. You’ll know they’re ready to flip when small bubbles begin to form and pop on the top-side of the pancakes, and the edges appear slightly set and dry. This indicates the bottom is golden brown.
-
Once bubbles have formed and the edges are set, carefully slide a sturdy spatula under each pancake and swiftly flip it over to the other side. Repeat this process for all pancakes in the skillet. Continue to cook for another 2 to 3 minutes, or until the underside of the pancakes is beautifully golden brown and fully cooked through.
-
As each batch finishes cooking, transfer the hot pancakes to a large plate or a wire rack set over a baking sheet (to keep them warm in a low oven, about 200°F/95°C, while you finish the rest). Repeat the cooking process with the remaining pancake batter until all of it has been used.
-
Divide the freshly cooked pancakes into your preferred portions. For a truly decadent experience, top your warm peanut butter pancakes with a generous pat of butter, a luscious drizzle of maple syrup, and/or a handful of melted chocolate chips. Serve immediately and enjoy the ultimate peanut butter breakfast!
Helpful Notes & Tips
- Choosing the Right Peanut Butter: For the most authentic and best peanut butter flavor, we highly recommend using a creamy peanut butter that lists only peanuts (and perhaps a little salt) as its ingredients. Avoid natural peanut butters where the oil separates excessively, as this can affect the batter’s consistency. Sugary or heavily processed peanut butter might alter the sweetness and texture too much.
- Blender vs. Hand Mixing: If you don’t have or simply prefer not to use a blender, you can absolutely mix the pancake batter by hand. Just be sure to use a whisk and really work out any clumps of flour. Thoroughly incorporate all of the peanut butter to avoid pockets of unmixed ingredients, ensuring a smooth and consistent batter for the best pancakes.
- Keeping Pancakes Warm: If you’re cooking for a crowd or making multiple batches, you can keep the cooked pancakes warm by placing them on a wire rack on a baking sheet in a preheated oven at its lowest setting (around 200°F / 95°C). This prevents them from getting soggy.
- Storing Leftover Batter: While fresh batter is always best, you can store leftover pancake batter in an airtight container in the refrigerator for up to 1-2 days. Give it a good whisk before cooking, as it may thicken slightly.
- Make Ahead Tip: Cooked peanut butter pancakes store beautifully! Allow them to cool completely, then stack them with parchment paper in between to prevent sticking. Store in an airtight container or freezer-safe bag.
- Reheating Instructions:
- Microwave: Reheat individual pancakes for 20-30 seconds until warm.
- Toaster: For a slightly crispy exterior, pop them in a toaster or toaster oven until heated through.
- Oven: Reheat multiple pancakes on a baking sheet at 350°F (175°C) for 5-10 minutes.
Nutrition Information
Number of total servings shown is approximate. Actual number of servings will depend on your preferred portion sizes and pancake thickness.
Nutritional values shown are general guidelines and reflect information for 1 serving using the ingredients listed, not including any optional ingredients or toppings. Actual macros may vary slightly depending on specific brands and types of ingredients used. This information is provided for convenience and should not be considered medical or dietary advice.
To accurately determine the weight of one serving, prepare the recipe as instructed. Weigh the finished recipe (excluding the weight of the container the food is in), then divide that total weight by your desired number of servings. The result will be the precise weight of one serving.
