Irresistibly Crispy Gluten-Free Onion Rings: Your New Favorite Homemade Comfort Food Recipe
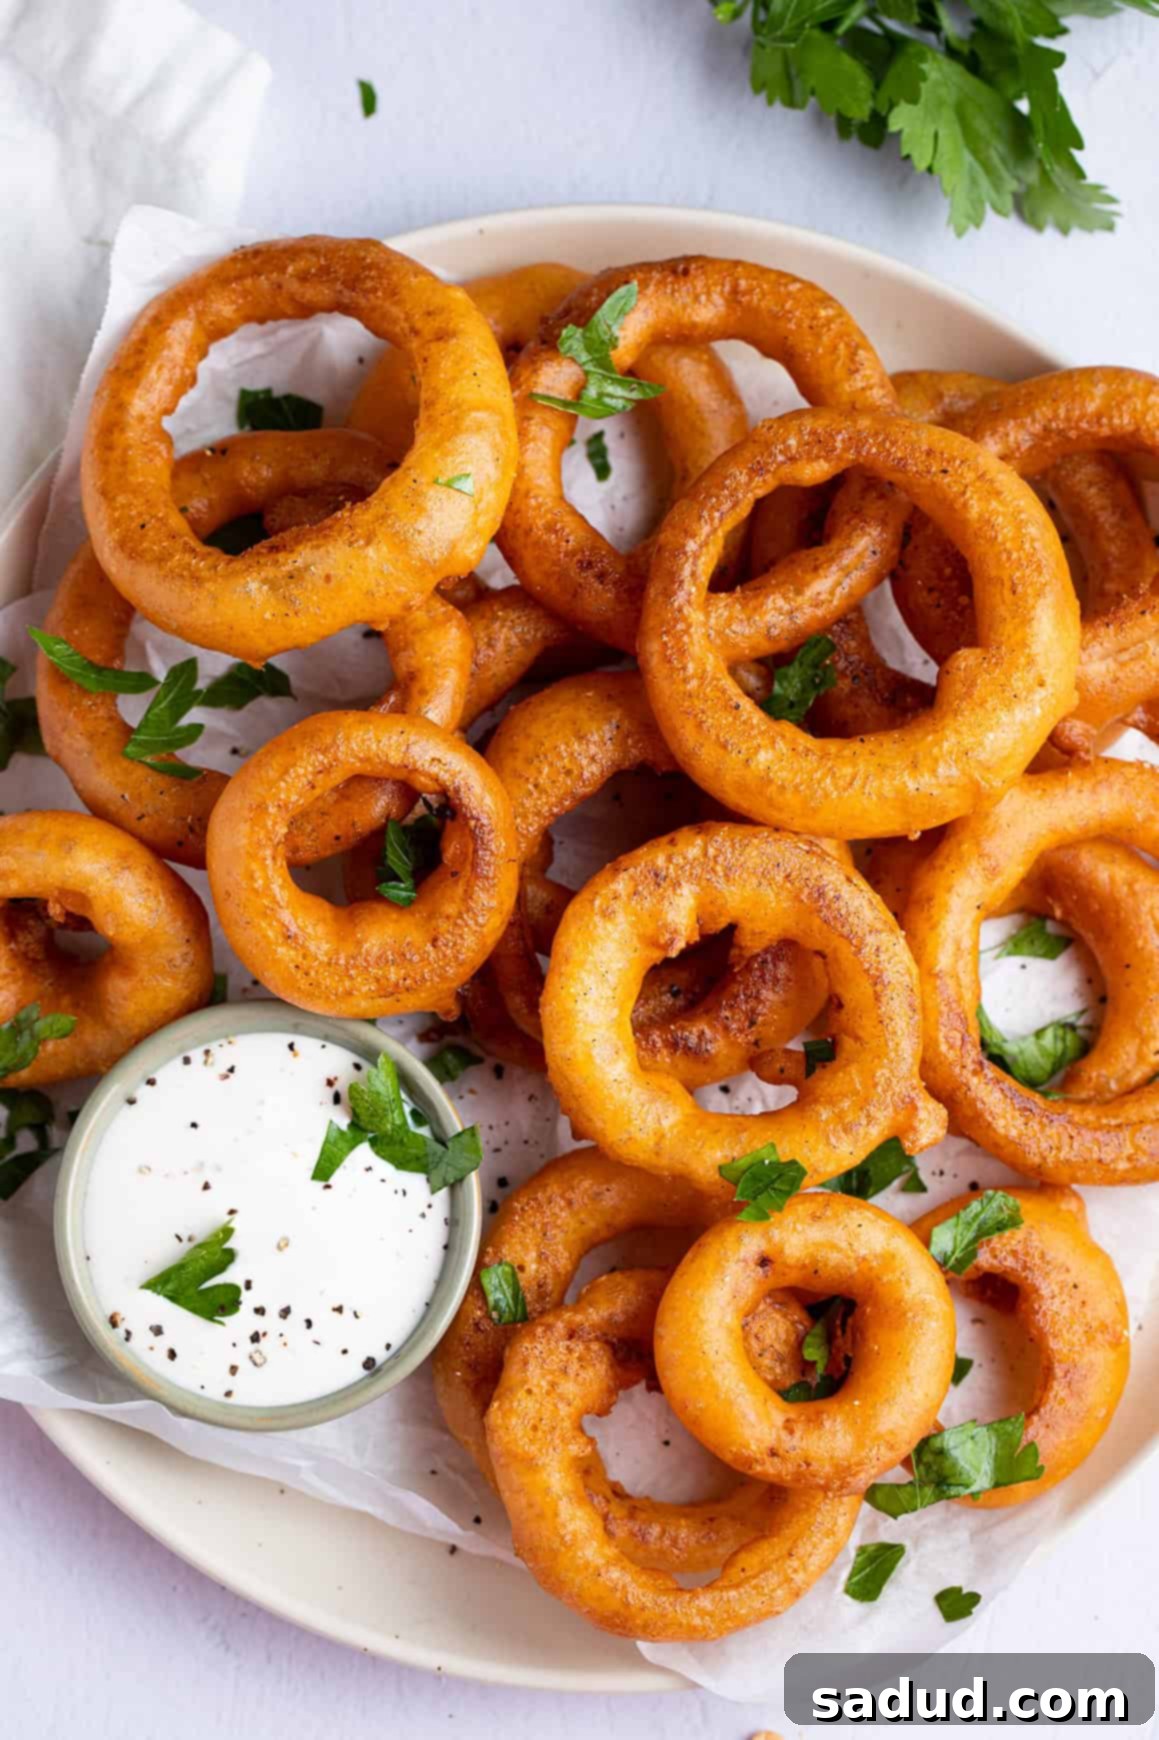
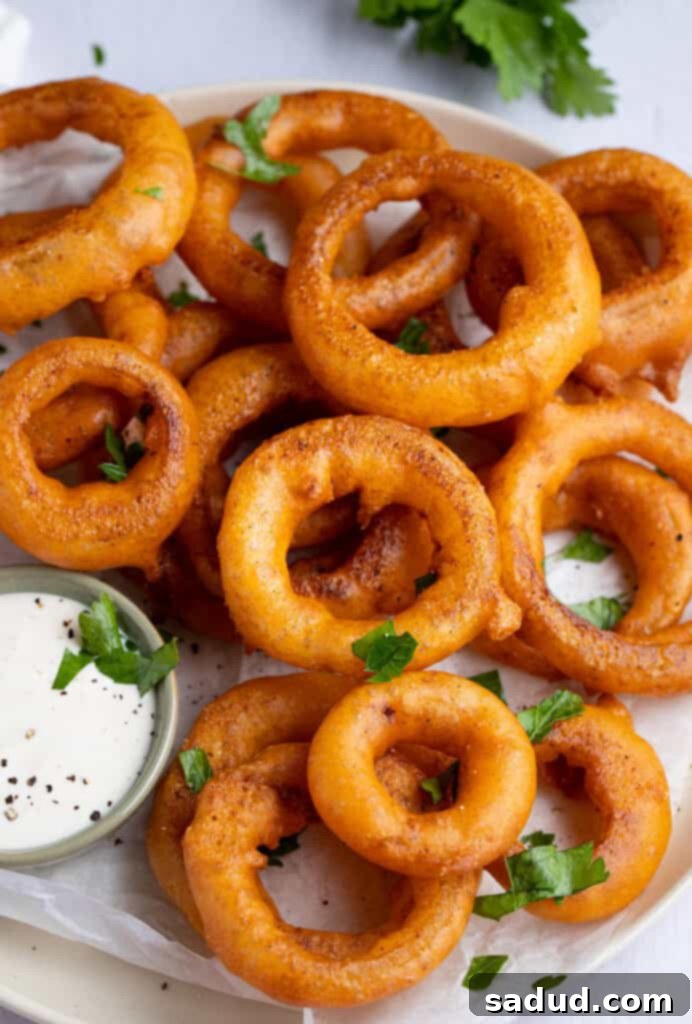
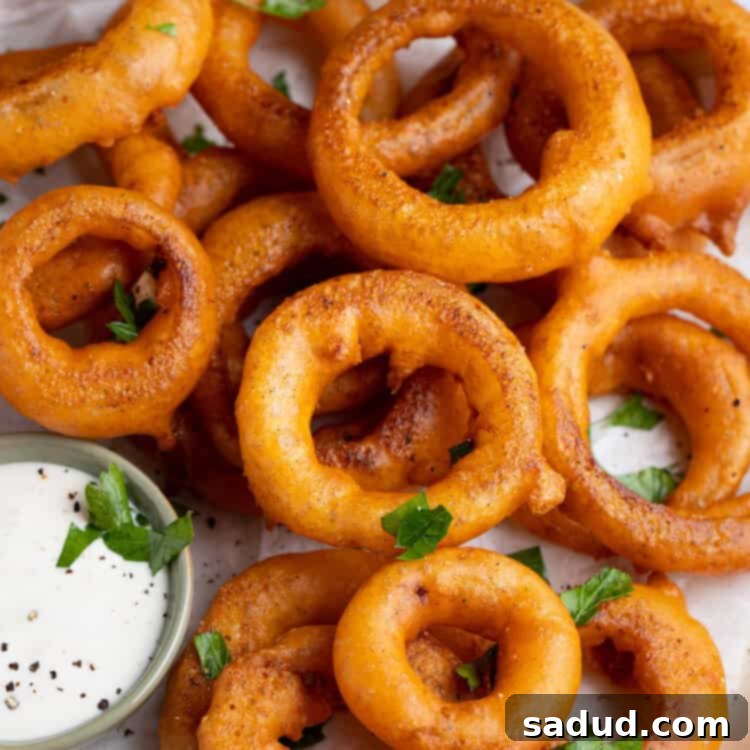
There’s nothing quite like a basket of perfectly golden, crispy onion rings. That satisfying crunch, followed by the sweet, tender onion inside, is a classic comfort food experience. For those navigating gluten sensitivities or allergies, enjoying this beloved treat often means searching for suitable restaurant options or missing out entirely. But what if you could easily make them at home, completely gluten-free, with a flavor and texture that rivals, or even surpasses, traditional versions? This recipe delivers just that: incredibly easy, homemade gluten-free onion rings that are absolutely bursting with flavor and boast an irresistible crunch, with absolutely zero gluten. They’re the quintessential side dish for a juicy burger or a classic hot dog, or fantastic on their own as a satisfying snack or appetizer. Plus, with simple adjustments, they can also be made completely dairy-free.
Why This Gluten-Free Onion Rings Recipe Stands Out
You might be wondering what makes these particular gluten-free onion rings so incredibly good, especially compared to others. Here’s a breakdown of what elevates this recipe to a must-try status:
- Achieving the Ultimate Crispy Batter: The specially formulated gluten-free batter for these onion rings is incredibly light, airy, and packed with savory flavor. It crisps up beautifully, creating a golden, crunchy coating that shatters with every bite. The secret lies in a careful balance of gluten-free flours and starches, combined with the magic of carbonated club soda, which creates tiny pockets of air for that perfect, delicate crunch. You’ll be amazed at how this batter transforms humble onion slices into a gourmet experience.
- Perfectly Cooked, Sweet Onion Core: Beneath that sensational crispy exterior lies a tender, juicy, and perfectly cooked sweet onion ring. We recommend using sweet onion varieties like Vidalia or Walla Walla, which caramelize slightly when fried, enhancing their natural sweetness. This delightful sweetness provides a magnificent contrast to the savory, seasoned batter, creating an explosion of flavor that is truly sensational. The combination of textures and tastes is what makes these homemade onion rings so utterly addictive.
- Absolutely Zero Gluten, Maximum Flavor: This recipe is a game-changer for anyone with a gluten allergy or sensitivity. Despite being completely gluten-free, these onion rings taste exactly like, if not better than, their traditional counterparts. This means you don’t have to compromise on taste or texture, and everyone at your table can enjoy them together. Even your gluten-eating friends and family will be reaching for seconds, making them a fantastic and inclusive dish for any gathering.
- Easy to Make and Adaptable: Preparing these crispy gluten-free onion rings at home is surprisingly simple, requiring straightforward steps and common ingredients. Furthermore, the recipe is easily adaptable to dietary needs. By simply swapping dairy milk for an unsweetened plant-based alternative, you can create delicious dairy-free gluten-free onion rings without any hassle.
Key Ingredients for Perfect Gluten-Free Onion Rings
Each ingredient in this recipe plays a vital role in achieving the perfect texture and flavor for your homemade gluten-free onion rings. Understanding their function will help you appreciate the careful balance that makes this dish so successful.
- Gluten-Free Flour Blend: This is the foundation of our batter. Not all gluten-free flour blends are created equal. For frying, it’s best to use a good quality, all-purpose gluten-free blend that often combines rice flour, tapioca starch, and potato starch. This combination provides the structure needed for the batter to adhere to the onions and crisp up effectively without turning gummy.
- Cornstarch: Used in two crucial ways. First, a light dusting of cornstarch on the raw onion rings before dipping helps absorb any surface moisture, ensuring the batter adheres beautifully and prevents sogginess. Second, cornstarch in the batter itself is a secret weapon for crispiness. It helps create that delicate, shatter-crisp texture that makes these onion rings so irresistible.
- Cornmeal: If you’re a fan of cornbread, you’re familiar with cornmeal. This coarse, powdery substance, derived from ground corn, is an excellent addition to frying batters. It contributes a subtle, rustic texture and an extra layer of crunch that is distinct from flour or cornstarch. It also helps achieve a beautiful golden-brown color during frying, enhancing the overall visual appeal and taste.
- Milk: A key liquid component for our batter. Milk not only thins the dry ingredients to create a smooth, pourable consistency but also adds richness and creaminess to the batter. This richness translates to a more satisfying mouthfeel in the final product. For those needing dairy-free, gluten-free onion rings, simply use an unsweetened plant-based milk such as almond, oat, or soy milk. The unsweetened variety is crucial to avoid any unwanted sweetness in your savory onion rings.
- Club Soda: This is where the magic happens for an incredibly light and airy batter. Like milk, club soda helps thin the batter, but its effervescence is what truly sets it apart. The carbonation creates tiny bubbles within the batter, which expand when they hit the hot oil, resulting in a remarkably light, crispy, and less dense coating. You could also experiment with a little gluten-free beer in the batter instead of club soda for a unique twist, yielding delicious gluten-free beer-battered onion rings with a slightly malty flavor profile.
- Spices (Paprika, Garlic Powder, Onion Powder, Salt): These seasonings are essential for building a deep, savory flavor in the batter. Paprika adds a warm, slightly sweet, and earthy note, along with a lovely reddish hue to the golden crust. Garlic and onion powder intensify the savory base, complementing the fresh onion inside. And, of course, salt is vital for bringing all these flavors into perfect harmony and ensuring the batter isn’t bland.
Chef’s Tips for Frying the Best Gluten-Free Onion Rings
Achieving perfectly crispy, golden-brown onion rings involves a few key techniques. Follow these chef’s tips to ensure your homemade gluten-free onion rings are a resounding success every time.
- Choosing the Perfect Dipping Sauce: The right dipping sauce can elevate your onion rings from great to extraordinary. While personal preference plays a huge role, here are some top recommendations:
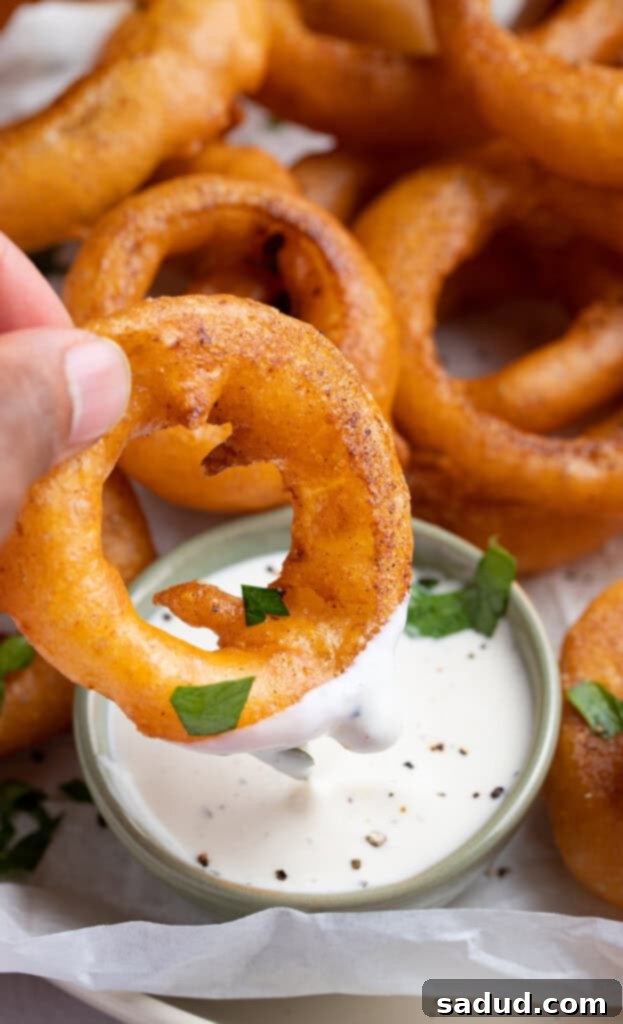
- Classic Ranch: Many, including myself, find that the creamy, tangy, and herb-filled goodness of ranch dressing is the ultimate companion for onion rings. Try this homemade gluten-free, Whole30 dump ranch for a fresh, healthy option.
- Timeless Ketchup: Ketchup is a universally loved classic. For a homemade touch that offers depth of flavor beyond store-bought, consider this keto ketchup recipe which often tastes richer and less sweet.
- Spicy Chipotle Aioli: If you enjoy a little kick, a chipotle aioli dipping sauce adds a smoky, spicy, and creamy element that pairs wonderfully with the sweet onions.
- Other Delicious Options: Don’t limit yourself! Try honey mustard for a sweet-tangy profile, a zesty remoulade, or even a simple garlic mayonnaise for an extra savory punch.
- The Critical Role of Oil Temperature: This cannot be stressed enough: maintaining the correct oil temperature is paramount for crispy, non-greasy onion rings. If your oil isn’t hot enough, the onion rings will absorb too much oil, becoming heavy, greasy, and soggy. If it’s too hot, the batter will burn before the onion cooks through, leading to a bitter taste.
- Ideal Temperature: Aim for a consistent 350°F (approximately 175°C). A food thermometer (like a clip-on deep-fry thermometer) is your best friend here for accuracy.
- The Wooden Spoon Trick: No thermometer? No problem. Dip the end of a wooden spoon handle into the hot oil. If small, steady bubbles form around the spoon, your oil is ready. If there are violent, rapid bubbles, your oil is too hot; remove it from the heat briefly to cool. If no bubbles appear, it’s not hot enough yet.
- Maintain Consistency: Add onion rings in batches to avoid dropping the oil temperature too drastically.
- Optimal Draining for Maximum Crispness: After frying, don’t just dump your onion rings onto a plate lined with paper towels. While paper towels help absorb excess oil, placing hot onion rings directly on them can cause the bottom side to steam and sit in pooled oil, leading to sogginess.
- The Wire Rack Method: The best technique is to lay a wire cooling rack over a baking sheet that has been lined with paper towels. As you remove the onion rings from the oil, transfer them directly to the wire rack. This allows air to circulate all around the onion rings, letting excess oil drain away completely and preventing them from steaming, ensuring they stay beautifully crisp.
- Keep Them Warm: If you’re frying multiple batches, you can keep the earlier batches warm and crisp by placing the baking sheet with the wire rack into a preheated oven set to a low temperature (around 200°F / 95°C) while you finish frying the rest.
- Prepping Your Onions for Success: For the best texture and flavor, consider soaking your sliced onion rings in a bowl of ice water for about 30 minutes to an hour before dusting with cornstarch. This helps reduce the raw onion’s pungent bite, mellowing its flavor, and can also make the onion slightly crisper after frying. Remember to pat them thoroughly dry before proceeding to the dusting step; any residual water will prevent the batter from adhering properly.
- Frying in Batches: Resist the urge to overcrowd your pan. Frying too many onion rings at once will drastically lower the oil’s temperature, resulting in greasy, undercooked, and less crispy results. Work in small batches, adding just enough rings that they can fit in a single layer without touching each other. This ensures even cooking and consistent crispiness for every single ring.
- Storage and Reheating: While best enjoyed fresh, leftover gluten-free onion rings can be stored in an airtight container in the refrigerator for 2-3 days. To reheat them and bring back their crispness, avoid the microwave as it will make them soggy. Instead, spread them in a single layer on a baking sheet and reheat in a preheated oven at 350°F (175°C) for 8-10 minutes, or use an air fryer at 375°F (190°C) for 5-7 minutes, until heated through and crispy.
More Awesome Gluten-Free Recipes to Try
If you loved these crispy gluten-free onion rings and are looking for more delicious gluten-free options, explore these other fantastic recipes:
- Gluten Free Mozzarella Sticks
- Gluten Free Mug Cake
- Perfect Gluten Free Brownies
- Gluten Free Peanut Butter Cookies
- Gluten Free Cinnamon Rolls (Cinnabon Copycat)
- Peanut Butter Pancakes (Gluten Free)
- Gluten Free Fried Chicken
If you loved this recipe as much as we did, don’t forget to leave us a review below. ★ Follow Easy Healthy Recipes on Pinterest, Facebook, and Instagram, too!
For more delicious recipes, visit our sister sites, 40 Aprons and Easy Cheap Recipes.
Gluten Free Onion Rings
 Cheryl Malik
Print
SaveSaved!
Ingredients
- 2 medium sweet onions sliced into rings, such as Vidalia or Walla Walla
- cornstarch enough to lightly dust sliced onions (approx. ¼ cup)
- neutral oil for frying, such as canola, vegetable, or peanut oil
For the Crispy Gluten-Free Batter
- ⅓ cup cornstarch
- 1 ½ cups gluten free flour blend (all-purpose, for best results)
- ¼ cup cornmeal (fine or medium grind)
- 1 teaspoon paprika
- 2 teaspoons garlic powder
- 1 teaspoon onion powder
- 2 teaspoons salt
- 1 cup milk of your choice (dairy or unsweetened plant-based), see Notes
- 1 cup club soda (or gluten-free beer for a beer-battered flavor)
Equipment
-
Large bowl
-
Whisk
-
Fork or tongs
-
Large saucepan or deep skillet (cast iron works well)
-
Food thermometer (optional, but recommended for accuracy)
-
Wire cooling rack
-
Paper towels
-
Baking sheet
Instructions
-
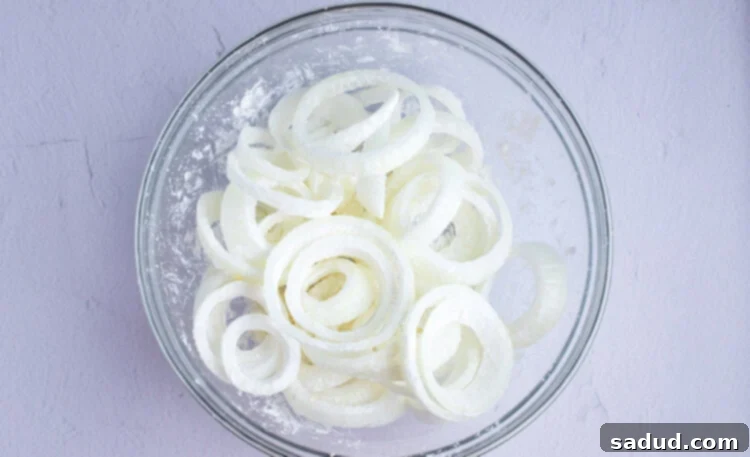
If your sweet onions are not already sliced into rings, carefully slice them now into uniform ¼-inch thick rings. For extra crispness and to mellow the onion flavor, you can soak the sliced rings in ice water for 30 minutes, then drain and pat them thoroughly dry with paper towels. Lightly dust all sides of the dried onion rings with cornstarch, ensuring an even coating. Set them aside on a plate.

-
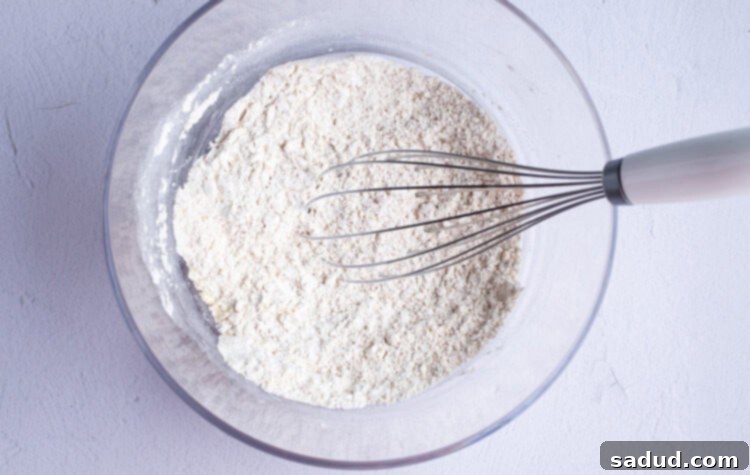
In a large mixing bowl, combine the dry ingredients for the batter: ⅓ cup cornstarch, gluten-free flour blend, cornmeal, paprika, garlic powder, onion powder, and salt. Use a whisk to thoroughly mix these ingredients together, ensuring there are no lumps and the spices are evenly distributed.

-
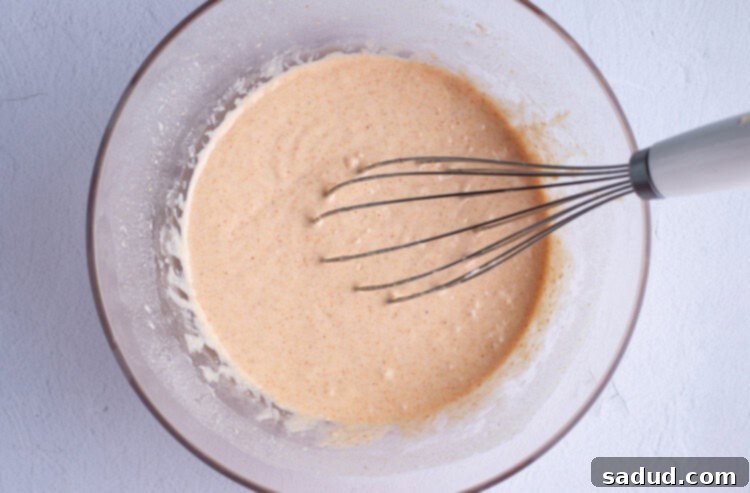
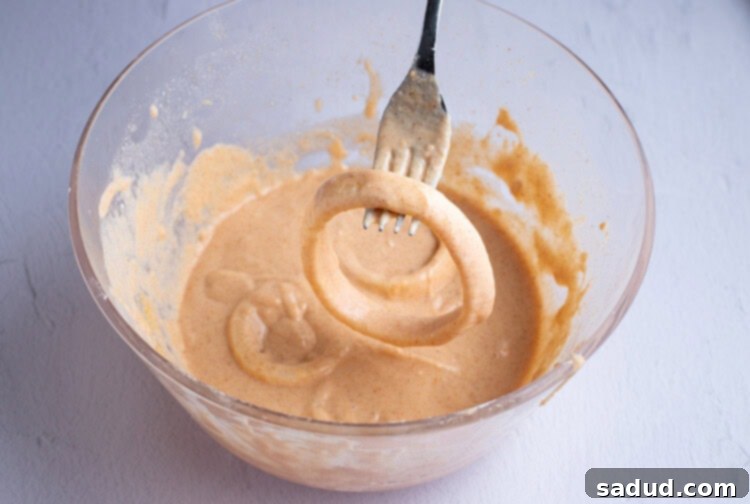
Once the dry ingredients are fully combined, gradually whisk in the milk and then the club soda. Continue whisking until you achieve a smooth, lump-free batter with a consistency similar to pancake batter. The club soda will create a light, bubbly texture, which is key for crispy onion rings.

-
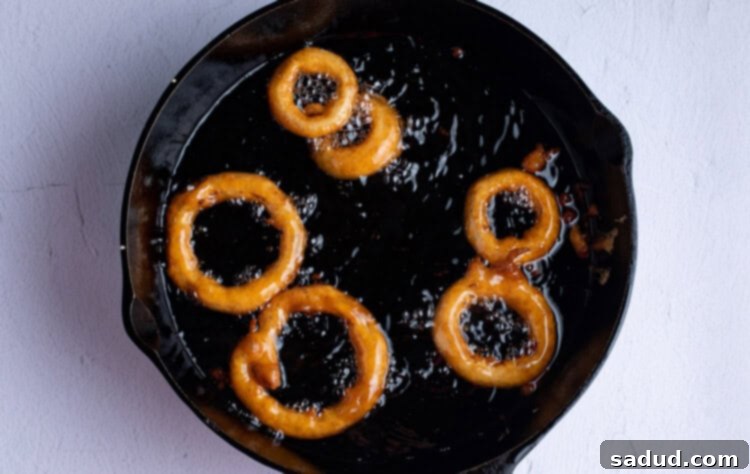
In a large, heavy-bottomed saucepan or deep skillet (a cast-iron skillet works wonderfully), pour enough neutral oil to reach a depth of about 2-3 inches. Heat the oil over medium-high heat until it reaches 350° Fahrenheit (175°C). Use a food thermometer for accuracy, or use the wooden spoon trick mentioned in the Chef’s Tips to test the temperature.
-
Once the oil is at the correct temperature, use a fork or tongs to carefully dip each cornstarch-dusted onion ring into the prepared gluten-free batter. Ensure the onion ring is fully coated evenly on all sides. Gently lift the coated onion ring out of the bowl, pausing briefly over the bowl to allow any excess batter to drip off, preventing thick, gummy spots.

-
Carefully drop the battered onion rings, one by one, into the hot oil. Fry in small batches to avoid overcrowding the pan, which can lower the oil temperature and lead to soggy onion rings. Fry each batch for about 2-4 minutes, turning occasionally, until they are beautifully golden brown and incredibly crispy on all sides.

-
Using your fork or tongs, remove the fried onion rings from the hot oil. Immediately transfer them to a wire cooling rack placed over a baking sheet lined with paper towels. This setup allows excess oil to drain away completely and keeps the onion rings crisp by allowing air circulation, preventing them from sitting in oil and becoming soggy.
-
Continue with the remaining onion rings, repeating steps 4-6 until all are fried. If preparing multiple batches, you can keep the already fried onion rings warm in a low oven (around 200°F / 95°C) while you finish frying the rest. Serve your crispy homemade gluten-free onion rings warm with your favorite dipping sauces and enjoy!
Notes
- Milk Options: This recipe is incredibly versatile. Feel free to use any type of milk you prefer – whole milk, 2%, or any unsweetened plant-based milk (like almond, oat, or soy) will work beautifully. The key is to ensure it is unsweetened to maintain the savory profile of the onion rings.
- Crucial Frying Tips: To achieve consistently crispy, perfect gluten-free onion rings, it’s vital to work in batches. Avoid the temptation to overcrowd the oil at once! Overloading the pan will significantly drop the oil temperature, leading to greasy, less crispy results. Add just enough onion rings at a time so they can comfortably float in a single layer, allowing them to fry evenly and maintain that perfect golden crispness.
- Prepping Onions: For a milder onion flavor and even crisper results, soak your sliced onions in ice water for 30 minutes before dusting with cornstarch. Pat them very dry before proceeding with the recipe.
- Reheating: Leftover onion rings are best reheated in an oven at 350°F (175°C) for 8-10 minutes, or in an air fryer at 375°F (190°C) for 5-7 minutes, until crispy. Avoid microwaving, as it will make them soggy.
Recipe yields approximately 4 servings. Actual number of onion rings produced will depend on the size and thickness of the rings you cut. Nutritional values shown are general guidelines and reflect information for one serving. Macros may vary slightly depending on specific brands and types of ingredients used.
Nutrition Information
Number of total servings shown is approximate. Actual number of servings will depend on your preferred portion sizes.
Nutritional values shown are general guidelines and reflect information for 1 serving using the ingredients listed, not including any optional ingredients. Actual macros may vary slightly depending on specific brands and types of ingredients used.
To determine the weight of one serving, prepare the recipe as instructed. Weigh the finished recipe, then divide the weight of the finished recipe (not including the weight of the container the food is in) by the desired number of servings. Result will be the weight of one serving.
