Texas Roadhouse Chili Copycat Recipe: Your Guide to the Best Homemade Texas Red Chili
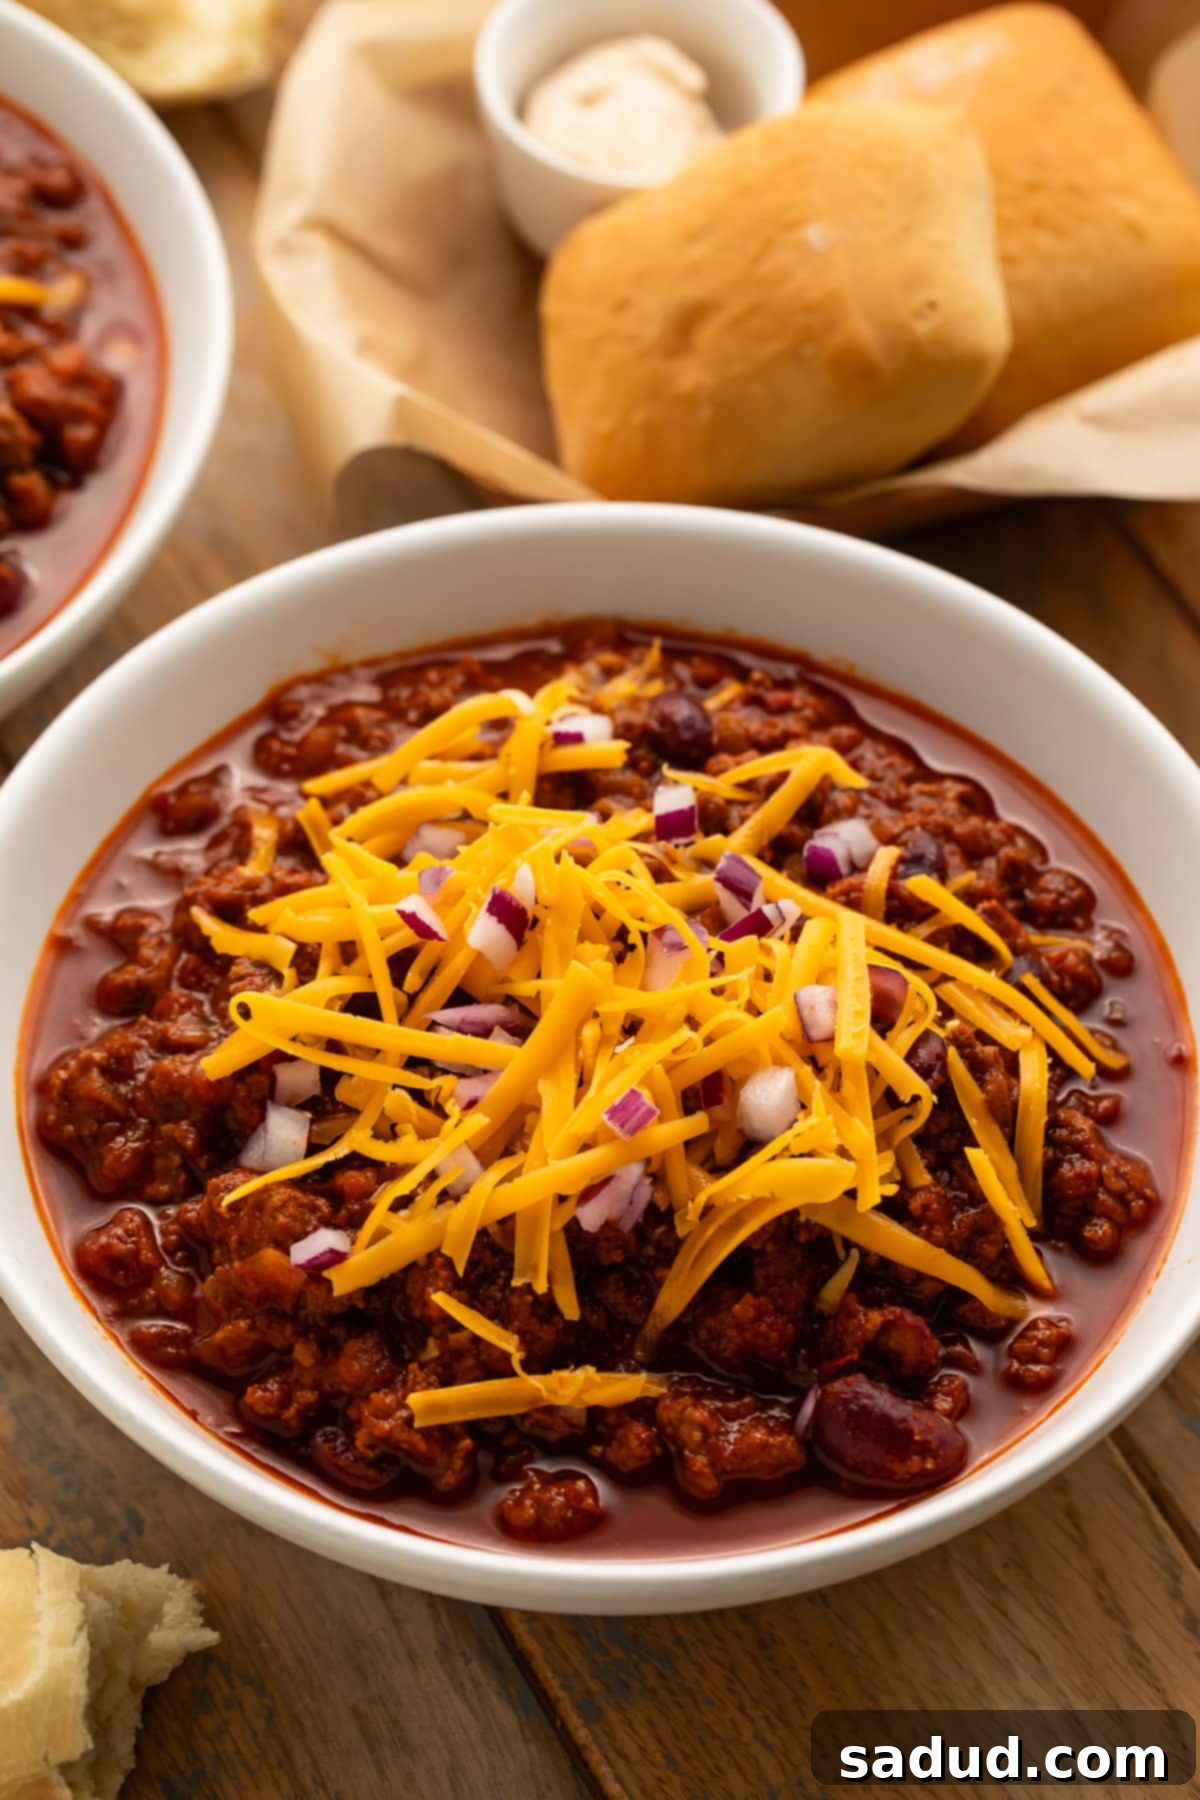
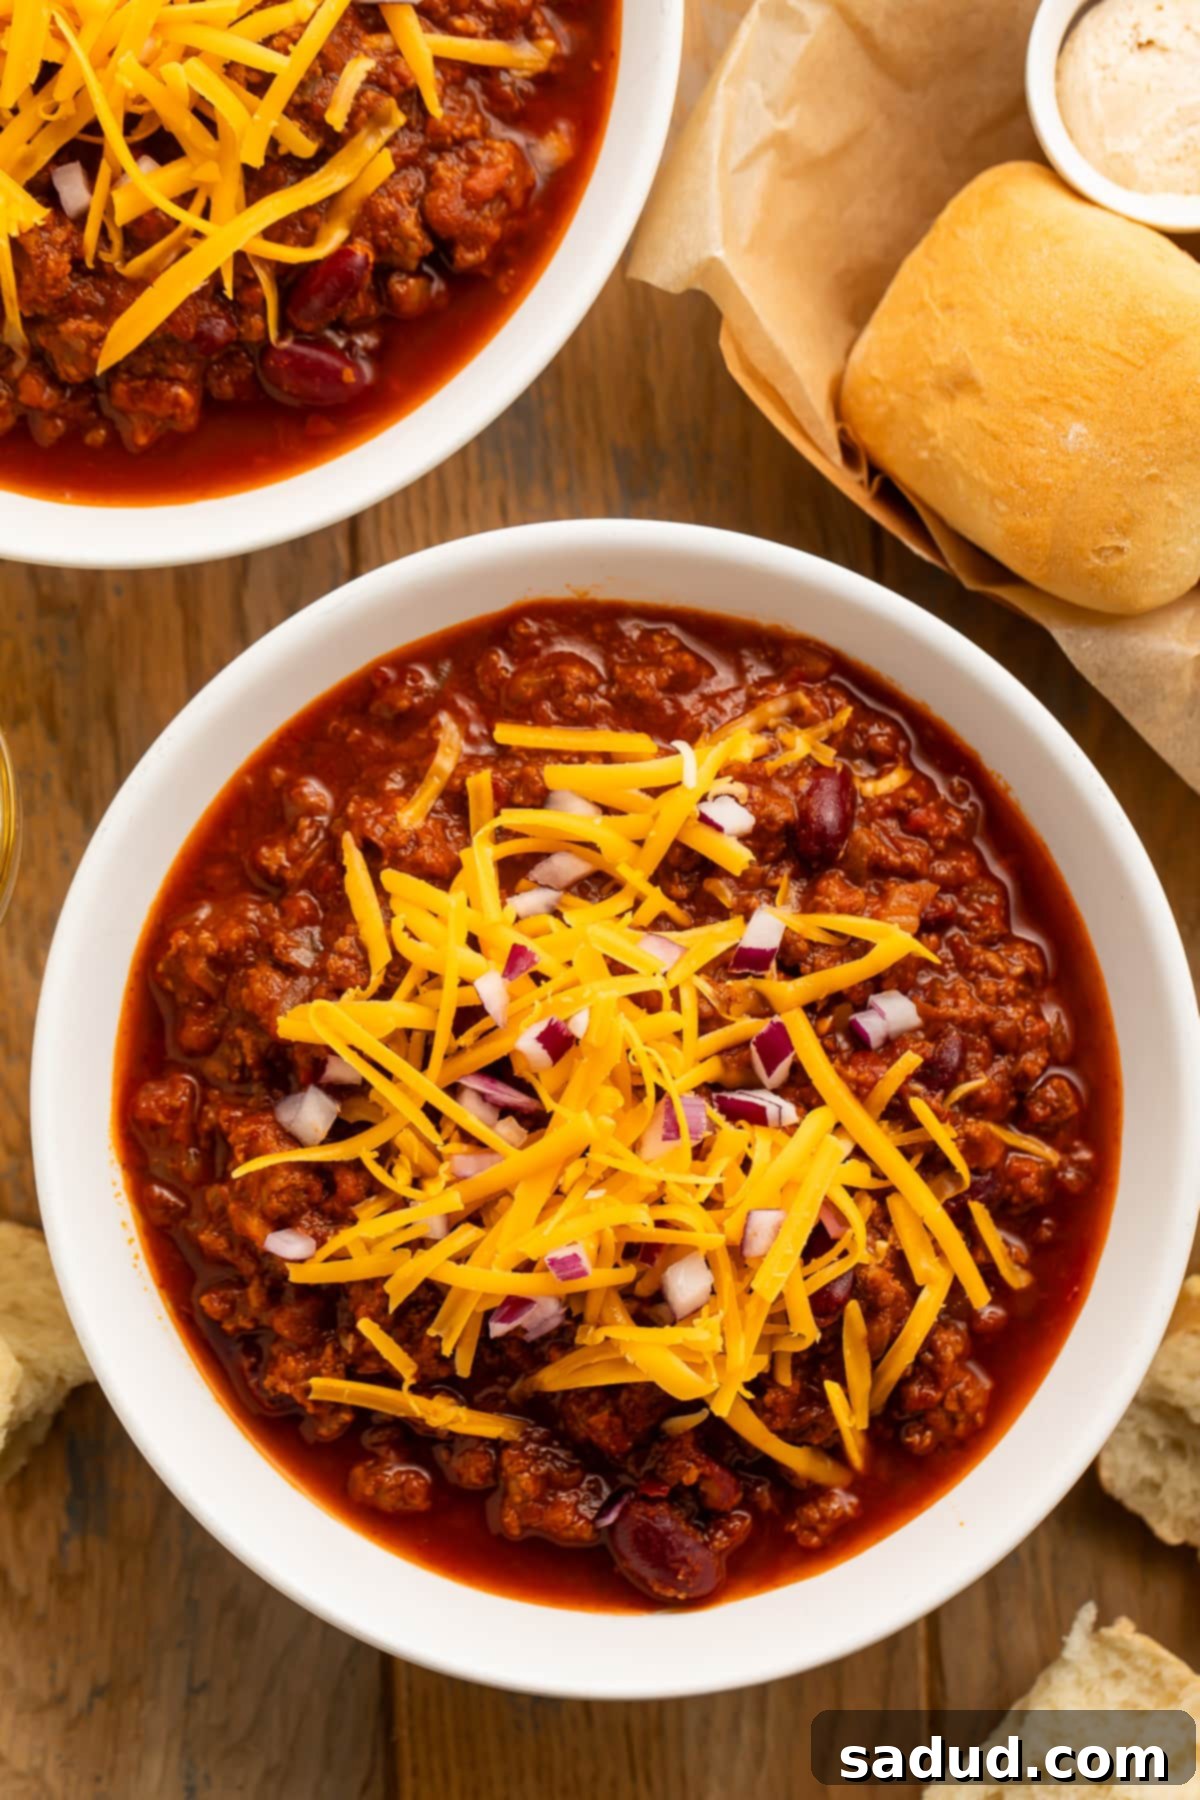
There’s something uniquely comforting and incredibly satisfying about a steaming bowl of chili, and if you’ve ever had the pleasure of tasting Texas Roadhouse’s legendary chili, you know it’s in a league of its own. Its rich, savory flavor profile, perfectly balanced spices, and hearty texture make it an unforgettable experience. But why wait in line when you can recreate that magic right in your own kitchen? Our Texas Roadhouse chili copycat recipe brings all the authentic flavors of their beloved Texas Red chili directly to your home. This recipe is designed to be super savory, incredibly filling, and perfectly spiced, ensuring every spoonful is as good as, if not better than, the original. Get ready to ditch the drive-thru and impress your family and friends with a big batch of the best homemade chili. Just don’t forget those essential toppings: a generous sprinkle of shredded cheddar cheese and a scattering of finely chopped red onions. And, of course, no Texas Roadhouse meal is complete without their famous warm yeast rolls!

🍲 Why This Texas Roadhouse Chili Recipe is a Must-Make
- This incredibly easy and incredibly accurate copycat recipe is **the ultimate at-home recreation of Texas Roadhouse’s famous Texas Red chili**. We’ve painstakingly developed this recipe to capture the deep, authentic flavors that make their chili so beloved. While our primary focus is on the classic version *with* hearty kidney beans, we understand that preferences vary. That’s why we’ve made it simple to customize: you can easily make this Texas Roadhouse chili without beans if that’s your preferred style. Regardless of your bean preference, make sure to serve it alongside warm, fluffy yeast rolls and a generous smear of honey cinnamon butter for the full restaurant experience!
- Every single bite of this savory red chili is **packed with mouth-watering, layered flavor**. We start by enhancing the natural richness of lean ground beef and the earthy goodness of kidney beans (if using) with a robust blend of aromatic spices. Fresh garlic and onion lay a foundational savory base, while a medley of cumin, smoked paprika, and chili powder provides that unmistakable chili warmth and depth. A touch of brown sugar balances the acidity of the tomatoes and adds a subtle sweetness, perfectly complemented by freshly cracked black pepper and salt. For those who enjoy an extra kick, a hint of crushed red pepper flakes can be added. It’s a wonderfully savory and hearty chili, boasting just the right amount of sweetness and spice to tantalize your taste buds.
- You can **elevate these delightful layers of flavor even further with carefully selected toppings**. Shredded fresh cheddar cheese and finely diced red onions are, without a doubt, a must for that classic Texas Roadhouse presentation and taste. However, don’t feel limited! Explore other fantastic additions like a dollop of cool sour cream, thinly sliced green onions for a fresh bite, or even diced jalapeños for an added layer of heat. Each topping adds its own texture and flavor, allowing you to personalize your perfect bowl of homemade Texas Roadhouse chili.
To Bean, or Not to Bean? The Great Chili Debate
Did you know that **traditional Texas chili, often called “chili con carne,” typically does not contain beans**? This culinary distinction is a point of fierce pride for many Texans, who believe true chili should be a hearty stew of meat and chilies, with no other filler. The emphasis is on the rich flavors of beef and the complex spice blend, rather than legumes.
However, Texas Roadhouse, despite its name, was founded in Indiana and is headquartered in Kentucky. This geographical origin explains why their “Texas Red chili” isn’t strictly an *authentic* Texas chili by traditional standards. Their interpretation, while incredibly delicious, caters to broader palates, often incorporating beans. This highlights the fascinating evolution of regional dishes as they gain national popularity.
What makes the great beans-in-chili debate even *more* fun and intriguing is that **Texas Roadhouse actually offers different versions of this chili depending on the location!** For example, one of our Easy Healthy Recipes team members, residing outside New Orleans, finds that her local Texas Roadhouse proudly serves the Texas Red chili *without* beans, catering to a regional preference. Yet, here in Memphis, my closest Texas Roadhouse consistently offers this chili *with* beans, indicating a different local demand. This variation perfectly illustrates how even chain restaurants adapt their menus to suit local tastes and traditions, creating a dynamic culinary landscape.
Which option does your local Texas Roadhouse location serve – with beans or without? We’d love to hear about it! Leave us a comment at the end of this post and share your experience with this delicious, adaptable dish!
👩🏼🍳 Expert Chef’s Tips for the Best Texas Roadhouse Chili
- The spices are the heart and soul of this Texas Roadhouse chili recipe, so using **fresh, vibrant spices is absolutely critical** for achieving that deep, complex flavor. Most ground spices maintain their peak quality for about 6 months, after which their potency noticeably declines. To ensure you’re starting with the best, always double-check the expiration dates on your spice jars. If the dates are missing or unreadable, a quick sniff test can tell you a lot: older spices will have a very faint, almost flat aroma, while fresh spices will be intensely vibrant and pungent. **The more intense the scent, the more intense the flavor** they’ll impart to your chili! If there’s any doubt about the age or quality of your spices, I strongly recommend replacing them. This small investment will make a huge difference in the overall taste of your homemade chili.
- One of the most recognizable qualities of authentic Texas Roadhouse chili is its wonderfully thick, almost stew-like consistency. Thankfully, you don’t need to resort to adding flour or cornstarch to achieve this desired richness. The secret lies in patience: **the longer your chili gently simmers, the more the liquids will reduce, and the starches from the beans and tomatoes will naturally thicken the mixture.** If, after adequate simmering, your chili isn’t quite reaching your preferred thickness, you have a couple of simple, natural options. **First,** you can increase the amount of kidney or pinto beans. Remember to rinse them thoroughly and drain them completely before adding them; if excess liquid is the problem, you don’t want to introduce more! **Another brilliant option,** which avoids adding more ingredients, is to temporarily remove a portion of the beans already in the pot. Spoon about half a cup of beans with a little liquid into a separate bowl, then mash them vigorously with a potato masher or a fork. This process breaks down the beans and releases their natural starches. Stir the mashed beans back into the chili, and *voila*! Your chili will thicken beautifully and naturally, without any artificial additives, maintaining that perfect texture.
- **Properly Browning Your Ground Beef:** Don’t rush this crucial step! Browning the lean ground beef thoroughly not only cooks the meat but also develops deep, caramelized flavors that are essential for the rich taste of this Texas Roadhouse chili. Ensure your dutch oven is hot enough before adding the beef, and break it up into small, even pieces as it cooks. Allow the beef to get a good sear on all sides. Once browned, drain off any excess fat if you’re not using very lean ground beef (90/10 or higher) to prevent a greasy chili and allow the spices to truly shine.

🥣 Other Hearty Recipes Perfect for Soup Season
- Seafood Chili
- 15-Bean Soup
- Instant Pot White Chicken Chili
- Tomato Florentine Soup
- Instant Pot Clam Chowder
- Boilermaker Chili
- Chickarina Soup
- White Bean Chili
- Creamy Cajun Chicken Pasta Soup
- Slow Cooker Turkey Chili
- Instant Pot Chicken and Rice Soup
- Pumpkin Bisque
- Chili’s Southwest Chicken Soup
- Mexican Chili
If you loved this authentic Texas Roadhouse chili copycat recipe as much as we did, don’t forget to leave us a review below and share your experience. ★ Follow Easy Healthy Recipes on Pinterest, Facebook, and Instagram for more delicious and easy-to-make recipes!
For even more delicious and diverse recipes, make sure to visit our fantastic sister sites, 40 Aprons and Easy Cheap Recipes.

Texas Roadhouse Chili Recipe (Copycat)
 Cheryl Malik
Print
SaveSaved!
Ingredients for the Perfect Texas Roadhouse Chili
For the Chili Base
- 2 tablespoons neutral oil such as olive oil, avocado oil, or vegetable oil
- 1 medium yellow onion finely diced, approximately 2 cups
- 2 tablespoons minced fresh garlic
- 2 pounds lean ground beef 90/10 or higher for best results
- 3 ½ teaspoons ground cumin
- 2 packed tablespoons brown sugar
- 2 tablespoons chili powder
- 1 ½ tablespoons smoked paprika
- ½ teaspoon freshly cracked black pepper adjust to your preference
- 3 ½ teaspoons salt fine sea salt or kosher salt, adjust to taste
- 2 14-ounce cans crushed tomatoes
- 3 tablespoons tomato paste
- 1 14-ounce can kidney beans rinsed and well-drained; optional, see Notes section for details
- 1 cup low-sodium beef broth
- ⅛ teaspoon crushed red pepper flakes add more or less to taste for an extra kick, optional
Serving Suggestions (All Optional, but Highly Recommended!)
- shredded fresh cheddar cheese
- finely chopped red onions
- thinly sliced green onions
- sour cream
- tortilla chips
- yeast rolls
Essential Equipment
-
large dutch oven approximately 6-8 quarts; or any large, heavy-bottomed soup pot
-
large wooden spoon or other sturdy spoon for stirring
Step-by-Step Instructions for Your Homemade Chili
-
Begin by heating your large dutch oven or soup pot on the stovetop over medium heat. Once the pot is warm, add the 2 tablespoons of neutral oil. Continue heating, swirling and tilting the pot occasionally to ensure the oil is evenly distributed across the cooking surface, until the oil becomes hot and shimmery, indicating it’s ready for sautéing.
-
When the oil is hot, add the 1 medium yellow onion, diced, into the dutch oven and stir well to incorporate it with the hot oil. Sauté the diced onion for 3 to 4 minutes, or until it becomes soft and translucent, stirring occasionally to prevent it from sticking or burning to the bottom of the pot. This step builds the foundational aromatic flavor.
-
Once the onions have softened to your liking, add the 2 tablespoons of minced fresh garlic and stir it into the onion mixture. Continue to sauté for an additional 30 to 60 seconds, just until the garlic becomes fragrant. Be careful not to overcook the garlic, as it can quickly burn and turn bitter.
-
Now, add the 2 pounds of lean ground beef to the dutch oven. Using your large wooden spoon, break the ground beef apart into smaller chunks. Cook the ground beef for 5 to 7 minutes, stirring frequently and continuing to break up any large pieces, until the beef is thoroughly browned and crumbled. Drain any excess fat if necessary, although lean ground beef (90/10 or higher) typically produces minimal fat.
-
Once the ground beef is beautifully browned and ready, it’s time to infuse it with flavor. Add the 3 ½ teaspoons of ground cumin, 2 packed tablespoons of brown sugar, 2 tablespoons of chili powder, 1 ½ tablespoons of smoked paprika, ½ teaspoon of freshly cracked black pepper, and 3 ½ teaspoons of salt. Stir the mixture continuously for 30 to 60 seconds, allowing the spices to toast slightly and become fully incorporated into the ground beef mixture, releasing their aromatic compounds.
-
Next, add the wet ingredients to the dutch oven: 2 14-ounce cans of crushed tomatoes, 3 tablespoons of tomato paste, 1 14-ounce can of kidney beans (if using, ensuring they are well-rinsed and drained), and 1 cup of low-sodium beef broth. Stir all the ingredients thoroughly until everything is completely combined. If you like a little extra heat, now is the time to stir in ⅛ teaspoon of crushed red pepper flakes, or more to taste.
-
Reduce the heat under the dutch oven to medium-low. Allow the chili to simmer, uncovered, for 20 to 30 minutes. This simmering time is crucial for the flavors to meld beautifully, for the beans and tomatoes to soften and warm through, and for the chili to thicken to that desirable, hearty consistency. Stir the chili occasionally throughout this process to prevent any sticking or burning at the bottom of the pot.
-
Once your Texas Roadhouse chili has reached its perfect consistency and depth of flavor, remove it from the heat and let it cool for about 5 minutes. After this brief resting period, ladle generous portions of the chili into individual serving bowls. Top each bowl lavishly with shredded fresh cheddar cheese, finely chopped red onions, thinly sliced green onions, and a dollop of sour cream if desired. Serve this incredibly comforting chili warm with crunchy tortilla chips or, for the full Texas Roadhouse experience, with warm, fluffy yeast rolls. Enjoy your homemade masterpiece!
Helpful Notes for Your Texas Roadhouse Chili
- Beans: As mentioned, Texas Roadhouse uniquely offers their chili both *with* and *without* beans, giving you the flexibility to choose! Our recipe is designed to be versatile. If you prefer a more traditional “Texas Red” chili without beans, simply omit the kidney beans entirely from the ingredients list and instructions. No other significant changes or substitutions are needed for a delicious bean-free version.
- Storing Leftovers: This homemade Texas Roadhouse chili makes for fantastic leftovers! To store, allow any remaining chili to cool completely to room temperature. Once cooled, transfer the chili into an airtight container. It can then be refrigerated safely for up to 4 days, retaining its rich flavor. When you’re ready to enjoy it again, reheat the chili gently on the stove over medium-low heat, stirring frequently, until it is thoroughly warmed through. Add a splash of beef broth or water if it’s too thick.
- Freezer-Meal Option: For an even easier weeknight meal, this chili freezes beautifully! Prepare the chili as instructed in the recipe. Once fully cooked, let the chili cool completely. Then, portion it into quart- or gallon-size sealable freezer bags, depending on your serving needs. Ensure you seal the bags completely, pressing out as much air as possible to prevent freezer burn. For easy storage and quick defrosting, lay the sealed bags flat on a large baking sheet and place them in the freezer for at least 30 minutes, or until solid. Once frozen flat, you can remove the baking sheet and store the freezer bags horizontally or vertically for up to 6 months. To enjoy, defrost the chili in the refrigerator overnight, then reheat on the stovetop as you would with regular leftovers, adding extra liquid if needed.
Nutrition Information
Number of total servings shown is approximate. Actual number of servings will depend on your preferred portion sizes and the density of your finished chili.
Nutritional values shown are general guidelines and reflect information for 1 serving using the ingredients listed, not including any optional ingredients or toppings. Actual macros may vary slightly depending on specific brands and types of ingredients used, as well as any customizations made.
To accurately determine the weight of one serving for precise nutritional tracking, prepare the recipe as instructed. Weigh the entire finished recipe, then divide the total weight (excluding the container) by the desired number of servings. The result will be the approximate weight of one serving.
