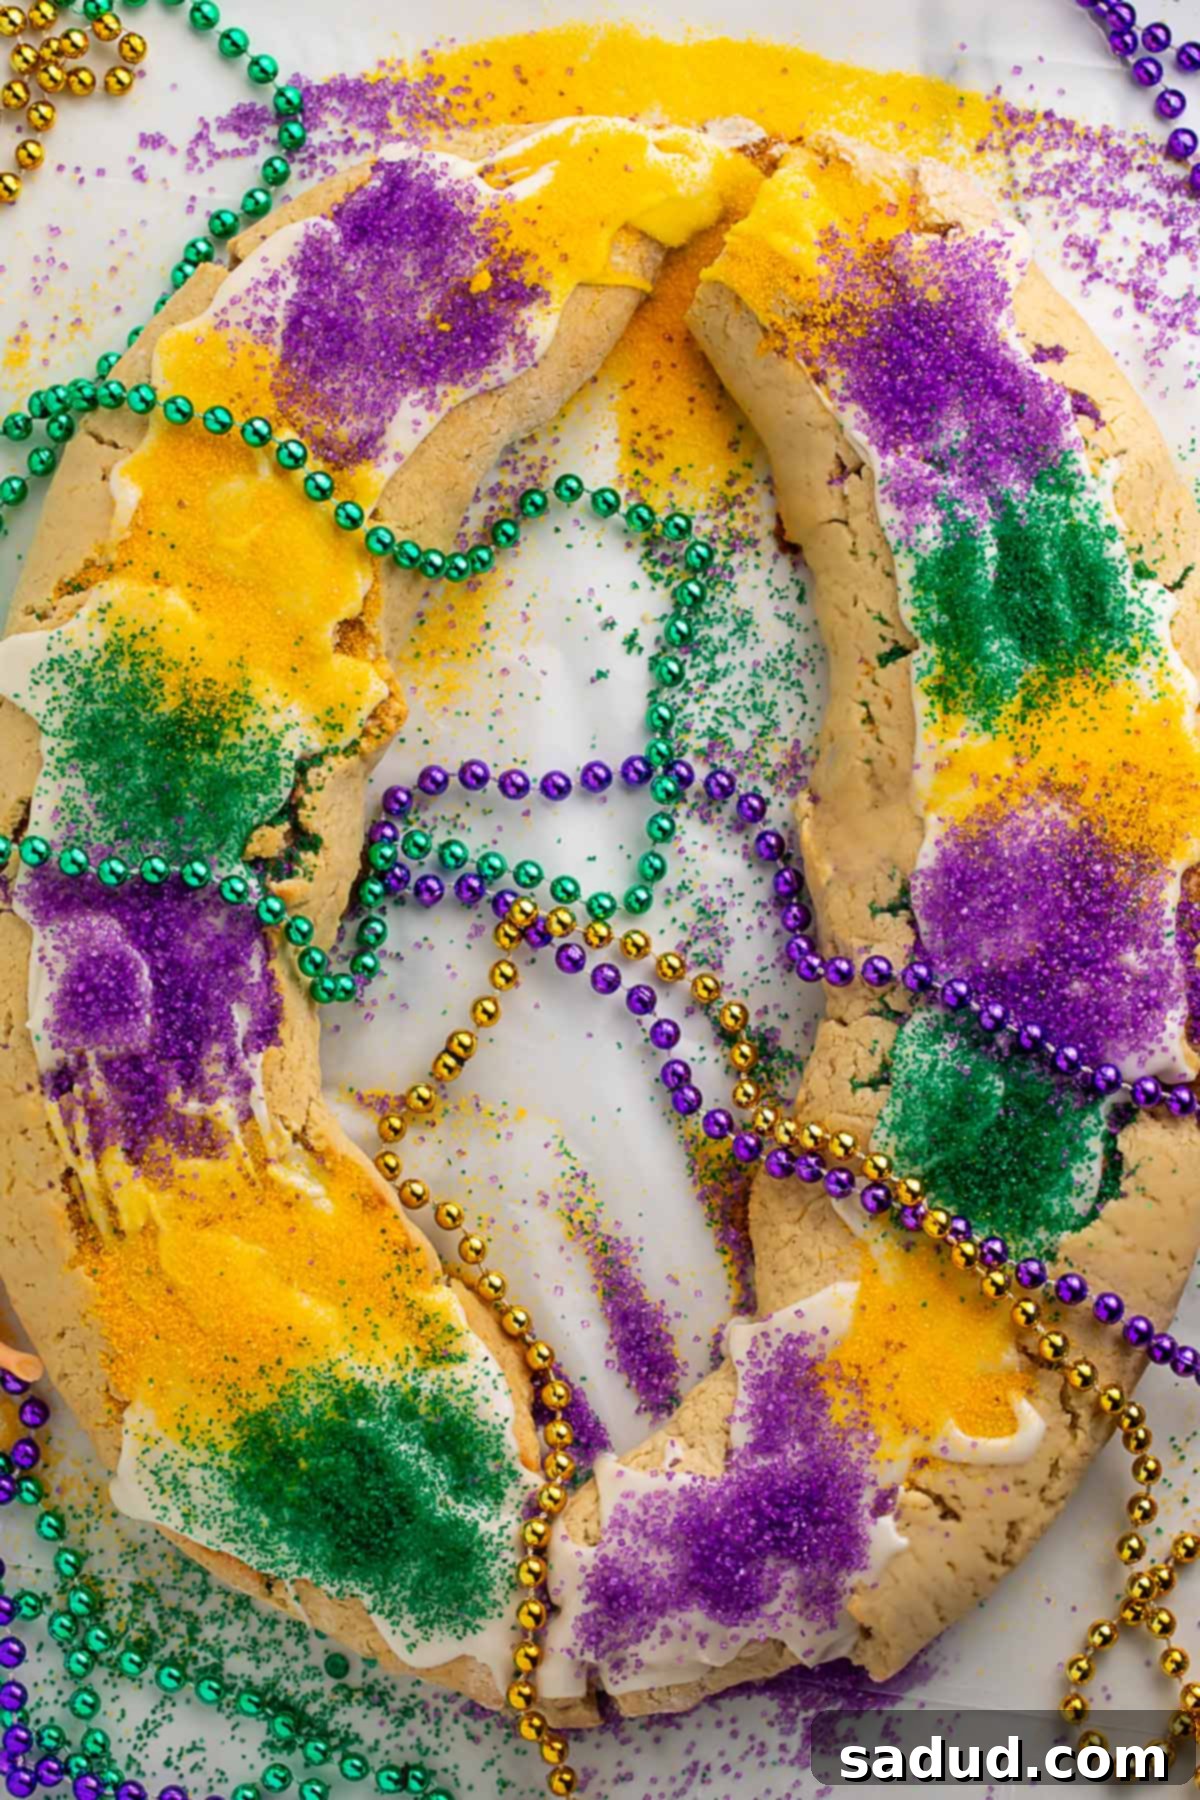
Experience Mardi Gras Joy: Your Ultimate Guide to a Delicious Gluten-Free King Cake
Do you typically bypass this festive Mardi Gras tradition, dreading how gluten affects you? With our specially crafted gluten-free King Cake recipe, you can finally savor this iconic treat without compromise! This recipe delivers a traditional-style, cinnamon-filled King Cake, embodying everything you adore about this classic New Orleans delight – all while being completely gluten-free.
Immerse yourself in the vibrant spirit of Carnival season with a King Cake that offers the perfect blend of rich flavors and delightful textures. Whether you’re sensitive to gluten or simply exploring healthier baking options, this recipe ensures that no one misses out on the fun and deliciousness that King Cake brings to any Mardi Gras celebration.
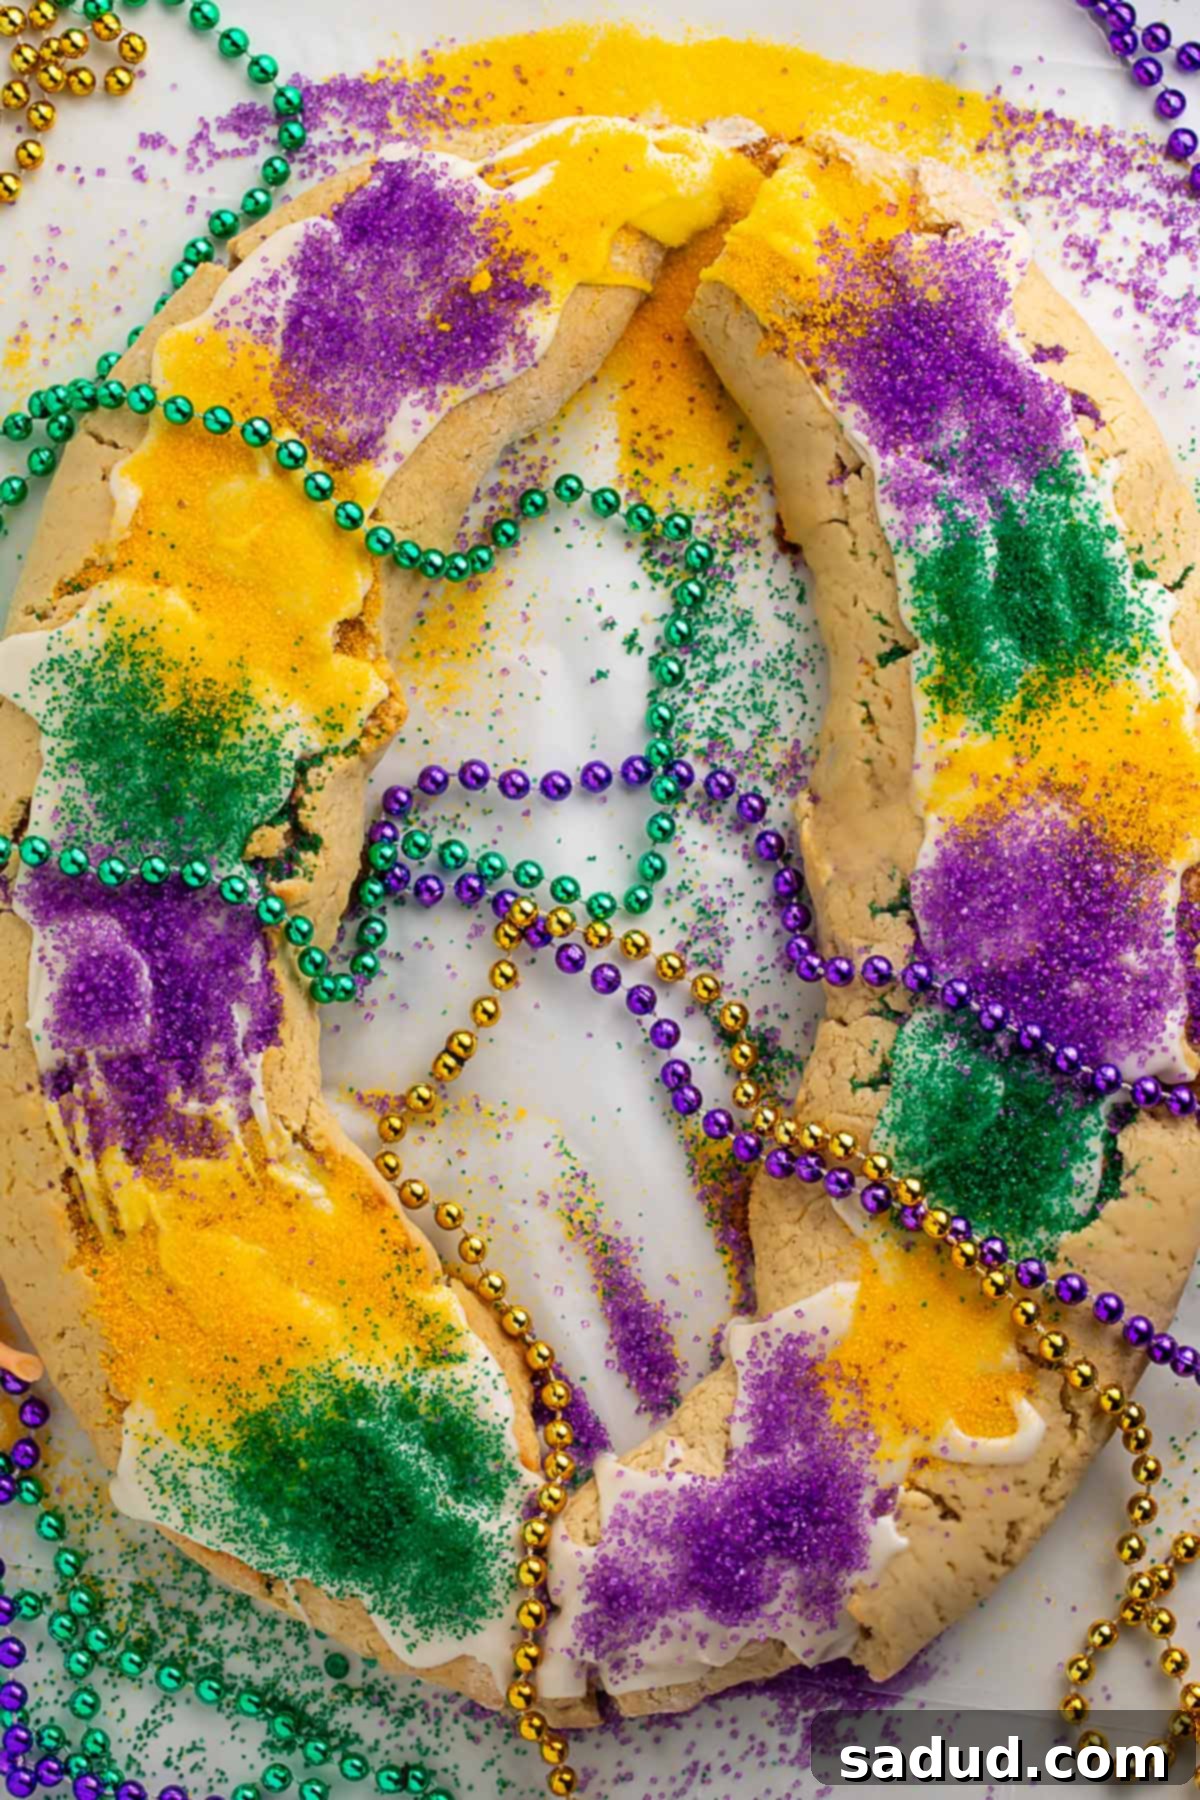
Why This Gluten-Free King Cake Recipe Shines
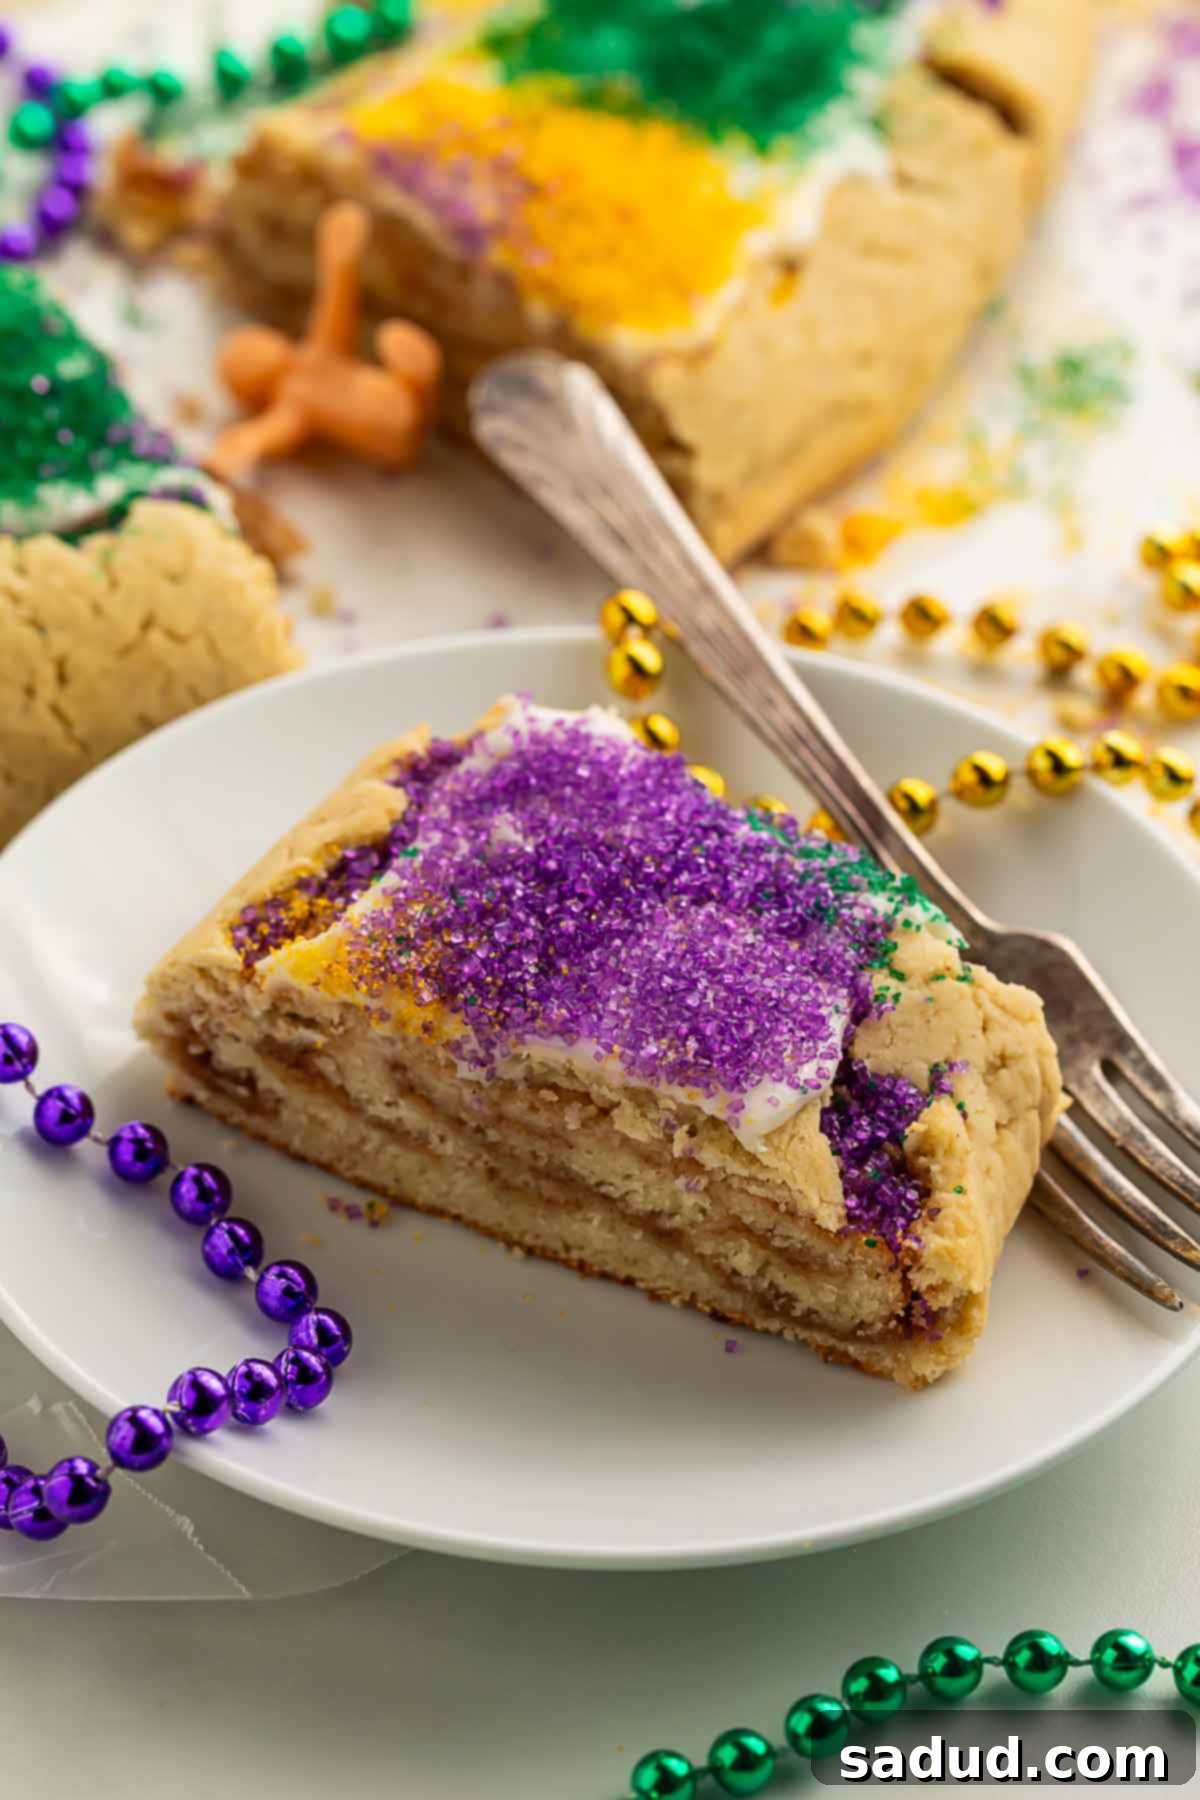
- Authentic Flavor, Zero Gluten: This recipe captures the essence of a traditional King Cake, masterfully remade to be entirely gluten-free! Imagine the warm, sweet embrace of a perfectly baked cinnamon roll, generously swirled with rich brown sugar and cinnamon, and crowned with a luscious icing. Our gluten-free King Cake delivers on every count, right down to the cherished King Cake baby hidden inside. It’s a true celebration of flavor and tradition, accessible to all.
- Embracing the Craft of Traditional Baking: We believe in celebrating the baking process, and this recipe is no exception. While we appreciate shortcuts, the magic of a truly authentic King Cake lies in its creation. Investing the time to carefully mix, prove, knead, and then re-prove the gluten-free dough is what truly develops that distinctive, beloved King Cake flavor and soft, tender texture. This meticulous approach ensures a result that tastes just like the classic, with a perfectly risen and tender crumb that defies its gluten-free nature.
Understanding the Cherished Traditions of King Cake Season
King Cake isn’t just a dessert; it’s a centerpiece of the Mardi Gras season, steeped in history and tradition. To fully appreciate its significance, it’s essential to understand the customs that surround it.
- Timing is Everything: One of the most important rules is strictly adhering to the Carnival calendar. It’s considered bad luck to eat King Cake before Twelfth Day (January 6th, also known as Epiphany or Three Kings’ Day) or after Fat Tuesday (Mardi Gras day), which marks the end of the Carnival season and the day before Ash Wednesday. So, resist the temptation of out-of-season variations like red-and-green Christmas King Cakes or red-white-and-blue July 4th King Cakes! The fleeting nature of its availability is part of what makes King Cake so special and anticipated each year.
- “The Knife Stays in the Box!” This quirky rule originates from bakeries in New Orleans that would include a plastic knife with commercially sold King Cakes. The tradition dictates that the knife should remain in the box to prevent people from cutting into the cake before it’s time to serve. However, with a homemade King Cake, there’s no box to contain the knife! So, for your freshly baked creation, you’ll certainly get a pass on this particular rule, allowing you to slice and serve your masterpiece with ease.
The Enigmatic King Cake Baby: Origins and Traditions
Or, as my daughter affectionately calls it, the “king baby”.
The King Cake baby is a small, plastic toy baby, usually concealed within the King Cake itself. Occasionally, you might find it served on the side, allowing the host to decide its placement. But what’s the story behind this tiny figurine? And what does it mean to be the fortunate — or perhaps “unfortunate” — person to find it in your slice?
Well… It depends who you ask. The meaning and traditions surrounding the King Cake baby are as varied and rich as the cake itself, reflecting a fascinating blend of historical, religious, and social customs.
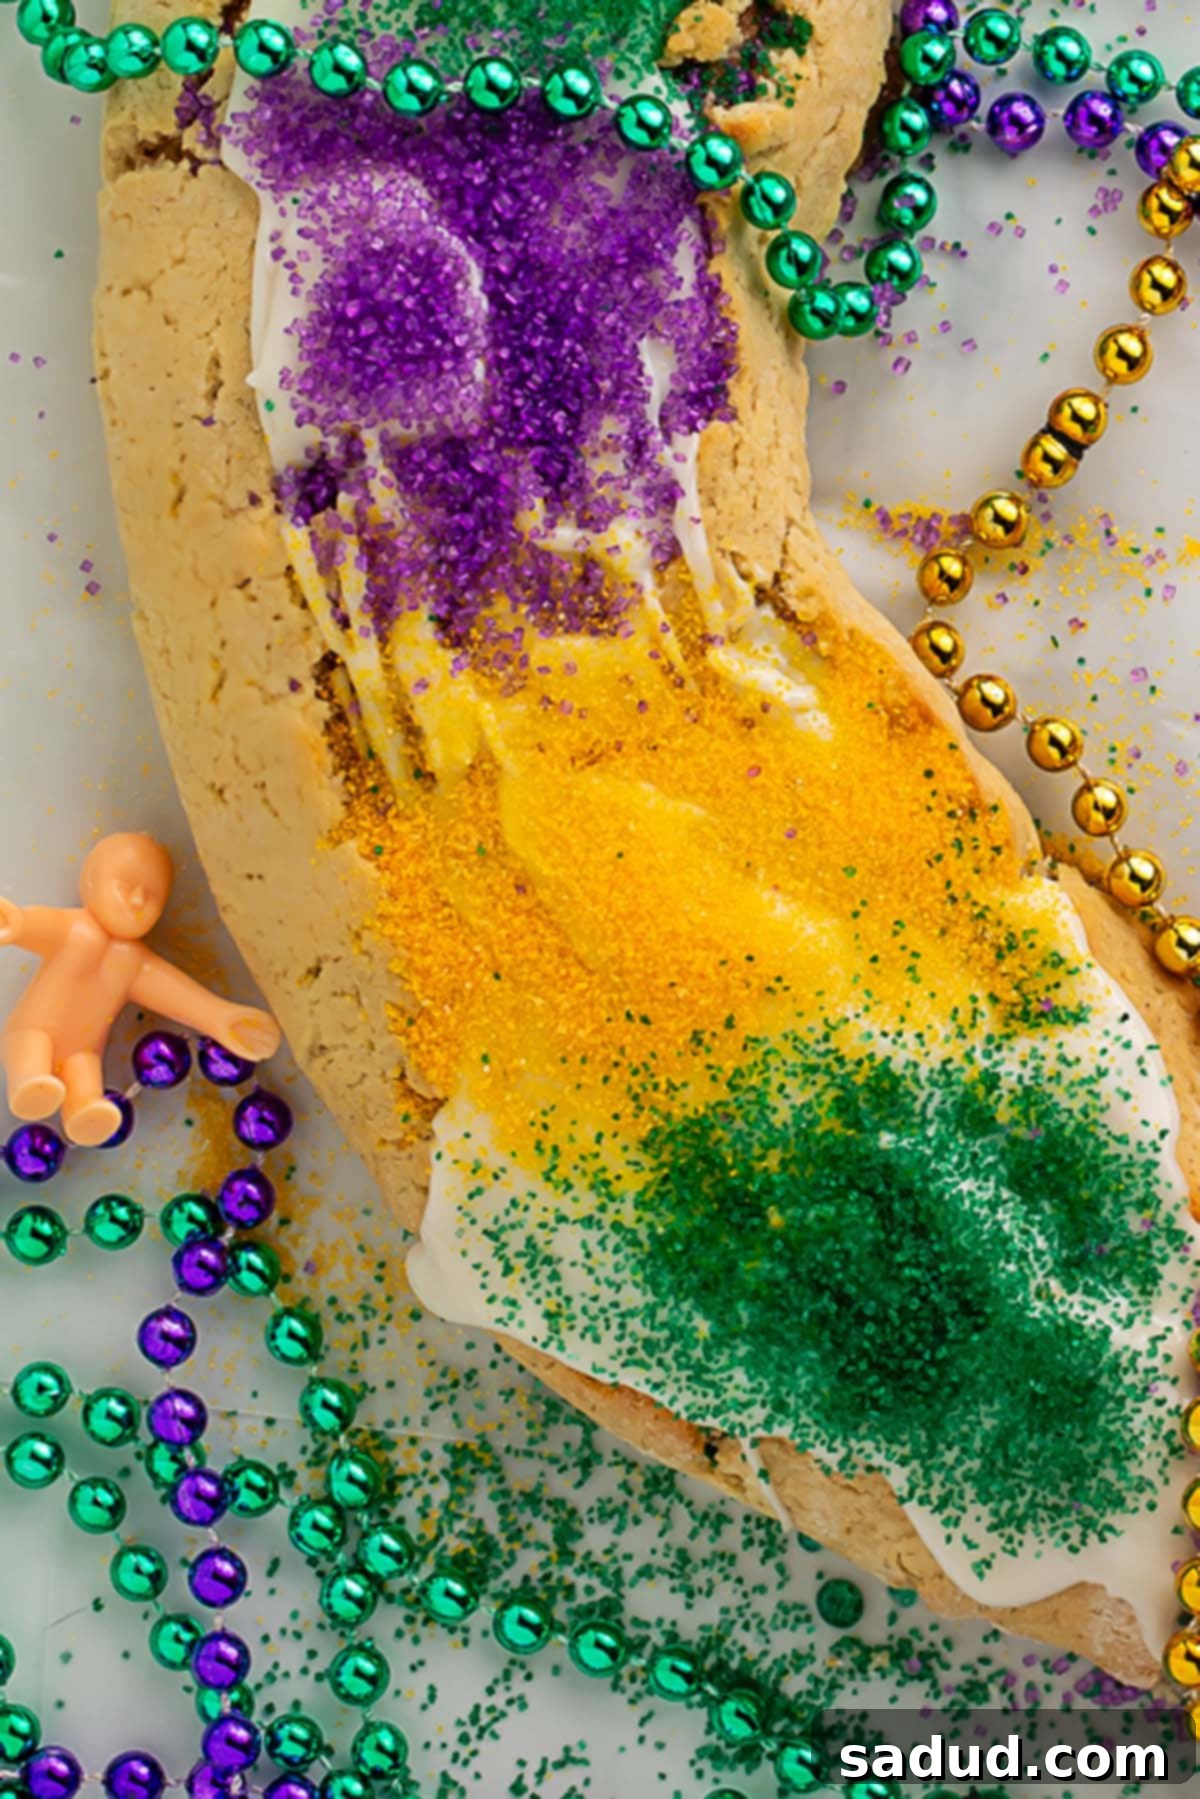
The Historical Significance of the King Cake Baby
The Mardi Gras season officially commences on Twelfth Night (January 6th), also known as Three Kings’ Day or Epiphany, and culminates on Fat Tuesday. The very next day, Ash Wednesday, marks the beginning of the Lenten season leading up to Easter. Interestingly, the duration of the Mardi Gras season varies each year because Easter Sunday is always observed 40 days after Fat Tuesday. Because of this intrinsic link to the Christian calendar, many people interpret the King Cake baby as a representation of the Biblical baby Jesus, symbolizing the Epiphany when the three wise men visited the infant Christ.
However, the tradition of a plastic baby is relatively modern. Before the 1940s, other small trinkets were commonly hidden inside the cakes, such as fava beans or silver doubloons. These items also carried symbolic weight, often representing good fortune or a social duty. The shift to tiny plastic (or sometimes ceramic!) babies adds a distinct, playful element to the tradition that has become universally recognized with King Cakes today.
The Fortune of Finding the King Cake Baby
Discovering the plastic baby in your slice of King Cake comes with various interpretations and traditions, making the act of slicing and serving a King Cake an exciting event. Some people joyously believe that finding the baby signifies good luck and promises prosperity for the remainder of the Mardi Gras season, or even for the entire year ahead.
Conversely, some view it as a playful omen, much like catching the bouquet at a wedding. In this light, the finder is “marked” as the next person in their social circle to become pregnant. This interpretation adds a layer of anticipation and humor, especially in celebratory gatherings. Others simply see it as a delightful and fun “Easter egg” hunt, adding an element of surprise to an already festive dessert.
There is one particular “rule” that almost everyone agrees upon and actively upholds. The individual who discovers the baby nestled within their cake slice is bestowed with a significant responsibility: they are traditionally obligated to host the next Mardi Gras party! Or, at the very least, they are responsible for bringing the King Cake to the following year’s festivities. This tradition ensures the celebration continues year after year, passing the torch of hospitality and good cheer. So, if the idea of hosting a big party doesn’t appeal to you, choose your slice of King Cake very wisely indeed!
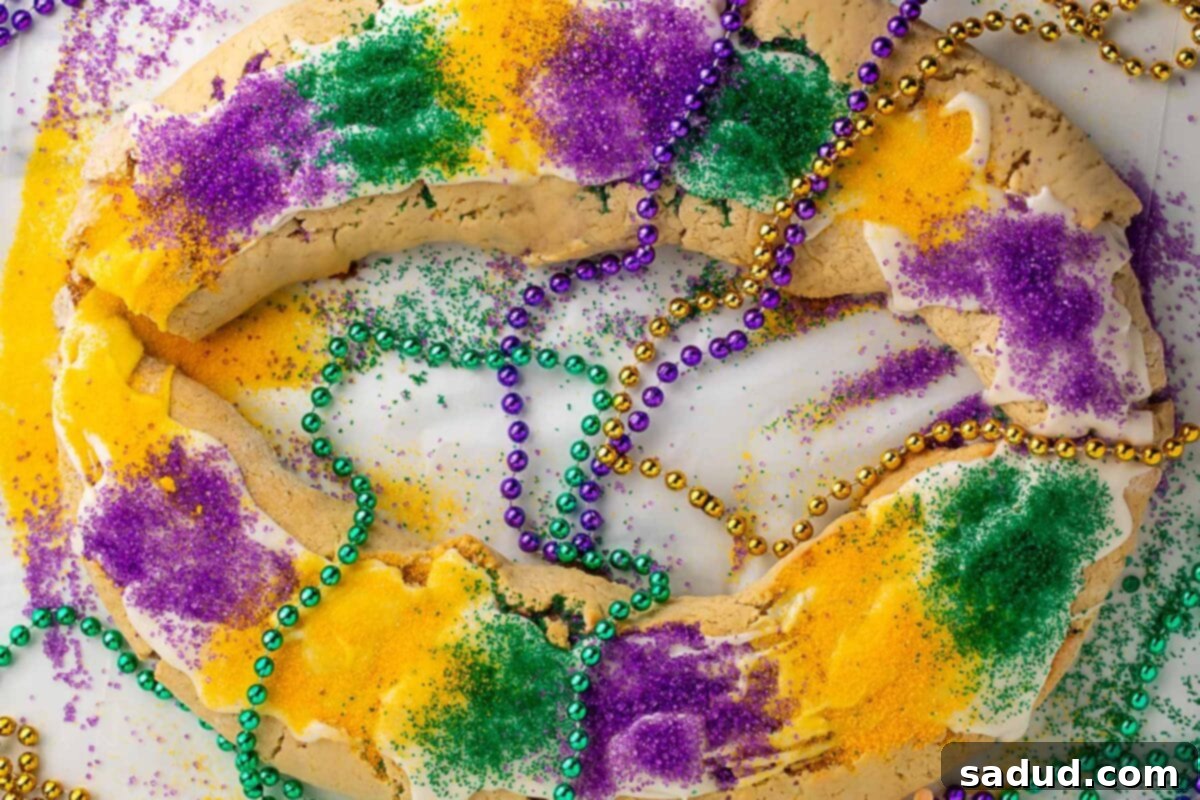
Where to Find Your Own King Cake Baby
If you’re lucky enough to purchase a King Cake directly from a bakery in New Orleans, the baby is almost always included. It will either be already baked inside the cake (though this is becoming less common due to choking hazards) or provided loose in the box for you to strategically hide before serving. For those embarking on the delightful journey of baking a homemade King Cake – whether it’s gluten-free or a traditional version – you’ll need to procure your own miniature plastic baby.
Fortunately, these charming little tokens are readily available and incredibly easy to find online. Websites like Amazon offer them in bulk, catering to various needs; you can find them in quantities ranging from a modest six-pack to a generous two hundred, so you can shop according to your party size or baking ambitions. You’ll also find a delightful array of options: various skin tones, bald babies or those with painted-on hair, and even different arm poses, allowing you to choose the perfect little guest for your cake.
I personally recommend this lovely bundle of purple, gold, and green King Cake babies, which conveniently comes with a few color-coordinated Mardi Gras beads. It’s a great way to ensure your homemade King Cake is authentic and perfectly festive!
Expert Tips for Gluten-Free King Cake Success
Baking, especially gluten-free baking, is often described as a science, and it’s true that precision yields the best results. While it can be tempting to experiment, for this King Cake, we strongly advise following the recipe meticulously. Here are some essential tips to ensure your gluten-free King Cake turns out perfectly every time:
- Precision is Paramount: Adhere closely to the recipe instructions, paying particular attention to the exact measurements and temperatures of the ingredients. Gluten-free baking differs significantly from traditional baking, as the absence of gluten means the dough relies on other elements for structure and rise. Even small deviations can impact the final texture and consistency. While you might be able to substitute with a different brand or type of gluten-free flour blend, please note that we exclusively tested our King Cake recipe with Bob’s Red Mill 1-to-1 Gluten-Free Baking Flour. Therefore, we cannot guarantee identical results with other flours, as their compositions (starch-to-flour ratios, added binders) vary widely.
- Mastering the “Spoon and Level Method” for Flour: Speaking of flour, do you know the proper way to measure it? It’s a crucial technique known as the “spoon and level method,” which prevents you from inadvertently adding too much flour. Instead of scooping your measuring cup directly into the bag of flour and packing it down, which can add significantly more flour than intended, use a spoon to gently scoop the flour out of the bag and into your measuring cup. Once the cup is overflowing, take the back of a knife or a straight edge and gently drag it across the top of the flour, ensuring it is perfectly level with the edges of the measuring cup. This method ensures an accurate and consistent measurement, which is vital for achieving the desired dough consistency and a tender, moist King Cake.
- Ensure Ingredients are at Room Temperature: For yeast doughs, especially gluten-free ones, having ingredients like milk, butter, and eggs at room temperature is critical. This helps the yeast activate properly, promotes better emulsion, and allows for a smoother, more cohesive dough.
- The Power of Proving: Don’t rush the proving stages. Gluten-free dough can sometimes take a little longer to rise compared to traditional doughs. A warm, draft-free environment is essential for the yeast to work its magic and develop a light, airy texture.
By following these detailed tips, you’ll be well on your way to baking a truly spectacular gluten-free King Cake that will impress everyone at your Mardi Gras celebration!
Let the (Food) Times Roll! More Delicious Recipes for Your Celebration
Looking to round out your Mardi Gras feast or simply explore more delightful dishes? Here are some fantastic recipes that pair wonderfully with our Gluten-Free King Cake, ensuring your culinary celebration is complete and bursting with flavor:
- Keto Gumbo: A hearty and flavorful stew, perfect for a satisfying meal.
- Quick & Easy Blackened Shrimp: Spicy, succulent shrimp that cooks in minutes.
- Seafood Jambalaya: A classic Creole comfort food, packed with rich seafood flavors.
- Gumbo Roux (Dark Cajun Roux): Master the foundation of authentic Cajun cuisine.
- Shrimp Remoulade: A refreshing and tangy appetizer featuring plump shrimp.
- Chicken and Sausage Gumbo: A robust and traditional gumbo, perfect for feeding a crowd.
- New Orleans BBQ Shrimp Po-Boy: Experience a taste of NOLA with this iconic sandwich.
- Sausage in the Air Fryer: A simple and quick way to prepare delicious sausage.
- Shrimp Etouffee: A rich and savory stew, a staple of Louisiana cooking.
- Bananas Foster from Brennan’s New Orleans: A decadent and flaming dessert from a famous New Orleans institution.
- Blackened Chicken Alfredo: A fusion of spicy Cajun flavors with creamy Italian pasta.
- Seafood Baked Potato: A loaded baked potato with a delicious seafood topping.
If you loved this recipe as much as we did, don’t forget to leave us a review below. ★ Follow Easy Healthy Recipes on Pinterest, Facebook, and Instagram, too!
For more delicious recipes, visit our sister sites, 40 Aprons and Easy Cheap Recipes.
Gluten Free King Cake
 Cheryl Malik
Print Recipe
Save to Recipe BoxSaved to Recipe Box!
Ingredients
For the Gluten-Free Dough
- 1 cup milk of choice at room temperature
- ½ cup unsalted butter at room temperature, cut into small pieces; approximately 8 tablespoons or 1 full-size stick
- ½ cup warm water between 105° and 115° Fahrenheit
- 2 packets active dry yeast approximately 4.5 teaspoons
- 1 tablespoon granulated white sugar
- 2 large eggs at room temperature
- 2 teaspoons pure vanilla extract
- 7 tablespoons granulated white sugar
- 1 teaspoon apple cider vinegar
- 2 teaspoons fresh gluten-free baking powder
- ¼ teaspoon salt more or less to taste
- 5 ½ cups Bob’s Red Mill 1-to-1 Gluten-Free Baking Flour see Notes
For the Cinnamon-Sugar Filling
- ½ cup unsalted butter
- 1 packed cup light brown sugar
- ½ cup Bob’s Red Mill 1-to-1 Gluten-Free Baking Flour see Notes
- 1 tablespoon ground cinnamon
For the King Cake Frosting
- 2 cups powdered sugar
- 2 tablespoons milk of choice plus more as needed
- 1 teaspoon pure vanilla extract
To Decorate
- 1 plastic King Cake baby or 1 whole coffee bean, optional
- purple sanding sugar 1 4-ounce container recommended, more or less as desired
- yellow sanding sugar 1 4-ounce container recommended, more or less as desired
- green sanding sugar 1 4-ounce container recommended, more or less as desired
Equipment
-
2 small mixing bowls
-
2 whisks
-
medium saucepan
-
large wooden spoon or whisk
-
candy thermometer or deep fry thermometer
-
stand mixer bowl
-
stand mixer
-
dough hook for stand mixer
-
clean, flat work surface
-
Bob’s Red Mill 1-to-1 Gluten-Free Baking Flour to flour work surface and rolling pin
-
Large bowl
-
neutral-flavored oil avocado oil, vegetable oil, refined coconut oil, etc.
-
food-safe plastic wrap
-
Microwave-safe bowl
-
Microwave
-
Fork
-
large baking sheet
-
Parchment paper
-
flour sifter or fine mesh sieve, optional
-
medium mixing bowl
Instructions
To Make the King Cake Dough
-
Place a small saucepan on the stovetop over medium heat. Add 1 cup of your preferred milk to the saucepan. Warm the milk, stirring constantly, for approximately 5 minutes or until the temperature of the milk reaches 110° to 115° Fahrenheit, as indicated by a candy thermometer.
-
Once the milk temperature is within the target range, remove the saucepan from the heat. Add ½ cup unsalted butter to the saucepan and stir until the butter is completely melted and thoroughly incorporated into the warmed milk.
-
Set the saucepan aside and allow the mixture to cool completely, which will take approximately 10 minutes.
-
While the saucepan is cooling, add ½ cup warm water, 2 packets active dry yeast, and 1 tablespoon granulated white sugar to the stand mixer bowl. Stir these ingredients together until fully incorporated, then set the bowl aside. Allow the yeast mixture to rest until it becomes visibly foamy, indicating activation, which typically takes about 10 minutes.
-
Crack 2 large eggs into a small mixing bowl. Whisk the eggs thoroughly until fully combined, ensuring no streaks of egg whites or yolks remain. Set aside for later use.
-
Once the yeast begins to foam and the milk mixture has cooled to room temperature, pour the milk mixture into the bowl containing the yeast mixture. Add the whisked eggs, 2 teaspoons pure vanilla extract, 7 tablespoons granulated white sugar, 1 teaspoon apple cider vinegar, 2 teaspoons fresh gluten-free baking powder, and ¼ teaspoon salt to the bowl.
-
Using a stand mixer fitted with a dough hook attachment, mix all ingredients together on medium-low speed for 30 to 60 seconds, or until they are completely incorporated and form a cohesive mixture.
-
Continue mixing, gradually increasing the speed to medium. Slowly add 5 ½ cups Bob’s Red Mill 1-to-1 Gluten-Free Baking Flour to the bowl in ½-cup increments, ensuring to mix well after each addition until all the flour has been fully incorporated into the dough.
-
Continue mixing until the dough begins to pull away cleanly from the sides of the bowl, which should take approximately 3 to 5 minutes, resulting in a well-formed ball of dough.
-
Lightly sprinkle an additional amount of gluten-free baking flour over a clean, flat work surface. Transfer the dough to the floured surface, then knead the dough for 8 to 10 minutes or until it becomes smooth and exhibits a slightly stretchy texture.
-
Lightly grease the bottom and sides of a large bowl with a neutral-flavored oil (such as avocado, vegetable, or refined coconut oil). Place the kneaded dough in the bowl and flip it over until the entire ball of dough is coated with oil on all sides.
-
Cover the bowl tightly with food-safe plastic wrap and place it in a warm, draft-free area. Allow the dough to prove (rise) for approximately 1 ½ hours, or until it has visibly doubled in size.
-
Once the dough has doubled in size, gently press down on the dough with a clenched fist to release any accumulated air pockets. Then, carefully divide the dough into 2 equal halves.
-
Lightly sprinkle additional gluten-free baking flour over your flat work surface and on a rolling pin. Transfer one half of the dough to the floured surface. Roll the dough into a large, evenly thick rectangle, measuring approximately 8 inches by 12 inches.
-
Repeat the rolling process with the other half of the dough, adding flour to the work surface or rolling pin as needed to prevent sticking. Ensure both dough rectangles are of the same overall size and thickness for even baking.
For the Cinnamon-Sugar Filling
-
Once both halves of the dough have been rolled flat, place ½ cup unsalted butter in a microwave-safe bowl. Microwave the butter until it is just melted, being careful not to let it brown.
-
Add 1 packed cup light brown sugar, ½ cup Bob’s Red Mill 1-to-1 Gluten-Free Baking Flour, and 1 tablespoon ground cinnamon to a small mixing bowl. Use a fork to mash and stir these ingredients together until they are well-blended and form a coarse mixture.
-
Pour the melted butter over the cinnamon-sugar mixture, then continue mixing the ingredients together with a fork until thoroughly combined and the mixture becomes crumbly.
-
Divide the prepared cinnamon-sugar mixture in half. Spread one half of the cinnamon-sugar mixture evenly over one of the rolled dough rectangles, covering it from edge to edge.
-
Repeat this process with the remaining cinnamon-sugar mixture and the other dough rectangle, ensuring an even coating on both.
-
Using your hands or a silicone spatula, gently press the cinnamon-sugar mixture into the dough. Exercise caution to avoid tearing or pressing through the delicate dough.
To Form the King Cake
-
Line a large baking sheet with parchment paper to prevent sticking. Set it aside for later use.
-
Starting from a long side of one dough rectangle, gently lift the edge. Carefully roll the dough toward the opposite long side of the rectangle, creating a long, even dough roll or log.
-
Carefully transfer this dough roll to the prepared baking sheet. Position the dough off-center and slightly curved, beginning to form one side of a large oval shape. Set this aside.
-
Repeat the rolling process with the other dough rectangle, ensuring that both dough rolls are approximately the same length and thickness for a consistent King Cake.
-
Transfer the second dough roll to the prepared baking sheet. Arrange it to complete the other side of the large oval, then firmly pinch both ends of each dough roll together to securely close the oval shape.
-
Using kitchen scissors or a sharp knife, carefully cut vents into the top surface of the dough, spacing them approximately 1-inch apart around the entire oval. Note: Be cautious not to cut too deeply; the vents should only penetrate the top 25% of the dough to allow steam to escape while baking.
-
Cover the baking sheet loosely with food-safe plastic wrap and place it in a warm area. Allow the dough to rise again (prove) for 30 to 45 minutes, or until it has visibly doubled in size once more.
-
Towards the end of the second proving time, preheat your oven to 375° Fahrenheit. Position an oven rack in the dead center of the oven to ensure even baking.
To Bake the King Cake
-
Once the dough has doubled in size after its second rise, carefully uncover the baking sheet and discard the plastic wrap. Place the baking sheet with the King Cake dough into the preheated oven.
-
Bake the King Cake for an initial 10 to 15 minutes. Then, carefully rotate the baking sheet 180 degrees to promote even browning. Continue baking the King Cake for another 10 minutes.
-
To verify the cake is fully baked, insert a toothpick or a butter knife into the thickest center part of the dough, then immediately remove it. Continue baking the King Cake as needed, checking every 3 minutes or so, until the toothpick or butter knife comes out clean or with only a very few moist crumbs attached when removed from the cake.
-
Carefully remove the baking sheet from the oven. If desired, gently insert 1 plastic King Cake baby into the cake while the dough is still warm; this ensures it settles nicely within the cake’s structure.
-
Set the baking sheet aside and allow the cake to rest and cool completely for approximately 30 minutes before frosting.
To Decorate the King Cake
-
Sift 2 cups powdered sugar into a medium mixing bowl. Then, add 2 tablespoons of your preferred milk and 1 teaspoon pure vanilla extract to the bowl.
-
Whisk these ingredients together until they are fully incorporated and form a smooth frosting or a thinner glaze, depending on your preference. Note: Whisk in additional milk, a teaspoon at a time, as needed to achieve your desired consistency – a thicker frosting for spreading or a thinner glaze for pouring.
-
When you are satisfied with the frosting’s consistency, spread it evenly over the top of the cooled King Cake. If you made a glaze, pour it uniformly over the cake.
-
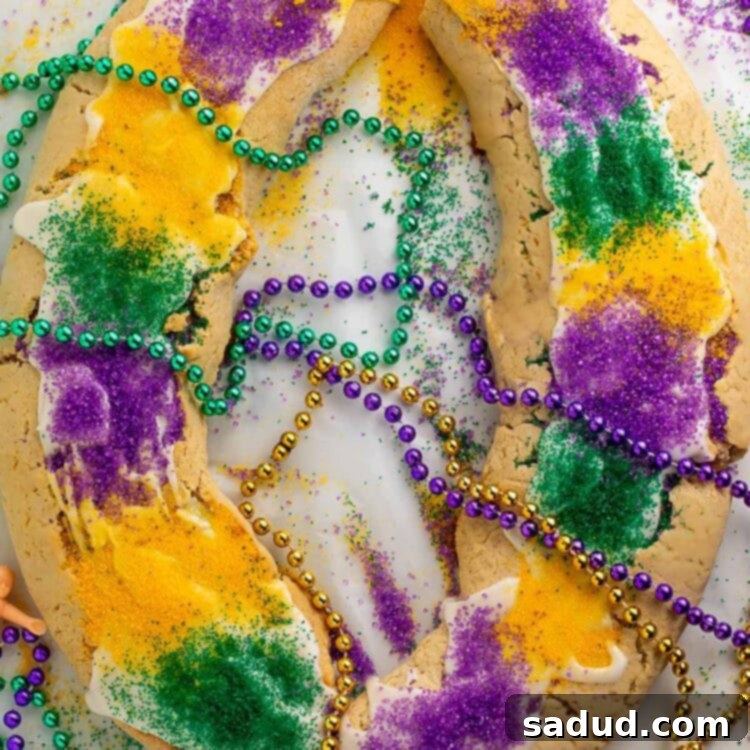
Generously sprinkle purple sanding sugar, yellow sanding sugar, and green sanding sugar over the frosting or glaze. You can keep the colors in distinct blocks or mix them together for a festive, blended effect, as desired.
To Serve
-
Once the King Cake has been beautifully decorated, slice it into portions as desired and serve either warm or at room temperature to enjoy its delightful flavors.
Notes
- Flour Type Matters: Please be aware that this recipe was specifically developed and tested using Bob’s Red Mill 1-to-1 Gluten-Free Baking Flour. While you are certainly welcome to try other brands or types of gluten-free flour blends, we cannot guarantee the same results or provide troubleshooting assistance for variations, as different flour blends have unique compositions and absorbency rates. For the best outcome, we strongly recommend sticking to the specified flour.
- Storing Leftovers: To maintain freshness, store any leftover King Cake at room temperature in an airtight container or tightly covered with food-safe plastic wrap. This will help preserve its moisture and flavor. Leftovers can be enjoyed at room temperature or gently warmed for a delightful treat. And remember the golden rule for storing: the knife stays in the
boxcontainer!
Nutrition Information
Number of total servings shown is approximate. Actual number of servings will depend on your preferred portion sizes.
Nutritional values shown are general guidelines and reflect information for 1 serving using the ingredients listed, not including any optional ingredients. Actual macros may vary slightly depending on specific brands and types of ingredients used.
To determine the weight of one serving, prepare the recipe as instructed. Weigh the finished recipe, then divide the weight of the finished recipe (not including the weight of the container the food is in) by the desired number of servings. Result will be the weight of one serving.
