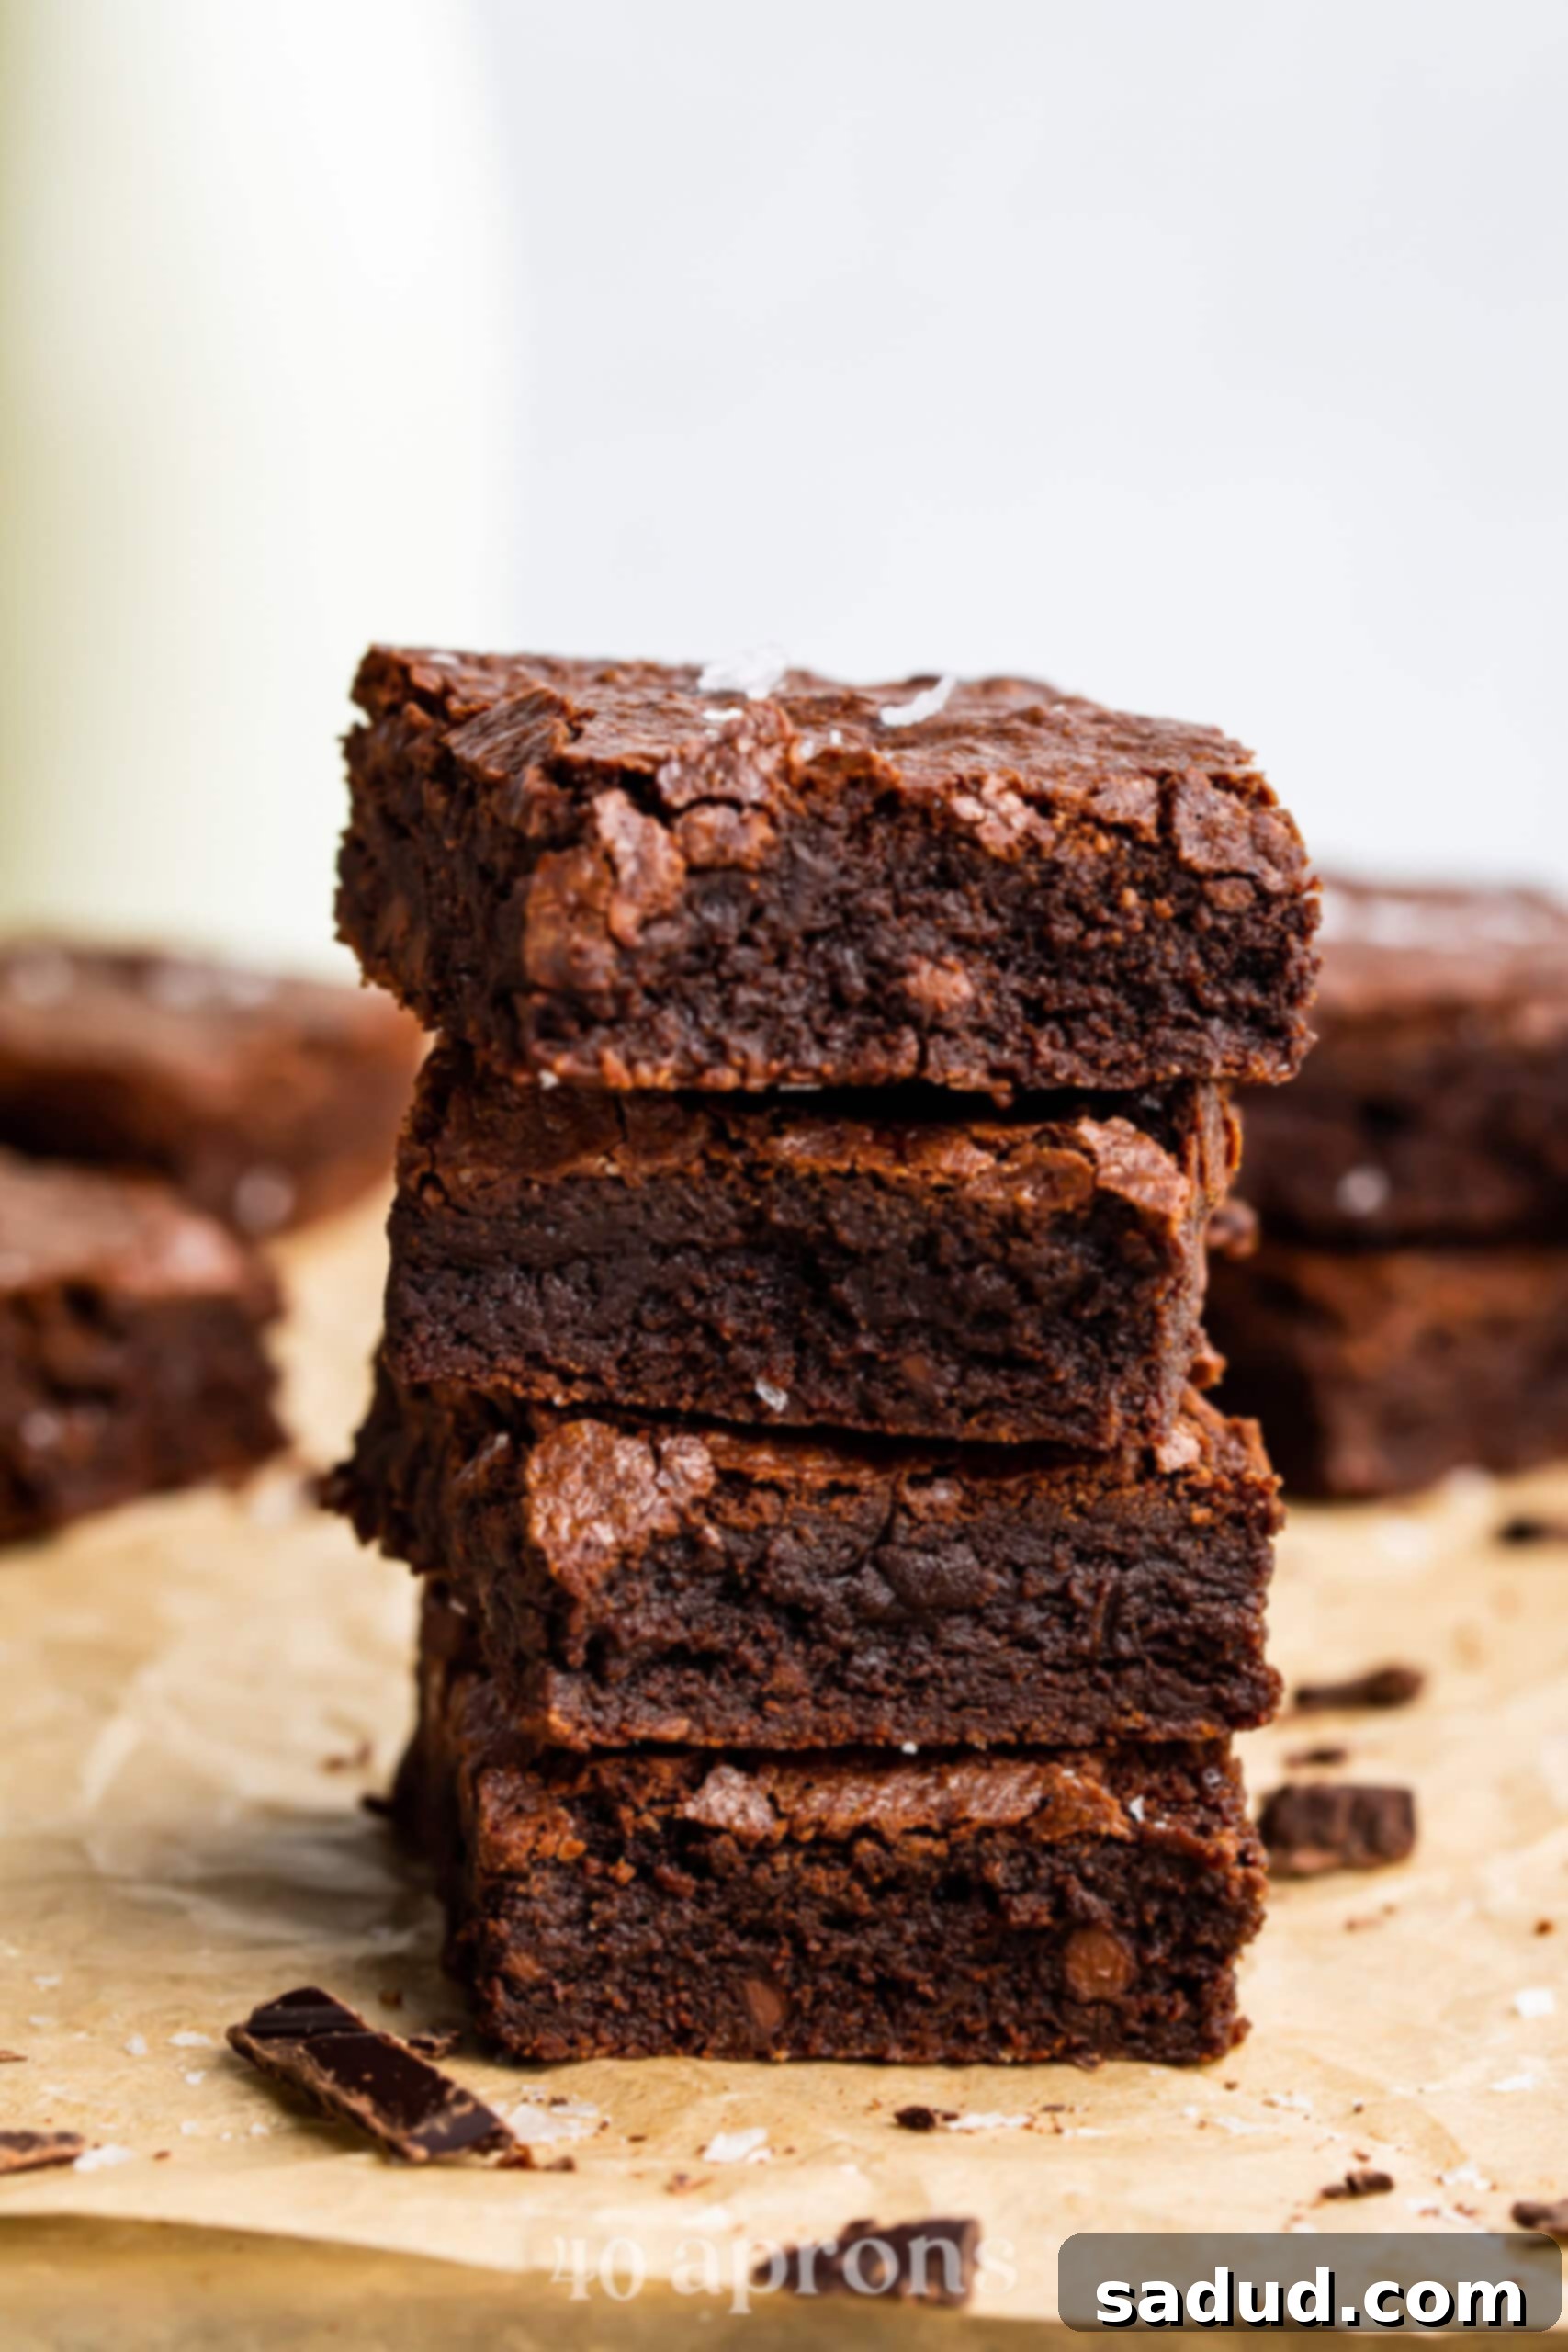
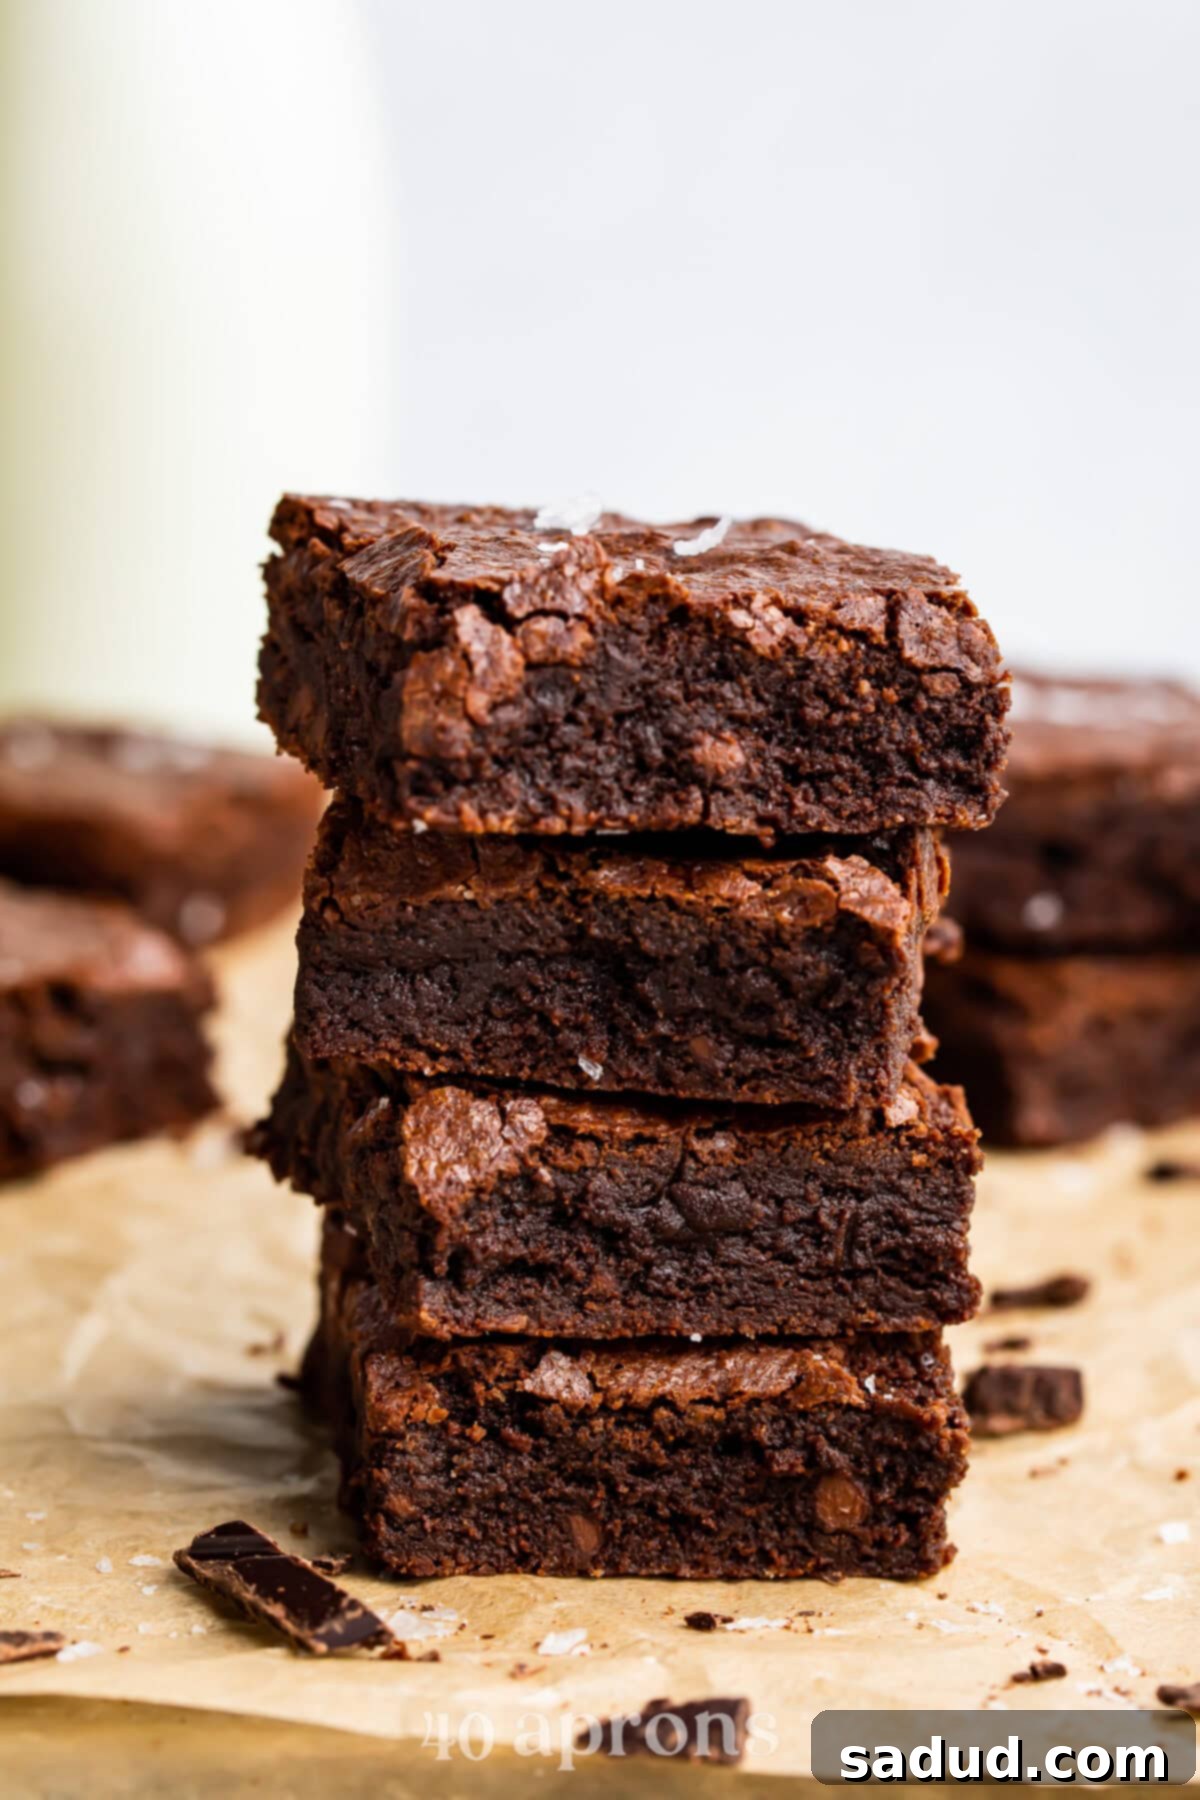
Indulge in the rich, chocolatey goodness of these **fudgy dairy-free brownies**, a recipe designed to deliver everything you love about classic brownies without any dairy products. Imagine thick, chewy squares with a perfectly moist, melt-in-your-mouth interior and that signature delicate, crackly top. These brownies are so decadent and satisfying, even the most discerning palates won’t believe they’re entirely dairy-free. Whether you’re navigating dairy allergies, lactose intolerance, or simply choosing a plant-based lifestyle, this recipe ensures you don’t miss out on one of life’s greatest chocolate pleasures.
Serve these irresistible treats warm with a cold glass of dairy-free milk, a scoop of your favorite dairy-free vanilla ice cream, or simply savor them on their own as a sublime pick-me-up. They are perfect for dessert, a midday snack, or bringing to gatherings where dietary restrictions might be a consideration. Get ready to bake a batch of brownies that are not just “good for dairy-free” but simply *good*, full stop.
What Makes This Dairy-Free Brownie Recipe So Good?
This recipe isn’t just a dairy-free alternative; it’s a testament to how incredible brownies can be when thoughtfully crafted. We’ve taken all the beloved characteristics of traditional, butter-laden brownies – the intense chocolate flavor, the satisfying chewiness, the moist and fudgy texture, and that gorgeous crackled crust – and recreated them perfectly, eliminating all dairy products in the process. Here’s why these brownies stand out:
- Uncompromised Fudginess and Texture: These aren’t your typical cakey brownies. Our dairy-free brownie recipe yields incredibly fudgy, moist, and rich chocolate brownies that genuinely melt in your mouth. The secret lies in the precise ratio of fat to flour and the careful mixing technique, resulting in that coveted dense, chewy texture and the perfect shiny, crackly top that signals a truly exceptional brownie. You won’t believe these rich brownies are made without butter or milk!
- Simple Ingredients, Incredible Flavor: You only need less than 10 common ingredients to whip up these chocolate masterpieces, and chances are, most (if not all!) are already in your pantry. We’ve strategically chosen ingredients that replicate the function of dairy while enhancing the overall flavor and texture:
- Coconut Oil for Moisture and Richness: In place of butter, we use coconut oil, which not only provides the necessary fat content for moisture and a rich mouthfeel but also contributes to the distinctive fudgy texture. When chosen correctly (more on that in our Chef’s Tips), it imparts a neutral flavor, allowing the chocolate to truly shine.
- Cocoa Powder for Intense Chocolate: Instead of relying on melted chocolate, which can sometimes alter the brownie’s texture, we opt for unsweetened cocoa powder. This provides a deep, robust chocolate flavor that is both decadent and authentic, contributing to the dark color and fudgy consistency.
- Dairy-Free Chocolate Chips for Extra Indulgence: Folding in a handful of dairy-free chocolate chips adds pockets of melted chocolate throughout the brownies, amplifying their decadence and making them even more irresistible. This simple addition elevates them to a truly gourmet experience.
- Effortless to Make: Despite their luxurious taste and texture, these dairy-free brownies are surprisingly simple to make. The steps are straightforward, requiring minimal effort but delivering maximum reward. They are a perfect classic-brownie dupe that will fool even the most ardent traditional brownie enthusiasts.
It’s the Sweetest Season
This recipe is proudly part of The Sweetest Season, an annual virtual cookie swap that brings together food bloggers for a heartwarming cause. Co-hosted by Erin of The Speckled Palate and Susannah of Feast + West, this event celebrates the joy of baking and giving during the holidays.
Each year, participants share new holiday cookie recipes, but more importantly, The Sweetest Season dedicates its efforts to raising money for Cookies 4 Kids’ Cancer. This remarkable 501(c)3 non-profit organization is committed to funding vital research for new, innovative, and less-toxic treatments for childhood cancer, offering hope to countless families.
We urge you to join us in supporting this incredibly important cause! You can make a difference by donating through our dedicated fundraising page.
This year, your generosity goes even further! Cookies for Kids’ Cancer is currently in a matching window with their wonderful friends at OXO. This means OXO will match every dollar raised through the end of 2022, up to an incredible $100,000. Any contribution you make will automatically be doubled on our fundraising page, maximizing the impact of your donation. Help us spread sweetness and make a real difference in the fight against childhood cancer!
Why Choose Dairy-Free Brownies?
Opting for dairy-free brownies isn’t just about dietary restrictions; it’s about expanding your baking repertoire and enjoying delicious treats that cater to a wider audience. Here are a few compelling reasons to embrace dairy-free baking:
- Addressing Allergies and Intolerances: For individuals with dairy allergies, a serious immune response to milk proteins, or lactose intolerance, which causes digestive discomfort due to the inability to digest lactose, dairy-free options are a necessity. This recipe ensures everyone can enjoy a classic brownie without worry.
- Dietary Preferences: Many people choose to reduce or eliminate dairy from their diets for various reasons, including health benefits, ethical considerations, or environmental impact. These brownies fit seamlessly into such preferences, proving that “free-from” doesn’t mean “free-of-flavor.”
- Versatility and Accessibility: Having a reliable dairy-free brownie recipe means you’re always prepared for guests with different dietary needs. It makes hosting easier and ensures everyone feels included and satisfied with a delicious dessert option.
- Deliciousness First: The most important reason is that these dairy-free brownies are simply phenomenal. They don’t taste like a “substitute” but rather a perfectly crafted brownie that just happens to be dairy-free. Their rich, fudgy texture and deep chocolate flavor will impress everyone.
Chef’s Tips for the Perfect Dairy-Free Brownies
Achieving the perfect brownie texture and flavor, especially when baking dairy-free, requires a few key insights. Follow these chef’s tips to ensure your brownies are nothing short of spectacular:
- Don’t Overbake – The Key to Fudginess: This is arguably the most crucial tip for any brownie recipe aiming for fudgy results. If you’re ever unsure about the doneness, even after the toothpick test, err on the side of caution and take them out of the oven a little early rather than a little late. Overbaking will lead to dry, crumbly, and cakey brownies, which defeats the purpose of a truly fudgy treat. Remember that brownies continue to bake slightly as they cool in the hot pan, a process known as “carryover cooking.” So, when your toothpick or knife comes out with moist crumbs attached (not wet batter, but distinct crumbs), they are likely perfect.
- Choose Refined Coconut Oil for Neutral Flavor: To prevent your delicious, no-butter brownies from having an unwanted coconut taste, it’s essential to use **refined coconut oil**. Unrefined (virgin) coconut oil retains a distinct coconut flavor and aroma, which might not be desirable in a chocolate brownie. Refined coconut oil, however, has a much more neutral flavor profile, making it the superior choice for baking applications where you want the primary flavors of your ingredients (like chocolate and vanilla) to shine through without any tropical notes. If you absolutely want to avoid coconut entirely, you can use a neutral-tasting vegetable oil like avocado oil, although coconut oil often provides a slightly better texture.
- Patience is a Virtue: Let Them Cool: We know how tempting it is to slice and serve these glorious brownies as soon as they emerge from the oven, filling your kitchen with an intoxicating chocolate aroma. However, resist the urge! Allowing them to cool completely in the pan for at least 15-20 minutes is critical for several reasons. First, it gives the brownies time to set properly, transforming them into that desired fudgy and gooey consistency. Cutting them too soon can result in a crumbly mess. Second, the cooling process also allows the chocolate flavor to deepen and become even more complex and satisfying. For the absolute best results, let them cool entirely, or at least until they are just warm to the touch, before slicing.
- Room Temperature Eggs: Ensure your eggs are at room temperature. This helps them emulsify better with the oil and sugar, creating a smoother, more uniform batter and contributing to the brownies’ overall rise and crackly top. If you forget, simply place eggs in a bowl of warm water for 5-10 minutes.
- Don’t Overmix the Dry Ingredients: Once you’ve added the flour and cocoa powder mixture to the wet ingredients, mix only until just combined. Overmixing develops the gluten in the flour, leading to tougher, less fudgy brownies. A silicone spatula is ideal for gently folding in the dry ingredients and chocolate chips without overworking the batter.
Storage and Freezing Instructions
To keep your delicious dairy-free brownies fresh and fudgy, proper storage is key:
- At Room Temperature: Once completely cooled, store the brownies in an airtight container at room temperature for up to 3-4 days. Placing a piece of parchment paper or wax paper between layers can prevent sticking if stacking them.
- Refrigeration: If you prefer a firmer, denser brownie or live in a very warm climate, you can store them in an airtight container in the refrigerator for up to a week. Let them come to room temperature for about 15-30 minutes before serving, or warm them slightly in the microwave for a few seconds for an extra gooey texture.
- Freezing for Long-Term Storage: Dairy-free brownies freeze beautifully!
- Once completely cooled, slice the brownies into individual squares.
- Wrap each brownie tightly in plastic wrap, then place them in a freezer-safe airtight container or heavy-duty freezer bag.
- They can be stored in the freezer for up to 3 months.
- To thaw, simply remove the desired number of brownies from the freezer and let them sit at room temperature for an hour or two, or warm them gently in the microwave until soft and fudgy.
More Delicious Dairy-Free Treats to Try
If you loved these dairy-free brownies, explore some of our other fantastic dairy-free and vegan dessert recipes. There’s a whole world of plant-based deliciousness waiting for you!
- Vegan Crème Brûlée: A sophisticated, egg-free, and dairy-free twist on a classic French dessert.
- Easy Vegan Lemon Curd (Dairy Free, Egg Free): Bright, zesty, and surprisingly simple to make without any dairy or eggs.
- Vegan Banana Pudding: Creamy, comforting, and packed with banana flavor, made entirely plant-based.
- 3 Ingredient Peanut Butter Cookies: An incredibly simple, gluten-free, and dairy-free cookie recipe for a quick sweet fix.
- Vegan Red Velvet Cupcakes: Rich, vibrant, and topped with a luscious dairy-free frosting, these are a true indulgence.
If you loved this recipe as much as we did, don’t forget to leave us a review below. ★ Follow Easy Healthy Recipes on Pinterest, Facebook, and Instagram, too!
For more delicious recipes, visit our sister sites, 40 Aprons and Easy Cheap Recipes.
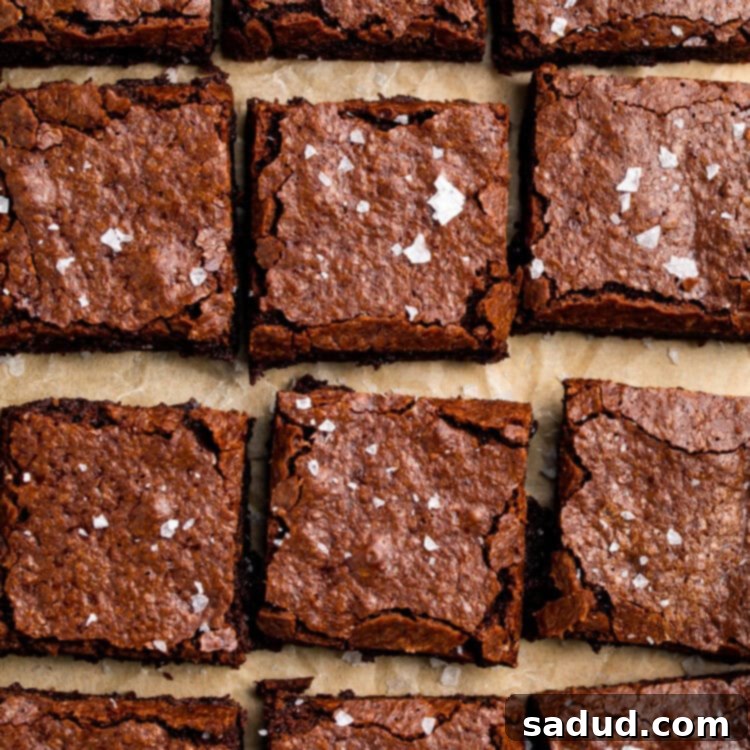
Dairy Free Brownies
 Sam Guarnieri
Print
SaveSaved!
Ingredients
- ¾ cup refined coconut oil melted, or avocado oil for a coconut-free option
- 1 ¼ cup granulated sugar
- 1 teaspoon pure vanilla extract
- 2 large eggs at room temperature for best results
- ¾ cup unsweetened cocoa powder
- ½ cup all-purpose flour
- ¼ teaspoon salt plus a pinch of flaky sea salt to top brownies if desired
- ½ cup dairy-free chocolate chips or chopped dairy-free chocolate bar for extra texture
Equipment
-
8×8 baking pan
-
Parchment paper
-
Stand mixer or hand mixer
-
Stand mixer bowl or large mixing bowl
-
Medium mixing bowl
-
Whisk
-
Silicone spatula
-
Knife or toothpick to check doneness
Instructions
-
Preheat your oven to 350° Fahrenheit (175°C). Line an 8×8 inch baking pan with parchment paper, allowing an overhang on the sides for easy lifting later. Set aside.
-
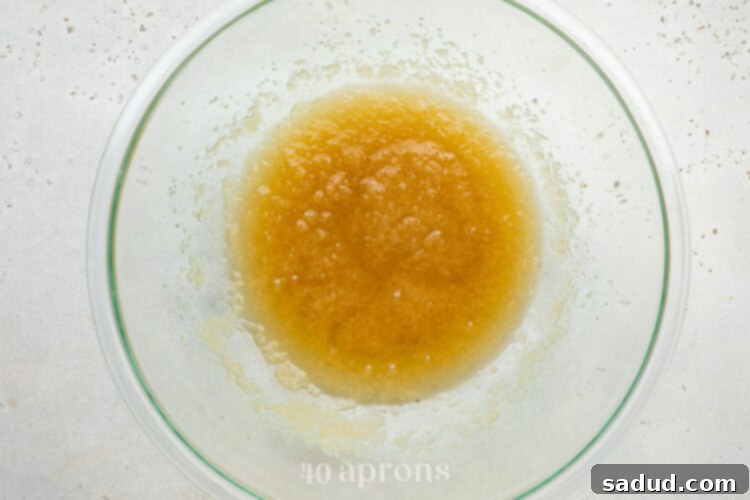
In a large mixing bowl (or the bowl of your stand mixer), combine the melted coconut oil, granulated sugar, and pure vanilla extract. Use a stand mixer or hand mixer on low speed to mix these wet ingredients for about 1 minute, until they are well incorporated and the sugar begins to dissolve.

-
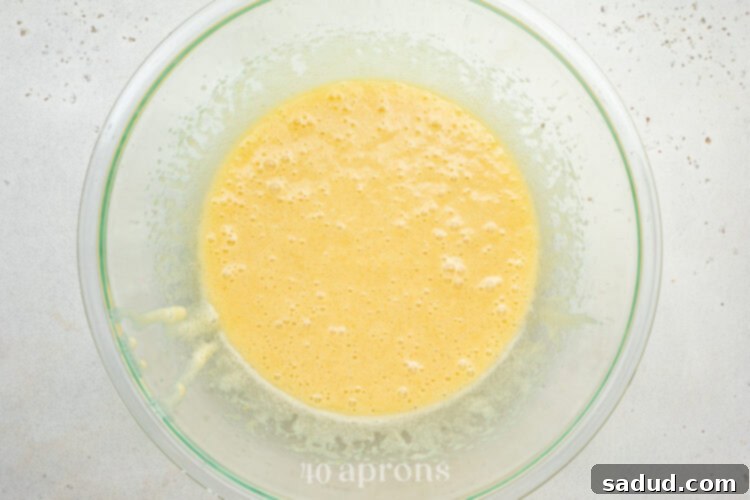
Pause the mixer and crack one large room-temperature egg directly into the bowl. Resume mixing on medium speed for 1 minute until fully combined. Then, pause the mixer again and crack in the remaining egg. Continue mixing on medium speed for another 2 to 3 minutes. The mixture should become noticeably lighter in color and fluffy, which helps create that signature crackly top.

-
In a separate medium mixing bowl, add the unsweetened cocoa powder, all-purpose flour, and salt. Use a whisk to thoroughly combine these dry ingredients until there are no lumps and the mixture is uniform.
-
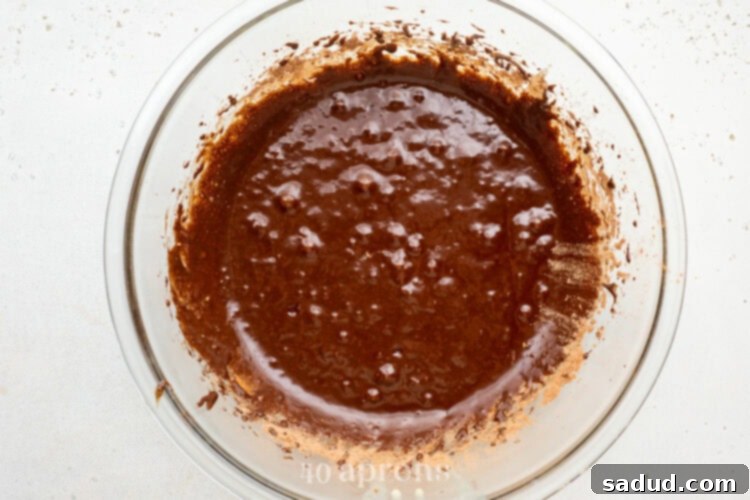
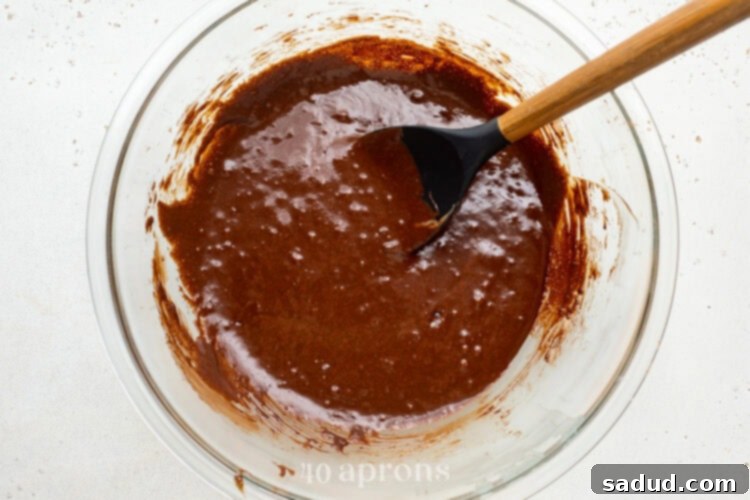
Gradually add the cocoa and flour mixture to the wet egg mixture in increments (about ⅓ at a time). Mix on low speed, allowing the dry ingredients to just incorporate into the wet before adding more. Continue this process until the entire cocoa mixture has been added and the ingredients are just combined. Be careful not to overmix, as this can lead to tough brownies.

-
Add the dairy-free chocolate chips to the brownie batter. Using a silicone spatula, gently fold the chocolate chips into the batter until they are just incorporated. Again, be mindful not to overmix at this stage to maintain the desired fudgy texture.

-
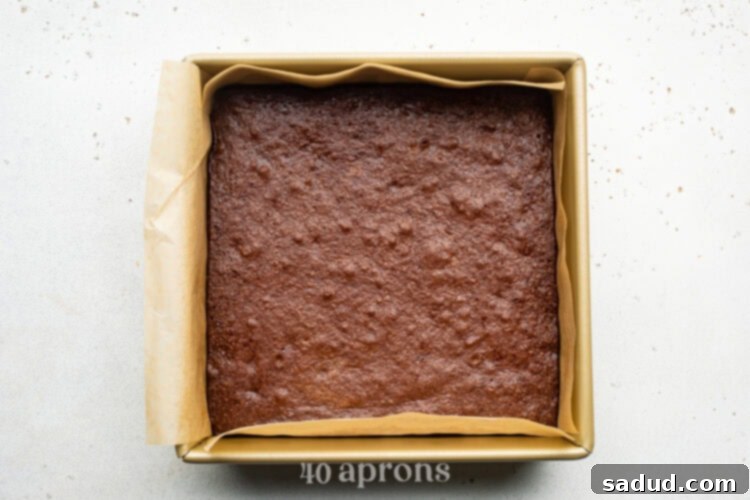
Transfer the brownie batter to your prepared 8×8 inch baking pan. Use the silicone spatula to gently smooth the batter out, ensuring it fills the pan evenly from corner to corner. Place the baking pan in your preheated oven and bake for 30 minutes.
-
After 30 minutes, it’s time to check for doneness. Insert a clean knife or a toothpick into the very center of the brownies. Remove the utensil and check for crumbs. The brownies are ready when the knife or toothpick comes out cleanly or with only a few moist crumbs attached (no wet batter). If it comes out wet, return the brownies to the oven and continue baking as needed, checking doneness every 2 minutes until they pass the toothpick test. Remember, slightly underbaked is better for fudginess!

-
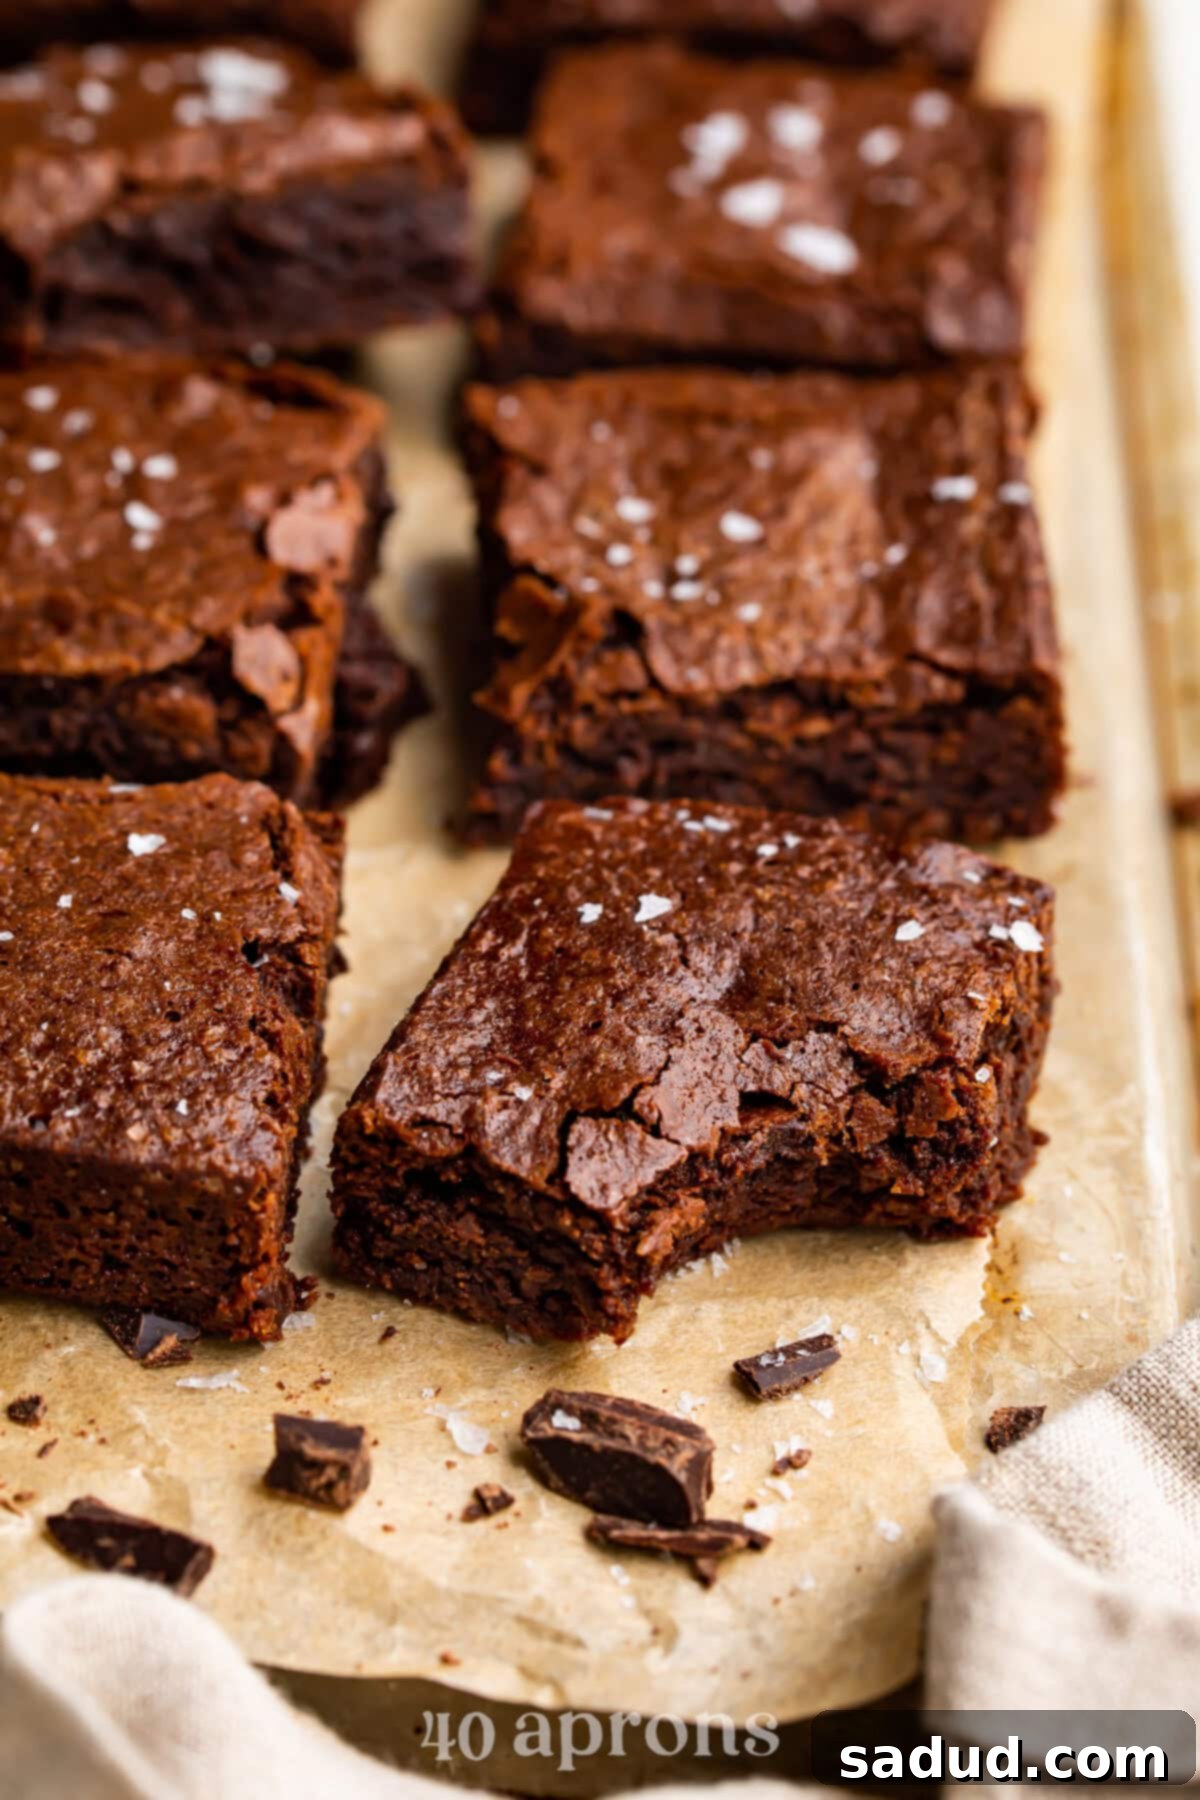
Carefully remove the baking pan from the oven. If desired, very lightly sprinkle a touch of flaky sea salt over the top of the warm brownies to enhance the chocolate flavor. Set the pan aside on a wire rack and allow the brownies to cool in the pan for at least 20 minutes. This cooling period is crucial for them to set and become perfectly fudgy. Once cooled (or at least warm), use the parchment paper overhang as handles to gently lift the brownies out of the pan. Slice them into equally sized squares and serve as desired. Enjoy your homemade, irresistibly fudgy dairy-free brownies!
Notes
- To make lifting the brownies out of the pan easier, fold or clip any excess parchment paper down to cover the outside of the baking pan during baking. Once the brownies have cooled, the extra paper creates convenient handles.
- Make it Gluten-Free: For a delightful dairy-free and gluten-free brownie option, we highly recommend checking out this recipe for perfect paleo brownies from our sister site, 40 Aprons. Alternatively, you can try substituting the all-purpose flour in this recipe with a 1:1 gluten-free baking flour blend that contains xanthan gum for similar results, though textures may vary slightly.
Nutrition Information
Number of total servings shown is approximate. Actual number of servings will depend on your preferred portion sizes.
Nutritional values shown are general guidelines and reflect information for 1 serving using the ingredients listed, not including any optional ingredients. Actual macros may vary slightly depending on specific brands and types of ingredients used.
To determine the weight of one serving, prepare the recipe as instructed. Weigh the finished recipe, then divide the weight of the finished recipe (not including the weight of the container the food is in) by the desired number of servings. Result will be the weight of one serving.
