Ultimate Homemade Carnitas Burritos: Your Guide to Flavorful Meal Prep & Party Perfection
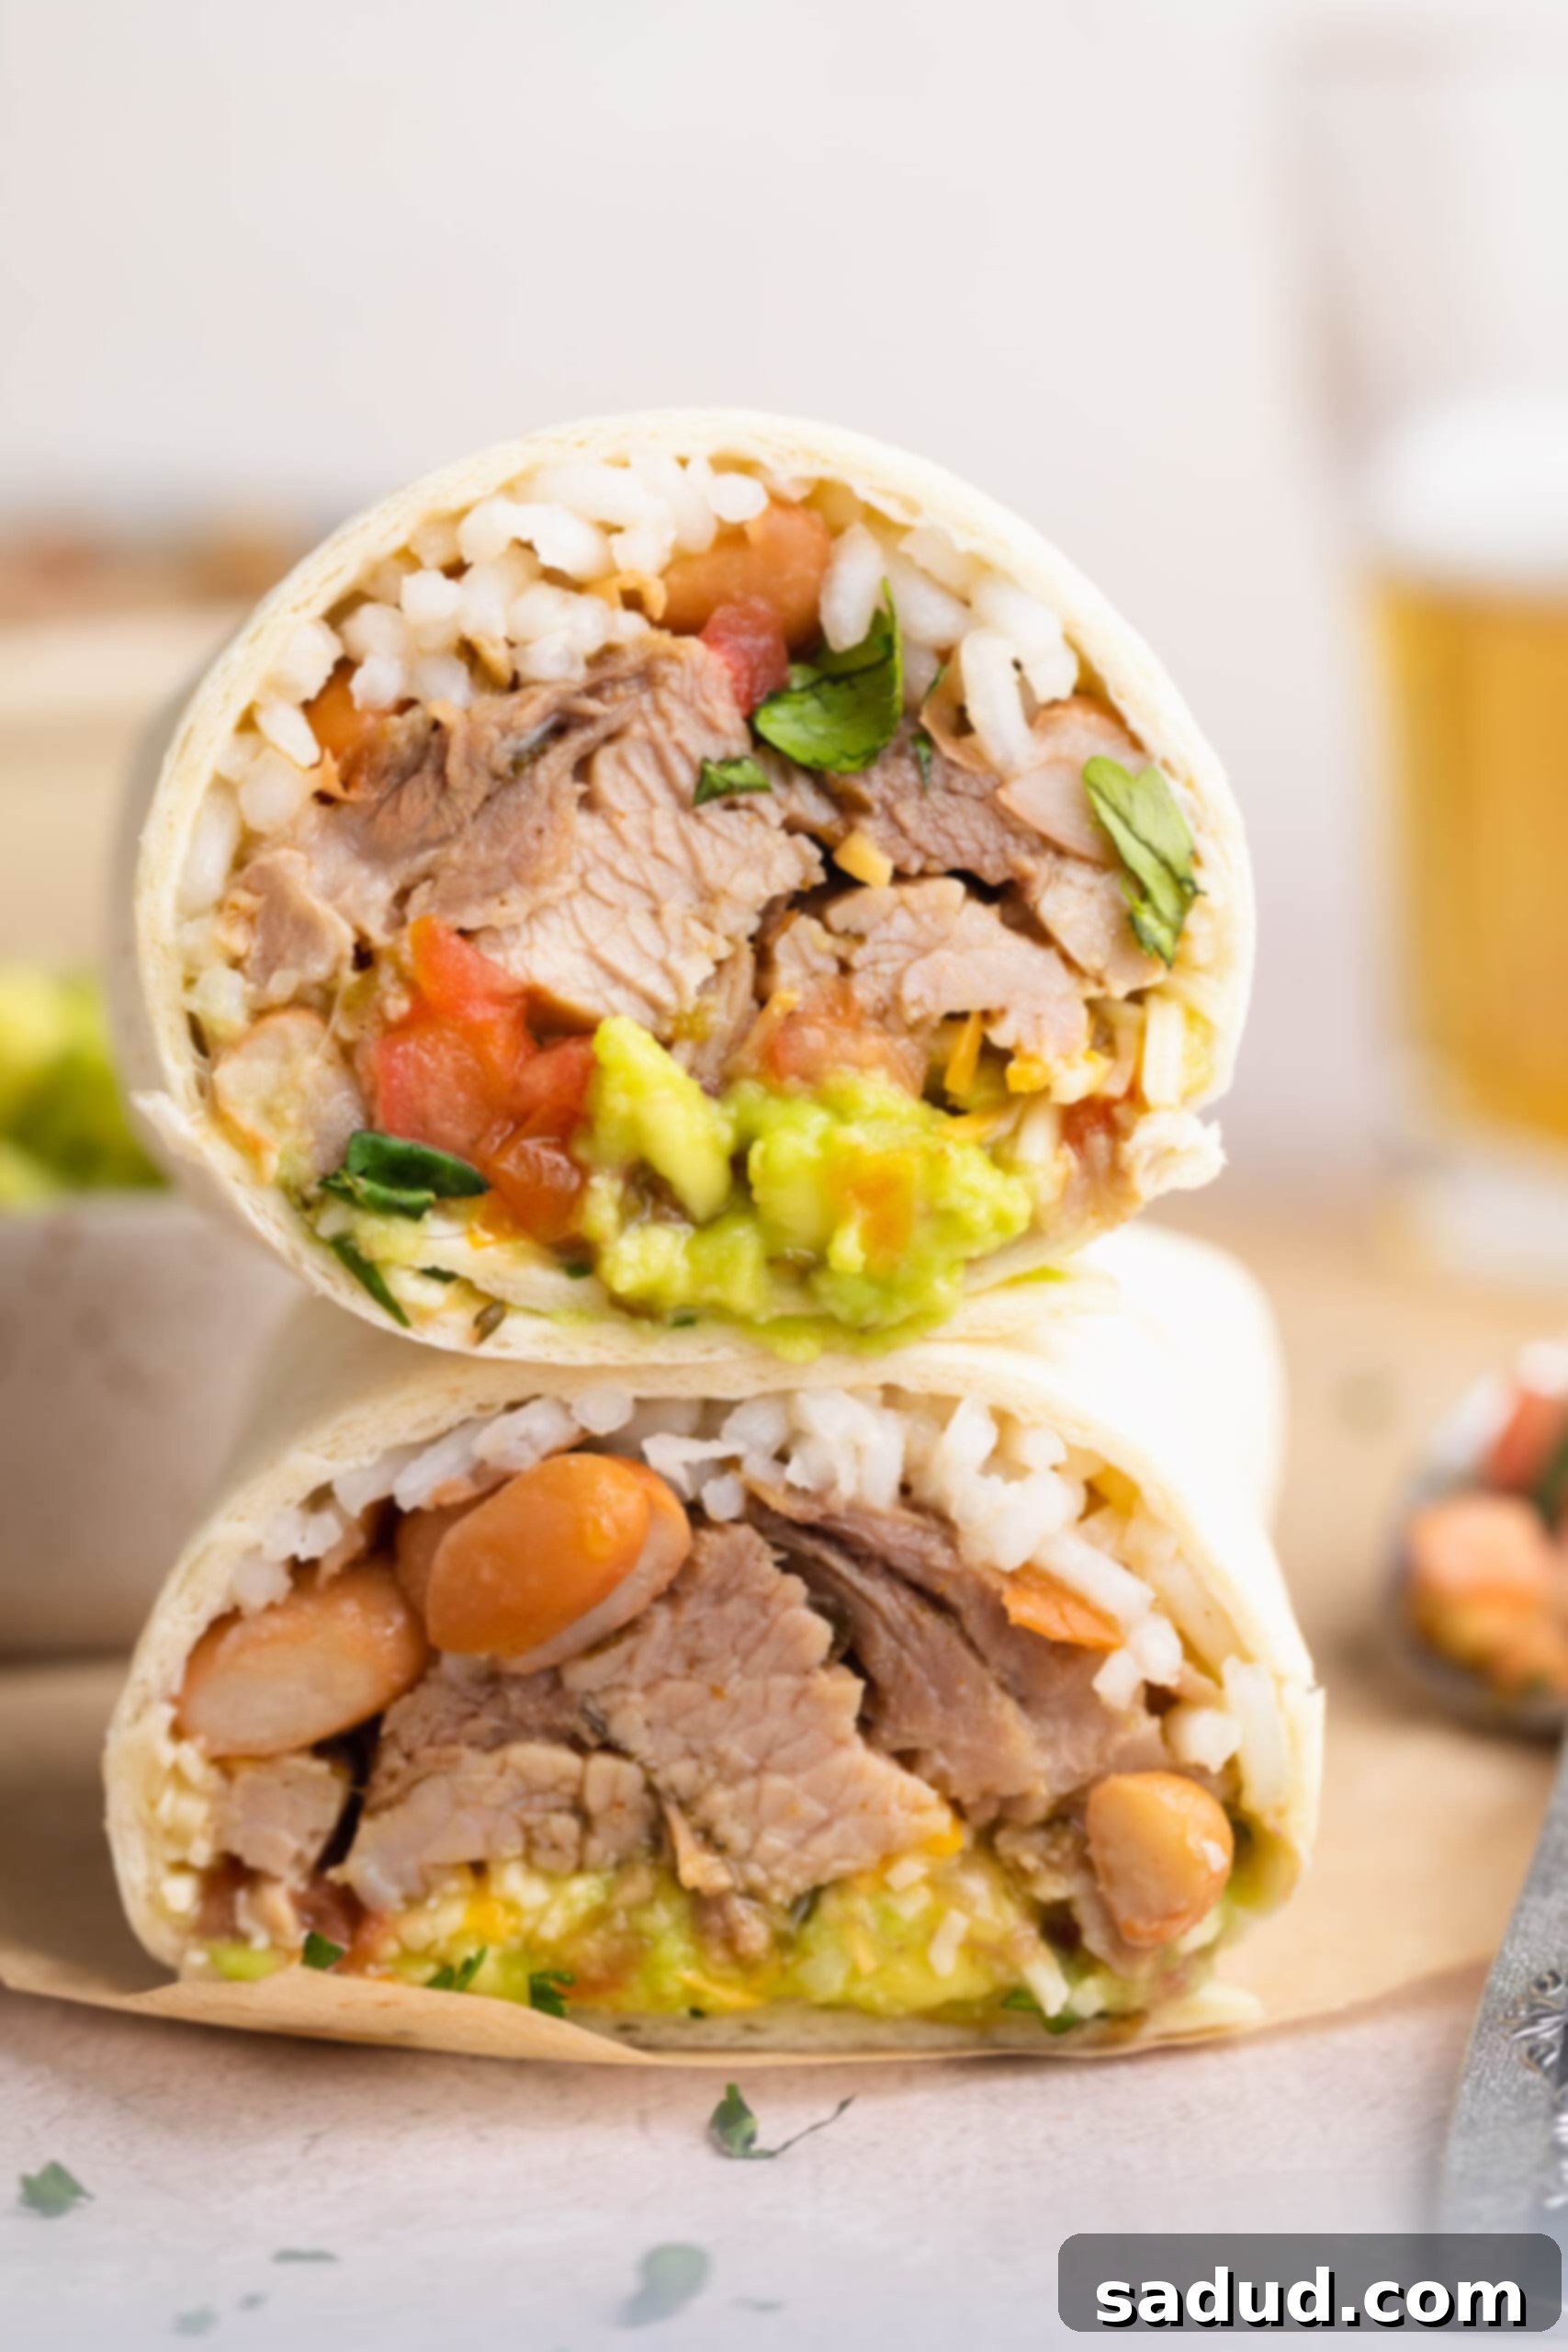
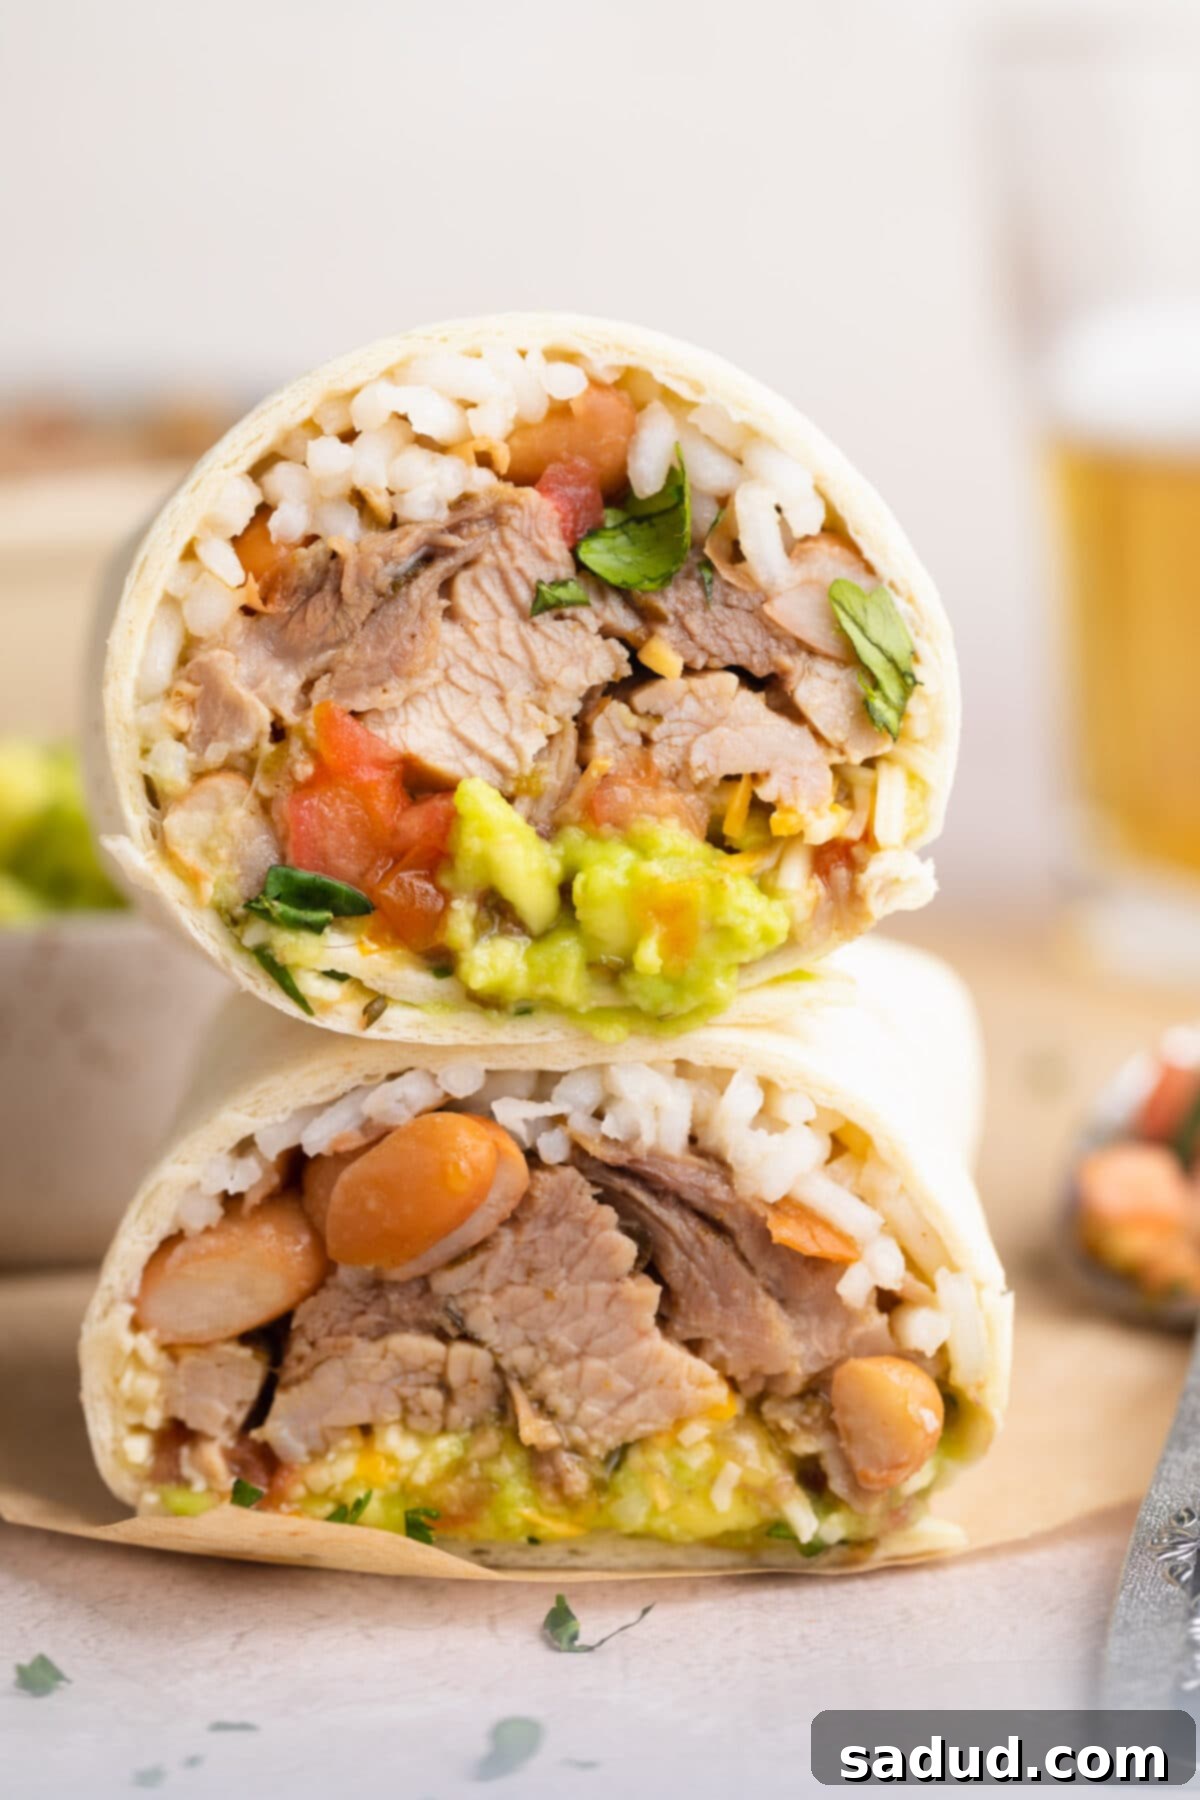
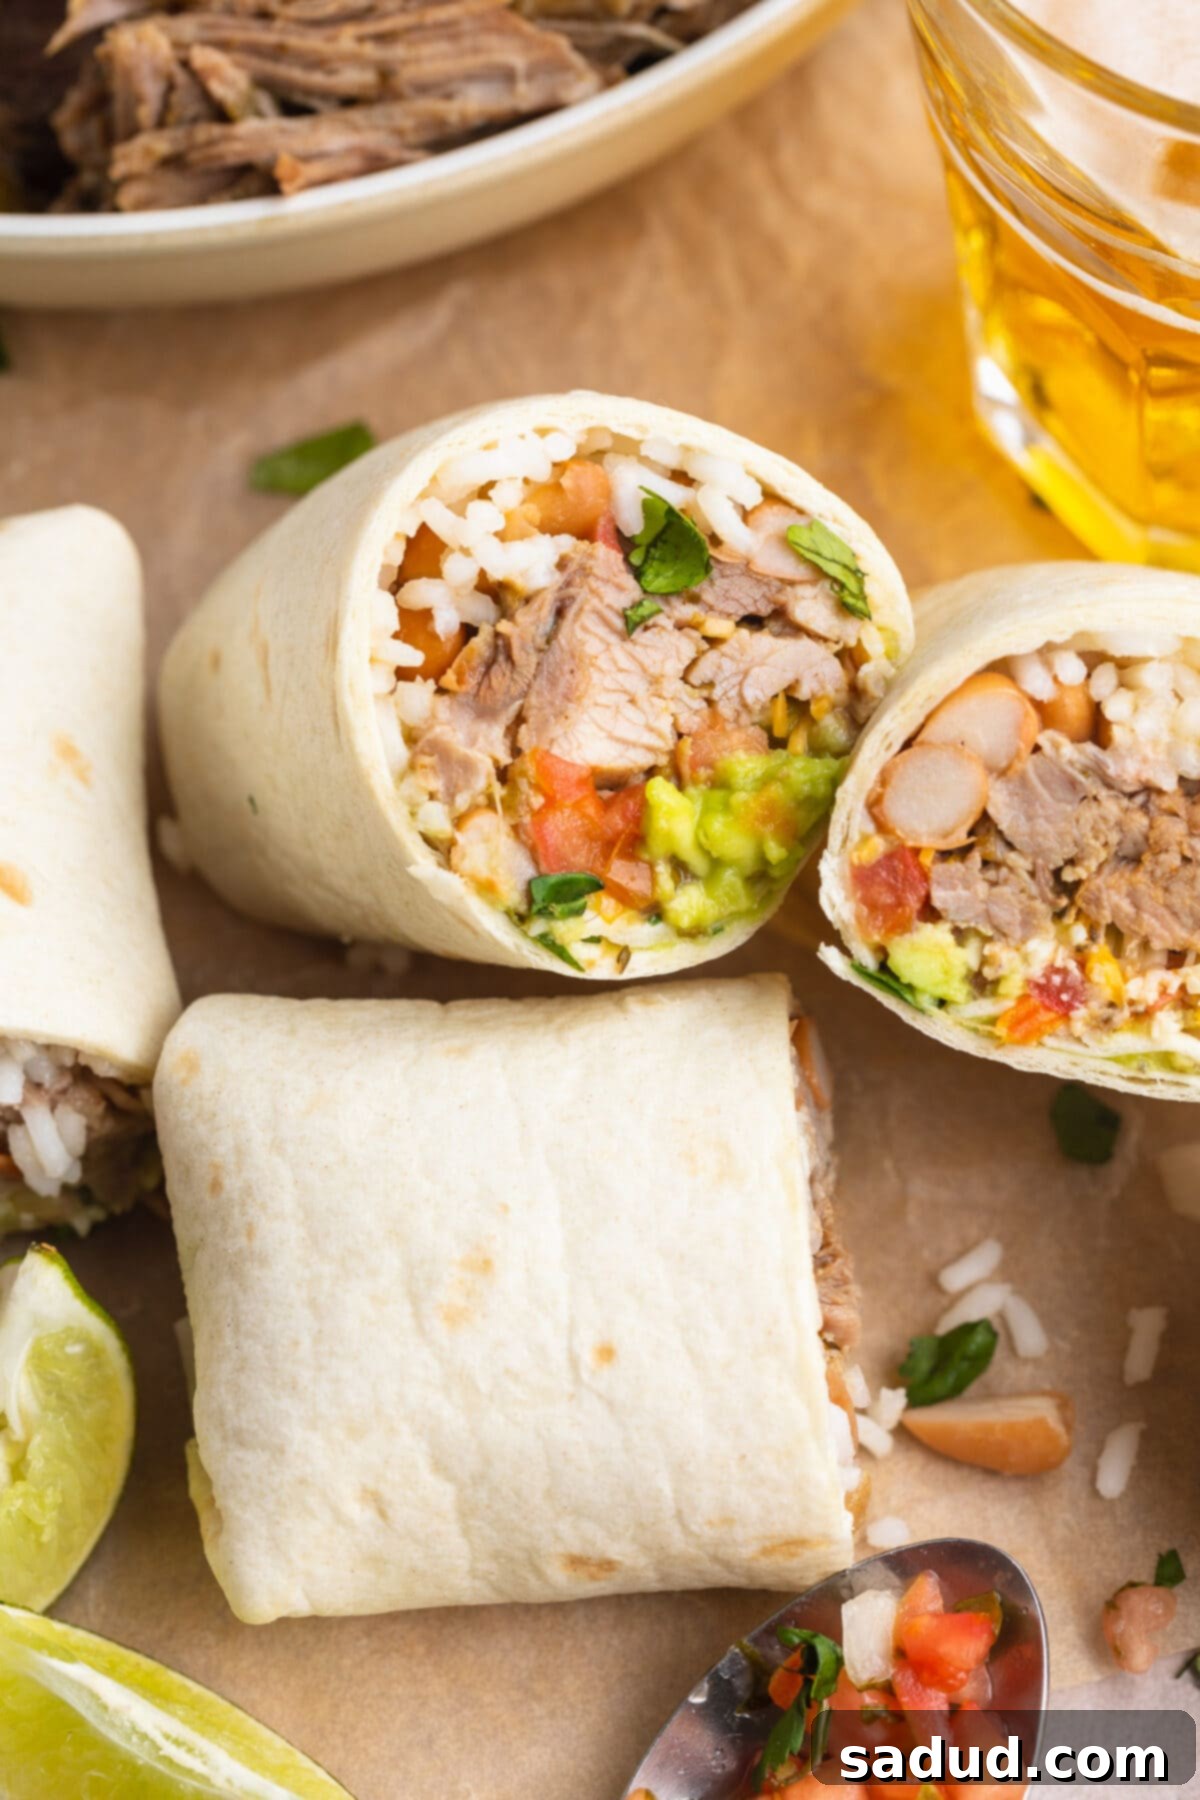
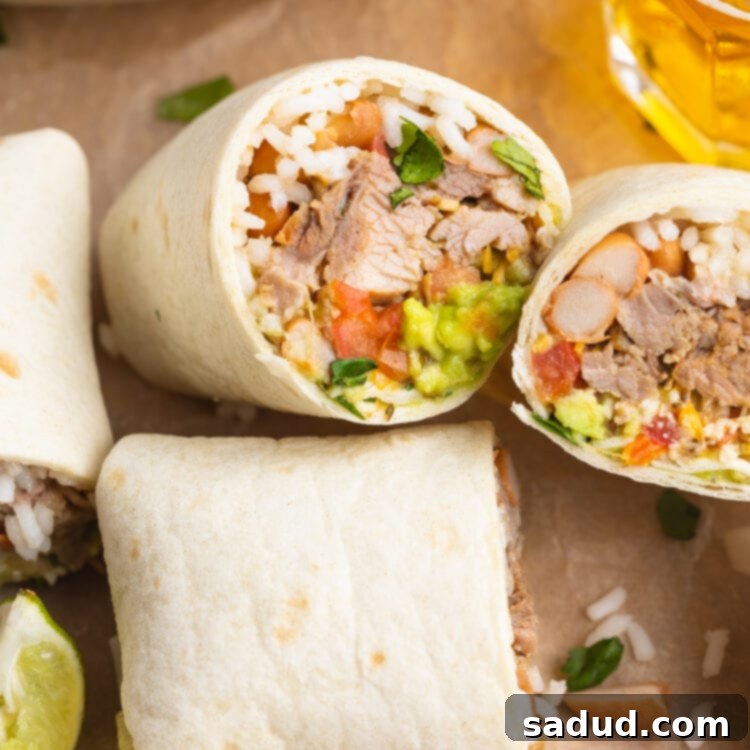
There are few things more satisfying than a perfectly crafted burrito, and this fully-loaded carnitas burrito recipe stands out as a true favorite. It’s not just a meal; it’s a versatile solution for busy weeknights, a fantastic option for freezer meals, a crowd-pleaser for parties, and a guaranteed hit for family dinners. Imagine succulent, slow-cooked shredded pork carnitas, paired with a vibrant, easy homemade guacamole, perfectly tender white rice, and all your cherished burrito fillings, expertly wrapped in a warm flour tortilla. This recipe is designed to be bursting with authentic flavor and incredibly simple to follow. I’ll even share a completely foolproof technique for rolling consistently perfect burritos every single time, ensuring a delightful experience from the first bite to the last.
🌯 Why You’ll Love These Carnitas Burritos
- Unbeatable Flavor and Tenderness: These carnitas burritos are a symphony of taste and texture. The magic begins with a simple yet incredibly aromatic spice rub, utilizing common pantry staples like oregano, cumin, chili powder, and salt. This rub infuses the pork with a deep, earthy flavor that intensifies as it slow-cooks. The braising liquid, enriched with a touch of fresh orange juice, savory aromatics like onion and garlic, and a hint of jalapeño, tenderizes the pork to perfection. In just a few hours, with minimal hands-on effort, you’ll achieve restaurant-quality shredded carnitas that are juicy, flavorful, and melt-in-your-mouth tender. The slow cooking process allows the connective tissues in the pork shoulder to break down, resulting in that signature fall-apart texture.
- Endless Customization Options: Just like any great burrito, this carnitas version is incredibly versatile, allowing for total customization to suit every palate or dietary need. Whether you have picky eaters at the table or specific dietary restrictions, you can easily add or omit any toppings. Beyond the core ingredients, consider adding corn, black olives, pickled onions, or a dollop of sour cream or crema. To truly elevate your meal, consider pairing your burritos with some rich and creamy restaurant-style queso, adding an extra layer of indulgence and flavor that perfectly complements the savory carnitas.
- Perfect for Entertaining: Hosting a gathering? This recipe offers a fun, interactive, and easy way to feed a crowd. Once the pork shoulder is cooked, shredded, and ready, simply lay out all the delicious toppings buffet-style. Your guests can then enjoy the creative process of customizing and building their own burritos or even taco bowls. This “build-your-own” concept removes the pressure of catering to individual preferences, making the meal enjoyable and engaging for everyone involved. It’s a fantastic way to ensure all your guests feel satisfied and entertained by the experience of creating their perfect meal.
👩🏼🍳 Expert Chef’s Tips for Perfect Burritos
- **Embrace Low-Carb Alternatives:** For those looking for a healthier or lighter option, transforming this recipe into a taco bowl is a fantastic choice. Instead of tortillas, serve the delicious carnitas and toppings over a bed of crisp romaine lettuce leaves or even a vibrant cilantro lime cauliflower rice. This not only significantly reduces the carbohydrate count but also offers a fresh, crunchy contrast to the rich fillings. Additionally, serving in bowls can be much less messy, making it an excellent option for younger children or anyone preferring a fork-and-knife approach over a handheld burrito.
- **Achieve Pliable Tortillas Every Time:** One of the most common frustrations when rolling burritos is a stiff or tearing tortilla. The secret to more flexible tortillas that are less likely to crack or tear is a simple steaming process. To do this, stack your flour tortillas on a plate, layering slightly damp (but not soaking wet) paper towels between each one. Place another damp paper towel on top of the stack. Pop the plate into the microwave and heat in short 30-second bursts until the tortillas are warm, soft, and beautifully pliable. The moisture and heat work together to relax the gluten in the flour, making them much easier to fold and roll without any mishaps. Just be sure to keep the paper towels from drying out completely and ensure no sections of the tortillas are left uncovered, as this can lead to hard spots.
- **Master Your Meal Prep:** This carnitas burrito recipe is a dream come true for meal prepping. Once your burritos are assembled and rolled, wrap each individual burrito tightly in aluminum foil. This packaging protects them from freezer burn and keeps them fresh. They will happily last for 2 to 3 days in the refrigerator, making them perfect for grabbing a quick lunch or dinner. For longer storage, transfer the foil-wrapped burritos to the freezer, where they will maintain their quality for 3 to 4 months. When ready to enjoy, simply reheat them in the oven or microwave. You can also cook a larger batch of the carnitas pork shoulder, then store any leftovers in an airtight container. This pre-cooked pork can be repurposed throughout the week in a myriad of ways, from flavorful breakfast tacos to adding a protein punch to salads or even creating delicious carnitas sandwiches.
🥘 More Delicious Recipes to Check Out
If you enjoyed crafting these delicious carnitas burritos, you might also like to explore some of our other flavorful and easy-to-make recipes:
- Tuna Ceviche
- Achiote Chicken
- Keto Tacos with Homemade Keto Tortillas
- Cheesy Shrimp Enchiladas
- Mexican Chicken and Rice Bake
- Burrito Suizo
If you loved this recipe as much as we did, don’t forget to leave us a review below. ★ Follow Easy Healthy Recipes on Pinterest, Facebook, and Instagram, too!
For more delicious recipes, visit our sister sites, 40 Aprons and Easy Cheap Recipes.
Carnitas Burrito
 Sam Guarnieri
Print
SaveSaved!
Ingredients
For the Carnitas: The Heart of Your Burrito
- 1 tablespoon dried oregano – essential for authentic Mexican flavor.
- 2 teaspoons cumin – adds warmth and depth to the spice rub.
- 3 teaspoons salt divided – seasons the pork perfectly.
- 1 teaspoon chili powder – for a mild, smoky spice.
- 2 pounds pork shoulder – the ideal cut for tender, shreddable carnitas.
- 1 tablespoon neutral oil avocado oil, olive oil, etc. – for searing the pork to lock in juices and flavor.
- half of one onion chopped – adds aromatic depth to the braising liquid.
- ¼ cup orange juice – provides a subtle sweetness and acidity that helps tenderize the pork.
- 3 cloves garlic minced – for pungent, aromatic flavor.
- 1 jalapeño pepper stem and seeds removed, pepper minced – offers a mild heat and fresh flavor.
- 1 tablespoon freshly squeezed lime juice – brightens the flavors of the carnitas.
For the Guacamole: Creamy Goodness
- 2 medium avocados pit removed, peeled – ripe avocados are key for creamy guacamole.
- 1 tablespoon freshly squeezed lime juice – prevents browning and adds zesty flavor.
- 1 teaspoon salt more or less to taste – enhances all the flavors.
For the Burritos: Assembly Essentials
- 6 12-inch flour tortillas – large enough to hold all your delicious fillings.
- 2 cups cooked white rice – provides a hearty base and balances the flavors.
- 2 cups pico de gallo or salsa – for fresh, tangy flavor and a hint of spice.
- 2 cups shredded Mexican cheese – for that classic gooey, cheesy texture.
- 1 cup pinto beans or black beans, drained – adds protein and fiber.
- chopped fresh cilantro to taste – for a fresh, herbaceous finish.
Equipment
-
Small bowl
-
Cutting board
-
Paper towels
-
large, heavy-bottomed pot with lid
-
Tongs
-
Small mixing bowl
-
3 forks or 2 forks and 1 potato masher
-
large plate
Instructions
For the Carnitas: Slow-Cooked Perfection
-
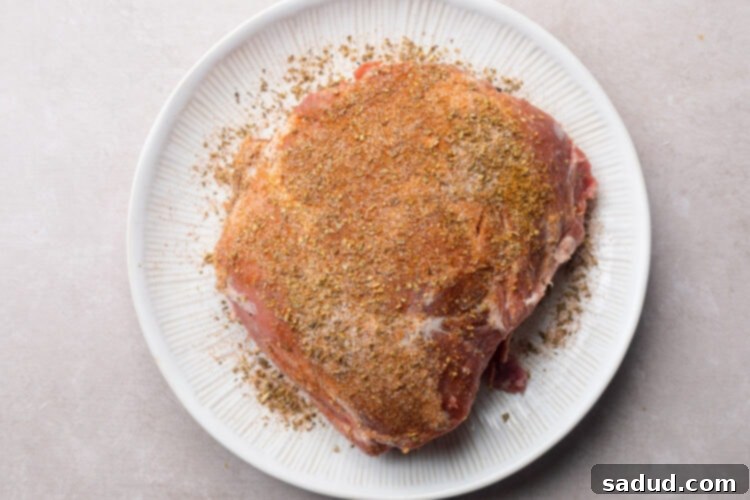
Begin by creating your flavorful spice rub. In a small bowl, combine 1 tablespoon of dried oregano, 2 teaspoons of cumin, 2 teaspoons of salt (reserving the remaining teaspoon for later), and 1 teaspoon of chili powder. Stir these spices together thoroughly until they are well blended, forming an even mixture that will perfectly season your pork.
-
Take your 2-pound pork shoulder and place it on a clean cutting board. It’s crucial to pat the pork completely dry on all sides using paper towels; this step helps ensure a beautiful, crisp sear. Once dry, generously coat the entire surface of the pork shoulder with your prepared spice mixture, taking care to rub the spices deeply into the meat. This will create a rich, aromatic crust. Set the cutting board aside with the seasoned pork.

-
Place a large, heavy-bottomed pot (like a Dutch oven) over medium heat. Allow the pot to warm up for a few minutes. Once warm, add 1 tablespoon of neutral oil (such as avocado oil or olive oil) and swirl the pot to evenly distribute the oil across the cooking surface. Continue heating the pot until the oil is shimmering slightly, indicating it’s hot enough for searing.
-
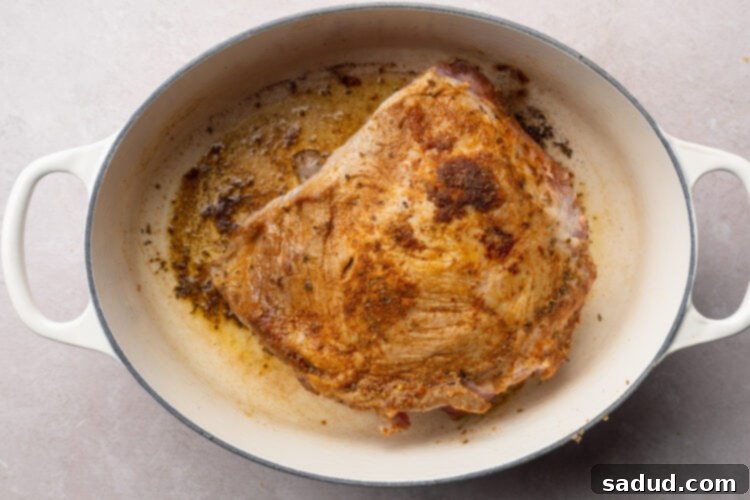
Carefully place the seasoned pork shoulder into the hot oil. Sear the pork on one side until a deep golden brown crust forms, which typically takes about 5-7 minutes. Using tongs, turn the pork over and repeat the searing process on the other side. Continue this process, turning the pork as needed, until the pork shoulder is beautifully seared and golden brown on all sides. This crucial step develops rich flavor and color.

-
Once the pork is perfectly golden brown on all sides, add the remaining ingredients to the pot: half of one chopped onion, ¼ cup of orange juice, 3 minced cloves of garlic, 1 minced jalapeño pepper (with stem and seeds removed for less heat), the remaining 1 teaspoon of salt, and 1 tablespoon of freshly squeezed lime juice. Stir all these ingredients gently to combine them with the pork. Then, cover the pot tightly with its lid and reduce the heat to low.
-
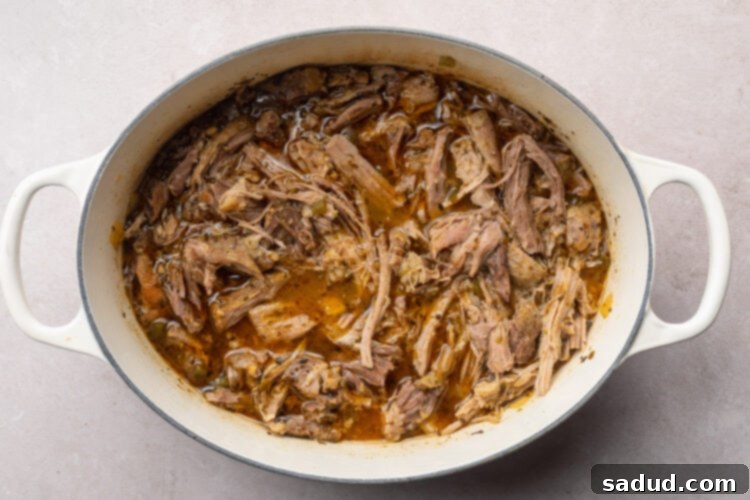
Allow the pork shoulder to simmer gently, covered, for approximately 2 to 3 hours. The cooking time may vary slightly depending on the size and cut of your pork. The goal is for the pork to become incredibly tender, easily shreddable with a fork. This slow braising process is what transforms the pork into succulent, juicy carnitas. Once it reaches this point, remove the pot from the heat and prepare for shredding.
For the Guacamole: Fresh & Zesty
-
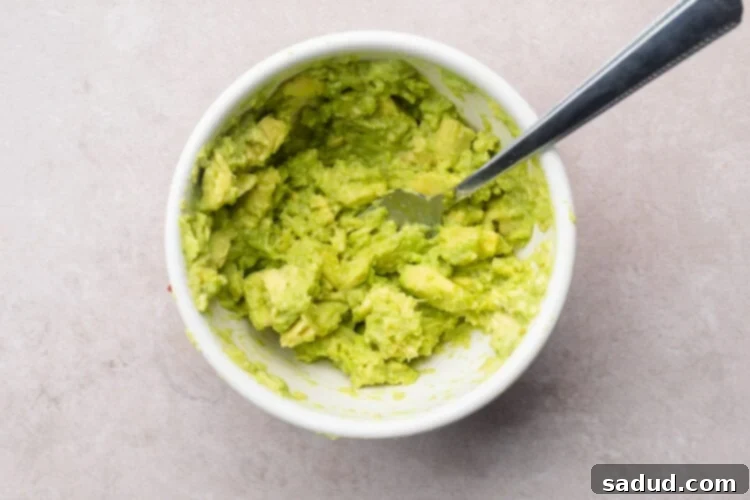
In a small mixing bowl, combine the creamy flesh of 2 medium avocados (ensuring the pits are removed and the avocados are peeled), 1 tablespoon of freshly squeezed lime juice, and 1 teaspoon of salt. The lime juice not only adds a bright, zesty flavor but also helps to prevent the avocado from browning.
-
Using a fork or a potato masher, thoroughly mash the ingredients together. Continue mashing until all components are fully combined and your desired consistency is achieved – whether you prefer a chunkier guacamole or a smoother, creamier texture. Taste and adjust salt if necessary. Once prepared, set the guacamole aside for assembly.

To Fill and Roll the Burritos: The Art of Assembly
-
Once the pork shoulder is beautifully cooked and fork-tender, carefully remove the pot from the heat. Using two sturdy forks, or even a potato masher, begin to shred the succulent pork directly in the pot, allowing it to soak up any remaining braising liquid. Shred the pork into pieces of your preferred size – some like a finer shred, while others prefer larger, more substantial chunks. This shredded pork, now infused with incredible flavor, is your delicious carnitas. Set it aside, keeping it warm if possible.

-
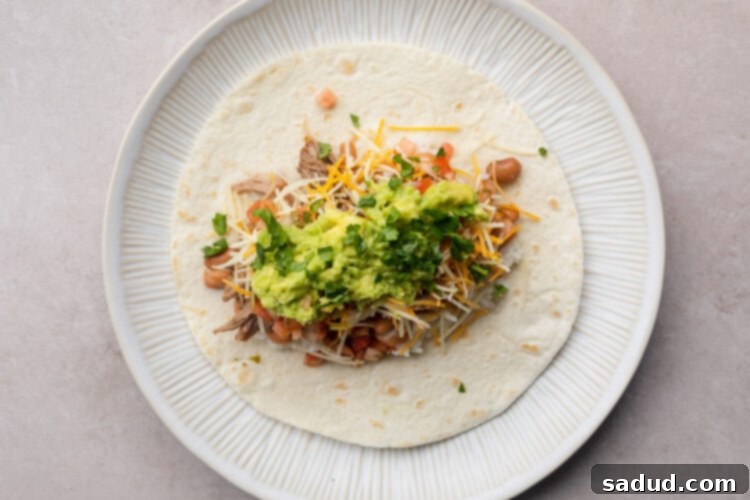
Prepare your tortillas (refer to the Chef’s Tips above for warming them to make them pliable). Place one warm flour tortilla on a clean, flat surface, such as a cutting board or a large plate. Spoon approximately ⅓ cup of cooked white rice into a horizontal line, positioned across the lower-center portion of the tortilla. This rice will act as a foundational layer, helping to absorb juices and provide structure.
-
Gently flatten the line of rice with the back of your spoon. Now, layer on a generous amount of your freshly shredded carnitas pork. Follow this with about ⅓ cup of vibrant pico de gallo (or your preferred salsa), ⅓ cup of shredded Mexican cheese, approximately ⅙ cup of drained pinto or black beans, a spoonful of your creamy guacamole, and a sprinkle of fresh, chopped cilantro to taste. Be mindful not to overload the tortilla or place the fillings too close to the edges, leaving about an inch clear on the sides for folding.

-
To begin the roll, grasp the edge of the tortilla farthest from you. Gently but firmly lift this edge and fold it down, over the filling, until it meets the bottom edge of the tortilla. Lightly press down on the filling to compact it slightly. Then, unfold the tortilla back to its original position. This “pre-fold” helps to define the structure and ensures the filling is well-contained. The filling should now primarily cover the bottom half of the tortilla, leaving the top edge mostly clear.
-
Next, take the left and right edges of the tortilla. Carefully fold each of these side edges inward toward the center of the tortilla. These folds should neatly cover the ends of your filling, creating a sealed pocket on the sides. Try to make these folds as tight as possible without overlapping the tortilla edges, which can create bulk and make the final roll less secure.
-
With the sides securely folded towards the center, lift the bottom edge of the tortilla (the edge closest to you). Begin to fold this edge upwards and over the filling, tucking it in snugly. This initial upward fold should encompass the entire width of the filling and create the beginning of your tight cylindrical shape. Tuck the bottom edge of the tortilla firmly under the top edge of the filling, pressing gently to create a compact base.
-
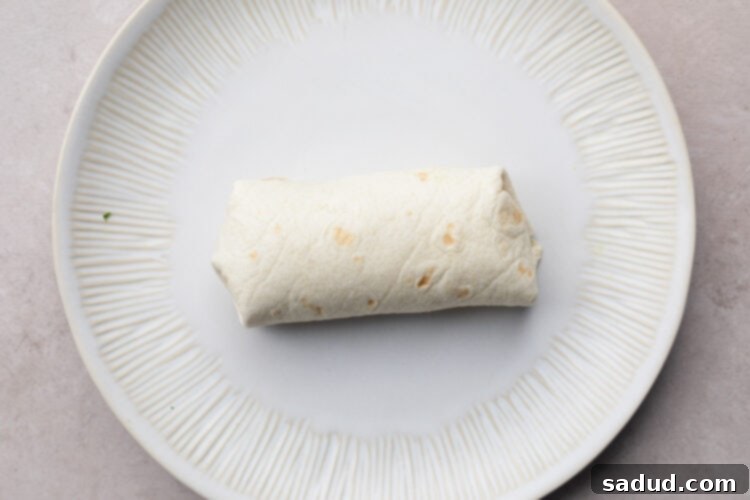
Now comes the final roll. Gently but firmly continue to roll the tortilla away from you, maintaining a consistent, tight pressure. As you roll, use your fingers to tuck in the side edges and keep the filling contained, ensuring a perfectly cylindrical and compact burrito. Continue rolling until the burrito is completely enclosed and forms a sturdy, seamless package. A tight roll is key to a mess-free and enjoyable eating experience.
-
Place your freshly rolled burrito onto a large plate, with the seam facing down to help it stay together. Repeat this entire process with the remaining tortillas and fillings until all 6 burritos have been expertly rolled. Serve these delicious, warm burritos immediately, offering additional toppings like extra salsa, sour cream, or hot sauce as desired for an even more personalized culinary adventure.

Notes
- Make it Dairy Free: Easily adapt this recipe by simply substituting traditional shredded Mexican cheese with your favorite brand of dairy-free shredded cheese. Many excellent plant-based options are available that melt beautifully and provide a similar creamy texture.
- Make it Low Carb: For a delicious low-carb version, swap out standard flour tortillas for low-carb tortillas. Additionally, replace the cooked white rice with steamed cauliflower rice. This switch significantly reduces the carbohydrate content while still providing a satisfying and flavorful base for your carnitas.
- Freezing Instructions: To freeze assembled burritos, wrap each tightly in aluminum foil, then place them in a freezer-safe bag. Thaw overnight in the fridge and reheat in an oven at 350°F (175°C) for 20-30 minutes, or microwave until heated through.
- Spice Level Adjustment: If you prefer more heat, leave some seeds and membranes in the jalapeño, or add a pinch of cayenne pepper to the spice rub. For a milder flavor, omit the jalapeño entirely.
Nutrition Information
Number of total servings shown is approximate. Actual number of servings will depend on your preferred portion sizes.
Nutritional values shown are general guidelines and reflect information for 1 serving using the ingredients listed, not including any optional ingredients. Actual macros may vary slightly depending on specific brands and types of ingredients used.
To determine the weight of one serving, prepare the recipe as instructed. Weigh the finished recipe, then divide the weight of the finished recipe (not including the weight of the container the food is in) by the desired number of servings. Result will be the weight of one serving.
