Indulge Guilt-Free: The Ultimate Healthy & Easy Homemade Butterfinger Chocolate Easter Eggs Recipe
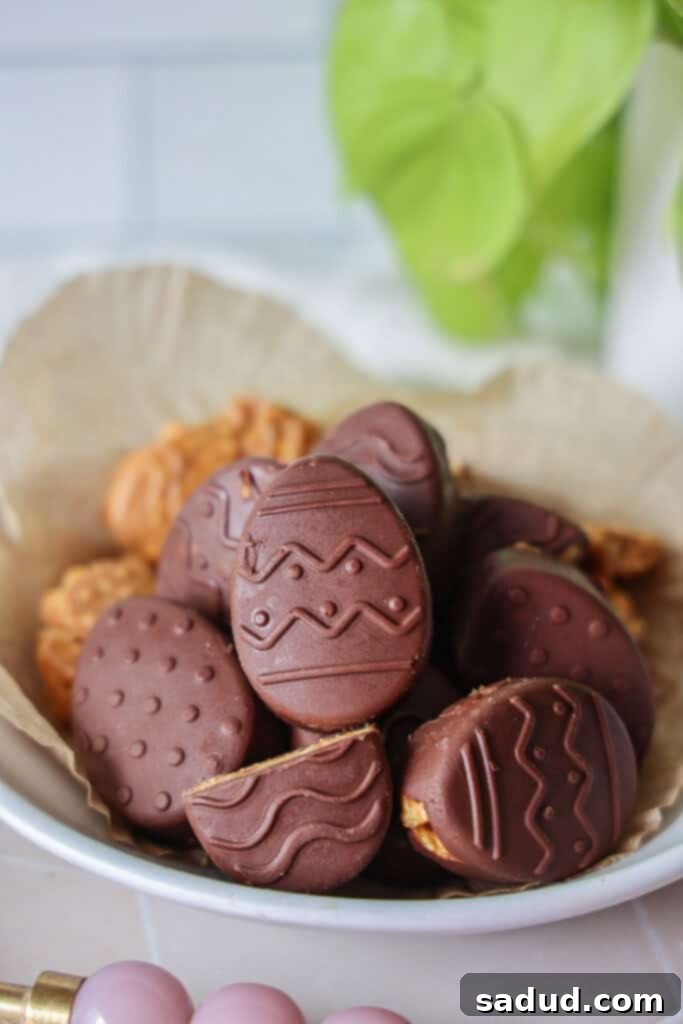
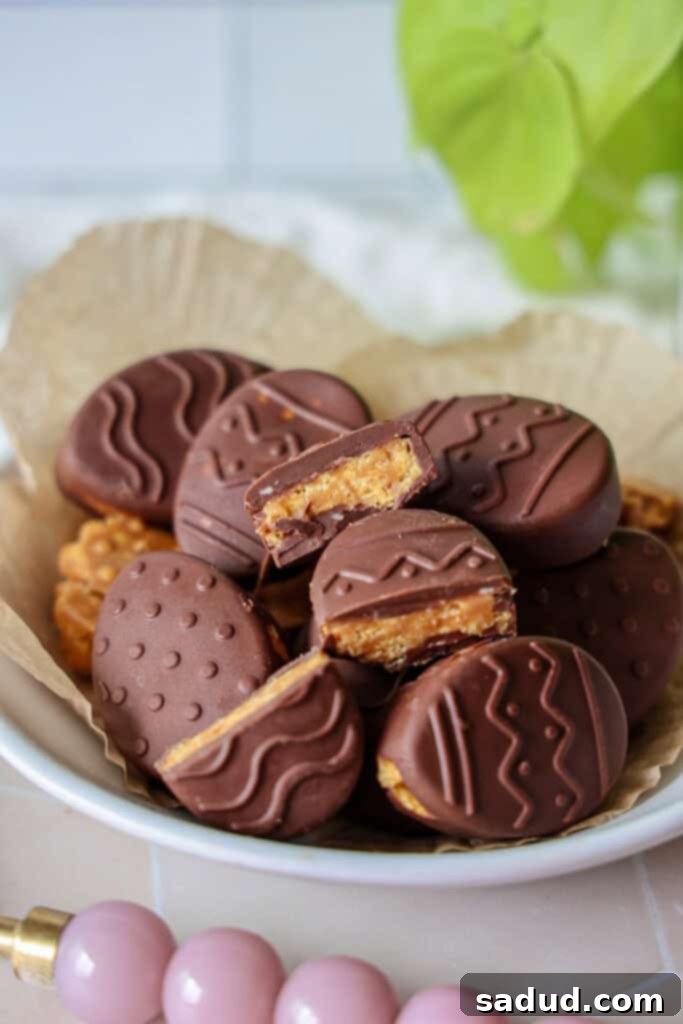
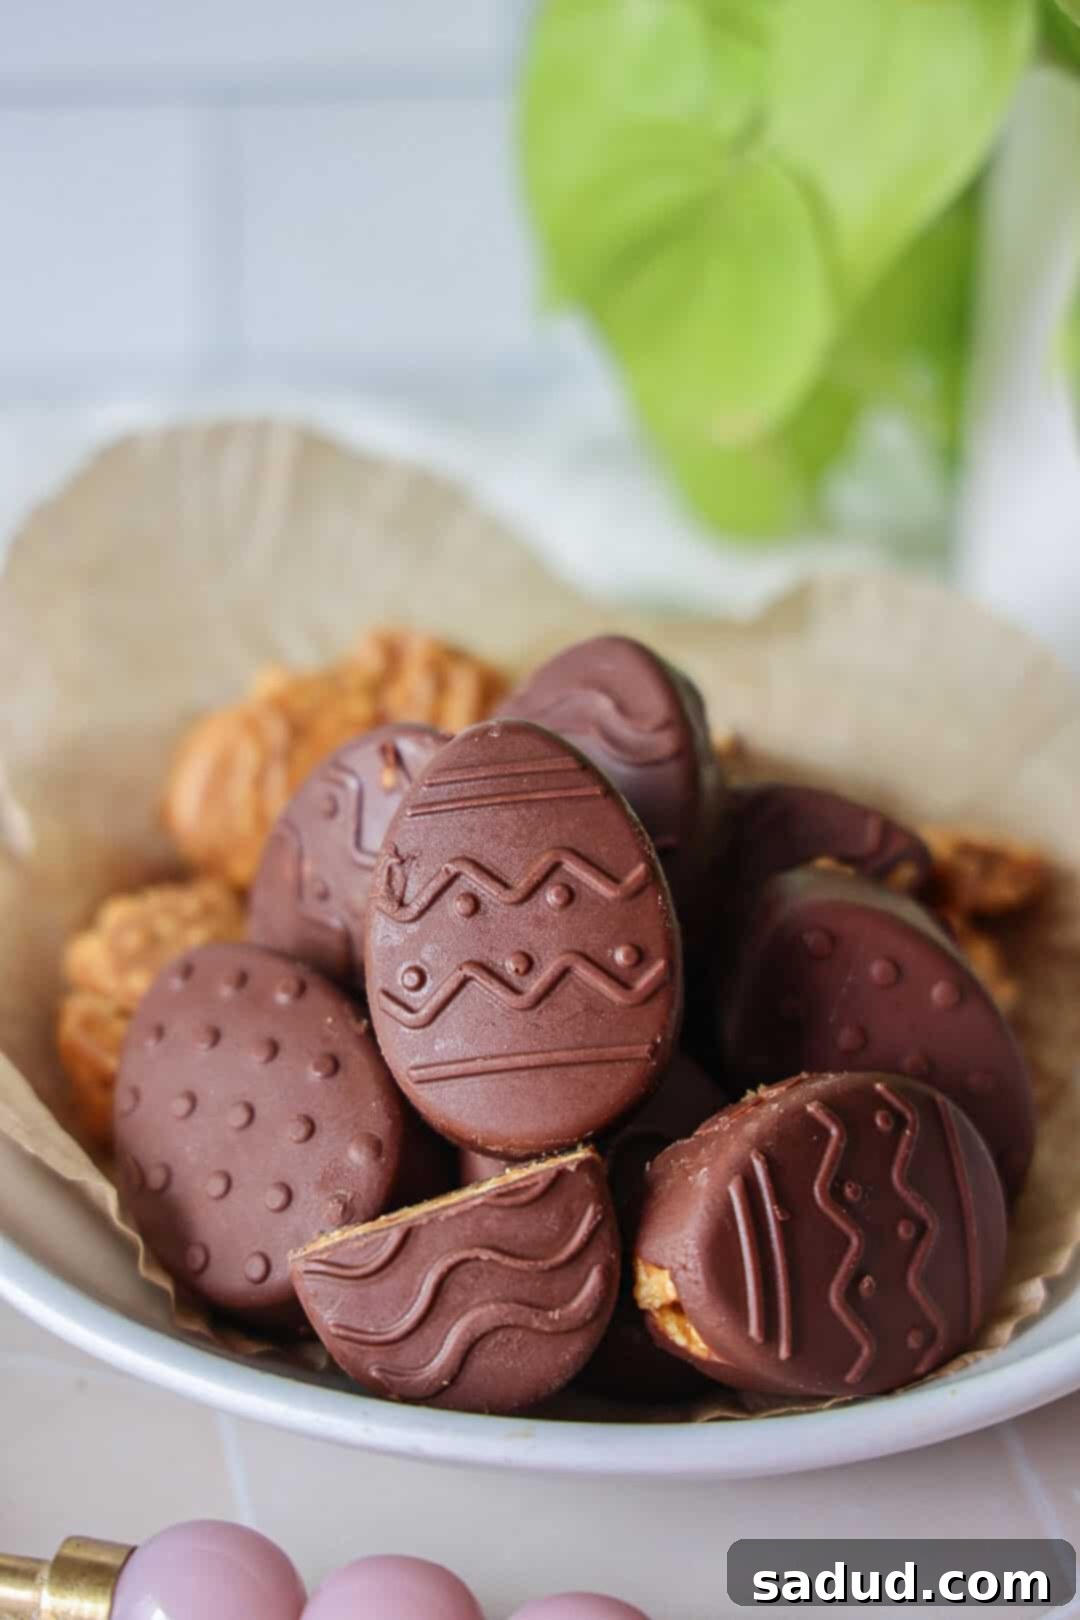
As the holidays approach, there’s one treat that consistently graces my table: my signature butterfinger bites, always in a festive form. This year, for Easter, I’m thrilled to share these irresistible Butterfinger Chocolate Easter Eggs. They are truly the PERFECT treat for anyone seeking a minimal effort, minimal ingredient dessert that will delight every guest. The best part? These amazing chocolate eggs can be effortlessly made vegan, gluten-free, and refined sugar-free, yet they taste incredibly indulgent – just like the classic candy bar you know and love!

*Disclosure: This post may contain affiliate links. I may earn a small commission for my endorsement, recommendation, and/or link to any products or services from this website. This helps support my blog and allows me to continue sharing delicious recipes!
Why You’ll Adore This Homemade Butterfinger Easter Egg Recipe
These healthy Butterfinger Chocolate Easter Eggs aren’t just a treat; they’re a revelation! Here’s why this recipe will quickly become your new go-to for spring festivities and beyond:
- Made with Just 5 Wholesome Ingredients: Forget complicated recipes with endless lists. This recipe keeps it wonderfully simple, proving that you don’t need many components to create something truly delicious. Each ingredient plays a crucial role in delivering that authentic Butterfinger experience.
- One-Bowl Wonder for Easy Cleanup: Who has time for mountains of dishes, especially during the busy holiday season? This entire recipe comes together in a single mixing bowl, making prep and cleanup an absolute breeze. Spend less time scrubbing and more time enjoying your delicious creations!
- Dietary-Friendly & Versatile: Catering to various dietary needs has never been easier. These Butterfinger eggs can be effortlessly adapted to be vegan, gluten-free, dairy-free, and refined sugar-free. This makes them an inclusive dessert that everyone, regardless of their dietary restrictions, can safely and happily enjoy.
- Ready in Under 20 Minutes (Hands-On Time!): Craving a quick dessert? This no-bake recipe boasts a super-fast prep time, meaning you can whip up a batch of these delectable treats in less than 20 minutes. Just a little chill time, and they’re ready to serve!
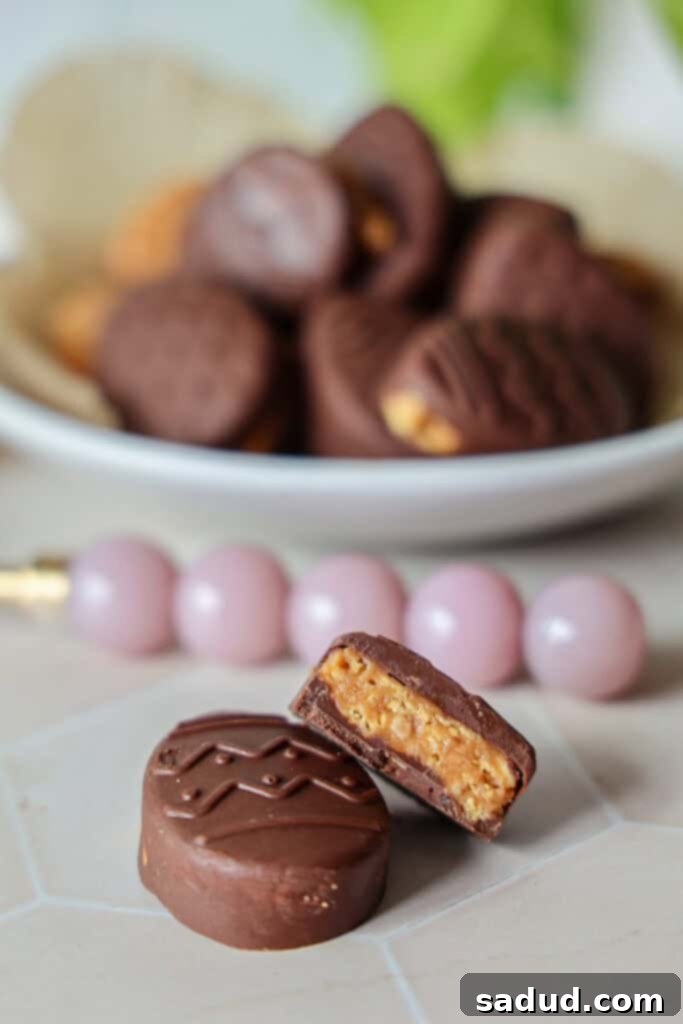
- Tastes Just Like the Classic Butterfinger Candy Bar: Prepare to be amazed! Despite their healthier profile, these homemade Butterfinger eggs capture the iconic crispy, peanut-buttery, chocolatey flavor of the beloved Butterfinger candy. Even the pickiest eaters and kids will be begging for more!
- No-Bake Perfection: Free up your oven for other Easter dinner dishes! These chocolate eggs require no baking whatsoever, relying purely on the freezer to set. This also makes them a fantastic activity for little helpers in the kitchen without the dangers of a hot oven.
Are Homemade Butterfinger Bites Truly Healthy? Let’s Break Down the Ingredients!
When we talk about making “healthier” dessert options, the focus shifts from strict calorie counting to the quality and nutritional value of the ingredients. These Butterfinger Easter eggs are crafted with just four main wholesome ingredients, chosen for their natural benefits and delicious taste. Let’s take a closer look at what makes these treats a better-for-you indulgence:
- Peanut Butter: The creamy, nutty base of our Butterfinger filling! I always recommend using organic peanut butter that lists only one or two ingredients: peanuts and sea salt. Many conventional peanut butters contain hydrogenated oils and added sugars, which diminish their health benefits. Natural peanut butter provides healthy monounsaturated fats, protein, and fiber, contributing to satiety and energy. It’s crucial to read labels to avoid unwanted additives.
- Chocolate: The luxurious coating that encases our crispy peanut butter filling. I’m a huge fan of Hu Kitchen chocolate because their products are made with exceptionally high-quality ingredients and are completely free of refined sugars, soy lecithin, and other questionable additives. They offer both rich grass-fed milk chocolate and dairy-free dark chocolate options, allowing you to easily maintain the vegan and dairy-free status of this recipe. (Don’t forget to use my code “danishealthyeats” to save on your Hu Kitchen order – a little treat for you!) Dark chocolate, in particular, is packed with antioxidants, making it a delicious way to enjoy a sweet treat with added benefits.
- Maple Syrup or Honey: These natural liquid sweeteners add a touch of delightful sweetness without relying on processed white sugar. Both maple syrup and raw honey are fantastic alternatives, boasting antioxidant properties and a lower glycemic index compared to refined sugars. If you’re making the recipe strictly vegan, opt for pure maple syrup. Honey, while natural, is not considered vegan. Both provide a wonderful depth of flavor that complements the peanut butter beautifully.
- Corn Flake Cereal: This is the secret ingredient for that signature Butterfinger crunch! Finding a truly healthy corn flake cereal can be the trickiest part, as many brands are loaded with added sugars and artificial ingredients. My top recommendation is Nature’s Path Organic corn flakes. This brand stands out because it’s made with organic corn and lightly sweetened with pear juice, avoiding refined sugars and artificial flavors. It delivers the perfect crisp texture needed to mimic the classic Butterfinger candy bar’s unique crunch without compromising on our healthy ingredient principles. Always check ingredient labels carefully!

How to Make These Irresistible Butterfinger Chocolate Easter Eggs
Creating these delectable no-bake treats is incredibly simple and requires just a few basic kitchen tools. Follow these straightforward steps to craft your own batch of healthy homemade Butterfinger Chocolate Easter Eggs.
Essential Equipment
Gathering your tools beforehand will make the process even smoother:
- Mixing Bowl: For combining all your delicious filling ingredients. A medium-sized bowl works best to allow for easy stirring.
- Spatula: Ideal for mixing the peanut butter filling and for carefully spreading the chocolate in your molds.
- Baking Sheet: A flat surface to hold your molds steady as they chill in the freezer.
- Parchment Paper: Lining your baking sheet with parchment paper ensures easy transfer of your molds and prevents any potential sticking.
- Easter Egg Mold: While optional (see below for alternatives!), an egg-shaped silicone mold gives these treats their festive holiday form. Silicone molds are particularly easy for removing the finished eggs.
Step-by-Step Instructions
Let’s get started on making these incredible Butterfinger Easter Eggs!
- Step 1: Prepare the Chocolate Shell. First, begin by gently melting your chosen chocolate chips. You can do this in a microwave-safe bowl in 30-second intervals, stirring in between, or using a double boiler for a smoother melt. Once melted and smooth, add a small amount of chocolate to the bottom of each cavity in your Easter egg mold. Use the back of a spoon or a small spatula to spread the chocolate evenly, ensuring it completely covers the bottom and extends slightly up the sides of each crevice. This creates a sturdy base for your egg. Pop the mold into the freezer for just a few minutes (5-7 minutes should suffice) to allow this initial chocolate layer to harden completely.
- Step 2: Craft the Crispy Butterfinger Filling. While your chocolate shells are chilling, it’s time to prepare the star of the show: the Butterfinger filling! In your mixing bowl, combine the peanut butter, maple syrup (or honey), and melted coconut oil. Stir these ingredients together until you achieve a wonderfully smooth and cohesive mixture. The coconut oil helps bind everything and gives the filling a lovely texture. Finally, fold in the crushed corn flake cereal. Mix gently until the cereal is evenly distributed throughout the peanut butter mixture. This is where that signature Butterfinger crunch comes from! Feel free to taste the mixture and add an extra tablespoon of sweetener if you prefer it a bit sweeter.
- Step 3: Assemble Your Easter Eggs. Once the first chocolate layer in your mold is firm to the touch, remove it from the freezer. Now, take spoonfuls of your delicious Butterfinger filling and carefully add it to each chocolate-lined egg cavity. Gently press the filling down to create an even layer, being careful not to overfill. Leave a little space at the top for the final chocolate coating.
- Step 4: Seal with Chocolate and Chill. With the filling in place, it’s time for the grand finale! Pour the remaining melted chocolate over the top of each filled egg, spreading it out to completely cover the peanut butter filling and seal the eggs. Make sure the top is smooth and even. Once all eggs are coated, place the entire mold back into the freezer. Allow them to chill for at least an hour, or until they are completely firm throughout – this ensures the filling sets properly.
- Step 5: Release and Store. After an hour or so, carefully remove the firm Butterfinger Chocolate Easter Eggs from their molds. If using a silicone mold, they should pop out easily with a gentle push. Transfer them to an air-tight container.
No Easter Egg Mold? No Problem! Creative Alternatives!
Absolutely! While an Easter egg mold gives these treats their festive shape, you can certainly make these delicious Butterfinger bites without one. Their incredible taste and texture are what truly matter!
One fantastic alternative is to use a muffin tin. If you opt for a muffin tin, your Butterfinger treats will come out in a charming circular shape, reminiscent of classic Reese’s peanut butter cups. I highly recommend using cupcake liners, especially if you don’t own a silicone muffin tin, as they will make for incredibly easy removal and less mess. Simply line the tin, add a layer of chocolate, then the filling, and top with more chocolate before freezing.
Another simple method is to skip the molds entirely! After making the peanut butter filling, roll spoonfuls of the mixture into small balls or press them into bite-sized bar shapes. Then, simply dip each ball or bar into your melted chocolate, coat completely, and place them on parchment paper on a baking sheet to freeze. This method is perfect for a rustic, free-form Butterfinger bite that can be enjoyed any time of year.
If you are still on the hunt for a high-quality Easter egg mold for future festive recipes, this is the one I used and highly recommend. It’s incredibly versatile for various holiday-themed treats!

FAQs, Expert Tips, & Creative Tricks for Your Butterfinger Bites
Get the most out of your homemade Butterfinger Chocolate Easter Eggs with these helpful insights and creative ideas:
- How to Store Butterfinger Bites: These delightful treats are designed to be stored in the freezer! Keeping them frozen ensures they maintain their firm texture and prevents the chocolate from melting. When you’re ready to enjoy, simply take them out of the freezer and let them sit at room temperature for about 5 minutes. This brief resting period allows them to soften just slightly, enhancing their creamy, crispy texture for the perfect bite.
- How Long Do Butterfinger Chocolate Eggs Last?: When stored properly in an air-tight container in the freezer, your homemade Butterfinger bites will remain fresh and delicious for up to 2 months. This makes them an excellent make-ahead dessert, perfect for holiday entertaining or simply having a healthy treat on hand.
- Troubleshooting – Filling Too Crumbly?: If your peanut butter filling seems too dry or crumbly to shape, it might be because your peanut butter is too thick or your coconut oil wasn’t fully melted. Add an extra teaspoon of melted coconut oil or a tiny splash of maple syrup (or dairy-free milk) and mix well until it reaches a more pliable consistency.
- Troubleshooting – Chocolate Not Smooth?: Ensure your chocolate is melted evenly. If using the microwave, stir every 30 seconds to prevent burning. If using a double boiler, make sure the water isn’t boiling too vigorously and no water gets into the chocolate. A tiny bit of coconut oil (1/2 tsp) can help thin out overly thick melted chocolate.
-
Creative Flavor Variations:
- Nut Butter Swaps: Experiment with almond butter or cashew butter for a slightly different flavor profile. Just ensure they are natural, drippy varieties.
- Add Extracts: A touch of vanilla extract in the peanut butter filling can enhance the flavor. For a festive twist, a tiny drop of peppermint extract could be interesting!
- Toppings Galore: Before the final chocolate layer sets, sprinkle with flaky sea salt, crushed nuts, or even a few colorful sprinkles for extra pizzazz.
- Different Chocolates: While dark chocolate is great, try milk chocolate chips (dairy-free if needed) or even white chocolate for a different look and taste.
- Make Them Into Bars or Truffles: Don’t limit yourself to eggs! Press the filling into a parchment-lined square pan for Butterfinger bars, or roll them into small truffles and dip in chocolate for bite-sized delights.
More Healthy No-Bake Recipes to Try
If you loved these Butterfinger Chocolate Easter Eggs, you’ll definitely want to explore these other delicious and healthy no-bake treats:
- Healthy Snickers Bites
- 2 Ingredient Copycat Rolo’s
- No-Bake Samoa Cookies
- Carrot Cake Bites/Truffles
- Homemade Dilly Bar Ice Creams
- 2 Ingredient Orange Sorbet
- Gluten-Free Banana Pudding
If you give these incredible healthy Butterfinger Chocolate Easter Eggs a try, it would mean the world to me if you left a review below and tagged me in your delicious creations @danishealthyeats on Instagram! Your feedback and shares truly make my day!

Butterfinger Chocolate Easter Eggs
Pin Recipe
Ingredients
Butterfinger filling
- 1/2 cup natural peanut butter
- 3-4 tbsp pure maple syrup (or honey for non-vegan)
- 1 tbsp melted coconut oil
- 3/4 cup crushed corn flake cereal (organic, refined sugar-free recommended)
- good pinch of sea salt
Chocolate coating
- 1 1/3 cups high-quality chocolate chips (dairy-free for vegan)
Instructions
-
Melt the Chocolate & Prepare Molds: Gently melt your chocolate chips using either a microwave (in 30-second intervals, stirring) or a double boiler until completely smooth. Pour a small amount of melted chocolate into the bottom of each cavity of your Easter egg mold. Spread it out with a spoon to fully cover the bottom and slightly up the sides to form a shell. Place the mold in the freezer for 5-7 minutes to allow the chocolate to harden.
-
Prepare the Butterfinger Filling: While the chocolate chills, prepare the filling. In a mixing bowl, combine the peanut butter, maple syrup (or honey), melted coconut oil, and a pinch of sea salt. Stir well until the mixture is smooth and evenly combined. Then, gently fold in the crushed corn flake cereal until it’s evenly distributed throughout the peanut butter mixture. Taste and adjust sweetness if desired.
-
Fill the Molds: Once the chocolate layer in the molds has hardened, remove it from the freezer. Carefully add spoonfuls of the Butterfinger filling into each chocolate shell, gently pressing it down to create an even layer. Do not overfill; leave a small space for the top chocolate layer.
-
Top with Chocolate & Final Chill: Pour the remaining melted chocolate over the filling in each egg, spreading it out to completely cover the filling and seal the eggs. Ensure the top layer is smooth. Place the mold back in the freezer for at least one hour, or until the eggs are completely firm throughout. This allows both the chocolate and the filling to set perfectly.
-
Remove and Store: Once firm, carefully remove the Butterfinger Chocolate Easter Eggs from their molds. Transfer them to an air-tight container and store them in the freezer. Let them sit out for 5 minutes before eating if you prefer a slightly softer texture.
