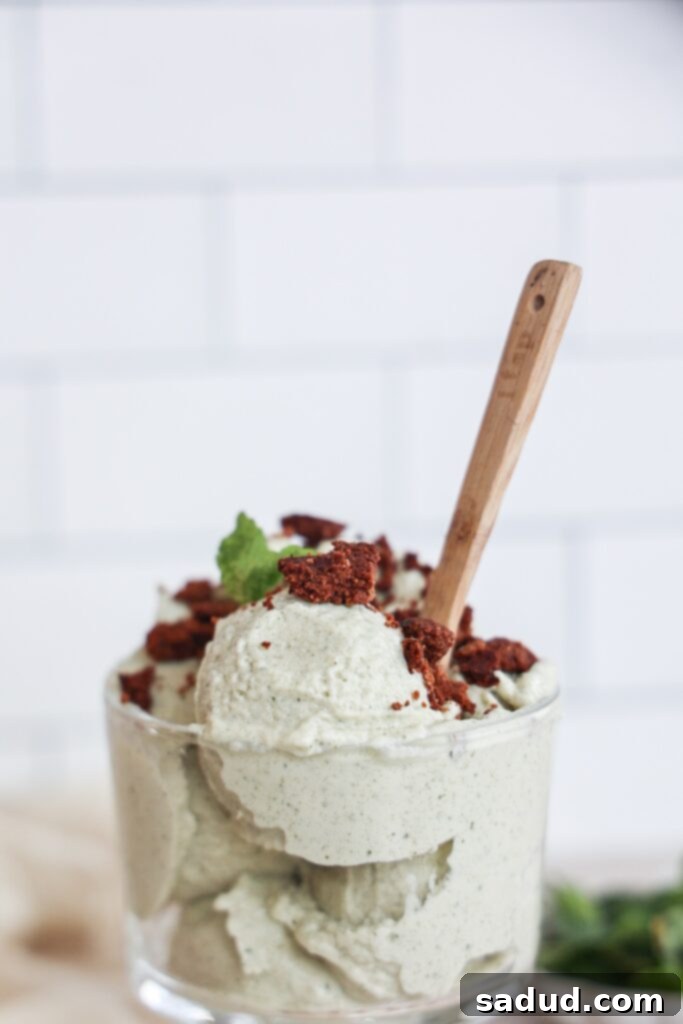
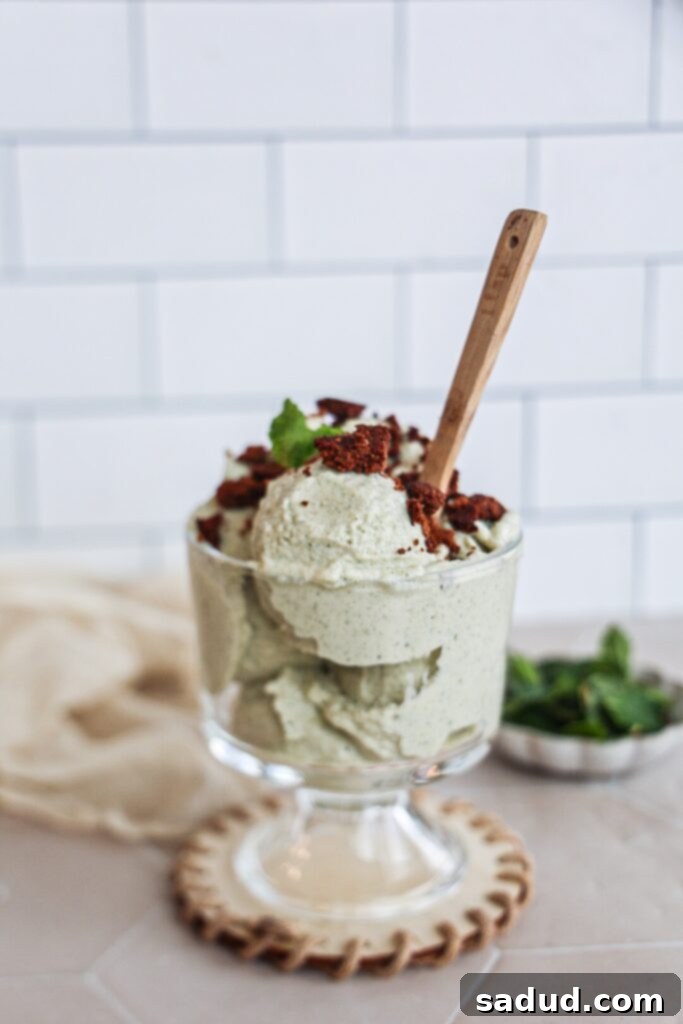
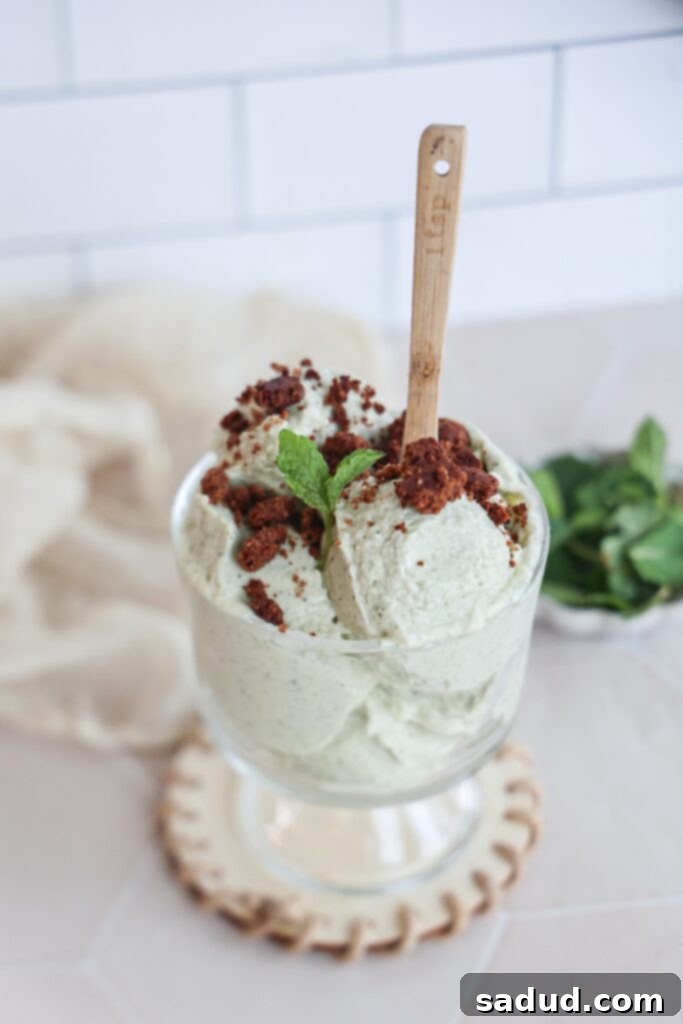
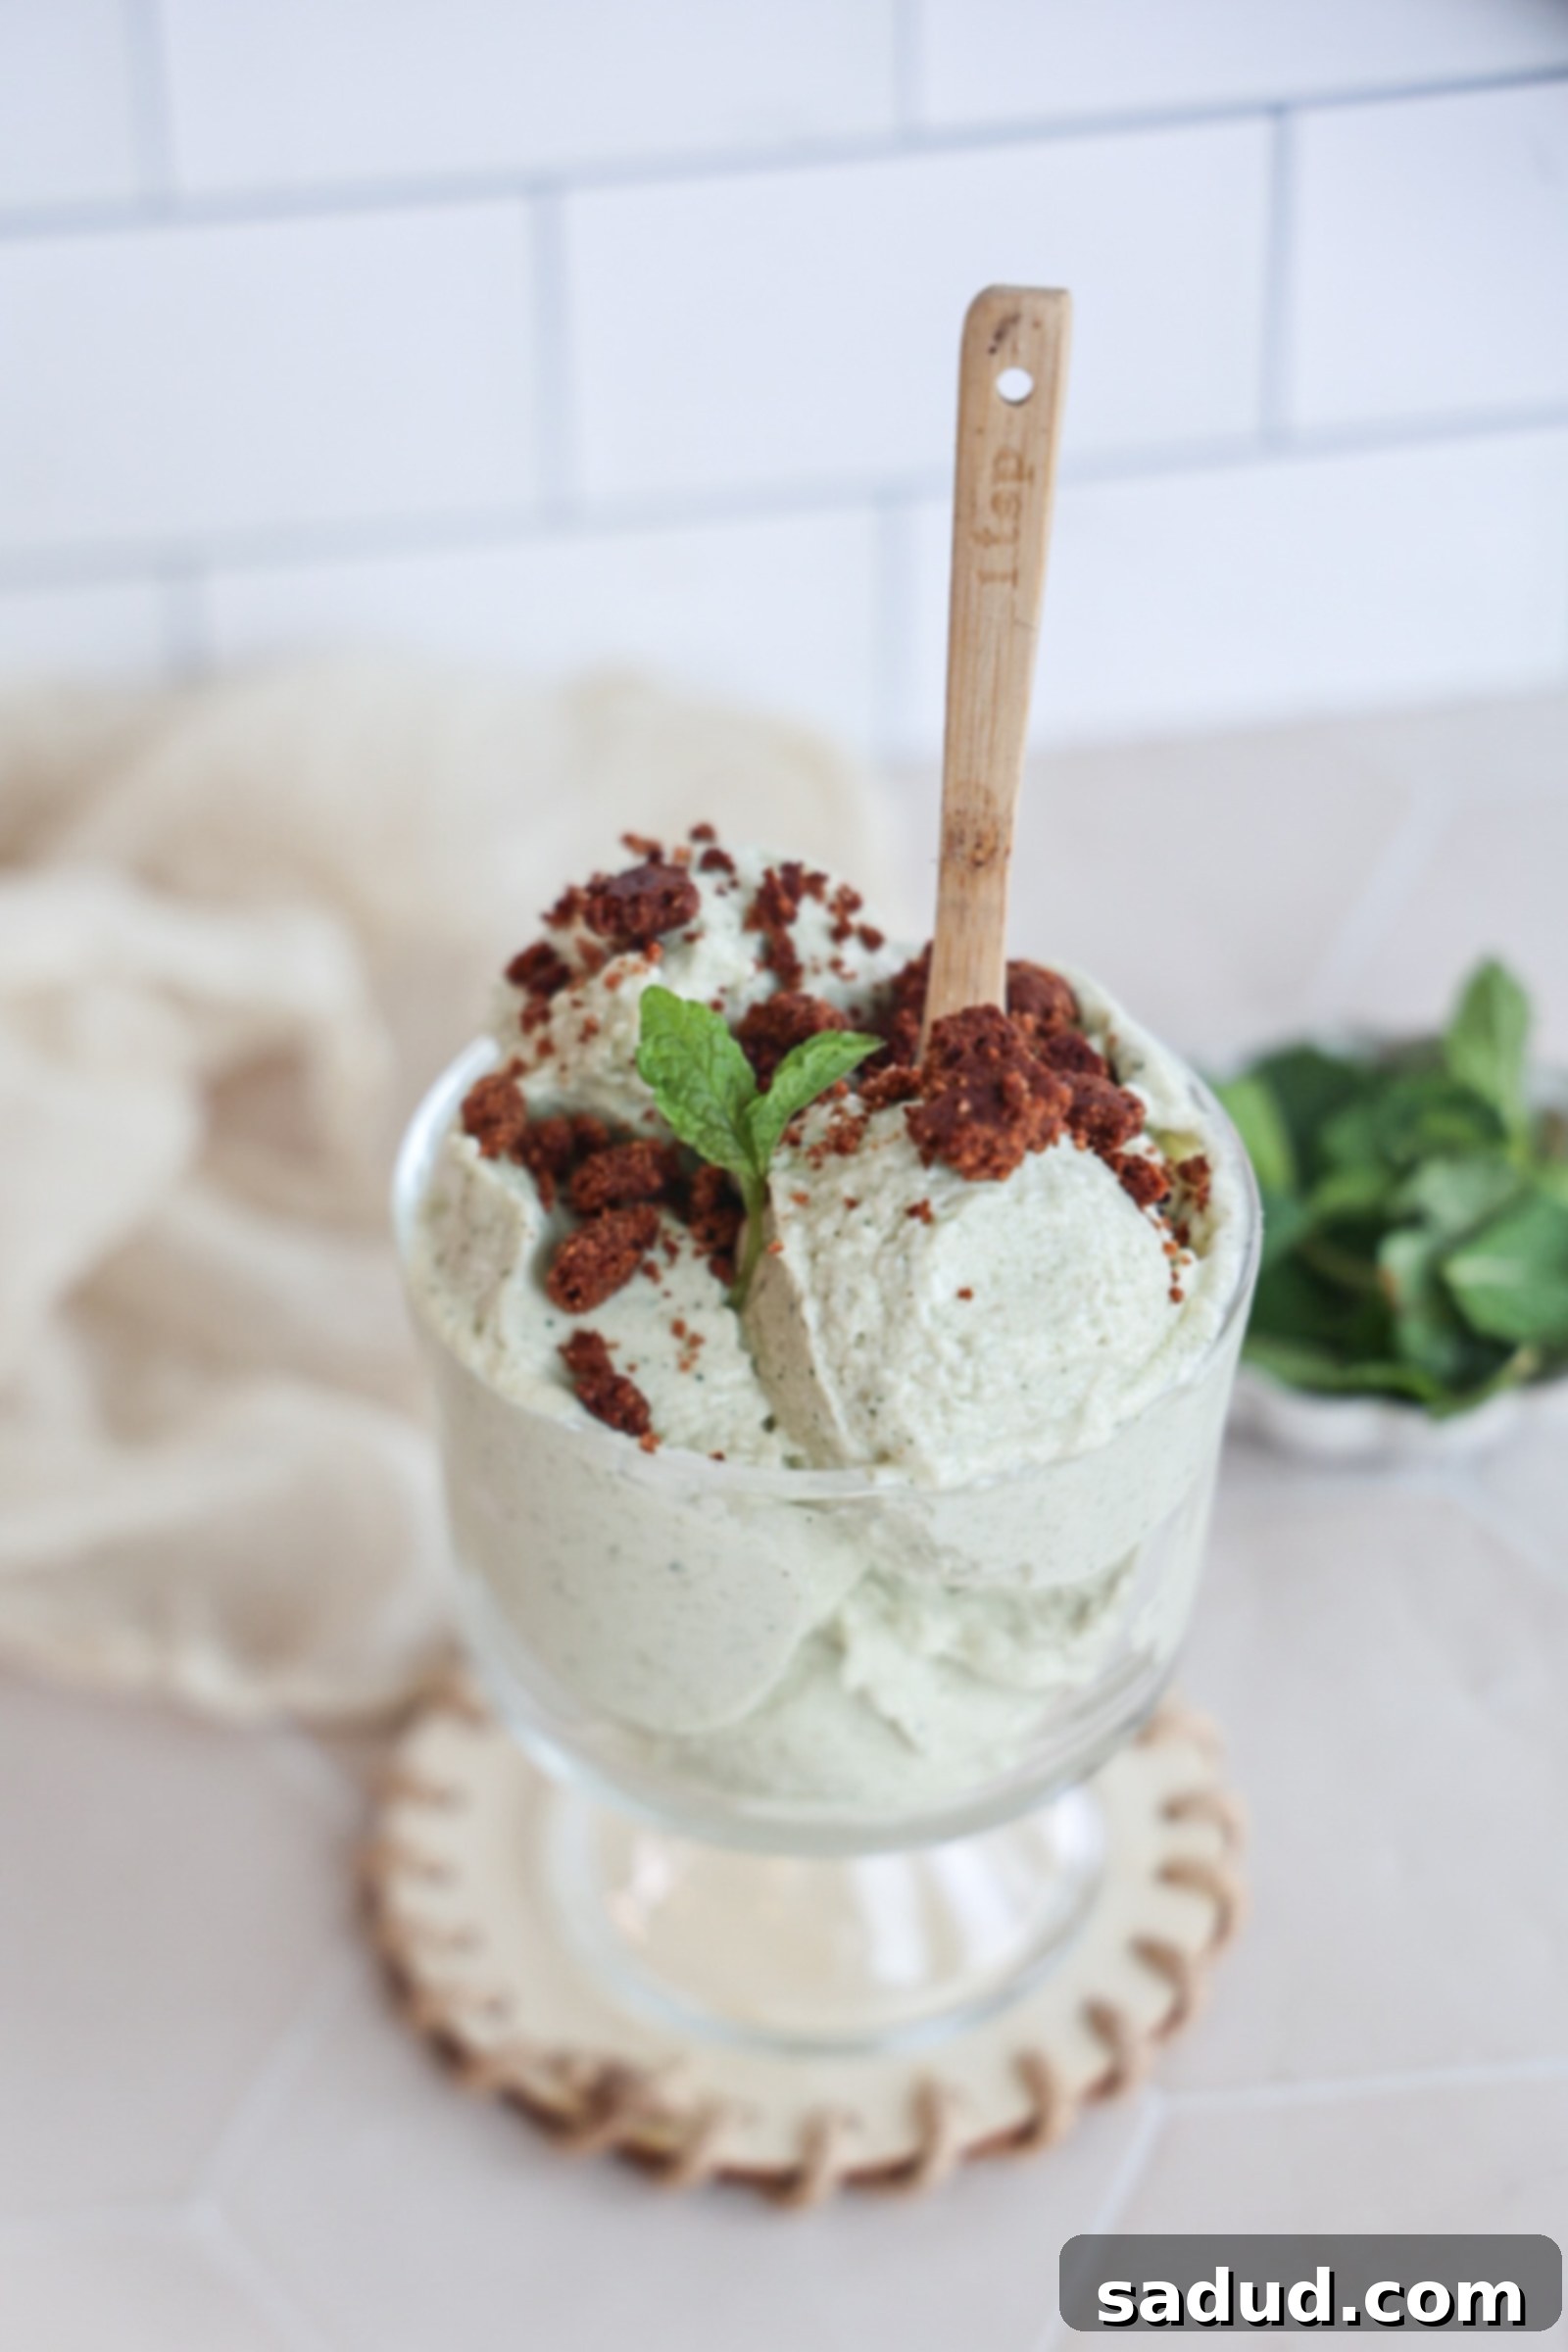
Healthy Homemade Mint Chocolate Chip Ice Cream: Vegan, Paleo, & Ninja Creami Friendly
Craving a refreshingly cool treat that’s both indulgent and healthy? This **homemade mint chocolate chip ice cream** is a dream come true for any dessert lover! Crafted with wholesome ingredients, this recipe offers a delicious way to enjoy your favorite flavor while boosting your protein intake and keeping sugar to a minimum. Naturally sweetened with a touch of maple syrup, it’s a delightful, guilt-free dessert that you’ll want to make again and again.
The best part? It’s incredibly versatile and easy to make! Whether you own a Ninja Creami, a traditional ice cream machine, or prefer to use just a blender, you can achieve a perfectly creamy consistency. This recipe is also proudly dairy-free, vegan, gluten-free, paleo, and completely free from refined sugars, making it accessible for almost any dietary need.

Why You’ll Love This Healthy Mint Chocolate Chip Ice Cream Recipe
Mint chocolate chip ice cream often sparks strong opinions, with some declaring it their all-time favorite and others humorously comparing it to toothpaste. For those of us who adore the cool, refreshing blend of mint and rich chocolate – from childhood favorites like Junior Mints and York Peppermint Patties to those delightful after-dinner Andes Mints – this recipe is a game-changer. It captures that nostalgic perfection in a healthier, homemade form.
I’ve made this healthy, vegan ice cream countless times, and my obsession only grows with each batch. It’s incredibly refreshing, perfectly sweet, and the optional (but highly recommended!) homemade cookie crumble truly elevates it to another level. If you’re an ice cream enthusiast looking to incorporate more protein and fewer processed ingredients into your diet, then this mint chocolate chip ice cream is tailor-made for you!
Unbeatable Flavor & Ultra-Creamy Texture
- Exceptional Creaminess: Forget about icy, hard dairy-free ice cream. This recipe yields an ultra-creamy, dreamy, and thick texture that rivals store-bought ice cream, even without dairy!
- Perfectly Balanced Sweetness: Naturally sweetened with maple syrup, it hits just the right note of sweetness without being overpowering, allowing the vibrant mint and rich chocolate flavors to shine.
- Optional Cookie Crumble: Add a layer of delightful crunch and extra chocolatey goodness with our super easy homemade chocolate shortbread cookies, which can be whipped up in under 10 minutes.
Wholesome & Dietary-Friendly
- Higher in Protein: With an optional scoop of vanilla protein powder, this ice cream isn’t just a treat; it’s a protein-packed dessert that supports your healthy lifestyle.
- Refined Sugar-Free & Paleo: Sweetened only with maple syrup or honey, this paleo-friendly recipe contains zero refined sugars, and is made without eggs, dairy, butter, gluten, or grains.
- Allergen-Friendly: This mint chocolate chip ice cream is naturally gluten-free, dairy-free, vegan, and can easily be adapted to be nut-free and keto-friendly, accommodating a wide range of dietary needs.
Incredible Versatility: Multiple Ways to Make It!
- Easy Preparation: Simply blend the base ingredients, then follow the straightforward instructions for your chosen method: Ninja Creami, a traditional ice cream maker, or even just your trusty blender.
- Ninja Creami Perfection: This method consistently delivers the creamiest results, making it my preferred way to prepare this recipe.
- No Machine Necessary: Don’t have an ice cream maker? No problem! The blender method ensures everyone can enjoy this delicious treat.
Video: Watch How to Make Mint Chocolate Cookie Ice Cream!
Watch the video above for a visual guide on creating this delightful mint chocolate cookie ice cream, complete with all the tips and tricks for a perfect batch every time!
Naturally Coloring Your Mint Ice Cream: Fresh Mint, Spirulina, or Spinach
While adding color to your mint chocolate chip ice cream is entirely optional, a vibrant green hue can enhance its classic appeal. If you’re looking to achieve that signature green, you have several natural options:
- Fresh Spinach: A fantastic way to add a natural green color without altering the flavor. Simply blend half a cup of fresh spinach into your ice cream mixture. It’s flavorless but packed with nutrients!
- Spirulina Powder: A superfood known for its intense blue-green color. A small amount can create a beautiful tint and add extra nutrients.
- Fresh Mint Leaves: While adding a subtle minty flavor, fresh mint leaves will also impart a slight green tint to your ice cream. Use in conjunction with peppermint extract for a robust mint flavor.
- Natural Green Food Coloring: For a bright, consistent green, a few drops of natural green food coloring will do the trick.
You can even use a mix of these options for a unique shade. Personally, I often enjoy my mint chocolate chip ice cream au naturel, embracing its natural creamy hue, but don’t hesitate to experiment!

How to Make Mint Chocolate Cookie Ice Cream
This overview provides the essential steps and ingredients. For full, detailed instructions, please refer to the recipe card below.
Essential Equipment
- Ninja Creami (highly recommended for ultimate creaminess)
- Ice Cream Machine
- High-Speed Blender (for the base and the “no machine” method)
Wholesome Ingredients Spotlight
Each ingredient plays a crucial role in creating the perfect texture and flavor for this healthy treat.
- Full-Fat Canned Coconut Milk: This is the secret to an incredibly creamy, dairy-free base. The higher fat content prevents an icy texture. If you’re not a fan of coconut flavor or have an allergy, you can substitute with a dairy-free creamer like NutPods. Note that the texture might be slightly less creamy, but still delicious! For extra thickness, consider adding 3 tablespoons of cashew butter.
- Vanilla Protein Powder (Optional): While not strictly necessary, a scoop of vanilla protein powder (like Macro Mike vanilla buttercream, use code “amb-dani” for a discount!) significantly enhances the creaminess and adds a beneficial protein boost.
- Grass-Fed Gelatin (Optional): A fantastic addition for an even creamier consistency and an extra dose of beneficial collagen.
- Natural Sweetener: Maple Syrup or Honey: We use only maple syrup or honey, ensuring this recipe remains refined sugar-free and paleo-friendly. Feel free to adjust the amount to your desired sweetness.
- Flavor Essentials: High-quality mint extract and vanilla extract are key for that classic, refreshing taste. A good pinch of sea salt balances the sweetness and enhances all the flavors.
- Natural Coloring (Optional): Fresh spinach, spirulina powder, or fresh mint leaves as discussed above.
- Mix-Ins: Dark chocolate chips or our homemade crumbled chocolate shortbread cookies are essential for that signature “chip” experience!
Crafting Your Homemade Chocolate Shortbread Cookies (Optional but Recommended)
To truly elevate this mint chocolate chip ice cream into a “mint chocolate cookie” masterpiece, consider whipping up a batch of these simple, healthy chocolate shortbread cookies. They come together in under 10 minutes and provide the perfect mix-in or topping.
- Cookie Ingredients: Almond flour, cacao powder, coconut oil, maple syrup (or honey), baking powder, and vanilla extract.
- Cookie Steps: Blend all cookie ingredients until a dough forms. Press into ¼-inch thick cookies, chill briefly in the freezer, then bake for 7-8 minutes until set. Once cooled, they’ll become wonderfully crunchy – perfect for crumbling!
Detailed Steps and Methods to Make Homemade Mint Chocolate Chip Ice Cream
1. The Ninja Creami Method (My Top Pick!)
This is my absolute favorite method for its unparalleled creaminess. If you have a Ninja Creami, this is the way to go!
- Prepare the Base: Combine all ice cream ingredients (except mix-ins) in a blender and blend until completely smooth.
- Freeze: Pour the mixture into a Creami container, secure the lid, and freeze for 6-8 hours, or preferably overnight, until it’s completely solid.
- Process: Remove the lid and place the frozen pint into your Ninja Creami. Use the “Lite Ice Cream” setting. For an even smoother result, I often use the “Re-spin” setting afterward.
- Add Mix-Ins: Create a small well in the center of the processed ice cream and add your desired chocolate chips and/or crumbled cookies. Use the “Mix-In” feature to evenly distribute them.
- Enjoy: Scoop and savor your perfectly creamy mint chocolate chip ice cream immediately!
2. Traditional Ice Cream Machine Method
A classic method that yields excellent results for creamy ice cream.
- Pre-freeze Bowl: Place your ice cream machine’s bowl in the freezer the night before you plan to make the ice cream. It needs to be thoroughly frozen.
- Blend Base: Blend all ice cream ingredients (except mix-ins) in a blender until smooth.
- Churn: Assemble your ice cream machine according to its instructions. Turn it on, then pour the blended ice cream liquid into the frozen bowl. Let it churn for the recommended time (usually 20-30 minutes) until it reaches a soft-serve consistency.
- Add Mix-Ins: Fold in your chocolate chips and/or crumbled cookies during the last few minutes of churning, or stir them in gently after churning.
- Firm Up (Optional): For a firmer ice cream, transfer to an airtight container and freeze for another 2-4 hours before serving.
3. Blender Method (No Machine? No Problem!)
While not as ideal as the other two, this method still produces a delicious, scoopable ice cream.
- Blend Base: Blend all ice cream ingredients (except mix-ins) together until smooth.
- Freeze in Cubes: Pour the mixture into a large ice cube mold. Freeze until the cubes are completely solid.
- Soften & Blend: When ready to enjoy, let the frozen ice cream cubes sit at room temperature for about 10-15 minutes to soften slightly.
- Re-Blend: Add the softened cubes to a high-speed blender. Blend until smooth and creamy. Using a blender with a tamper is helpful here to push the cubes into the blades.
- Add Mix-Ins: Gently fold in your chocolate chips and/or crumbled cookies.
- Serve: Enjoy immediately for a soft-serve consistency.

Expert Tips & Frequently Asked Questions (FAQ)
Achieving the Creamiest Texture
- Full-Fat Coconut Milk is Key: Always opt for full-fat canned coconut milk for the richest, creamiest texture. The higher fat content prevents ice crystals from forming.
- Thaw Before Scooping: If you’re enjoying leftover ice cream from the freezer, let it thaw on the countertop for 15-20 minutes. Give it a good stir before scooping to restore its optimal creamy consistency.
- Add Cashew Butter: If using a thinner dairy-free milk alternative, add 2-3 tablespoons of cashew butter to enhance the creaminess and richness.
Storage & Enjoyment Tips
- Storage Duration: This homemade healthy ice cream can be stored in an airtight container in the freezer for up to 2 months.
- Re-processing (Ninja Creami): If using the Ninja Creami and the ice cream is too firm after freezing, a quick re-spin on the “Lite Ice Cream” setting will bring back its perfect texture.
Customizing Your Mint Chocolate Chip Experience
- Mint Leaves vs. Peppermint Extract: You can absolutely use both! Add the recommended peppermint extract for a strong mint flavor, and throw in a few fresh mint leaves during blending for a subtle herby note and a hint of natural green color.
- Coconut Flavor Sensitivity: In my personal opinion, the mint and chocolate flavors are dominant, leaving no trace of coconut taste. However, if you are highly sensitive to coconut flavor or allergic, dairy-free creamers like NutPods are an excellent alternative (though it might result in a slightly less creamy texture without the added cashew butter).
- Keto Adaptation: To make this recipe keto-friendly, simply substitute maple syrup with a keto-approved liquid sweetener like allulose or erythritol blend.
- Nut-Free Version: Ensure your protein powder is nut-free and use a nut-free dairy-free creamer if substituting coconut milk. Omit the almond flour cookies and use chocolate chips or cacao nibs for mix-ins.
Homemade Mint Chocolate Chip Ice Cream Topping Ideas
While delicious on its own, a few toppings can take your mint chocolate chip ice cream to the next level:
- Fresh Mint Leaves for garnish
- Extra chocolate chips, cacao nibs, or rich chocolate shavings
- Homemade “Magic Shell” for a satisfying crackle
- Fluffy coconut whipped topping or a dollop of your favorite whipped cream
- Crumbled paleo cookies (our recipe below!) or store-bought alternatives like Simple Mills cookies
- Natural sprinkles for a fun, festive touch
More Healthy Ice Cream Recipes to Try
If you’re a fan of healthy, homemade ice cream, you’ll love these other creations:
- Sugar Cookie Ice Cream
- No-Bake Ice Cream Sandwiches
- Vegan Pistachio Ice Cream
- Snickers Ice Cream Cake
- Strawberry Shortcake Ice Cream Bars
- Healthy Cookie Dough Ice Cream/Frozen Yogurt
- Vegan Pumpkin Ice Cream
- Peanut Butter Cup Ice Cream
If you try this recipe and absolutely love it, please consider leaving a star rating and review below! And don’t forget to tag me in your delicious creations on Instagram @danishealthyeats!
Healthy Homemade Mint Chocolate Chip Ice Cream
This homemade mint chocolate chip ice cream is a dessert I could eat every day! Made with wholesome ingredients, higher in protein, and naturally sweetened with a little maple syrup, it’s one of the most refreshing, delicious healthy desserts! This ice cream is easy to make and can be made in a Ninja Creami, ice cream machine, or without an ice cream maker (in a blender!). Its dairy-free, vegan, gluten-free, paleo, and refined sugar-free!
Rating: 5 out of 5 stars (from 1 vote)
Prep Time: 5 mins
Total Time: 5 mins (plus freezing time)
Course: Dessert, Snack
Cuisine: American
Servings: 1 (easily scalable)
Keyword: high protein ice cream, mint chocolate chip ninja creami, mint chocolate ice cream, ninja creami recipes, paleo ice cream, paleo ninja creami, vegan ice cream, vegan ninja creami
Ingredients
Ice cream
- 1 cup full-fat canned coconut milk *Or other plant-based milk, just note it may not be as thick & creamy!
- 1 scoop vanilla protein powder *optional
- 2 tbsp maple syrup
- 1/2 tsp vanilla extract
- 1/2 tsp peppermint extract
- Good pinch sea salt
- 1/2 cup fresh spinach (optional, for coloring!)
- Chocolate chips or crumbled cookies for mix-ins! (I’ll use Simple Mills cookies if I don’t feel like making them homemade!)
Cookies (Optional)
- 1 cup almond flour
- 1 tsp coconut flour
- 1/4 cup maple syrup
- 2 tbsp melted coconut oil
- 3 tbsp cacao powder
- 1/4 tsp baking soda
- 1 tsp vanilla extract & good pinch sea salt
Instructions
Note: This recipe makes 1 serving. Feel free to double or triple it for larger batches!
Ninja Creami Method
- This is my preferred way to make this recipe as it turns out SO perfectly creamy. Blend the ingredients together in a blender, then pour into a Creami container, place the lid on, and freeze for 6-8 hours until COMPLETELY solid. I usually let mine freeze over-night.
- Remove the lid, then place it in the Creami and use the “lite ice cream” setting on full. I like to use the re-spin setting after this.
- Then use a spoon to make a well in the center and add the chocolate chips and/or cookies. Use the “mix-in” feature to give it a spin. Enjoy!
Ice Cream Machine Method
- Place the ice cream bowl in the freezer the night before you want to make the ice cream.
- Blend everything in the blender.
- Turn the ice cream machine on and follow your ice cream machine’s directions! Typically you place the frozen bowl onto it, turn it on, then pour in the ice cream liquid and let it do its thing!
No Machine Method (Blender)
- I don’t love this method as much as the others, but it still works out great! Simply blend everything together.
- Fold in the mix-ins, then pour the ice cream into a large ice cube mold. Freeze the cubes until solid.
- When ready to eat, let the cubes sit at room temperature for 10 minutes or so to soften slightly.
- Then add to a blender and blend until smooth. I like to use a blender with a tamper so you can push the ice cream cubes into the blades while it’s running.
- Fold in your favorite mix-ins after (the cookies, etc!).
Cookies (Optional)
- Mix together all of the ingredients. I like to whip mine up in the food processor to make it even easier, until the dough forms a ball.
- Remove the dough onto a parchment paper-lined cookie sheet. Use a cookie scoop to drop dough balls onto the cookie sheet. Flatten them with your palm until they’re about 1/4″ thick. Place the cookie sheet in the freezer for 15 minutes.
- Preheat the oven to 350F (175C) while the cookies chill. Once they’ve chilled, bake for 7 to 8 minutes or until the cookies are dry to the touch.
- Allow them to cool completely on the cookie sheet before removing – they’ll get crunchier as they set. Use to crumble over your ice cream!
Video Instructions
Notes
This ice cream is made dairy-free thanks to canned coconut milk. However, if you don’t like coconut, are sensitive to its flavor, or are allergic, you can swap in a dairy-free creamer like NutPods! Keep in mind it might not be as creamy, but still delicious! You can also add in 3 tablespoons of cashew butter to help make it thicker and creamier.
