Ultimate Baked Chicken Tacos: Crispy, Cheesy & Effortlessly Delicious for Taco Night
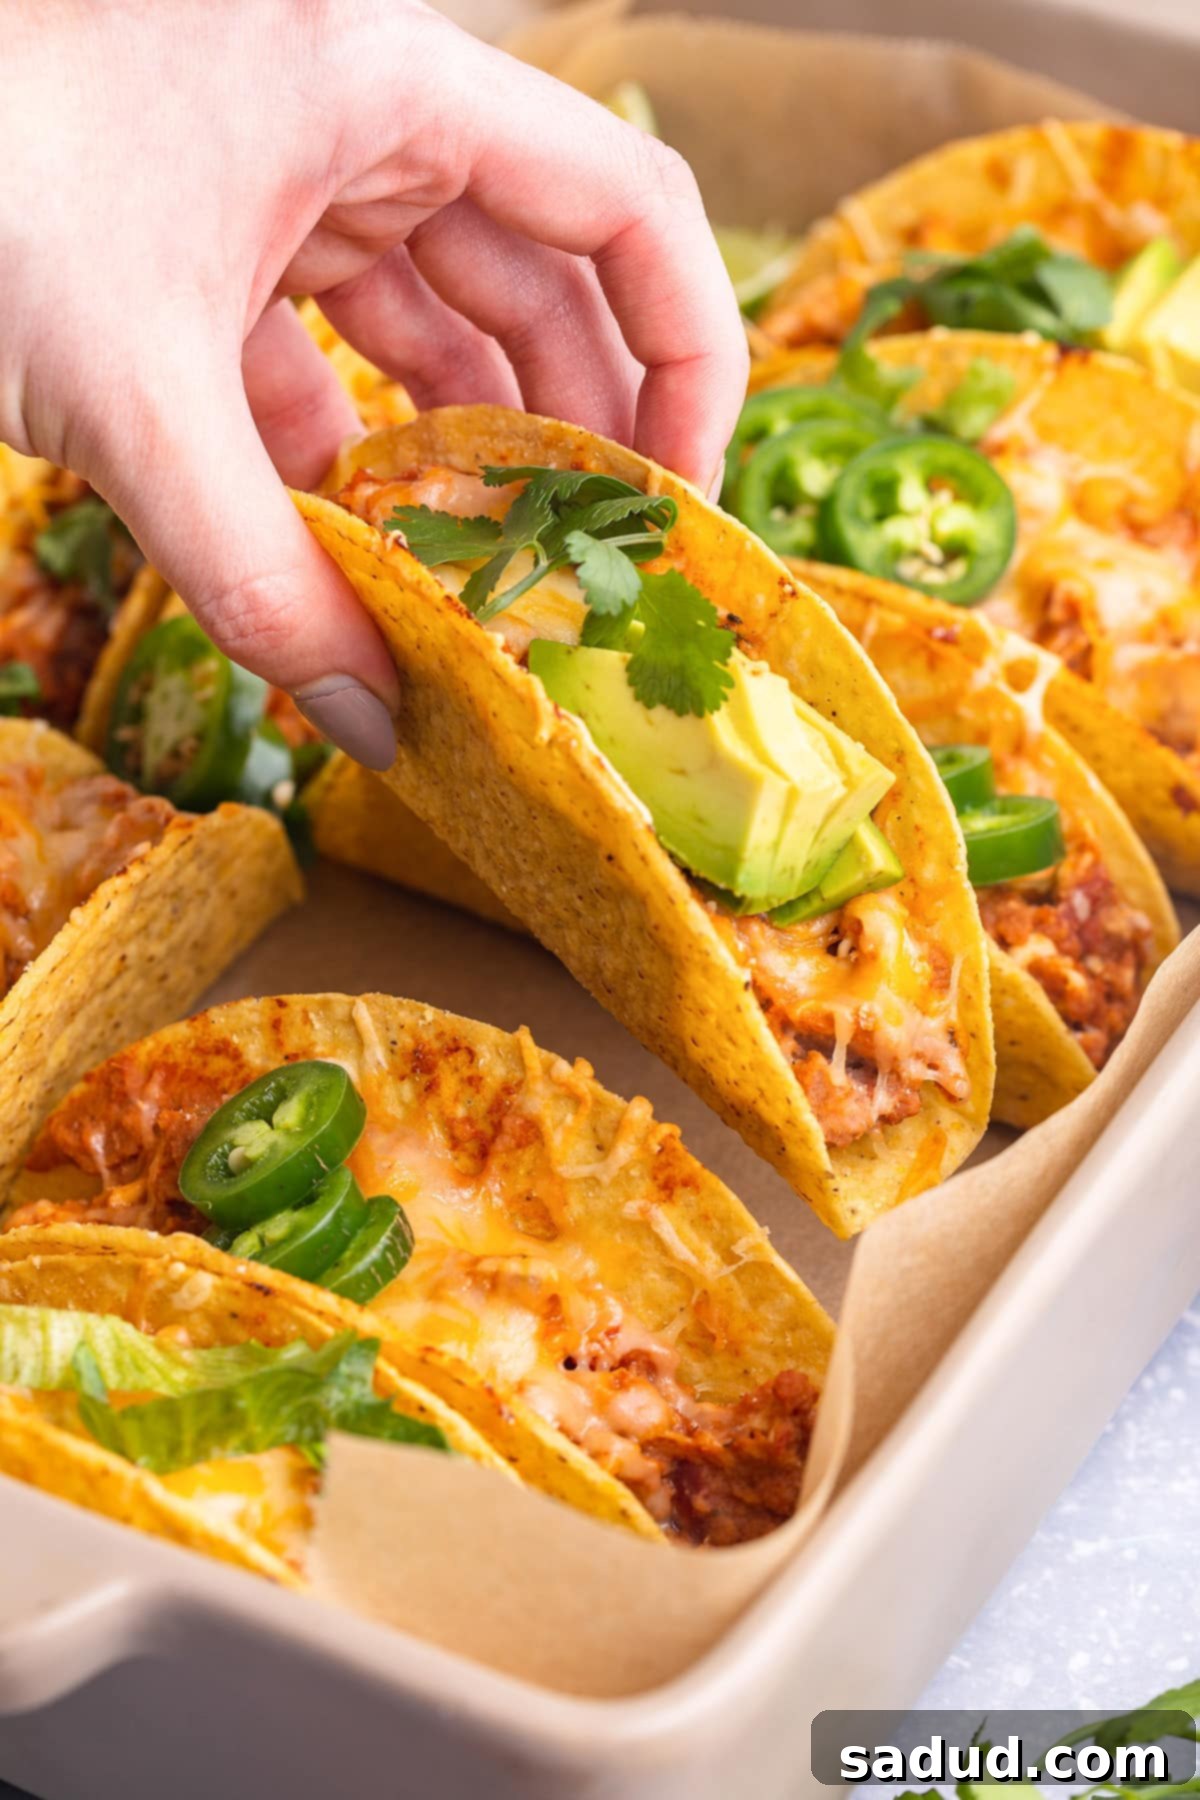
Get ready to redefine your taco nights with our incredible recipe for **Baked Chicken Tacos**! Forget soggy shells and cold fillings; these tacos are baked to golden perfection, boasting delightfully crispy shells, a warm and savory shredded chicken filling, and perfectly melted cheese. Quick to prepare and a guaranteed crowd-pleaser, this recipe takes classic taco flavors and elevates them into an easy-to-manage, oven-baked sensation. Whether it’s a busy weeknight or a relaxed weekend gathering, these baked tacos deliver on flavor, texture, and pure satisfaction.
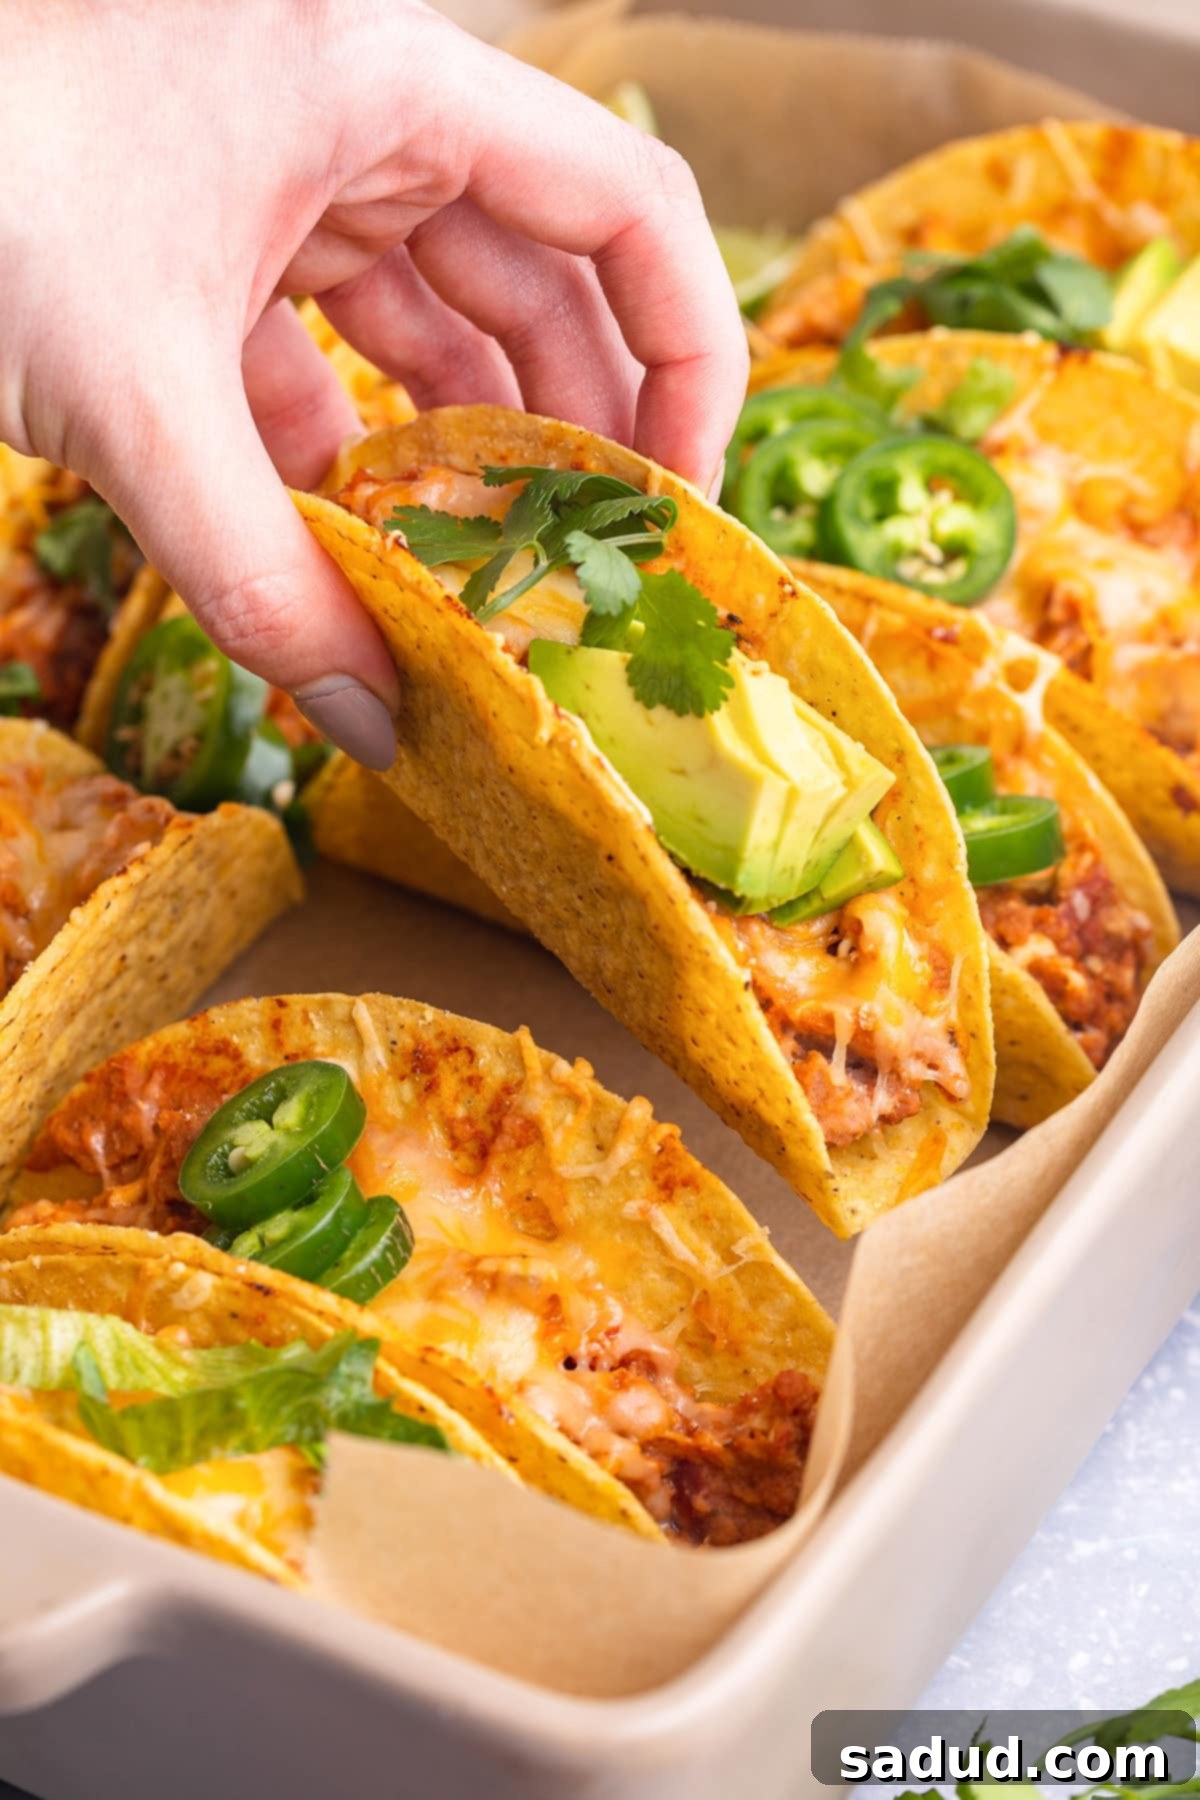
Why You’ll Absolutely Love These Baked Chicken Tacos
- The Perfect Taco Night Solution: If you’ve been searching for an easy yet incredibly satisfying taco recipe, look no further. These baked chicken tacos are designed for maximum flavor with minimal effort, making them the ultimate choice for any taco night. The combination of juicy, seasoned shredded chicken, rich refried beans, vibrant salsa, and sautéed onions creates a filling that’s bursting with authentic Tex-Mex taste.
- Irresistible Texture Every Time: Say goodbye to flimsy tortillas! We use sturdy hard taco shells, which get an extra boost of crispiness from the oven. As they bake, the cheese melts beautifully, fusing the filling to the shell and creating an amazing crunchy exterior with a warm, gooey interior. It’s a textural dream that elevates the entire taco experience.
- Effortlessly Quick & Easy: From start to finish, you can have these delicious tacos on the table in about 30 minutes. Most of the cooking time is hands-off as the tacos bake in the oven, allowing you to focus on preparing toppings or simply relaxing. This recipe is designed to simplify your meal prep without compromising on taste.
- Highly Customizable to Your Liking: While our recipe is fantastic as written, it’s also incredibly versatile. Want to add a kick? Incorporate some diced jalapeños or a spicier salsa. Prefer a different protein? Ground beef or turkey work wonderfully. You can experiment with various cheeses, beans, and salsas to create a taco unique to your family’s preferences. It’s a truly adaptable dish that invites creativity!
👩🏼🍳 Expert Tips for Perfect Baked Tacos
- Maximize Shell Crunchiness: For taco shells that are extra crispy and hold up perfectly to the hearty filling, here’s a pro tip: arrange your empty hard taco shells upright in the baking pan before filling them. Pop them into the preheated oven for 2-3 minutes. This quick pre-bake helps to dry out the shells slightly, resulting in an even crispier texture once filled and baked. After this initial bake, you can proceed with filling and baking as directed in the recipe.
- Choose Your Salsa Wisely: The type of salsa you use can impact the overall texture of your taco filling. While any salsa you love will work for flavor, if you want to avoid a potentially soggy taco filling, I highly recommend opting for a chunkier salsa over one that is very thin or watery. The thicker consistency helps the filling hold its structure better within the shell. Don’t worry too much about a little liquid, though; some moisture will naturally evaporate as the filling simmers on the stovetop.
- Shredded Chicken Made Simple: This recipe is a fantastic way to utilize leftover cooked chicken, especially if it’s lightly seasoned. However, for ultimate convenience and consistent results, **rotisserie chicken is a game-changer**. You can buy it already fully cooked and perfectly seasoned, meaning all you have to do is shred it – talk about effortless! If you prefer to cook chicken specifically for these tacos, that’s perfectly fine too. For a consistently tender and flavorful option, our sister site, 40 Aprons, offers a fantastic method for the best shredded chicken ever, which is ideal for tacos and other versatile dishes. Whether you boil, poach, or slow-cook your chicken, ensure it’s tender enough to shred easily with two forks.
- Don’t Overfill: While it’s tempting to pack your tacos full, overfilling can lead to broken shells and messy eating. Aim for a generous but manageable amount of filling in each shell, leaving a little room at the top for the cheese to melt and create a delicious cap.
- Even Cheese Distribution: For that perfect melty cheese pull, ensure you distribute the shredded cheese evenly over the filling in each taco. This guarantees every bite gets a share of that delicious, warm, gooey goodness.
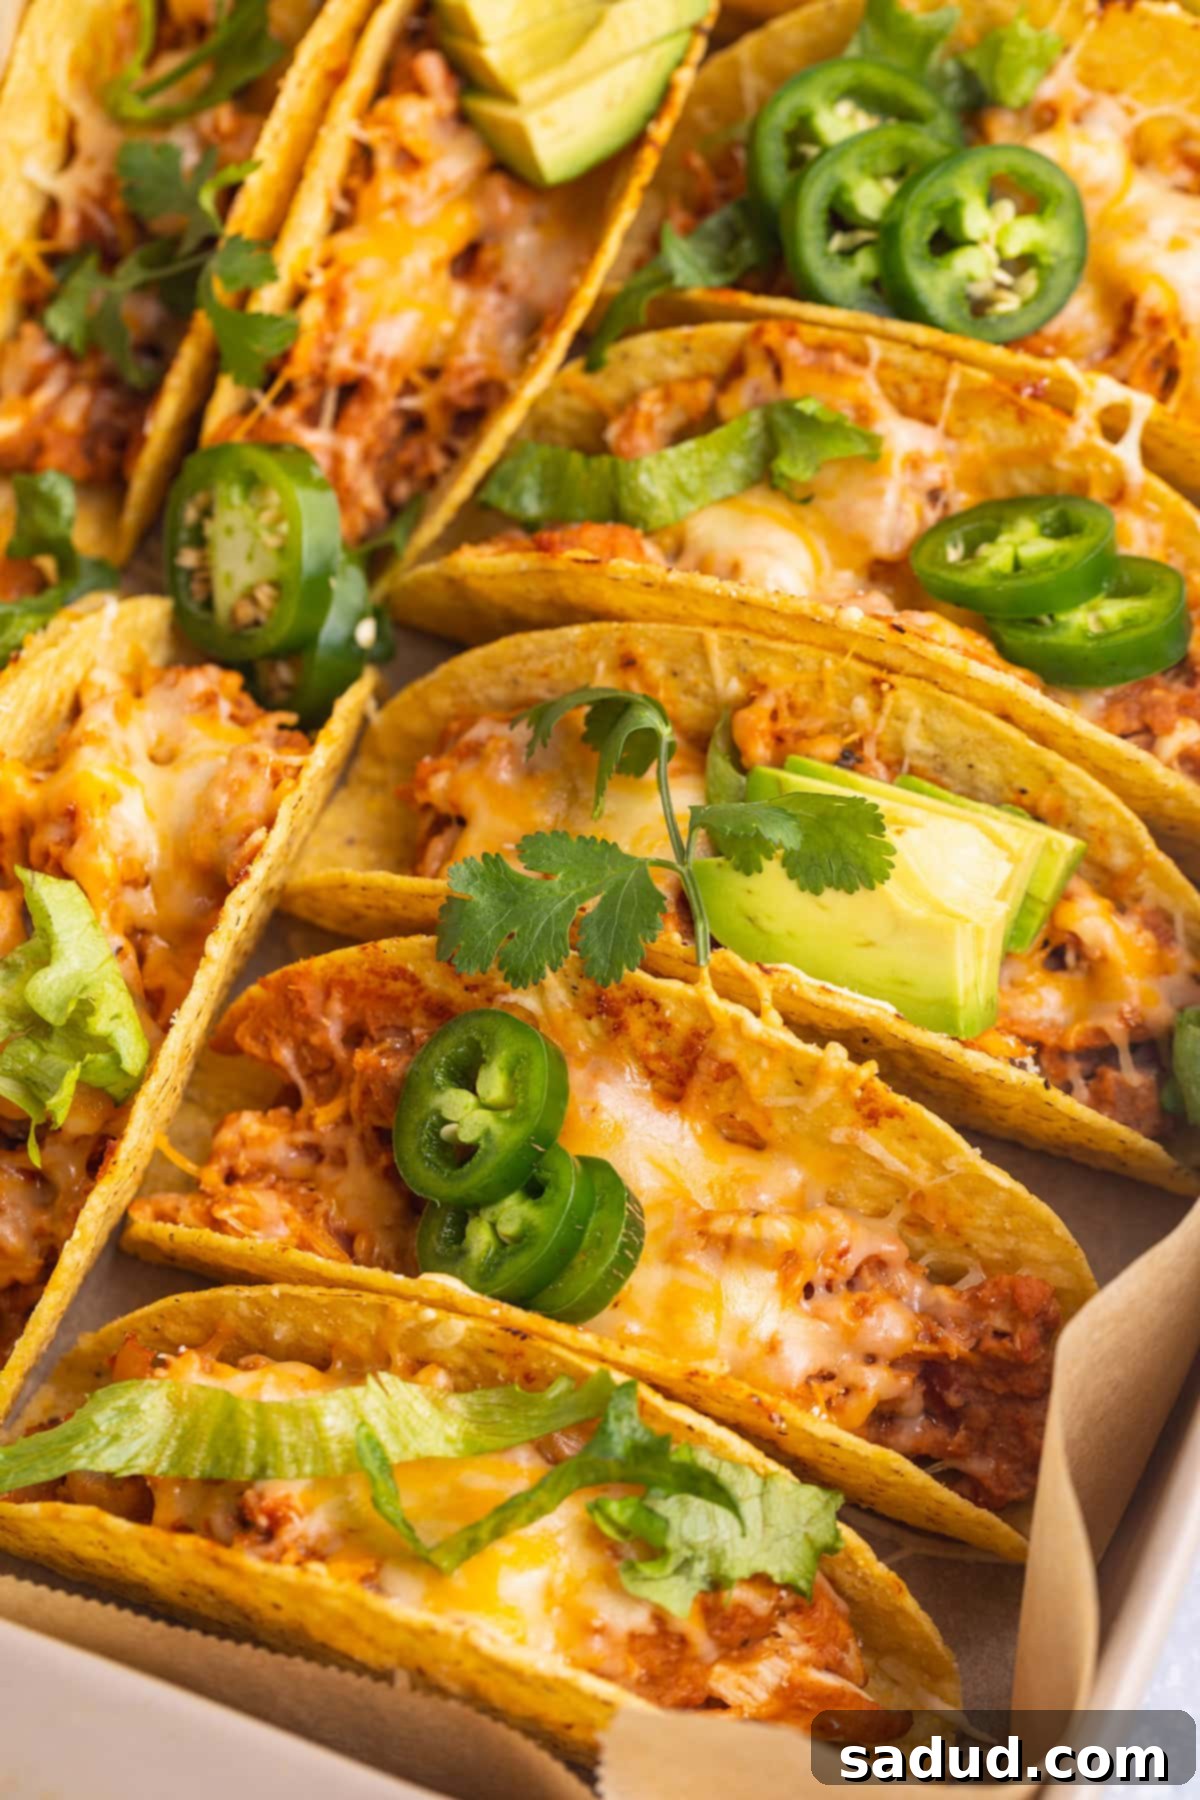
Ingredient Spotlight: Crafting the Perfect Filling
The magic of these baked chicken tacos lies in their simple yet powerful ingredients, each playing a crucial role in creating a harmonious flavor profile. Understanding each component helps you make informed choices and customize to your heart’s content.
- Shredded Chicken: As discussed, cooked, shredded chicken forms the hearty base. Its mild flavor acts as a canvas for the robust seasonings and sauces. The texture of shredded chicken also blends beautifully with the other filling ingredients, ensuring every bite is cohesive.
- Refried Beans: These add creaminess, body, and a comforting depth to the filling. Whether you choose black refried beans or pinto refried beans, they contribute a rich, earthy flavor and help bind the chicken and salsa together, preventing the filling from being too loose. They also add a good amount of fiber, making the tacos more substantial.
- Salsa: Beyond just flavor, salsa adds essential moisture and tang. A good salsa brings a touch of acidity and freshness that cuts through the richness of the chicken and beans. Using a chunky salsa, as mentioned in our tips, helps maintain a pleasant texture in the filling.
- Taco Seasoning: This spice blend is the heart of our taco’s flavor. It typically includes chili powder, cumin, paprika, garlic powder, onion powder, and a hint of oregano, creating that signature savory, slightly smoky, and mildly spicy taste that defines Mexican-inspired cuisine. You can use your favorite store-bought brand or even whip up your own homemade blend for a personalized touch.
- Onion: Sautéed diced white onion adds a foundational layer of sweetness and savory aromatics to the filling. Cooking it until softened mellows its sharp edge and enhances its natural sugars, contributing to the overall complexity of the filling.
- Hard Taco Shells: The crispy vessel for all this deliciousness! The hard shells provide that satisfying crunch and structural integrity that’s essential for a great taco experience. Baking them ensures they stay crisp from the first bite to the last.
- Shredded Mexican-Style Cheese Blend: This is where the melty magic happens. A good Mexican-style cheese blend typically includes Monterey Jack, Cheddar, Asadero, and Queso Blanco, offering a fantastic balance of flavor and meltability. It creates a warm, gooey topping that enhances the savory filling and helps to further crisp up the taco shell edges.
Serve It Up: Perfect Pairings & Topping Ideas
While these baked chicken tacos are phenomenal on their own, a selection of fresh toppings and complementary sides can transform your meal into a full-blown fiesta! Think about what adds a contrasting texture, a burst of freshness, or a creamy element.
- Freshness Factor:
- Diced Cilantro: A classic and essential herb for Mexican dishes, offering bright, fresh notes.
- Sliced Avocado or Guacamole: Adds a rich, creamy texture and healthy fats, balancing out the savory filling.
- Pico de Gallo: Fresh diced tomatoes, onions, cilantro, and jalapeños for a vibrant, zesty crunch.
- Lime Wedges: A squeeze of fresh lime juice over the finished tacos brightens all the flavors.
- Creamy & Cool:
- Sour Cream or Mexican Crema: Provides a cool, tangy counterpoint to the seasoned chicken.
- Plain Greek Yogurt: A healthier alternative to sour cream, offering similar tang and creaminess.
- Crunch & Spice:
- Shredded Lettuce: Adds a refreshing crunch.
- Diced Jalapeños: For those who love an extra kick of heat.
- Pickled Red Onions: Offer a tangy, slightly sweet, and vibrant crunch.
Complementary Sides: Pair your baked chicken tacos with simple sides like Mexican rice, a side salad with a zesty vinaigrette, or a bowl of extra black beans for a complete and satisfying meal.
More Baked Dishes We Love
If you enjoy the convenience and deliciousness of oven-baked meals, you’ll love exploring these other fantastic recipes from our collection:
- Mango Habanero Wings
- Baked Salmon Tacos
- Loaded Seafood Baked Potato
- Whole30 Everything Bagel Chicken
- Oven-Baked Buffalo Chicken Egg Rolls
- Hearty Baked Ziti Pasta
If you loved this recipe as much as we did, don’t forget to leave us a review below. ★ Follow Easy Healthy Recipes on Pinterest, Facebook, and Instagram, too!
For more delicious recipes, visit our sister sites, 40 Aprons and Easy Cheap Recipes.
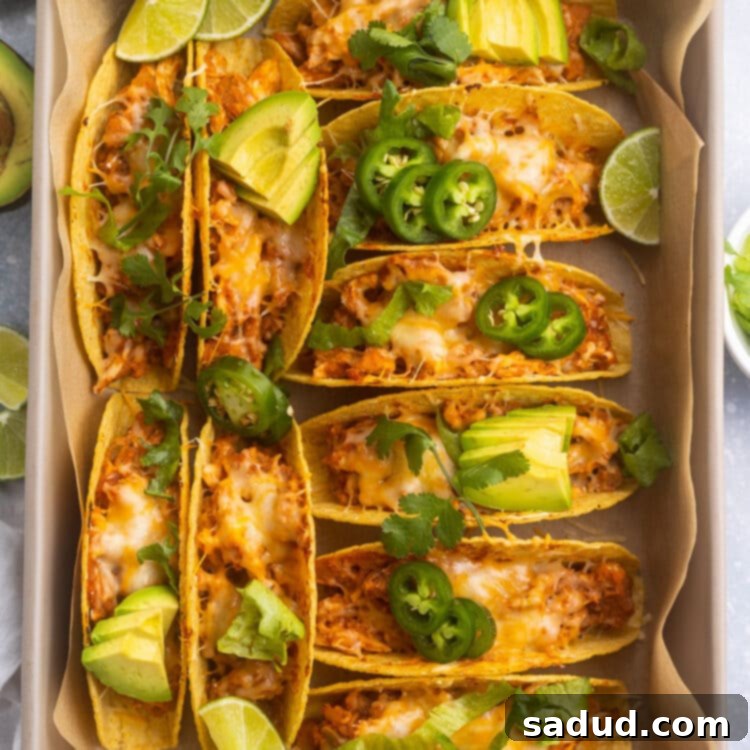
Baked Chicken Tacos
 Sam Guarnieri
Print
SaveSaved!
Ingredients
For the Baked Chicken Tacos
- 1 tablespoon neutral-flavored oil such as avocado oil or olive oil
- ½ cup diced white onion
- 2 cups cooked, shredded chicken see Chef’s Tips & Notes for options
- 8 ounces refried beans black or pinto; about half of a standard can
- 1 cup salsa your favorite variety, chunky recommended
- 1 tablespoon taco seasoning store-bought or homemade
- 10 hard taco shells
- 2 cups shredded Mexican-style cheese blend
Suggested Toppings (All Optional)
- diced cilantro
- sliced avocado or a dollop of fresh guacamole
- sour cream or Mexican crema
- lime wedges
- shredded lettuce
Equipment
-
Oven
-
Stovetop
-
Large skillet
-
Large wooden spoon or silicone spatula for stirring
-
9×13 baking pan
-
Spoon for filling tacos
Instructions
-
Preheat your oven to 400° Fahrenheit (200°C). This ensures your oven is hot and ready for baking, contributing to crispy shells and perfectly melted cheese.
-
Add 1 tablespoon of neutral-flavored oil (like avocado or olive oil) to a large skillet and place it on your stovetop over medium heat. Gently tilt and swirl the skillet occasionally to ensure the oil is evenly distributed across the entire surface. Continue heating the skillet until the oil is hot and appears shimmery.
-
Once the oil is hot, carefully add ½ cup of diced white onion to the skillet. Stir the onions well to incorporate them with the hot oil. Sauté the onions for approximately 3 minutes, or until they have softened and become translucent, releasing their sweet aroma.
-
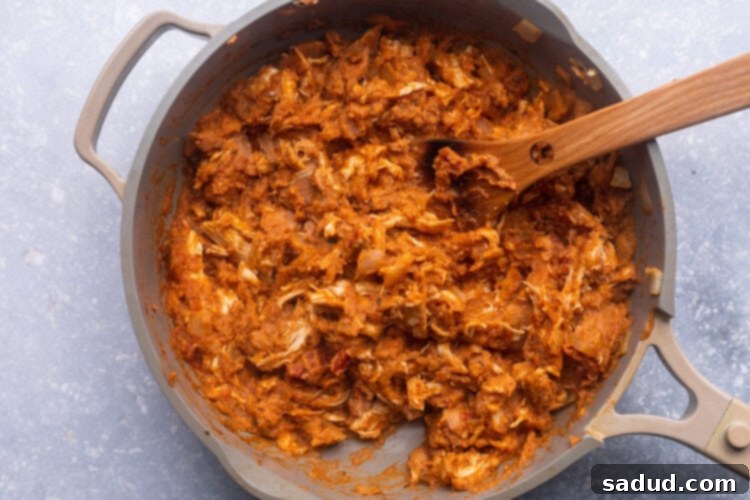
After the onions have softened, add the 2 cups of cooked, shredded chicken, 8 ounces of refried beans, 1 cup of salsa, and 1 tablespoon of taco seasoning to the skillet. Stir all these ingredients together thoroughly until they are well incorporated, and the taco seasoning is fully absorbed, coating all the components evenly.
-
Allow the taco filling mixture to simmer gently over medium heat for 2 to 3 minutes. Stir occasionally to prevent any sticking or burning at the bottom of the skillet and to ensure the mixture is warmed through evenly. Once the filling is heated and fragrant, reduce the heat under the skillet to very low to keep it warm while you prepare the shells.

-
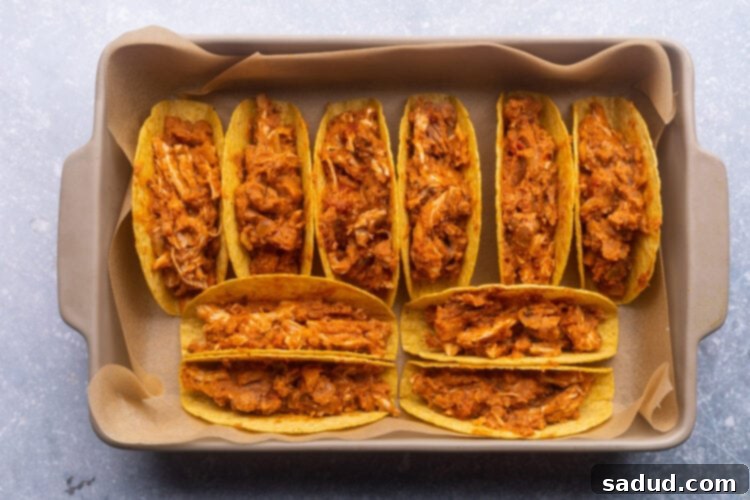
Carefully arrange the 10 hard taco shells upright in a 9×13 inch baking pan. Position the shells strategically so they remain stable and upright during the baking process. If desired, you can pre-bake them for 2-3 minutes at this stage for extra crispiness (see Chef’s Tips).
-
Using a spoon, carefully scoop equal amounts of the warm taco filling mixture into each taco shell. Be mindful not to overfill, and exercise caution to prevent breaking or splitting the delicate taco shells during this step.

-
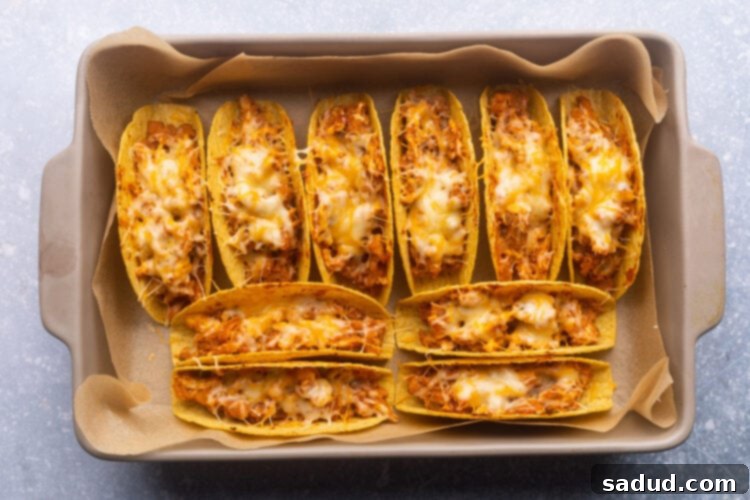
Divide the 2 cups of shredded Mexican-style cheese blend evenly among the filled taco shells. Generously top each taco with a layer of cheese, ensuring it covers the filling completely for a delicious, melty crust.
-
Carefully place the baking pan with the filled tacos into the preheated oven. Bake the tacos for 6 to 10 minutes. Keep a close eye on them until the cheese is beautifully melted and bubbly, and the edges of the taco shells are golden brown and extra crispy.
-
Once the baked chicken tacos are ready, carefully remove the pan from the oven and set it aside to cool slightly for a few minutes. This prevents burns and allows the cheese to set just a bit. Then, add your preferred toppings as desired, and serve these delicious, warm, and crispy tacos immediately. Enjoy your perfect taco night!

Notes
- Shredded Chicken Options: Rotisserie chicken is a fantastic and convenient choice for this recipe, offering pre-cooked, flavorful chicken that just needs shredding. You can also use any leftover cooked chicken you have on hand, provided its seasoning complements Mexican flavors. For those who prefer to cook chicken specifically for these tacos, we highly recommend following the recipe and method for the best shredded chicken ever from our sister site for perfectly tender and juicy results.
- Taco Shell Compatibility: This recipe is specifically designed for prepared crunchy hard taco shells. It is NOT suitable for use with soft flour tortillas or flat corn tortillas, as the baking process is intended to crisp the hard shells and melt the cheese on top. You can use standard hard taco shells or opt for the flat-bottomed variety, which can be easier to stand upright in the baking pan.
- Making it Dairy-Free: To adapt this recipe for a dairy-free diet, simply substitute the traditional shredded cheese with your favorite dairy-free shredded cheese blend. Ensure it’s a variety known for good meltability.
- Making it Gluten-Free: For a gluten-free version, ensure that you select gluten-free crunchy taco shells. Additionally, double-check that your chosen salsa, taco seasoning, refried beans, and shredded cheese do not contain any hidden gluten-containing ingredients by reading their labels carefully.
- Making it Vegetarian: To transform these into delicious vegetarian baked tacos, you can either completely omit the chicken from the filling or replace it with a plant-based chicken substitute (ensure it’s cooked and shredded similarly). You might also consider adding extra beans or sautéed bell peppers for more substance.
- Making it Vegan: For a fully vegan option, follow the steps for a vegetarian modification (omit chicken or use a vegan chicken substitute) and also replace the shredded cheese with a suitable dairy-free shredded cheese that melts well.
Nutrition Information
Number of total servings shown is approximate. Actual number of servings will depend on your preferred portion sizes.
Nutritional values shown are general guidelines and reflect information for 1 serving using the ingredients listed, not including any optional ingredients. Actual macros may vary slightly depending on specific brands and types of ingredients used.
To determine the weight of one serving, prepare the recipe as instructed. Weigh the finished recipe, then divide the weight of the finished recipe (not including the weight of the container the food is in) by the desired number of servings. Result will be the weight of one serving.
