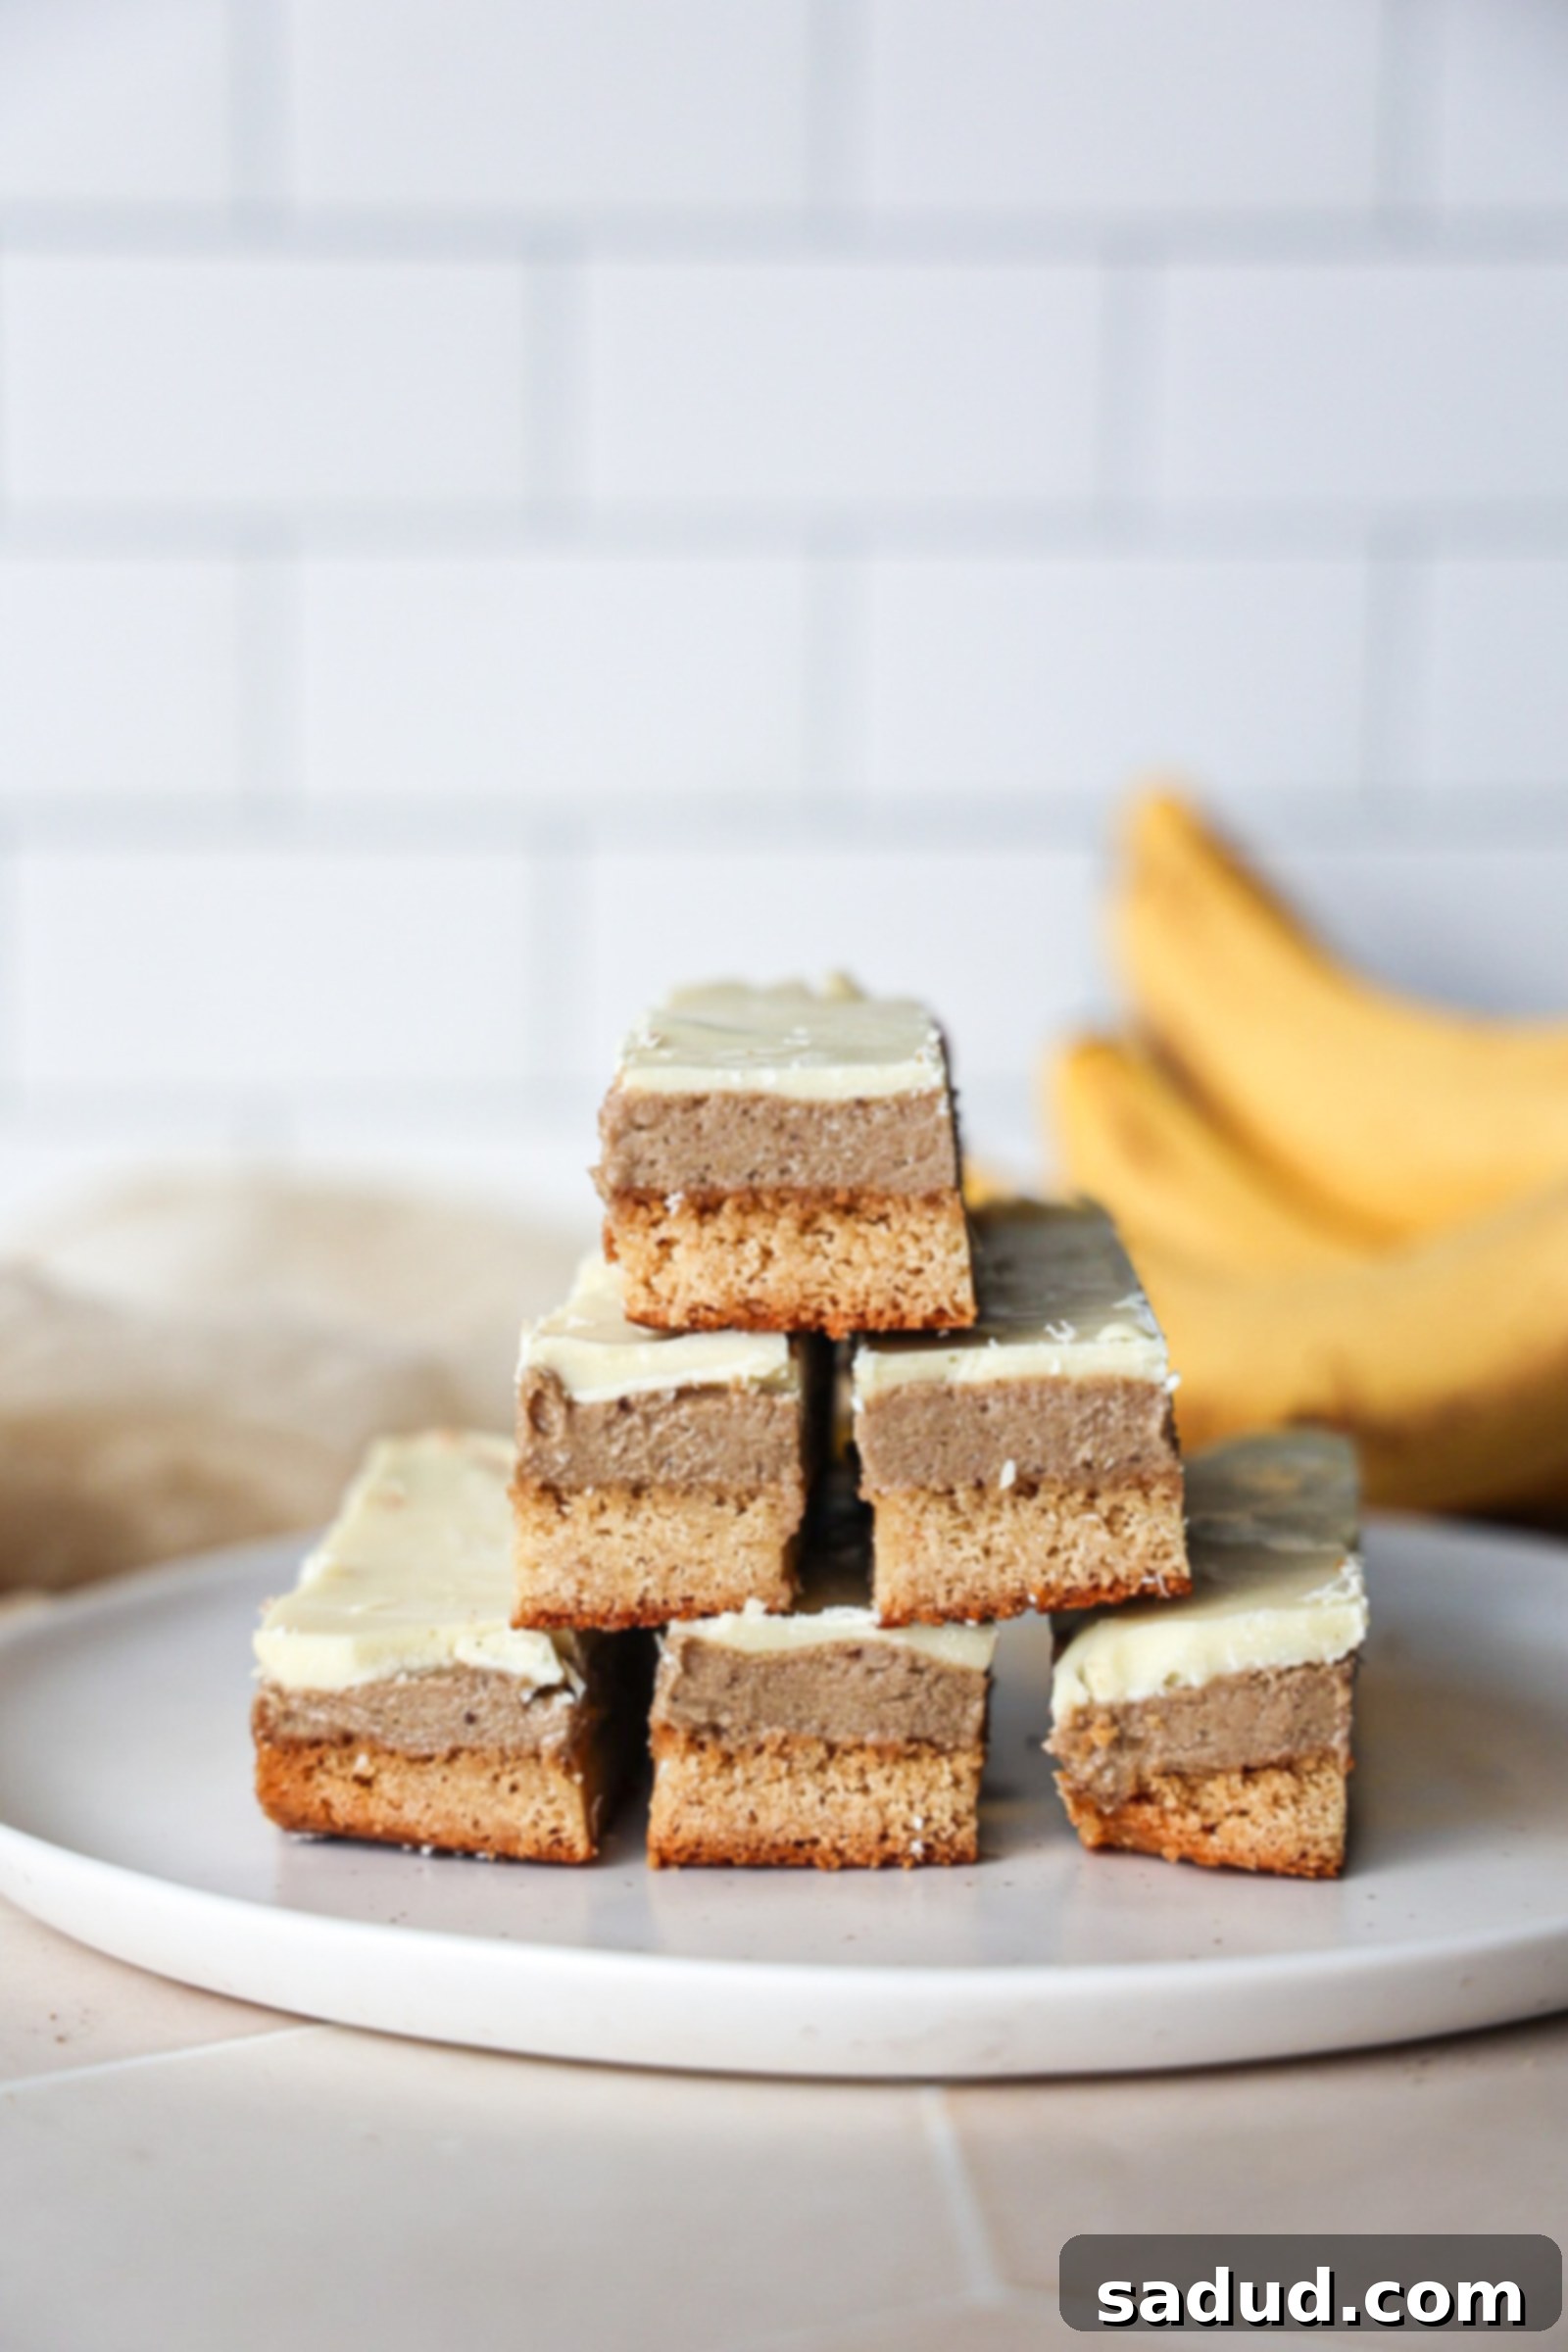
Irresistible Paleo & Vegan Banana Caramel Bars: Your Go-To Gluten-Free Dessert
Prepare for a flavor explosion with these incredible Banana Caramel Bars! If you have a stash of ripe bananas sitting on your counter, looking for a purpose beyond the usual banana bread, then this recipe is your golden ticket to a unique and utterly delicious dessert. Imagine a perfectly crisp, buttery shortbread crust, topped with a luscious, creamy banana caramel filling, all enrobed in a smooth, sweet white chocolate coating. The best part? These decadent bars are completely paleo, vegan, gluten-free, and refined sugar-free, yet so rich and satisfying, you’d truly never guess their wholesome secret!
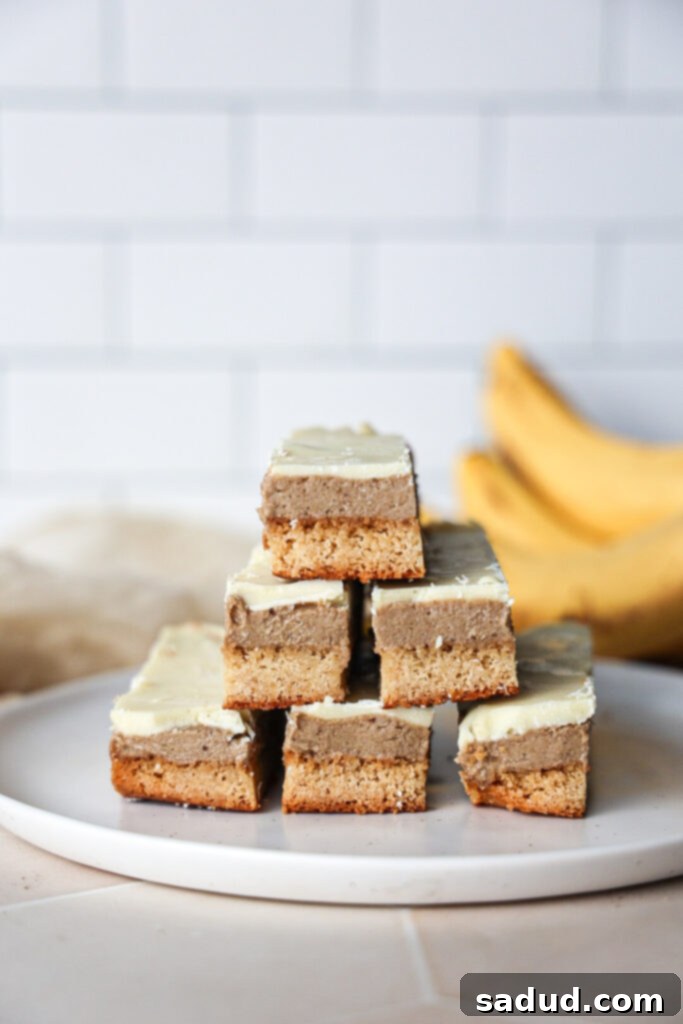
A few years ago, I found myself in a culinary rut. My kitchen was overflowing with ripe bananas, but the thought of baking another loaf of banana bread felt uninspired. I craved something new, something with a twist. That’s when inspiration struck: a rich, creamy banana caramel filling! This unique creation led to my widely popular banana caramel cookies, which took social media by storm. The flavor of banana caramel is truly distinctive and challenging to describe, but if I had to pick one word, it would be “heavenly.” And trust me, that’s high praise coming from someone who isn’t even a huge banana enthusiast!
If you’ve enjoyed my healthier take on Twix bars, then you are absolutely going to adore this recipe. It’s built on a similar concept, but we’ve elevated it by incorporating that incredible banana caramel filling and finishing it with a velvety white chocolate topping, rather than traditional dark or milk chocolate. This particular flavor combination of sweet banana caramel and creamy white chocolate is nothing short of phenomenal – a truly unforgettable pairing that will delight your tastebuds. These bars are the perfect way to transform those ripe bananas into something extraordinary. If you have an abundance of bananas, don’t stop here! You might also love my banana nut scones, my incredibly moist frosted banana bars, a delightful banana foster chia pudding, or even a comforting slice of cinnamon swirl banana bread!
Banana Caramel Bar Recipe Video
For those who love a visual guide, check out the recipe video below. It walks you through each step of creating these delightful banana caramel bars, ensuring you achieve perfect results every time. Watching the process makes it even easier to follow along and master each layer.
Why You’ll Fall in Love with This Recipe
These Banana Caramel Bars aren’t just another dessert; they’re a revelation. Here’s why they’re destined to become a staple in your recipe collection:
- Effortlessly Easy: While these bars boast three incredibly flavorful layers – a shortbread crust, banana caramel, and white chocolate topping – don’t let that intimidate you! The process is surprisingly straightforward and doesn’t demand hours of hands-on time. The majority of the “work” involves simply letting the layers chill and firm up in the freezer, making them perfect for meal prepping a delicious treat or preparing ahead for gatherings.
- Wholesomely Delicious: This recipe truly proves that healthy eating doesn’t mean sacrificing flavor or indulgence. These bars are crafted to be gluten-free, making them suitable for those with sensitivities or celiac disease. They are also entirely vegan, using plant-based ingredients throughout. Furthermore, they are refined sugar-free, relying on natural sweeteners like maple syrup and coconut sugar for their perfect sweetness. And for those following a paleo-friendly lifestyle, these bars fit right in! No one will ever suspect these decadent treats are packed with such wholesome ingredients. They are the ideal dessert for accommodating various dietary requirements and can even be made nut-free by substituting almond flour with tiger nut flour, ensuring almost everyone can enjoy a bite.
- Unforgettable Flavor Fusion: The combination of creamy banana caramel and crisp white chocolate might sound unconventional, but it creates an absolutely mind-blowingly delicious taste experience. The sweet, fruity notes of ripe banana meld perfectly with the rich, buttery texture of caramel, all balanced by the smooth, melt-in-your-mouth sweetness of the white chocolate. It’s a symphony of flavors and textures that will leave you craving more.
- The Perfect Use for Ripe Bananas: Say goodbye to boring banana bread! This recipe offers a wonderfully creative and exciting alternative for utilizing those spotty, overripe bananas that are often too sweet for anything else. Not only does it reduce food waste, but those extra-ripe bananas are key to developing the deep, sweet, and authentic banana caramel flavor.
Crafting Your Banana Caramel Bars: A Step-by-Step Guide
Ready to make these delightful bars? The full recipe, exact measurements, and detailed instructions are conveniently located in the recipe card at the very bottom of this post. But let’s walk through the general process and key components to ensure your success.
Essential Equipment
Gathering your tools before you begin ensures a smooth baking process:
- Bread Loaf Pan: I highly recommend a 9.5 x 5-inch pan (or a similar size). This specific dimension is ideal for achieving the perfect bar thickness and ensuring even layers.
- Mixing Bowl: You’ll need a good-sized mixing bowl for preparing the shortbread crust.
- Spatula: Essential for mixing, spreading, and gently handling your delicious layers.
- Blender: A high-speed blender is crucial for achieving a super smooth and creamy banana caramel filling.
- Saucepan: For cooking down your banana caramel to the perfect thickened consistency.
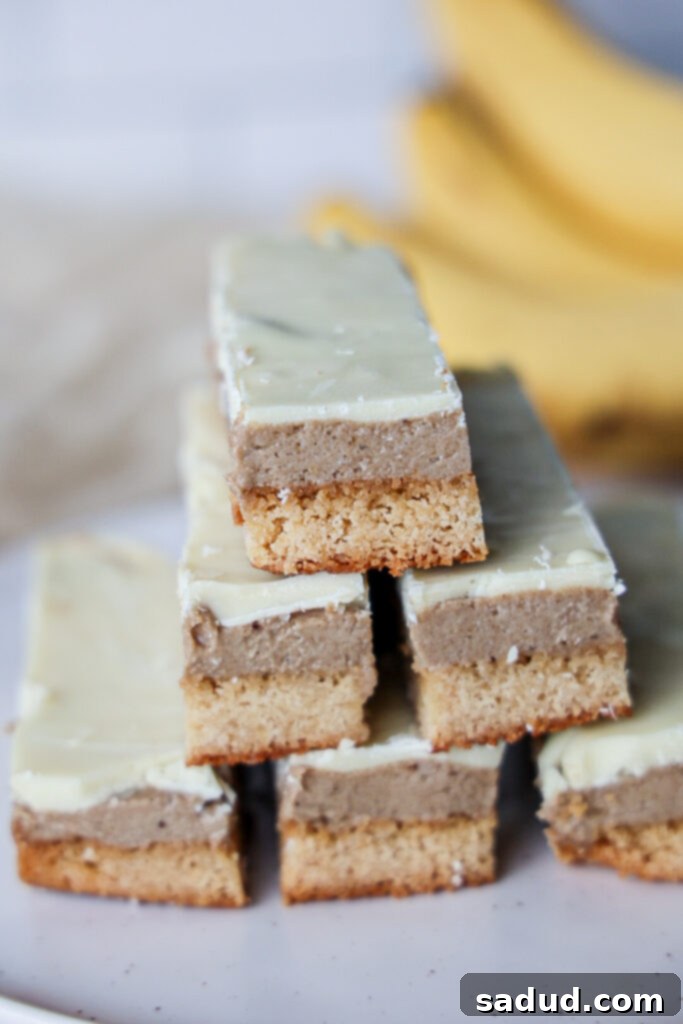
Key Ingredients
Let’s dive into the star ingredients that make these bars both wholesome and utterly delicious:
- Almond Flour: This finely ground flour is the secret to a tender, crumbly, and perfectly textured shortbread base. It provides a rich, slightly nutty flavor that complements the banana caramel beautifully. If you have nut allergies or prefer a nut-free option, Tiger Nut Flour is an excellent 1:1 substitute that works perfectly! Cashew flour can also be used. Please note: other flours like coconut flour or all-purpose flour cannot be substituted directly due to their vastly different absorption properties and textures.
- Coconut Oil: Used in both the shortbread crust and the caramel, coconut oil acts as a crucial binding agent and contributes to the rich, smooth texture of these bars. Ensure it’s melted for easy incorporation.
- Canned Full-Fat Coconut Milk: This is a foundational ingredient for our creamy banana caramel. When you open the can, you’ll notice a thick, solid cream at the top – this is precisely what you want to scoop out and use, as it provides the richness and body needed for a luscious caramel. Avoid using the watery liquid at the bottom. A non-dairy heavy cream (like oat or cashew cream) or even regular heavy cream could potentially work as a substitute, though I haven’t personally tested these variations.
- Maple Syrup: A natural, unrefined sweetener that adds depth and a hint of warmth to the shortbread crust.
- Ripe Bananas: The riper, the better! Look for bananas with plenty of brown spots, as these are naturally sweeter and softer, making them ideal for blending into a smooth, flavorful caramel. Their natural sweetness means less added sugar is needed.
- Coconut Sugar: Another fantastic unrefined sweetener that gives the banana caramel a rich, almost butterscotch-like flavor.
- Baking Staples: A splash of pure vanilla extract enhances all the flavors, while a pinch of sea salt balances the sweetness and brings out the best in both the caramel and the chocolate.
- White Chocolate: The final flourish! For a reliable vegan option, I highly recommend the brand Pascha for their delicious white chocolate chips. If you’re seeking a refined sugar-free alternative, both ChocZero and Lily’s offer excellent choices that melt beautifully and taste fantastic.
Step-by-Step Instructions to Make Banana Caramel Bars
Creating these layered wonders is simpler than you might think. Just follow these steps, and remember to consult the full recipe card for precise measurements and baking temperatures.
- Step 1: Prepare the Heavenly Banana Caramel. Begin by combining all the banana caramel ingredients in your blender. Blend thoroughly until the mixture is completely smooth and creamy, with no lumps of banana remaining. Transfer this velvety mixture to a saucepan and heat it over medium heat, bringing it to a gentle boil. Once boiling, reduce the heat to low and let it simmer for about 10 minutes, stirring frequently. This simmering process allows the caramel to thicken beautifully. Remove it from the heat and set it aside to cool slightly while you prepare the crust.
- Step 2: Bake the Perfect Shortbread Crust. In a separate mixing bowl, combine your shortbread base ingredients until a cohesive dough forms. It should be easy to press without being too sticky or crumbly. Line your loaf pan with parchment paper, leaving an overhang on the sides for easy lifting later. Press the dough evenly into the bottom of the prepared pan, creating a firm and compact base. Bake this crust in a preheated oven for approximately 11 minutes, or until it turns a light golden brown around the edges. Once baked, remove it from the oven and let it cool in the pan for about 10 minutes. This cooling period is crucial for the crust to set properly before adding the next layer.
- Step 3: Assemble and Chill Your Bars. Once the shortbread crust has cooled slightly, give your banana caramel another good stir to ensure it’s smooth. Carefully pour the banana caramel over the cooled shortbread base. Use a spatula to gently spread the caramel evenly across the entire surface. Place the loaf pan in the freezer for 1-2 hours. This freezing time allows the banana caramel layer to firm up sufficiently, creating a distinct layer that won’t meld into the chocolate topping. Next, while the caramel is firming, melt your white chocolate. You can do this using a double-boiler method or by combining the white chocolate chips and coconut oil in a microwave-safe bowl, heating in 30-second increments, stirring well after each, until perfectly smooth and melted. Pour this melted chocolate over the firm banana caramel layer, spreading it gently and evenly.
- Step 4: Final Freeze, Then Slice and Enjoy! Return the loaf pan to the freezer for an additional 3-4 hours. This final freeze is essential for the entire bar to set completely and achieve its solid, sliceable texture. When you’re ready to cut into these delicious treats, take the pan out of the freezer and let it sit at room temperature for about 10 minutes. This slight softening will prevent the white chocolate topping from cracking when you slice and make for cleaner cuts. Once slightly softened, lift the bars out using the parchment paper overhang and slice them into your desired bar size.
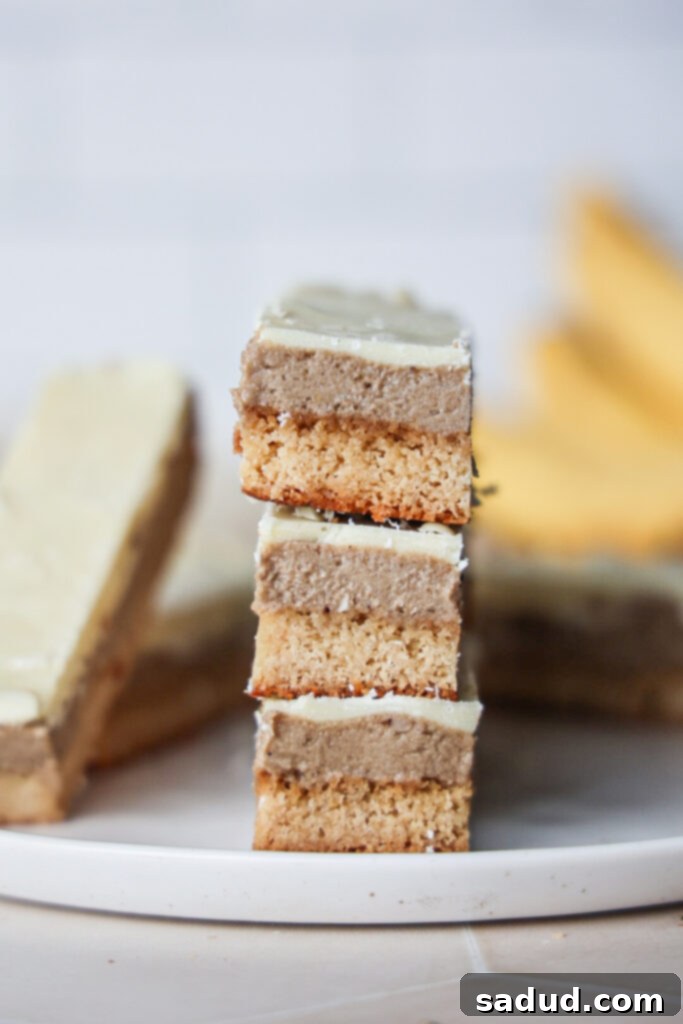
Expert Baking Tips & Frequently Asked Questions
To ensure your banana caramel bars turn out perfectly every time, keep these helpful tips in mind:
- Smart Slicing Strategies: To achieve clean cuts and prevent any cracking in the pristine white chocolate top, there are two key tricks. First, allow the frozen bars to sit out at room temperature for about 10 minutes before attempting to slice them. This slight warming helps the chocolate soften just enough. Second, for exceptionally smooth cuts, run your knife under SUPER hot water and wipe it dry before each slice. The heat from the knife will glide through the chocolate and caramel, creating beautifully neat edges.
- Optimal Storage for Freshness: These banana caramel bars are best stored in an air-tight container in the freezer. This preserves their texture and flavor for longer. They are surprisingly delicious enjoyed straight from the freezer – the caramel has a delightful chewiness when cold! However, if you prefer a softer, more yielding caramel, simply remove a bar from the freezer and let it sit at room temperature for about 10 minutes before indulging.
- Achieving the Perfect Caramel Consistency: Don’t rush the caramel cooking process. Stirring frequently and allowing it to simmer for the full 10 minutes (or until visibly thickened) is essential for that creamy, spreadable texture. It won’t be as thick as traditional caramel when hot, but it will firm up beautifully in the freezer.
- Ripe Bananas are Non-Negotiable: The success of the banana caramel heavily relies on using super ripe, spotty bananas. They are naturally sweeter and break down more easily, contributing to both the flavor and consistency of the caramel.
More Wholesome Dessert Recipes to Explore
If you’re a fan of healthier treats, you’ll love these other recipes from my collection:
- Blender Banana Coffee Cake Muffins
- Wholesome Starbucks Pumpkin Cream Cheese Muffins
- Healthy Pecan Twix Bars
- Mini Paleo Cinnamon Rolls
- 4 Ingredient Single Serve Pumpkin Pie
- Healthy Pumpkin S’mores Bars
If you give these incredible banana caramel bars a try and absolutely love them, it would mean the world to me if you left a star rating and a review below! Your feedback helps others discover and enjoy these wholesome treats. Don’t forget to tag me in your delicious creations on Instagram @danishealthyeats!
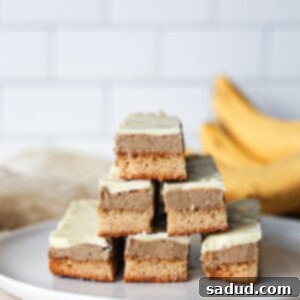
Banana Caramel Bars
Ingredients
Shortbread
- 1 cup almond flour
- 3 tbsp maple syrup
- 2 tbsp coconut oil, melted
- 1 tsp vanilla extract & pinch of sea salt
Banana caramel
- 1 1/2 super ripe, spotty bananas
- 1/4 cup coconut sugar
- 1/3 cup + 2 tbsp canned full-fat coconut milk
- 1 tbsp coconut oil, melted
- 1 tsp vanilla extract & good pinch of sea salt
Chocolate topping
- 1 1/3 cups white chocolate chips
- 2 tsp coconut oil
Instructions
- Preheat oven to 350F. Line a 9.5×5″ (or similar) loaf pan with parchment paper.
- Blend the banana caramel ingredients in a blender until smooth. Add it to a pot over medium heat, bringing it to a low-bubble simmer. Reduce the heat to low and let cook for 10 minutes or so, stirring very frequently, until it has thickened up a bit. Remove from heat and set aside.
- Meanwhile, mix together the shortbread base ingredients until dough forms. Press the dough into the bottom of the lined loaf pan. Bake for 11 minutes, until it’s lightly golden, then remove from the oven. Let the base cool for 10 minutes or so.
- Give the banana caramel a good stir, then pour it over top of the shortbread base, using a spatula to gently spread it out evenly. Place the loaf pan in the freezer for 1-2 hours until the caramel layer has firmed up a bit.
- Once the caramel layer is pretty firm to touch, melt the chocolate. You can use the double-boiler method or combine the chocolate and oil in a bowl and heat in the microwave for 30 second increments, stirring well between each, until completely smooth and melted.
- Place in the freezer for 3-4 hours to allow the bars to completely firm up. When ready to cut, let the bars sit at room-temperature for 10 minutes or so. This will help prevent the chocolate from cracking and make them easier to cut.
- Slice into bars and then store in an air-tight container. These can be stored in the freezer for longer term storage (I prefer them straight from the freezer). If you want a softer caramel, remove from the freezer and leave out at room temperature for 10 minutes before enjoying!
Video
Notes
- Slicing tips: To prevent cracking the white chocolate top, leave the bars out at room temperature for 10 minutes or so to allow them to soften just a bit before cutting them. Running your knife under SUPER hot water prior to cutting slices will also prevent this!
- Storing banana caramel bars: Store leftover bars in an air-tight container in the freezer. They’re delicious straight from the freezer, however you can let them sit at room-temperature for 10 minutes or so before eating for a softer caramel bar.
