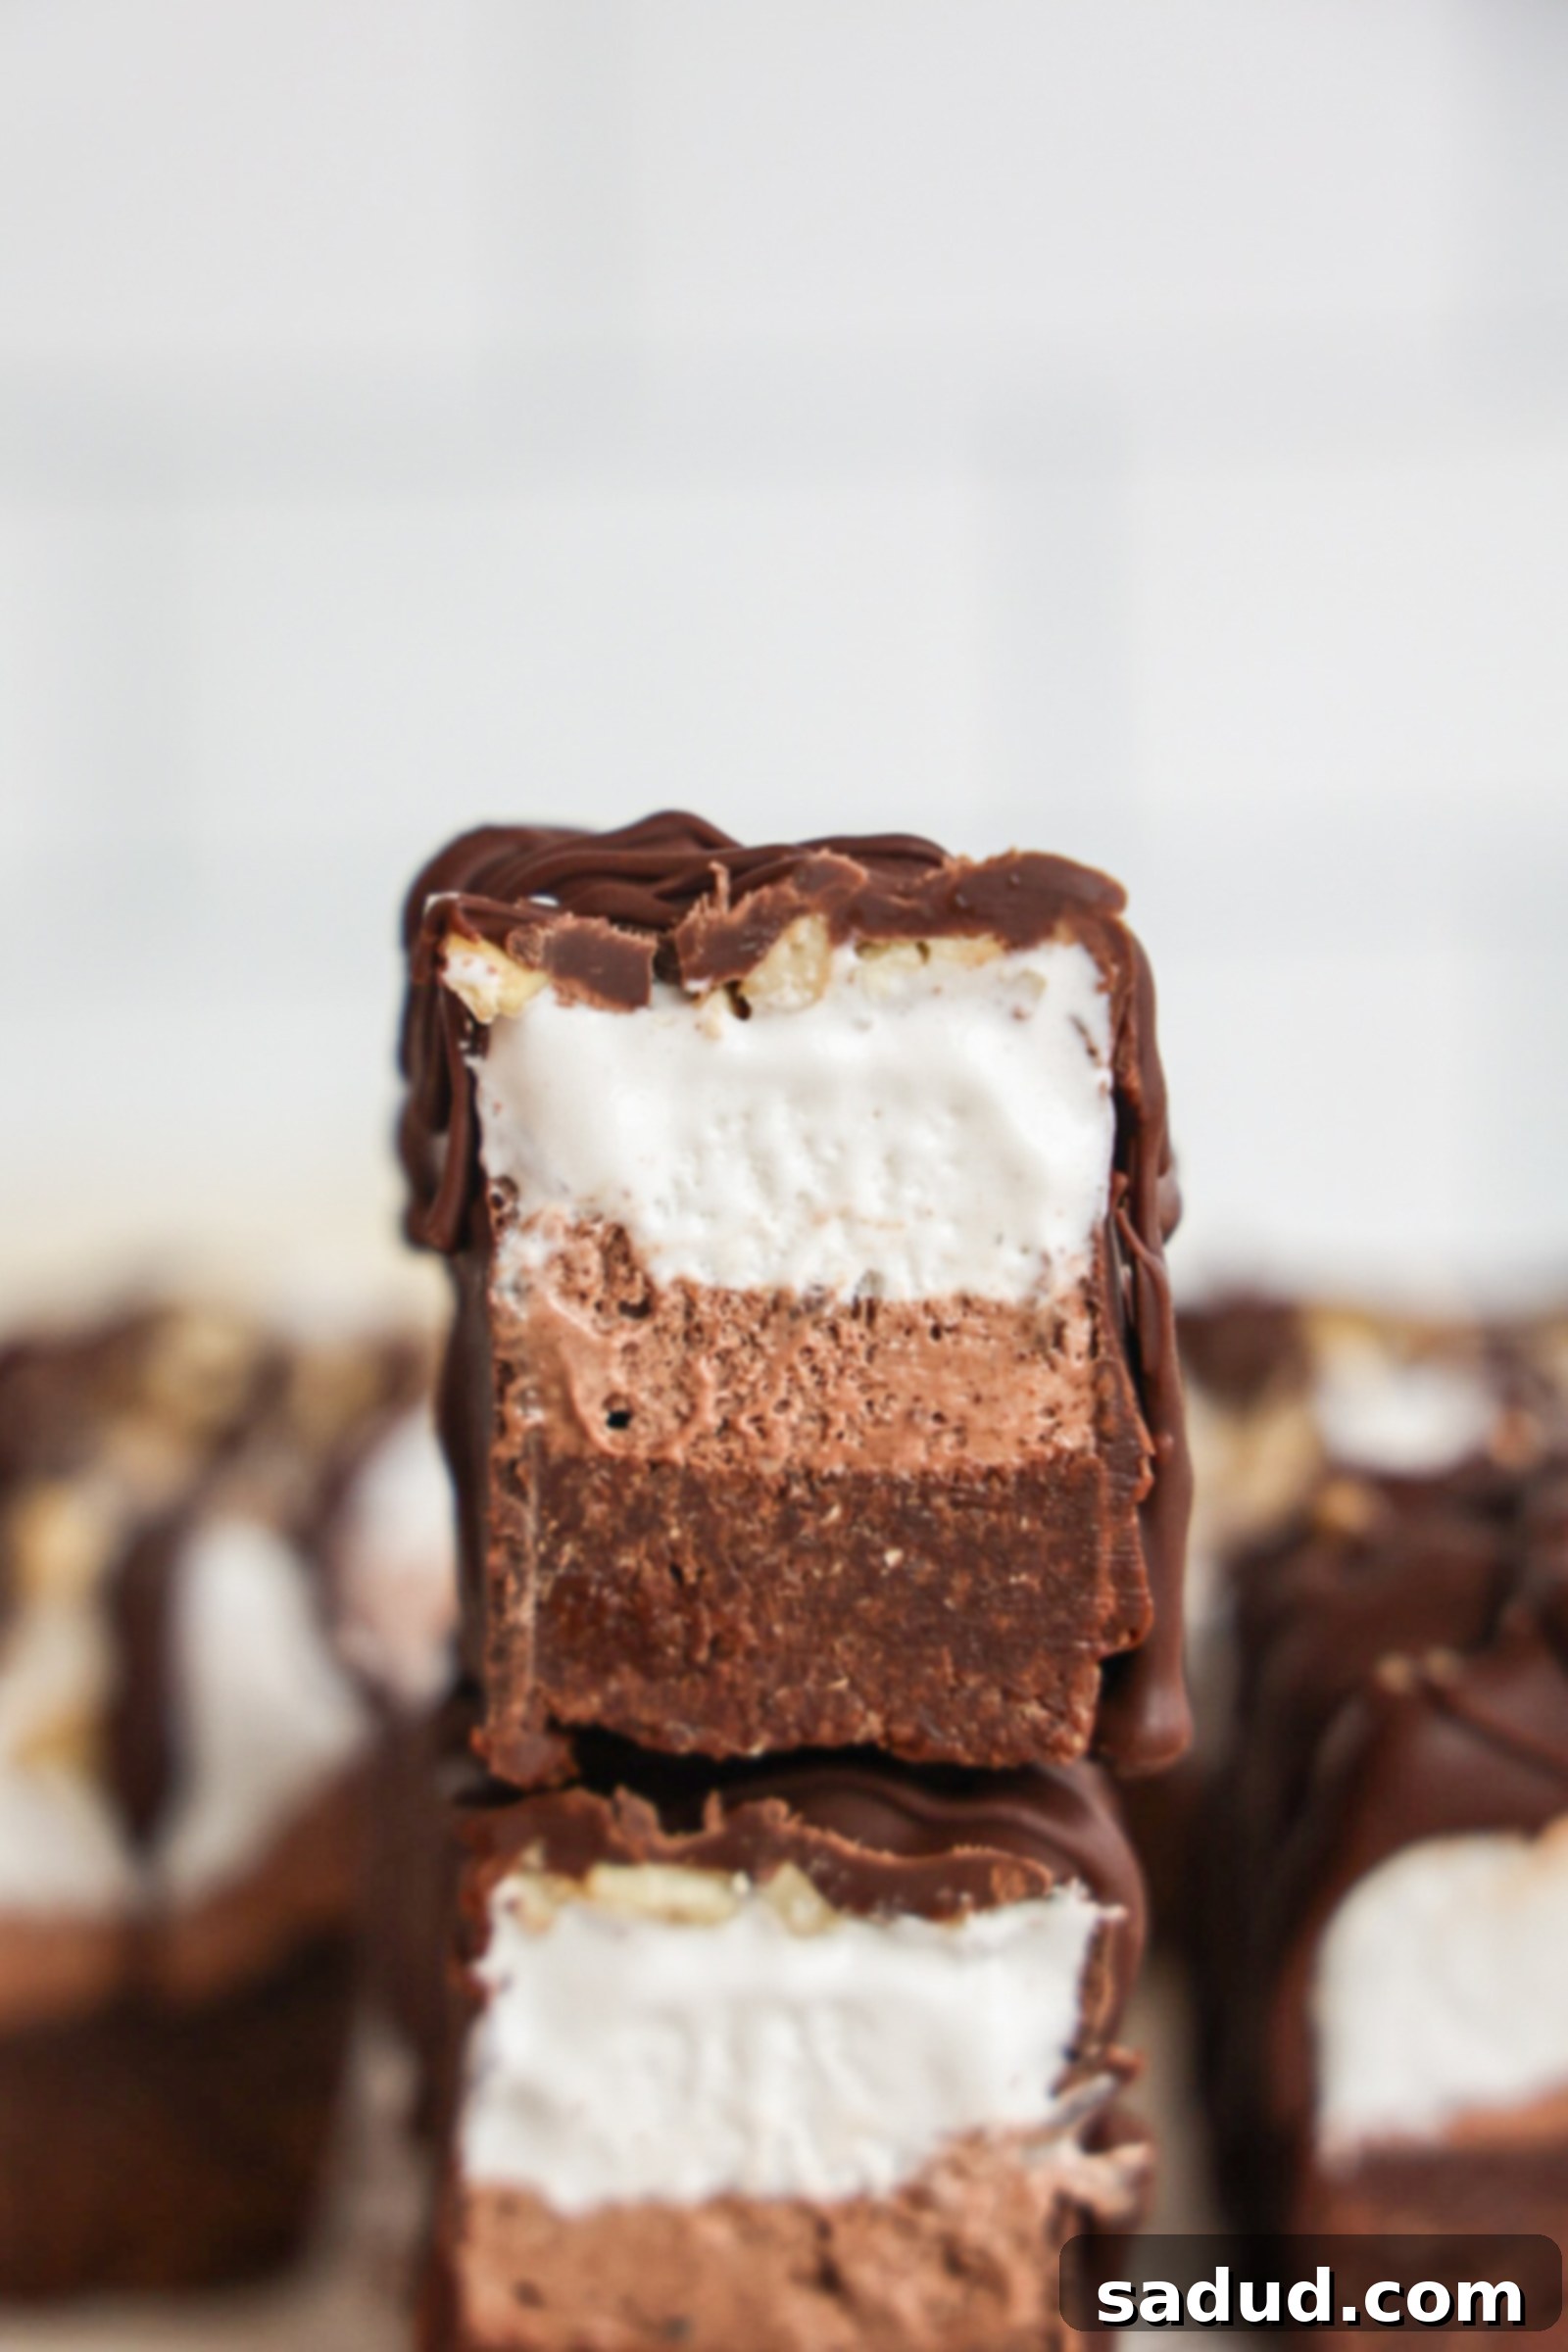
Irresistible No-Bake Ice Cream Brownie Bites: The Ultimate Healthy, Vegan & Gluten-Free Frozen Dessert
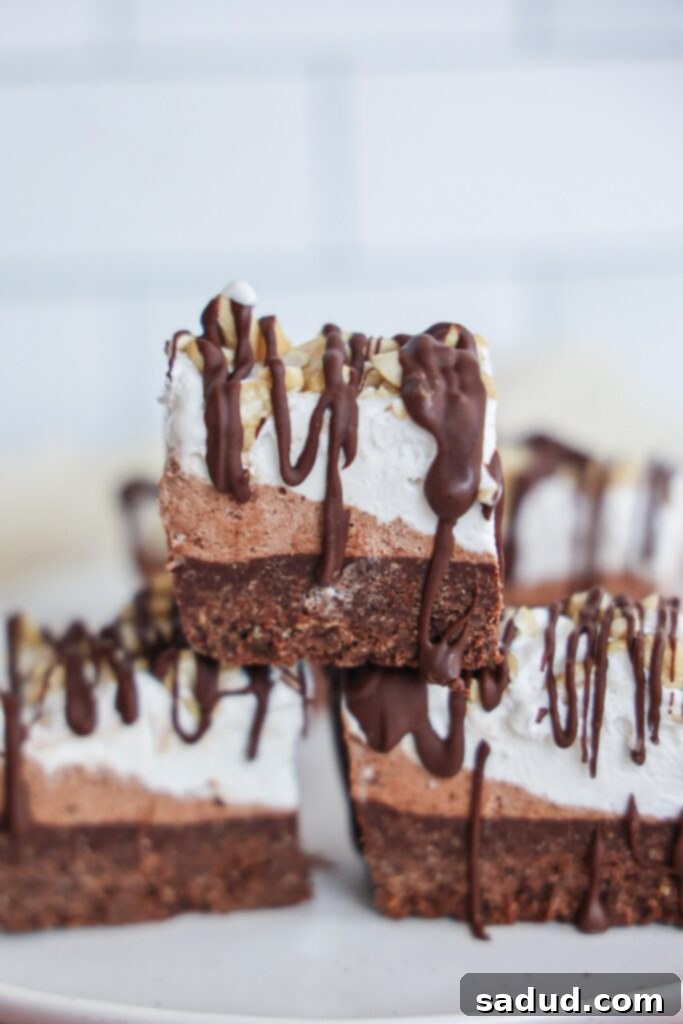
Indulge in these incredible No-Bake Ice Cream Brownie Bites, a healthier twist on your favorite frozen treats! Featuring a rich, chewy no-bake brownie base and crowned with two decadent layers of dairy-free coconut whipped topping, these bites are surprisingly simple to make. Crafted with minimal ingredients, they are lower in sugar, completely dairy-free, vegan, and gluten-free. The result is a delightfully refreshing and satisfying dessert that evokes the nostalgic taste of a classic brownie combined with the light, nougat-like texture of a 3 Musketeer bar. Get ready to fall in love with your new go-to healthy frozen indulgence!
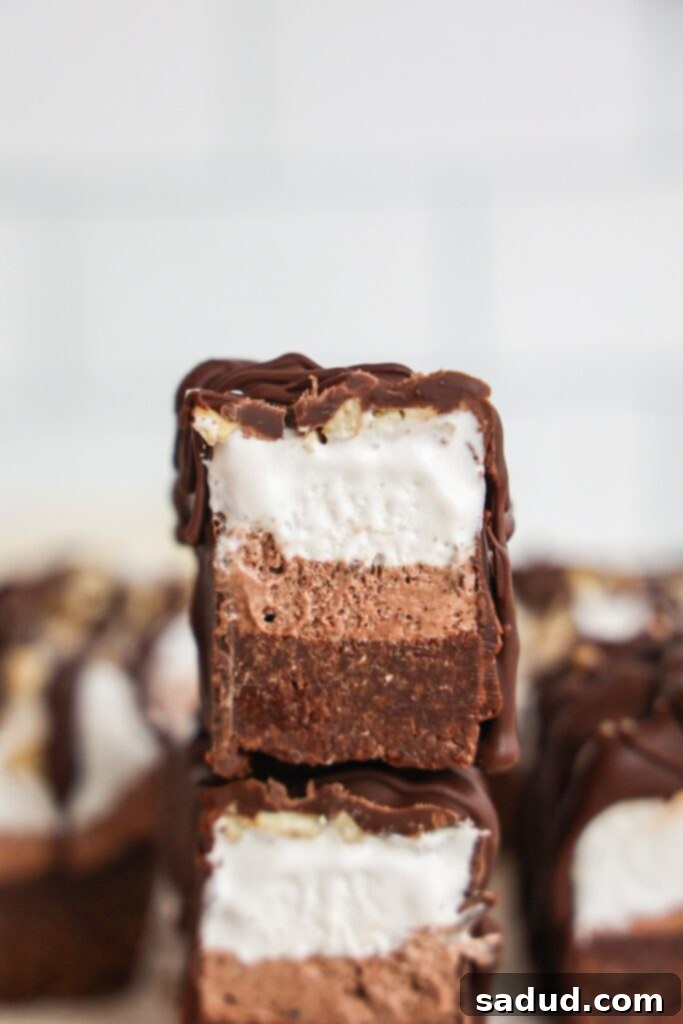
Crafting the Perfect No-Bake Brownies: A Wholesome Recipe
My childhood memories are filled with the joy of “Cool Whip Candy” – a simple yet magical blend of whipped topping and chocolate, frozen to perfection, creating a delightful nougat-like texture reminiscent of a 3 Musketeer candy bar. This cherished memory was the inspiration behind these extraordinary No-Bake Ice Cream Brownie Bites. I envisioned a fusion of an ice cream bar’s refreshing chill and a 3 Musketeer’s airy chocolatey goodness, and the outcome exceeded all expectations!
By utilizing a vegan coconut whipped topping, these bars remain incredibly easy to prepare while adhering to several dietary preferences. They are dairy-free, gluten-free, and intentionally designed to be lower in sugar, making them a fantastic option for anyone seeking a healthier dessert without compromising on flavor or texture. This recipe proves that you don’t need complicated ingredients or an oven to create a truly spectacular and wholesome frozen treat that everyone will adore.
Watch How to Make These Amazing Ice Cream Brownie Bites (Video Tutorial)
Why These No-Bake Ice Cream Brownie Bites Will Be Your New Favorite Dessert
There are countless reasons to adore these no-bake wonders. They’re not just delicious; they’re also thoughtfully crafted to fit a variety of lifestyles and preferences. Here’s why these brownie bites are about to become a staple in your freezer:
- Effortlessly Easy: Don’t let their decadent appearance fool you! These frozen brownie bites are shockingly simple to prepare, coming together in less than 15 minutes with common pantry ingredients. No baking, no complex techniques, just straightforward steps for a gourmet-looking dessert. They’re perfect for busy schedules, impromptu cravings, or when you simply want a impressive treat without the fuss.
- Dietary Inclusive & Friendly: Catering to a wide range of dietary needs, these ice cream brownie bars are naturally gluten-free thanks to oat flour, entirely dairy-free, and suitable for a vegan lifestyle. Furthermore, with the option to use sunflower seed butter, they can easily be made completely nut-free, ensuring that almost everyone can enjoy a bite of this deliciousness.
- Wholesome & Nourishing Ingredients: We believe that healthy treats should still taste amazing. That’s why these bars are made without refined sugar or dairy, focusing instead on simple, real ingredients. The base is crafted from nutritious oat flour and rich cacao powder, bound together with creamy nut butter and naturally sweetened with pure maple syrup. This thoughtful combination not only delivers incredible flavor but also offers a more wholesome alternative to traditional desserts, providing fiber, antioxidants, and healthy fats.
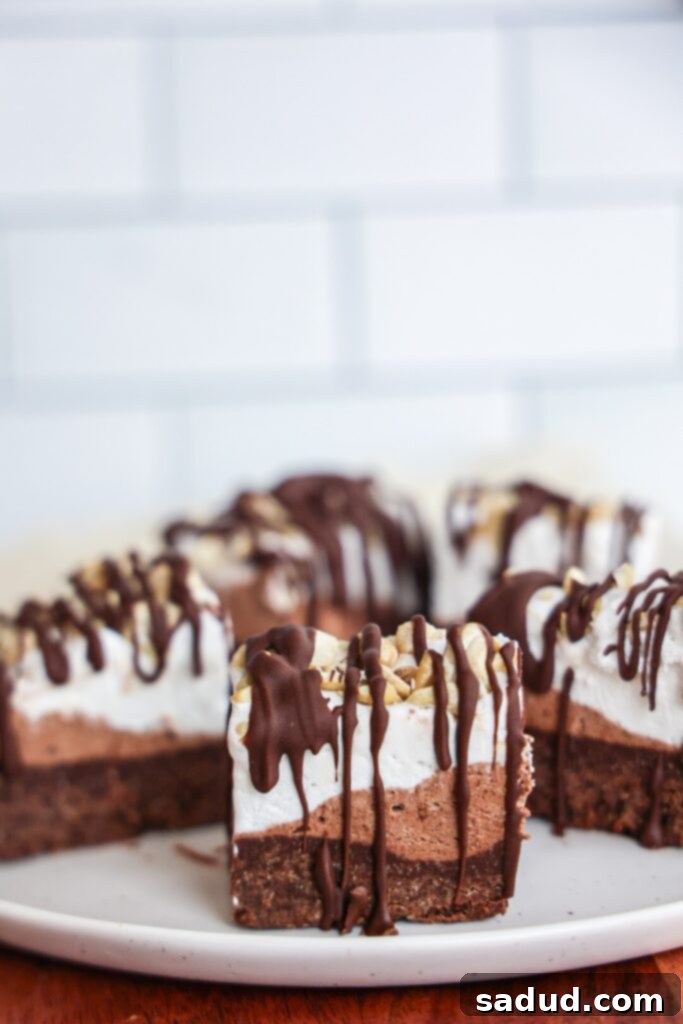
How to Make Your Own No-Bake Ice Cream Brownie Bites
Creating these delightful frozen treats is a straightforward process. For precise measurements and a detailed recipe card, please refer to the bottom of this post. Here’s a comprehensive look at the ingredients you’ll need and the simple steps to follow:
Key Ingredients for Success
Each ingredient plays a crucial role in achieving the perfect texture and flavor for these no-bake brownie bites:
- Oat Flour: This serves as the foundation for our chewy brownie base. Oat flour is an excellent gluten-free alternative that provides a wonderful texture and a mild, slightly nutty flavor. You can easily make your own by blending rolled oats into a fine powder in a food processor, or purchase it pre-made for convenience. Using oat flour makes this recipe accessible to more people, especially those avoiding almond flour.
- Cacao Powder: For that deep, rich chocolate flavor, raw cacao powder is my preferred choice. It’s not only incredibly flavorful but also packed with beneficial antioxidants, making these brownies a truly nourishing treat. While cocoa powder can be substituted, cacao offers a more intense flavor and higher nutritional value.
- Maple Syrup: This natural sweetener provides a lovely depth of flavor and helps bind the brownie base. Agave nectar or even honey (if not strictly vegan) can be used as alternatives, but I find maple syrup’s unique taste truly complements the chocolate and coconut flavors.
- Nut Butter: Creamy nut butter is essential for binding the brownie base and adding a rich, satisfying mouthfeel. Almond butter or cashew butter are excellent choices as they have a more neutral flavor profile, allowing the chocolate and coconut to shine. However, if you’re a fan of the classic peanut butter brownie combination, feel free to use peanut butter for a distinct and delicious twist! For a nut-free option, sunflower seed butter works wonderfully.
- Coconut Oil: Melted coconut oil helps to achieve the perfect consistency for the brownie base, ensuring it sets properly and has a pleasant texture. It also contributes healthy fats to the recipe.
- Pantry Staples: A touch of vanilla extract enhances all the other flavors, and a pinch of sea salt balances the sweetness and brings out the chocolate notes.
- Coconut Whipped Topping: This is the star of our “ice cream” layers! Look for a good quality vegan coconut whipped topping. The brand “So Delicious” is a fantastic option, often praised for its clean ingredients and excellent texture. This ingredient is key to achieving that light, nougat-like consistency that makes these bites so unique and reminiscent of a 3 Musketeer bar.
- Chocolate Chips: You’ll need your favorite chocolate chips for the outer coating. For healthier, lower-sugar alternatives, consider brands like Evolved Chocolate or Lily’s. If you prefer chocolate sweetened with coconut sugar, Hu Kitchen offers excellent options. The quality of your chocolate will make a noticeable difference in the final taste and texture of the coating.
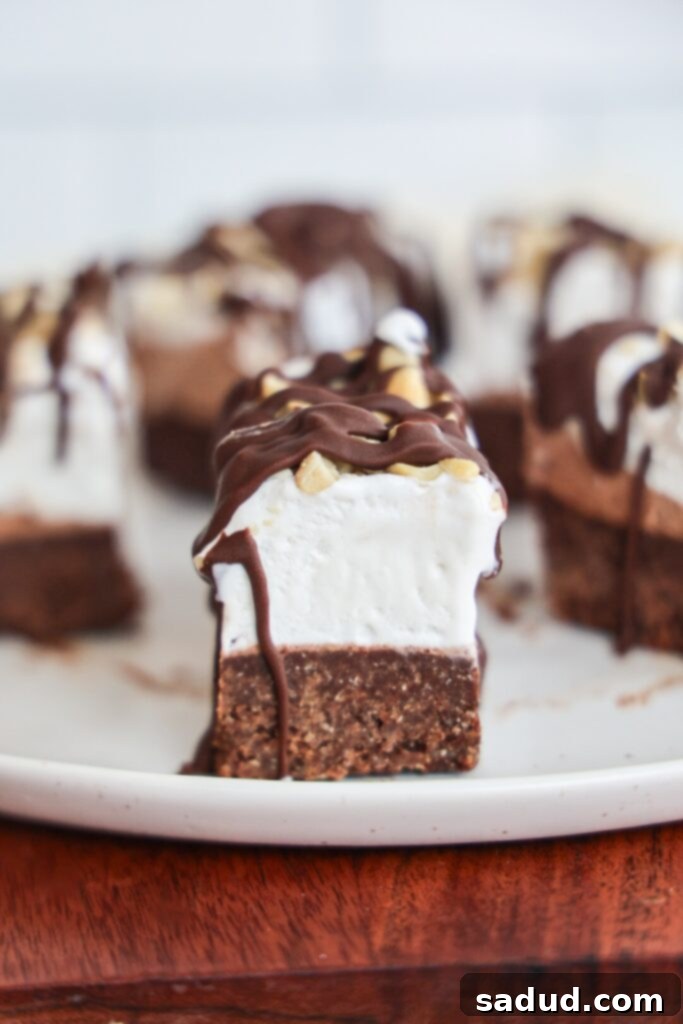
Step-by-Step Guide to Assembling Your Brownie Bites
- Prepare the Brownie Base: Begin by combining all the brownie base ingredients in either a food processor or a large mixing bowl. If using a food processor, pulse until a cohesive dough forms. If mixing by hand, ensure all ingredients are thoroughly incorporated. The dough should stick together when pressed but not be excessively sticky to your hands. Line a loaf pan with parchment paper, leaving an overhang on the sides for easy removal. Evenly press the brownie dough into the bottom of the prepared pan, creating a smooth and compact layer.
- Assemble the Layers: This is where the magic happens! In a medium bowl, take approximately half of your tub of coconut whipped topping. Add in 2 tablespoons of cacao powder and 2 tablespoons of your chosen nut butter. Mix thoroughly until there are no lumps and the mixture is smooth and evenly colored. Carefully spread this chocolatey whipped topping layer over your brownie base. For an optional second layer of flavor, take the remaining coconut whipped topping, add about 1 teaspoon of vanilla extract, and gently mix. Spread this vanilla-infused layer over the chocolate whipped topping. For an extra element of crunch and flavor, consider sprinkling some finely chopped peanuts, almonds, or cashews over the top of the final coconut whip layer.
- Freeze for Solid Perfection: Once your layers are assembled, carefully place the loaf pan into the freezer. For the best results and a fully solid, sliceable dessert, allow it to freeze overnight, or for a minimum of 6 hours. This crucial step ensures that your brownie bites hold their shape beautifully and provide that satisfying frozen texture.
- The Grand Finale: Coating in Chocolate: There are two methods for applying the chocolate coating, with one being significantly easier. My strongest recommendation is the first method: melt your chocolate chips with coconut oil until smooth. Once melted, simply pour the chocolate mixture evenly over the completely frozen bars in the pan. Quickly spread it to create a uniform layer. Return the pan to the freezer for just 30 minutes to allow the chocolate to set firmly. After setting, you can easily lift the entire slab from the pan using the parchment paper overhang and cut it into individual bars. Alternatively, you can drizzle melted chocolate over each individual bar once cut, or use a spoon to coat them, carefully spreading the chocolate around. **Important Note:** Avoid fully dunking the bars into melted chocolate, as the frozen coconut whipped topping can melt quickly upon contact with warm chocolate, making it messy and difficult to coat.
Frequently Asked Questions (FAQ’s)
Here are some common questions and helpful tips to ensure your No-Bake Ice Cream Brownie Bites turn out perfectly every time:
- Storage Instructions: To maintain their delightful frozen consistency, always store your no-bake brownie bars in an airtight container in the freezer. They are not suitable for refrigeration as the coconut whipped topping will become too soft and the bars will lose their shape. When stored properly in the freezer, these delicious treats can last for up to two months – though in my experience, they rarely last that long because they’re simply too good to resist!
- Can I Substitute Regular Ice Cream for Whipped Topping? Absolutely! If you prefer a more traditional ice cream bar experience, you can swap out the coconut whipped topping for your favorite dairy-free or regular ice cream. Just allow the ice cream to thaw on the counter for about 10-15 minutes until it’s softened but not completely melted. Spread it evenly over the brownie base, then freeze it until it’s completely solid before proceeding with the chocolate coating steps. Keep in mind that this might alter the “3 Musketeer” nougat-like texture slightly.
- How Can I Increase the Protein Content? For those looking to boost the protein in their dessert, there are a couple of easy modifications. Feel free to substitute 1/4 to 1/2 cup of the oat flour with your favorite protein powder (vanilla or unflavored work best). Additionally, you can stir a scoop of protein powder directly into the coconut whipped topping before spreading it over the brownie base. This will not only add protein but can also enhance the overall richness and texture.
- Can I Prepare These Ahead of Time for Parties? Yes, these no-bake ice cream brownie bites are an excellent make-ahead dessert! Since they need to be frozen to set, they are perfect for preparing days or even weeks in advance of an event. This frees up your time on the day of the party, allowing you to simply pull them from the freezer and serve.
- What if My Brownie Base Dough is Too Crumbly or Too Sticky? The consistency of your brownie base is key. If your dough is too crumbly, it might need a little more liquid binder. Add an extra tablespoon of maple syrup or a tiny bit more melted coconut oil until it comes together. If it’s too sticky, try adding a tablespoon or two more of oat flour until it’s manageable and no longer excessively sticks to your hands. Remember, different brands of nut butter can vary in consistency, so minor adjustments might be needed.
- Are There Other Topping Ideas? While the chocolate coating is divine, feel free to get creative with other toppings! A sprinkle of sea salt flakes on the wet chocolate coating is always a fantastic enhancer. You could also add finely chopped nuts, sprinkles, or even a dusting of extra cacao powder for a more sophisticated look.
Explore More Healthy No-Bake Desserts
If you’re a fan of easy, healthy, and delicious no-bake treats, you’re in luck! Here are some other fantastic recipes to add to your repertoire:
- Healthy Rice Crispy Treats Without Marshmallows
- 2-Ingredient Healthy Fudge
- No-Bake Peanut Butter Oatmeal Fudge Bars
- Healthy Vegan Fudge Bites
- 3-Ingredient Vegan Fudge Stripe Cookies
- Frozen Protein S’mores
- Peanut Butter Cup Frozen Yogurt Bars
- Healthy Dilly Bars
If you give this recipe a try and fall in love with it, please consider leaving a star rating & review below! It truly means the world to me. Don’t forget to tag me in your delightful creations on Instagram @danishealthyeats!
Ice Cream Brownie Bars
Pin Recipe
Ingredients
Brownie base
- 1 cup oat flour *feel free to sub 1/4-1/2 with your favorite protein powder!
- 3/4 cup cacao powder
- 1/2 cup + 2 tbsp almond, cashew, or peanut butter (or sunflower butter for nut-free) *see notes
- 1/3 cup maple syrup
- 2 tbsp coconut oil, melted
Filling
- 2/3 tub coconut whipped topping (I like So Delicious), divided *feel free to stir in a scoop of your favorite protein powder!
- 2 tbsp cacao powder
- 2 tbsp almond, cashew, or peanut butter
Coating
- 1 3/4 cups chocolate chips
- 1 tbsp coconut oil
Instructions
-
Make the brownie base – in a food processor or large bowl, combine all of the ingredients. Process or mix well until dough forms. It should stick together but not be super sticky to where it sticks to your hands. Press the dough into the bottom of a parchment-lined loaf pan.
-
Assemble the bars – In a bowl, add 1/3 of the tub of coconut whipped topping. Add in the cacao powder and nut butter, mixing well until no lumps remain. Spread this over the brownie layer.
-
This is optional, but I like to add the second 1/3 of the whipped topping to a bowl and add in 1 tsp vanilla extract. Then spread this over top of the chocolate layer. You can sprinkle some chopped peanuts, almonds, or cashews over top of the coconut whip for crunch!.
-
Freeze! Place the pan in the freezer overnight or for at least 6ish hours until it’s completely solid
-
Coat in chocolate – There are two methods here (I wish I would have done the first – it’s much easier!). I’d recommend pouring the chocolate over-top of the frozen bars, spreading it out even, then placing them back in the freezer for 30 minutes. Then you can remove them from the pan and cut into bars. Alternatively, you can drizzle the chocolate over the bars or to use a spoon to pour melted chocolate over them and using the back of the spoon to spread it around the bar. You don’t want to fully dunk them, as the coconut whipped topping will melt!
Video
Notes
Want to up the protein? Feel free to swap 1/4 of the oat flour for your favorite protein powder and/or add a scoop of your favorite protein into the whipped topping prior to spread it on the brownie base!
- Storage: Store brownie bars in an airtight container in the freezer! They will melt if left out and will become too soft if left in the fridge. They should last up to two months in the freezer.
- Can I use ice cream instead of whipped topping? Yes! Just let the ice cream thaw on the counter for 10 minutes or so until it’s less firm, spread it over the brownie base and then freeze until completely solid. Then continue with the remaining steps!
