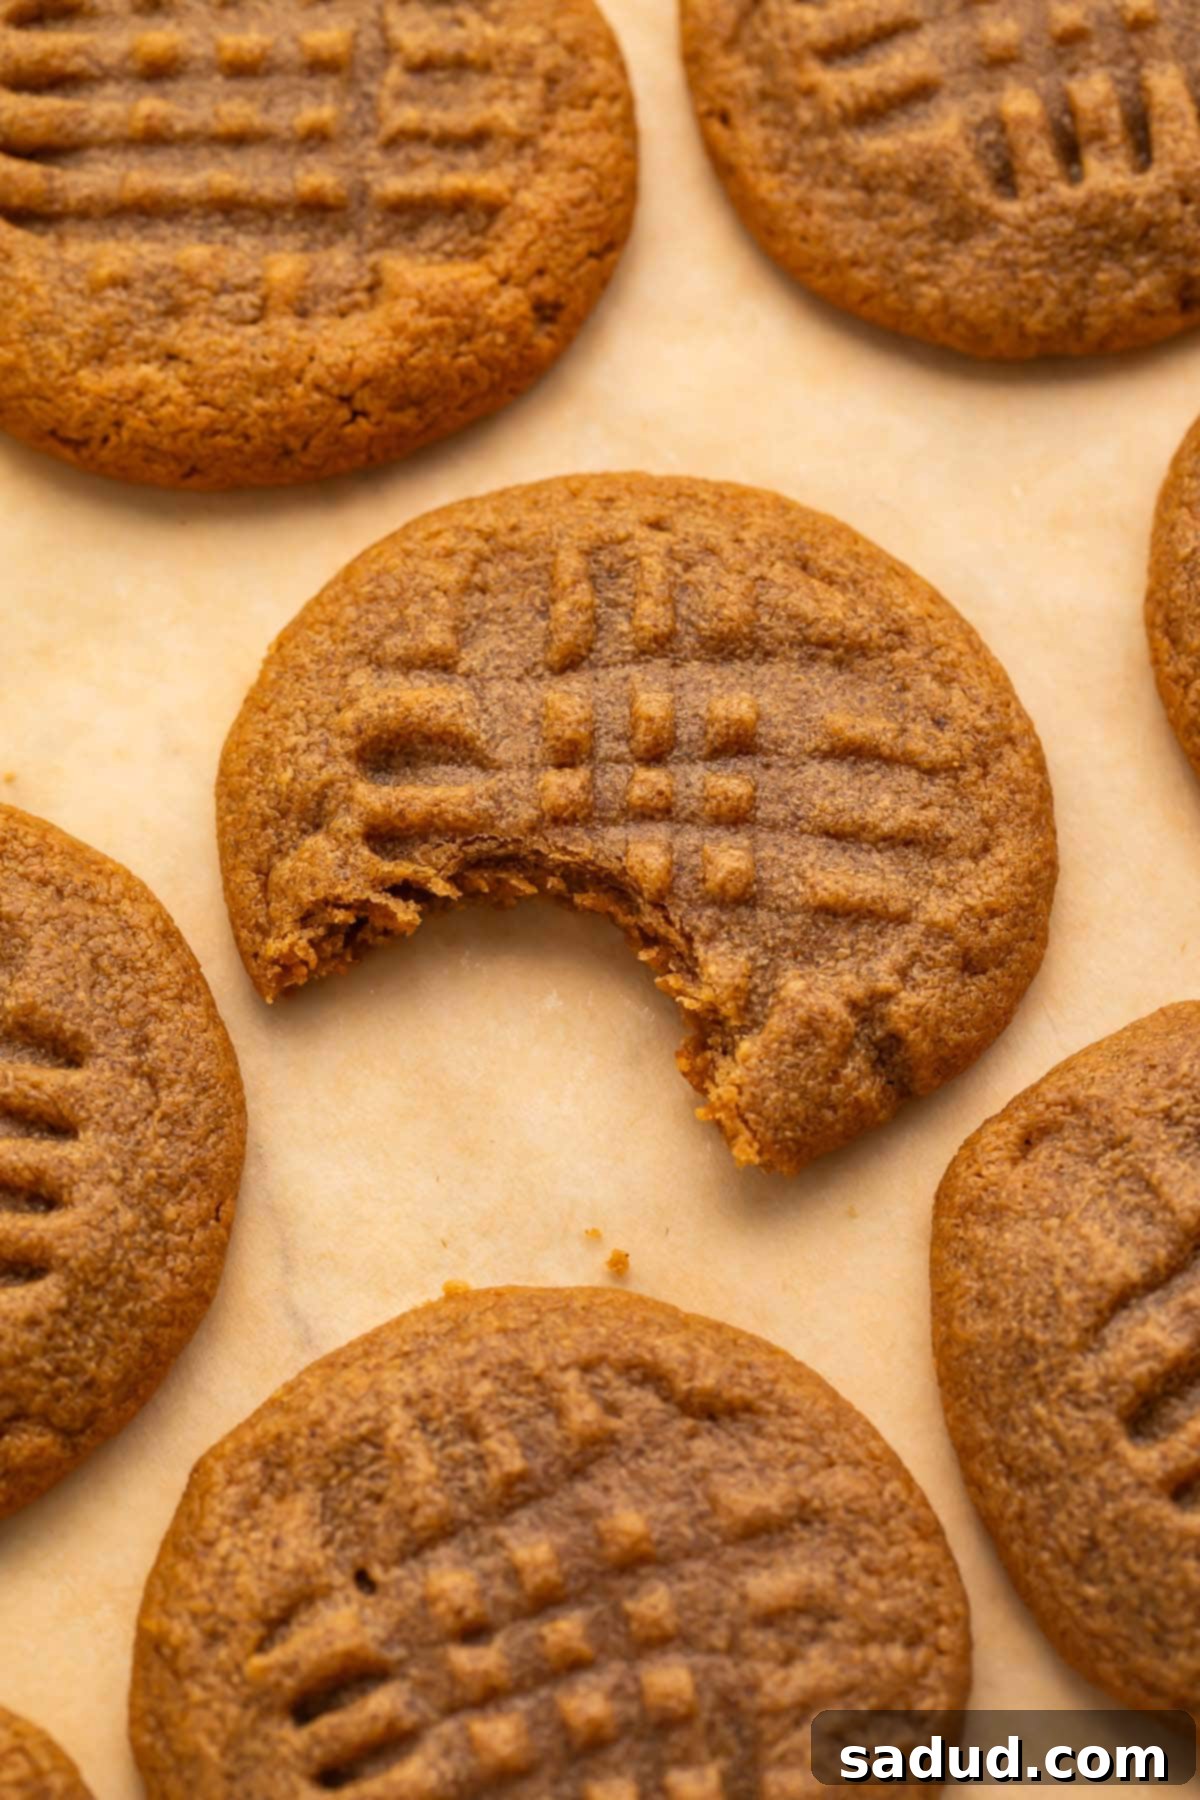
The Ultimate 3-Ingredient Peanut Butter Cookies: Effortlessly Delicious, Gluten-Free & Quick!
Prepare to be amazed by these incredibly simple yet utterly decadent 3-ingredient peanut butter cookies. These melt-in-your-mouth delights prove that you don’t need a long list of ingredients or complex techniques to create something truly special. Whether you’re a seasoned baker or a complete novice, this foolproof recipe delivers soft, rich, and perfectly sweet cookies every single time. And the best part? They’re naturally gluten-free, dairy-free, and grain-free, making them an ideal treat for a variety of dietary needs. You’ll wonder why you ever made peanut butter cookies any other way!
In a world full of complicated recipes, these easy peanut butter cookies stand out. They require minimal effort, minimal cleanup, and offer maximum flavor. Perfect for an impromptu dessert, a lunchbox treat, or simply satisfying that sudden sweet craving, these cookies come together in a flash. Forget about searching for obscure ingredients; you likely already have everything you need right in your pantry. Get ready to bake up a batch of pure bliss that everyone will love, regardless of their dietary preferences. This recipe is designed to be accessible, fast, and incredibly rewarding, ensuring a delightful sweet fix whenever you need it most.
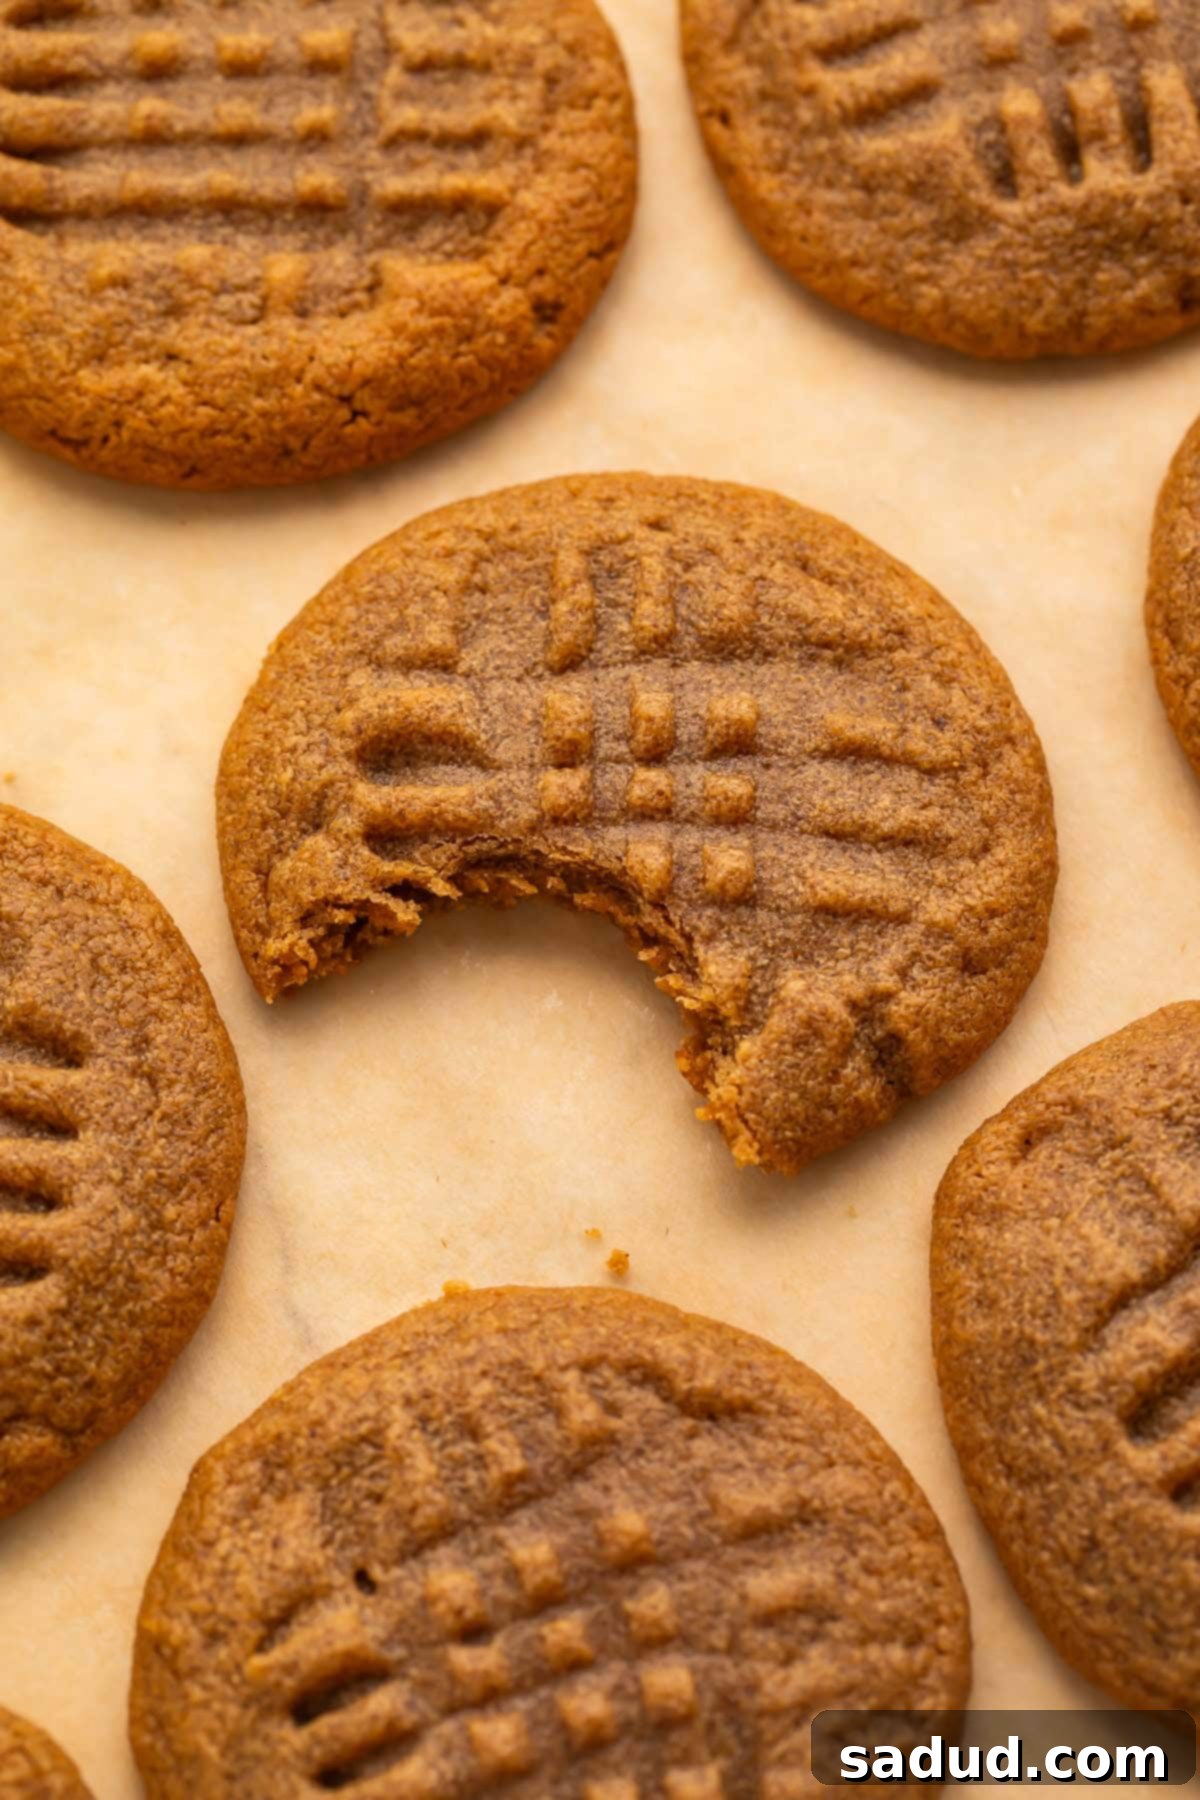
Why You’ll Fall in Love with This 3-Ingredient Peanut Butter Cookie Recipe
There are countless reasons why these humble gluten-free peanut butter cookies have become a fan favorite. Their simplicity doesn’t compromise on flavor or texture, making them a go-to for many. Here’s what makes this recipe truly special and why you’ll want to add it to your baking rotation:
-
Unbelievably Melt-in-Your-Mouth Texture: These aren’t your average dry, crumbly cookies. Our recipe yields incredibly soft, rich, and moist cookies that truly melt in your mouth with every bite. The high peanut butter content ensures a luxurious texture that feels much more indulgent than a simple 3-ingredient dessert should. It’s the perfect balance of chewy and tender, making them an instant classic that will satisfy even the most discerning cookie connoisseur. The natural fats in peanut butter contribute to this wonderfully soft crumb, creating a truly satisfying experience.
-
Effortless Preparation with Pantry Staples: Say goodbye to complex baking projects and long ingredient lists! With just three simple ingredients—peanut butter, sugar, and an egg—you can whip up a batch of these amazing cookies in no time. Chances are, you already have these staples readily available in your kitchen, eliminating the need for a special grocery run. The preparation involves just a few easy steps: mix, chill, scoop, and bake. This makes it the ultimate quick peanut butter cookie recipe for busy weeknights, last-minute cravings, or when you simply want to enjoy a homemade treat without the fuss. From start to finish, you’ll be enjoying warm, fresh cookies in under an hour.
-
Naturally Dietary-Friendly & Easily Adaptable: One of the standout features of these cookies is their natural compatibility with various dietary needs. They are inherently gluten-free, dairy-free, and grain-free, making them a fantastic option for those with dietary sensitivities, allergies, or who simply prefer these eating styles. Furthermore, we provide simple swaps to easily make these cookies paleo or keto, ensuring almost everyone can enjoy these delightful treats without compromising on flavor or texture. This versatility makes them perfect for sharing at gatherings, holiday parties, or potlucks where different dietary preferences might be present, making you the hero baker!
-
Perfectly Balanced Sweetness with Classic Flavor: Despite their simple ingredient list, these cookies achieve a beautifully balanced sweetness. The brown sugar not only adds moisture but also a lovely, deep caramel note that perfectly complements the rich, nutty flavor of the peanut butter. It’s a classic flavor combination that never disappoints, delivering that comforting, nostalgic taste you expect from traditional peanut butter cookies, but with an amazing ease and purity of flavor. The simplicity truly allows the peanut butter’s inherent deliciousness to shine.
-
Kid-Friendly, Fun, and Quick to Involve Little Helpers: The straightforward nature of this recipe makes it an excellent choice for involving children in the kitchen. Measuring out just three ingredients and mixing them together is a task even the youngest bakers can help with. Plus, pressing the classic crosshatch pattern with a fork is always a fun and engaging step that adds to the charm of these homemade treats! It’s a wonderful way to introduce baking fundamentals and create lasting memories, all while producing a delicious outcome.
Expert Tips for Your Best 3-Ingredient Peanut Butter Cookies
While this recipe for simple peanut butter cookies is incredibly straightforward, a few expert tips can elevate your baking experience and ensure perfect, bakery-quality cookies every single time. Follow these suggestions to achieve the best possible results:
-
Room Temperature Peanut Butter is Key
For optimal mixing and a smooth, cohesive dough, always ensure your peanut butter is at room temperature. Cold, stiff peanut butter will be much harder to incorporate thoroughly with the sugar and egg, potentially leading to an uneven dough, lumps, and ultimately, crumbly or inconsistently textured cookies. If your peanut butter is too hard, you can gently warm it in the microwave for 15-30 seconds (or until softened, but not melted and oily). This small step ensures a perfectly uniform dough that’s easy to work with and bakes consistently, yielding soft cookies.
-
Selecting the Right Peanut Butter
The type of peanut butter you choose can subtly affect the final texture of your cookies. Creamy peanut butter will generally result in a smoother, more uniform cookie, while crunchy peanut butter will add delightful little pockets of roasted peanuts and extra texture. For this specific recipe, any standard creamy or crunchy peanut butter works well. If you’re aiming for a healthier profile or to control added sugars, opt for natural peanut butter with no added sugars or oils (just peanuts and salt). If using natural peanut butter, ensure it’s thoroughly stirred before measuring, as the oils can separate and impact consistency.
-
Making it Paleo Friendly
To transform these into delicious paleo peanut butter cookies, you’ll need two simple substitutions. First, swap out the traditional peanut butter for an equal amount of almond butter. Almond butter offers a similar creamy texture and nutty flavor, aligning perfectly with paleo guidelines. Ensure your chosen almond butter is natural and unsweetened. Second, for the sugar, substitute the brown sugar with an equal amount of coconut sugar. Coconut sugar provides a caramel-like sweetness similar to brown sugar but is unrefined and paleo-compliant. These adjustments make for a wholesome and satisfying paleo treat.
-
Making it Keto Friendly
For a keto-friendly version of these beloved cookies, the key lies in the sugar substitute and careful peanut butter selection. Replace the brown sugar with a keto-approved brown sugar alternative, such as Brown Swerve or another erythritol-based brown sugar substitute. It’s crucial to also select a peanut butter that contains no added sugars, oils, or questionable ingredients – ideally, one where the ingredient list states only “peanuts” and “salt.” These precise adjustments will help keep the carbohydrate count low while still delivering that satisfying peanut butter flavor and classic cookie texture.
-
Don’t Skip the Chill Time
The brief 10-minute chill time for the dough in the refrigerator might seem like an unnecessary extra step, especially when you’re eager for cookies, but it’s truly vital for the best results. This short chilling period helps firm up the dough, making it significantly easier to handle and scoop. More importantly, it helps prevent the cookies from spreading too much in the oven, ensuring they hold their charming shape and develop that desirable chewy-soft texture rather than becoming thin and crispy. Patience for these 10 minutes will be rewarded!
-
The Perfect Crosshatch Pattern
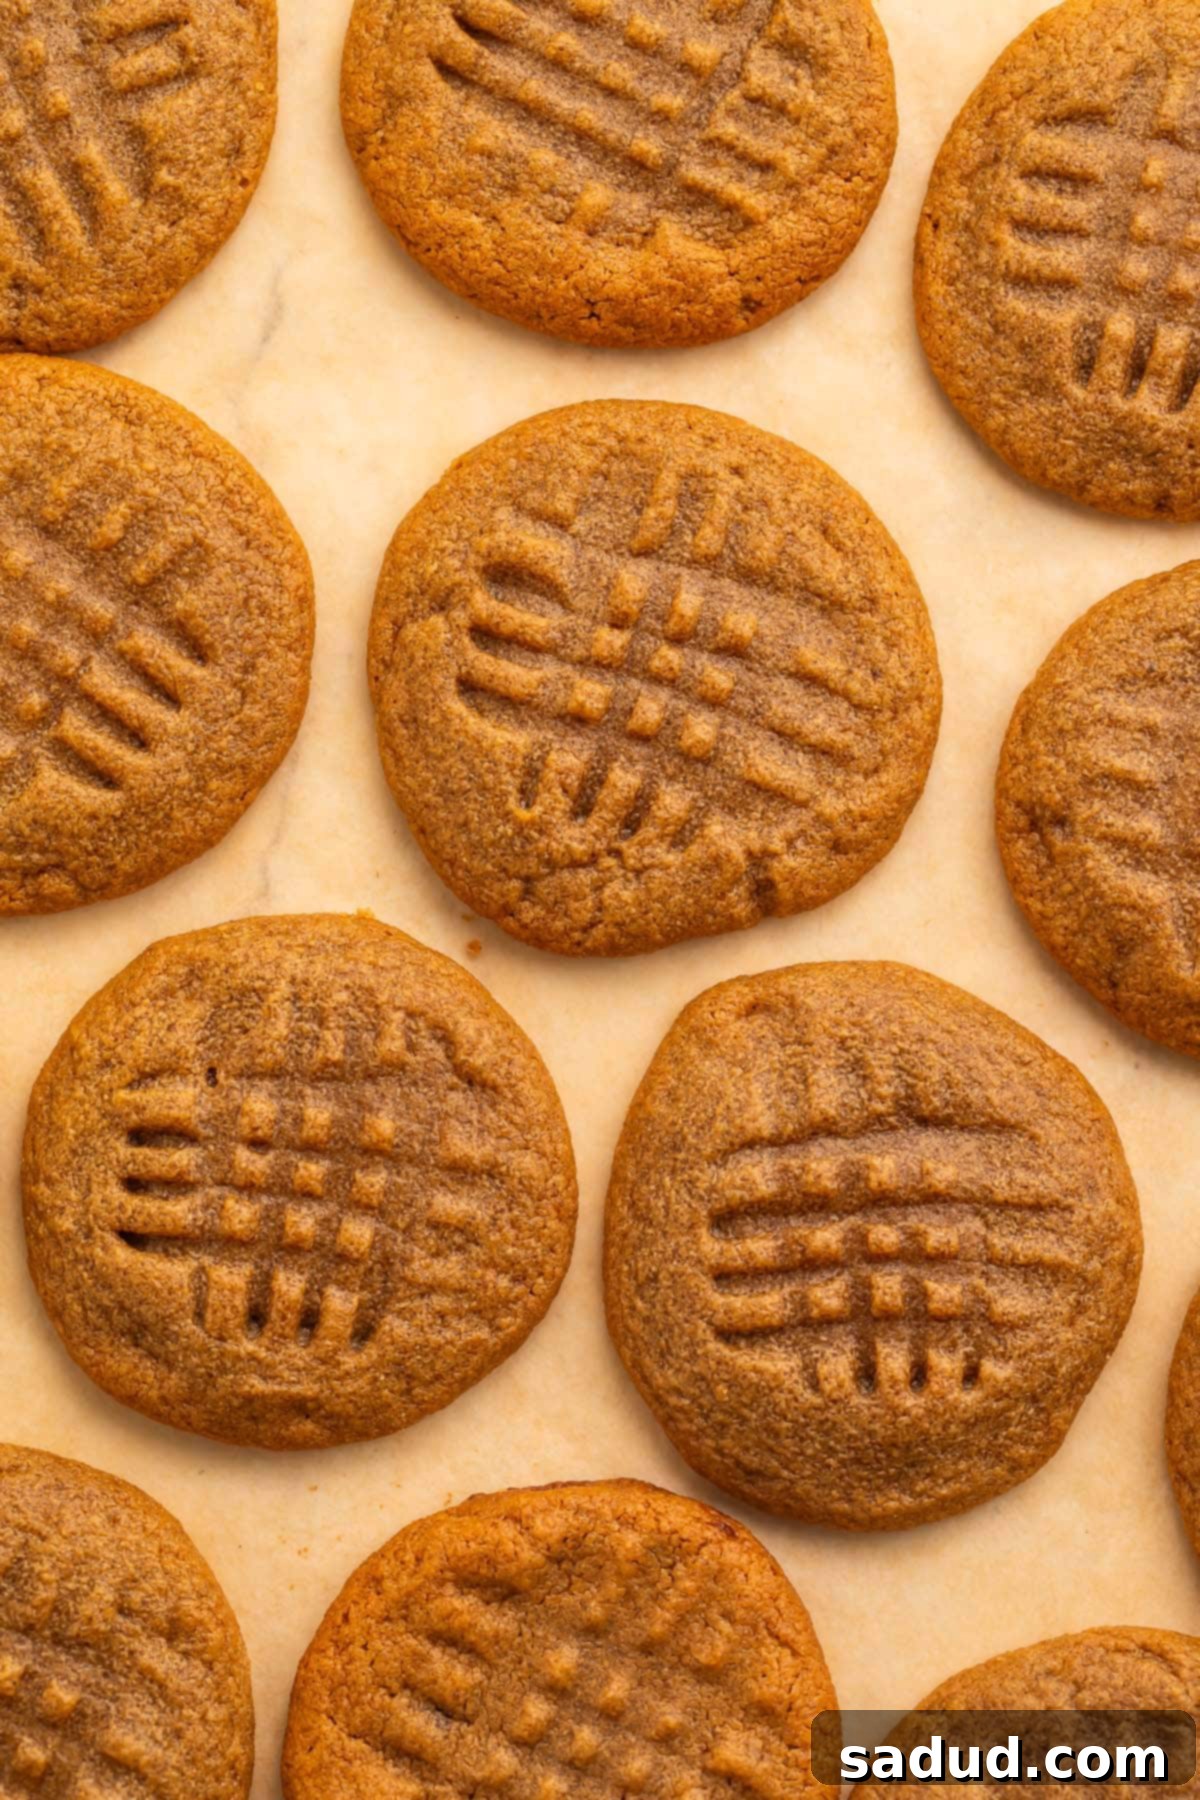
The classic crosshatch pattern, created by pressing a fork onto the dough, isn’t just for aesthetics; it serves a functional purpose. It helps to slightly flatten the cookies, promoting more even baking and ensuring they cook thoroughly without drying out. When creating the pattern, don’t press too hard – a gentle indentation will do. If your fork starts to stick to the dough, lightly dip it in a small bowl of granulated or powdered sugar between each cookie. This creates a non-stick barrier and can even add a lovely, subtle sugary crust to your finished cookies.
-
Monitor Baking Time Closely
Peanut butter cookies can go from perfectly baked to overbaked quite quickly. Keep a close eye on them, especially during the last few minutes of baking. They should look set around the edges and slightly golden, but the centers might still appear a little soft. They will continue to firm up as they cool on the baking sheet. Trust this process for the ultimate soft and chewy cookie experience.
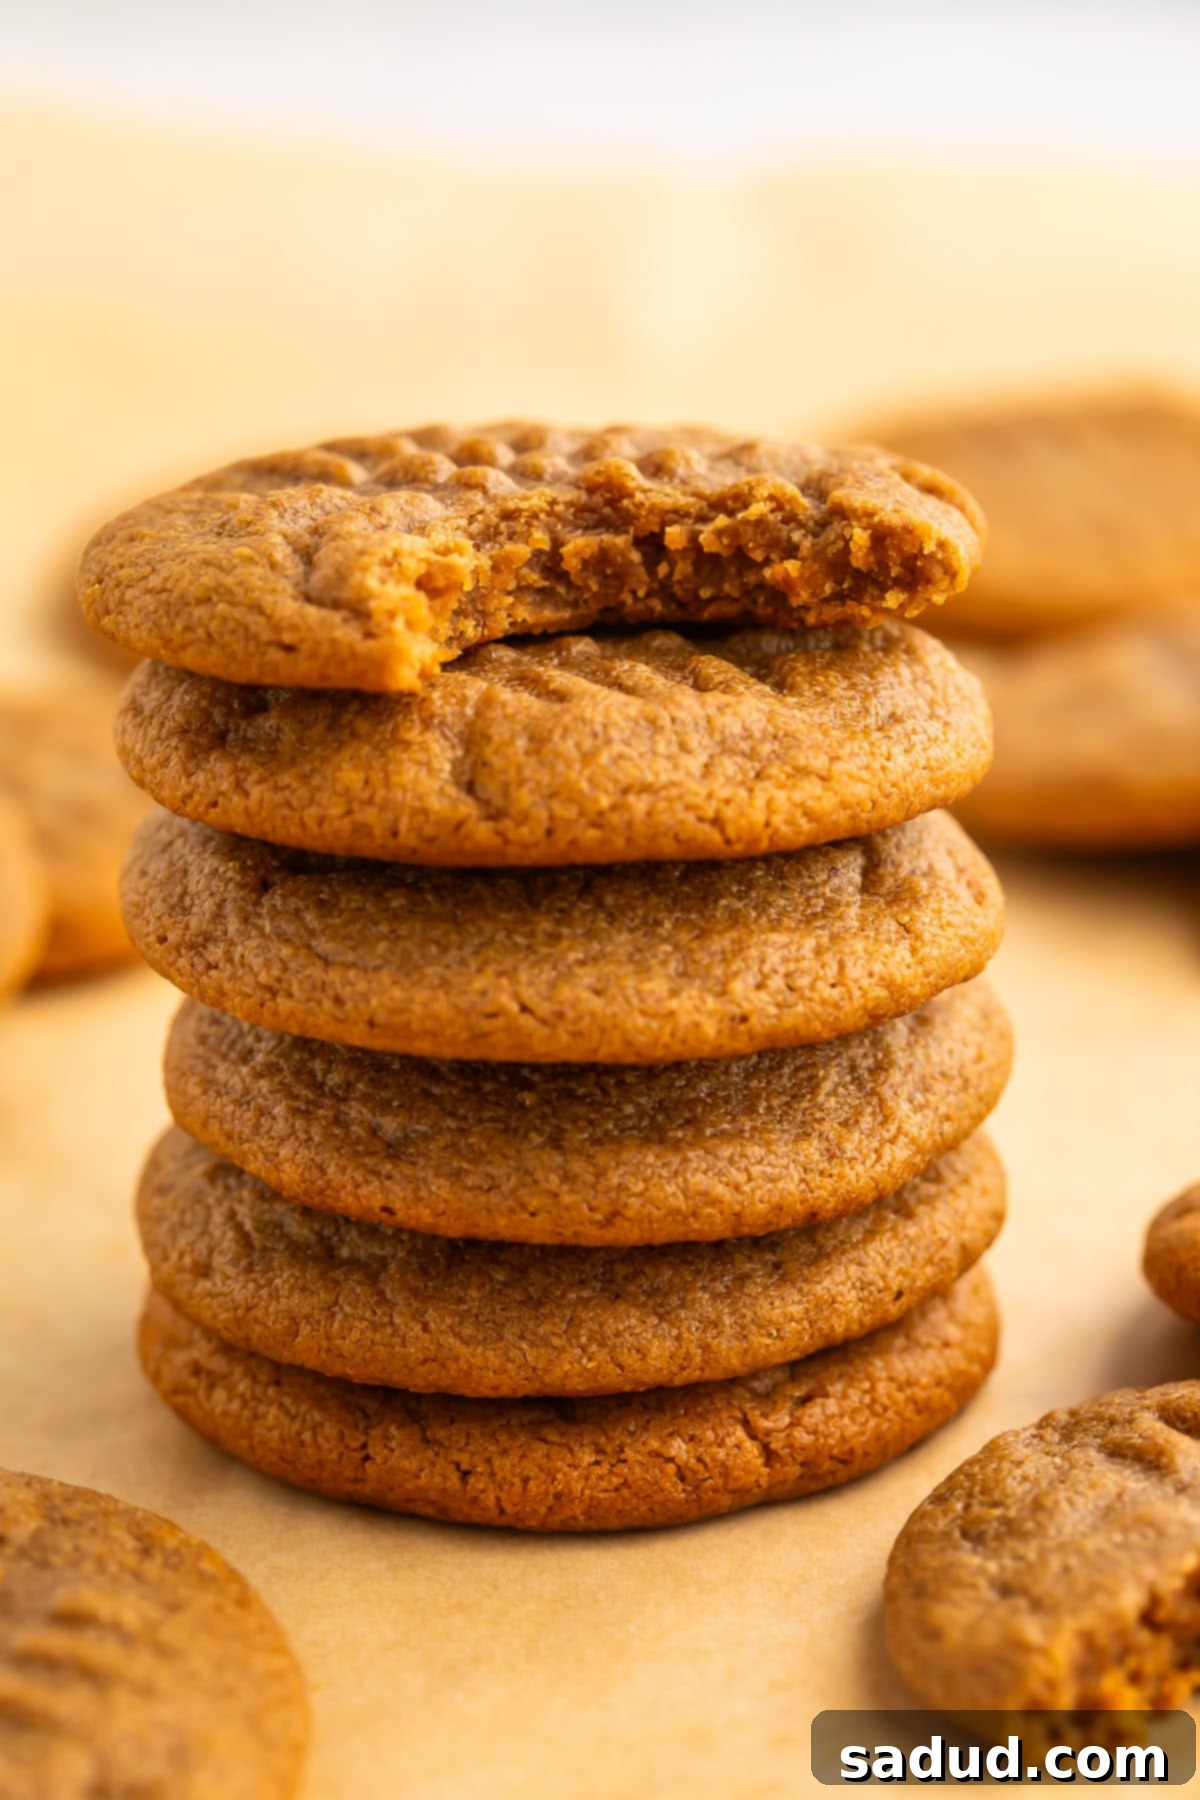
Serving Suggestions for Your Easy Peanut Butter Cookies
These versatile and incredibly delicious simple peanut butter cookies are wonderful on their own, but they also pair beautifully with a variety of accompaniments. Whether you’re enjoying them as a quick snack or a decadent dessert, here are some ideas to make them even more special and impress your family and friends:
- The Classic Milk Pairing: There’s nothing quite like a warm, freshly baked peanut butter cookie with a tall, cold glass of milk. It’s a timeless, comforting combination that evokes pure nostalgia and is always a crowd-pleaser, especially with kids.
- Decadent Ice Cream Sandwich: For an extra indulgent treat, take two of these amazing cookies and sandwich a generous scoop of your favorite ice cream in between. Vanilla, chocolate, or even a coffee-flavored ice cream would be divine. Freeze for a few minutes to set, and then enjoy this elevated dessert.
- Perfect Coffee or Tea Break Companion: These rich and tender cookies are the ideal companion for your morning coffee, afternoon tea, or even an evening hot cocoa. Their robust flavor stands up well to warm beverages, adding a touch of sweetness and comfort to your daily ritual.
- Elegant Dessert Platter Addition: Arrange them beautifully on a platter with other small sweets, fresh berries, a dollop of whipped cream, or a drizzle of melted chocolate or caramel sauce for an elegant and inviting dessert spread. They add a homemade touch that everyone appreciates.
- Crumbly Topping: Crush a few cooled cookies and sprinkle them over yogurt, oatmeal, fruit parfaits, or even a bowl of pudding for added texture, nutty flavor, and a delightful crunch. This is a great way to repurpose any leftover cookies, if there are any!
Storage and Freezing Instructions for Maximum Freshness
To ensure your homemade 3-ingredient peanut butter cookies stay fresh, soft, and delicious for as long as possible, proper storage is key. Whether you’re planning to enjoy them over a few days or save them for a future craving, here’s how to store them:
- At Room Temperature: Once your cookies have completely cooled, store them in an airtight container at room temperature. They will remain wonderfully fresh and soft for up to 3-5 days. For best results and to prevent them from sticking together, place a piece of parchment paper or wax paper between layers of cookies if stacking. Keep them away from direct sunlight or heat sources.
- In the Refrigerator: While not strictly necessary, if you live in a warm climate or simply prefer a cooler cookie, you can store them in an airtight container in the refrigerator for up to a week. The texture might become slightly firmer when chilled, but they will still be delicious. Allow them to come to room temperature or warm slightly before serving for the best texture.
- Freezing Baked Cookies: These cookies freeze beautifully! Once fully cooled, place them in a single layer on a baking sheet and freeze until solid (this prevents them from sticking together). Then, transfer the frozen cookies to a freezer-safe bag or an airtight container. Again, separating layers with parchment paper is a good practice. They can be frozen for up to 2-3 months. To enjoy, simply thaw them at room temperature for an hour or two, or warm them gently in the microwave for a few seconds for that freshly baked feel.
- Freezing Cookie Dough: If you want to prepare ahead or have fresh cookies on demand, you can also freeze the raw cookie dough. After preparing the dough and rolling it into balls, flatten them with the fork to create the crosshatch pattern. Then, arrange the raw dough balls on a parchment-lined baking sheet and freeze until solid. Once frozen, transfer them to a freezer-safe bag. When ready to bake, place the frozen dough balls directly on a parchment-lined baking sheet and bake as directed, adding an extra 2-4 minutes to the baking time, or until the edges are golden and set.
Frequently Asked Questions (FAQs) About 3-Ingredient Peanut Butter Cookies
We often get questions about this simple yet popular recipe. To help you achieve the best results and address any concerns, here are answers to some of the most common queries regarding our 3-ingredient peanut butter cookies:
-
Can I use any type of peanut butter?
Generally, yes! Most standard creamy or crunchy peanut butter brands will work wonderfully. However, if you’re using natural peanut butters (the kind where the oil separates), you might find the dough a bit stiffer and require a bit more stirring to ensure it comes together properly. It’s best to stir natural peanut butter thoroughly in its jar before measuring. Avoid “no-stir” peanut butters that contain hydrogenated oils if you’re aiming for a super clean ingredient list, but they will still work if that’s what you have on hand. For specific dietary needs like paleo or keto, ensure your chosen nut butter (almond or peanut) aligns with those specific requirements (e.g., just nuts and salt).
-
Do I have to chill the dough? What happens if I skip it?
While only 10 minutes, the chilling step is highly recommended for optimal cookie texture and appearance. Chilling helps the dough firm up, making it significantly easier to handle and scoop into uniform balls. More importantly, it helps prevent the cookies from spreading too much during baking, ensuring they maintain their classic shape and a thicker, chewier texture. If you skip this step, your cookies might be flatter, spread more, and could potentially be more crumbly. If you’re in a real rush, you can skip it, but expect a slightly different outcome in terms of spread and thickness.
-
Can I add chocolate chips or other mix-ins to these cookies?
Absolutely! This recipe is a fantastic and versatile base for customization. Feel free to fold in about ½ cup of your favorite mix-ins after you’ve thoroughly combined the three main ingredients. Popular choices include chocolate chips (dark chocolate for a healthier option, or milk chocolate for classic sweetness), chopped nuts (like pecans or walnuts for extra crunch), or even a few colorful sprinkles for a festive touch. For a subtle flavor enhancement, you could even add a teaspoon of vanilla extract, though this would technically make it a 4-ingredient cookie!
-
My cookies are too crumbly, too hard, or spread too much. What went wrong?
If your cookies are crumbly, it might be due to your peanut butter being too dry or not at room temperature, making it difficult for the ingredients to bind properly. Overbaking can also dry them out, leading to a crumbly texture. For hard cookies, they were almost certainly overbaked – peanut butter cookies bake quickly, so watching them closely is key. If they spread too much, it’s usually because the dough wasn’t chilled long enough, or your peanut butter might have been too oily or warm. Ensure you’re using a reliable measuring cup for peanut butter and packing the brown sugar correctly.
-
How do I know when the cookies are done baking?
Bake until the edges are firm and lightly golden brown, and the centers appear set but still slightly soft to the touch. This usually takes between 5-10 minutes, depending on the size of your cookies and the specific calibration of your oven. Remember, cookies continue to bake slightly from residual heat once removed from the oven. Err on the side of underbaking slightly for a softer, chewier cookie, rather than overbaking, which can result in a drier, harder texture. They will firm up considerably as they cool on the baking sheet.
More Delicious Sweets & Desserts You’ll Love
If you enjoyed the simplicity and deliciousness of these 3-ingredient peanut butter cookies, be sure to explore more of our easy and healthy dessert recipes. We believe that wholesome treats can be both incredibly satisfying and straightforward to make. Our goal is to provide you with simple recipes that deliver big on flavor and fit into a healthy lifestyle. Dive into our collection and find your next favorite sweet indulgence – from rich brownies to comforting oatmeal cookies, we have something for every sweet tooth!
- Black Bean Brownies
- Gluten Free King Cake
- Vegan Red Velvet Cupcakes
- Vegan Cookie Dough
- Keto Buckeyes
- Gluten Free Oatmeal Chocolate Chip Cookies
- Oatmeal Cranberry Cookies
- Healthy Cookie Dough (Edible, Vegan, Paleo, Gluten Free)
- Keto Red Velvet Cake
- Gluten Free Peanut Butter Cookies
- Soft Keto Peanut Butter Cookies
If you’ve discovered the joy and ease of this incredible 3-ingredient peanut butter cookie recipe, please don’t keep it a secret! We’d love for you to leave us a review below and share your experience. Your feedback helps us grow and inspires other home bakers. ★ And for more delicious and healthy recipes, be sure to follow Easy Healthy Recipes on Pinterest, Facebook, and Instagram, too! Let’s connect and share our culinary adventures.
For even more delightful and easy-to-make recipes, make sure to visit our sister sites, 40 Aprons and Easy Cheap Recipes. They’re packed with inspiration for every meal and occasion!
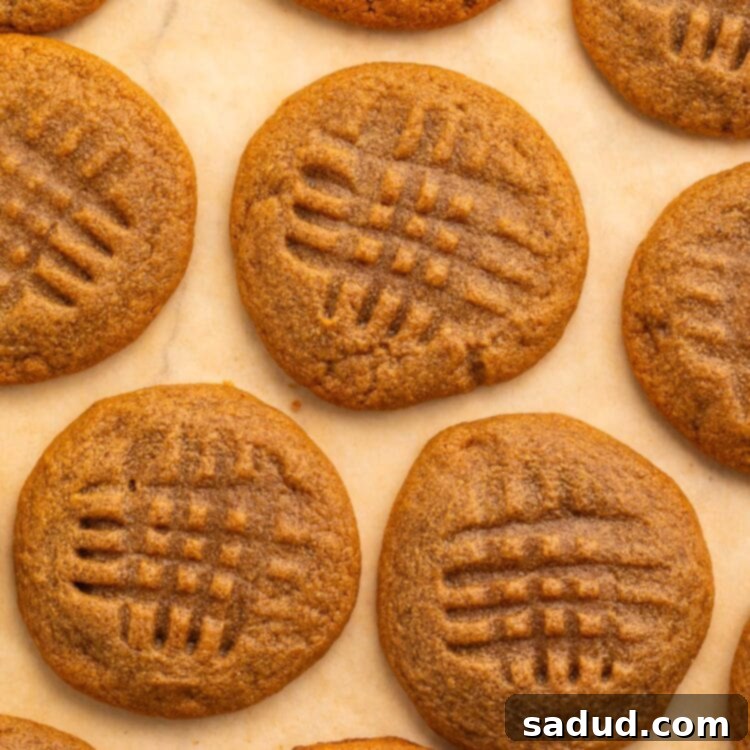
Classic 3-Ingredient Peanut Butter Cookies

Cheryl Malik
Print Recipe
Save Recipe
Saved!
12
cookies
Ingredients for Your Easy Peanut Butter Cookies
Making these delicious cookies couldn’t be simpler, thanks to a minimal ingredient list. These three key components work together perfectly to create a rich, satisfying cookie. Here’s what you’ll need, ensuring you select quality ingredients for the best flavor and texture:
-
1
cup
peanut butter
creamy or crunchy, ensure it’s at room temperature for easy mixing. Natural peanut butter (just peanuts and salt) is great for a healthier option. -
1
cup packed
brown sugar
for best texture and flavor; see Notes section for paleo/keto alternatives if desired. -
1
large
egg
acts as a crucial binder to hold the cookies together and contribute to their soft texture.
Essential Equipment for Baking Perfect Cookies
Gathering your tools before you begin will make the baking process even smoother and more enjoyable. These are the basic items you’ll need to create your delicious 3-ingredient peanut butter cookies:
-
Oven: The primary tool for baking your cookies to golden perfection and achieving that wonderful melt-in-your-mouth texture.
-
Large baking sheet: Provides ample surface area for your cookies to bake evenly without crowding, ensuring consistent results across the batch.
-
Parchment paper: Highly recommended to line your baking sheet. It prevents sticking, ensures easy cleanup, and helps in promoting even browning on the bottom of the cookies.
-
Large mixing bowl: A spacious bowl is essential for comfortably combining your three simple ingredients and thoroughly mixing the dough without spillage.
-
Silicone spatula or large wooden spoon: These sturdy utensils are ideal for effectively mixing the thick peanut butter dough, ensuring all ingredients are well incorporated.
-
Refrigerator: Used for chilling the cookie dough. This quick chill time is crucial to prevent excessive spreading during baking and helps the cookies hold their desirable shape.
-
Cookie scoop with release handle or other portioning tool: Ensures uniformly sized cookies, which is vital for consistent baking times and a professional-looking batch.
-
Fork: An ordinary kitchen fork is all you need to create the classic, signature crosshatch pattern on top of each peanut butter cookie.
-
Wire cooling rack: Essential for allowing the cookies to cool completely. Air circulation around the cookies helps prevent them from becoming soggy on the bottom and ensures they retain their crisp edges and soft centers.
Step-by-Step Instructions for Your Easy 3-Ingredient Peanut Butter Cookies
Follow these simple, clear, and detailed steps to bake a batch of homemade cookies that are sure to impress with their rich flavor and tender texture. It’s easier than you think!
-
Step 1: Prepare Your Baking Station and Preheat the Oven. Begin by preheating your oven to 350º Fahrenheit (175º Celsius). This ensures the oven is at the correct temperature when your cookie dough is ready, promoting even baking. While the oven is heating, take a large baking sheet and line it neatly with a sheet of parchment paper. This step is crucial for preventing your cookies from sticking to the pan, ensuring easy removal, and making cleanup a breeze. Set the prepared baking sheet aside for later use once the dough is ready.
-
Step 2: Combine the Three Simple Ingredients. In a generously sized mixing bowl, add the three essential ingredients for these amazing cookies: first, 1 cup of your preferred peanut butter (creamy or crunchy, just ensure it’s at room temperature for the best consistency). Next, add 1 cup of packed brown sugar. Finally, crack in 1 large egg. Using a sturdy silicone spatula or a large wooden spoon, stir all these ingredients together vigorously. Continue mixing until they are fully combined into a thick, uniform dough. Ensure there are no streaks of individual ingredients visible, and the mixture is well-homogenized.
-
Step 3: Briefly Chill the Cookie Dough. Once your peanut butter cookie dough is thoroughly mixed, cover the mixing bowl with plastic wrap or a plate and carefully place it in the refrigerator. Allow the dough to chill for a quick 10 minutes. This brief chilling period is a crucial, yet often overlooked, step. It helps to firm up the dough significantly, making it less sticky and much easier to handle when it comes time to portion. More importantly, chilling helps prevent the cookies from spreading too much in the oven, ensuring they hold their charming shape and develop that desirable, slightly chewy texture.
-
Step 4: Portion and Shape the Cookies. After the 10-minute chill time, remove the firm cookie dough from the refrigerator. Now, it’s time to portion out your cookies. Use a cookie scoop with a release handle (a 1.5-inch or 2-tablespoon scoop works perfectly for standard-sized cookies) or another suitable portioning tool to scoop out individual balls of dough. Gently roll each scoop between your clean palms to form a smooth, neat ball. Place these cookie dough balls onto your prepared baking sheet, ensuring you leave approximately 2 inches of space between each one. This spacing is important to allow for slight spreading during baking and prevent them from merging. Repeat this process until all of the dough has been portioned out onto the baking sheet.
-
Step 5: Create the Classic Crosshatch Pattern. Take a standard dinner fork and gently press its tines into the top of each cookie dough ball. This action will slightly flatten the dough and create the characteristic straight lines. Once you’ve made the first set of lines, gently lift the fork, rotate it 90 degrees, and then gently press the tines into the dough again, creating a beautiful and iconic crosshatch effect. This step isn’t just for aesthetics; it also helps to slightly flatten the cookies and promotes more even baking. If your fork begins to stick to the dough, you can lightly dip it in a small bowl of granulated sugar between each cookie to prevent adhesion and add a subtle sugary crust. Repeat with all remaining cookie dough balls on the sheet.
-
Step 6: Bake Your Delicious Cookies. Carefully transfer the baking sheet with your prepared cookie dough balls into your preheated oven. Bake the cookies for approximately 5 to 10 minutes. The exact baking time will vary depending on the size of your cookies and the specific calibration and heat distribution of your oven. You’ll know they are ready when the edges of the cookies appear firm and are lightly golden brown, while the centers should look set but still have a slightly soft appearance. It’s crucial not to overbake them, as this can lead to dry and hard cookies; a slightly underbaked center will result in a wonderfully soft and chewy texture once cooled.
-
Step 7: Initiate the Cooling Process. When the cookies are perfectly baked, carefully remove the baking sheet from the hot oven. Resist the urge to move them immediately! Allow the cookies to cool directly on the baking sheet for about 5 minutes. This crucial initial cooling period allows the cookies to firm up and set, preventing them from breaking apart when you transfer them. They are quite delicate when hot, so patience here will ensure they maintain their beautiful form.
-
Step 8: Final Cooling and Serve. After the initial 5 minutes of cooling on the baking sheet, use a sturdy spatula to gently transfer the now slightly firmer cookies from the baking sheet to a wire cooling rack. Arrange them in a single layer to allow air to circulate freely around them. Let the cookies rest on the wire rack until they are completely cool. Once cooled, your delightful 3-ingredient peanut butter cookies are ready to be served and enjoyed as desired – perhaps with a glass of milk or a cup of coffee!
Recipe Notes & Customization Tips
- Make it Paleo: For a paleo-friendly version of these delightful cookies, you’ll need to make two key substitutions. First, swap out the traditional peanut butter for an equal amount of almond butter. Ensure it’s natural and unsweetened. Second, replace the brown sugar with an equal amount of coconut sugar, which offers a similar caramel-like sweetness but is unrefined and paleo-compliant. These adjustments will help you maintain a paleo diet while still enjoying a satisfying sweet treat.
- Make it Keto: To adapt this recipe for a keto diet, you’ll need to make a couple of crucial changes. First, replace the brown sugar with a keto-friendly brown sugar substitute like Brown Swerve, erythritol-based brown sugar alternative, or allulose. Second, it’s vital to use a peanut butter that contains absolutely no added sugars, oils, or questionable ingredients – ideally, the ingredient list should only state “peanuts” and “salt.” Carefully check labels to ensure your choices align with keto guidelines for a low-carb treat.
- Fun Add-ins: While these cookies are perfect as is, they also serve as a fantastic base for creativity! Feel free to fold in about ½ cup of your favorite mix-ins after you’ve combined the main ingredients. Popular choices include chocolate chips (dark chocolate for a healthier option, or milk chocolate for classic sweetness), chopped nuts like pecans or walnuts for added crunch, or even a dash of cinnamon for a warm spice note. A tiny pinch of salt (if your peanut butter is unsalted) can also enhance the flavors.
- Preventing Fork Stickiness: When creating the signature crosshatch pattern, if your fork tends to stick to the dough, simply dip the tines of the fork into a small bowl of sugar (granulated or powdered) between pressing each cookie. This creates a non-stick barrier and can also add a lovely, subtle sugary crust to your finished cookies!
- Enhancing Flavor (Optional 4th Ingredient): For an extra layer of flavor without much fuss, consider adding 1 teaspoon of vanilla extract to the dough along with the other ingredients. While this technically makes it a 4-ingredient cookie, the depth of flavor it adds is well worth the minor deviation from the 3-ingredient rule!
Nutrition Information for 3-Ingredient Peanut Butter Cookies
The number of total servings shown is an approximation. Your actual number of servings will vary based on your preferred portion sizes and the size of your cookie scoop used.
Please note that the nutritional values provided are general guidelines and are based on standard ingredient choices. They reflect information for 1 serving using the primary ingredients listed and do not include any optional ingredients or substitutions you might make (e.g., paleo/keto swaps or added chocolate chips). Actual macronutrient counts and caloric intake may vary slightly depending on the specific brands, types of ingredients used, and any additions you incorporate.
To accurately determine the precise weight of one serving for your specific batch of cookies, prepare the recipe as instructed. Once the entire recipe is finished and completely cooled, weigh the total product (ensuring you exclude the weight of the container the food is in). Then, divide this total weight by your desired number of servings to find the exact weight of a single serving.
Cheryl Malik
