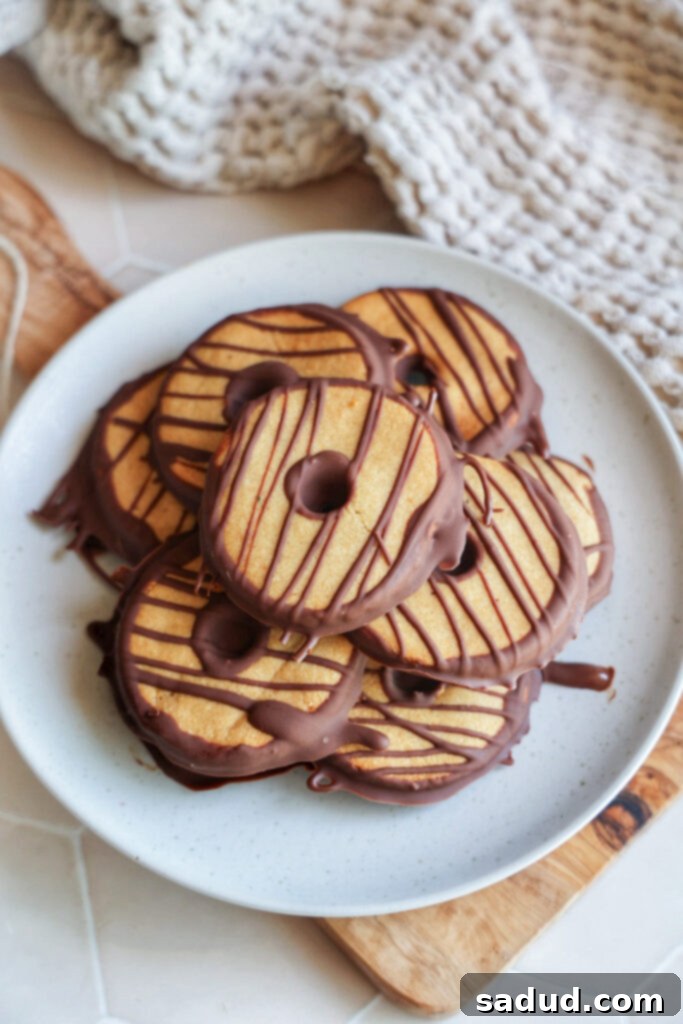
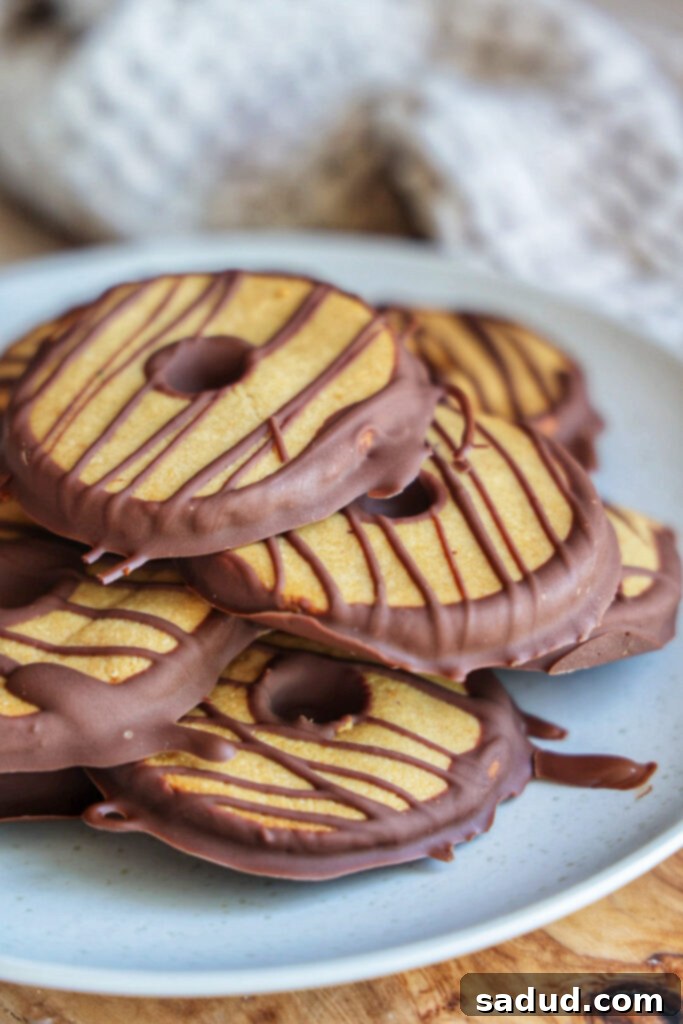
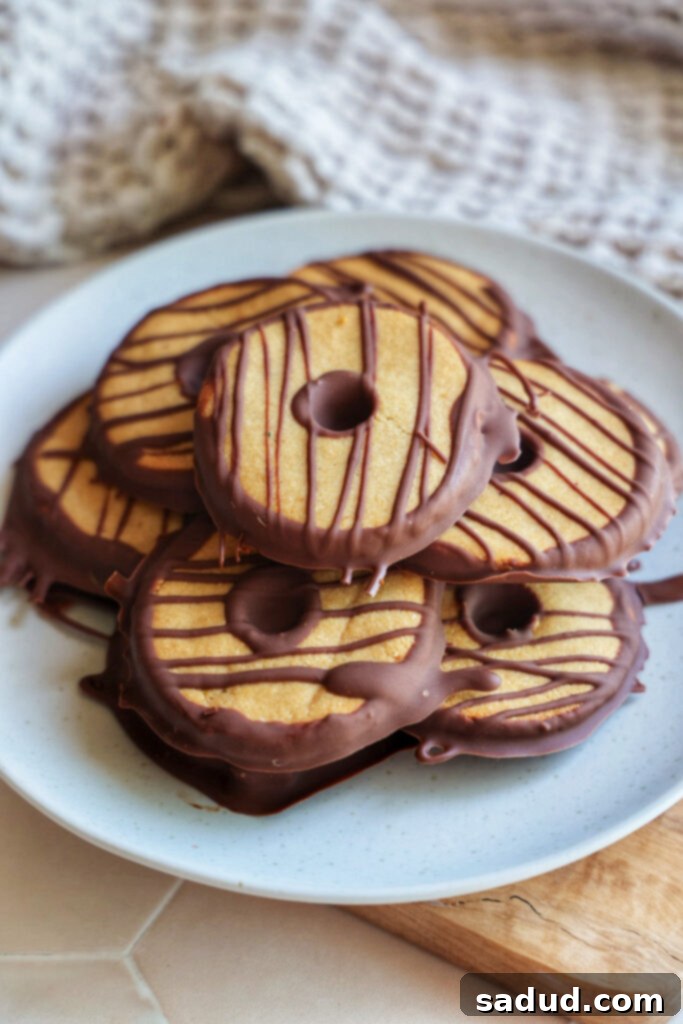
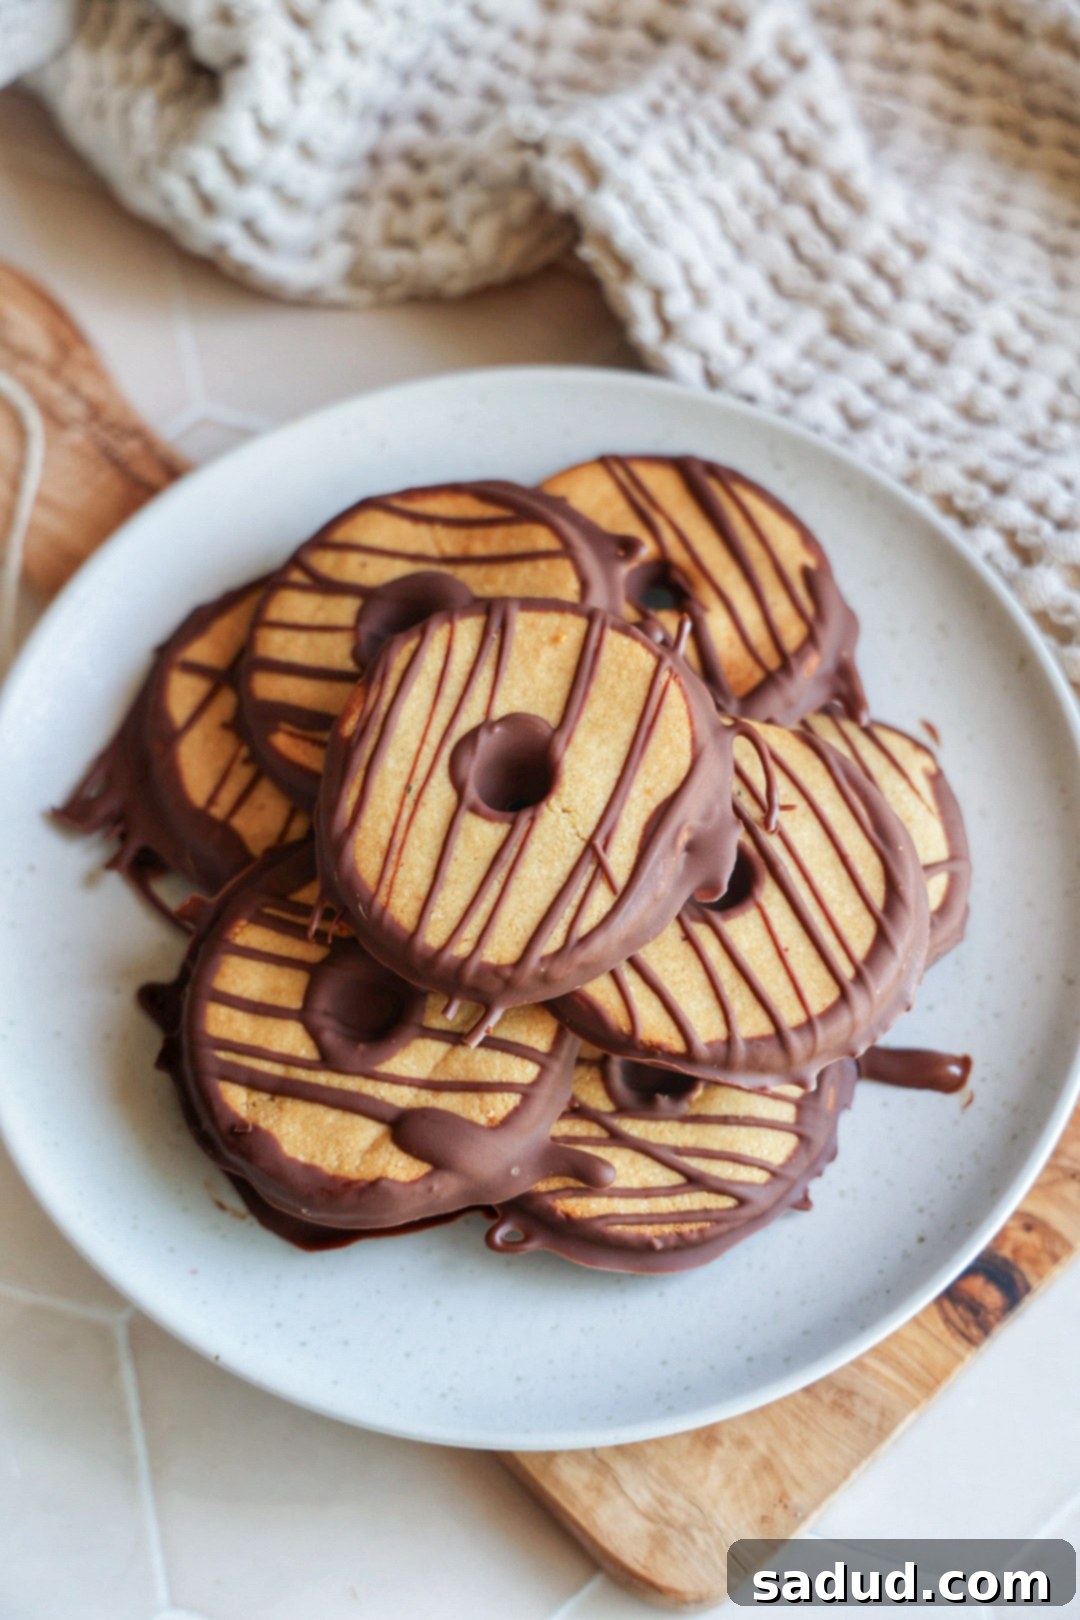
Irresistible 3-Ingredient Vegan Copycat Fudge Stripe Cookies (Gluten-Free & Paleo Friendly)
Do you remember those iconic, deeply satisfying cookies from your childhood? The ones with the buttery shortbread base and the distinctive chocolate stripes? We’re talking about Keebler’s Fudge Stripes, of course! Now, imagine recreating that exact flavor and delightful texture in your own kitchen, but with a healthier, diet-friendly twist. This recipe shows you how to make crispy yet wonderfully chewy vegan copycat fudge stripe cookies using just 3 core ingredients for the cookie base! They are not only incredibly simple to whip up but also completely gluten-free and paleo-friendly, making them a treat almost everyone can enjoy. Get ready to indulge in pure nostalgia and chocolatey goodness, without any of the guilt!

Why You’ll Fall in Love with These Homemade Fudge Stripe Cookies
The allure of Keebler’s Fudge Stripe cookies runs deep for many, evoking fond memories of childhood and simple pleasures. Every trip down the cookie aisle inevitably led to a tough decision, often pitting these chocolate-dipped wonders against other classics. There’s an inherent charm in the straightforward combination of a rich, buttery shortbread cookie enveloped in smooth, decadent chocolate.
Making a homemade version of your favorite childhood treats isn’t just about rekindling nostalgia; it’s also about empowerment. This recipe is particularly special because it allows you to enjoy those cherished flavors even if you have dietary restrictions. If you follow a vegan, gluten-free, or paleo diet, these cookies are an absolute revelation. You no longer have to sacrifice taste or compromise your dietary goals. You can savor every bite, knowing exactly what wholesome ingredients went into making them.
Beyond being diet-friendly, these cookies are incredibly versatile. Enjoy them straight from the fridge for a satisfyingly chewy bite, dunk them in your favorite almond milk, crumble them over a scoop of dairy-free ice cream, or even transform them into charming ice cream sandwiches for an extra special treat!
Essential Ingredients for Your Vegan Fudge Stripes
The magic of this recipe lies in its minimalist approach. We focus on just three core ingredients for the incredibly tender shortbread base, complemented by a few flavor enhancers and, of course, the indispensable chocolate coating. Here’s a detailed look at what you’ll need to create these delightful cookies:
- Almond Flour: This is the foundation of our gluten-free and paleo shortbread. For the ideal crumbly yet tender texture, similar to traditional wheat-based shortbread, I highly recommend using a super-fine, blanched almond flour. Its fine consistency and subtle sweetness are perfect here. While cashew flour, with its similar fat content and texture, might be a suitable alternative, I haven’t tested it personally. However, it’s crucial to avoid substituting coconut flour or oat flour, as their absorption rates and structural properties are vastly different, which would result in a completely altered cookie. Stay tuned for a separate oat flour-based recipe in the future!
- Maple Syrup: Serving as both our natural sweetener and a vital binding agent, maple syrup contributes a delicate sweetness and helps create that perfect chewy-crispy texture in the cookies. If maple syrup isn’t available, you can use honey as an alternative. Just be aware that honey will impart a distinct, stronger flavor to your cookies. For a strictly vegan option, agave nectar could also work, although it might slightly influence the final texture.
- Chocolate: This is what transforms a simple shortbread into a classic “fudge stripe.” To keep these cookies aligned with a refined sugar-free and healthier lifestyle, I personally adore using Hu Kitchen chocolate (and you can even snag a discount with my code DANISHEALTHYEATS!). When selecting your chocolate, look for high-quality, dairy-free options free from undesirable additives, especially if you’re adhering to a vegan or paleo regimen. Vegan chocolate chips, a good quality dark chocolate bar, or even cacao wafers will melt beautifully to create a luscious coating.
- Vanilla Extract: A non-negotiable for that authentic, warm, and comforting shortbread flavor. A good quality vanilla extract profoundly enhances the overall taste profile of these otherwise simple cookies.
- Sea Salt: Just a tiny pinch makes a world of difference! Salt acts as a flavor amplifier, balancing the sweetness and bringing out the depth in all the other ingredients, resulting in a more complex and satisfying cookie.
- Warm Water (as needed): This ingredient is key to achieving the correct dough consistency. You’ll add it gradually, ensuring the almond flour and maple syrup bind into a pliable dough that’s easy to work with.
- Coconut Oil (for chocolate dipping, optional): A small amount of coconut oil, when added to melted chocolate, can thin it out, making it easier to dip the cookies and resulting in a beautifully smooth, glossy finish.

How to Make Fudge Stripe Cookies: A Step-by-Step Guide
Crafting these delectable vegan fudge stripe cookies is a rewarding and relatively simple process. Follow these detailed steps to ensure your cookies turn out perfectly crisp, chewy, and utterly delicious:
- Prepare the Dough: In the bowl of your stand mixer (or a large mixing bowl if you’re mixing by hand), combine the almond flour, maple syrup, vanilla extract, and sea salt. Begin mixing on a low speed. Gradually introduce the warm water, adding one tablespoon at a time. Continue mixing until a moist, uniform dough forms. The ideal consistency is pliable enough to roll without cracking, yet not excessively sticky.
- Chill the Dough: Transfer the freshly mixed dough onto a piece of parchment paper. Gently form it into a flattened disc, then wrap it securely with the parchment paper. Place this wrapped dough in the freezer for 20 minutes. This chilling period is crucial; it firms up the dough, making it much easier to roll and cut, and helps prevent the cookies from spreading too much during baking.
- Preheat Oven & Prepare Baking Sheet: While your dough is chilling, preheat your oven to 350°F (175°C). Line a large baking sheet with a fresh piece of parchment paper.
- Roll and Cut the Cookies: Retrieve the chilled dough from the freezer. Place another sheet of parchment paper over the dough. Using a rolling pin, roll the dough evenly between the two sheets of parchment paper to an approximate thickness of ¼ inch. Take a circular cookie cutter or the rim of a small mason jar lid (around 2 to 2.5 inches in diameter) and cut out individual cookie circles. You should yield about 12 cookies from this batch.
- Create the Signature Center Hole: To achieve that classic “fudge stripe” appearance, use a metal straw, a chopstick, or any kitchen tool with a small, round end. Gently press and swirl to create a small, neat circle in the center of each cookie. This forms the perfect well for the chocolate to fill.
- Bake to Perfection: Carefully arrange the cut cookies onto your prepared baking sheet. Bake for 9-11 minutes. It’s important to watch them closely; remove them from the oven as soon as the edges appear lightly golden. Over-baking can lead to overly crunchy rather than delightfully chewy cookies.
- Cool Completely: Once baked, remove the cookies from the oven and let them cool entirely on the baking sheet. They will firm up as they cool. Resist the urge to handle them too much while they are still warm to prevent breakage.
- Dip & Drizzle with Chocolate: When the cookies are fully cooled, melt your chosen chocolate in a shallow, microwave-safe bowl (heating in 30-second intervals and stirring) or using a double boiler. If the melted chocolate seems too thick for dipping, stir in 1-2 teaspoons of coconut oil until it becomes smooth and glossy. Dip the bottom half of each cooled cookie into the melted chocolate, then gently place it back on the parchment-lined baking sheet. For the characteristic stripes, use a spoon, a fork, or a piping bag with a very small opening to drizzle the remaining melted chocolate across the tops of the cookies.
- Set the Chocolate: Transfer the chocolate-dipped and drizzled cookies to the refrigerator for approximately 20 minutes, or until the chocolate has completely set and firmed up.
- Enjoy!: Your homemade vegan, gluten-free, and paleo fudge stripe cookies are now ready to be savored!
Mixing the Dough: Stand Mixer vs. Hand Mixing
Given that this shortbread dough is crafted with just a few simple ingredients, achieving a uniform and perfectly pliable consistency can sometimes require a bit of strategic mixing. The ultimate goal is a dough that’s moist enough to hold together but not sticky, allowing for easy rolling and cutting. Here’s a breakdown of your best mixing options:
- Stand Mixer (Highly Recommended): For unparalleled ease and efficiency, a stand mixer is your best friend. It effortlessly brings the dough together in just a minute or two, ensuring all ingredients are thoroughly combined and the dough achieves that ideal, uniform consistency without any arm fatigue.
- Hand Mixer (Excellent Alternative): If you don’t own a stand mixer, a hand mixer is a fantastic substitute. It provides ample power to mix the dough thoroughly and evenly, making the process significantly smoother and more effective than attempting to mix by hand alone.
- Mixing by Hand (Requires Patience!): While certainly achievable, mixing this dough solely by hand with a spoon, fork, or spatula can be quite challenging and may not result in the perfectly uniform dough needed for consistent cookie shapes. For optimal results when hand mixing, you might find it best to get your hands directly into the bowl. Use clean hands to knead and press the ingredients together until a cohesive, pliable dough forms. This ensures all components are well-integrated and helps the dough bind together effectively.
View this post on InstagramA post shared by Danielle Breiner (@danishealthyeats)
Storing Your Vegan Fudge Stripe Cookies for Freshness
Proper storage is essential to maintain the freshness, texture, and deliciousness of your homemade vegan fudge stripe cookies. Here are my top tips for keeping them at their best:
- Use an Air-Tight Container: To prevent your cookies from drying out and to lock in their delightful texture, always store any leftovers in an air-tight container.
- Refrigeration for Optimal Texture & Stability: I highly recommend storing these cookies in the refrigerator. The cooler temperature not only helps the chocolate stay firm and prevents it from melting or becoming sticky, especially if your kitchen is warm, but it also gives the cookies a wonderfully chewy texture that I personally love. If you’re using a more natural, additive-free chocolate, refrigeration is particularly important for chocolate stability.
- Freezing for Extended Storage: These cookies are excellent candidates for freezing, allowing you to enjoy them over a longer period. Once the chocolate has fully set, arrange the cookies in a single layer on a baking sheet and freeze them until solid. After they are firm, transfer them to a freezer-safe, air-tight container or a heavy-duty freezer bag. They can be stored in the freezer for up to 2-3 months. When you’re ready to enjoy them, simply thaw them at room temperature or in the refrigerator.

Pro Tips for Making the Best Fudge Stripe Cookies
To ensure your homemade vegan fudge stripe cookies are nothing short of perfect, here are some expert tips that will elevate your baking experience and results:
- Leverage Your Mixer: As highlighted earlier, utilizing either a stand mixer or a hand mixer will dramatically streamline the dough preparation. It guarantees a consistently smooth and well-incorporated dough, saving you time and effort and leading to superior results.
- Never Skip Chilling the Dough: This step is absolutely critical! A chilled dough is significantly easier to handle, roll out, and cut. It prevents the dough from sticking to your surfaces and tools, and most importantly, helps the cookies maintain their beautifully distinct shape during baking, preventing excessive spreading.
- Be Vigilant Against Over-Baking: Keep a very close eye on your cookies while they’re in the oven. Bake them only until the edges are just barely golden. Over-baking is the quickest way to end up with dry, brittle cookies instead of the desirable crisp-chewy balance.
- Ensure Complete Cooling Before Dipping: Patience is a virtue here. It is imperative that your cookies are completely cool to the touch before they meet the melted chocolate. Dipping warm cookies will cause the chocolate to melt immediately, creating a messy, unappetizing coating.
- Get Creative with Your Chocolate Choice: Feel free to experiment with various types of vegan chocolate! A darker chocolate will impart a deeper, more intense cocoa flavor, while some vegan “milk” chocolate alternatives can offer a sweeter, creamier taste that might more closely resemble the original Keebler’s.
- Embrace Refrigerator Storage for Chewier Texture: If you’re a fan of a chewier cookie, storing these in the fridge is highly recommended. The cool temperature not only aids in perfectly setting the chocolate, giving it a satisfying snap, but it also imparts a delightful, slightly chewier bite to the shortbread that many find incredibly enjoyable.
- Parchment Paper is Your Best Friend: Make liberal use of parchment paper. It’s invaluable for rolling out the dough without sticking, and it ensures an even bake while making cleanup an absolute breeze.
More Delicious Vegan Cookie Recipes You’ll Love
If these irresistible copycat fudge stripe cookies have captured your heart and palate, and you’re eager to discover more healthy and delightful treats, be sure to explore these other fantastic vegan cookie recipes:
- Vegan Twix Cookies
- Banana Caramel Cookies
- Vegan Sticky Bun Cookies
- Buckeye Brownie Crumbl Cookies

Vegan Fudge Stripe Cookies (Gluten-Free, Paleo)
Pin Recipe
Ingredients
Cookies
- 2 cups almond flour
- 1/3 cup maple syrup
- 2 tsp vanilla extract
- 2 tbsp warm water
- pinch sea salt
Chocolate dipping
- 1 1/4 cups chocolate
- 2 tsp coconut oil *if needed to thin out the chocolate
Instructions
-
Add all of the ingredients besides the water, to the bowl of a stand mixer or use a hand mixer. Start mixing, adding 1 tbsp of water at a time until a moist dough forms. You don’t want the dough dry but you don’t want it sticky. You should be able to roll it out.
-
Place the dough on a piece of parchment paper. Wrap the ball up and pop it in the freezer for 20 minutes.
-
Preheat oven to 350F.
-
Remove the dough from the freezer. Place another sheet of parchment paper over top of the dough and use a rolling pin or jar to help roll it out flat.
-
Use a circle cookie cutter or the lid of a small mason jar to cut circles into the dough. You should get 12.
-
Then, using a metal straw, a chopstick, or something with a small round end, create little circles in the center. I like to press the chopstick down and swirl it in circles to create the center.
-
Bake for 9-11 minutes until just golden around the edges. Don’t over-bake! Remove from the oven and let cool completely.
-
When ready to dip, melt the chocolate in a shallow bowl until smooth. Dip each cookie and place it back on the cookie sheet. Drizzle the tops with the remaining chocolate. Place in the fridge for 20 minutes or so to firm up.
-
If you’re using a natural chocolate without additives, you may need to store the cookies in an air-tight container in the fridge as the chocolate can melt at room temp.
