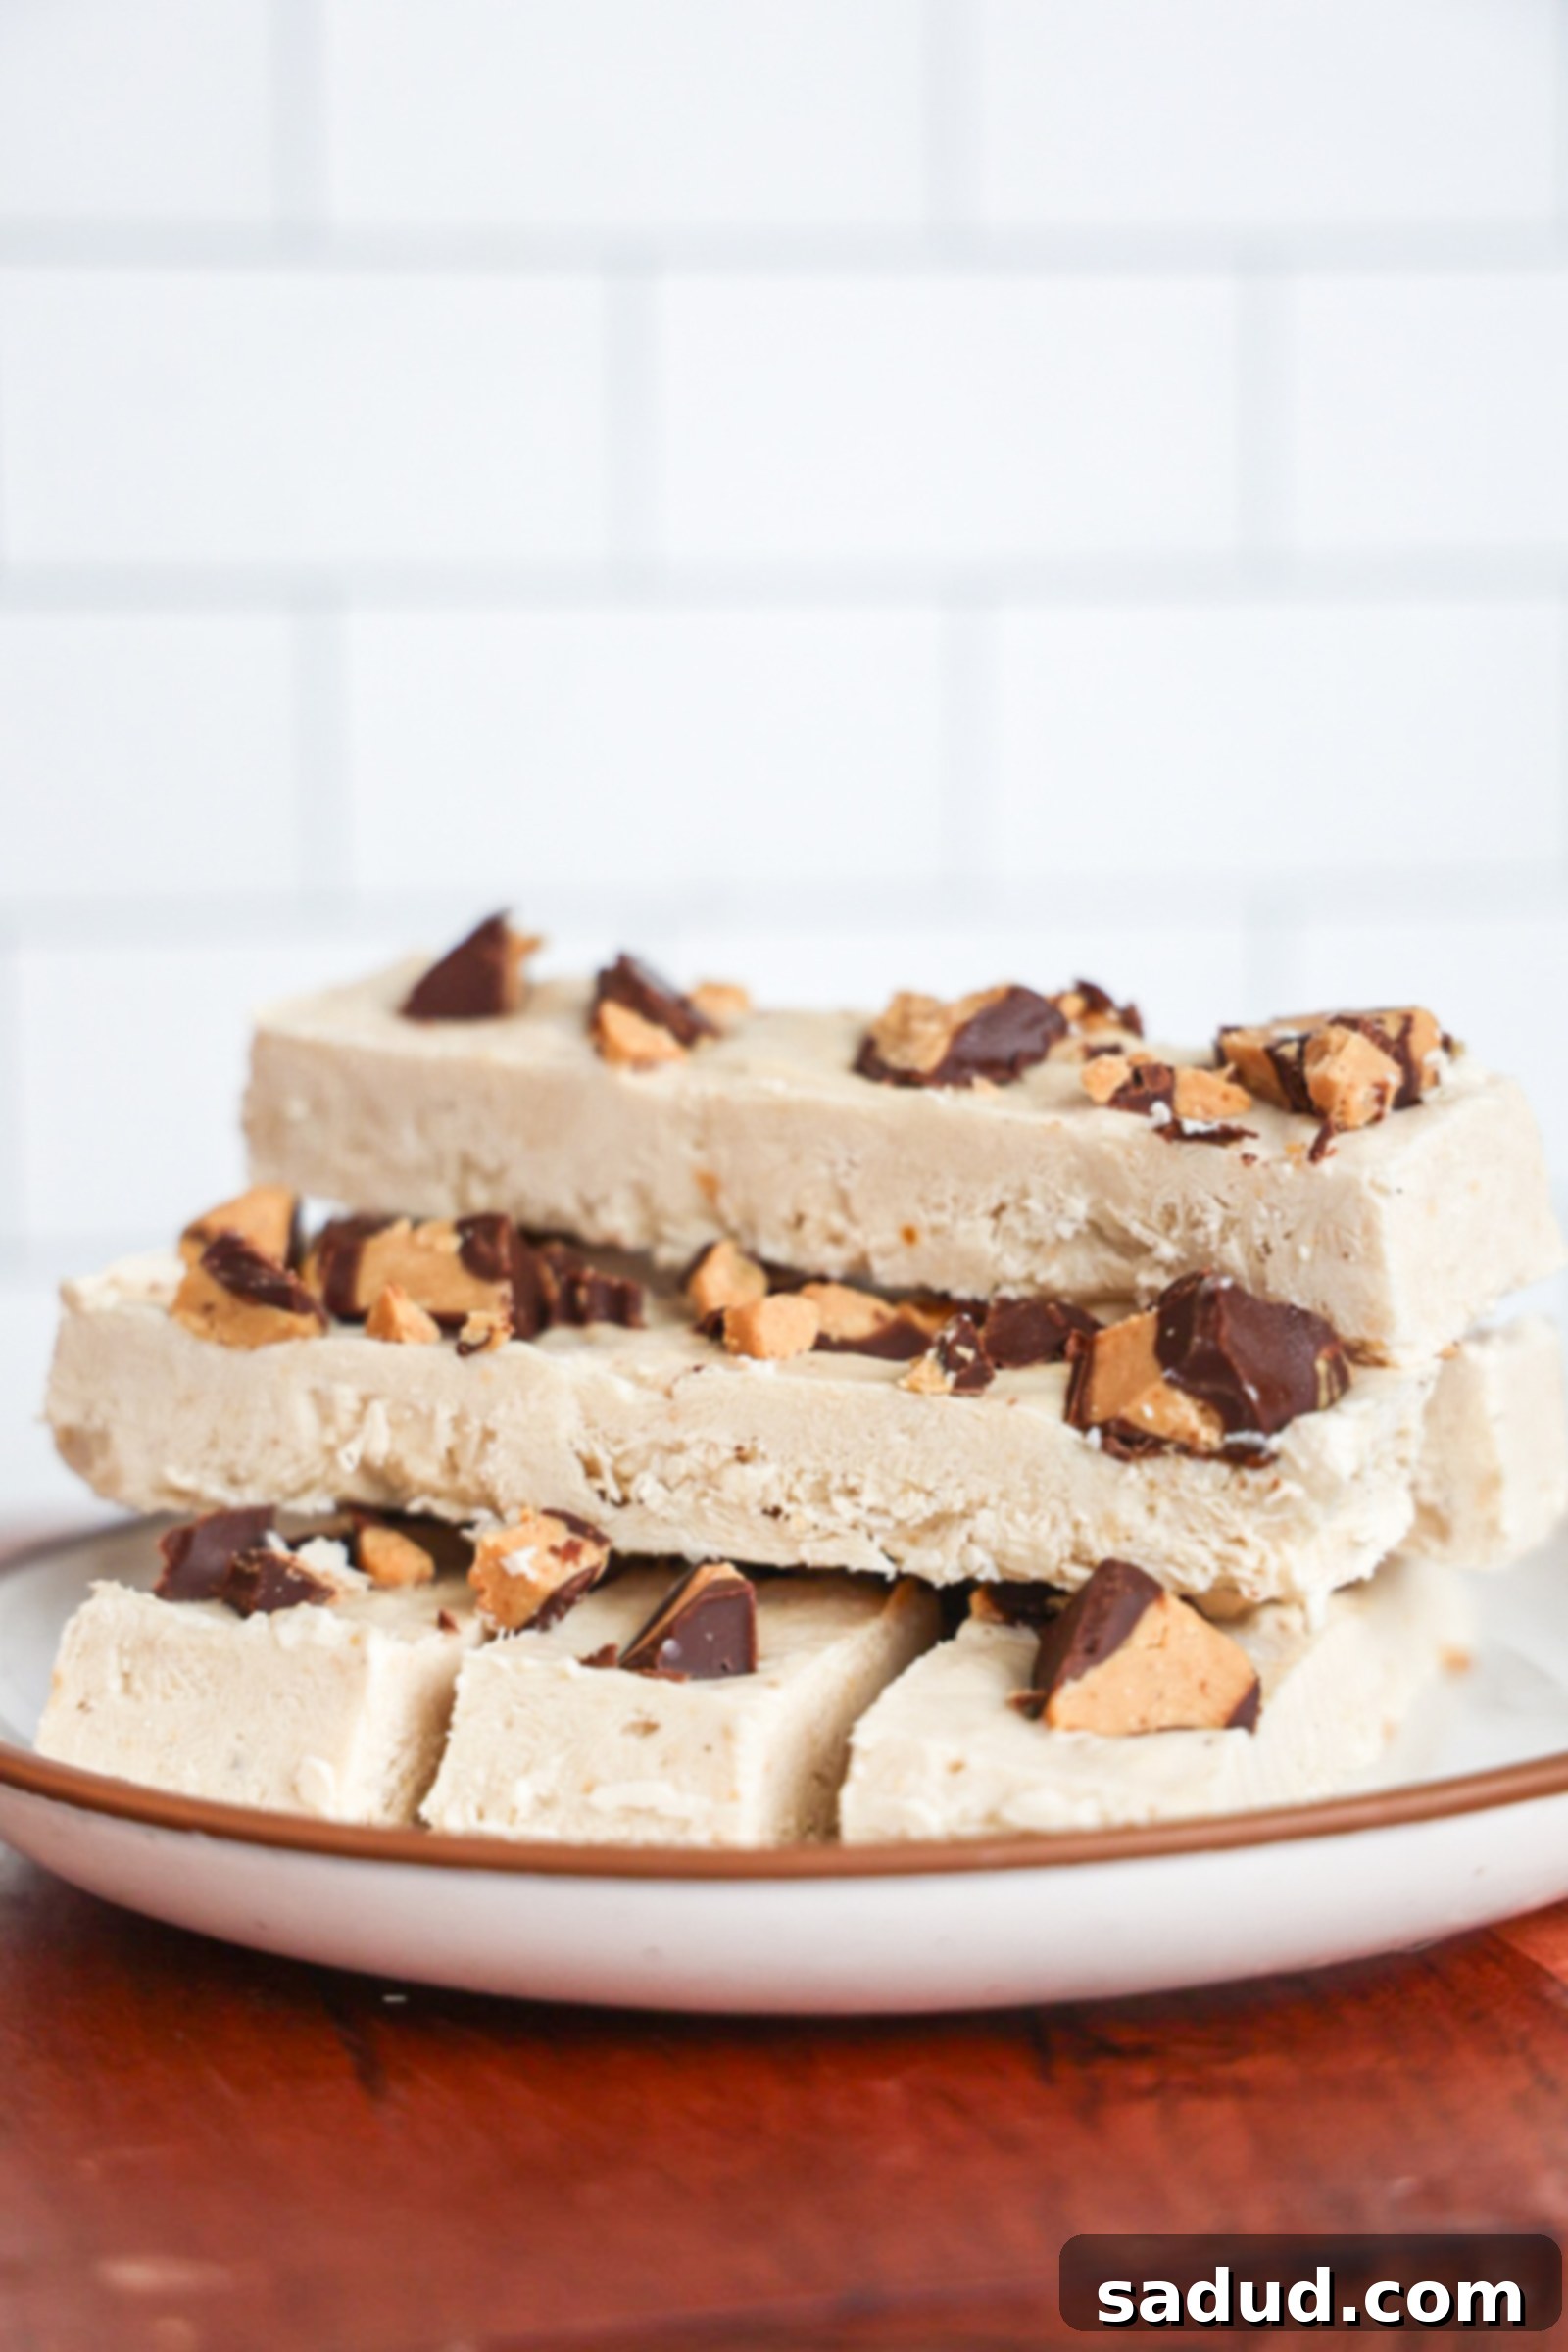
Deliciously Easy: High-Protein Frozen Yogurt Bars with Peanut Butter Cups (5-Minute Recipe!)
Are you searching for a healthy, satisfying, and incredibly easy snack or dessert that tastes like a dream? Look no further! These creamy high-protein frozen yogurt bars are your answer. Requiring just 5 minutes of active preparation and only 5 simple ingredients, they deliver a taste remarkably similar to your favorite peanut butter cups, but with a nutritious twist. Whether you’re a busy individual needing a quick bite, an athlete seeking a protein-packed treat, or simply craving something refreshing, these customizable bars are perfect year-round, especially during the warm summer months. They can even be made vegan, catering to various dietary needs without compromising on flavor or texture!
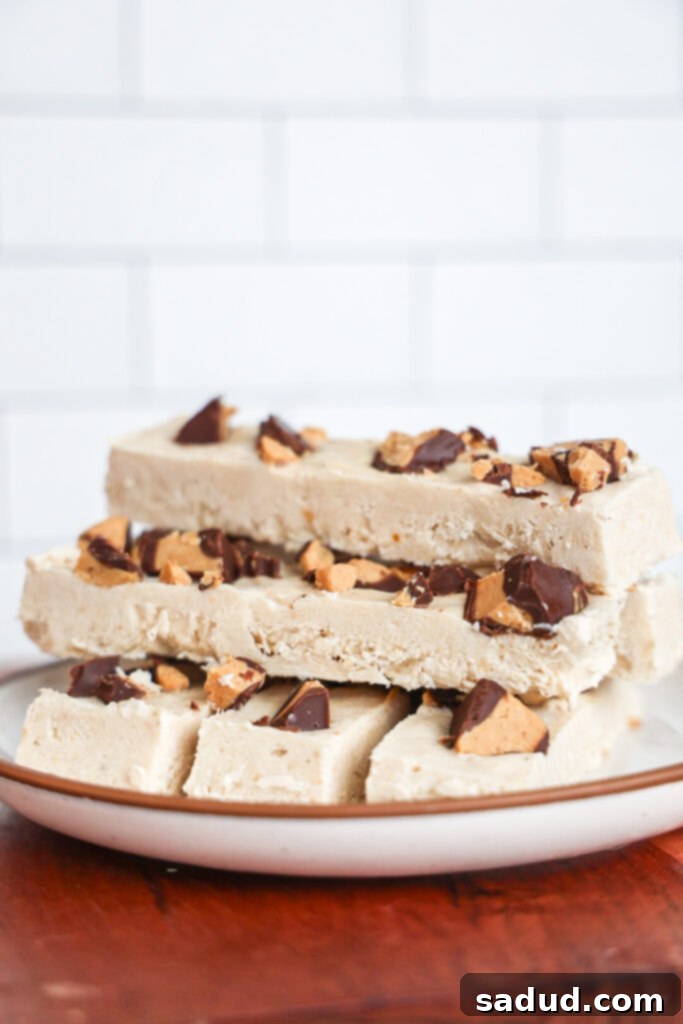
My blog is dedicated to sharing healthier versions of beloved treats and desserts, and these frozen yogurt bars have quickly become a staple in my kitchen, right alongside my no-bake, high-protein Snickers bites and homemade Dilly bars. There’s something truly special about having a refreshing and wholesome option readily available, particularly when the summer heat hits. While they are an absolute lifesaver for cooling down, I find myself whipping up a batch of these creamy delights all year long, proving their versatility and undeniable appeal.
What sets this recipe apart, and what I genuinely adore about it, is its incredible adaptability. The possibilities for customization are virtually endless! For instance, if you follow a vegan diet, you can easily substitute traditional dairy yogurt with a rich, thick coconut yogurt to create decadent vegan yogurt bars. Conversely, if your goal is to maximize protein intake, opting for a high-quality, thick Greek yogurt will provide an extra protein boost, making these bars even more satiating. And the toppings? Oh, the toppings! While the homemade peanut butter cups are a showstopper, don’t feel limited. Imagine a vibrant topping of fresh berries, a sprinkle of crunchy granola, a drizzle of honey, or even a mix of chopped nuts. This recipe truly invites creativity, allowing you to tailor each batch to your specific tastes and dietary preferences.
Why You’ll Love These High-Protein Frozen Yogurt Bars
- Effortlessly Easy & Quick Snack: In today’s fast-paced world, finding time for elaborate meal prep can be a challenge. This recipe is a game-changer, coming together in less than 10 minutes in just one bowl. The active prep time is minimal, making it perfect for busy weekdays or when unexpected cravings strike. Simply mix, freeze, and enjoy!
- Wonderfully Nutritious & Wholesome: Beyond being incredibly delicious and versatile, these no-bake frozen yogurt bars are packed with nourishing ingredients. They are crafted with simple, whole-food components like creamy yogurt, beneficial protein powder, and healthy fats from nut butter. Furthermore, they are naturally sweetened with just a touch of honey or maple syrup, avoiding excessive refined sugars often found in store-bought treats. This makes them a smart choice for anyone looking to enjoy a sweet treat without the guilt.
- Power-Packed with Protein: Protein is a macronutrient vital for muscle repair, growth, and overall bodily functions. High-protein snacks, like these frozen yogurt bars, are excellent for maintaining balanced blood sugar levels, preventing energy crashes, and promoting satiety. This means you’ll feel fuller for longer, helping to curb unhealthy snacking habits and support your weight management goals. It’s a dessert that truly works for you!
- The Ultimate No-Bake Dessert: During hot weather, turning on the oven is often the last thing we want to do. That’s why I’m a huge fan of no-bake desserts. They offer all the pleasure of a delicious treat without any of the heat or fuss of baking. These frozen yogurt bars are not only incredibly easy to prepare but also perfect for those who prefer to keep their kitchen cool and their energy expenditure low.
- Infinitely Customizable and Versatile: This recipe is a blank canvas for your culinary imagination. It’s designed to be highly adaptable, allowing you to swap out ingredients to perfectly match your specific dietary needs, flavor cravings, and what you have on hand. Whether you’re looking for a vegan option, a nut-free version, or simply want to experiment with different mix-ins and toppings, these bars can be easily modified to create a new favorite every time.
Watch How to Make These Irresistible Frozen Yogurt Bars
Mastering the Art of Frozen Yogurt Bars: A Step-by-Step Guide
Essential Equipment for Perfect Frozen Yogurt Bars
- Mixing Bowl: A large mixing bowl is all you need for combining the yogurt bar ingredients. For an exceptionally smooth and creamy texture, consider using a food processor – it helps break down any protein powder clumps and ensures a consistent mixture.
- Spatula: Essential for thoroughly mixing ingredients and scraping down the sides of your bowl to ensure everything is well incorporated.
- Candy Mold or Mini Muffin Tin: These are specifically for crafting the delightful homemade peanut butter cups. A candy mold creates uniform, bite-sized cups, while a mini muffin tin offers a slightly larger option. If you opt for full-sized peanut butter cups, you can always chop them into smaller pieces later.
- Loaf Pan or Silicone Bar Mold: A standard loaf pan, lined with parchment paper, is perfect for setting your yogurt mixture. Alternatively, a silicone bar mold makes removal incredibly easy and creates perfectly shaped bars every time.
Key Ingredients for Your Creamy Frozen Yogurt Bars
You’ll be amazed at how a mere handful of simple, pantry-staple ingredients can transform into such a satisfying and delicious treat. The full, detailed recipe with exact measurements is provided in the recipe card at the bottom of this post, but here’s a comprehensive overview of what you’ll need:
- Yogurt: The foundation of these bars! The secret to achieving that incredibly creamy, non-icy texture lies in using a *thick* yogurt with a good amount of fat. Thin, low-fat options often result in a less desirable, icier consistency. Greek yogurt is an excellent choice due to its natural thickness and high protein content. For a dairy-free and vegan alternative, a high-fat coconut yogurt works beautifully. I personally recommend brands like CocoJune and Culina for their rich, creamy textures. Opting for unsweetened vanilla yogurt allows you to control the sweetness level and complements various flavor additions.
- Honey or Maple Syrup: Just a touch of natural sweetener is used to enhance the flavor of the yogurt bars. You have the flexibility to adjust the amount to your preference or even omit it entirely if your protein powder and yogurt already provide sufficient sweetness. Maple syrup also serves as an excellent vegan alternative to honey.
- Protein Powder: This ingredient boosts the nutritional profile and can significantly impact the flavor. I have extensively tested this recipe using various plant-based protein powders and found them to work best, especially for achieving a smooth texture. While I don’t recommend using whey protein for this specific recipe, collagen protein might be a suitable alternative. For a truly indulgent dessert-like flavor, I love using Macro Mike salted caramel protein. They offer an array of incredible flavors, and you can even use my code “amb-dani” for a discount! Remember, the flavor of your protein powder will directly influence the final taste of your bars, so choose one you genuinely enjoy. If you prefer, the protein powder can also be omitted entirely without compromising the core recipe.
- Peanut Butter: Essential for the irresistible “peanut butter cup” flavor! Creamy peanut butter provides healthy fats and a rich, nutty taste. If you prefer, cashew butter or almond butter are fantastic alternatives that offer similar textures and nutritional benefits. For those with nut allergies, sunflower seed butter is a superb nut-free option that delivers a comparable taste and creaminess.
- Chocolate Chips: These versatile morsels play a dual role. You can use them to create the delicious homemade peanut butter cups for a delightful crunch, or simply fold them directly into the yogurt mixture for bursts of chocolatey goodness throughout the bars. Dark chocolate chips, milk chocolate, or even white chocolate can be used depending on your preference.
- Vanilla Extract & Sea Salt (Optional): While optional, a dash of vanilla extract deepens the overall flavor profile, adding a warm, aromatic note. A pinch of sea salt, on the other hand, perfectly balances the sweetness and enhances all the other flavors, particularly complementing the chocolate and peanut butter. Don’t underestimate the power of these small additions!
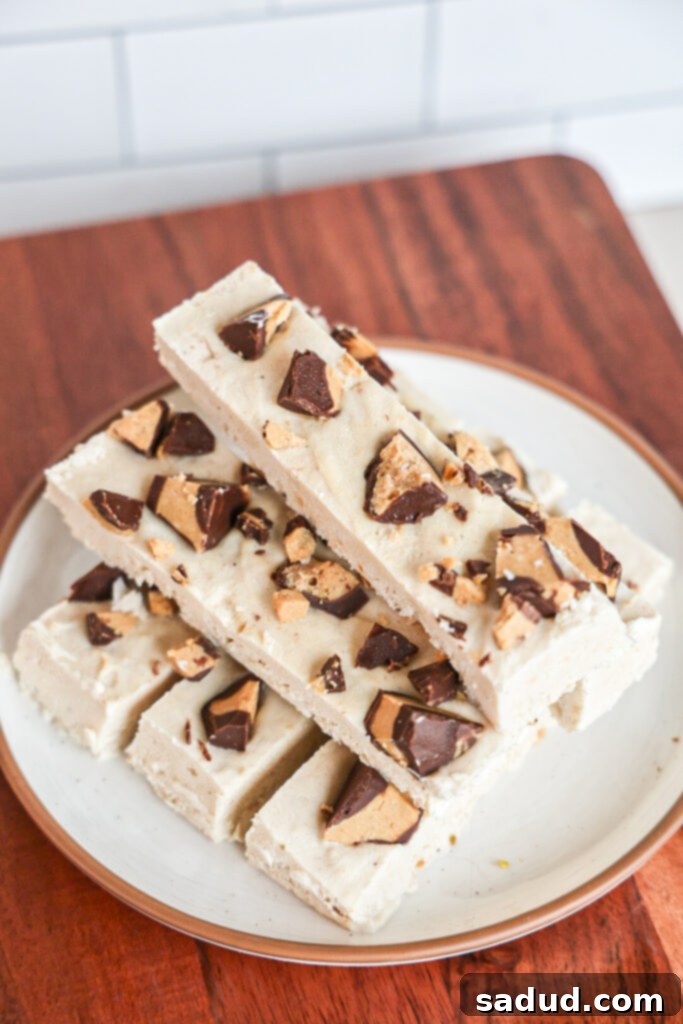
Simple Steps to Craft Your Own Frozen Yogurt Bars
Creating these delightful frozen yogurt bars is incredibly straightforward. Follow these steps to achieve perfect, creamy results:
- Prepare the Peanut Butter Cups (Optional, but Highly Recommended!): This step adds an extra layer of flavor and texture. Begin by melting your chocolate chips in a small, microwave-safe bowl (in 30-second intervals, stirring each time) or over a double boiler until completely smooth and glossy. Spoon a small amount of the melted chocolate into the bottom of your chosen candy molds or mini muffin pan cavities, ensuring an even layer. Pop them into the freezer for just a few minutes until the chocolate is firm to the touch. While the chocolate is setting, combine the peanut butter with the optional protein powder in another small bowl, mixing until well blended. This protein boost in the peanut butter adds an extra nutritional punch. Once the chocolate base is firm, add a small dollop of the peanut butter mixture on top of each chocolate crevice. Finally, cover the peanut butter layer with the remaining melted chocolate, smoothing the top. Return the molds to the freezer for at least an hour, or until fully firm. Pro tip: If you don’t have mini molds, you can make larger peanut butter cups in a standard muffin tin and chop them into smaller pieces once frozen.
- Assemble the Yogurt Bar Mixture: In a large mixing bowl, combine all of your yogurt bar ingredients: thick yogurt, honey or maple syrup, protein powder (if using), vanilla extract, and a pinch of sea salt. Mix thoroughly with your spatula until the mixture is completely smooth and all ingredients are well incorporated. Take a moment to taste the mixture and adjust the sweetness or other flavors as desired. If it’s not sweet enough, add a little extra honey or maple syrup. If you prefer a more intense vanilla flavor, a tiny bit more extract can be added.
- Pour and Top: Line a loaf pan or prepare your silicone bar mold. Carefully pour the smooth yogurt mixture into the prepared pan, spreading it out evenly with your spatula to create a consistent layer. Now for the toppings! Chop your firm peanut butter cups into smaller, bite-sized pieces. You can either sprinkle these chopped cups generously over the top of the yogurt mixture for a visible crunch, or gently fold them into the yogurt mixture before pouring it into the pan for surprises in every bite. If you’ve decided to skip the peanut butter cups, this is also the perfect time to stir in some chocolate chips or any other mix-ins like chopped nuts or dried fruit.
- Freeze and Slice: Transfer the pan to the freezer and allow the bars to freeze for at least 5 hours, or ideally overnight, until they are completely solid and firm. Once frozen, remove the pan from the freezer. To make slicing easier and prevent cracking, let the bars rest at room temperature for about 5-10 minutes. This slight thaw will allow your knife to glide through more smoothly. Use a sharp knife to cut them into your desired bar sizes.
- Store for Future Enjoyment: Once cut, immediately transfer the frozen yogurt bars to an airtight container or a freezer-safe bag. Store them in the freezer for optimal freshness. For the creamiest texture, always remember to let them thaw for about 5 minutes or so prior to eating. This brief waiting period transforms them from rock-solid to perfectly creamy and delightful!
Creative Frozen Yogurt Bar Variations to Explore
While the peanut butter cup version is a fan favorite, the beauty of this recipe lies in its versatility. Don’t be afraid to experiment with these exciting variations:
- Snickers-Inspired Yogurt Bark: Capture the essence of a classic Snickers bar by adding a generous amount of chopped roasted peanuts and finely chopped dates (for that chewy caramel-like texture) to your yogurt mixture before freezing. A drizzle of melted caramel sauce on top could take it even further!
- Vibrant Fruit Yogurt Bark: For a fresh and fruity twist, simply top your yogurt bark with an assortment of fresh berries (strawberries, blueberries, raspberries) or other sliced fruits like kiwi or mango before freezing. The vibrant colors and natural sweetness of the fruit make for a beautiful and refreshing treat.
- Festive Celebration Yogurt Bark: Add a playful touch for holidays or special occasions! Mix 1/2 teaspoon of almond extract into your yogurt batter for a distinct, festive flavor, then generously sprinkle with colorful sprinkles before freezing. This is perfect for birthdays or seasonal celebrations.
- Strawberry Jam Swirl: Create a delicious ripple effect by swirling spoonfuls of strawberry jam (or any fruit jam you love!) through the yogurt mixture before freezing. The sweet and tart jam will create beautiful patterns and add a burst of fruity flavor.
- Cinnamon, Pistachios & Orange Zest (Baklava Inspired): This unique combination evokes the flavors of baklava and is truly exquisite. Stir a teaspoon of ground cinnamon into the yogurt batter, then fold in a handful of finely chopped pistachios and a generous amount of fresh orange zest. The citrus brightens the spice, and the pistachios add a delightful crunch.
- Chocolate Covered Yogurt Clusters: If you’re looking for another format, try my popular recipe for Chocolate Covered Yogurt Bites/Clusters. It’s a different take on the same delicious concept!
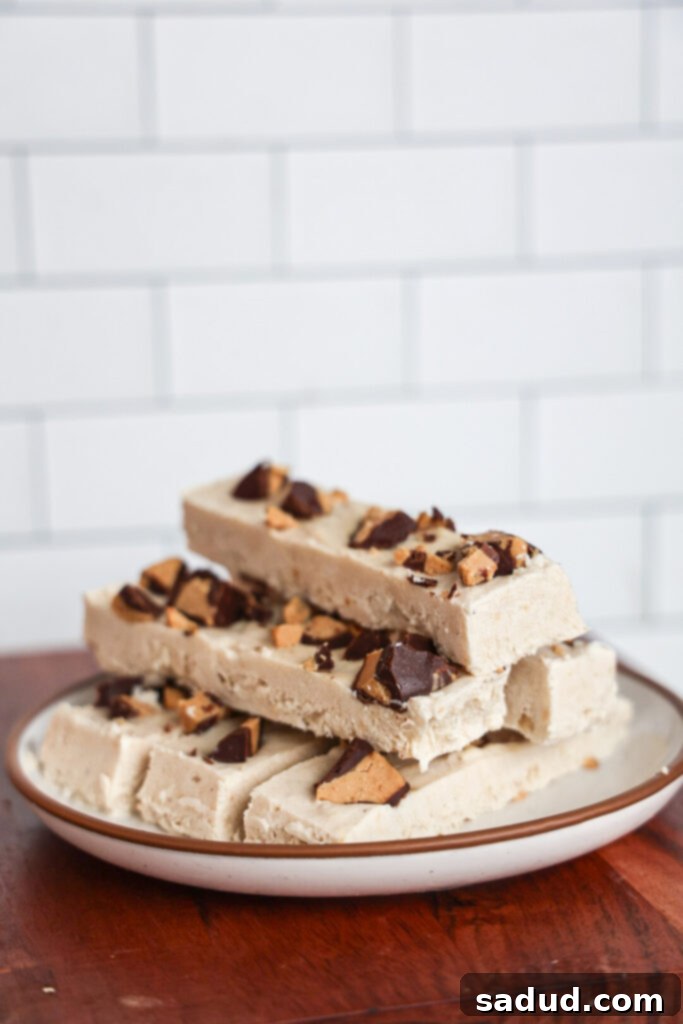
Crafting Delicious Vegan Frozen Yogurt Bars
Making these delightful frozen yogurt bars entirely vegan is incredibly simple and doesn’t compromise on flavor or texture. The key is to select a high-quality, full-fat dairy-free yogurt option. Coconut yogurt is an excellent choice for its richness and creamy consistency, mirroring the luxurious feel of traditional dairy yogurt. Almond milk yogurt or cashew milk yogurt can also work well, just ensure they are thick and unsweetened. When choosing your other ingredients, double-check that your protein powder is plant-based (most are, but always confirm), and that your chocolate chips are dairy-free (many brands offer vegan options). Maple syrup is a perfect vegan sweetener, or you can use other plant-based sweeteners like agave nectar. With these simple substitutions, everyone can enjoy these healthy and satisfying frozen treats!
Expert Tips for Perfect Frozen Yogurt Bars Every Time
Achieving the perfect texture and flavor for your frozen yogurt bars is simple with these expert tips:
- Effortless Slicing Technique: To ensure beautifully clean cuts, once your yogurt bars are completely frozen, remove them from the freezer and let them sit at room temperature for about 5-10 minutes. This allows for a slight thaw, making them easier to cut. Before making your final cuts, gently score lines where you intend to slice. Then, with a sharp knife, go back over these lines. For even smoother cuts, run your knife under hot water and wipe it clean before each slice.
- Always Opt for Full-Fat Yogurt: This is arguably the most crucial tip for superior texture. Full-fat yogurt, whether dairy or dairy-free, contains more fat, which translates to a creamier, less icy, and more luxurious final product. Low-fat or fat-free yogurts tend to crystalize more easily when frozen, leading to an undesirably icy texture. Stick to thick, full-fat varieties like Greek yogurt or high-fat coconut yogurt for the best results.
- Enhance Flavor with Simple Additions: While the basic recipe is delicious, you can easily elevate the flavor profile. A teaspoon of pure vanilla extract adds a warm, aromatic depth. For extra sweetness or a different flavor note, swirl in a little more maple syrup or honey. Nut butters, like a tablespoon of almond butter or cashew butter, can also be incorporated into the yogurt mixture for added richness and a subtle nutty undertone, even if you’re not making peanut butter cups.
- Allow a Short Thawing Period Before Eating: Directly from the freezer, these bars will be quite hard. For the ultimate creamy and enjoyable texture, let your frozen yogurt bars sit at room temperature for about 5-10 minutes before indulging. This brief softening period transforms them into a delightfully creamy consistency that melts in your mouth.
- Don’t Skimp on the Freeze Time: While the active prep is quick, patience is key for freezing. Ensure the bars are completely solid, which typically takes at least 5 hours or preferably overnight. A fully frozen bar will hold its shape better and provide the best eating experience.
Storing Your Homemade Frozen Yogurt Bars
Proper storage is essential to keep your frozen yogurt bars fresh and delicious for as long as possible. Once your bars are completely frozen and cut into individual portions, transfer them to an airtight container or a heavy-duty freezer bag. This will protect them from freezer burn and prevent them from absorbing any unwanted odors from other foods in your freezer. When stored correctly, these delightful treats can maintain their quality for up to 3 months. Always remember to let them thaw for about 5 minutes before eating to achieve that perfect creamy texture!
More Healthy & Delicious Snack Recipes to Try
If you loved these high-protein frozen yogurt bars, you’ll definitely want to explore these other fantastic healthy snack and dessert recipes:
- Healthy Dilly Bars
- 2-Ingredient Orange Sorbet
- Healthy Snickers Bites
- 2-Ingredient Rolos
- The Best Vegan Frozen Yogurt
- Strawberry Yogurt Bites
- Strawberry Cheesecake Yogurt Parfait
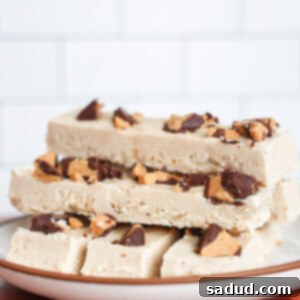
Easy 5-Ingredient High-Protein Frozen Yogurt Bars Recipe
Pin Recipe
10 minutes
Dessert, Snack
American
Ingredients
- 2 cups thick coconut yogurt or Greek yogurt
- 5 tbsp protein powder *see notes for best type
- 3-4 tbsp maple syrup or honey
- pinch sea salt
- 1 tsp vanilla extract
- any mix-ins you’d like (optional) – such as chopped dates, cacao nibs, or nuts for extra crunch!
For the Optional Peanut Butter Cups
- 1 cup chocolate chips
- 1/4 cup peanut butter
- 2 tbsp protein powder *optional, for extra protein in the cups
Instructions
Preparing Your Peanut Butter Cups
-
To make the delightful peanut butter cups, melt the chocolate chips in a small, microwave-safe bowl (heating in 30-second increments and stirring) or using a double boiler until perfectly smooth. Spoon a small amount of the melted chocolate into the bottom of your chocolate cup molds or mini muffin pans, creating a thin, even layer. Freeze these for just a few minutes until the chocolate is firm. In a separate small bowl, combine the peanut butter with the optional protein powder, mixing until smooth. Place a small amount of this peanut butter mixture on top of each chocolate base. Finally, cover the peanut butter layer with the remaining melted chocolate, smoothing the tops. Return them to the freezer for an hour or so, or until completely firm. You can make larger peanut butter cups in a standard muffin tin and then chop them into smaller pieces after they’ve set!
Assembling and Freezing Your Yogurt Bars
-
In a spacious mixing bowl, thoroughly combine all the ingredients for the yogurt bars: thick yogurt, maple syrup/honey, protein powder, vanilla extract, and a pinch of sea salt. Mix everything until the mixture is smooth and uniform. Take a moment to taste and adjust the sweetness or other flavors as desired. Add a little extra maple syrup/honey if you prefer it sweeter.
-
Pour the creamy yogurt mixture into a loaf pan lined with parchment paper or into a silicone bar mold, spreading it out evenly. You can either generously sprinkle the chopped homemade peanut butter cups over the top of the mixture for a beautiful finish, or gently fold them into the yogurt prior to pouring into the pan for hidden pockets of flavor. If you opted not to make peanut butter cups, you can simply stir chocolate chips or any other desired mix-ins (like chopped nuts or dried fruit) into the yogurt mixture at this stage.
-
Place the pan in the freezer and let the bars set for a minimum of 5 hours, or ideally overnight, until they are completely solid. Once firm, remove from the freezer and allow them to rest on the counter for about 10 minutes to soften slightly, making them easier to cut without cracking. Using a sharp knife, carefully slice them into your preferred bar sizes.
-
For the absolute creamiest and most enjoyable texture, always let your frozen yogurt bars thaw for about 5 minutes or so before taking a bite!
Video
Notes
Peanut Butter Cup Alternative: If you’re short on time or prefer a simpler approach, you can skip making the homemade peanut butter cups altogether. Instead, simply fold a generous amount of chocolate chips directly into the yogurt mixture before freezing for a delicious chocolatey swirl throughout your bars!
chocolate frozen yogurt, dairy free frozen yogurt, fruit yogurt bark, high protein snacks, peanut butter frozen yogurt, peanut butter yogurt bars, yogurt bark, healthy desserts, no-bake treats
There you have it – a comprehensive guide to crafting these unbelievably easy, healthy, and delicious high-protein frozen yogurt bars. Whether you’re a seasoned chef or a beginner in the kitchen, this recipe promises a guilt-free indulgence that’s packed with flavor and nutrition. Say goodbye to store-bought sugary treats and hello to your new favorite homemade snack or dessert. Don’t wait – gather your ingredients and start making these irresistible peanut butter cup-inspired frozen yogurt bars today!
