Decadent & Easy: Your Ultimate No-Bake Peanut Butter Chocolate Tart Recipe
Prepare to fall head over heels for the most irresistible dessert that combines the timeless magic of peanut butter and chocolate! This no-bake peanut butter chocolate tart isn’t just a recipe; it’s a game-changer for anyone craving something sweet, rich, and utterly satisfying without the fuss. It’s quickly become my ultimate go-to treat, and I daresay it’s earned a permanent spot in my top favorite desserts of all time. What makes it even better? It’s incredibly simple to make – no oven required, and you won’t even need a blender (which, let’s be honest, is a huge win when it comes to cleanup!).
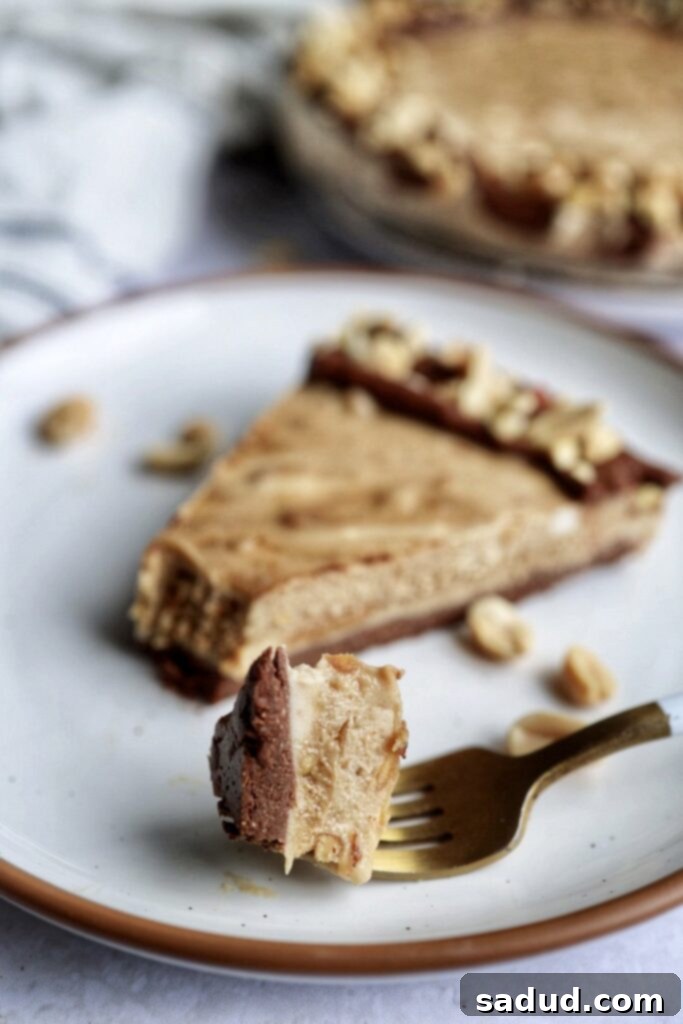
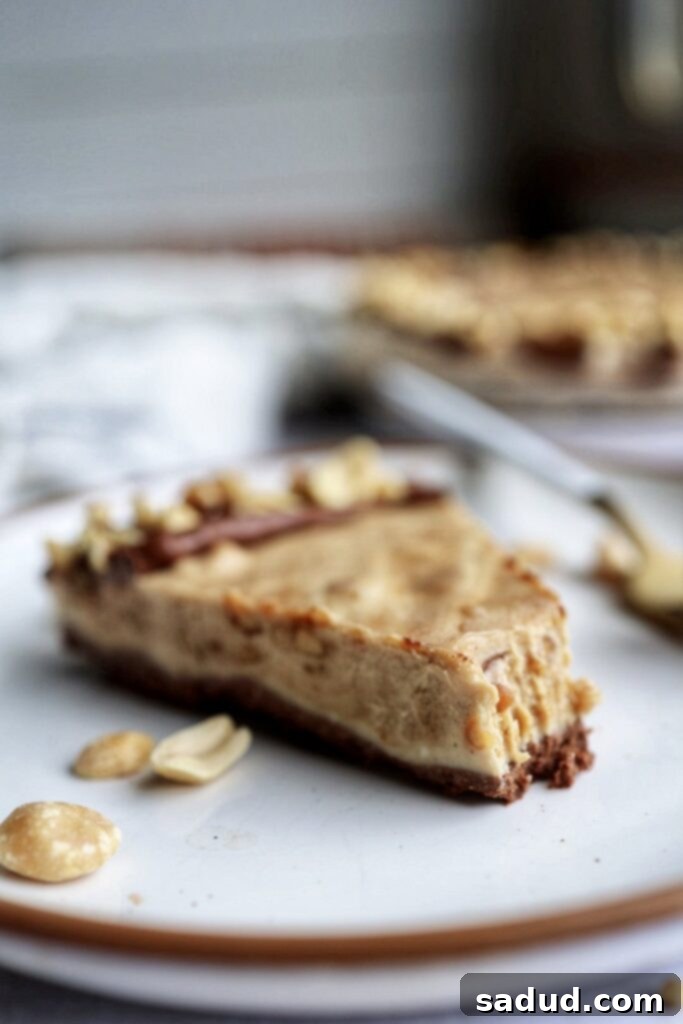
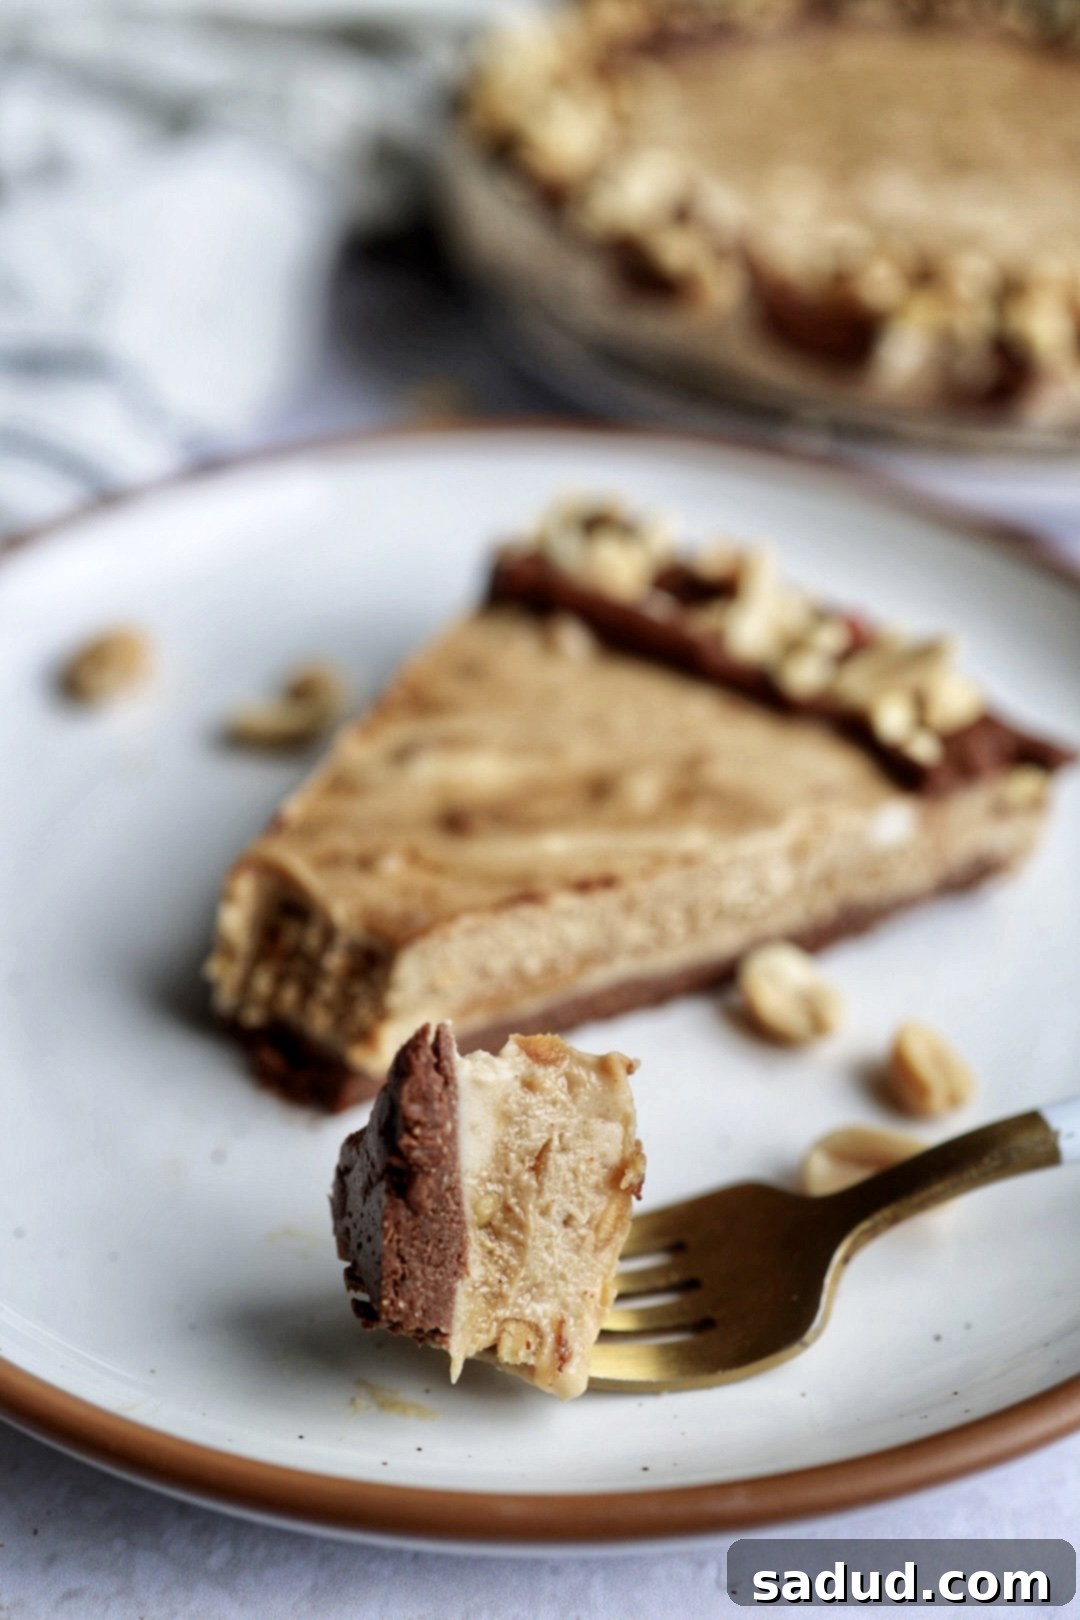
This tart is a symphony of flavors and textures: a rich, chocolatey crust provides the perfect foundation for a creamy, dreamy peanut butter filling, all crowned with a luscious chocolate topping. It’s a truly decadent dessert, yet it’s crafted with minimal, wholesome ingredients, making it a surprisingly guilt-free indulgence. If you’re a devout peanut butter enthusiast, I promise this tart will capture your heart and your taste buds. It’s perfect for parties, gatherings, or simply a luxurious treat for yourself at the end of a long day.

Why This No-Bake Peanut Butter Tart Will Become Your Favorite
Beyond its incredibly delicious taste, there are numerous reasons why this no-bake peanut butter tart stands out. First and foremost, the “no-bake” aspect means you can create a show-stopping dessert even on the hottest days, without heating up your kitchen. It’s a fantastic option for beginner bakers or anyone looking for a low-stress dessert project.
- Effortless Preparation: Forget complicated techniques or hours spent in the kitchen. This recipe is straightforward, focusing on simple mixing and chilling.
- Minimal Cleanup: As mentioned, no blender means fewer dishes to wash, which is always a bonus!
- Decadent Flavor: The combination of peanut butter and chocolate is a classic for a reason. This tart delivers that beloved flavor profile in an elevated, creamy form.
- Wholesome Ingredients: Made with whole-food based ingredients like almond meal, cacao powder, maple syrup, and natural peanut butter, you can feel good about indulging.
- Customizable: Easily adaptable for various dietary needs or taste preferences, as we’ll explore below.
What if I don’t like or can’t eat peanut butter?
No need to fear missing out on this incredible dessert! The beauty of this recipe lies in its versatility. You can absolutely substitute the peanut butter for your favorite nut or seed butter without compromising on taste or texture. I’ve personally experimented with this exact recipe using various alternatives, and the results have always been spectacular.
- Almond Butter: Offers a slightly milder, richer nutty flavor. Ensure it’s a smooth, natural almond butter for the best consistency.
- Cashew Butter: Known for its incredibly creamy texture and subtly sweet flavor, cashew butter makes for an exceptionally smooth filling.
- Sunflower Seed Butter (SunButter): An excellent option for those with nut allergies. It provides a distinct, slightly earthy flavor that pairs wonderfully with chocolate, creating a unique twist on the classic.
- Other Options: You could also try pecan butter, macadamia nut butter, or even a mixed nut butter for an interesting flavor complexity. Just ensure that whichever butter you choose is all-natural, smooth, and doesn’t contain excessive added sugars or oils, as this could alter the final texture and sweetness of the tart. The key is to select a creamy, drippy butter that easily incorporates into the other ingredients.
Each substitution offers a slightly different nuance, so feel free to experiment and find your personal favorite!
How do you store the no-bake peanut butter tart?
Proper storage is key to maintaining the deliciousness and creamy texture of your no-bake peanut butter tart. Due to its no-bake nature and ingredients, this tart needs to be stored in the freezer. You’ll want to place the tart, or individual slices, in an airtight container. This prevents freezer burn and keeps it fresh and flavorful for longer. It should last beautifully in the freezer for up to a month, though in most households, it rarely sticks around that long!
Because the freezer firms up all the layers to a perfect, solid consistency, it’s important to allow it to thaw slightly before serving. When you’re ready to enjoy a slice, simply take it out of the freezer and let it sit on the counter at room temperature for about 10-15 minutes. For an even creamier, melt-in-your-mouth texture, you might even extend the thawing time to 20-25 minutes, depending on your preference and the ambient temperature. This brief thaw period is crucial for achieving that ideal, smooth, and luscious consistency that makes this tart so irresistible.
Key Ingredients for Your Decadent No-Bake Peanut Butter Tart
Let’s dive deeper into the core ingredients that make this no-bake peanut butter tart an absolute dream. Choosing the right quality for each component can elevate your dessert from good to truly unforgettable. Understanding the role each plays will also help you make informed substitutions if needed.
Peanut Butter: The Creamy Heart
Peanut butter is, quite obviously, the undeniable star of this show! For the best results and to keep this dessert wholesome, I highly recommend using an organic, unsalted, and natural peanut butter. Look for brands where the only ingredient listed is peanuts (or peanuts and a touch of salt if you prefer). Avoid peanut butter with added sugars, hydrogenated oils, or emulsifiers, as these can alter the texture and flavor of your filling significantly. A smooth, creamy, natural peanut butter will blend seamlessly and create that perfect, rich mouthfeel.
Maple Syrup: Natural Sweetness
Maple Syrup provides the primary sweetness for both the crust and the filling, along with a delightful, subtle maple flavor that beautifully complements the peanut butter and chocolate. I prefer pure maple syrup for its natural origins and depth of flavor. However, if you don’t have maple syrup on hand or prefer a different sticky sweetener, you have options. Brown rice syrup is a great alternative, offering a less intense sweetness and a slightly different caramel note. Honey would also work well, just be mindful that its flavor is more pronounced and might slightly change the overall profile of the tart. Agave nectar could also be used, but start with a little less as it tends to be sweeter than maple syrup.
Cacao Powder: Rich Chocolatey Depth
Cacao powder is what gives the crust its deep, rich chocolate flavor. I personally love using raw cacao powder because it’s packed with antioxidants and offers a more intense, less processed chocolate flavor compared to cocoa powder. However, Dutch-processed cocoa powder can also be used if that’s what you have. Just note that Dutch-processed cocoa has a milder, less acidic flavor. Ensure your cacao or cocoa powder is unsweetened to control the overall sweetness of the tart.
Cacao Butter or Coconut Oil: The Secret to Smoothness
This is where the magic happens in terms of texture! Cacao butter or coconut oil are essential for adding creaminess and helping the filling layer set perfectly in the freezer. You can use either, and both will yield excellent results. Cacao butter, derived from the cocoa bean, naturally carries a subtle chocolatey taste, which I believe elevates the overall flavor profile of the tart, especially in the filling. It melts beautifully and solidifies firmly, contributing to a wonderfully smooth and stable filling. Coconut oil is a fantastic, readily available alternative. It also melts and sets well, providing a neutral base that lets the peanut butter and chocolate flavors shine. Ensure both are melted before incorporating them into the recipe for a smooth, lump-free consistency.

Essential Equipment for a Seamless No-Bake Experience
One of the beauties of this no-bake tart is that it doesn’t require any fancy kitchen gadgets. Here’s a quick list of what you’ll need to make the process as smooth as possible:
- Springform Pan (9-inch or 8-inch): This is highly recommended for easy removal and presentation. If you don’t have one, a standard cake pan lined with parchment paper (with overhang for lifting) will also work.
- Large Mixing Bowls: You’ll need at least two – one for the crust ingredients and one for the filling.
- Whisk: For combining the filling ingredients until perfectly smooth.
- Measuring Cups and Spoons: Standard kitchen essentials for accurate ingredient measurements.
- Rubber Spatula: Useful for mixing and pressing the crust into the pan.
- Small Saucepan or Microwave-Safe Bowl: For melting the chocolate and coconut milk for the topping using a double-boiler method or microwave.
Tips for Perfecting Your No-Bake Peanut Butter Tart
While this recipe is incredibly simple, a few tips can ensure your tart turns out perfectly every time:
- Quality Ingredients Matter: As highlighted in the ingredient section, using high-quality, natural peanut butter, pure maple syrup, and good cacao powder will significantly impact the final flavor and texture of your tart.
- Chill Time is Crucial: Do not rush the freezing steps. Allowing adequate time for each layer to set ensures a firm, stable tart that holds its shape beautifully when sliced. Rushing it can lead to a messy, soft tart.
- Melted Coconut Oil/Cacao Butter: Ensure these are fully melted but not piping hot when you add them to the mixtures. This helps them incorporate smoothly without cooking other ingredients.
- Room Temperature Thaw: Remember the 10-15 minute thaw time before serving. This softens the tart to a lovely, creamy consistency that’s easy to cut and enjoy.
- Pan Preparation: Greasing your springform pan well or lining a regular cake pan with parchment paper is essential for easy removal without damaging the crust.
- Taste and Adjust: Always taste your filling mixture before setting it. You can adjust the sweetness or add a touch more salt to enhance the flavors to your liking.
Serving Suggestions and Variations
This no-bake peanut butter chocolate tart is fantastic on its own, but you can elevate it further with a few simple additions or creative twists:
- Whipped Cream: A dollop of your favorite dairy or non-dairy whipped cream (coconut whipped cream is a great vegan option!) adds an extra layer of lightness and indulgence.
- Extra Peanuts: Crushed roasted peanuts sprinkled on top add a delightful crunch and intensify the peanut butter flavor.
- Chocolate Shavings or Curls: For an elegant touch, garnish with some finely grated or curled chocolate.
- Sea Salt Flakes: A sprinkle of flaky sea salt on top of the chocolate drizzle enhances the sweet and savory notes beautifully.
- Fruit: While less common, a few fresh raspberries or sliced bananas could offer a refreshing contrast.
- Mini Tarts: Instead of a large tart, use individual tart molds or muffin tins lined with paper liners to create mini no-bake peanut butter cups for a charming, bite-sized dessert.
- Nutty Crust Variation: For an even nuttier crust, you could add 1/4 cup of finely chopped peanuts to the almond meal mixture.
I genuinely hope you cherish this recipe as much as I do. It’s a true winner for any occasion or simply when a craving strikes. If you recreate this amazing no-bake peanut butter tart, please don’t forget to tag me @danishealthyeats on Instagram! I love seeing your delicious creations!

No-Bake Peanut Butter Tart
Pin Recipe
Ingredients
Crust
- 1 1/2 cups almond meal
- 3 tbsp coconut oil melted
- 1/4 cup cacao powder
- 1/4 cup maple syrup
- pinch of sea salt
Filling
- 1 cup peanut butter
- 1/3 cup maple syrup
- 1 1/4 cups canned coconut milk
- 3 tbsp coconut oil or cacao butter melted
- 1 tsp vanilla extract
- pinch sea salt
Topping
- 4 oz Chocolate dark chocolate chips or a chopped bar work well
- 1/3 cup canned coconut milk solid part from the top, chilled overnight for best results
- pinch sea salt optional, for sprinkling
- 1/4 cup chopped peanuts for garnish (optional)
Instructions
-
Lightly grease a 9-inch (or 8-inch for a thicker tart) springform pan or line a regular cake pan with parchment paper, leaving an overhang on the sides for easy lifting. This ensures your beautiful tart won’t stick!
-
In a large bowl, combine all of the crust ingredients: almond meal, melted coconut oil, cacao powder, maple syrup, and a pinch of sea salt. Mix thoroughly until a uniform, crumbly dough forms. Press this dough firmly and evenly into the bottom of your prepared pan. Use the back of a spoon or your knuckles to create a compact base. Set the crust aside in the freezer while you prepare the filling.
-
To make the luscious peanut butter filling, combine all filling ingredients (peanut butter, maple syrup, canned coconut milk, melted coconut oil or cacao butter, vanilla extract, and a pinch of sea salt) in a separate bowl. Whisk everything together until the mixture is completely smooth and creamy, with no lumps. For best results, use a hand whisk or a fork. Taste the mixture and adjust the sweetness or saltiness as desired.
-
Pour the prepared peanut butter filling evenly over the chocolate crust in the pan. Gently tap the pan on the counter a few times to release any air bubbles and ensure an even layer. Place the pan back in the freezer for at least 2-3 hours, or until the filling is fully set and firm. While the tart chills, prepare your chocolate topping. Using the double-boiler method (a heatproof bowl over a pot of simmering water) or in a microwave-safe bowl (heating in 30-second intervals), melt the chocolate and the solid part of the canned coconut milk together. Stir continuously until completely smooth and glossy. Remove from heat.
-
Once the peanut butter filling is firm, pour or drizzle the melted chocolate topping over the tart. You can spread it evenly for a smooth layer, or get creative and make swirls or a custom design. If desired, sprinkle with chopped peanuts or a pinch of flaky sea salt for added texture and flavor. Place the tart back in the freezer for another 10-15 minutes to allow the chocolate topping to harden.
-
Before serving, remove the tart from the freezer and let it sit at room temperature for 10-15 minutes. This allows it to soften slightly, making it much easier to cut into clean, perfect slices. You can top individual slices with a dollop of whipped cream of your choice, a sprinkle of fresh berries, or additional chopped nuts. Slice, serve, and enjoy your incredibly decadent and easy no-bake peanut butter chocolate tart!
Notes
