Effortless & Healthy Potato Wraps: Your Go-To 1-Ingredient Gluten-Free Recipe
Prepare to be amazed by these incredibly easy potato wraps! Not only are they astonishingly simple to make, but they inject a burst of delicious flavor into any breakfast burrito or wrap. Their versatility knows no bounds – you can genuinely use them for anything you can imagine! Crafted with a single, wholesome ingredient – potatoes – these wraps are naturally gluten-free, vegan, nut-free, grain-free, and most importantly, absolutely DELICIOUS.
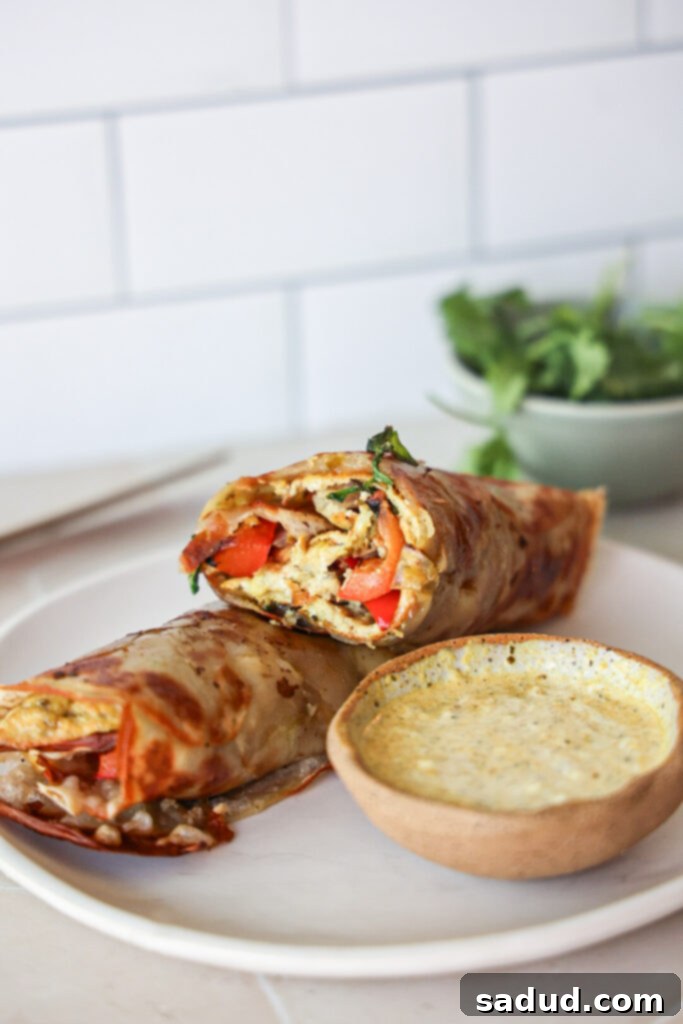
The internet abounds with various potato-based wrap recipes – from potato tortillas to rustic potato crusts and flatbreads. Many of these traditional methods involve a multi-step process: boiling potatoes until soft, mashing them, carefully forming them into shape, and then finally cooking or baking. While the results can be delicious, let’s be honest, that level of effort often feels like a bridge too far on a busy morning or a lazy afternoon. If you find yourself nodding in agreement, seeking a more straightforward path to culinary delight, then I have found – and perfected – the ideal recipe for you!
This innovative potato wrap recipe eliminates all the tedious steps of boiling, mashing, and intricate shaping. The process couldn’t be simpler: just thinly slice your potatoes, ideally using a mandolin for consistent results, arrange them artfully on a baking tray, and bake until golden. What you get are wholesome, pliable wraps made purely from potatoes, without the need for flour, dairy, or yeast. Unlike many store-bought alternatives that contain additives and preservatives, these homemade potato wraps offer a clean, natural, and remarkably flavorful foundation for your favorite meals.
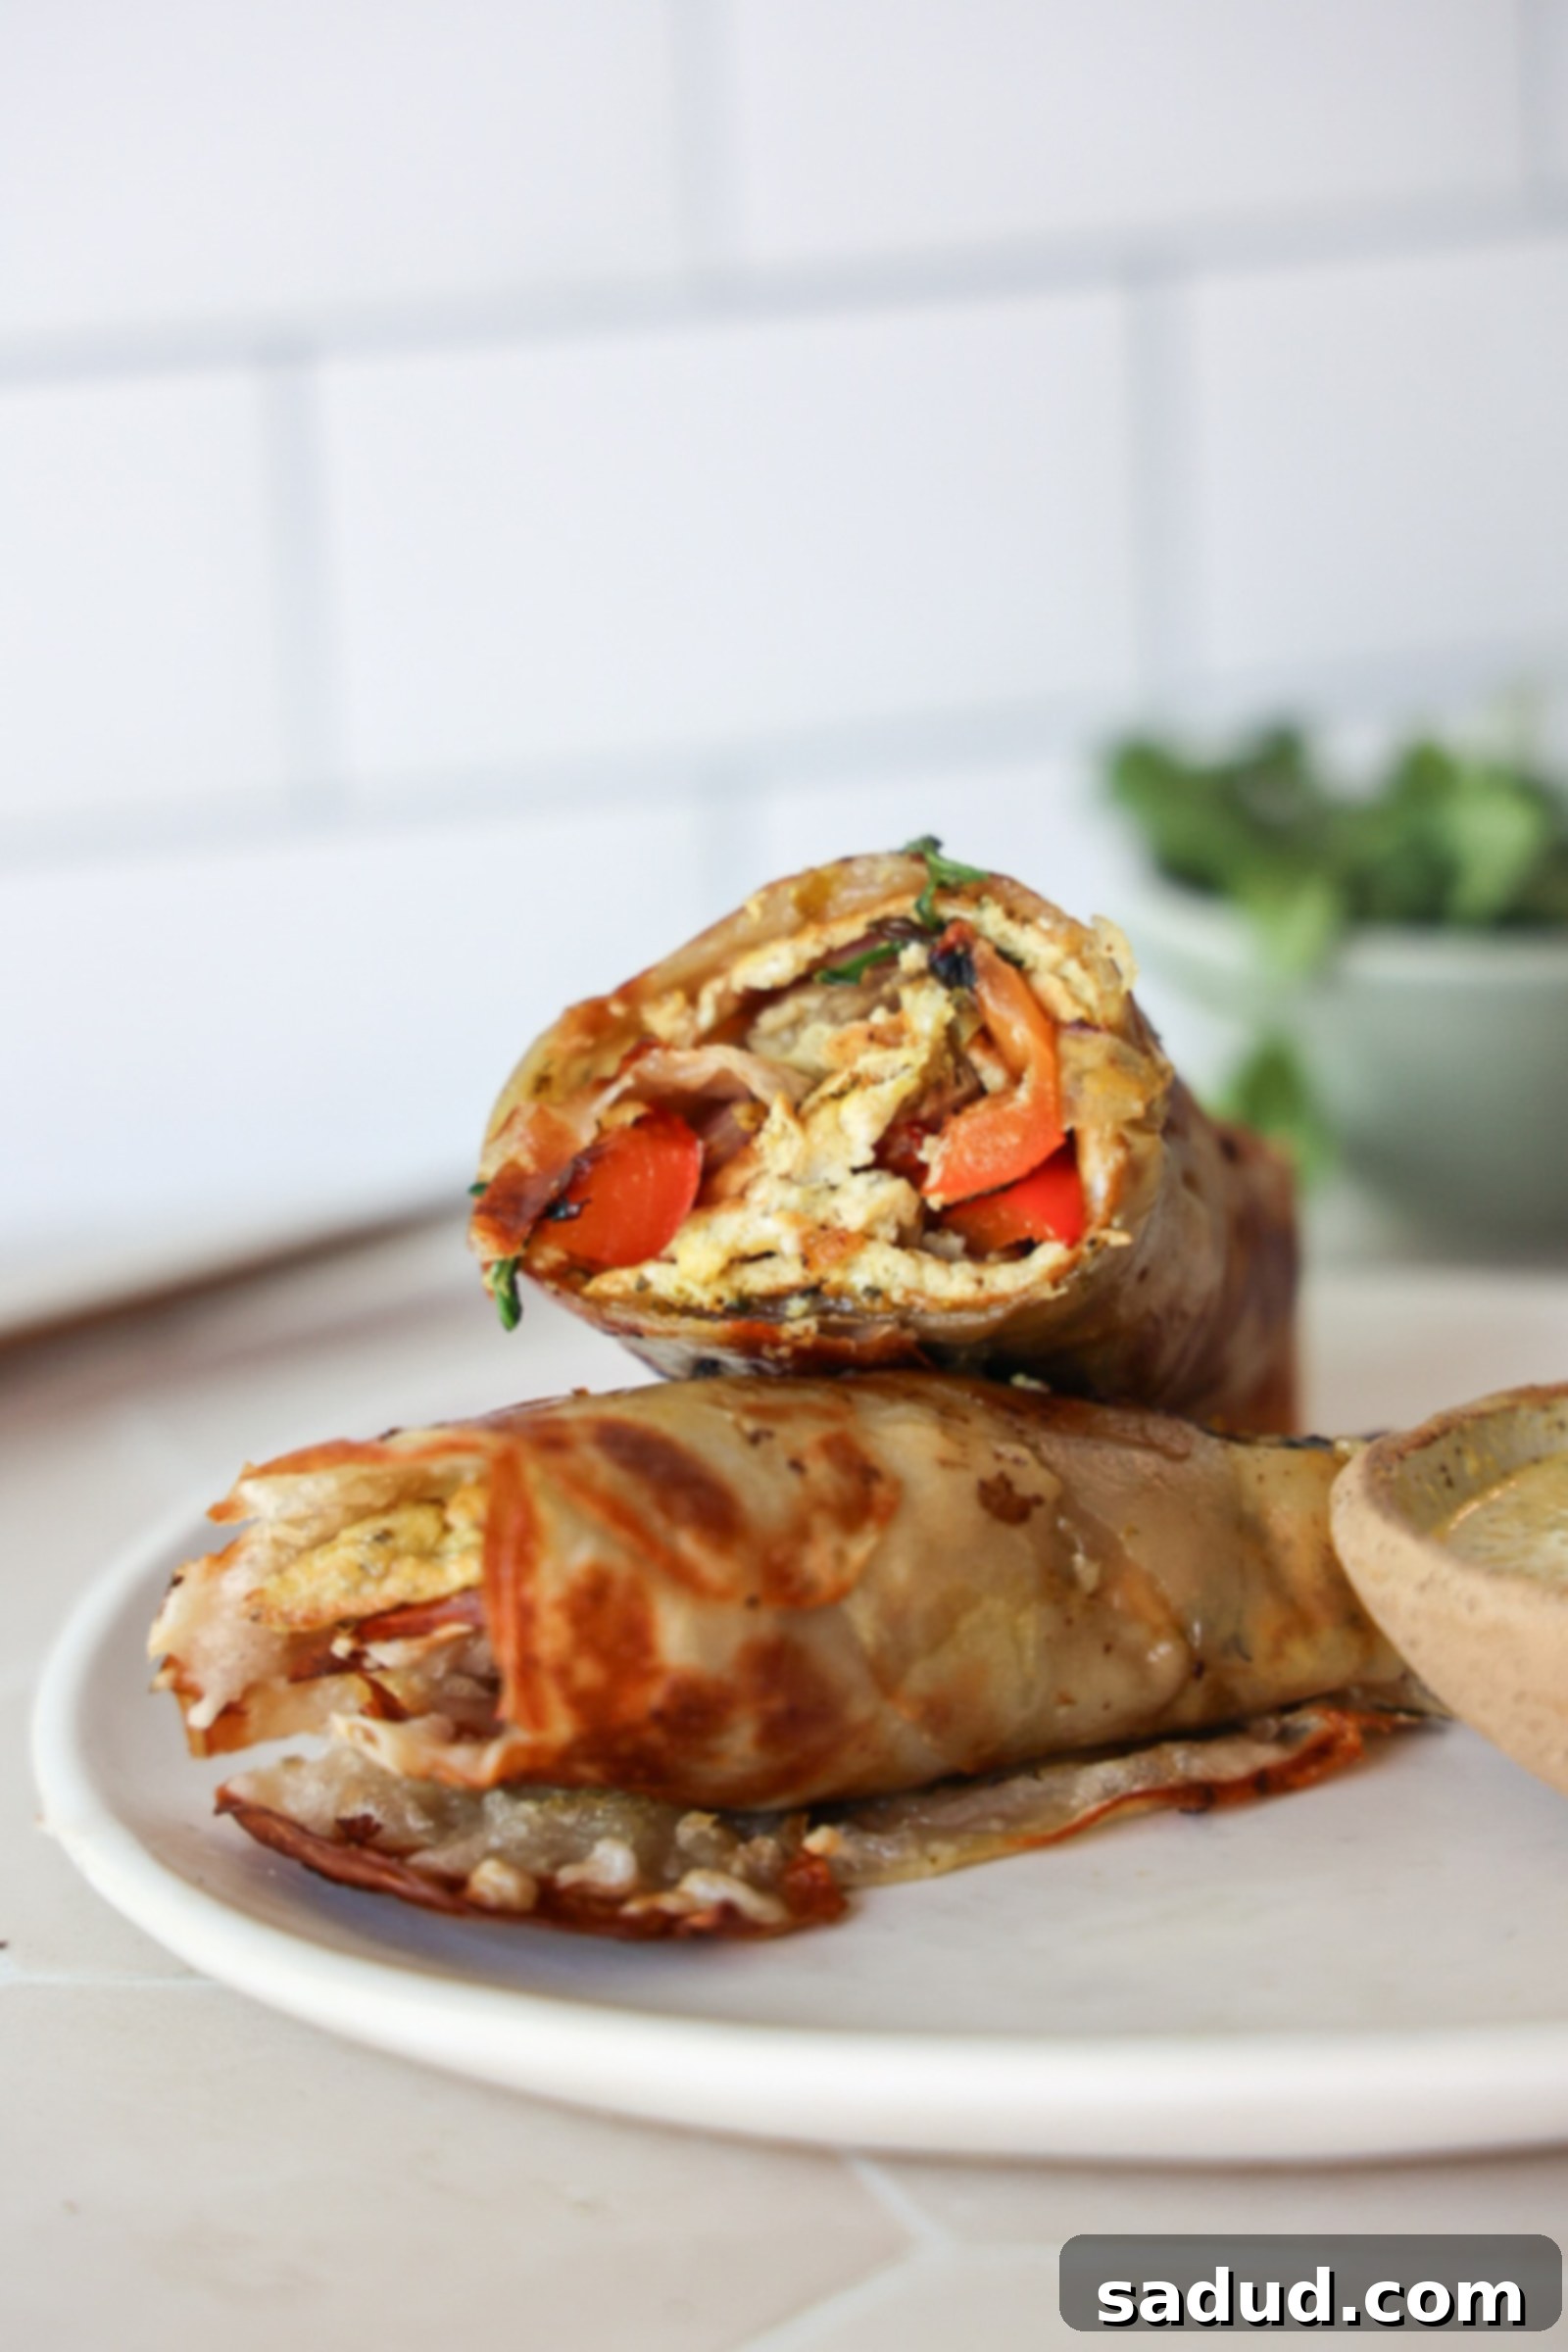
These versatile potato wraps are a phenomenal choice for everything from hearty breakfast burritos and quick breakfast wraps to delightful lunch options. Imagine them as the base for creative sandwich pinwheels, a crunchy component in a fresh Caesar wrap, or even a unique, flour-free mini pizza crust. The possibilities are limited only by your imagination! The most incredible aspect is their ability to cater to virtually any dietary need. Following a Paleo diet? Simply swap traditional potatoes for sweet potatoes, and you’re good to go!
Why You’ll Fall in Love with This Easy Potato Wrap Recipe
Beyond their simple preparation, these potato wraps offer a multitude of benefits that will make them a staple in your kitchen:
- One Ingredient Wonder: The beauty of this recipe lies in its simplicity. With just a potato, you create a wholesome and delicious wrap, free from complex ingredients or artificial additives. It’s natural eating at its finest.
- Irresistible Texture and Flavor: Expect a delightful combination of textures. These wraps are slightly crunchy on the edges and beautifully pliable in the center, offering a subtle saltiness that perfectly complements any filling. They don’t just hold your meal together; they enhance its flavor profile.
- Unmatched Versatility: Whether it’s the star of your morning breakfast burrito, a creative lunchtime sandwich roll-up, a base for healthy snacks, or even a unique side dish, these wraps adapt effortlessly to any meal or craving.
- Pliable and Tear-Resistant: Unlike some delicate gluten-free alternatives, these potato wraps are surprisingly sturdy. Once baked to perfection, they are flexible enough to fold and wrap without ripping, ensuring a mess-free and enjoyable eating experience.
- Choose Your Favorite Potato: This recipe is incredibly adaptable to different potato varieties. Feel free to use white potatoes, red potatoes, Yukon gold, or even sweet potatoes for a slightly different flavor profile and nutritional boost. Each type offers a unique twist!
Potato Wrap Recipe Video
For a visual guide to perfecting these amazing potato wraps, watch our step-by-step video:
How to Make Your Perfect Potato Wraps
Essential Equipment
- Mandolin Slicer: This is truly a non-negotiable tool for this recipe. Achieving ultra-thin, consistent potato slices is paramount for a pliable, evenly cooked wrap. A mandolin ensures perfect results every time, which is nearly impossible to replicate with a knife.
- Baking Sheet: A standard baking sheet is all you need. For easier cleanup and to prevent sticking, consider lining it with parchment paper.
Ingredients You’ll Need
- Potatoes: I personally love using red potatoes for their slightly waxy texture that holds up well, but Russet (for a crispier edge), Yukon Gold (for a buttery flavor), and even sweet potatoes (for a sweeter, healthier twist, ideal for Paleo diets) work beautifully. Choose fresh, firm potatoes without blemishes.
- Olive Oil or Avocado Oil: A light brush of oil is crucial for both preventing sticking and helping the potatoes achieve that desired golden-brown crispness. Feel free to use high-quality olive oil for flavor or avocado oil for its higher smoke point and neutral taste. Melted butter can also be used for an extra rich flavor.
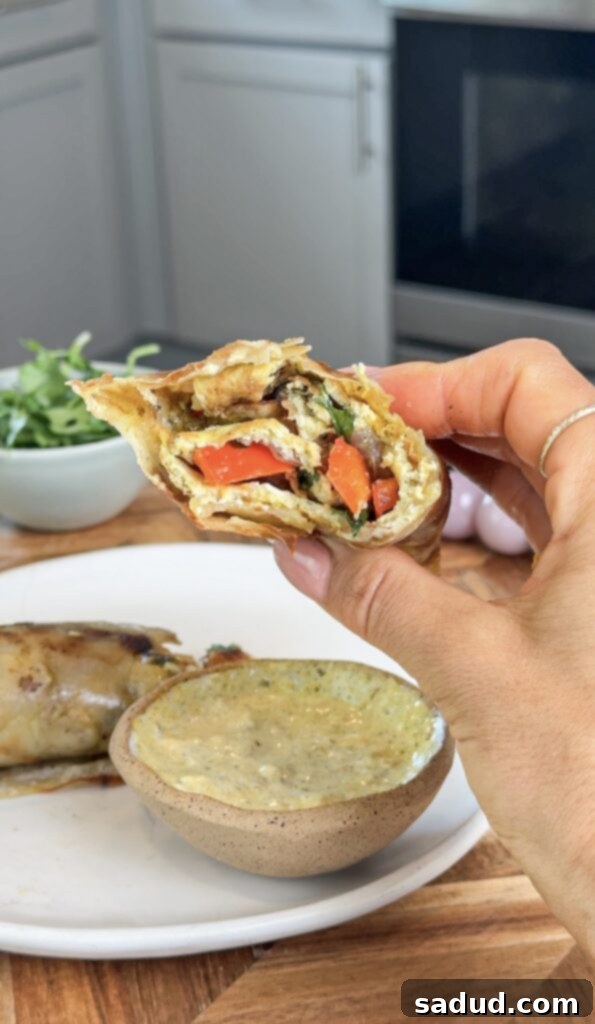
- Fillings, of Choice: This is where your creativity shines! For a fantastic breakfast burrito, I often fill mine with a fluffy veggie omelette and a sprinkle of dairy-free cheese. For lunch, imagine them with your favorite deli meat, crisp romaine lettuce, fresh tomatoes, or even a vibrant Caesar salad filling.
- Seasonings of Choice: Keep it simple or get creative! My go-to combination includes a generous sprinkle of sea salt, freshly ground black pepper, a touch of garlic powder for savory depth, and a pinch of red pepper flakes for a subtle kick. Experiment with your favorite herbs and spices!
Step-by-Step Instructions to Craft Your Potato Wraps
- Prepare Your Potatoes: Start by peeling your chosen potatoes. Once peeled, use your mandolin to slice them into incredibly thin, uniform rounds. The thinner the slices, the more pliable and evenly cooked your wrap will be. After slicing, pat the potato slices thoroughly dry between two paper towels or a clean tea towel to remove any excess moisture. This step is crucial for achieving crispiness and preventing a soggy wrap.
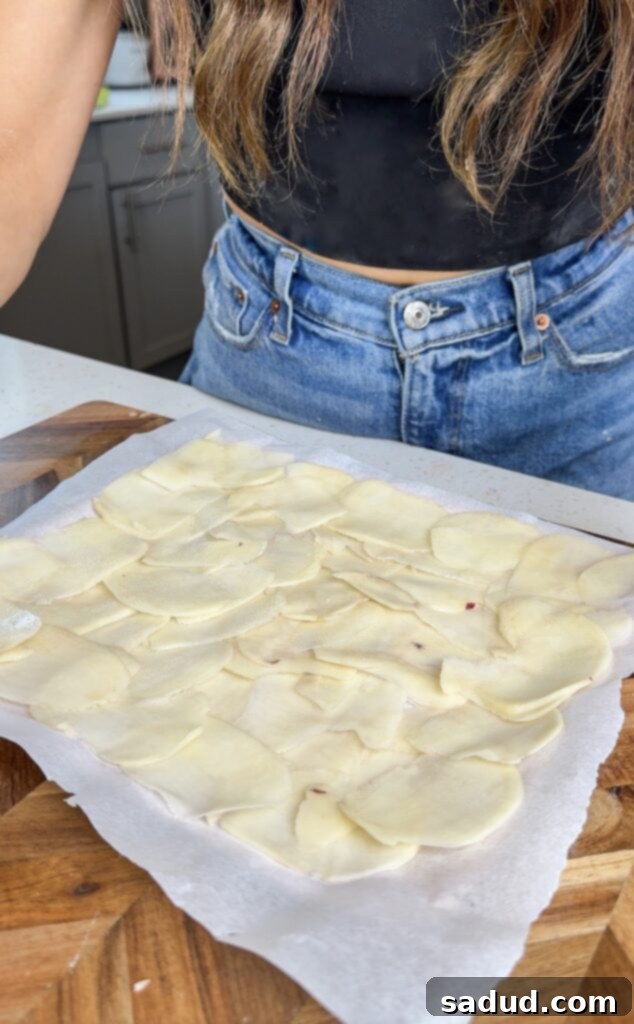
- Arrange on Baking Sheet: Generously grease your baking sheet (or line with parchment paper for non-stick baking). Now, carefully arrange the potato slices in a single, thin layer to form your desired square or rectangle shape. It’s important to slightly overlap the edges of each potato slice to create a continuous “sheet” without any gaps. However, avoid excessive overlapping, as too many layers will make the wrap too thick and prevent it from cooking through properly. Pay extra attention to the edges, ensuring they have enough overlap to prevent them from crisping up too quickly and becoming brittle.
- Season and Bake: Lightly brush the entire potato layer with your chosen oil (olive or avocado). Then, generously sprinkle your preferred seasonings – sea salt, pepper, garlic powder, or any other spices you love. If you’re adding cheese for an extra crispy, cheesy wrap, sprinkle it over the potatoes *before* baking.
- Bake to Golden Perfection: Bake your potato wrap in a preheated oven (refer to the recipe card for specific temperature and time). You want the wrap to become lightly golden around the edges and slightly firm but still pliable. Keep a close eye on it, as oven temperatures can vary! Over-baking will result in a crispy potato crisp rather than a flexible wrap. If desired, you can carefully flip the wrap halfway through baking or towards the end to ensure even cooking and a consistent texture on both sides.
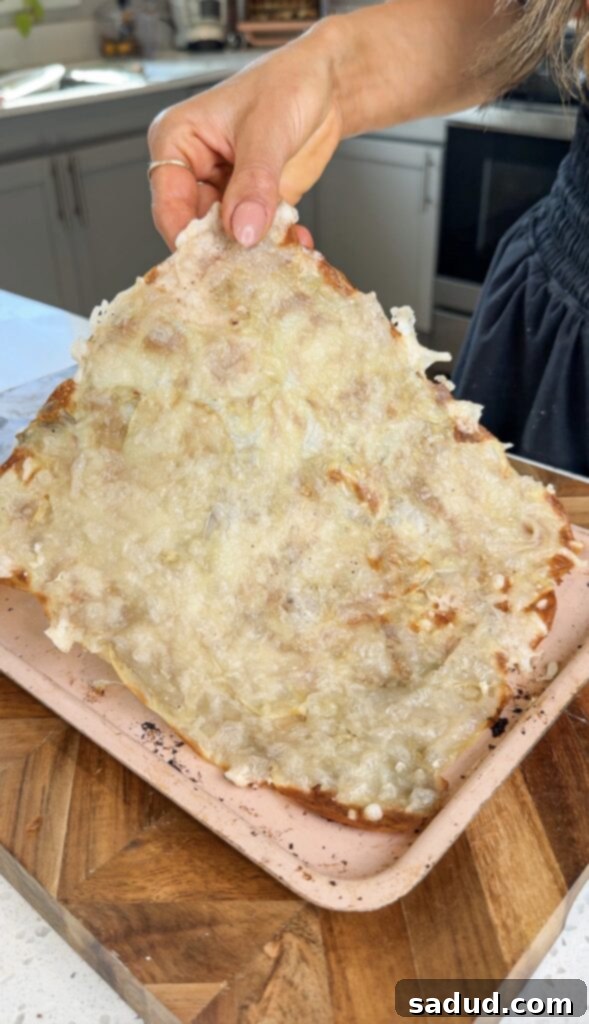
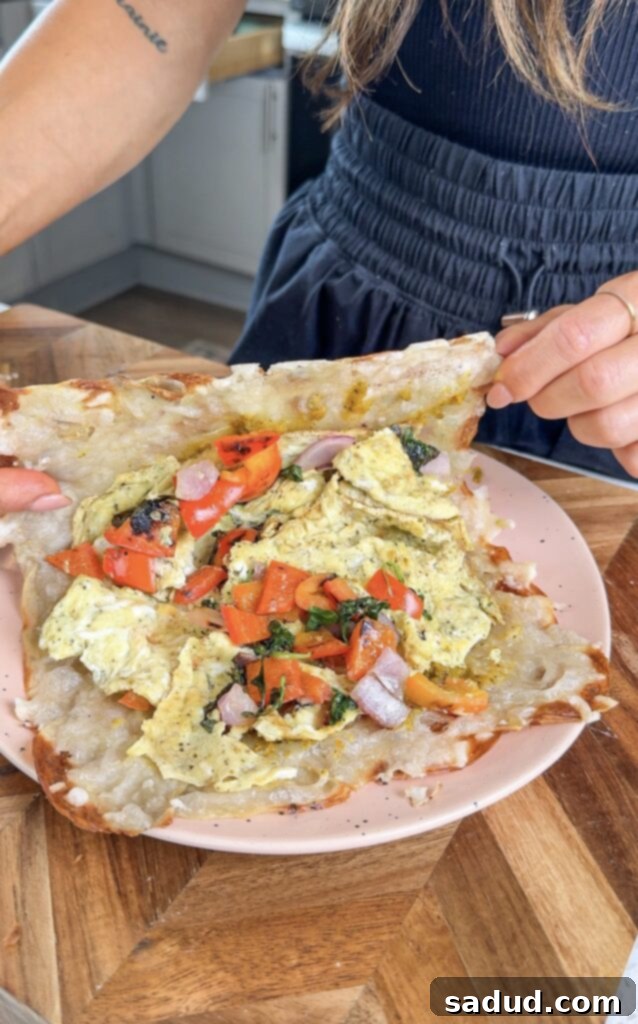
- Cool and Fill: Once baked, remove the potato wrap from the oven and let it cool on the baking sheet for a few minutes. This allows it to firm up slightly and become even more pliable. Then, carefully transfer it and load it up with your favorite fillings! Roll it up, and enjoy your delicious, homemade potato wrap immediately!
-

Thinly sliced potatoes, perfectly arranged on a baking sheet. -

The potato wrap browning to perfection in the oven. -

A freshly baked potato wrap, perfectly pliable and ready for fillings.
Frequently Asked Questions & Expert Tips for Perfect Potato Wraps
Can You Make Potato Wraps in the Air Fryer?
Absolutely! The air fryer is a fantastic tool for a quicker version of these potato wraps. However, it’s crucial to remember that air fryers vary significantly in their power and cooking times. Generally, I recommend cooking the wraps at 350°F (175°C) until they are lightly golden and pliable. You might even want to gently flip the wrap halfway through or for an extra minute or two on the other side to ensure even cooking. The key is to achieve a tender, flexible wrap, not a crispy potato chip, so watch it closely to prevent over-crisping, which would make it impossible to roll.
Can You Make Potato Crusts/Wraps Ahead of Time?
While these potato wraps are undeniably best enjoyed fresh out of the oven, they can certainly be reheated later if needed. I’ve successfully made a wrap in the morning and reheated it for lunch later in the day with excellent results. For reheating, a quick pop back into the air fryer or a warm oven can help to crisp them up slightly and restore some of their fresh texture. Avoid microwaving, as it tends to make them soft and less appealing.
Top Tips for Success
- Edge Protection: When layering your potato slices, pay extra attention to the edges. Ensure there’s enough overlap to create a sturdy perimeter. This will help prevent the outer edges from crisping or even burning faster than the center of the wrap, ensuring a uniformly pliable result.
- Vigilant Observation: Every oven is different, so your wrap might cook faster or slower than mine. Keep a close eye on it, especially towards the end of the suggested baking time. The ideal stage is lightly golden all over, with edges that are still flexible, not too crispy.
- Optional Flip: For truly even cooking and a consistent texture on both sides, consider gently flipping the wrap over with a spatula about two-thirds of the way through baking, or for just an extra minute or two at the end.
- Crispy Cheese Hack: If you’re a cheese lover, sprinkle your favorite grated cheese (dairy or dairy-free) over the layered potato wrap *before* baking. As it bakes, the cheese will melt and become wonderfully golden and crispy, adding an incredible flavor and texture boost!
- The Mandolin is Your Best Friend: I cannot emphasize this enough – for the best, most consistent, and truly pliable potato wraps, a mandolin slicer is highly recommended. The potato slices absolutely need to be very thin (around 1/16 to 1/32 inch, or 1-2mm) to cook properly and become flexible.
- Pat Dry for Crispness: After slicing, always pat your potato slices thoroughly dry. Removing excess moisture is key to achieving that desired crisp-yet-pliable texture and prevents a soggy wrap.
More Healthy Recipes to Try
If you loved these potato wraps, be sure to check out some of my other healthy and delicious recipes:
- Sweet Potato Wraps/Tortillas
- One Pan Enchilada Breakfast Skillet
- Paleo Sandwich Bread
- Breakfast Stuffed Peppers
- Breakfast Berry Crumble
- Healthy Breakfast Bowls
- Crunchy Granola Clusters
Easy Potato Wraps (1 Ingredient, Gluten-Free)
These easy potato wraps are a game-changer! Simple to make with just one ingredient, they add incredible flavor to any breakfast burrito or lunch wrap. They’re super versatile, gluten-free, dairy-free, nut-free, grain-free, and absolutely delicious. Say goodbye to complicated recipes and hello to effortless healthy eating!
Pin Recipe
5 Mins
10 Mins
15 Mins
Breakfast, Lunch, Main Course, Snack
American
1
breakfast burrito, gluten-free wrap, healthy breakfast burrito, potato breakfast burrito, potato crust, potato wrap, sweet potato tortilla
Ingredients
Wrap
- 1-2 small/medium potatoes * I like to use red, gold, or russet. Sweet potato should also work!
- 1 1/2-2 tsp olive oil or avocado oil
- seasonings, of choice (Sea salt, pepper, garlic powder)
Fillings
- I like to stuff mine with an omelette made of two eggs and veggies! You can use this to make a lunch wrap with choice of deli meat, romaine, tomato, etc. Use it however you’d like!
- 1/4 cup cheese *Optional
Instructions
- Preheat oven to 375F (190°C).
- Peel the potatoes. Using a mandolin, slice the potato into VERY thin slices. Pat them thoroughly between two paper towels or tea towels to absorb excess moisture.
- Spray a baking sheet generously with spray oil or brush oil on. Lay the potato slices into a small rectangle/square. You’ll want to overlap them so that there are no gaps in the wrap, while still keeping it thin so that it cooks through. Be sure to layer enough potatoes around the edges of the wrap or else they’ll burn/crisp too much.
- Brush the wrap with olive oil, sprinkle over sea salt and a little garlic powder (and whatever other seasonings you’d like). If using cheese, grate it over top or sprinkle it over the wrap.
- Bake for 10-15 minutes until golden around the edges and slightly all over. I like to turn the heat off, flip the wrap, and let it cook in the off oven for another minute or so. Remove from the oven and let cool a few minutes.
- Stuff with whatever you’d like (I like to make mine a breakfast burrito!). Enjoy right away!
Video
If the video isn’t loading, please refresh your page or check your ad blocker settings.
