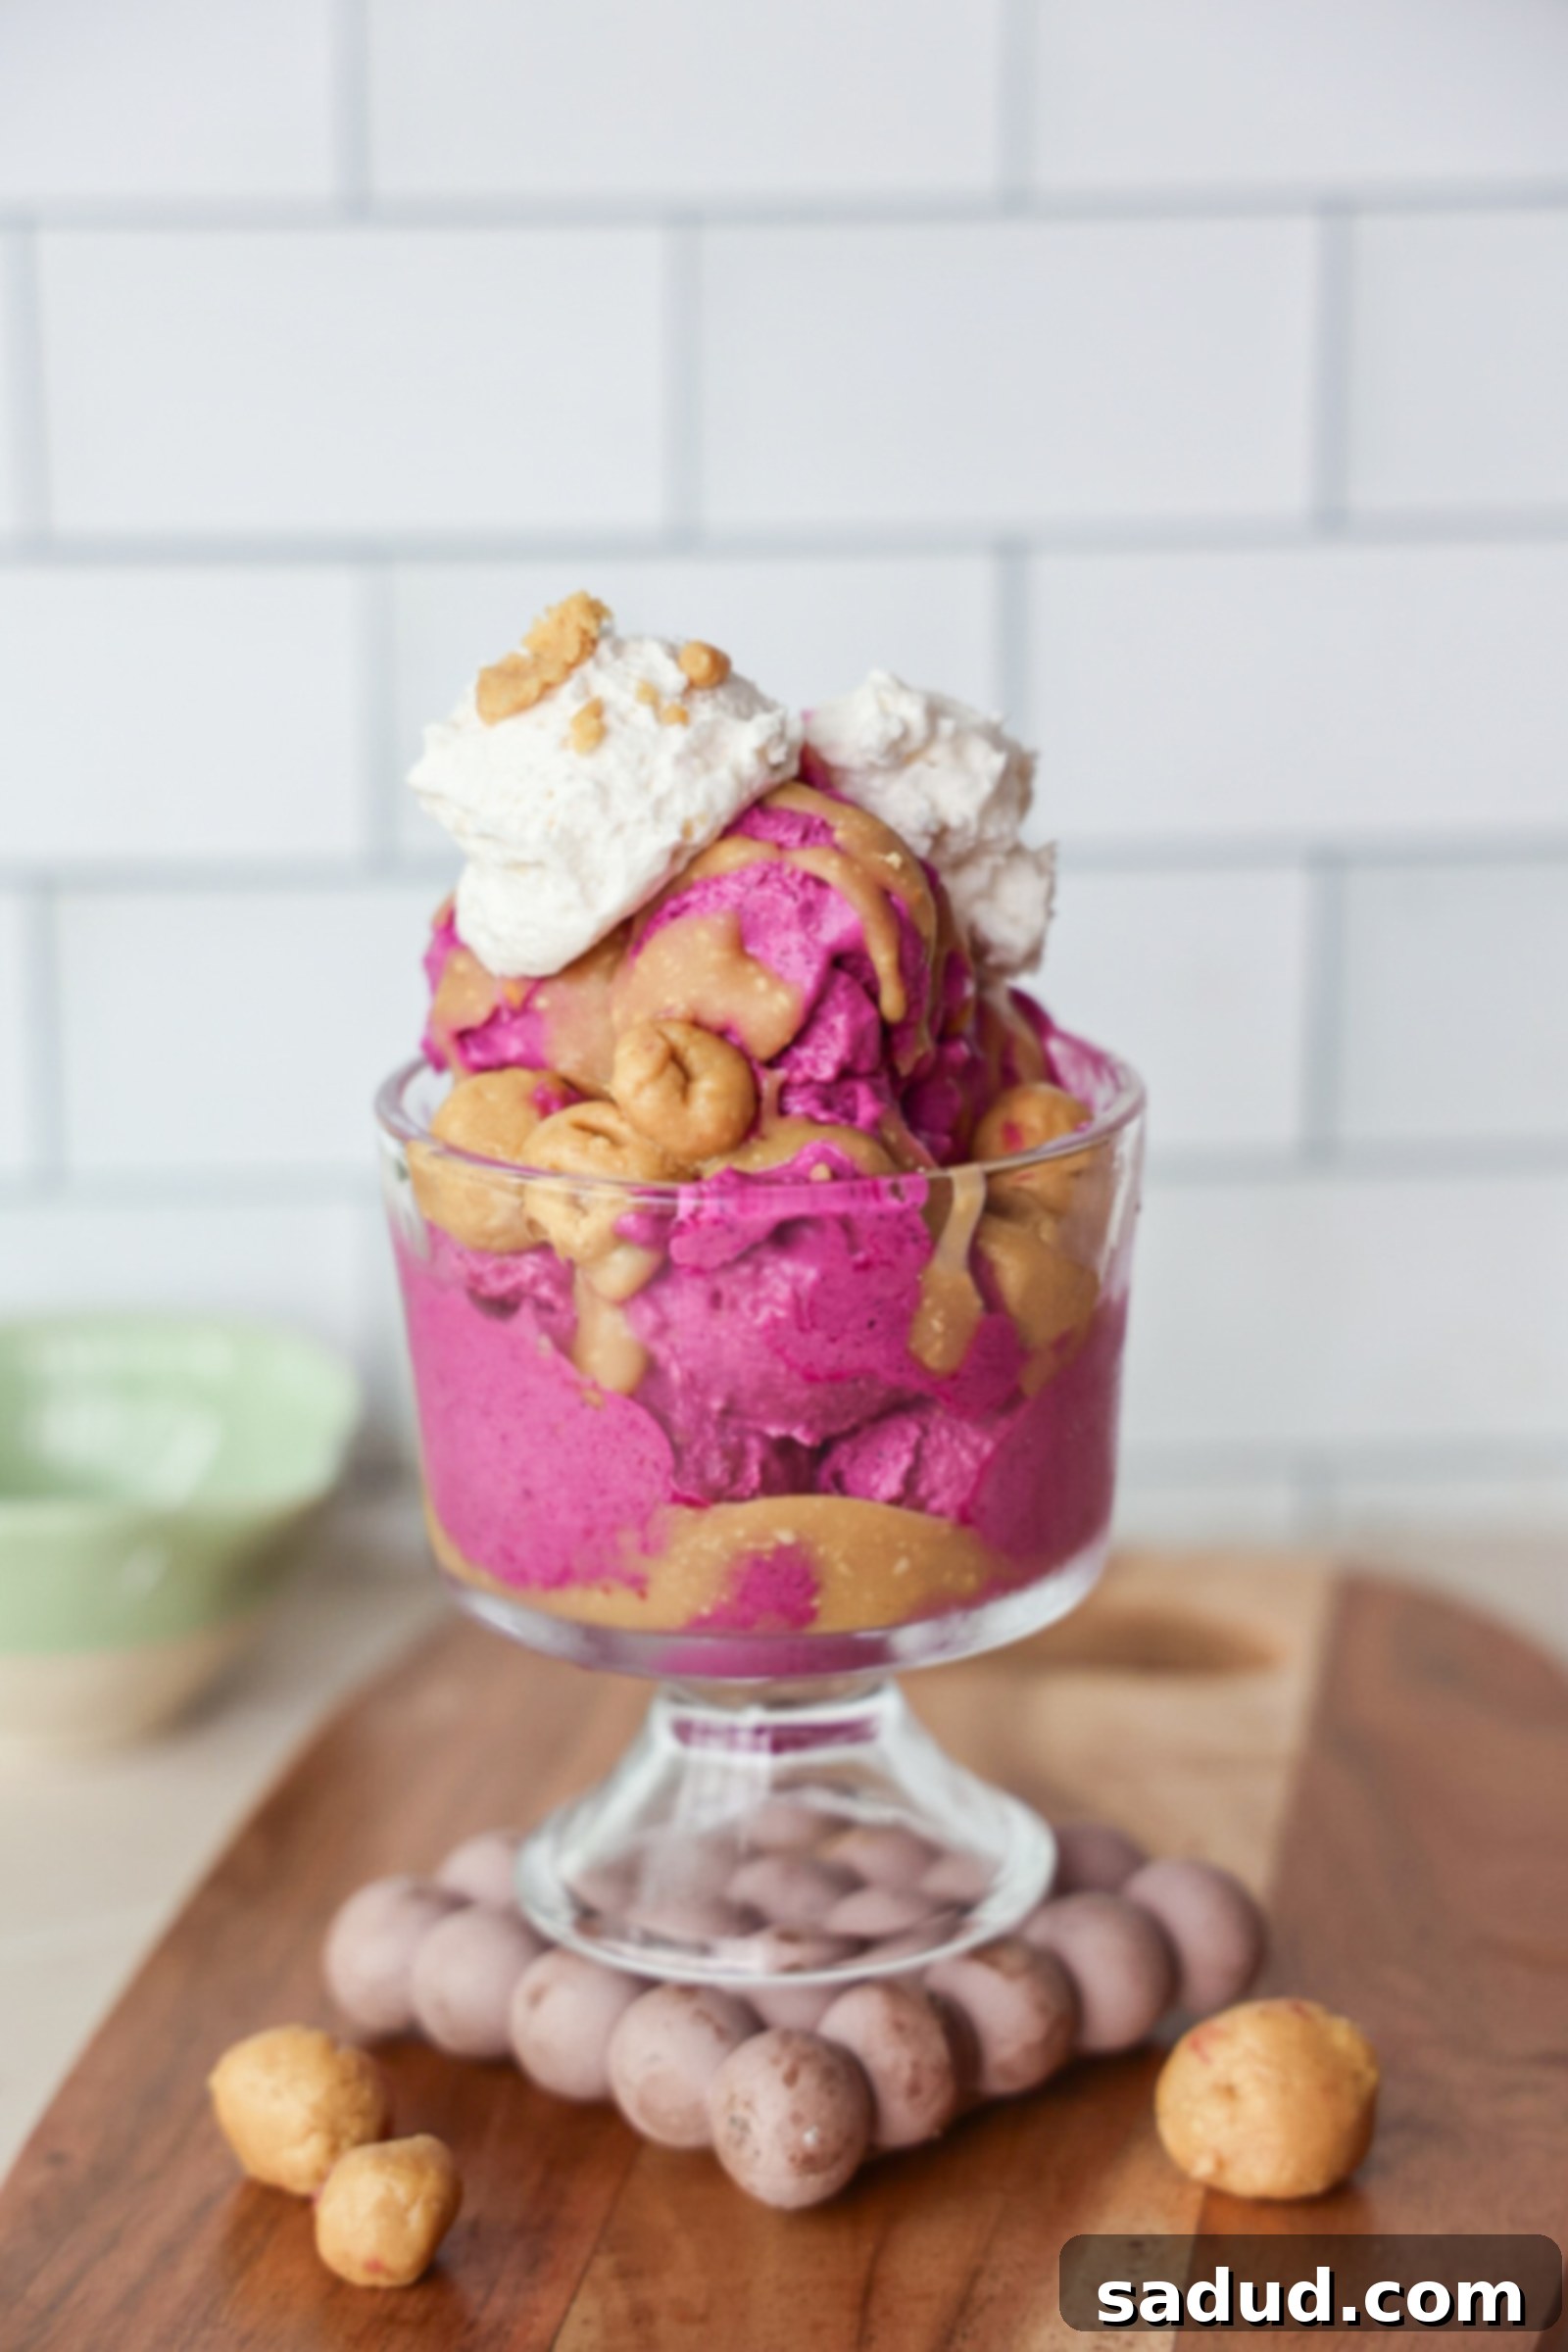
Healthy Dragon Fruit Ice Cream with Peanut Butter Magic Shell & Cookie Dough (Vegan & Gluten-Free Recipe)
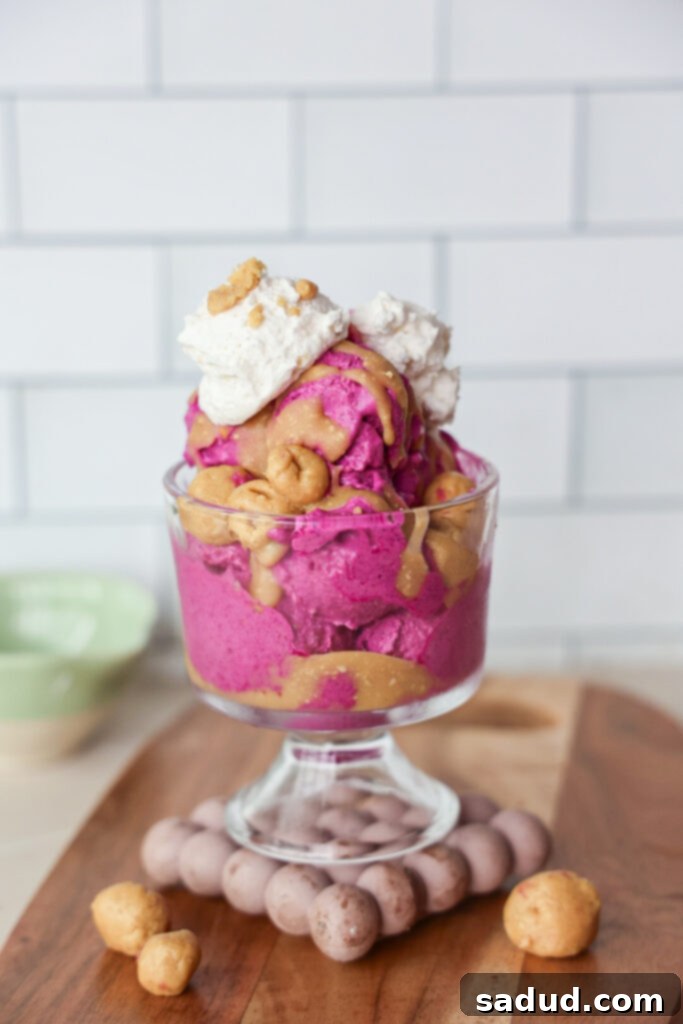
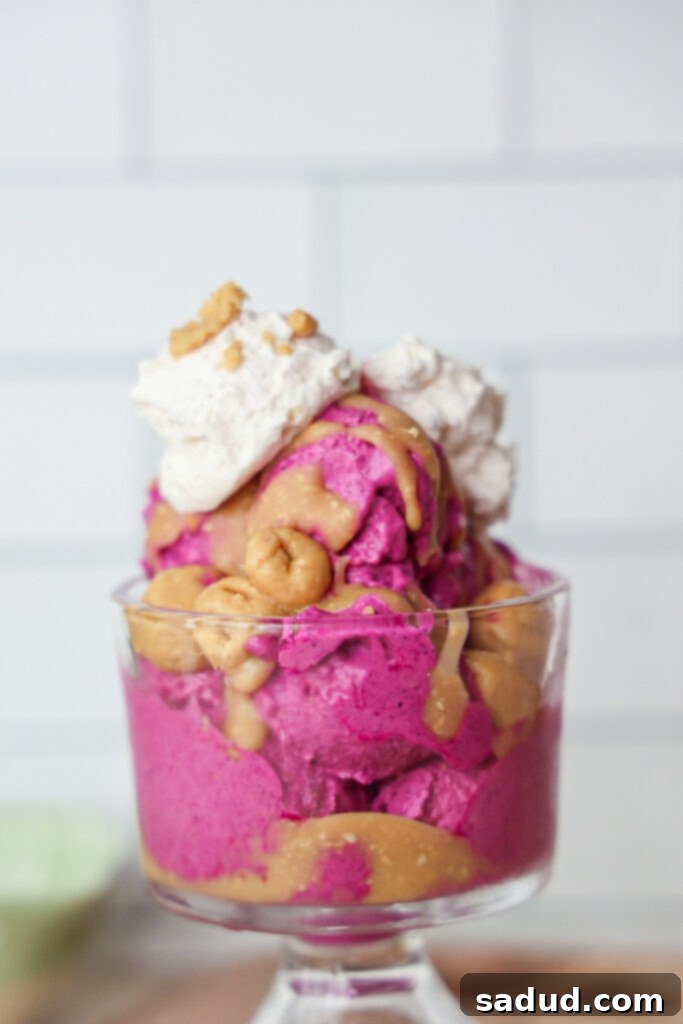
Indulge in a vibrant, naturally sweet treat that’s as delicious as it is nutritious! This creamy dragon fruit ice cream, also known as ‘nice cream’, is a game-changer. It’s elegantly covered in a crunchy peanut butter magic shell and studded with delightful chunks of homemade peanut butter cookie dough. Imagine the classic combination of PB&J, but elevated into a superfood dessert! This recipe isn’t just a treat for your taste buds; it’s packed with antioxidants, plant-based protein, and essential fiber, all designed to keep your blood sugar balanced and your body happy. Plus, it’s completely vegan, gluten-free, and refined sugar-free, making it the perfect guilt-free indulgence for everyone.
Dragon Fruit Ice Cream Recipe Video
Watch our step-by-step video guide to see just how easy it is to create this incredible healthy dragon fruit ice cream in your own kitchen. From blending the creamy base to preparing the irresistible peanut butter magic shell and cookie dough, we’ve got you covered!
Why You’ll Absolutely Love This Healthy Dragon Fruit Ice Cream
This dragon fruit ice cream recipe isn’t just another dessert; it’s a delightful experience that brings together ease, incredible flavor, and outstanding nutritional benefits. Here’s a deeper look into why this recipe will become a new favorite in your healthy eating repertoire:
- Effortless Preparation: Forget complicated techniques or specialized equipment! This recipe is incredibly versatile and can be made using a Ninja Creami for an ultra-creamy, scoopable texture, a traditional ice cream maker for classic results, or even just a powerful blender if you’re keeping things simple. We provide instructions for all three methods, ensuring you can enjoy this treat no matter what tools you have on hand. It’s designed for maximum deliciousness with minimal fuss.
- Nutritional Powerhouse: This isn’t your average sugary ice cream. This ‘nice cream’ is a true superfood dessert! Dragon fruit (also known as Pitaya) is bursting with antioxidants, vitamins, and minerals that support overall wellness and boost your immune system. The addition of plant-based protein powder helps build and repair tissues, while healthy fats from raw cashews and peanut butter promote satiety and brain health. Furthermore, the fiber content from the fruit and cashews plays a crucial role in maintaining stable blood sugar levels, preventing those energy crashes often associated with sugary desserts. It’s a treat that genuinely nourishes your body from the inside out.
- Perfect for Meal Prep: Take the stress out of healthy snacking or dessert planning by meal prepping a batch of this dragon fruit ice cream. Prepare the base ahead of time and freeze it, so you have a convenient, nutritious, and delicious option ready to enjoy throughout the week. Having a healthy treat on hand makes it easier to stick to your wellness goals and resist less-healthy temptations. It’s ideal for busy lifestyles, offering a quick and satisfying way to curb sweet cravings.
- Dietary Inclusivity: We believe everyone should be able to enjoy delicious desserts. This recipe is thoughtfully crafted to be entirely vegan, making it suitable for those following a plant-based diet. It’s also naturally gluten-free, catering to individuals with gluten sensitivities or celiac disease. And by opting for natural sweeteners like maple syrup or monk fruit, we’ve kept it refined sugar-free, ensuring a wholesome treat that fits various dietary preferences without compromising on flavor.
Mastering the Art of Dragon Fruit Ice Cream
Below, you’ll find an overview of the simple steps and necessary equipment. For the complete recipe, precise measurements, and detailed instructions, please refer to the comprehensive recipe card located at the bottom of this post!
Essential Equipment
While this recipe is incredibly adaptable, having the right tools can make the process even smoother and lead to a perfectly creamy consistency. Here’s what you might need:
- High-Powered Blender: This is the most crucial piece of equipment, essential for blending the cashews and dragon fruit into a silky-smooth base. A powerful blender ensures there are no grainy bits, resulting in a truly luxurious ice cream texture.
- Ninja Creami (Optional but Recommended for Optimal Texture): If you own a Ninja Creami, this appliance will transform your frozen mixture into an incredibly thick, scoopable, and perfectly smooth ice cream that rivals traditional dairy-based versions. It’s a fantastic investment for anyone serious about homemade healthy frozen treats.
- Ice Cream Machine (Optional): A classic ice cream maker also works wonderfully for churning the base into a delightful, airy consistency. While the result differs slightly from a Ninja Creami, it still produces fantastic homemade ice cream.
Key Ingredients for Success
Each ingredient in this recipe plays a vital role in achieving the perfect flavor, texture, and nutritional profile. Here’s what you’ll need to gather:
- Dragon Fruit: The star of our show! I highly recommend using frozen Pitaya Foods Dragon Fruit packs. These are convenient, ensure a vibrant color, and provide a consistent mild, sweet flavor. You can typically find them in the frozen fruit section of most major grocery stores (Whole Foods is a reliable source for me!). If using fresh dragon fruit, make sure to peel it, chop it, and freeze it thoroughly beforehand for the best results.
- Vanilla Protein Powder: This ingredient isn’t just for a protein boost; it also significantly contributes to the ice cream’s creamy texture and helps prevent it from becoming too icy. My personal favorite is Macro Mike Vanilla Buttercream protein—their flavors are absolutely incredible and blend seamlessly into any recipe. (Don’t forget to use my code: “amb-dani” for a discount!). Any plant-based vanilla protein powder will work well.
- Maple Syrup or Honey: These natural sweeteners perfectly complement the subtle sweetness of the dragon fruit. Maple syrup keeps the recipe strictly vegan, while honey offers a similar depth of flavor for those not adhering to a vegan diet. For a lower-sugar option, monk fruit sweetener can be used, adjusting to your preferred level of sweetness.
- Plant-Based Milk or Canned Coconut Milk: The choice of milk greatly influences the final texture. For an ultra-rich, truly ice cream-like consistency, opt for full-fat canned coconut milk (make sure it’s the canned variety, not the carton drink!). However, any plant-based milk (like almond, oat, or soy milk) or even regular dairy milk will work perfectly fine for a lighter, still delicious ‘nice cream’.
- Raw Cashews: These are the secret to achieving that incredibly smooth, ultra-creamy, and thick consistency without any dairy. When blended, raw cashews create a rich, emulsified base that mimics the mouthfeel of traditional ice cream. For best results, soak them in hot water for 15-30 minutes (or cold water overnight) before blending, then drain and rinse.
- Vanilla Extract: A touch of pure vanilla extract enhances all the other flavors, adding a warm, aromatic depth that completes the dessert.
Step-by-Step Methods to Create Your Dragon Fruit Ice Cream
One of the best features of this recipe is its flexibility! You can achieve delicious dragon fruit ice cream using a Ninja Creami, a dedicated ice cream maker, or even just a high-powered blender. While the Ninja Creami often delivers the most authentic, dense ice cream-like consistency, you absolutely don’t need any fancy equipment to enjoy this incredible treat. Choose the method that best suits your kitchen and preferences:
General Preparation (for all methods):
- First, ensure your raw cashews are prepared. If you don’t have a high-powered blender that can pulverize them easily, soaking them in hot water for 15-30 minutes (then draining and rinsing) will ensure a super smooth ice cream base.
- Add all of the dragon fruit ice cream ingredients to your high-powered blender. Blend on high until the mixture is completely smooth and creamy, with no visible cashew pieces or fruit chunks. Taste and adjust for sweetness if desired.
1. Ninja Creami Method: The Ultimate Creaminess
This method yields the closest texture to traditional, decadent ice cream:
- After blending your smooth ice cream mixture, pour it directly into a Ninja Creami Pint. Ensure you don’t overfill past the max fill line.
- Place the sealed pint in your freezer and freeze it overnight, or for at least 24 hours, until it’s completely solid. This solid freeze is crucial for the Creami’s magic!
- When you’re ready to enjoy, take the pint out of the freezer and let it sit on the counter for about 10-15 minutes. This slight softening helps the blade process the mixture more effectively.
- Place the pint into your Ninja Creami machine and select the “Lite Ice Cream” or “Ice Cream” setting. Let it spin until smooth.
- Often, after the first spin, the texture might be a bit crumbly. If this happens, create a small well in the center of the pint, add a splash of your chosen milk (start with 1-2 tablespoons), and then re-spin on the “Lite Ice Cream” or “Re-spin” setting until perfectly creamy and scoopable.
2. Traditional Ice Cream Maker Method: Classic Churn
For those who prefer the churning action of a classic machine:
- The night before you plan to make the ice cream, place the bowl of your ice cream machine in the freezer. It needs to be thoroughly frozen to properly churn the mixture.
- Once your ice cream base is blended and smooth (as per the general preparation step), chill it in the refrigerator for at least 30 minutes to an hour. A colder base churns more effectively.
- Assemble your ice cream machine. Turn it on and, while the paddle is rotating, slowly pour the chilled dragon fruit mixture into the frozen bowl.
- Churn the ice cream according to your machine’s instructions, usually for 20-30 minutes, until it reaches a soft-serve consistency.
- For a firmer ice cream, transfer it to an airtight container and freeze for another 2-4 hours before serving.
3. Blend, Freeze, Blend Method: No Special Machines Required
This method is perfect if you only have a high-powered blender and still want a great ice cream texture:
- After blending your smooth ice cream mixture, pour it into an ice cube tray. This maximizes the surface area for freezing and makes subsequent blending easier.
- Freeze the ice cube tray overnight, or until the cubes are completely solid.
- When you’re ready to enjoy, take the ice cube tray out and let it sit at room temperature for about 10-15 minutes to soften slightly.
- Transfer the frozen ice cream cubes to your high-powered blender. Begin blending, using a tamper if your blender has one (like a Vitamix) to push the mixture into the blades. You’ll need to stop frequently to scrape down the sides of the blender with a spatula.
- Blend until you achieve a thick, soft-serve ice cream consistency. Be patient, as this might take a few minutes of blending and scraping.
- **Crucial Tip:** If the mixture is too thick to blend, add a splash (start with just 1-2 tablespoons) of your chosen milk. Add liquid very sparingly, as too much will quickly turn your ice cream into a smoothie! The goal is just enough liquid to help the blades catch the frozen cubes.
- Serve immediately for the best soft-serve texture.
Creative Ice Cream Variations and Serving Suggestions
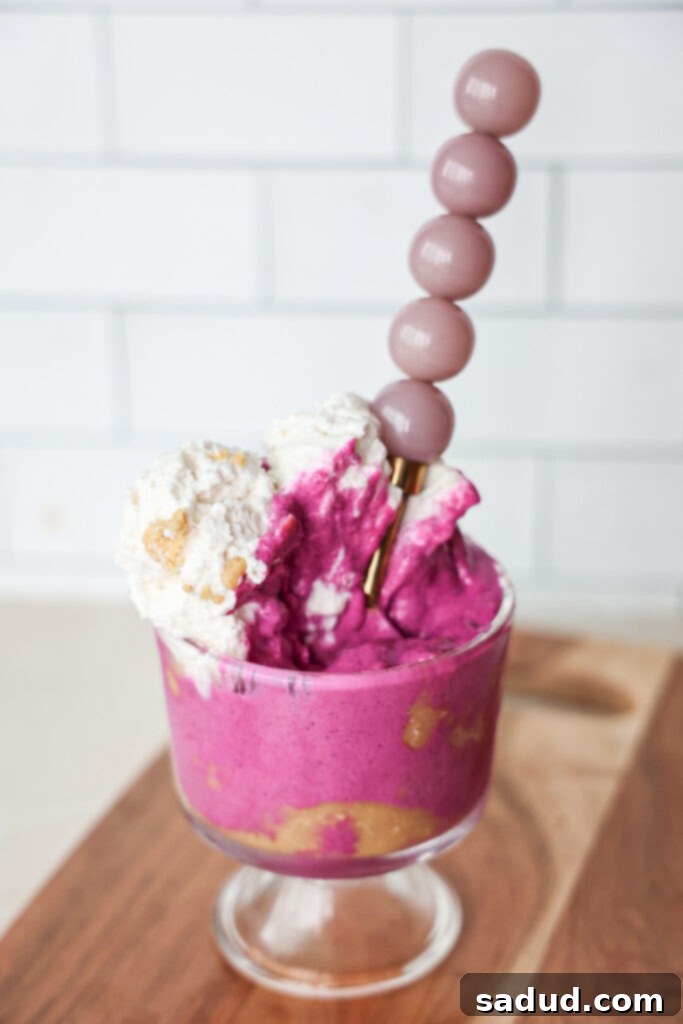
While this dragon fruit ice cream is phenomenal on its own, it also serves as a fantastic base for a variety of toppings and serving styles. Get creative and customize your dessert experience!
- Classic Toppings: Enhance the crunch and flavor by topping your nice cream with your favorite granola. Adding fresh fruit like berries, sliced bananas, or kiwi can provide an extra layer of sweetness and texture, perfectly complementing the dragon fruit.
- Chocolate Lover’s Dream: Drizzle warm melted white chocolate or regular dark/milk chocolate over your ice cream. As the chocolate hits the cold ice cream, it will harden, creating another delicious “magic shell” effect.
- Nut Butter Extravaganza: If you’re a peanut butter fanatic, a simple drizzle of plain, runny peanut butter (or cashew/almond butter) is always a winner. It adds an extra layer of nutty creaminess that pairs beautifully with the dragon fruit.
- Fun with Sprinkles: For a festive and playful touch, generously add colorful sprinkles! This is especially great if you’re serving it for a party or for kids (or kids at heart!).
- Cone Appeal: For a traditional ice cream parlor feel, serve your dragon fruit nice cream in a crispy waffle cone or a classic cake cone. The added crunch and sweetness of the cone make it an even more delightful experience.
- Tropical Twist: Add shredded coconut, macadamia nuts, or a swirl of mango puree for an even more exotic, tropical vibe.
- Cookie Crumble: Besides our peanut butter cookie dough, try crushing your favorite vegan cookies or graham crackers over the top for added texture and flavor.
Explore More Healthy Ice Cream Recipes
If you’ve fallen in love with this healthy dragon fruit ice cream, you’re in luck! We have a collection of other delicious and nutritious ice cream recipes that are just as easy to make and equally satisfying. Perfect for any craving or season, these recipes prove that healthy eating can be incredibly indulgent.
- Vegan Pumpkin Pie Ice Cream: A cozy, spiced delight perfect for autumn.
- Vegan Pistachio Ice Cream (Ninja Creami): Rich, nutty, and vibrant, especially good with the Ninja Creami.
- Dairy-Free Homemade Ice Cream Sandwiches: A nostalgic treat, made healthier and completely dairy-free.
- Snickers Ice Cream Cake: Indulgent layers inspired by your favorite candy bar, but with a wholesome twist.
- Strawberry Shortcake Ice Cream Bars: A refreshing and fruity classic, reinvented in a healthier form.
- Healthy Cookie Dough Ice Cream/Frozen Yogurt: For all the cookie dough lovers, a safe and healthy way to enjoy your favorite add-in.
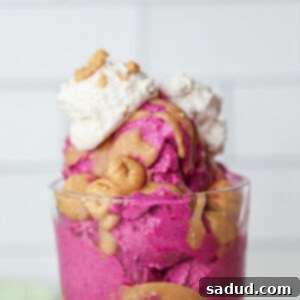
Dragon Fruit Ice Cream with Peanut Butter Magic Shell
Pin Recipe
10 minutes
10 minutes
Appetizer, Breakfast, Dessert, Snack
American
3
-4
Ingredients
Dragon fruit ice cream
-
2
packs
frozen Pitaya foods dragon fruit -
3/4
cup
raw cashews -
1 1/2
cups
milk, of choice -
3-4
tbsp
maple syrup
*more as needed -
1
scoop
vanilla protein powder
*optional -
1
tsp
vanilla extract
Peanut butter magic shell
-
2
tbsp
creamy/runny peanut butter
*or cashew or almond butter -
1 1/2
tbsp
maple syrup -
1
tbsp
coconut oil
Peanut butter cookie dough balls
-
1/4
cup
peanut butter
*or cashew or almond butter -
2
tbsp
maple syrup -
3
tbsp
coconut flour
Instructions
Peanut butter cookie dough balls
-
In a small bowl, combine all of the cookie dough ingredients (peanut butter, maple syrup, coconut flour). Mix well until a nice dough forms. Roll the dough into small balls and store in the freezer until ready to use.
Dragon fruit ice cream
Ninja creami method
-
Combine all the ice cream ingredients (frozen dragon fruit, raw cashews, milk, maple syrup, vanilla protein powder, vanilla extract) in a high-powered blender, blending until smooth and creamy. Taste & adjust as you’d like (add more sweetener, etc.).
-
Pour the ice cream mixture into your Ninja Creami pint and place in the freezer overnight (or for at least 24 hours) until completely solid. When ready to make it, leave the pint out on the counter for 10 minutes or so to soften slightly. Then place it on the Ninja Creami and spin it using the “Lite Ice Cream” setting. After that first initial blend, if the texture is crumbly, add 1-2 tablespoons of milk and re-spin it on the “lite ice cream” setting again until smooth and scoopable.
Ice cream maker method
-
The night before making the ice cream, place the ice cream bowl of your machine in the freezer to ensure it’s completely frozen.
-
When ready to make, combine all the ice cream ingredients in a high-powered blender, blending until smooth. Taste & adjust as you’d like (more sweetener, etc.). Chill the mixture in the refrigerator for at least 30 minutes. Turn your machine on and use it according to its directions – usually, you pour the chilled ice cream mixture in while it’s running! Churn until it reaches a soft-serve consistency (about 20-30 minutes).
Blend, freeze, blend method
-
Combine all the ice cream ingredients in a high-powered blender, blending until smooth. Taste & adjust as you’d like (more sweetener, etc.). Pour the mixture into an ice cube tray. Place in the freezer overnight until completely solid.
-
When ready to enjoy, let the ice cube mold sit out at room temp for 10 minutes to soften slightly. Then place the cubes in a high-powered blender (blenders with a tamper, like a Vitamix, work best!). You may need to stop and press the mixture into the blades, scraping down the sides as needed, until you get a thick, smooth ice cream.
-
If you need to, add a very small splash of milk (1-2 tablespoons at a time) to help things move along, but be careful not to add too much or it’ll turn into a smoothie! Enjoy immediately.
Video
Notes
cherry nice cream, easy dessert, easy recipes, healthy blizzard, healthy ice cream, paleo ice cream, peanut butter magic shell, peanut butter cookie dough ice cream, protein ice cream, vegan ice cream
Storage and Freezing Tips
To enjoy your homemade Dragon Fruit Ice Cream at its best, proper storage is key:
- Immediate Enjoyment: For soft-serve consistency, especially with the blender method, it’s best to enjoy the ice cream immediately after preparing.
- Long-Term Storage: If you’ve used the Ninja Creami or ice cream maker, transfer any leftover ice cream to an airtight, freezer-safe container. Press a piece of parchment paper or plastic wrap directly onto the surface of the ice cream before sealing the container. This helps prevent ice crystal formation and freezer burn.
- Shelf Life: Stored properly, this healthy nice cream can last for up to 1-2 weeks in the freezer. Beyond that, the texture might begin to degrade, although it will still be safe to eat.
- Re-softening: If the ice cream becomes too hard directly from the freezer, let it sit on the counter for 10-15 minutes before serving to soften slightly for easier scooping. For Ninja Creami users, a quick re-spin can revive the texture perfectly.
Frequently Asked Questions (FAQs)
Here are answers to some common questions you might have about making this delicious dragon fruit ice cream:
- Can I use fresh dragon fruit instead of frozen packs? Yes, you can! If using fresh dragon fruit, peel and chop it into small pieces, then freeze it solid for at least 4-6 hours (preferably overnight) before blending. Using frozen fruit is crucial for achieving an ice cream-like consistency.
- Do I have to add protein powder? No, the protein powder is optional but highly recommended. It adds a nutritional boost and contributes significantly to the creamy, less icy texture. If you omit it, your ice cream might be slightly less rich and may require a bit more blending or milk to achieve desired consistency, especially in the blender method.
- Can I substitute the cashews? Raw cashews are key for the ultra-creamy, dairy-free base. If you have a nut allergy, you could try using sunflower seeds (soaked) or a combination of silken tofu for creaminess, though the flavor and texture might be slightly different. For best results, stick with cashews.
- What if my magic shell doesn’t harden? The magic shell hardens due to the coconut oil reacting to the cold temperature of the ice cream. Ensure your ice cream is very cold and firm. Also, make sure your coconut oil is melted and liquid when mixing with peanut butter. If it’s still not hardening, your coconut oil might be old or the ratio slightly off; ensure it’s at least 1 tablespoon for 2 tablespoons of peanut butter.
- Is this recipe suitable for kids? Absolutely! It’s a fantastic healthy alternative to traditional ice cream, packed with nutrients and natural sweetness. Kids will love the vibrant color and the fun magic shell and cookie dough additions. Just be mindful of any nut allergies if serving to others.
- How can I make it even sweeter or less sweet? You can easily adjust the sweetness. Add an extra tablespoon or two of maple syrup (or your chosen sweetener) to the blender during the initial mixing if you prefer it sweeter. If you want it less sweet, start with 2 tablespoons of maple syrup and taste before adding more. Monk fruit is a great sugar-free alternative.
This healthy dragon fruit ice cream with peanut butter magic shell and cookie dough is truly a delightful and nutritious dessert that caters to various dietary needs without sacrificing flavor. It’s an easy-to-make, vibrant treat perfect for any time of the day, offering a fantastic blend of superfood benefits and indulgent taste. Don’t wait to try this unique and satisfying recipe!
