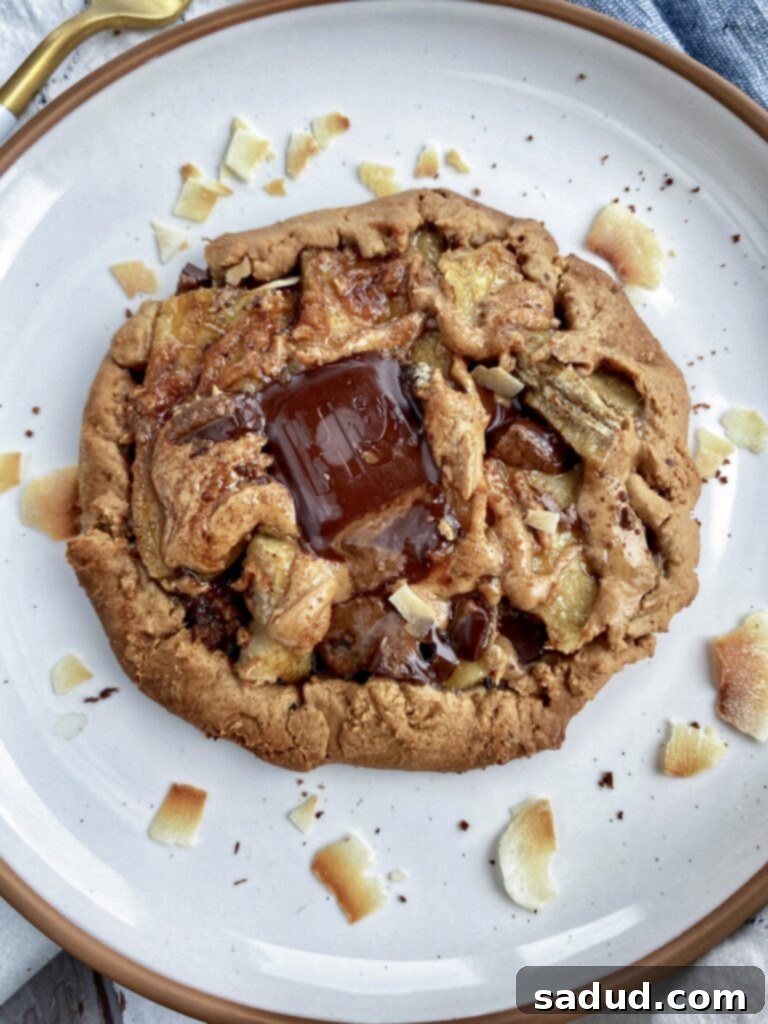
Irresistible Caramelized Banana Tarts: Your Go-To Gluten-Free & Refined Sugar-Free Dessert
Prepare to be absolutely enchanted by these caramelized banana tarts – a truly delightful and healthier treat that promises to satisfy your sweet cravings without any guilt! These tarts are a game-changer for anyone seeking a dessert that is not only incredibly easy to make but also completely gluten-free and refined sugar-free. With every bite, you’ll experience a heavenly blend of flavors, where the star, caramelized banana, becomes utterly irresistible. Forget complicated recipes; these wholesome tarts are designed for simplicity and maximum deliciousness.

When it comes to banana desserts, many people have strong opinions. Are you a “yay” or “nay” for caramelized banana? For those who are picky about banana in sweets, caramelized banana often wins hearts. The transformation that occurs when bananas are gently cooked with a touch of sweetness is simply magical, turning them into a rich, deeply flavored, and wonderfully gooey delight. This recipe harnesses that magic, delivering a dessert that’s both elegant in its simplicity and profound in its taste.
The Allure of Caramelized Bananas
What exactly makes caramelized bananas so captivating? It’s the alchemy of heat and sugar transforming humble fruit into something extraordinary. As bananas cook, their natural sugars intensify and undergo a chemical reaction (caramelization), developing complex, nutty, and buttery notes that aren’t present in raw bananas. The texture also shifts, becoming incredibly soft, almost custard-like, with a slightly sticky, golden-brown exterior. This process elevates the banana from a simple fruit to a sophisticated dessert component, offering a depth of flavor that complements a wide range of ingredients, especially chocolate and nut butters.
Why You’ll Love These Healthier Tarts
Beyond the sheer deliciousness, there are so many reasons to fall in love with these caramelized banana tarts. First and foremost, they are crafted with genuinely wholesome ingredients, making them a “better-for-you” option compared to traditional desserts laden with refined sugars and unhealthy fats. The use of oat flour provides a tender, satisfying, and naturally gluten-free crust, while maple syrup and coconut sugar offer natural sweetness without the processed sugars. This means you can indulge in a sweet treat that nourishes your body too!
Their versatility is another major plus. While the chocolate cashew butter filling is an absolute dream, this recipe is incredibly adaptable. If you’re feeling adventurous or have different ingredients on hand, feel free to switch up the nut butter or even the fruit. Imagine a pecan butter and pear variation, or a sunflower seed butter with berries for a nut-free option! The rustic, free-form design of these tarts also means there’s no need for fancy tart pans or intricate pastry skills. They’re forgiving, fun to make, and always turn out beautifully, making them perfect for novice bakers and seasoned pros alike.
Essential Ingredients for Your Caramelized Banana Tarts
Creating these delightful tarts requires a handful of simple, wholesome ingredients. Let’s break down each one and understand its role in achieving that heavenly flavor and texture:
- Bananas: The star of the show! For the best caramelization, choose bananas that are ripe but still firm. Overly ripe bananas can become too mushy, while underripe ones won’t caramelize as effectively. Slicing them thinly ensures they cook evenly and become beautifully tender and sweet. If you’re not a big banana fan, don’t let that deter you! This recipe is incredibly versatile, and you can easily substitute the banana with thinly sliced apples, pears, or peaches for a different fruity tart experience.
- Maple Syrup: This natural, sticky sweetener pairs exceptionally well with bananas, adding a rich, earthy sweetness that enhances the caramelization process. Maple syrup also contributes to the tender texture of our oat flour crust. If you don’t have maple syrup on hand, other sticky sweeteners like agave nectar or date syrup can be used as alternatives, though the flavor profile might shift slightly.
- Oat Flour: The foundation of our gluten-free crust. Oat flour provides a delicate, slightly chewy texture that holds up perfectly to the moist filling. It’s a fantastic gluten-free alternative to traditional wheat flour. You can easily make your own oat flour by blending rolled oats in a high-speed blender until a fine powder forms, or you can opt for convenient store-bought varieties. While we haven’t tested other flour substitutes for this specific recipe, you could experiment with a gluten-free all-purpose blend if you’re feeling adventurous.
- Cashew Butter: This creamy, mild nut butter adds a wonderful richness and helps bind the tart dough, creating a soft, pliable crust. Its subtle flavor allows the banana and chocolate to shine. For the filling, a runny cashew butter is ideal for drizzling. If cashew butter isn’t your preference or you have an allergy, feel free to substitute with any other nut or seed butter like almond butter, peanut butter (which will give a stronger, distinct flavor), or sunflower seed butter for a nut-free option.
- Chocolate Bar: A high-quality chocolate bar makes all the difference here, creating pockets of rich, gooey melted chocolate throughout the tart. We highly recommend Hu Kitchen Cashew Butter chocolate bars for their delicious taste and clean ingredients (you can use code “danishealthyeats” at checkout for a discount!). Dark chocolate or semi-sweet chocolate chips/chunks also work wonderfully. The quality of your chocolate can significantly impact the final taste, so choose wisely!
- Vanilla Extract: A touch of vanilla extract elevates all the other flavors, adding a warm, aromatic note that brings out the best in the bananas and chocolate. Don’t skip this small but impactful ingredient!
- Pinch of Sea Salt: A little salt goes a long way in balancing the sweetness of the tart and enhancing all the individual flavors, making them pop.
- Coconut Sugar: While maple syrup sweetens the crust, coconut sugar is sprinkled over the bananas in the filling specifically to aid in that beautiful, deep caramelization. It offers a slightly different, more robust caramel flavor than maple syrup alone, contributing to the irresistible gooey texture.
Step-by-Step Guide to Crafting Your Perfect Caramelized Banana Tarts
Making these caramelized banana tarts is straightforward and enjoyable. Follow these detailed steps to create a dessert that looks as impressive as it tastes:
- Preheat and Prepare: Begin by preheating your oven to 350°F (175°C). While the oven heats up, line a large baking sheet with parchment paper. This simple step is crucial for preventing sticking and ensuring easy cleanup later, as the gooey filling can sometimes bubble out.
- Craft the Dough: In a medium-sized mixing bowl, combine the oat flour, 3 1/2 tablespoons of maple syrup, 1/3 cup of cashew butter, vanilla extract, and a pinch of sea salt. Mix thoroughly using a spoon or your hands until a cohesive dough forms. The dough should be soft and pliable, able to hold its shape without being too sticky or crumbly. If your dough feels too dry and isn’t coming together, add 1 tablespoon of milk (dairy or a non-dairy alternative like almond milk) at a time, kneading gently after each addition, until the ideal consistency is achieved.
- Form the Tarts: Divide the prepared dough into two equal portions. For each portion, place it between two sheets of parchment paper. Using a rolling pin, roll the dough out into a thin, roughly circular disc. Aim for a thickness of about 1/8 to 1/4 inch and a diameter of approximately 6-7 inches. This rustic approach eliminates the need for perfection; uneven edges add to the charm!
- Assemble the Filling: Carefully peel back the top layer of parchment paper from each dough disc. Arrange the thinly sliced bananas in the center of each disc, creating a neat layer. Make sure to leave a border of about 1 inch around the edges of the dough – this will be folded over to create the tart’s crust. Now, drizzle the 2 tablespoons of runny cashew butter over the bananas, followed by an even sprinkle of coconut sugar. Finally, break your chocolate bar into small chunks and scatter them generously over the banana and nut butter layer.
- Fold and Seal: With the filling in place, gently fold the exposed edges of the dough over the banana and chocolate mixture. You don’t need to be precise; simply pleat and press the dough inwards, creating a beautiful, free-form, rustic tart. The goal is to contain the filling while showcasing its deliciousness in the center. Lightly press down on the folded edges to secure them.
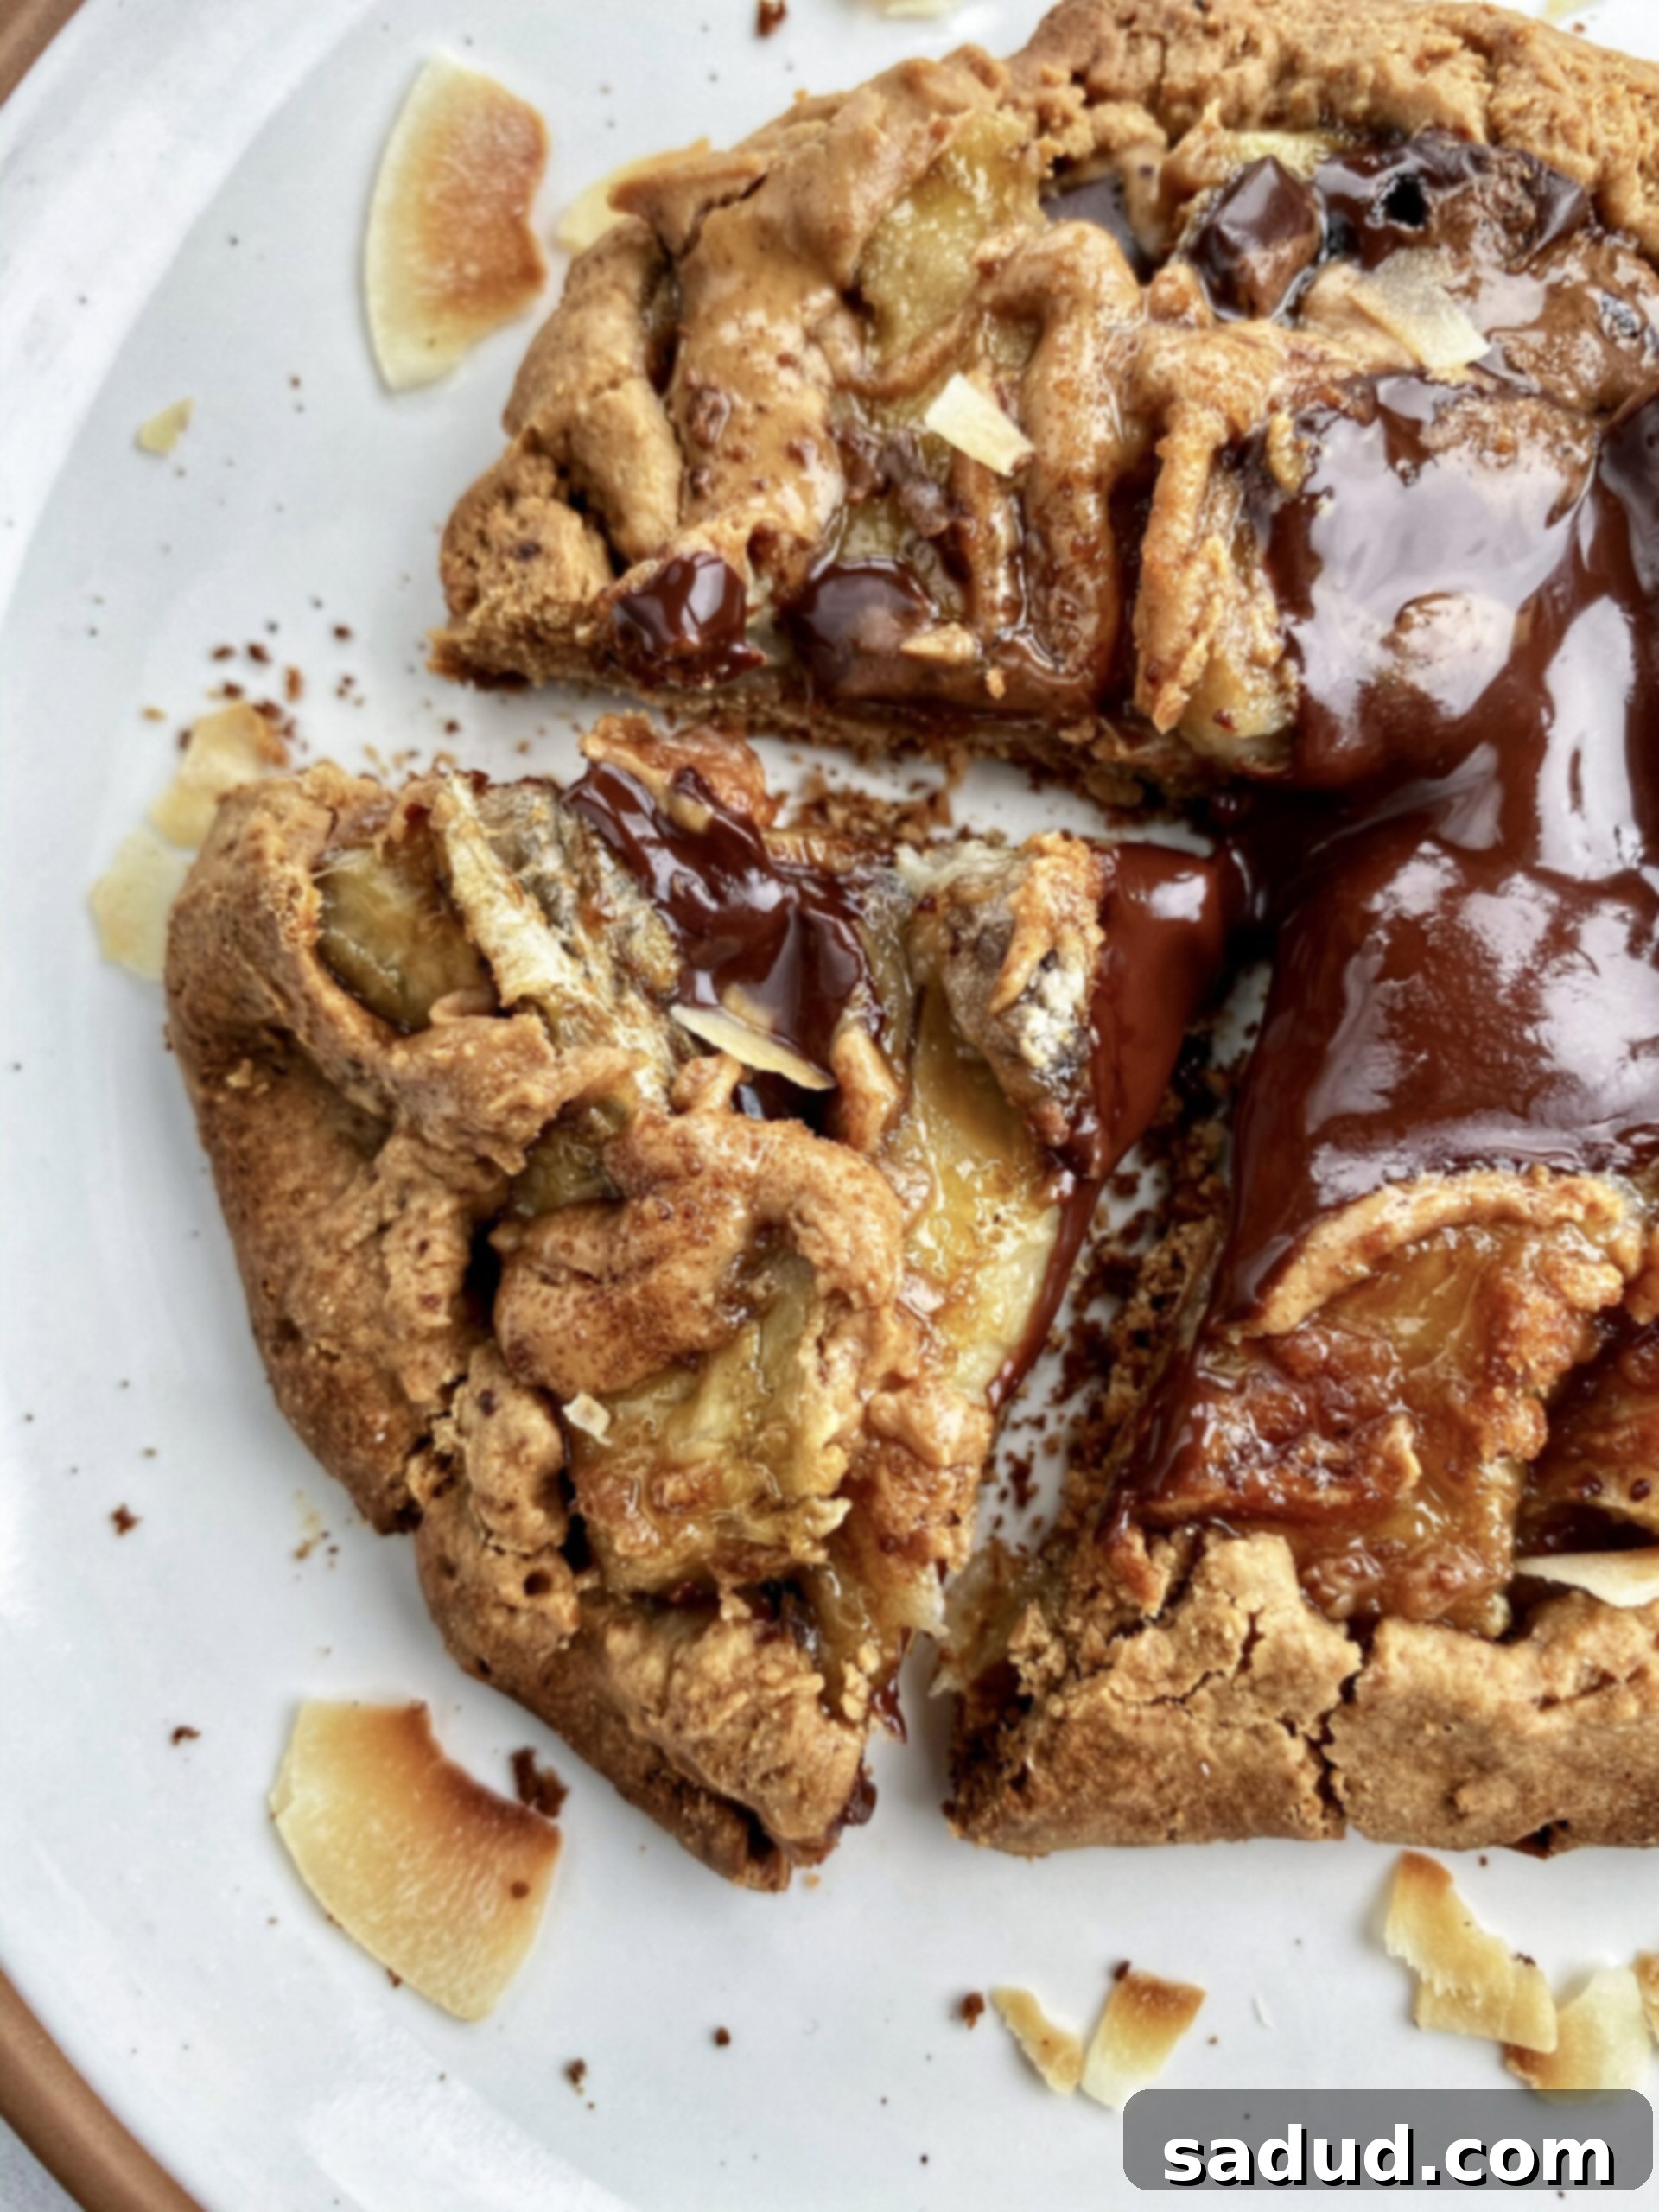
- Bake to Golden Perfection: Carefully transfer the assembled tarts (still on their parchment paper) onto your prepared baking sheet. Place the baking sheet into the preheated oven and bake for 20-22 minutes. The tarts are ready when their edges are beautifully golden brown, the bananas are visibly soft and caramelized, and the chocolate is wonderfully melted and gooey.
- Cool and Devour: Once baked, remove the tarts from the oven. Allow them to cool on the baking sheet for a few minutes before carefully transferring them to a wire rack to cool further. These tarts are absolutely divine served warm, perhaps with a scoop of dairy-free vanilla ice cream or a dollop of coconut whipped cream. Then, it’s time to DEVOUR every last bite!
Caramelized Banana Tart Recipe

These are such a fun brunch idea and so hard to resist – full of caramelized banana, peanut butter (or cashew butter), and gooey chocolate while being refined sugar-free and made with better-for-you ingredients!
Prep Time: 10 mins
Cook Time: 20 mins
Course: Dessert, Snack
Cuisine: American
Servings: 2-4 people
Keywords: banana, caramel, Dessert, easy recipe, healthy snack, Tart, gluten-free, refined sugar-free, wholesome
Ingredients
Tart Crust
- 2/3 cup oat flour (store-bought or homemade)
- 3 1/2 tbsp maple syrup
- 1/3 cup cashew butter (or any nut/seed butter)
- 1 tsp vanilla extract
- Pinch of sea salt
- (Optional: 1-2 tbsp milk, if dough is too dry)
Filling
- 1 banana, sliced thin
- 2 tbsp coconut sugar
- 1 Chocolate bar (Hu Kitchen recommended – use code “danishealthyeats” for a discount)
- 2 tbsp runny cashew butter* (for drizzling)
Instructions
- Preheat oven to 350°F (175°C).
- Combine all the tart ingredients until a dough forms. If your dough is too dry, add 1 tbsp of milk at a time until it holds together.
- Divide it into two balls & roll out into flat discs. Place the bananas in the center of each one, leaving a little room around the edges (you’ll fold them over).
- Drizzle the runny nut butter & coconut sugar over the top of the bananas. Then sprinkle on the chocolate chunks.
- Fold the edges over the filling to create a rustic tart.
- Bake for 20-22 mins or until the edges are golden. DEVOUR!
Notes
*Any nut or seed butter will work for the drizzle in the filling!
Tips for Achieving Perfectly Caramelized Bananas
The secret to truly delicious caramelized banana tarts lies in the bananas themselves and how they’re prepared. Firstly, choose bananas that are ripe enough to be sweet but still firm, holding their shape when sliced. Overly soft bananas will turn to mush, while green bananas lack the necessary sweetness for good caramelization. Secondly, don’t skimp on the coconut sugar sprinkled over the bananas before baking. This sugar, combined with the natural sugars in the banana, will melt and brown beautifully, creating that sticky, golden “caramel” layer that makes these tarts so special. Baking at the right temperature ensures even cooking without burning the crust.
Serving Suggestions & Creative Variations
These caramelized banana tarts are fantastic on their own, especially when served warm, allowing the chocolate to be perfectly gooey and the bananas melt-in-your-mouth soft. However, don’t hesitate to elevate them further! A scoop of your favorite dairy-free vanilla ice cream or a dollop of coconut whipped cream makes for an indulgent pairing. For a touch of freshness, a sprinkle of flaky sea salt (if not already in the crust) or a dusting of cinnamon can brighten the flavors. You can also get creative with the filling: try adding a pinch of chili powder for a spicy kick, a sprinkle of chopped pecans or walnuts for crunch, or even a different fruit like thinly sliced apples or pears if bananas aren’t available.
Storage and Make-Ahead Options
These tarts are best enjoyed fresh out of the oven, but leftovers can be stored. If you have any remaining tarts, allow them to cool completely, then place them in an airtight container at room temperature for up to 2 days. For longer storage, refrigerate for up to 4-5 days. To reheat, a few minutes in a toaster oven or a quick warm-up in a regular oven at a low temperature will restore some of their fresh-baked goodness, making the chocolate gooey again. You can also prepare the dough ahead of time and store it in the refrigerator for up to 24 hours, wrapped tightly in plastic, then roll and fill when ready to bake.
Frequently Asked Questions About Caramelized Banana Tarts
- Can I make these tarts vegan?
- Yes, this recipe is already naturally vegan! All ingredients listed are plant-based. Just ensure your chocolate bar is dairy-free, which many quality dark chocolates and brands like Hu Kitchen are.
- Is oat flour truly gluten-free?
- Oats are naturally gluten-free, but they can sometimes be processed in facilities that also handle gluten-containing grains, leading to cross-contamination. If you have celiac disease or a severe gluten sensitivity, make sure to use certified gluten-free oat flour.
- What if my dough is too sticky or too dry?
- If the dough is too sticky, add a little more oat flour (1 teaspoon at a time) until it’s workable. If it’s too dry and crumbly, add a bit more maple syrup or 1 tablespoon of milk (dairy or non-dairy) at a time until it comes together. The consistency can vary slightly depending on your specific ingredients and humidity.
- Can I use a different fruit instead of banana?
- Absolutely! While these are “banana” tarts, the crust and concept are versatile. Thinly sliced apples (like Honeycrisp or Granny Smith), pears, or even peaches would work wonderfully. You might need to adjust the amount of coconut sugar slightly depending on the sweetness of your chosen fruit.
- Can I use chocolate chips instead of a chocolate bar?
- Yes, chocolate chips (dark, semi-sweet, or even milk chocolate if not strictly refined sugar-free) can be used. Breaking a chocolate bar into chunks often results in more varied pockets of melted chocolate, but chips are a convenient substitute.
Conclusion: Your New Favorite Healthier Indulgence Awaits!
These caramelized banana tarts are truly a testament to how healthy eating can be incredibly delicious and satisfying. With their gluten-free and refined sugar-free profile, wholesome ingredients, and undeniable flavor, they offer a perfect balance of indulgence and nourishment. Whether you’re looking for a fun brunch idea, a guilt-free snack, or a unique dessert to impress, these easy-to-make tarts are sure to become a beloved staple in your kitchen. So, grab those ripe bananas, gather your ingredients, and get ready to create a treat that tastes like pure heaven. Happy baking!
