The Ultimate Crispy Southern-Style Gluten-Free Fried Chicken Recipe
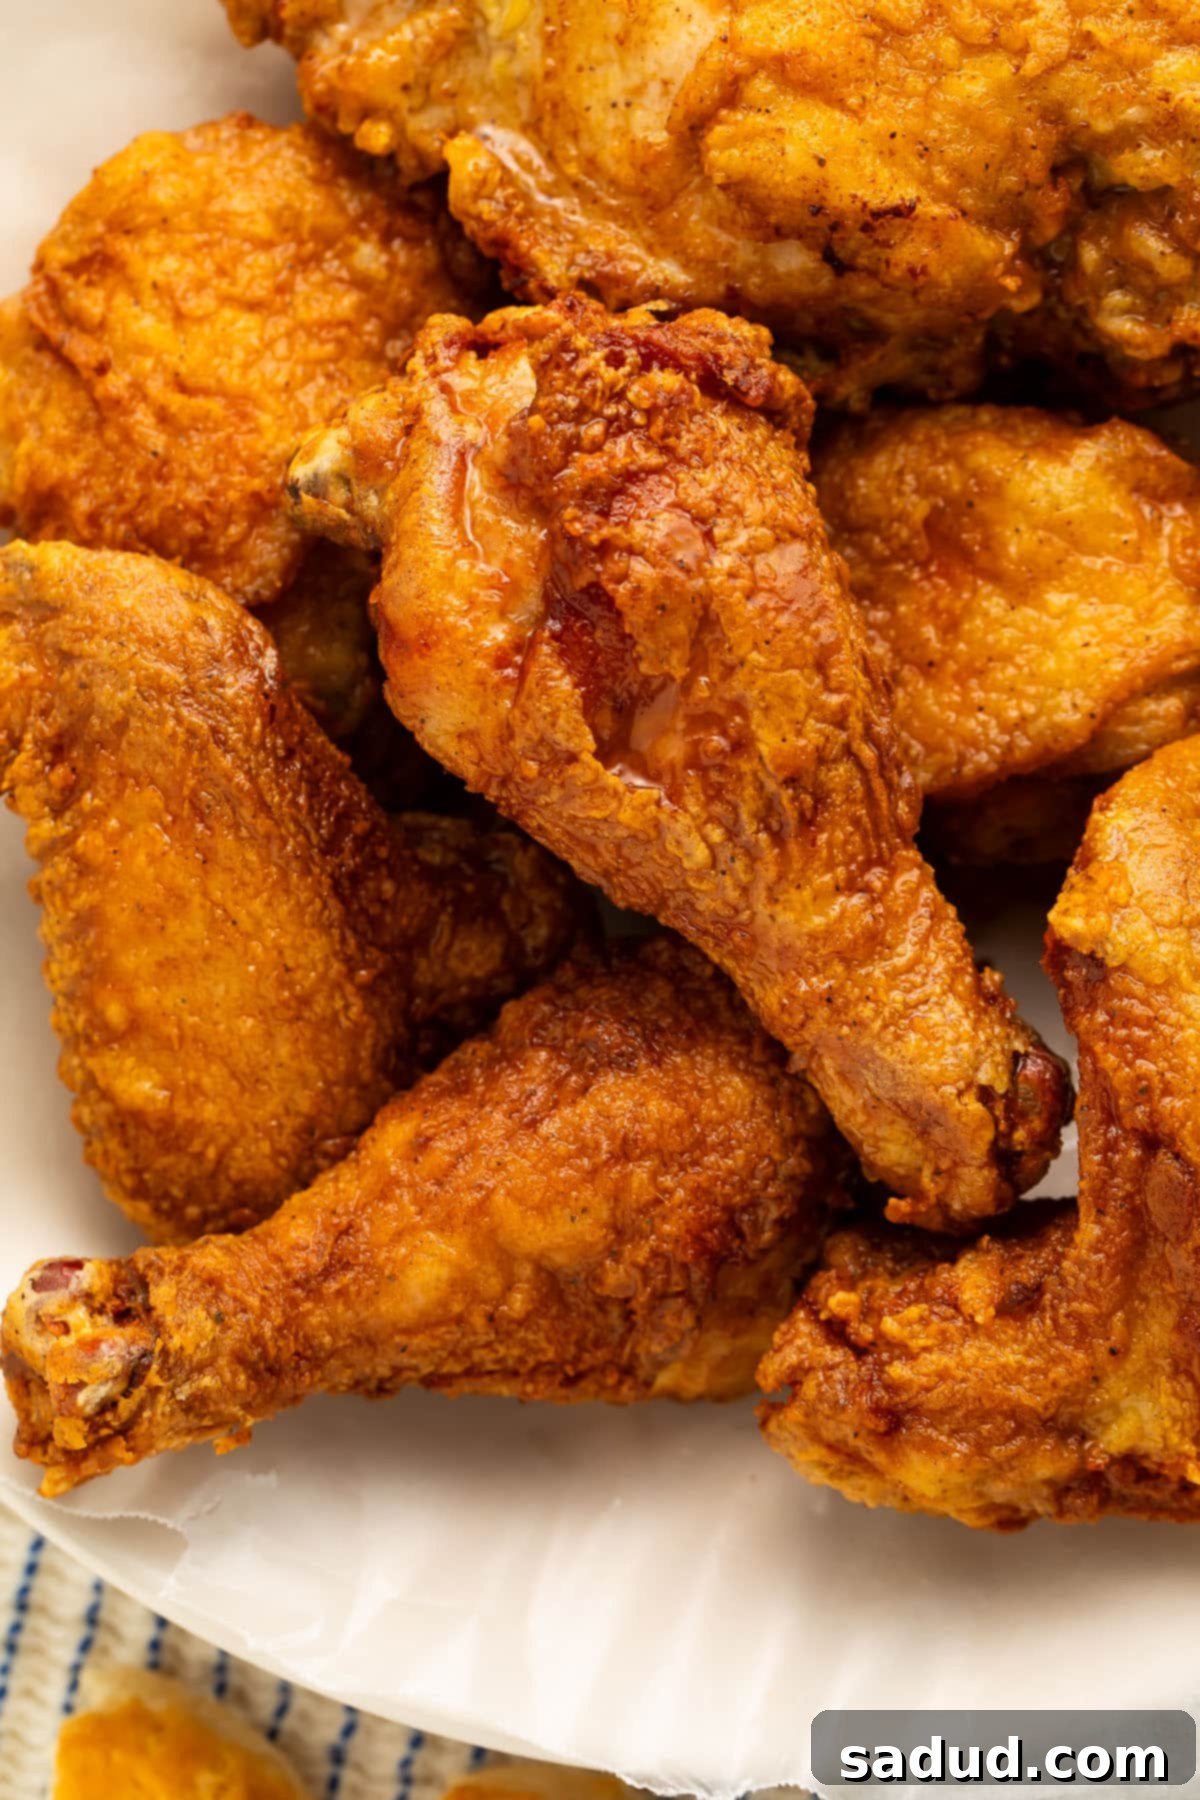
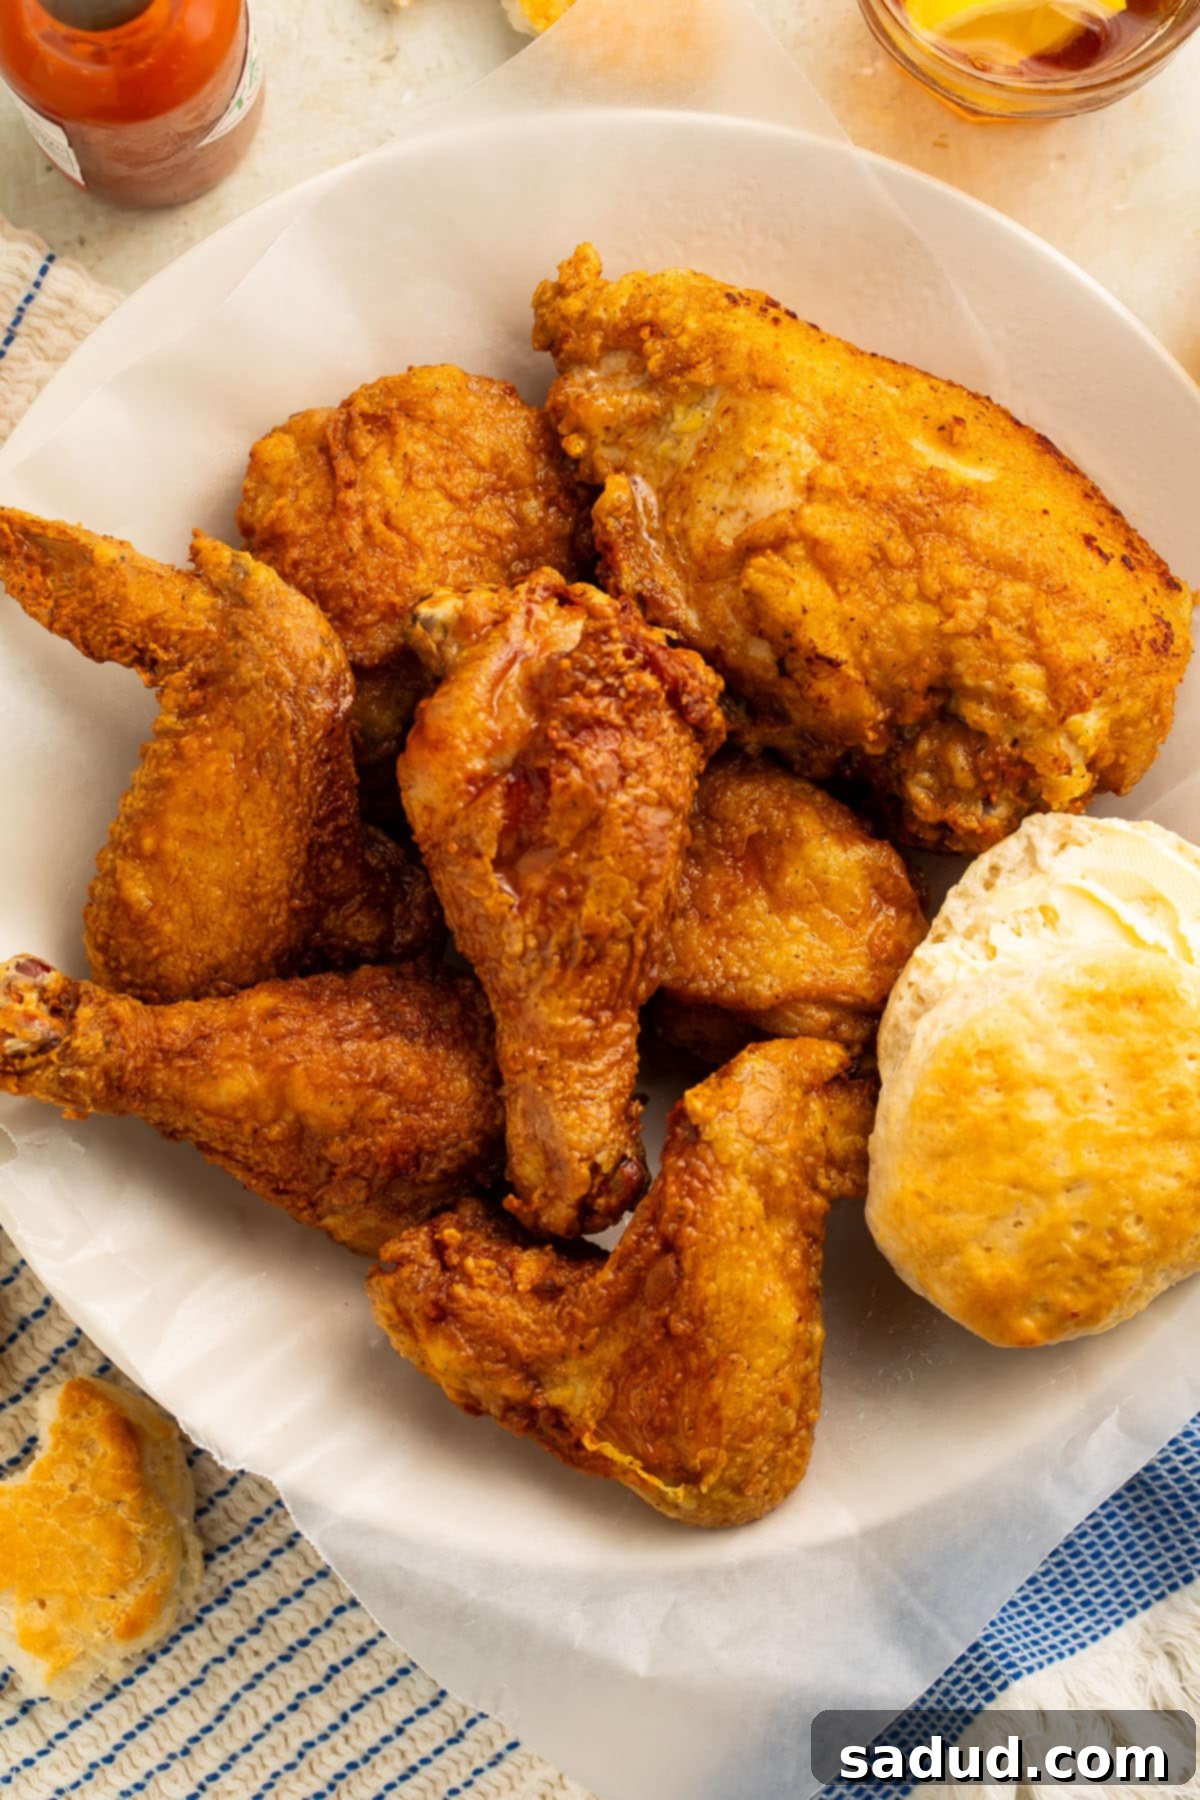
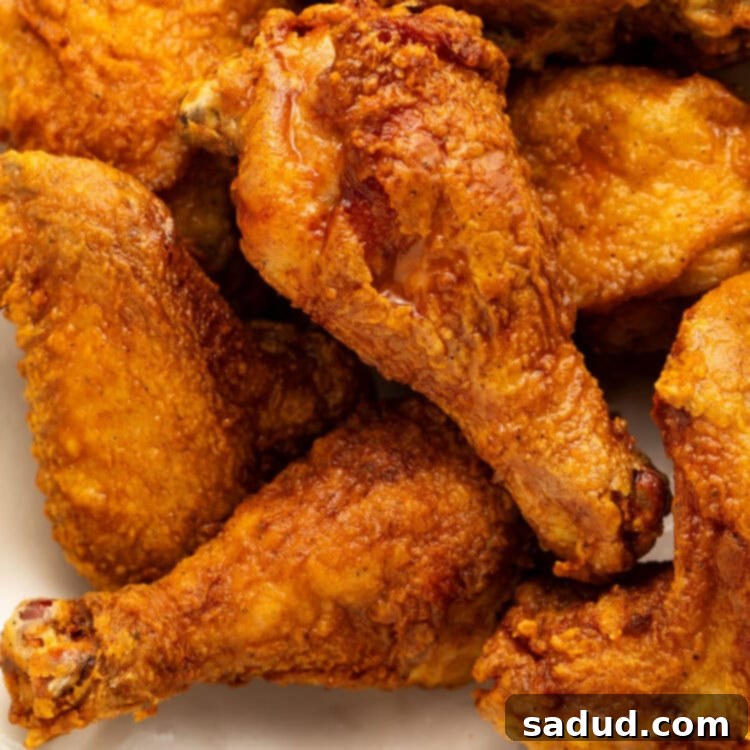
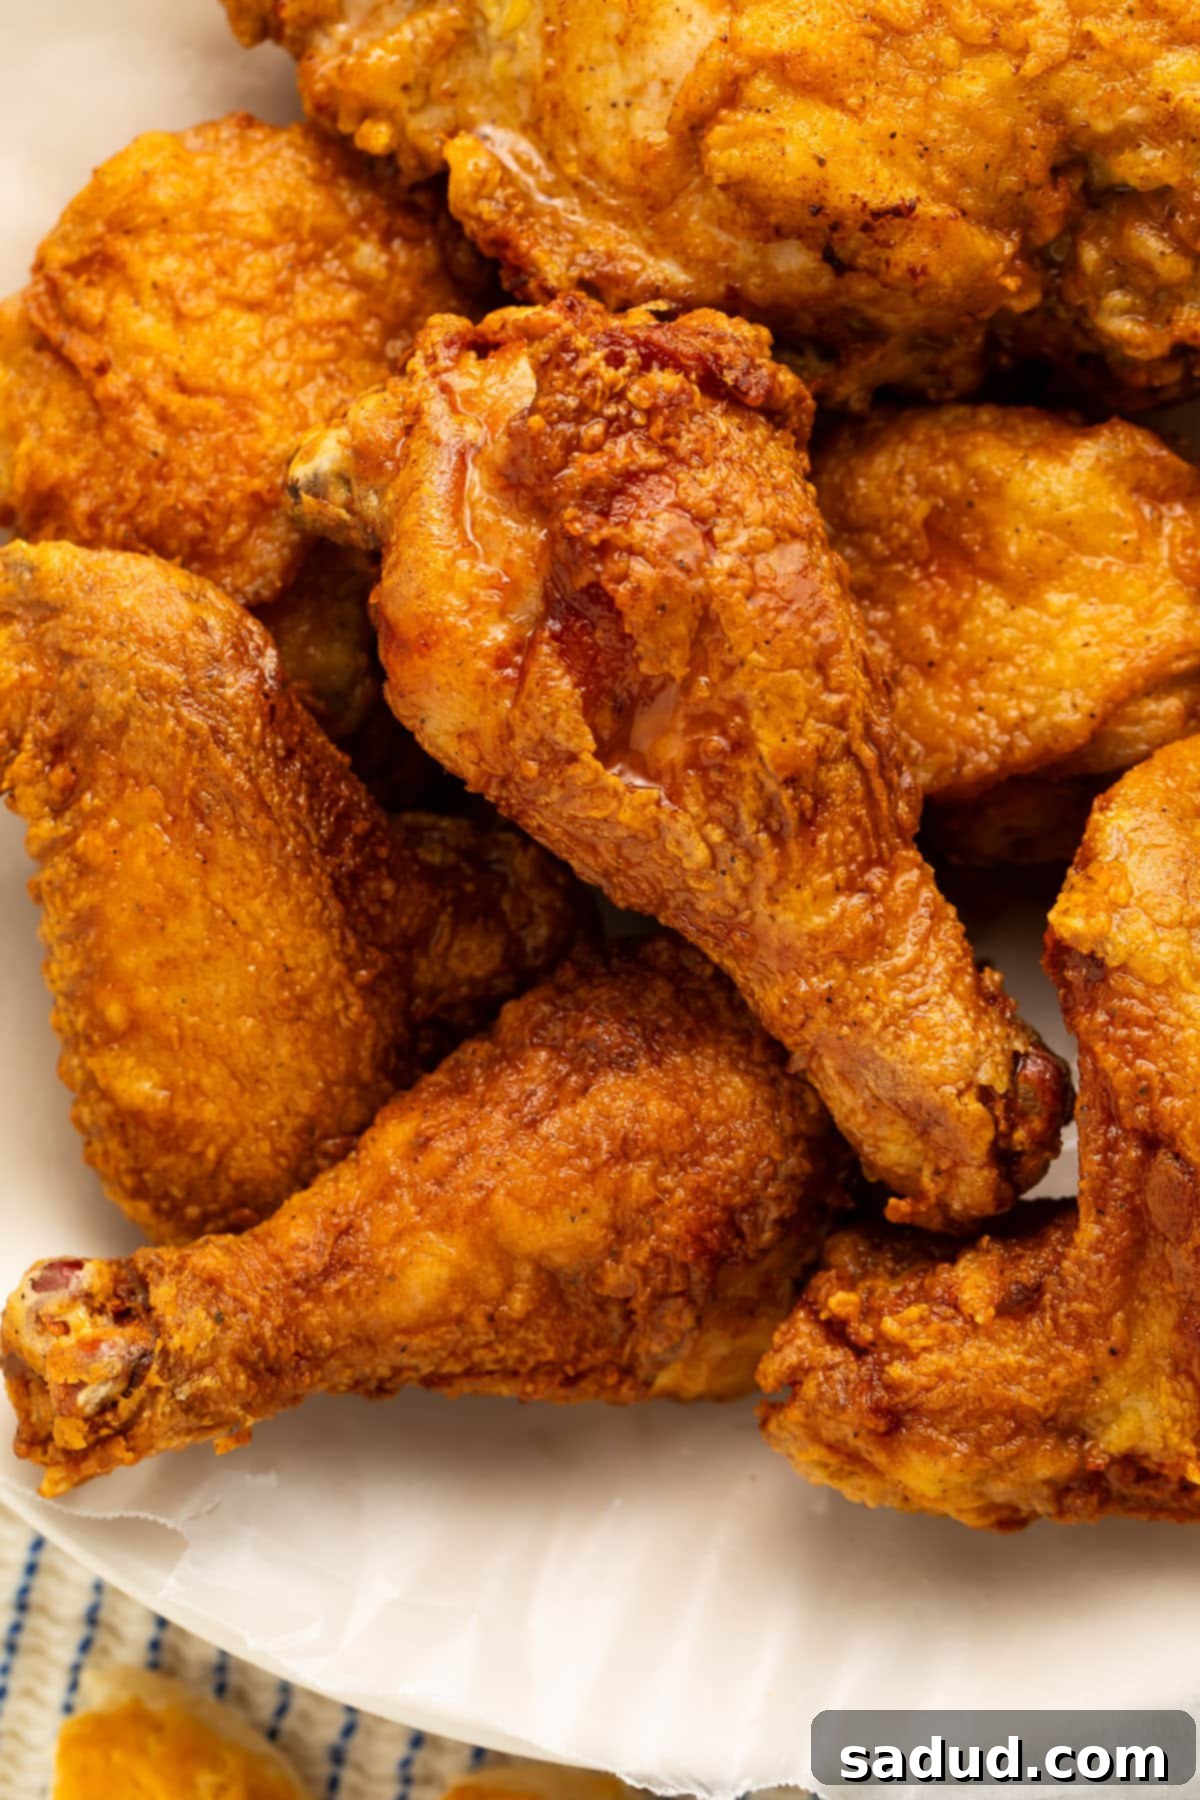
Prepare yourself for a culinary revelation! This isn’t just any gluten-free fried chicken; it’s a game-changer that rivals the best traditional fried chicken you’d find in a classic Southern eatery. Imagine chicken that’s incredibly crispy, wonderfully crunchy, and yet unbelievably tender and juicy on the inside. Every bite delivers a symphony of textures and flavors that will make you forget it’s gluten-free. As a true Southerner, I can confidently say this recipe delivers authentic, mouth-watering results that will satisfy even the most discerning fried chicken aficionados. It’s so good, you’ll even find yourself craving the leftovers, cold, the very next day. Get ready to impress your family and friends with this seriously delicious, guilt-free comfort food masterpiece!

Why This Gluten-Free Fried Chicken Recipe Stands Out
There are countless reasons to adore this recipe, but a few key elements make it truly exceptional and a must-try for anyone seeking that perfect fried chicken experience, especially those with dietary restrictions.
- This is not just any fried chicken; it’s genuinely good, down-home, Southern-style, classic fried chicken – but with a completely gluten-free breading! If you’ve felt deprived of this iconic crispy comfort food due to Celiac disease or a gluten sensitivity, your search for the perfect solution ends here. We’ve meticulously crafted a gluten-free breading that adheres beautifully to the chicken, creating an irresistible golden crust that locks in moisture and flavor without compromising on the traditional Southern taste and texture you crave. This recipe reclaims the joy of fried chicken for everyone.
- Frying chicken in a skillet rather than a deep fryer offers distinct advantages that contribute to the chicken’s incredible texture. This method ensures the chicken cooks through completely and evenly before the breading crisps up to golden perfection. The result? You’ll enjoy absolute juicy, crunchy perfection in every single bite. The controlled heat of a skillet allows for a beautiful browning that deep fryers sometimes struggle to achieve uniformly, ensuring that crispy exterior without drying out the inside. Move over, fast-food joints – your homemade skillet-fried chicken will be a serious competitor!
- The breading isn’t just crispy; it’s also expertly seasoned, giving the chicken an extra-savory flavor profile that is far from bland. We’ve carefully balanced spices to enhance the natural richness of the chicken, creating a depth of flavor that’s both comforting and exciting. There’s nothing boring about this recipe; each piece of chicken bursts with a well-rounded, aromatic taste that will leave you wanting more. This savory coating elevates the entire dish, making it a standout meal for any occasion.
Expert Tips for Perfect Gluten-Free Fried Chicken from Cheryl
Achieving fried chicken perfection requires attention to detail. Follow these expert tips from Cheryl to ensure your gluten-free fried chicken is consistently amazing, crispy, and full of flavor every time you make it.
- To make your fried chicken dairy-free AND gluten-free, a simple and effective substitution can be made for the buttermilk. You can replace the buttermilk with a mixture of almond milk and lemon juice. For every cup of buttermilk required, simply combine 1 cup of unsweetened almond milk with 1 tablespoon of fresh lemon juice or white vinegar. Let it sit for 5-10 minutes until it curdles slightly. This creates a dairy-free “buttermilk” that helps tenderize the chicken and allows the breading to adhere perfectly, ensuring your chicken is accessible to more guests without sacrificing flavor or texture.
- After frying, allowing the chicken to drain on a wire rack is a crucial step for achieving maximum crispiness. This method ensures that any excess oil drips away from the chicken pieces, rather than letting the chicken sit and absorb pooled oil on a flat surface, which can lead to a soggy crust. Place a few layers of paper towels underneath the wire rack to catch the oil. This simple technique promotes air circulation around each piece, maintaining that desirable crunchy texture we all love. Maximum crispiness guaranteed!
- If you want to make sure your breading stays nice and stuck to the chicken, do not skip the “rest until it’s paste-like” step! This often-overlooked step is absolutely critical. After breading the chicken, cover it and let it sit at room temperature for at least 20-30 minutes. During this time, the moisture from the buttermilk starts to seep into the flour mixture, creating a sticky, paste-like layer that acts as glue. This significantly improves the adhesion of the breading to the chicken, preventing it from flaking off during frying. Additionally, lightly pressing the flour mix onto the chicken pieces after you take them out of the bag will help create an even, secure coating.
- Freshly fried chicken, whether it’s gluten-free or not, will be VERY hot inside due to the high cooking temperatures and residual heat. It’s essential for both safety and optimal eating experience to allow it to cool properly. Make sure to let the chicken cool for at least 10 minutes (and preferably 15-20 minutes for larger pieces) before serving. Trust me – the last thing you want is to be scalded by a secret pocket of hot oil or steam. This cooling period also allows the juices to redistribute throughout the chicken, resulting in a more tender and flavorful bite.

Explore More Delicious Gluten-Free Recipes
If you’ve enjoyed this fantastic gluten-free fried chicken recipe, you’re in for a treat! Our kitchen is a hub of delightful and accessible recipes, all designed to cater to various dietary needs without ever compromising on flavor. We believe that eating gluten-free should be a joyous experience, full of variety and delicious options for every meal and occasion. From sweet desserts to savory main courses and versatile side dishes, we’ve curated a collection of recipes that will help you expand your gluten-free culinary repertoire. Discover your next favorite dish among these equally delicious and carefully tested gluten-free creations:
- Gluten Free Pineapple Upside Down Cake
- Creamy Dijon Chicken
- Gluten Free King Cake
- 20 Gluten Free Side Dishes
- Gluten Free Chicken Parmesan
- One Pan Chicken and Veggies
- Gluten Free Chicken Pot Pie
- The Best EVER Gluten-Free Lemon Cake
- Gluten Free Meatloaf
- Gluten Free Crepes
- Smoked Chicken Legs
- Gluten Free Potato Soup
If you loved this recipe as much as we did, don’t forget to leave us a review below. ★ Follow Easy Healthy Recipes on Pinterest, Facebook, and Instagram, too! Your support helps us create more delicious content!
For more delicious recipes and culinary inspiration, be sure to visit our sister sites, 40 Aprons and Easy Cheap Recipes. They offer a diverse range of meal ideas and cooking tips to suit every taste and budget.

Gluten Free Fried Chicken
 Cheryl Malik
Print Recipe
Save to My Recipe BoxSaved!
Ingredients
Crafting the perfect gluten-free fried chicken starts with quality ingredients. Each component plays a vital role in achieving that signature Southern flavor and irresistible crunch. Here’s what you’ll need:
- 1 cup buttermilk (essential for tenderizing the chicken and helping the breading adhere)
- 2 cups gluten-free all-purpose flour (a good quality GF blend without xanthan gum added, or adjust if it does, plus more as needed for coating)
- 1 teaspoon paprika (for color and a subtle smoky-sweet flavor, plus more as needed)
- 1 tablespoon salt (fine sea salt or kosher salt works best, adjust to taste, plus more as needed)
- 1 ½ teaspoons freshly cracked black pepper (for a fresh, pungent kick, plus more as needed)
- 1 4-pound whole chicken (cut into separate pieces: breasts, thighs, drumsticks, and wings for varied textures)
- vegetable oil (such as canola, peanut, or sunflower oil, approximately 2 quarts, plus more as needed to maintain frying depth)
Equipment
Having the right tools makes all the difference when frying chicken. Here’s a list of essential equipment to ensure a smooth cooking process and perfect results every time:
-
large sealable food-safe plastic bag (for easy and even coating of the chicken with seasoned flour)
-
large shallow bowl (perfect for dipping chicken in buttermilk)
-
large cookie sheet (to hold the breaded chicken while it rests)
-
wax paper (or a clean dish towel, for covering the chicken during its resting period to help the breading set)
-
large cast iron skillet (with a lid, ideal for even heat distribution and achieving that perfect crispy crust)
-
Deep fry thermometer (crucial for maintaining the correct oil temperature for safe and perfectly cooked chicken)
-
Tongs (for safely handling and flipping chicken in hot oil)
-
Internal meat thermometer (to ensure the chicken reaches a safe internal temperature of 165°F (74°C))
-
Wire cooling rack (essential for letting excess oil drip away and keeping the chicken crispy)
-
Paper towels (to absorb oil beneath the cooling rack)
Instructions
Follow these detailed instructions carefully to achieve the best crispy, juicy, and flavorful gluten-free fried chicken you’ve ever tasted.
-
Begin by pouring 1 cup of fresh buttermilk into a large shallow bowl. This buttermilk bath is key for both tenderizing the chicken and creating the perfect surface for the breading to adhere. Set this bowl aside for a moment.
-
Next, in a large sealable food-safe plastic bag, combine 2 cups of gluten-free all-purpose flour, 1 teaspoon of paprika, 1 tablespoon of salt, and 1 ½ teaspoons of freshly cracked black pepper. Ensure the bag is completely sealed, then shake or toss it vigorously to thoroughly incorporate all the dry ingredients. This seasoned flour blend is what will give your fried chicken its incredible flavor and crispy crust. Set the bag aside.
-
Once your 4-pound whole chicken has been cut into separate pieces (breasts, thighs, drumsticks, wings), take one chicken piece and fully dip it into the buttermilk, ensuring both sides are completely coated. Allow any excess buttermilk to drip back into the bowl before proceeding to the next step.
-
Carefully transfer the buttermilk-dipped chicken piece into the bag containing the seasoned gluten-free flour. Seal the bag completely once more, then shake and toss the bag until the chicken is thoroughly coated in the flour mixture. Make sure every crevice is covered. After coating, gently shake off any excess flour back into the bag, then place the breaded chicken piece onto a large cookie sheet.
-
Continue this process with the remaining pieces of chicken until all of them have been fully breaded. As you work, you may find the flour mixture depletes; feel free to add more gluten-free flour and seasonings to the bag as needed to ensure every piece receives a generous and even coating.
-
Once all the chicken pieces have been breaded and arranged neatly on the cookie sheet, gently cover them with either wax paper or a clean dish towel. This prevents the chicken from drying out during the crucial resting phase.
-
Now for a key step that ensures crispy breading: let the chicken rest for at least 20-30 minutes at room temperature. This resting period allows the flour mixture to absorb moisture from the buttermilk and chicken, creating a paste-like consistency. This ‘paste’ acts as a binder, making the breading stick securely to the chicken during frying and preventing it from falling off.
-
While the chicken rests, place a large cast-iron skillet on your stovetop over high heat. Fill the skillet approximately halfway with vegetable oil. Attach a deep-fry thermometer to the side of the skillet and heat the oil until it accurately reaches 350°F (175°C). Maintaining this precise temperature is vital for perfectly cooked chicken that’s both crispy and thoroughly cooked.
-
Once your oil is at the optimal temperature, carefully place the breaded chicken pieces into the hot skillet. Arrange them in a single layer, ensuring the skillet is filled completely without overlapping any chicken. Overlapping can reduce the oil temperature and lead to uneven cooking. You will likely need to fry the chicken in batches.
-
Pan-fry the chicken for about 5-7 minutes per side, or until it develops a beautiful golden-brown crust on the bottom. Then, using tongs, carefully flip each piece over and continue to fry until the other side is equally browned and crispy. This initial high-heat browning creates the foundation for that irresistible crispy exterior.
-
After both sides of the chicken pieces are nicely browned, reduce the heat under the skillet to medium-low. This is crucial for cooking the chicken all the way through without burning the crust. Place the lid on the skillet and continue to fry the chicken for another 20-30 minutes, or until the internal temperature of the thickest part of the chicken (without touching bone) reaches a safe 165°F (74°C) using an internal meat thermometer. This covered cooking method ensures the chicken remains juicy.
-
While the chicken is finishing its cooking, prepare your draining station. Spread out several layers of paper towels on a flat, heat-safe surface. Place a wire cooling rack directly over the paper towels. This setup will allow air to circulate around the chicken and drain excess oil, preserving its crispiness.
-
Once the chicken has reached the internal temperature of 165°F (74°C), remove the lid from the skillet and set it aside. Increase the heat back to high. Fry the chicken for another 2-5 minutes, flipping as needed, until the breading is exceptionally crispy and golden-brown. This final crisping stage ensures that satisfying crunch.
-
Using tongs, transfer the freshly fried chicken pieces to the prepared wire cooling rack to drain. If you’re cooking the chicken in multiple batches, you’ll want to keep the earlier batches warm. To do this, preheat your oven to 175°F (80°C) and place the fried chicken on a baking sheet in the oven while you finish frying the remaining pieces.
-
Once all the chicken has been fried to crispy perfection, allow it to cool for at least 10 minutes (as per Cheryl’s tip) before serving. This brief rest period allows the juices to redistribute, resulting in a more tender and flavorful chicken. Serve your delicious gluten-free fried chicken hot with your favorite side dishes for a truly satisfying meal. Enjoy!
Nutrition Information
Number of total servings shown is approximate. Actual number of servings will depend on your preferred portion sizes and the size of your chicken pieces.
Nutritional values shown are general guidelines and reflect information for 1 serving using the ingredients listed, not including any optional ingredients or variations. Actual macros may vary slightly depending on specific brands, types of ingredients used, and cooking methods. For precise nutritional data, especially for dietary planning, please calculate using your exact ingredients.
To determine the weight of one serving accurately, prepare the recipe as instructed. Weigh the finished recipe in its entirety (excluding the weight of the container the food is in). Then, divide the total weight of the finished recipe by your desired number of servings. The result will be the approximate weight of a single serving.
