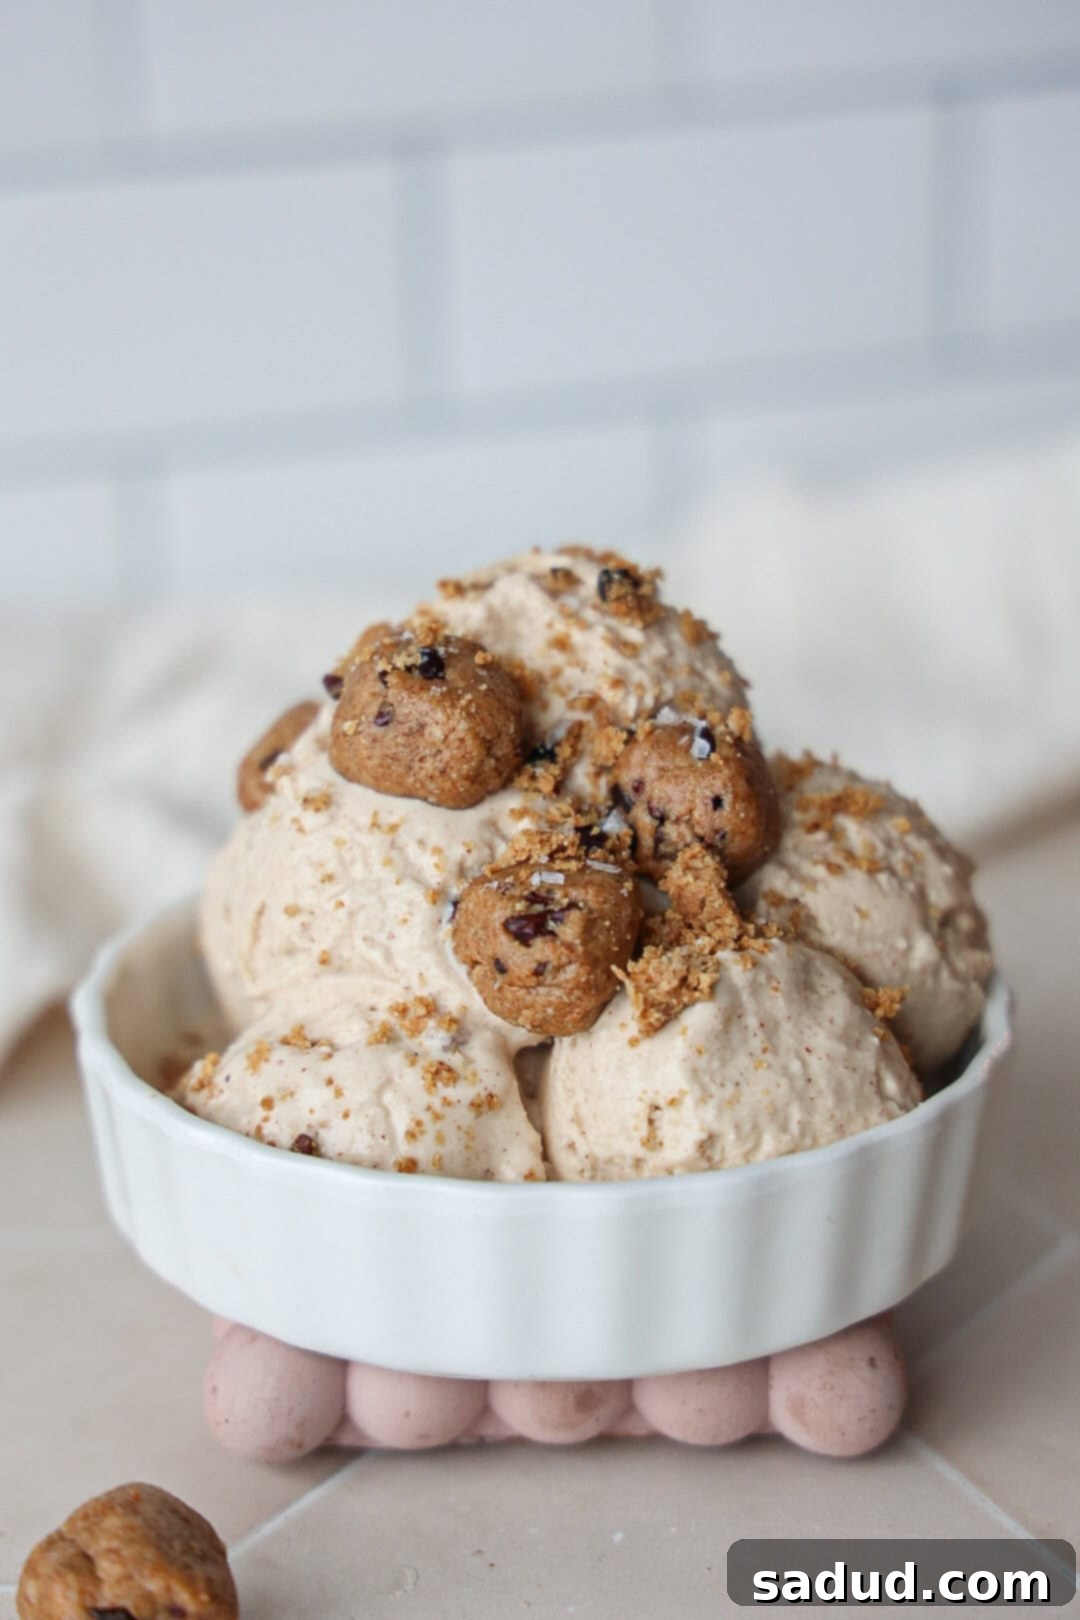
Creamy & Delicious: The Ultimate Healthy Cookie Dough Frozen Yogurt (Vegan, Paleo, GF)
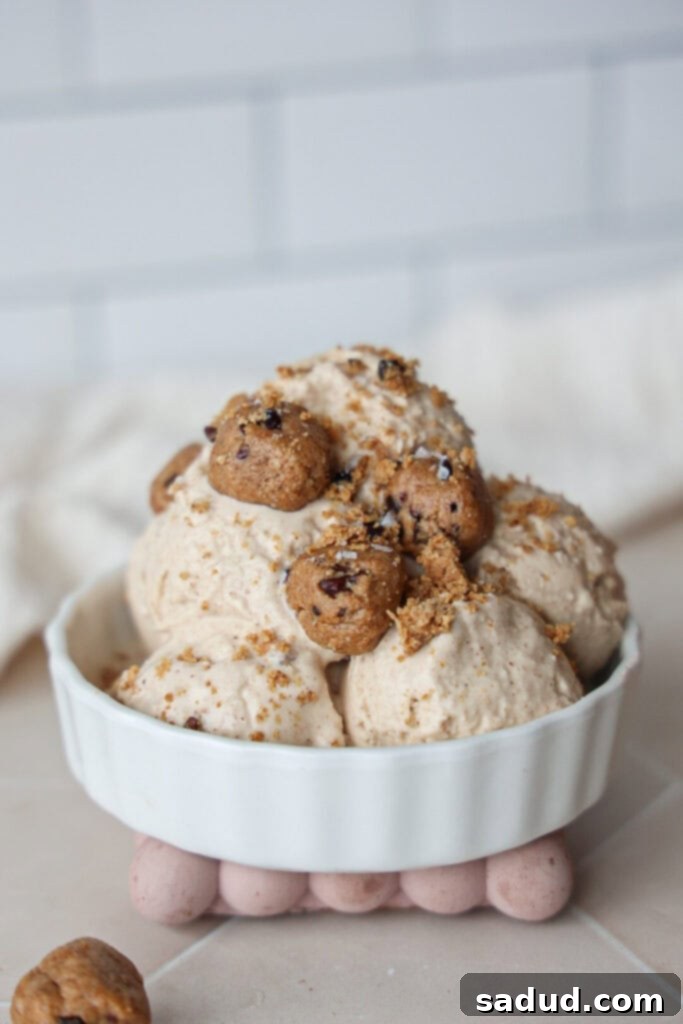
Say goodbye to unhealthy cravings and hello to this incredible healthy cookie dough frozen yogurt! This recipe delivers a dessert that’s super creamy, brimming with delectable, high-protein cookie dough bits, and serves as an absolutely perfect swap for traditional ice cream. You’ll be amazed by its consistency, which is remarkably like classic ice cream, yet the added yogurt infuses it with a delightful zing that elevates the flavor profile, truly merging the best of two beloved desserts into one unforgettable treat. Whether you own an ice cream maker or prefer to make this paleo-friendly delight without one, this recipe comes together quickly with just a handful of wholesome ingredients! It’s incredibly versatile and can be made to fit various dietary needs, including being vegan, gluten-free, and completely refined sugar-free.
*Disclosure: This post may contain affiliate links. I may earn a small commission for my endorsement, recommendation, and/or link to any products or services from this website.
Why You’ll Fall in Love with This Healthy Cookie Dough Frozen Yogurt Recipe
This isn’t just another dessert recipe; it’s a game-changer for anyone seeking a healthier way to satisfy their sweet tooth. Here’s why this healthy cookie dough frozen yogurt will quickly become a favorite in your kitchen:
- Effortless Preparation: This recipe truly only takes a few minutes to prep. Most of the magic happens in the blender and the ice cream maker (or freezer), making it ideal for busy weeknights or spontaneous dessert cravings.
- Irresistibly Creamy Texture: Achieve the perfect soft-serve consistency that melts in your mouth, just like premium ice cream. The combination of ingredients is meticulously chosen to deliver this luscious, smooth texture.
- Ice Cream Maker Perfection (with an alternative!): While using an ice cream maker ensures a flawlessly smooth and perfect texture, we understand not everyone has one. That’s why we offer a fantastic option to make it without one, ensuring everyone can enjoy this treat!
- A Guilt-Free Indulgence: This paleo ice cream/frozen yogurt recipe is a genuinely healthy swap for ice cream, allowing you to enjoy a decadent dessert without compromising your health goals.
- Diet-Friendly Versatility: It naturally makes a great low carb option when using appropriate sweeteners, and is inherently vegan, gluten-free, paleo, and refined sugar-free. This broad appeal means almost anyone can enjoy a scoop (or two!).
- Endless Customization: This recipe serves as an amazing base recipe. The variations are truly endless, empowering you to add in all of your favorite mix-ins and toppings, from extra chocolate chips to fresh fruits.
- Boost Your Protein Intake: Easily made high protein by opting for Greek yogurt or incorporating your favorite protein powder, turning a treat into a powerful, satisfying snack.
- Perfect for Any Time: It makes an amazing healthy snack or dessert, suitable for any time of day. Plus, it can be easily meal prepped, so you always have a wholesome treat ready in the freezer.
Is the Texture More Like Frozen Yogurt or Ice Cream? Let’s Clarify!
Traditionally, ice cream is dairy-based, relying on milk and cream for its signature richness, while frozen yogurt uses a yogurt base, giving it a lighter, tangier profile. In this innovative recipe, we artfully combine both worlds to create a truly unique, “two-in-one” dessert experience! The strategic blend of rich, full-fat canned coconut milk and a thick, creamy yogurt (either coconut or Greek) results in an ultra-creamy consistency that is hard to distinguish from high-quality ice cream.
When this delightful mixture is churned fresh out of the ice cream maker, it literally tastes and looks like a scoop of premium vanilla ice cream, but with that subtle, refreshing tang from the yogurt. So, don’t be surprised or confused if I refer to it as both “healthy cookie dough frozen yogurt” and “healthy ice cream” throughout this post! They are, in essence, describing the same wonderfully merged dessert experience.
Crafting Your Own Healthy Cookie Dough Frozen Yogurt
Creating this homemade healthy dessert is simpler than you might think, requiring just a few key ingredients and straightforward steps. Below is an overview of what you’ll need; precise ingredient amounts and detailed instructions are provided in the comprehensive recipe card at the bottom of this page.
Essential Ingredients for Your Healthy Treat
For the Creamy Frozen Yogurt/Ice Cream Base:
- Full-Fat Canned Coconut Milk: This is the cornerstone of our creamy base. The rich coconut cream found in a can of full-fat coconut milk is crucial for achieving that incredibly thick, luscious, and utterly decadent ice cream-like texture that makes this recipe so irresistible. Ensure you use full-fat for the best results.
- Thick Coconut Yogurt or Greek Yogurt: The choice is yours, but the key here is to use a THICK yogurt. Whether you opt for a plant-based coconut yogurt (for a fully vegan option) or traditional Greek yogurt (for extra protein and tang), its thickness is paramount. Runnier brands simply won’t yield the desired rich and creamy texture, so choose wisely!
- Honey or Maple Syrup: These natural sweeteners add just the right amount of sweetness. For a completely vegan frozen yogurt, maple syrup is your go-to. However, any sticky liquid sweetener will work beautifully. If you’re aiming for a keto or sugar-free option, I highly recommend experimenting with Monk fruit sweetener – it’s a fantastic alternative!
- Cashew Butter or Almond Butter: These neutral-flavored nut butters are ideal as they contribute incredible creaminess and richness without overpowering the main flavors. They blend seamlessly into the base. I generally wouldn’t recommend using peanut butter unless you specifically desire a strong peanut butter-flavored frozen yogurt.
- Pantry Staples: A splash of pure Vanilla Extract for warmth and depth of flavor, and a good Pinch of Sea Salt to balance the sweetness and enhance all the other ingredients.
For the Delicious Cookie Dough Bits:
- Almond Flour: This finely ground flour forms the base of our edible cookie dough, keeping it gluten-free and providing a wonderfully tender texture. Cashew flour can be used as a direct 1:1 substitute. Please note that oat flour typically requires different ratios and may not work as a simple 1:1 substitute; if almonds are an issue, you might need to seek out a specific oat flour-based cookie dough recipe.
- Protein Powder: This ingredient is a fantastic way to boost the protein content and add flavor! Use your favorite flavored protein powder, as it will contribute significantly to the taste and sweetness of your cookie dough bits. I personally love Macro Mike for their amazing range of flavors (and you can use my code “amb-dani” for a discount!). If you don’t want to use protein powder, increase the almond flour to 1/2 cup total.
- Runny Cashew or Almond Butter: Again, a neutral-flavored nut butter works best here to let the cookie dough flavor shine. The key is “runny” – this ensures the cookie dough is soft and pliable, not stiff or crumbly. While you can use peanut butter, be prepared for the cookie dough bits to have a distinct peanut butter taste.
- Melted Coconut Oil: A touch of melted coconut oil helps bind the cookie dough and gives it a smooth, melt-in-your-mouth texture. Other suitable fats include avocado oil, vegan butter, or even ghee (if not strictly vegan).
- Maple Syrup: Just 1 tablespoon of maple syrup adds a touch of sweetness and helps achieve the perfect cookie dough consistency. Honey can also be used as a direct substitute.
- Monk Fruit or Coconut Sugar: For a truly sugar-free option, Monk fruit sweetener is excellent. However, if you’re not strictly avoiding sugar, coconut sugar will impart a more traditional, rich cookie flavor that many adore.
- Milk of Choice: We only need a splash or two of milk to bring the cookie dough together to the right consistency. I often use my homemade cashew milk, but any milk you have on hand will work just fine.
- Sea Salt & Vanilla Extract: Essential flavor enhancers that complete the classic cookie dough taste.
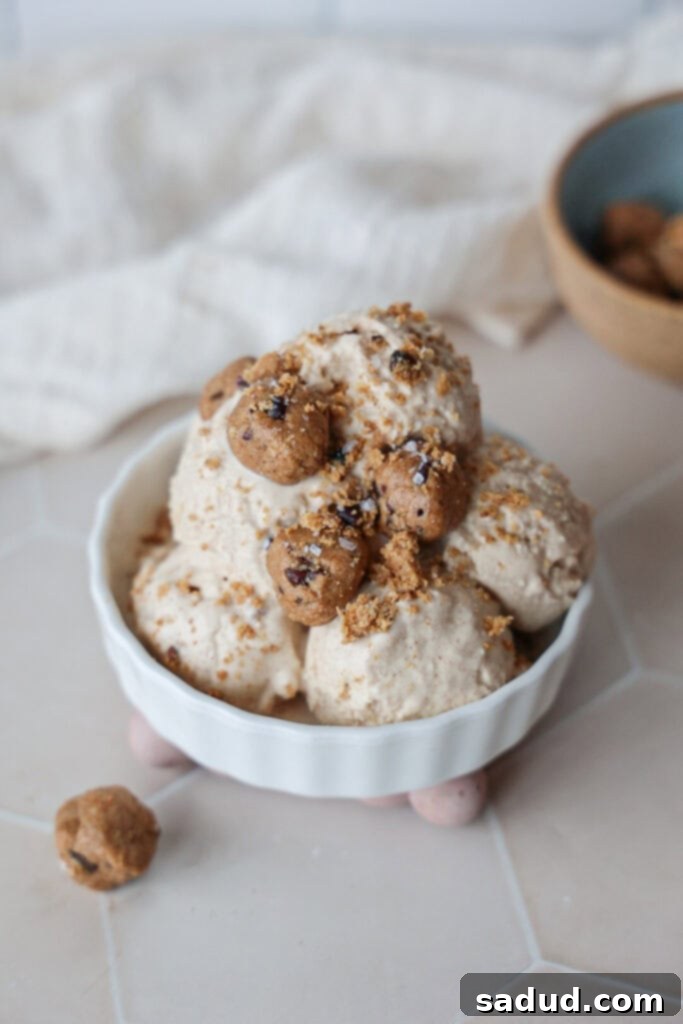
- Cacao Nibs or Mini Chocolate Chips: A small handful of these delightful additions will give your cookie dough bits that authentic chocolate chip cookie dough experience!
Recommended Equipment for a Smooth Process
Having the right tools can make all the difference in achieving that perfect creamy consistency and making the process seamless. Here’s what you’ll need:
- Ice Cream Maker: While optional, an ice cream maker is highly recommended for the silkiest, soft-serve texture. It churns the mixture as it freezes, preventing ice crystals and creating a wonderfully smooth result.
- Blender: Essential for blending your frozen yogurt base ingredients until perfectly smooth and homogeneous, ensuring no lumps or grittiness.
- Mixing Bowl: A medium-sized mixing bowl is perfect for combining your cookie dough ingredients.
- Spatula: Useful for scraping down the sides of the blender, mixing the cookie dough, and transferring your finished frozen yogurt.
Step-by-Step Guide to Making Your Healthy Frozen Yogurt
Follow these simple steps to create your delicious and healthy cookie dough frozen yogurt:
- Prepare Your Ice Cream Maker Bowl: The night before you plan to make your frozen yogurt (or at least 12-24 hours in advance), place the bowl of your ice cream maker in the freezer. It needs to be thoroughly chilled for the best churning results.
- Blend the Frozen Yogurt Base: Once your ice cream maker bowl is completely frozen and you’re ready to proceed, combine all of your ice cream base ingredients (coconut milk, yogurt, sweetener, nut butter, vanilla, and salt) into a high-speed blender. Blend for about a minute or until the mixture is completely smooth and creamy, with no lumps remaining.
- Prepare the Cookie Dough: Now is the perfect time to prepare your cookie dough bits. You can mix them together while the frozen yogurt is churning if you prefer to add them in at the end as a topping, or you can prepare them beforehand if you want to incorporate chunks directly into the churning mixture.
- Churn the Frozen Yogurt: Turn your ice cream maker on according to the manufacturer’s instructions. Slowly pour the smooth ice cream mixture into the machine. Let it churn and work its magic! The churning time can vary depending on your machine, but typically it takes about 25-30 minutes to reach a thick, soft-serve ice cream-like consistency. If you wish to incorporate cookie dough chunks into the frozen yogurt itself, add them during the last 5 minutes of churning.
- Store for Later: Once the frozen yogurt has reached your desired thickness, turn off the machine. Serve it immediately for a soft-serve experience, or transfer it to an airtight container and store it in the freezer. This allows it to firm up further for a more scoopable texture later.
How to Make This Healthy Frozen Yogurt Without an Ice Cream Maker
While this healthy frozen yogurt recipe truly shines and yields the absolute best, creamiest results when made with an ice cream maker (or even a Ninja Creamii, which is another fantastic option!), I understand that not everyone has one. For a long time, I resisted getting an ice cream maker myself, wary of yet another kitchen gadget occupying precious counter space. However, once I finally invested in one, it quickly became one of my most-used and cherished appliances! I genuinely can’t recommend it enough for frozen dessert lovers. This is the exact model I own and absolutely adore.
If you choose to make this delicious frozen yogurt without an ice cream maker, you’ll need a little extra time and a good dose of patience. After you’ve blended all your ingredients until perfectly smooth, instead of pouring it into a machine, you will pour the mixture into a large, freezer-safe glass tupperware container (or a similar shallow, wide dish). Cover it tightly with a lid or plastic wrap to prevent ice crystals from forming on the surface.
The crucial step for achieving a somewhat creamy texture (though it won’t be as effortlessly smooth as with a machine) is to stir the mixture every 30 minutes. You’ll want to do this for the first 2-3 hours of freezing. This frequent stirring breaks up ice crystals as they form, leading to a softer, less icy final product. While I can’t promise it will turn out quite as perfectly creamy as it does when churned in an ice cream maker, it will still be a wonderfully delicious and refreshing treat!
Exciting Variations & Creative Serving Suggestions
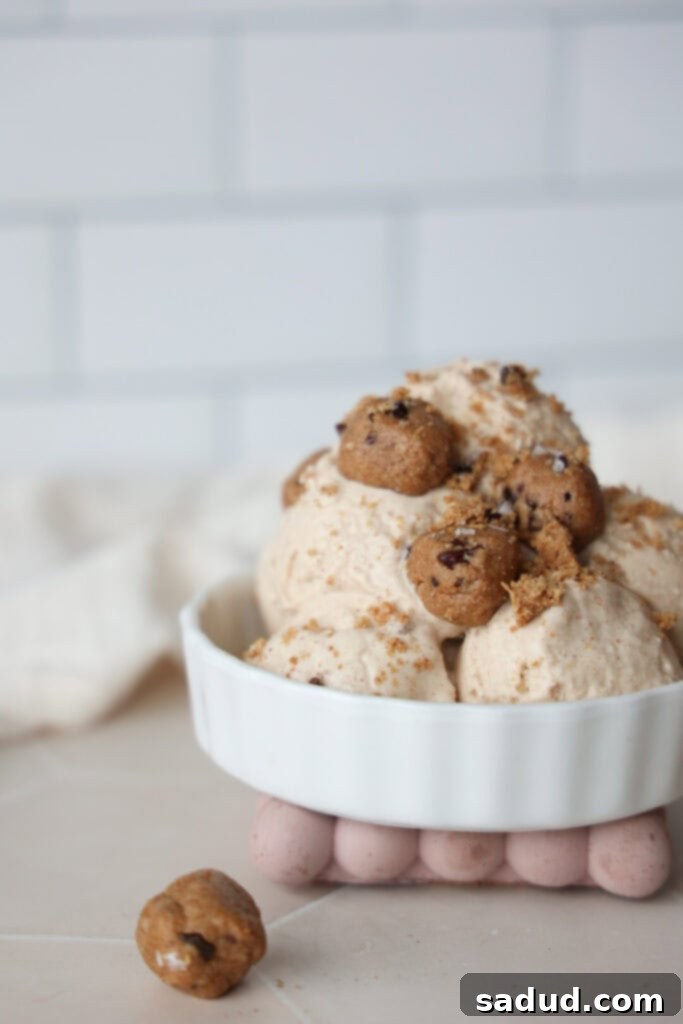
The beauty of this healthy frozen yogurt recipe lies in its versatility. It’s a fantastic base that can be customized in countless ways to suit your cravings and make it even more special:
- Sprinkle the Fun: Elevate your healthy frozen yogurt with a vibrant burst of color by topping it with your favorite sprinkles. Opt for naturally colored sprinkles for an even healthier touch!
- Classic Cone Experience: Serve your healthy frozen yogurt in a crisp ice cream cone or a crunchy waffle cone for that classic dessert parlor feel. It’s perfect for picnics or a fun treat at home.
- Crunchy & Chocolaty Toppings: Add an extra layer of texture and flavor by sprinkling chopped nuts (like pecans, walnuts, or pistachios) or your favorite chocolate chunks or chips on top of your healthy ice cream. Dark chocolate works beautifully here.
- Fruity Frozen Delights: Transform the base into a fruity sensation! Before adding the mixture to the ice cream machine, blend in some of your favorite fresh or frozen fruits. Imagine indulging in creamy strawberry frozen yogurt, exotic mango ice cream, or whatever delightful fruit combination your heart desires!
- Decadent Chocolate Shell: For a delightful treat, drizzle in some melted chocolate while the ice cream machine is still running. As it hits the cold frozen yogurt, it will create delicious, thin chocolate shell pieces throughout, giving you a wonderful chocolate swirl effect.
- Pair with Warm Desserts: This homemade frozen yogurt or ice cream is an exquisite companion to warm desserts. Serve a scoop alongside a comforting apple crisp, juicy grilled peaches, sweet fried bananas, or even atop a warm cookie skillet for the ultimate hot-and-cold dessert experience.
- Add Spices or Extracts: Experiment with a pinch of cinnamon, nutmeg, or a drop of peppermint extract for different flavor profiles.
- Nut Butter Swirl: Swirl in extra runny nut butter (like almond or peanut butter) during the last few minutes of churning for a beautiful marble effect and an extra boost of nutty flavor.
FAQ’s, Expert Tips, & Smart Tricks for Success
Here are some common questions, along with valuable tips and tricks to ensure your healthy cookie dough frozen yogurt turns out perfectly every time:
- What defines a “paleo” recipe? Paleo desserts, and indeed paleo eating in general, focus on wholesome, unprocessed ingredients that align with ancestral dietary patterns. This typically means recipes are made without grains, legumes, dairy, and refined sugars. In our context, this recipe is crafted with more natural, unrefined ingredients, making it naturally vegan, gluten-free, refined sugar-free, and grain-free.
- How do I store leftover frozen yogurt? To maintain its freshness and quality, store any leftover healthy frozen yogurt in an air-tight container in the freezer. For ultimate convenience and to keep it perfectly scoopable, I highly recommend using these fantastic reusable ice cream tubs. They are specifically designed to minimize ice crystal formation. Important Tip: For the best, creamiest texture, always let the frozen yogurt thaw on the counter for about 20-30 minutes before scooping and enjoying! This brief thawing period allows it to soften to a delightful consistency.
- If I’m making it without an ice cream maker, why is stirring so often crucial? When freezing a liquid mixture without churning, ice crystals naturally form and grow, resulting in a hard, icy texture. Stirring the mixture every 30 minutes during the initial freezing process helps to break up these developing ice crystals into smaller, finer particles. This constant agitation prevents large crystals from forming, thus creating a significantly smoother and creamier consistency, though it still requires more effort than a machine.
- Can this cookie dough ice cream be made vegan? Absolutely, yes! The base recipe is designed with vegan options in mind. Simply ensure you use full-fat canned coconut milk and opt for coconut yogurt (or another plant-based thick yogurt alternative) instead of Greek yogurt. All other ingredients in the recipe are typically plant-based, making it easy to achieve a delicious vegan treat.
- Is this recipe high in protein? It can certainly be! If you choose to use Greek yogurt in your base, it will naturally add a significant amount of extra protein to the recipe. Additionally, for an even bigger protein boost, you can easily add a scoop of your favorite protein powder (especially a flavored one for extra taste!) directly into the blender when you’re combining the ice cream ingredients. This is a fantastic way to make your dessert more satisfying and supportive of your fitness goals.
- What if my coconut milk isn’t creamy? Always use full-fat canned coconut milk, and ideally, one that has been chilled in the refrigerator overnight. This allows the thick coconut cream to separate and rise to the top, which you can then scoop out and use. If your can of coconut milk is watery, it won’t yield the desired creamy texture.
- Can I use different flours for the cookie dough? While almond flour and cashew flour work best for this recipe due to their fine texture and neutral flavor, experimenting with other gluten-free flours might alter the texture significantly. If you’re looking for an oat flour version, it’s generally best to find a recipe specifically formulated for oat flour as the liquid ratios will likely need adjustment.
Explore More Healthy & Delicious Dessert Recipes
If you loved this healthy cookie dough frozen yogurt, you’ll be thrilled to discover more wholesome and delightful dessert options that are just as easy to make and equally satisfying:
- Homemade Healthy Dilly Bars: A refreshing take on a classic ice cream treat.
- Irresistible Carrot Cake Bites/Truffles: Perfect for a bite-sized, flavorful indulgence.
- Decadent Healthy Snickers Bites: All the flavor of your favorite candy bar, without the guilt.
- Energizing Coffee Protein Shake: A delicious and protein-packed way to start your day or refuel.
- Simple 2-Ingredient Orange Sorbet: A light, refreshing, and incredibly easy-to-make dessert.
- Delightful Chocolate Covered Yogurt Bites/Clusters: A quick and healthy treat for any time.
- Nutrient-Rich Chocolate Seed Bars: A satisfying snack packed with wholesome goodness.
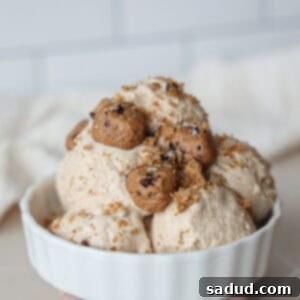
Healthy Cookie Dough Frozen Yogurt
Pin Recipe
10 minutes
30 minutes
40 minutes
Dessert, Snack
American
1
Pint-ish
Ingredients
Ice cream/frozen yogurt Base
- 1 can full-fat coconut milk *I like Trader Joe’s brand. Chill overnight for best results.
- 1/3 cup THICK coconut yogurt or Greek yogurt
- 1/4 cup maple syrup or honey
- 1/4 cup cashew butter or almond butter *For a distinct flavor, you can use peanut butter for peanut butter ice cream. See notes below for more details.
- 1 1/2 tsp vanilla extract
- good pinch sea salt
Cookie Dough Bits
- 1/3 cup of your favorite protein powder *If not using protein powder, increase almond flour to 1/2 cup total.
- 1/2 cup almond flour
- 2 1/2 tbsp runny cashew butter or almond butter **Ensure it’s drippy for the best cookie dough texture. See notes.
- 1 tbsp melted coconut oil
- 2 tbsp monk fruit or coconut sugar
- 1 tbsp maple syrup
- 2-3 tsp milk, of choice
- good pinch sea salt
- small handful of cacao nibs or mini chocolate chips
Instructions
Ice Cream (with an Ice Cream Maker)
-
The night before you intend to make your delicious frozen yogurt (or at least 12-24 hours prior), remember to place the bowl of your ice cream maker into the freezer. This crucial step ensures the bowl is thoroughly chilled, which is essential for proper churning and the creamiest texture.
-
When you are ready to prepare the ice cream and your freezer bowl is rock-solid frozen, combine all of the ice cream base ingredients (full-fat coconut milk, thick yogurt, sweetener, nut butter, vanilla extract, and sea salt) into a high-speed blender. Blend for approximately one minute, or until the mixture is exceptionally smooth and completely homogeneous, ensuring no lumps remain.
-
Turn your ice cream maker on and let it begin to churn, following its specific instructions. Carefully pour the smooth ice cream mixture into the machine, then let it work its magic! The churning process usually takes a bit of time, often around 25-30 minutes, for the mixture to thicken and transform into a luscious, creamy consistency akin to soft-serve ice cream.
Cookie Dough Preparation
-
While your ice cream maker is busily churning, take this opportunity to prepare the irresistible cookie dough bits.
-
In a separate bowl, combine all the cookie dough ingredients (almond flour, protein powder if using, runny nut butter, melted coconut oil, sweetener, maple syrup, milk, sea salt, and chocolate chips/cacao nibs) and mix thoroughly until a cohesive cookie dough forms. The texture might vary slightly depending on your protein powder (plant-based vs. whey). If the dough seems too wet, incrementally add a few tablespoons more almond flour or an extra tablespoon or two of protein powder. Conversely, if it’s too dry, incorporate a little more maple syrup or a tiny splash of milk until it reaches the desired pliable consistency.
-
Once the cookie dough is ready, roll it into small, bite-sized balls. Alternatively, you can simply leave it in crumbles. If you want cookie dough chunks throughout your frozen yogurt, add about half of the prepared balls or crumbles directly into the ice cream maker during the last 5 minutes of churning. Save the remaining half for topping!
-
Once the ice cream maker has finished churning and the frozen yogurt has reached your preferred thick and creamy consistency, turn off the machine. Serve it immediately for a delightful soft-serve experience, garnishing with your saved extra cookie dough on top. Any leftovers should be transferred to an airtight container and stored in the freezer. (Don’t forget to check out my favorite reusable ice cream containers linked in the blog post!).
-
For the absolute best texture when enjoying leftovers, remember to let the frozen yogurt thaw on your counter for approximately 20-30 minutes before attempting to scoop and savor it. This short thawing period will bring it back to a wonderfully creamy, scoopable state.
To Make Without an Ice Cream Maker (No-Churn Method)
-
After blending all of the frozen yogurt base ingredients together until smooth, instead of pouring the mixture into an ice cream maker, you will pour it into a shallow, freezer-safe glass container with a tight-fitting lid (or simply cover it securely with plastic wrap). At this point, you can stir in the prepared cookie dough chunks if you desire them integrated throughout, or you can store them separately in the fridge and sprinkle them on top just before serving.
-
Place the container in the freezer. To achieve the creamiest possible consistency without an ice cream maker, you’ll need to stir the mixture every 30 minutes. I recommend doing this diligently for the first two hours of freezing. This frequent stirring helps to break down ice crystals as they form, preventing the frozen yogurt from becoming too icy. While this method won’t yield the exact same perfectly smooth texture as an ice cream maker, it will still result in a remarkably delicious frozen treat!
Notes
**For the cookie dough, it’s essential to use a drippy or runny nut butter. This means the nut butter should be smooth and easy to stir, not thick or stiff. A runny consistency is key to achieving the best possible texture for your cookie dough – soft, pliable, and easy to form into bits or crumbles.
healthy dessert, ninja creamii, paleo ice cream, protein cookie dough, protein frozen yogurt, protein ice cream, vegan frozen yogurt, vegan ice cream, clean eating dessert, gluten-free, refined sugar-free
