Indulge Guilt-Free: The Ultimate Healthy Snickers Protein Bars (Vegan, Gluten-Free & Delicious!)
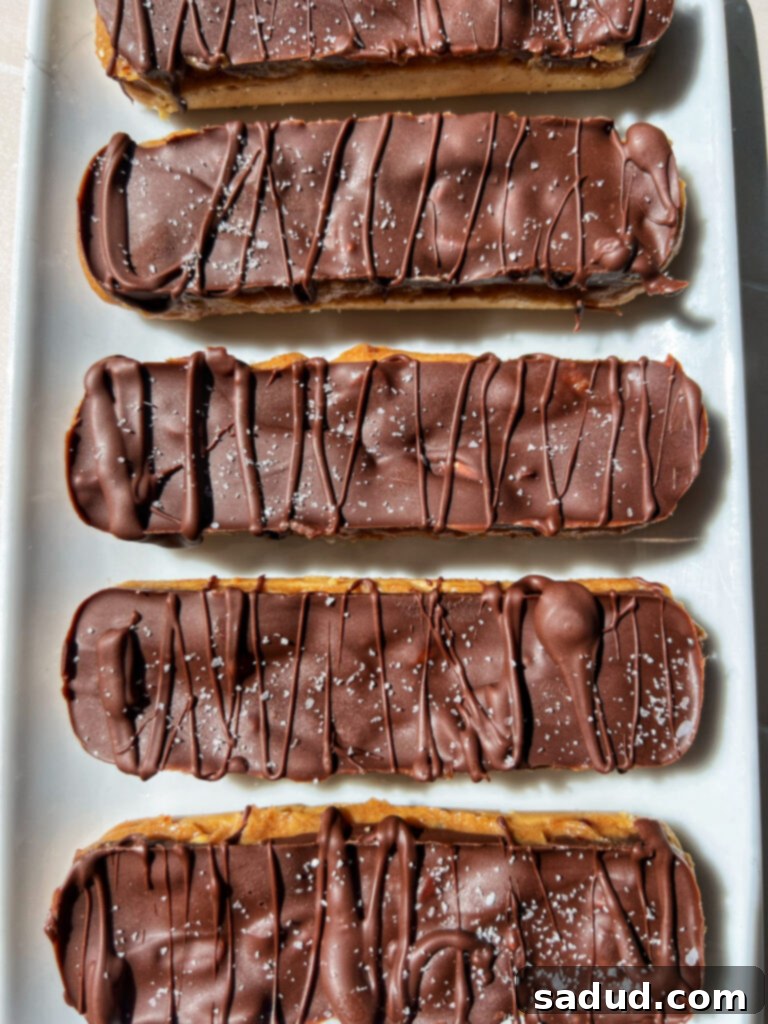
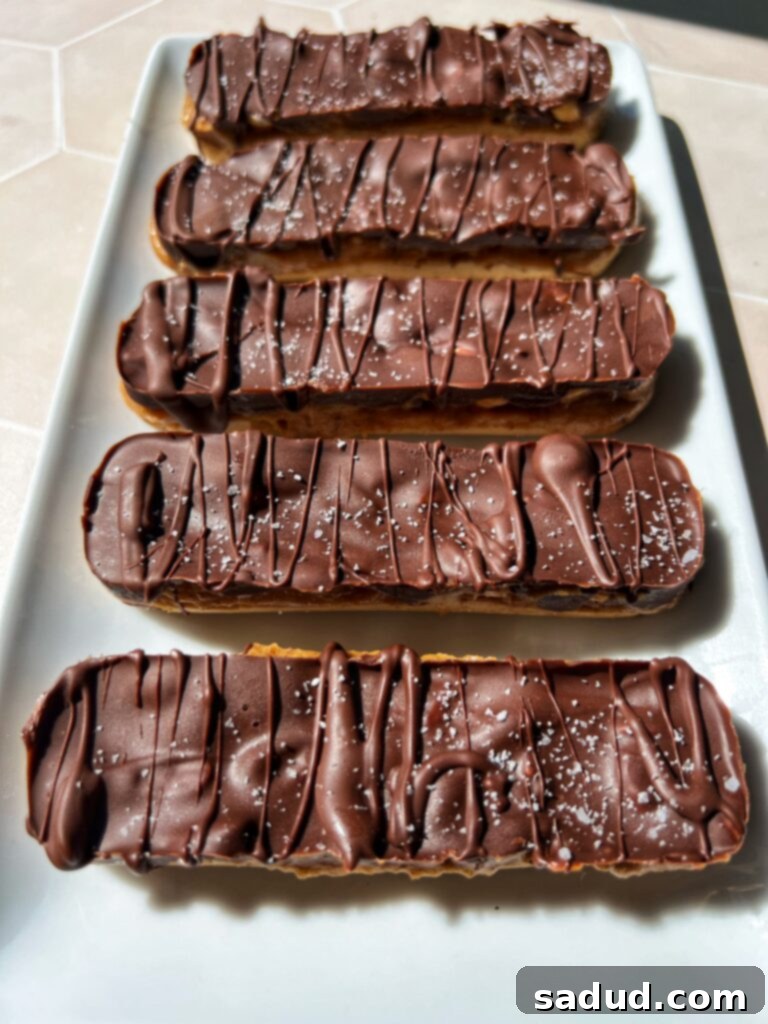
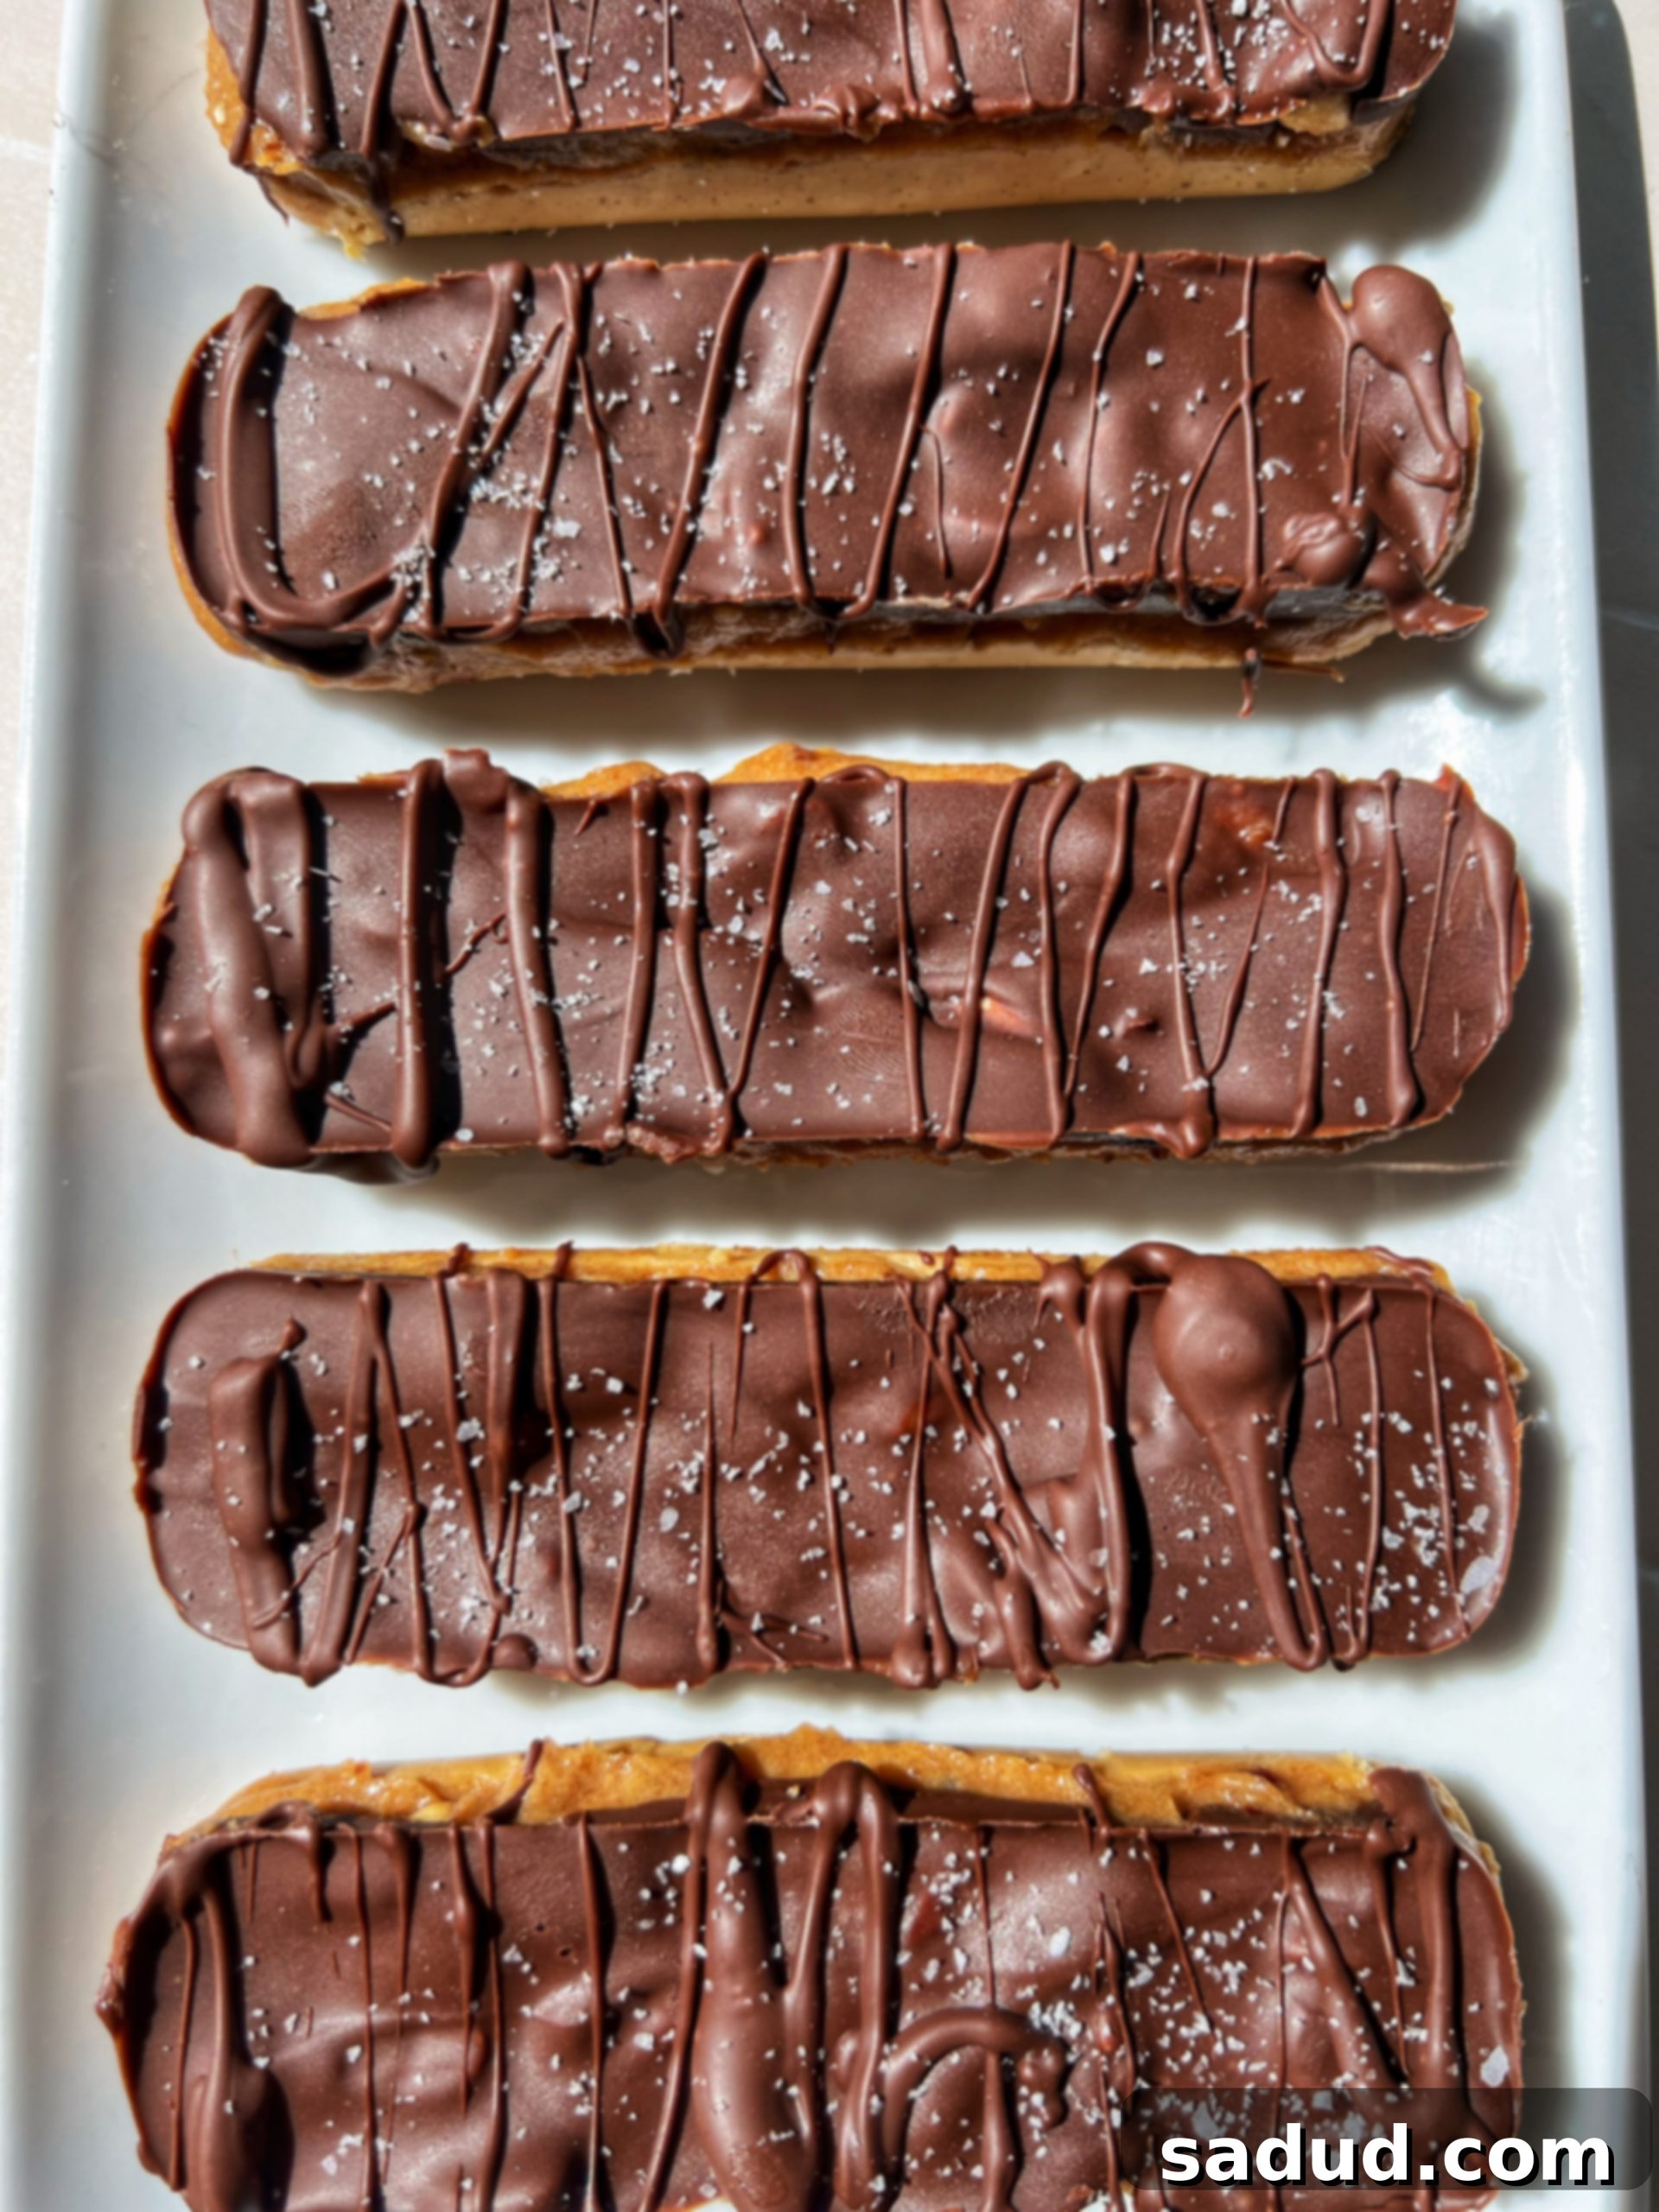
Are you constantly battling those sweet cravings but striving for a healthier lifestyle? What if you could enjoy the irresistible taste of your favorite candy bar, the Snickers, without the guilt? Look no further! These **incredible healthy Snickers protein bars** are your dream come true. They are **packed full of protein**, entirely **vegan**, **gluten-free**, and **naturally sweetened with maple syrup**, making them a perfect guilt-free indulgence.
Imagine biting into a soft, chewy nougat base, followed by a luscious date caramel layer studded with crunchy peanuts, all enveloped in rich, decadent chocolate. These homemade protein bars not only hit the spot for any sweet tooth but also serve as an excellent **meal prep snack**, ensuring you always have a nutritious and satisfying treat on hand. They are specially crafted for candy lovers who want to effortlessly **sneak in some protein** while enjoying a truly delicious experience.

Essential Ingredients & Smart Substitutions
Crafting these delectable bars requires a few key ingredients, but don’t worry, we’ve included plenty of substitution options to make this recipe accessible to everyone. Each component plays a vital role in achieving that perfect Snickers-like texture and flavor profile.
- Peanut Butter: The star of our nougat base, providing richness, protein, and that classic nutty flavor. If you have a peanut allergy or simply prefer a different taste, any nut butter will work beautifully! Almond butter and cashew butter are particularly delicious swaps, offering a slightly milder, creamy alternative. Ensure your chosen nut butter is natural, with minimal added sugars or oils.
- Protein Powder: This is where the “protein” in our protein bars comes in! I personally used salted caramel protein from Macro Mike, and the flavor it adds is absolutely incredible. For a discount, you can use my code amb-dani. When choosing your protein powder, opt for a plant-based variety to keep the recipe vegan. Vanilla or chocolate protein powders are great neutral options if salted caramel isn’t available, but feel free to experiment with other flavors to customize your bars! The type of protein (pea, rice, soy) can affect the dough consistency, so you might need slight adjustments to liquid or dry ingredients.
- Dates: These natural powerhouses are essential for creating our rich, chewy caramel filling. Medjool dates are highly recommended for their soft, succulent texture, which blends into a smooth, luxurious caramel. They offer natural sweetness and a fantastic binding quality. If you find yourself without dates, don’t despair! I’ve linked a date-free version below, so you don’t miss out on these delightful treats.
- Maple Syrup: Another natural sweetener, maple syrup contributes to the overall moisture and sweetness of both the nougat and caramel layers. It’s a fantastic alternative to refined sugars, offering a unique depth of flavor.
- Chopped Peanuts: Crucial for that signature Snickers crunch! Freshly chopped peanuts add texture and an authentic roasted flavor to the caramel layer. If you’re using a different nut butter, you could also use chopped almonds or cashews for a harmonious flavor profile.
- Coconut Oil: Used in both the nougat base and the caramel, coconut oil helps bind ingredients, provides a smooth texture, and ensures the bars set properly when chilled. It’s a healthy fat that also aids in a satisfying mouthfeel.
- Chocolate Chips: What’s a Snickers bar without chocolate? I love using Hu Kitchen chocolate for its quality and cleaner ingredients. You can get 15% off any order with my code “Danishealthyeats”. Dark chocolate chips are generally preferred for a less sweet, more intense chocolate flavor, but any vegan chocolate chips will work. Melting them down creates that perfect outer shell.
No Dates? No Problem! Try Our Date-Free Caramel Option
While dates provide an incredibly rich and naturally sweet caramel, we understand that they might not always be on hand or suitable for everyone. Fear not! You can still enjoy these healthy Snickers protein bars with an equally delicious alternative. We’ve got another fantastic healthy Snickers protein recipe that features a delightful **peanut caramel filling** instead of a date-based one. This version offers a slightly different, yet equally satisfying, flavor and texture profile, proving that healthy and delicious can go hand-in-hand, even with ingredient modifications.

Choosing Your Perfect Mold: Shaping Your Healthy Snickers Protein Bars
One of the best aspects of this recipe is its versatility when it comes to shaping your bars. You truly can use whatever you have available in your kitchen! The mold you choose can influence the bar’s size, shape, and how easy it is to prepare and serve. Here are some popular options and tips for each:
- A Loaf Pan: This is a super straightforward option for making larger batches.
- Advantages: Easy to press layers into, yields a good number of bars.
- Tips: Always line your loaf pan with parchment paper, leaving an overhang on the sides. This creates “handles” that make it incredibly easy to lift the entire frozen slab out of the pan before cutting. After freezing, simply lift, cut into desired bar sizes with a sharp knife, and enjoy.
- A Cupcake Tin: Ideal for individual portions that are uniform in size.
- Advantages: Pre-portioned, no cutting required after freezing.
- Tips: I highly recommend using a silicone cupcake tin. The flexibility of silicone makes it incredibly easy to pop out the frozen bars without any sticking or breakage. If using a metal tin, make sure to line each cavity with paper liners or lightly grease them.
- Candy Mold: For those who love a professional, uniform candy bar look.
- Advantages: Creates perfectly shaped bars, often with decorative details.
- Tips: I love this one! Since candy molds often produce larger shapes, I usually cut the finished bars in half for smaller, more manageable portion sizes. Silicone candy molds are also highly recommended for easy release.
- Mini Cupcake Tin: Perfect for bite-sized treats.
- Advantages: Easy small bites that don’t require any cutting, great for parties or quick snacks.
- Tips: Similar to regular cupcake tins, a silicone mini cupcake tin is your best friend here. They pop right out, making prep and cleanup a breeze. These are fantastic for controlling portion sizes, especially when you want just a tiny taste of sweetness.
No matter which mold you choose, ensure it’s clean and ready before you start layering your delicious protein bar components!
View this post on InstagramA post shared by Danielle Breiner (@danishealthyeats)
Crafting Perfection: How to Make Healthy Snickers Protein Bars
Get ready to assemble these irresistible layers! The process is simpler than you might think, and the result is a truly satisfying, homemade treat.
- Prepare the Nougat Base: In a mixing bowl, combine all the nougat ingredients. Mix thoroughly until a cohesive, dough-like mixture forms. The consistency should be firm enough to press but still pliable. Depending on your protein powder, you might need to adjust: if it’s too wet, add a touch more protein powder; if it’s too dry, a splash of plant-based milk will help. Press this nougat dough evenly into the bottom of your chosen pan or molds. Ensure it’s tightly packed for a sturdy base.
- Create the Creamy Caramel: For the date caramel, first, soak your pitted Medjool dates in very hot water for about 20 minutes. This softens them considerably, making them easier to blend into a silky smooth caramel. Drain the water well. Transfer the softened dates and the remaining caramel ingredients (except the milk, which will be added gradually) to a food processor. Process for about 30 seconds to start breaking down the dates. Then, with the processor running, slowly add the plant-based milk, a tablespoon at a time, scraping down the sides as needed, until you achieve a smooth, thick, and caramel-like consistency. Spread this delicious caramel layer evenly over your nougat base.
- Add the Crunchy Peanuts: Generously sprinkle your chopped peanuts over the caramel layer. Gently press them down slightly so they adhere to the caramel, ensuring that delightful crunch in every bite.
- Melt & Coat with Chocolate: Melt your chocolate chips until completely smooth and glossy. You can do this in a microwave in 30-second intervals, stirring between each, or using a double boiler. Pour the melted chocolate evenly over the peanut and caramel layers, ensuring everything is fully coated.
- Chill to Perfection: Place your pan or molds into the freezer for a minimum of 3-4 hours. This chilling time is crucial for the bars to set properly and firm up, allowing for clean cuts and easy handling. If you used a loaf pan for a larger slab, I recommend waiting 4-5 hours before attempting to cut them into individual bars to prevent crumbling and ensure sharp edges.
And there you have it! Delicious, healthy Snickers protein bars, ready to enjoy.
Watch How They’re Made!
Sometimes, seeing is believing! For a visual guide to crafting these amazing bars, be sure to check out the video demonstrating each step of the process here. It’s a great way to ensure you get the perfect consistency for each layer.
Storing Your Healthy Snickers Protein Bars
These bars are so good, you’ll want to make sure they last! To maintain their freshness, texture, and flavor, you’ll want to store any leftovers in an air-tight container. They are best kept in the freezer, where they will stay fresh for several weeks. When you’re ready for a snack, simply take one out and let it thaw for a few minutes, or enjoy it straight from the freezer for a firmer, more intense treat. The chill actually enhances their candy bar-like experience!
The Benefits of Making Your Own Protein Bars
Why bother making protein bars at home when you can just buy them? The advantages are numerous! Homemade protein bars like these healthy Snickers alternatives offer:
- Complete Control Over Ingredients: You know exactly what goes into your body. No hidden artificial flavors, preservatives, or excessive added sugars.
- Customization: Tailor the flavors, protein types, and even nut butters to your dietary needs and taste preferences.
- Cost-Effectiveness: Often, making your own bars is significantly cheaper than buying individual store-bought protein bars, especially when purchasing ingredients in bulk.
- Freshness: Enjoy bars that are as fresh as can be, without the long shelf life requirements of packaged goods.
- Dietary Accommodation: Easily ensure they are vegan, gluten-free, or meet other specific dietary restrictions.
Frequently Asked Questions About Healthy Snickers Protein Bars
Q: Can I use a different sweetener instead of maple syrup?
A: Yes, you can. Agave nectar is a good vegan alternative that has a similar consistency. Honey could also work if you’re not strictly vegan, but it will alter the flavor slightly. Be mindful that different sweeteners might change the texture of the nougat or caramel, so slight adjustments may be needed.
Q: How long do these healthy Snickers protein bars last in the freezer?
A: When stored in an airtight container in the freezer, these bars can last for up to 2-3 months. They’re best enjoyed within the first month for optimal freshness and texture.
Q: Can I make these without protein powder?
A: While the recipe is designed with protein powder for its specific binding and nutritional benefits, you could potentially omit it. However, this will change the “protein bar” aspect and might alter the nougat’s texture. You might need to add a bit more nut butter or a plant-based flour (like oat flour) to achieve a similar consistency for the base.
Q: Are these suitable for kids?
A: Yes, these can be a great healthier treat for kids, as they are naturally sweetened and packed with good ingredients. However, be mindful of portion sizes and any nut allergies. If serving to very young children, ensure the peanuts are finely chopped or omitted if there’s a choking hazard concern.
Q: My caramel isn’t smooth enough, what should I do?
A: This usually happens if the dates weren’t soaked long enough, or if your food processor isn’t powerful enough. Try adding a little more plant-based milk, a teaspoon at a time, and continue processing. Ensure you scrape down the sides frequently. For a super smooth caramel, some people even add a tiny bit of boiling water during the blending process.
More Delicious Recipes You’ll Love
If you’re a fan of these healthy Snickers protein bars, you’ll definitely want to explore these other Snickers-inspired treats:
Snickers Protein Brownies
Vegan Snickers Cheesecake
Snickers Chia Pudding

Healthy Snickers Protein Bars
Pin Recipe
Ingredients
Nougat base
- 1/2 cup peanut butter
- 1/4 cup maple syrup
- 1 tbsp melted coconut oil
- 4-5 tbsp protein powder *Linked the one i used in the post above!
- 1/2 tsp vanilla extract
- pinch of sea salt
Caramel center
- 16 pitted medjool dates
- 1/2 tbsp melted coconut oil *optional but this will keep it from oozing out of the bars
- 1/4-1/3 cup plant-based milk *as needed!
- 1 tsp vanilla extract
- good pinch of sea salt
Topping
- handful of chopped peanuts
- 1 1/4 cups chocolate chips
Instructions
Date caramel
-
Soak the dates in a bowl of super hot water for 20 minutes. Drain the water.
-
Add all of the caramel ingredients to a food processor, besides the milk, and process 30 seconds or so until it begins to break down.
-
Add a little milk at a time, scraping down the sides, until you reach a caramel consistency.
Nougat base
-
Mix together all of the nougat base ingredients together until a nougat-like dough forms. Depending on the protein you use, you may need to add another tbsp of protein if the dough is too wet or add a splash of milk if your dough is dry.
-
Press into the bottom of a lined loaf pan OR into the bottom of your molds.
-
Top the bases in the molds with the date caramel or spread the caramel over the base in the loaf pan. Top with chopped peanuts.
Chocolate topping
-
Met the chocolate until smooth. Pour over the base.
-
Place the pan or mold into the freezer for 3-4 hours before enjoying.
-
If you used a loaf pan, I recommend waiting 4-5 hours before trying to cut them into bars!
Notes
