Indulge Guilt-Free: The Best Healthy Vegan Tiramisu Pudding Cups (No-Bake & Gluten-Free)
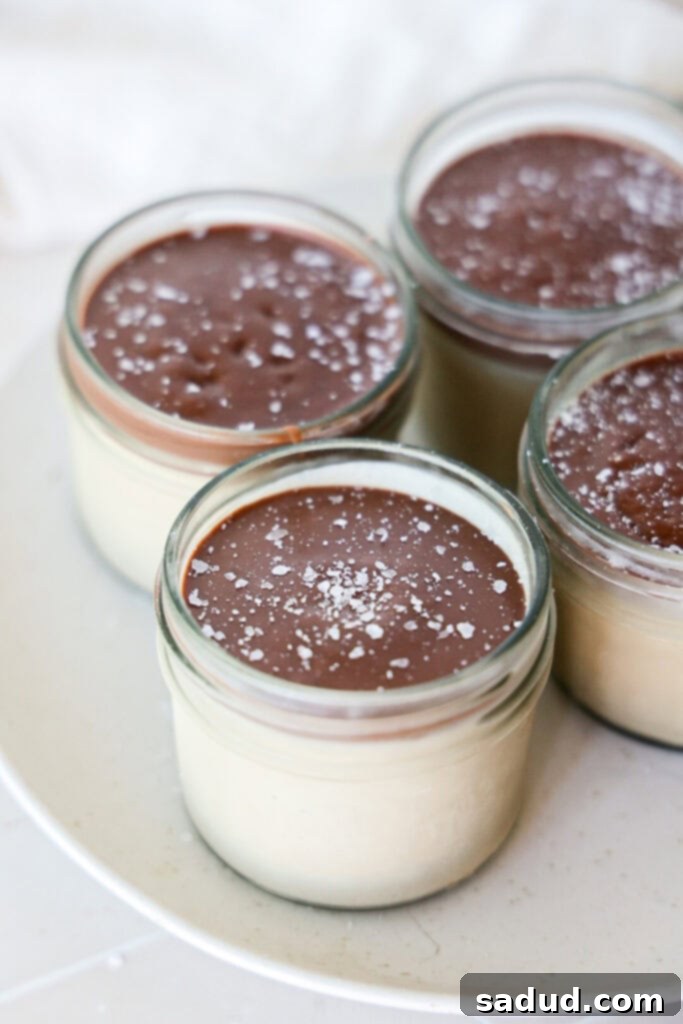
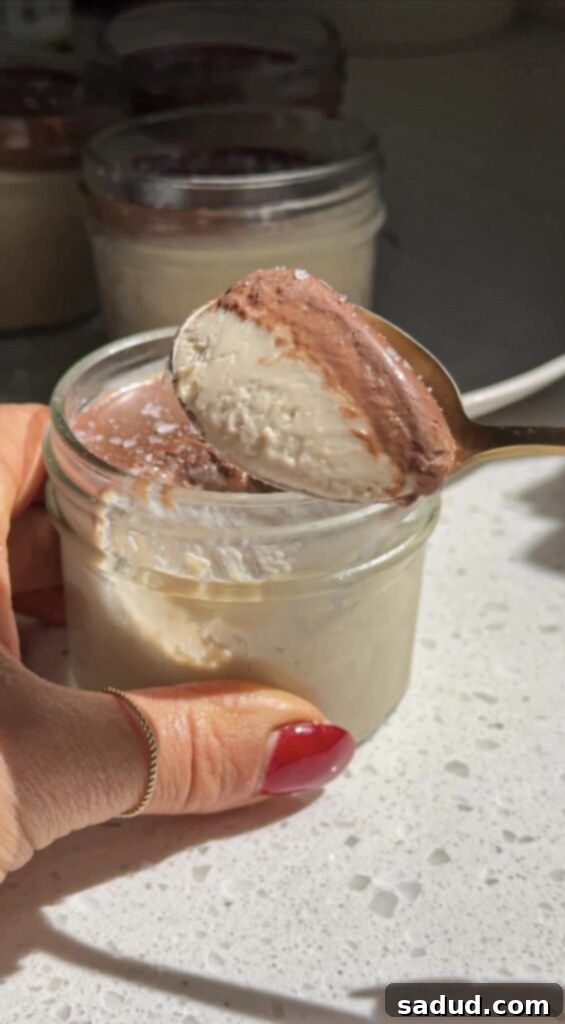
Prepare to fall in love with these healthy tiramisu pudding cups! They are incredibly luscious, exquisitely creamy, and bursting with authentic tiramisu flavor. Crafted from simple, wholesome ingredients, these delightful treats are proudly gluten-free, vegan and dairy-free, and completely free from refined sugars. Despite their healthy profile, you’d never guess they’re not the traditional indulgence. Each cup is intensely flavored with rich coffee and crowned with a decadent chocolate ganache and a delicate sprinkle of sea salt, creating a truly irresistible dessert experience.

Calling all coffee enthusiasts and dessert lovers! Tiramisu has long held a special place in my heart as one of my all-time favorite desserts. However, my passion truly ignited when I discovered the magic of raw vegan Tiramisu cheesecake. For those who have followed my culinary adventures on social media, it’s no secret that this particular dessert is my absolute birthday indulgence. Every year, without fail, I either bake one for myself or embark on a quest to find the perfect one to buy. This recipe offers an incredibly easy and accessible spin on that beloved classic, making it achievable for everyone!
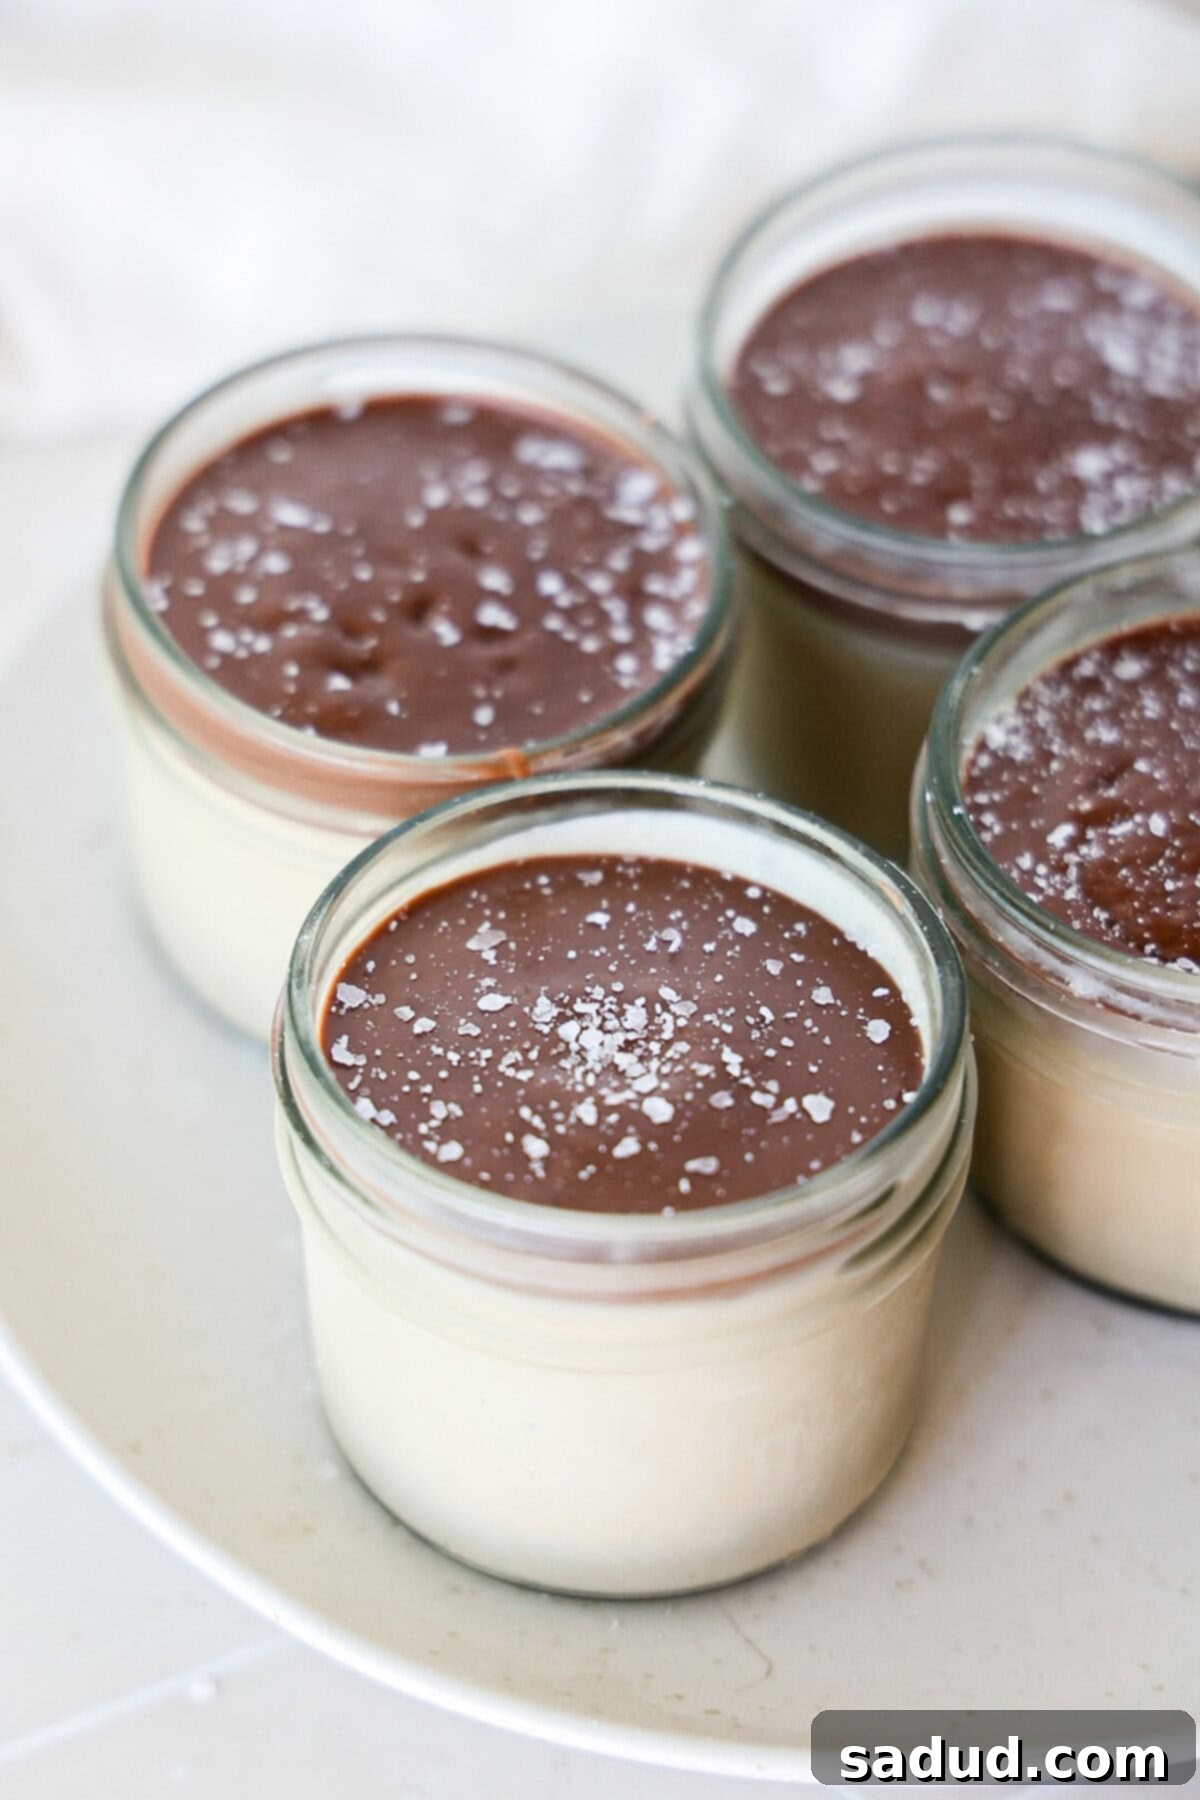
These tiramisu cheesecake cups are not just delicious; they are also an incredibly charming and convenient mason jar dessert. Their individual portions make them ideal for hosting parties, casual get-togethers, or even as delightful meal-prep treats to savor throughout the week. We’re intentionally skipping the traditional ladyfinger sponge layer found in classic tiramisu here. But don’t fret – these pudding cups are every bit as delicious in their own unique way, and the best part? They come together significantly faster, offering all the flavor without the fuss.
The secret to their sublime creaminess lies in a blend of raw cashews, thick coconut yogurt, rich coconut cream, aromatic espresso, and a handful of other simple ingredients. This combination creates a velvety smooth, cheesecake-like filling that is truly heavenly. To elevate them further, each cup is lavishly topped with a luscious chocolate ganache and finished with a generous pinch of flakey sea salt. The contrast of sweet, bitter, and salty notes is simply divine, creating a dessert that truly tastes like heaven in a jar.
Why You’ll Love This Healthy Tiramisu Pudding Cup Recipe
This recipe isn’t just another dessert; it’s a game-changer for anyone craving a decadent treat without the guilt. Here’s why these healthy tiramisu pudding cups will become your new go-to:
- Effortless Preparation: It comes together in under 15 minutes, with the help of a blender. No complex baking or intricate steps required, making it perfect for busy schedules.
- Perfectly Portioned: These make the ideal single-serve desserts, ensuring portion control and easy enjoyment without any waste. They’re also wonderfully portable!
- Ideal for Any Occasion: A fantastic dessert option for special occasions, elegant dinner parties, or even casual gatherings. Their charming presentation in jars always impresses guests.
- Smart Meal Prep: You can easily meal prep them as a healthy treat for the week, ensuring you always have a delicious, wholesome option on hand when a craving strikes.
- Dietary Friendly: They are completely vegan, gluten-free, paleo-friendly, and refined sugar-free, catering to a wide range of dietary needs and preferences without compromising on taste.
- Wholesome & Lighter: Made with nutritious, wholesome ingredients and significantly lower in sugar compared to traditional tiramisu, allowing you to indulge guilt-free.
- Rich Coffee Flavor: Packed with an intense coffee flavor that will satisfy any tiramisu connoisseur, enhanced by a luscious chocolate topping.
Tiramisu Pudding Cup Recipe Video Tutorial
Visual learners, rejoice! Watch this quick and easy video to see exactly how these irresistible healthy tiramisu pudding cups come to life. Follow along to ensure every step is perfectly executed for the best results!
How to Make Healthy Tiramisu Pudding Cups: A Step-by-Step Guide
Creating these delightful tiramisu pudding cups is a straightforward process. Here’s a breakdown of what you’ll need and how to bring this amazing dessert to life in your kitchen.
Essential Equipment for Your Tiramisu Cups
Gathering the right tools will make your tiramisu-making experience smooth and enjoyable. You won’t need anything fancy, just a few kitchen staples:
- High-Speed Blender: Crucial for achieving that perfectly smooth, creamy, cheesecake-like filling from the cashews. A powerful blender ensures no gritty texture.
- Mason Jars or Individual Containers: These are essential for creating the charming single-serve portions. Any small, heat-safe jars or ramekins will work beautifully.
- Medium Mixing Bowl: For preparing your luscious chocolate ganache.
- Spatula: Ideal for scraping down the blender, mixing ganache, and evenly distributing the filling and topping.
Key Ingredients & Smart Substitutions for the Perfect Pudding
Every ingredient plays a vital role in crafting the exquisite flavor and texture of these tiramisu cups. Here’s a detailed look, along with helpful substitution options:
- Raw Cashews: These are the star of our creamy, dairy-free filling. When soaked and blended, they create a rich, smooth base reminiscent of cheesecake. Be sure to use raw cashews for the best flavor and texture.
- Coconut Yogurt: A crucial ingredient for the tang and thickness of the pudding. Opt for a high-quality, thick coconut yogurt. If you’re not strictly dairy-free, you can substitute with plain Greek yogurt for a similar texture and an added protein boost. Remember, thinner yogurts won’t set as well, so choose wisely!
- Maple Syrup: Our natural sweetener of choice. Maple syrup beautifully complements the coffee flavor, adding a warm, caramel-like note. Honey or agave nectar are also excellent alternatives if you prefer, ensuring the recipe remains refined sugar-free.
- Espresso: The heart of any tiramisu! I typically use two shots from my Nespresso machine for convenience and robust flavor. Alternatively, you can prepare two shots of instant espresso or use freshly brewed strong coffee. The quality of your coffee truly makes a difference here, so use your favorite!
- Coconut Cream: This provides additional richness and helps achieve the velvety texture. You can purchase canned coconut cream, or simply use the thick, solid part scooped from the top of a can of full-fat coconut milk that has been refrigerated overnight. My favorites are from Whole Foods or Trader Joe’s.
- Pantry Staples: A touch of pure Vanilla Extract enhances all the flavors, while a delicate Pinch of Sea Salt balances the sweetness and deepens the overall taste profile.
- Chocolate Chips: For the decadent ganache. I personally love chopping up Hu Kitchen chocolate bars for their high quality and no-sugar-added profile (you can use my code “danishealthyeats” for a discount!). High-quality chocolate chips also work wonderfully. Ensure they are dairy-free if maintaining a vegan recipe.
- Cookies for the “Ladyfingers” (Optional): While traditional tiramisu uses ladyfingers, we’re going for a simpler, healthier approach. If you crave that cookie base, I highly recommend Simple Mills Toasted Pecan cookies. They are fantastic and keep the recipe gluten-free and refined sugar-free. You can use any similar cookie or even gluten-free graham crackers.

Simple Steps to Assemble Your Healthy Tiramisu Pudding Cups
Follow these easy instructions to create your delicious tiramisu cups:
- Step one: Blend the Tiramisu Filling
In your blender, combine all of the tiramisu filling ingredients (soaked cashews, coconut yogurt, maple syrup, espresso, coconut cream, vanilla extract, and sea salt). Blend on high speed until the mixture is completely smooth and lusciously creamy, with no trace of cashew bits. Stop occasionally to scrape down the sides of the blender. Once blended, taste the mixture and adjust the sweetness or coffee intensity as needed to suit your preference. - Step two: Divide and Chill the Filling
Carefully divide the smooth tiramisu filling amongst your chosen individual jars or containers. Make sure to leave approximately one-third of each jar empty at the top; this space is reserved for the glorious chocolate ganache. Once filled, transfer the jars to the freezer for a minimum of 2-3 hours. The goal is for the filling to firm up sufficiently so that it feels somewhat solid to the touch. This crucial step prevents the ganache from sinking into the pudding when added, ensuring beautifully defined layers. - Step three: Prepare the Silky Chocolate Ganache
Once the tiramisu fillings in the jars are adequately firm, it’s time to prepare the chocolate ganache. Add the coconut cream (or full-fat canned coconut milk) to a medium-sized, heat-safe bowl. Gently heat the coconut cream until it is very warm, almost steaming, but do not let it simmer or boil. Remove from heat and immediately pour your chocolate chips or chopped chocolate bars into the warm coconut cream. The key here is to NOT STIR initially. Place a lid or a plate over the bowl and let it sit undisturbed for about 10 minutes. This allows the residual heat from the coconut cream to melt the chocolate evenly. After 10 minutes, remove the lid and gently stir the mixture with a spatula until it becomes completely smooth, glossy, and ganache-like. - Step four: Layer, Chill, and Serve
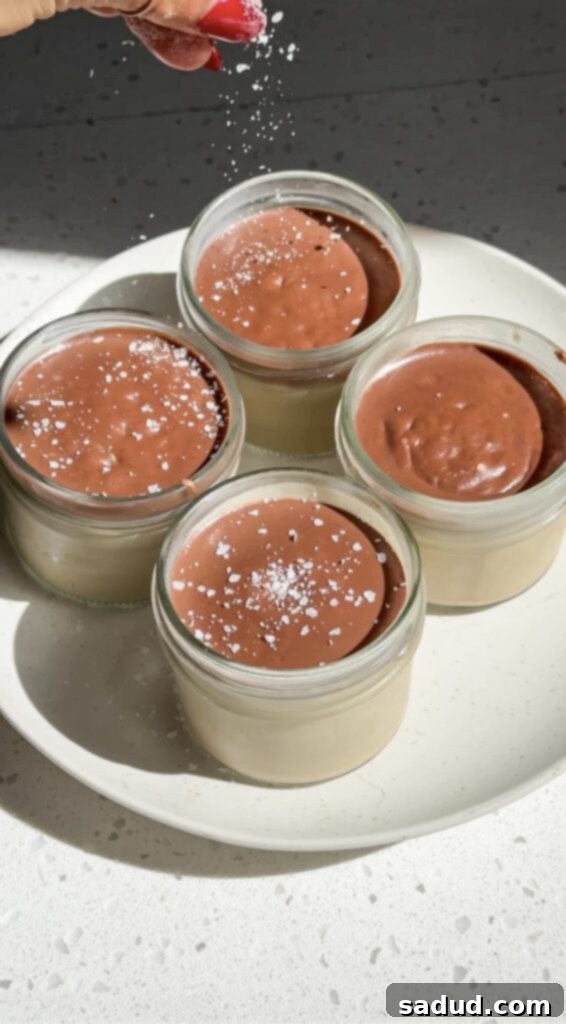
Once the ganache is smooth and the tiramisu filling is firm, carefully divide the chocolate ganache evenly among the chilled pudding cups, spreading it gently over the top of the firm tiramisu layer. Return the jars to the freezer for at least another 30-60 minutes, or until the ganache has set. Before serving, a final, generous sprinkle of flakey sea salt over the chocolate ganache is highly recommended to enhance the flavors and add a beautiful visual touch. Enjoy your perfectly chilled, healthy tiramisu pudding cups!

FAQs, Expert Tips, & Smart Tricks for Your Best Tiramisu
To help you master these delicious tiramisu pudding cups and answer any questions you might have, here are some frequently asked questions, along with valuable tips and tricks:
- Elevate with Quality Espresso: The flavor of your espresso is paramount in this recipe, as it forms the foundational taste of tiramisu. For the most authentic and robust flavor, always use high-quality coffee. Whether you choose freshly pulled espresso shots or prepare instant espresso ahead of time, a good base makes all the difference.
- The Secret to Creaminess: Soak Your Cashews: This is a non-negotiable step for an ultra-creamy, smooth filling. Soaking raw cashews softens them significantly, allowing them to blend effortlessly into a velvety consistency, free from any grittiness. To do this, simply place your cashews in a bowl and cover them with very hot (almost boiling) water. Let them soak for 20-30 minutes, then drain thoroughly before using them in the recipe. This small step yields huge results!
- Patience is Key: Allow Them to Set Long Enough! While these tiramisu cups are no-bake, they do require adequate time in the freezer to firm up properly. It’s crucial to be patient and allow them to chill for the recommended 2-3 hours. You definitely don’t want to dig into a liquidy filling! A firm filling ensures the layers hold beautifully and the texture is perfect.
- Can I Add Traditional Ladyfingers (or a Cookie Base)? Absolutely! If you prefer a more traditional tiramisu texture with a softer base, you can certainly add a “ladyfinger” layer. Simply dunk your choice of ladyfingers or a similar cookie (like the Simple Mills cookies mentioned) into some prepared instant espresso. Allow it to soak for just a few seconds on each side, then place it at the bottom of your jar. If one cookie doesn’t quite fill the bottom, you can add another and gently mash it to create a cohesive crust-like base before adding the tiramisu filling.
- Storage and Make-Ahead Tips: These tiramisu pudding cups are fantastic for making ahead! Once fully assembled and set, cover the jars tightly with lids or plastic wrap. They can be stored in the freezer for up to 2-3 weeks. When you’re ready to enjoy, simply transfer them to the refrigerator for about 30 minutes to an hour to soften slightly to a perfect pudding consistency, or enjoy straight from the freezer for a more ice cream-like treat.
- Flavor Variations: Feel free to experiment with additional flavors! A hint of orange zest in the pudding, a sprinkle of cocoa powder over the ganache, or a layer of fresh raspberries could add an exciting twist to these delightful cups.
More Healthy Dessert Recipes to Try
If you loved these healthy tiramisu pudding cups, you’re in for a treat! Explore some of my other favorite wholesome and delicious dessert recipes:
- No-Bake Strawberry Cheesecake Jars
- Easy Frozen Yogurt Bites
- Homemade Dilly Bars
- Coconut Cookie Bars
- Tagalong Cookies (Healthy Version)
- No-Bake Samoa Cookies (Healthy Version)
- No-Bake Gluten-Free Banana Pudding
- Paleo Cinnamon Rolls
If you make this healthy tiramisu pudding cup recipe and absolutely love it, it would mean the world to me if you left a rating and review below! Don’t forget to tag me in your delicious creations on Instagram @danishealthyeats! x

Healthy Tiramisu Pudding Cups (Vegan)
Pin Recipe
15 minutes
4 hours
15 minutes
Appetizer, Dessert, Snack
American
5
small jars
Ingredients
Optional “ladyfinger” base
-
5
cookies (I used Simple Mills Toasted Pecan cookies to keep things gluten & refined sugar-free)
*You can use any similar cookie/ladyfinger -
1/4
cup
prepared instant espresso (4 tbsp instant espresso mixed with 1/4 cup hot water)
Pudding
-
1 1/2
tbsp
instant espresso
*if you don’t want a strong coffee taste, do 1 tbsp -
1 1/2
tbsp
water -
1 1/4
cups
raw cashews -
5
tbsp
maple syrup or honey -
1/4
cup
thick coconut yogurt or greek yogurt -
1/4
cup
coconut cream
*the solid part from the top of a can of full-fat coconut milk -
1 1/2
tsp
vanilla extract -
pinch
sea salt
Chocolate ganache
-
1/2
cup
full-fat canned coconut milk -
1
cup
chocolate chips or chopped chocolate bars
*I use Hu Kitchen – discount in the blog post! -
flakey sea salt
for topping
Instructions
Optional “Ladyfinger” cookie base
-
Dip a cookie into the prepared espresso, allowing it to soak for a few seconds on each side. If your bowl is larger and the cookie isn’t fully submerged, then flip it over, letting it soak a few seconds longer. Place the soaked cookie at the base of your individual jar. If one cookie doesn’t completely fill the bottom, you can add another cookie piece and use a spoon to gently mash it a bit to create a cohesive, crust-like base.
Tiramisu Filling
-
Combine all of the Tiramisu pudding filling ingredients (soaked raw cashews, coconut yogurt, maple syrup, espresso, coconut cream, vanilla extract, and sea salt) in a high-speed blender. Blend until the mixture is completely smooth and creamy, ensuring no cashew bits remain. Taste and adjust the sweetness or coffee strength as desired.
-
Carefully divide the blended filling amongst your jars, ensuring to leave approximately one-third of the jar empty to accommodate the chocolate ganache layer. Place the filled jars in the freezer for 2-3 hours, or until the filling has firmed up enough that it’s somewhat solid to the touch. This crucial step prevents the ganache from sinking into the pudding.
Chocolate Ganache
-
Once the tiramisu fillings are firm, prepare your ganache. Add the full-fat canned coconut milk to a medium-sized bowl. Heat it until it is very warm, almost steaming, but do not allow it to simmer or boil. Remove from heat and pour the chocolate chips or chopped chocolate bars into the warm coconut milk – it’s important to DON’T STIR at this point. Place a lid over the bowl and let it sit for about 10 minutes to allow the chocolate to melt. Then, remove the lid and stir until it’s completely smooth and luscious, achieving a ganache-like consistency.
-
Divide the prepared ganache evenly amongst the firmed tiramisu fillings in the jars, gently spreading it out to create a smooth top layer. Place the jars back into the freezer until the ganache has set, usually another 30-60 minutes. Just before enjoying, sprinkle with flakey sea salt for an enhanced flavor and beautiful finish!
Video
gluten-free dessert, healthy tiramisu, mason jar dessert, no bake tiramisu, tiramisu, vegan tiramisu
