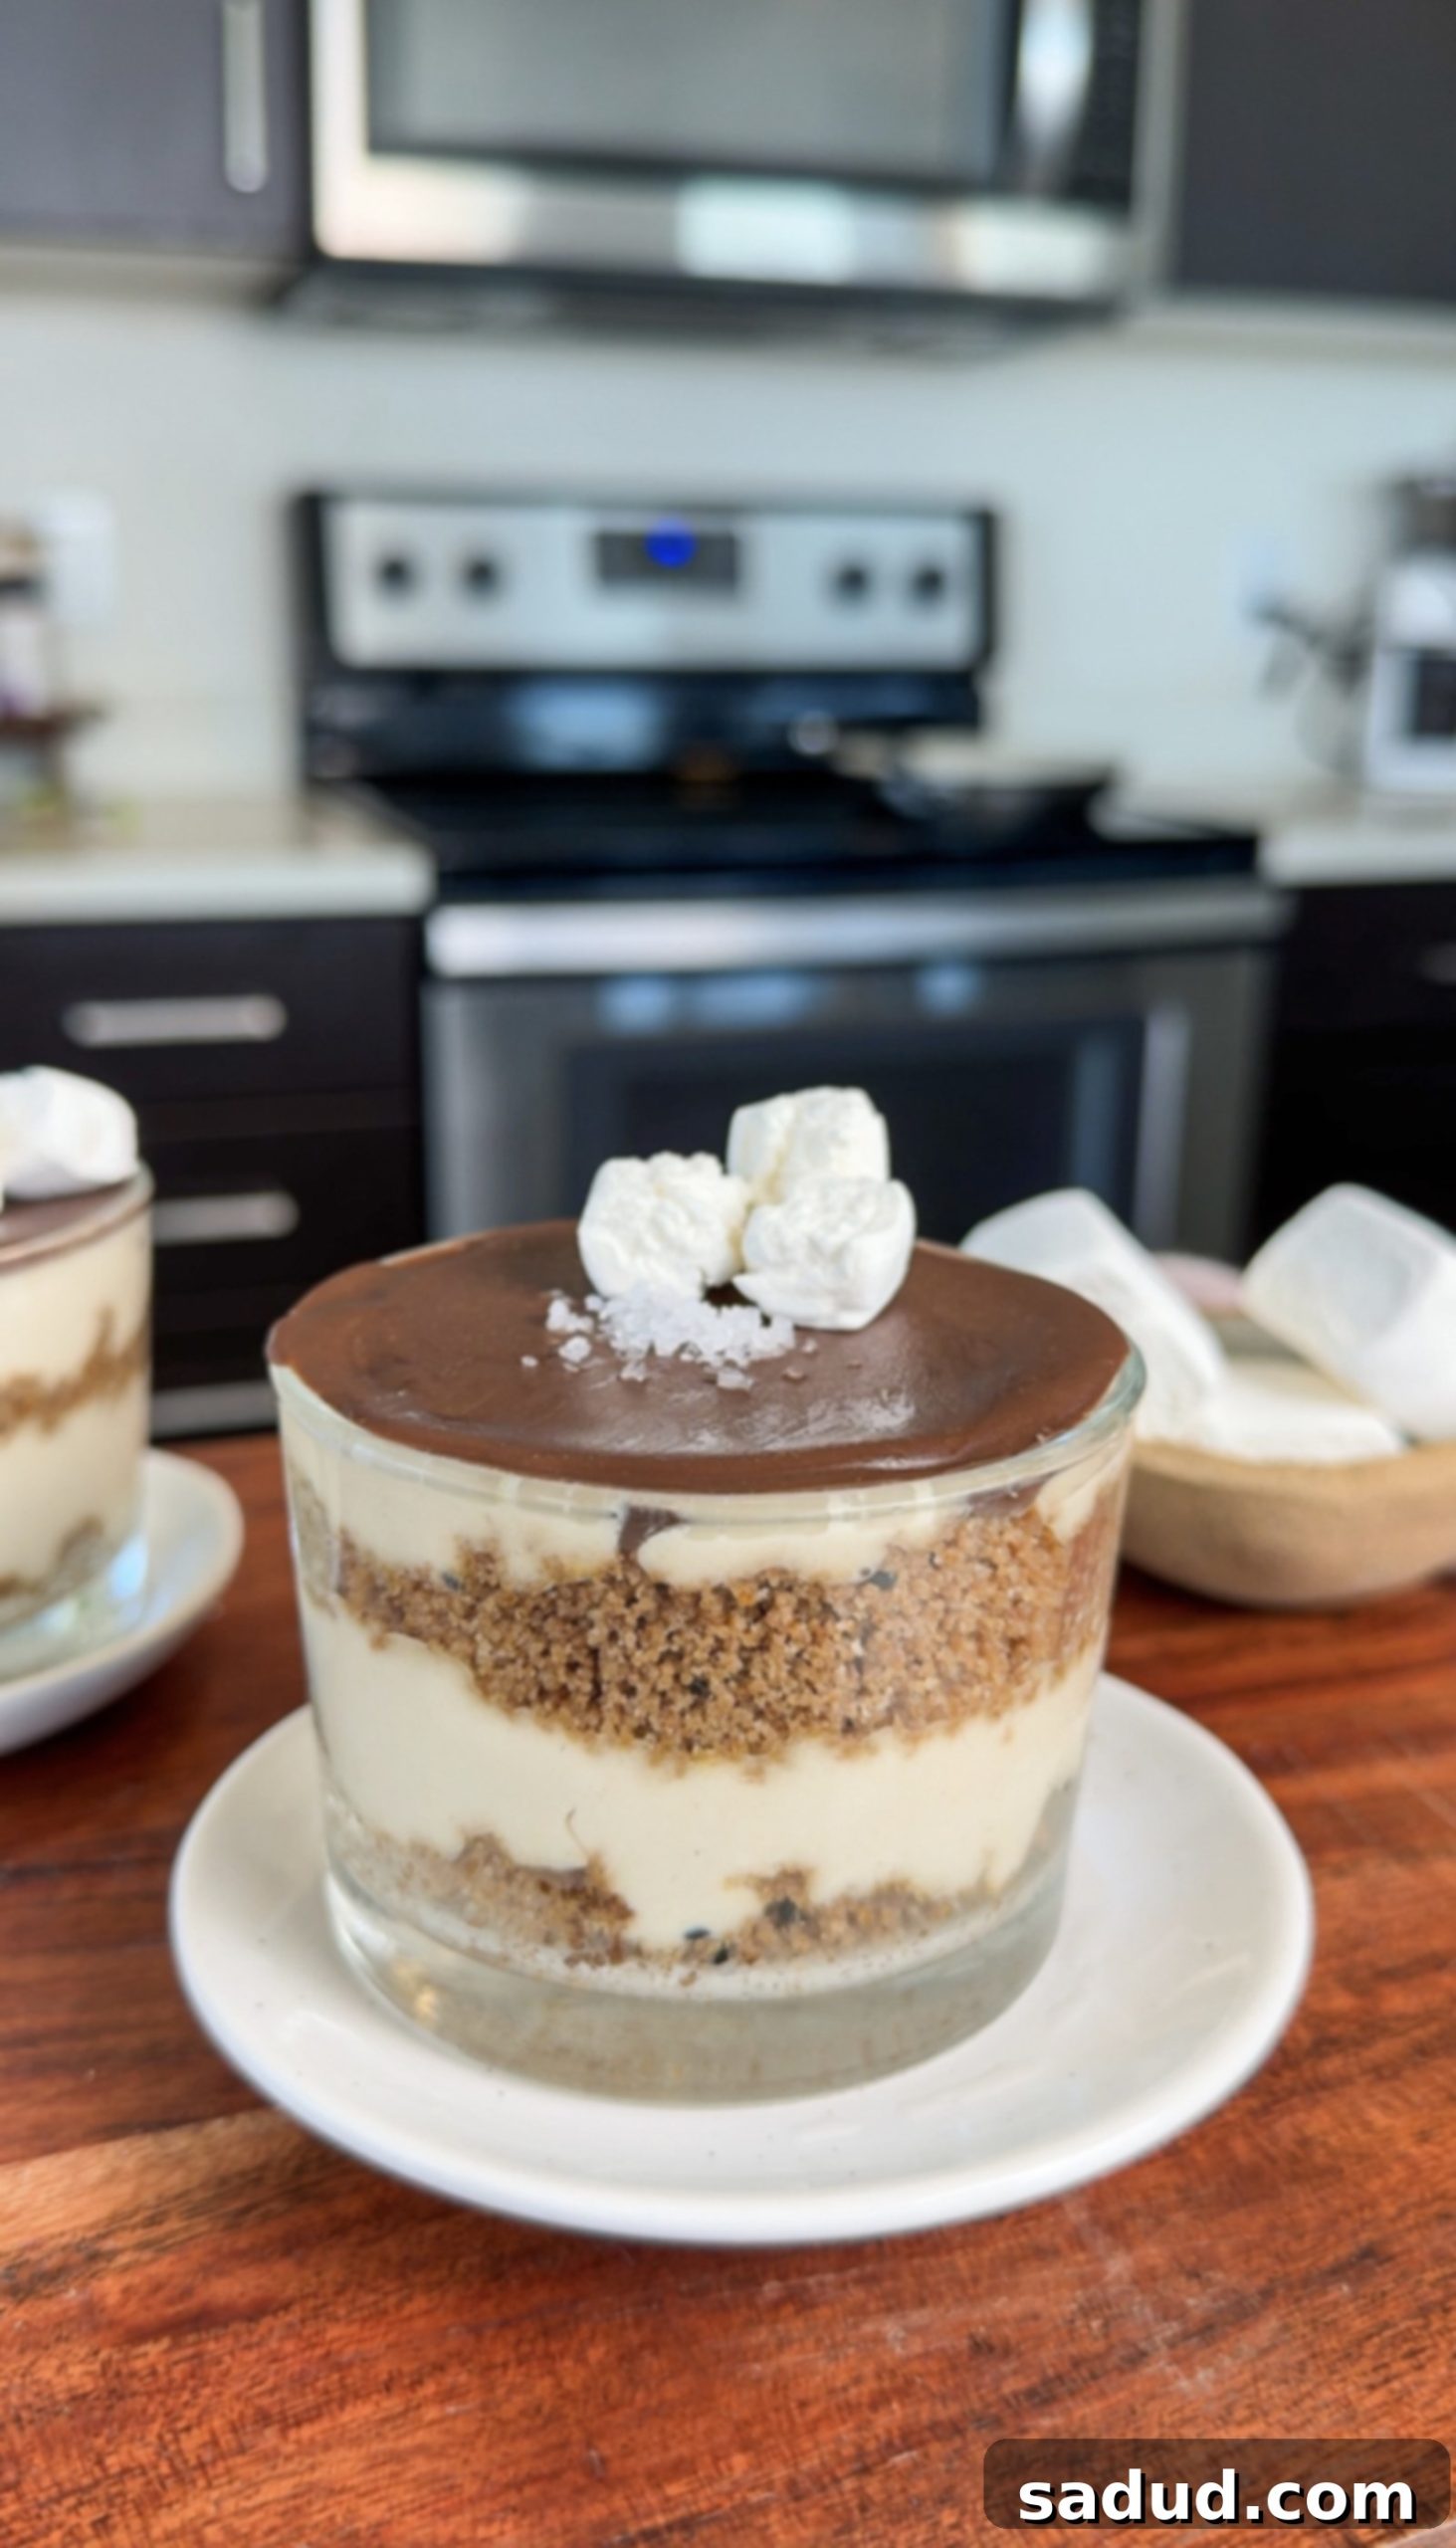
Decadent No-Bake Vegan S’mores Cheesecake Cups: Your Go-To Healthy Summer Dessert
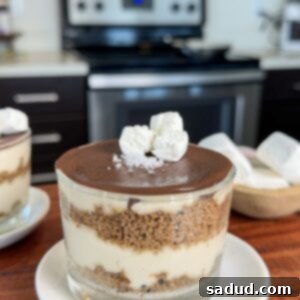
Prepare to fall in love with these incredibly easy-to-make, **healthier individual S’mores Cheesecake Cups**! Imagine layers of lusciously creamy cashew-based cheesecake filling, a delightful “graham cracker” crust, all crowned with a rich, snappy chocolate topping. These mini desserts are not just bursting with flavor; they’re also absolutely beautiful, making them an ideal choice for entertaining guests at parties, a charming potluck contribution, or simply as an extra-special after-dinner indulgence. What’s even better? They cater to a variety of dietary needs: this recipe is completely **vegan, gluten-free, refined sugar-free, and grain-free**, ensuring everyone can enjoy a guilt-free treat!
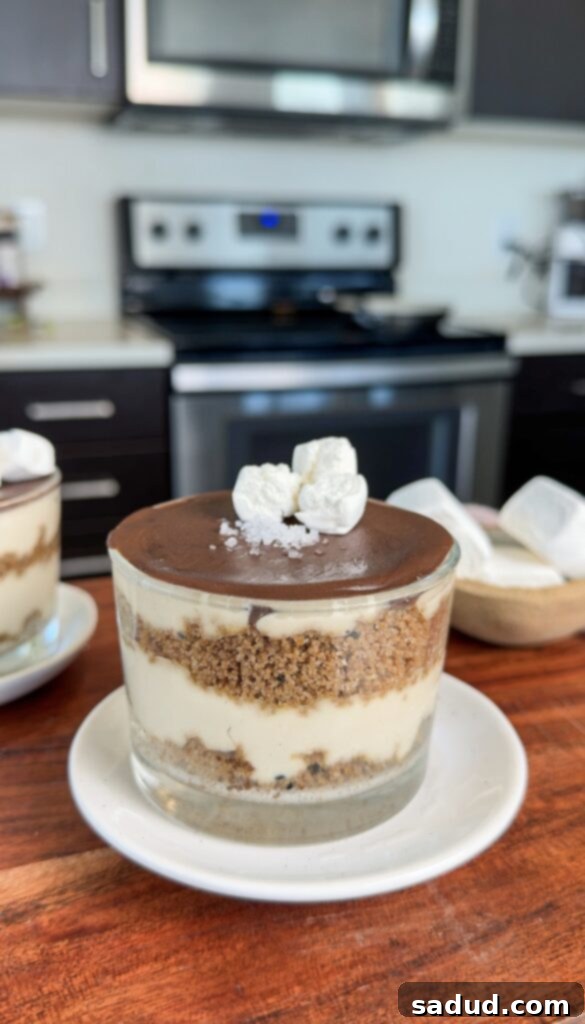
While the preparation of these individual S’mores cheesecake cups involves a few distinct steps, you’ll be pleasantly surprised by how straightforward and quick the process truly is. One of the main reasons this has become a personal favorite dessert of mine is that absolutely **no baking is required**! This makes it a fantastic option for warmer months when you want to avoid turning on the oven, or simply when you’re looking for a fuss-free dessert that comes together in a flash. Plus, the convenience of being able to prep them the day or even the night before makes them an absolute dream for hosts when you have guests coming over, freeing up your time on the day of your event.
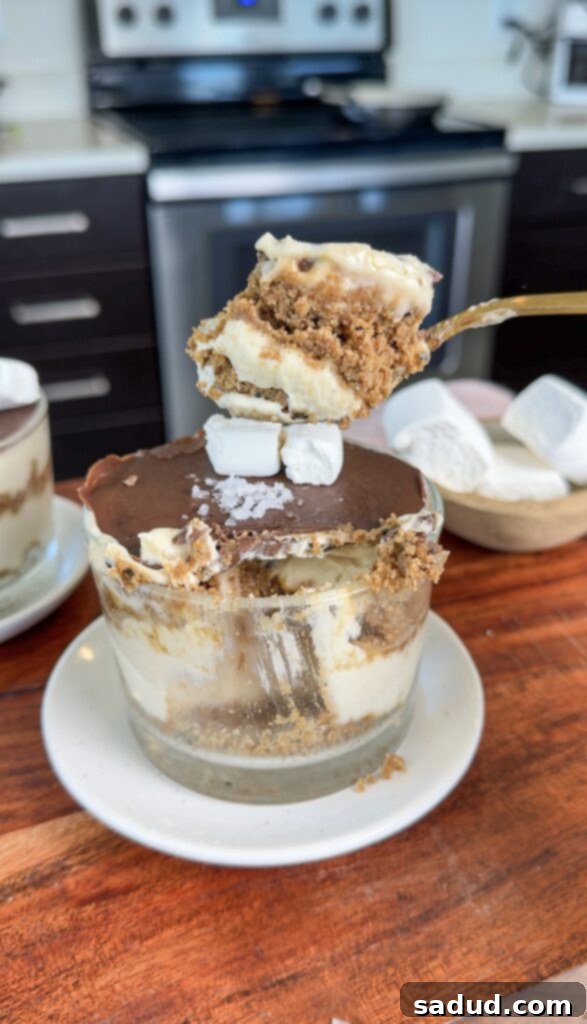
Serving these cute, pre-portioned S’mores cheesecake cups is a breeze, especially when catering to a smaller group or a party where individual servings are preferred. They eliminate the need for cutting and plating a large cake, making cleanup and serving effortlessly elegant. However, for those occasions when you need a grander presentation, this recipe is incredibly versatile and can certainly be scaled up to make a whole S’mores cheesecake. If you’re a fan of no-bake, creamy delights, you might also love my Cookie Tiramisu Cheesecake recipe, which is equally incredible and shares a similar commitment to health and flavor!
Watch: How to Make No-Bake S’mores Cheesecake Cups
Why You’ll Adore These Healthier No-Bake S’mores Cheesecake Cups!
There are so many reasons why these S’mores Cheesecake Cups will become your new favorite dessert, especially during the warmer months:
- Effortless No-Bake Preparation: Say goodbye to hot ovens! This is a truly no-bake recipe, crafted without eggs or any need for stovetop cooking. It’s the perfect solution for satisfying your sweet cravings without heating up your kitchen, making it ideal for summer or busy weeknights.
- Incredibly Time-Efficient: You’ll only need approximately 20 minutes of active prep time to bring these delightful treats to life. The rest is hands-off chilling! This recipe is a lifesaver when you’re short on time but still want to create a dessert that looks impressive and tastes absolutely gourmet. It’s perfect for last-minute gatherings or when you want something special without the fuss.
- Perfectly Portioned & Easy to Serve: Each cheesecake cup is individually portioned, completely eliminating the need for awkward slicing or plating. This makes them exceptionally convenient for parties, picnics, or simply as a grab-and-go dessert at home. Plus, their individual size means portion control is built-in, and they look incredibly elegant on any dessert spread.
- Dietary-Friendly & Wholesome: This recipe is a fantastic choice if you’re seeking a healthy dessert that accommodates various dietary preferences. It’s truly **vegan and paleo-friendly**, thanks to the plant-based ingredients and natural sweeteners. Furthermore, it’s naturally **gluten-free, grain-free, and refined sugar-free**, ensuring that even those with specific dietary requirements can indulge without compromise. It’s a treat that truly nourishes while delighting the taste buds.
Essential Ingredients for Your Vegan S’mores Cheesecake Cups
Crafting these delectable S’mores Cheesecake Cups relies on a few key ingredients that deliver incredible flavor and texture while keeping them wholesome and dietary-friendly. Here’s what you’ll need:
- Crunchy Cookies for the “Graham Cracker” Layer: I absolutely adore using a package of Simple Mills Crunchy Cookies for the base, especially their chocolate chip variety. They offer wholesome ingredients and a perfect crisp texture. However, feel free to substitute with your favorite store-bought crunchy cookies, or even a homemade gluten-free graham cracker alternative if you prefer!
- Raw Cashews: These are the star ingredient for the luscious vegan “cheesecake” filling. When soaked and blended, raw cashews create an unbelievably smooth, rich, and creamy texture that rivals traditional cheesecake, all while maintaining a wonderfully neutral flavor profile that lets the s’mores elements shine.
- Greek Yogurt or Coconut Yogurt: To achieve that classic cheesecake tang and a touch of probiotics for gut health, Greek yogurt (if not strictly vegan) or a high-quality coconut yogurt is essential. For a superb vegan option, I highly recommend the brand Culina for its rich creaminess and clean ingredients.
- Maple Syrup: This natural sweetener adds a beautiful depth of flavor and just the right amount of sweetness to the cheesecake. You can also use honey if you’re not strictly vegan, but be mindful that it will impart a subtle honey flavor to the cream.
- Canned Coconut Milk (Full-Fat): Crucial for adding richness and ensuring a super creamy consistency in the filling. If coconut isn’t an option, a dairy-free creamer like Nutpods can work well. For those not following a dairy-free diet, heavy cream is a suitable substitute.
- Pantry Staples: Don’t forget your trusty vanilla extract for warmth and a pinch of sea salt to enhance all the flavors and balance the sweetness.
- High-Quality Chocolate Chips: The final touch! Use your favorite variety – dark chocolate chips will offer a rich, intense flavor, while milk chocolate chips (ensure vegan if needed) will provide a sweeter, classic s’mores experience.
Mastering the Assembly of Your S’mores Cheesecake Cups
Now for the most exciting and visually rewarding part: bringing all these delicious components together in charming individual cups! The layering process is simple yet effective, allowing you to create a beautiful dessert that’s as fun to make as it is to eat.
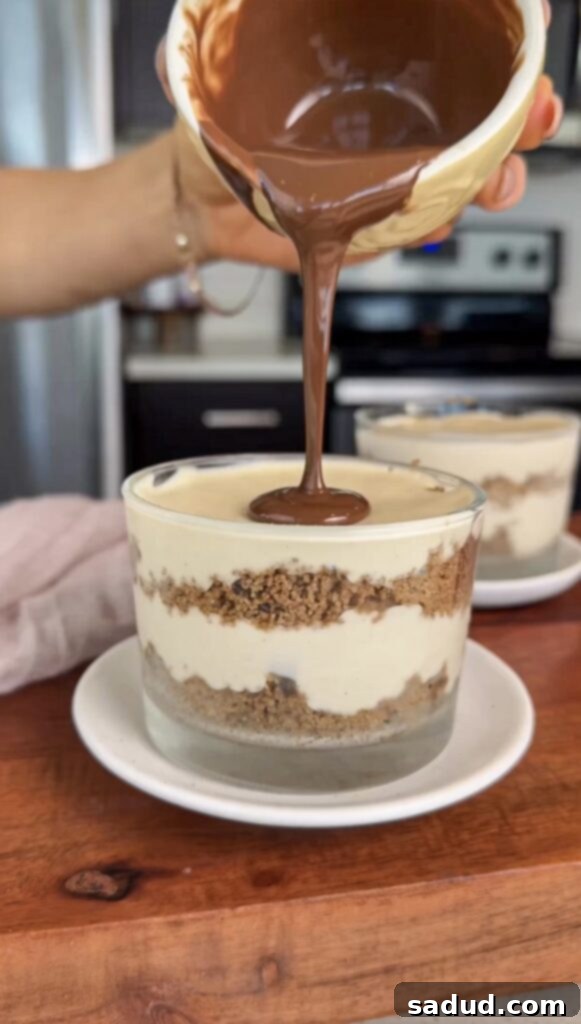
Begin by distributing your “graham cracker” crust mixture evenly among your chosen individual glass jars or dessert cups. Press the crumbs down gently with the back of a spoon to form a compact, delicious base. Next, spoon a generous layer of your velvety cashew cheesecake filling over the crust. Aim for a smooth, even layer that promises creamy goodness in every bite. Repeat these layers—a layer of crust, followed by a layer of cheesecake—until your cups are approximately three-quarters full. The exact number of layers will depend on the height and size of your cups, but always ensure you end with a cheesecake layer to create a smooth surface for the chocolate topping.
Once your layers are complete, it’s time for the crowning glory: the melted chocolate. Carefully pour or spoon the rich, melted chocolate over the top of each cheesecake layer, ensuring it covers the surface completely. You can gently tilt the cups to help the chocolate spread evenly. For an extra touch of s’mores authenticity, consider adding a few miniature vegan marshmallows on top of the chocolate before it sets.
Finally, transfer your assembled cups to the freezer. This crucial step allows all the flavors to meld beautifully and the cheesecake filling to firm up to that perfect, decadent consistency. Allow them to set for at least 4 hours, though letting them chill overnight will yield the best, firmest results. Once fully set, remove the cups from the freezer and, just before serving, sprinkle a generous pinch of flaky sea salt over the chocolate topping. This addition enhances the chocolate flavor and adds a delightful textural contrast. Allow them to thaw for about 10 minutes at room temperature before diving in for the ultimate creamy experience!
Expert Tips for Crafting the Best Vegan No-Bake S’mores Cheesecake
Achieving a perfectly creamy and flavorful vegan cheesecake is simple with these essential tips:
- Optimize Cashew Creaminess: For the most luxuriously smooth cheesecake filling, proper cashew preparation is key. Bring a pot of water to a rolling boil, then remove it from the heat. Add your raw cashews and let them soak for a minimum of 20-30 minutes. This softens them significantly, allowing them to blend into an incredibly silky cream. After soaking, be sure to drain them thoroughly before use. If you have more time, an overnight soak in cold water works just as well.
- Ensure a High-Powered Blender: To truly achieve that super smooth, velvety cashew filling without any gritty texture, a **high-powered blender** is indispensable. Regular blenders might struggle to break down the cashews completely, resulting in a less refined consistency. Invest in a good quality blender for the best results!
- The Perfect Thaw Time: While these cheesecake cups are stored in the freezer, they are best enjoyed after a brief thaw. Allow the jars to sit at room temperature for about 10 minutes prior to eating. This short thaw time transforms the cheesecake into its creamiest, most enjoyable texture, making it soft enough to scoop but still deliciously firm.
- Taste and Adjust: Don’t be afraid to taste the cheesecake filling while it’s in the blender! This is your chance to adjust the sweetness with more maple syrup or enhance the flavor with an extra splash of vanilla extract or a pinch more salt.
- Quality Ingredients Matter: Using good quality ingredients, especially for your cashews, chocolate, and coconut yogurt, will significantly impact the final flavor and texture of your S’mores cheesecake cups.
Delicious Variations to Customize Your S’mores Cheesecake Cups
While the classic S’mores combination is undeniably delicious, these individual cheesecake cups are wonderfully adaptable. Feel free to get creative with these variations:
- Add a Burst of Berries: For a refreshing twist, top your dessert with a homemade berry compote or a handful of fresh berries like raspberries, blueberries, or sliced strawberries. This adds a bright, tangy contrast that makes it an even more vibrant summer dessert.
- Experiment with Cookie Flavors: Don’t limit yourself to chocolate chip cookies for the crust! Try using toasted pecan cookies, classic vanilla wafers (if gluten-free), gingerbread cookies for a holiday twist, or even a simple crushed oat-based cookie. Each will lend a unique flavor profile to the base.
- Indulge in Peanut Butter S’mores: For peanut butter lovers, this variation is a must-try. You can swirl a tablespoon or two of creamy peanut butter directly into the cheesecake filling, add a thin layer of peanut butter between the crust and cheesecake, or drizzle it over the chocolate topping for an irresistible nutty kick.
- Toasted Marshmallow Topping: If you can find vegan marshmallows (or don’t follow a strict vegan diet), lightly toast them with a kitchen torch or under the broiler for that authentic charred s’mores experience. Add them on top of the chocolate layer just before serving.
- Caramel Drizzle: A homemade or store-bought vegan caramel sauce drizzled over the chocolate topping adds another layer of rich sweetness.
- Nutty Crunch: Sprinkle chopped toasted nuts like pecans, walnuts, or almonds over the chocolate topping for extra crunch and flavor.
- Spice it Up: A pinch of cinnamon, nutmeg, or even a tiny bit of chili powder (for a Mexican chocolate kick) can be added to the cookie crust or cheesecake filling for a subtle warmth.
Frequently Asked Questions (FAQs)
Here are some common questions about making and enjoying these delightful S’mores Cheesecake Cups:
- How should I store these S’mores Cheesecake Cups?
These no-bake cheesecake cups are designed to be stored in the freezer. They will keep beautifully for up to a month in an airtight container. When you’re ready to enjoy them, simply take them out of the freezer and let them thaw for about 10 minutes at room temperature. This allows the cheesecake to achieve its ideal creamy, yet firm, raw vegan cheesecake texture. - Can I make a whole S’mores cake instead of individual cups?
Absolutely! This recipe is incredibly adaptable. To create a larger S’mores cheesecake, simply double the recipe quantities and press the crust into a 9-inch spring-form pan or a greased cake tin. Layer the cheesecake filling and chocolate topping as described, then freeze until firm. While this recipe is perfect for individual portions, you could also try my Cookie Tiramisu Cheesecake recipe for another fantastic whole cake option. - How far in advance can I make these?
You can prepare these S’mores Cheesecake Cups up to a month in advance! Just ensure they are stored in an airtight container in the freezer. This makes them perfect for holiday meal prep, party planning, or having a healthy treat ready whenever a craving strikes. - Can I use a different type of plant-based yogurt?
Yes, while coconut yogurt is recommended for its creaminess and tang, other thick plant-based yogurts like almond or cashew yogurt could work. Just ensure they are unsweetened to control the sweetness of the overall dessert. - What if my cheesecake filling isn’t smooth?
The most common reason for a gritty filling is not soaking the cashews long enough or not using a high-powered blender. Make sure your cashews are very soft after soaking and blend the mixture for several minutes, scraping down the sides as needed, until it’s completely silky.
More Healthy & Delicious Dessert Recipes You’ll Love
If you enjoyed these no-bake S’mores Cheesecake Cups, be sure to explore more healthy and delectable recipes from my kitchen:
- Cookie Tiramisu Cheesecake (Vegan, Gluten-Free)
- Strawberry Frozen S’mores
- 6-Ingredient Snickers Cookies
- Snickers Protein Frozen S’mores
- Dalgona Whipped Honey Coffee
- Healthy Ice Cream Brownie Bites
- Blender Banana Coffee Cake Muffins
- Healthy No-Bake Cookie Dough Bars
If you give this amazing No-Bake Vegan S’mores Cheesecake Cups recipe a try and fall in love with it as much as I have, it would mean the world to me if you left a star rating & review below! Don’t forget to tag me in your beautiful creations on Instagram @danishealthyeats! Your feedback and shares truly make my day!
S’mores Cheesecake Cups (Vegan, Paleo)
Pin Recipe
Ingredients
Graham Cracker/Cookie Layer Option 1 – (using store-bought cookies)
- 2 boxes Simple Mills crunchy cookies (chocolate chip, toasted pecan, etc.)
- 1/2 tsp cinnamon
- 5 tbsp melted coconut oil, vegan butter, or ghee
Graham Cracker/Cookie Layer Option 2 – (homemade)
- 1 3/4 cups almond flour
- 1/3 cup coconut sugar
- 1/4 cup coconut oil
- 1/2 tsp cinnamon
- 1 tsp vanilla extract & pinch of sea salt
Cheesecake Layer
- 1 1/2 cups raw cashews
- 1/3 cup Greek yogurt or coconut yogurt *I like unsweetened vanilla
- 2 tbsp canned full-fat coconut milk or other plant-based milk
- 4-5 tbsp maple syrup
- 3 tbsp melted coconut oil
- 2 tbsp lemon juice
- 2 tsp vanilla extract & pinch of sea salt
Chocolate Topping
- 1 cup chocolate chips
- 1 tbsp coconut oil
Instructions
-
Important Note: This recipe uses 6oz dessert cups. If you opt for larger cups, you may need to double the recipe ingredients to achieve the desired portion size.
For the Cookie Layer (Choose Your Option)
-
Option 1: Using Store-Bought Cookies. Combine your chosen crunchy cookies, cinnamon, and melted coconut oil (or vegan butter/ghee) in a food processor. Pulse until a fine, sand-like crumb texture forms. Set this mixture aside.
-
Option 2: Homemade Graham Cracker Crust. Add the almond flour, coconut sugar, coconut oil, cinnamon, vanilla extract, and sea salt to a food processor or a large mixing bowl. Blend or mix thoroughly until the ingredients are well combined and resemble a sandy texture. Set this mixture aside.
Prepare the Creamy Cheesecake Filling
-
Place all the cheesecake ingredients (soaked and drained cashews, yogurt, coconut milk, maple syrup, melted coconut oil, lemon juice, vanilla, and salt) into a high-powered blender. Blend until the mixture is completely smooth and creamy, pausing as needed to scrape down the sides of the blender. Taste the filling and adjust sweetness or flavor as desired (e.g., more maple syrup or vanilla).
Assemble the Individual Cheesecake Cups
-
Begin by adding a layer of your prepared cookie crumbs to the bottom of your dessert cups or jars. Gently press down. Next, spoon a generous layer of the cashew cheesecake filling over the crumbs. Repeat these layers until your jars are about three-quarters full. You can create as many or as few layers as you prefer, but ensure the final layer is the cheesecake filling.
Add the Chocolate Topping & Chill
-
In a heat-proof bowl, combine the chocolate chips and coconut oil. Heat in 30-second intervals in the microwave, stirring well after each, until the chocolate is completely smooth and melted. Alternatively, melt the chocolate using a double-boiler method.
-
Divide the melted chocolate evenly among the assembled jars, pouring it over the final cheesecake layer. Gently tilt each jar to ensure the chocolate spreads into a smooth, even topping. If desired, you can place a few vegan marshmallows on top of the chocolate before it sets for a classic S’mores look.
-
Carefully transfer the jars to the freezer. Allow them to set for a minimum of 4 hours, or preferably overnight, until thoroughly firm. These cheesecake cups are best stored in the freezer. Before serving, let them thaw at room temperature for about 10 minutes to achieve the perfect creamy texture, then garnish with a sprinkle of fresh flaky sea salt!
Video
