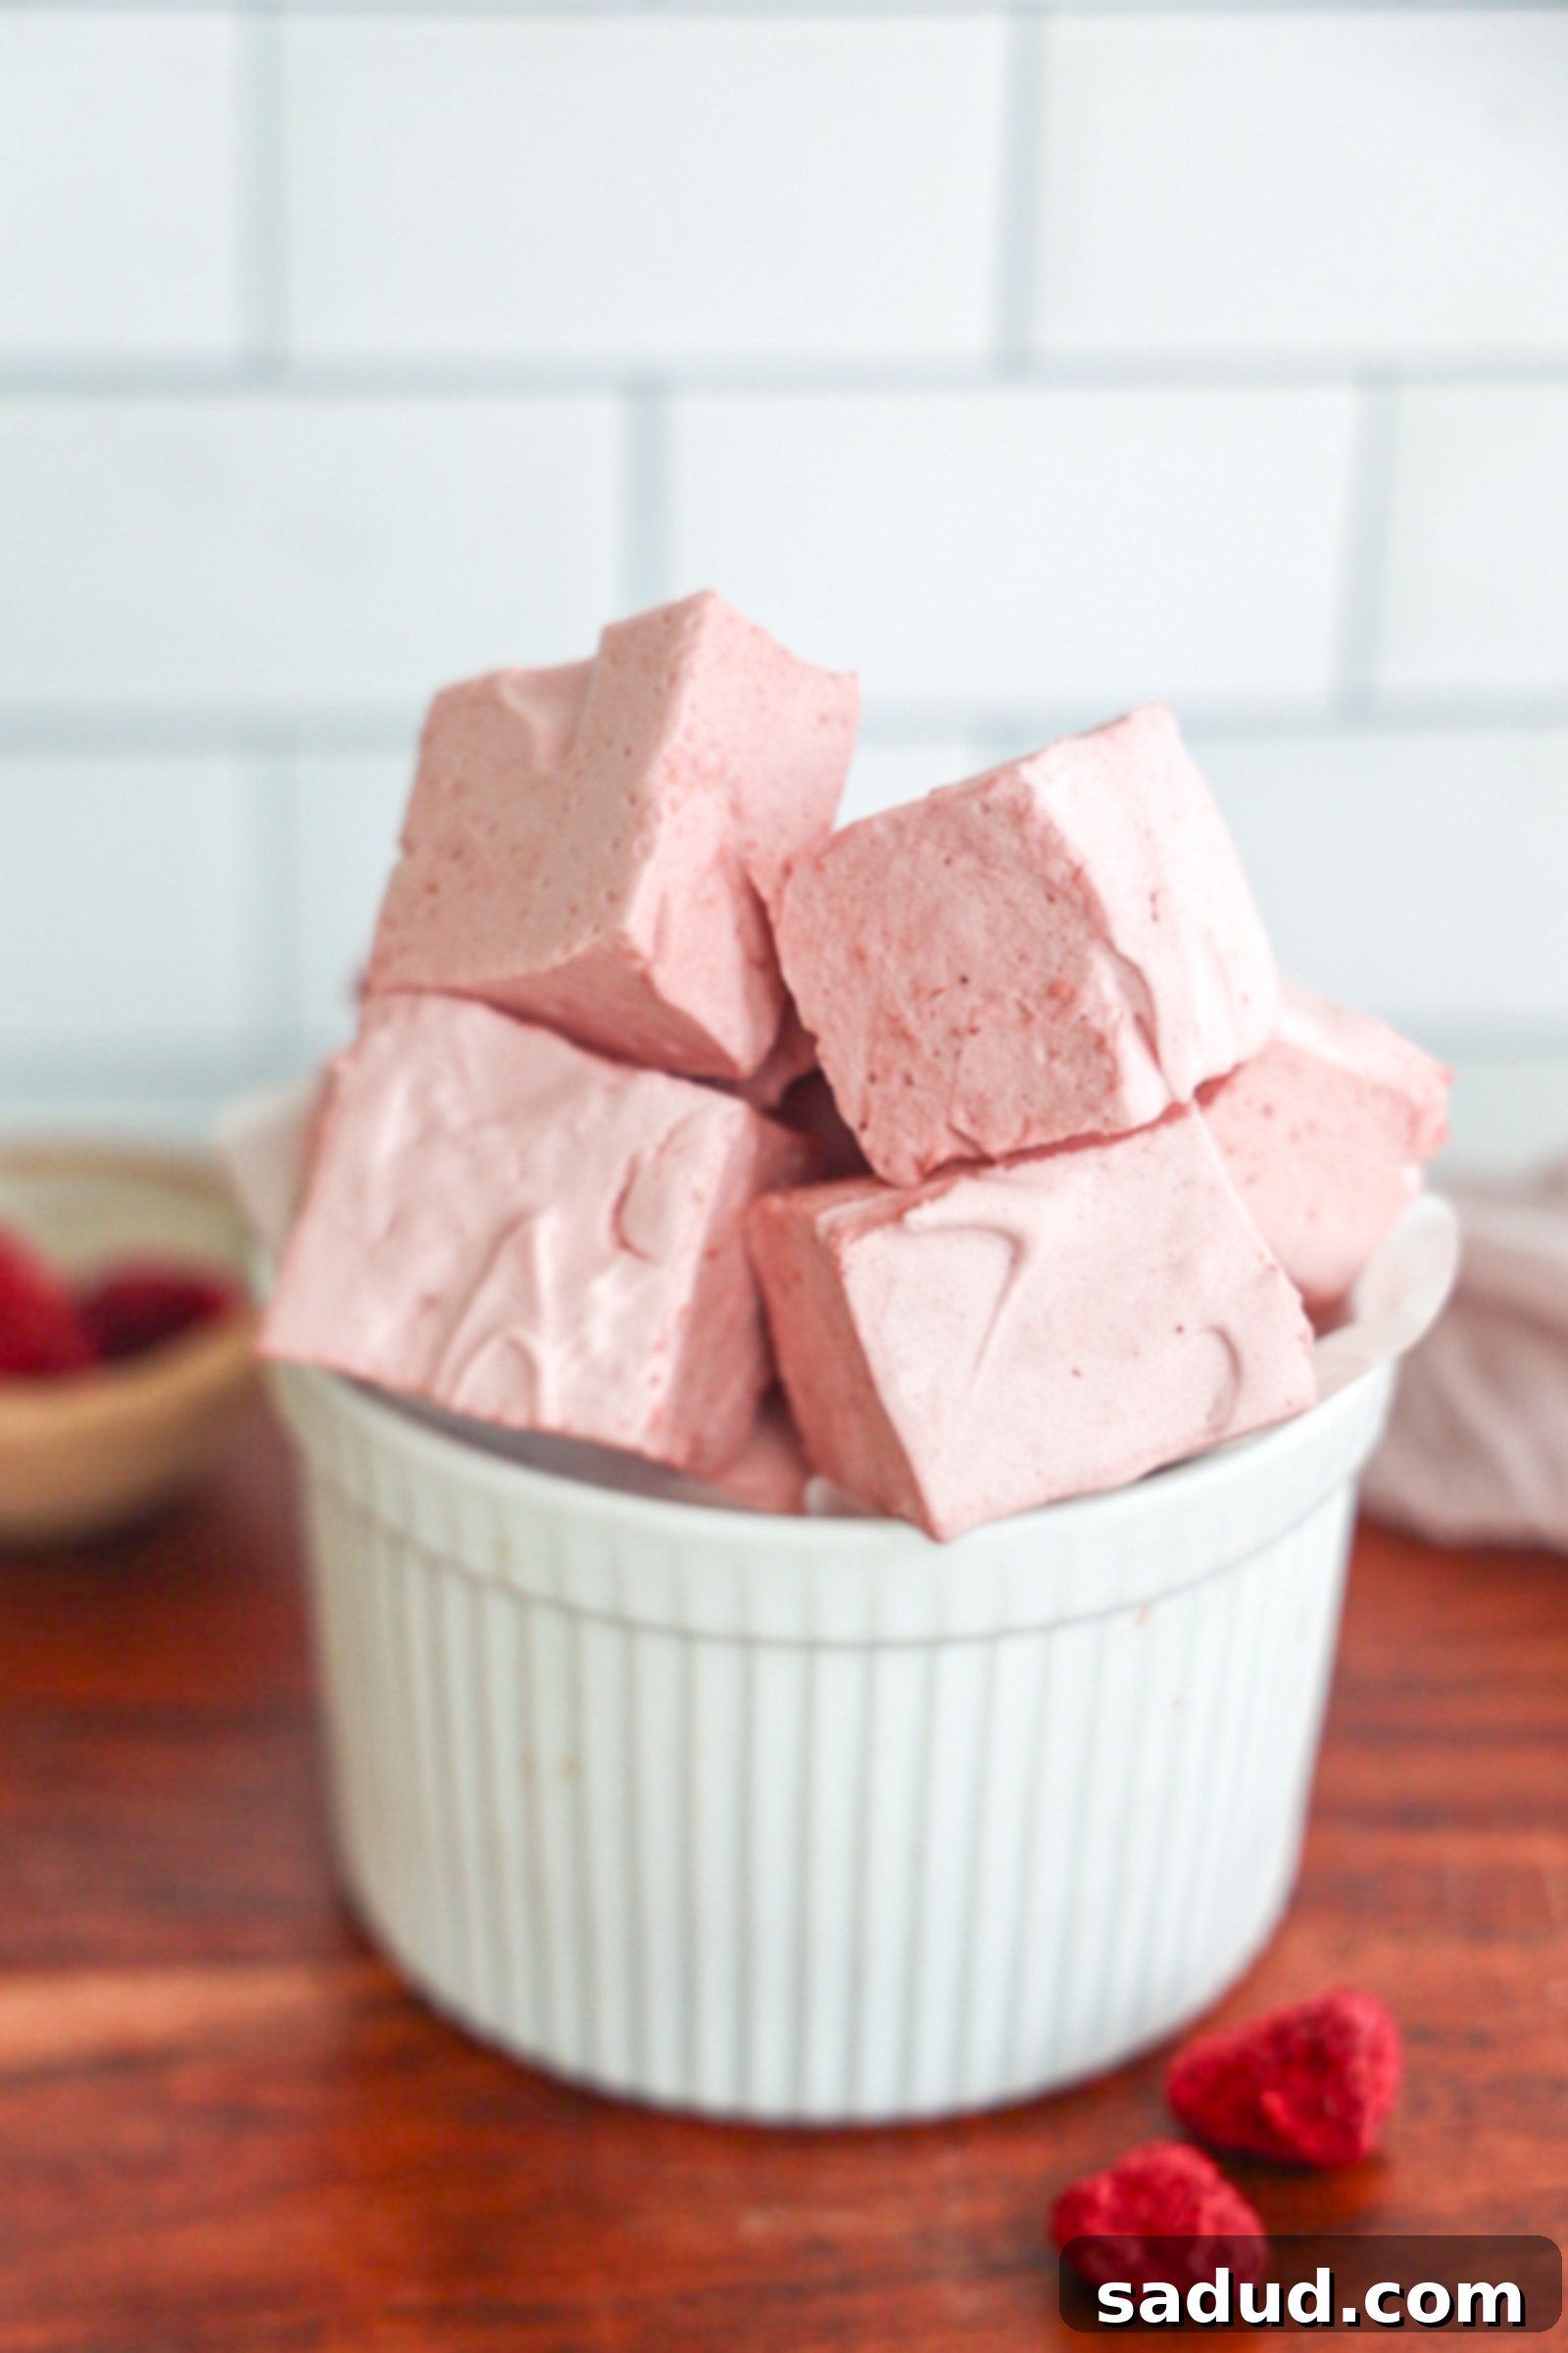
Healthy Homemade Raspberry Marshmallows: Your Guide to Fluffy, Corn Syrup-Free Delights
Imagine biting into a cloud-like, intensely fruity marshmallow, knowing it’s made with wholesome ingredients and without any corn syrup or artificial additives. These incredibly fluffy and pillowy healthy homemade raspberry marshmallows are a game-changer! Naturally sweetened with maple syrup or honey and crafted with real raspberries, they are surprisingly easy to make and perfect for anyone seeking a paleo-friendly, gut-healthy treat.
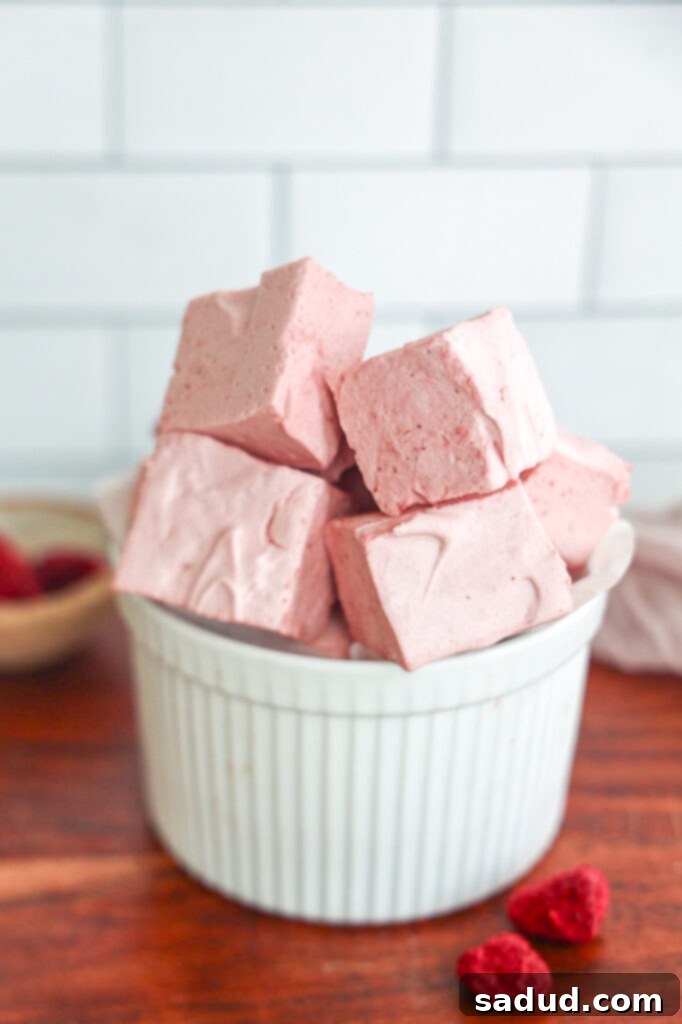
Why Choose Homemade Marshmallows (Especially Without Corn Syrup)?
Once you experience the superior taste and texture of homemade marshmallows, you’ll never look back. Store-bought versions are often laden with high fructose corn syrup, artificial flavors, and preservatives designed for long shelf life. The result is typically a dry, overly firm texture with an odd lingering aftertaste.
Our healthy raspberry marshmallow recipe offers a delightful contrast. These aren’t just a “better alternative”; they’re a truly elevated treat. Made with real fruit and natural sweeteners like honey or maple syrup, they boast a vibrant, authentic raspberry flavor that artificial versions can only dream of. The texture is a revelation: incredibly soft, airy, and truly cloud-like, melting beautifully in your mouth without any strange residue. Plus, with the inclusion of gut-healthy grass-fed gelatin, you’re getting a treat that’s not only delicious but also offers some wonderful benefits.
Unveiling the Magic: Why You’ll Adore These Healthy Raspberry Marshmallows
- Naturally Sweetened Perfection: Say goodbye to corn syrup and refined white sugar! These paleo-friendly marshmallows are delicately sweetened with honey or maple syrup, offering a lower-sugar option that satisfies your sweet tooth guilt-free.
- Authentic Raspberry Burst: Experience the true taste of summer with real fruit flavor derived from both fresh/frozen and freeze-dried raspberries. No artificial flavorings here, just pure, vibrant berry goodness.
- Diet-Friendly Indulgence: Perfectly suited for paleo and low-sugar diets, these marshmallows allow you to enjoy a classic treat without compromising your dietary goals. They are also inherently Gluten-Free & Dairy-Free.
- Kid-Approved & Easy to Make: A wholesome sweet snack or dessert that kids will absolutely love, and parents will appreciate how simple they are to whip up!
- Gut-Healthy Goodness: Crafted with high-quality grass-fed gelatin, these marshmallows naturally provide collagen and protein, contributing to a healthy gut lining, stronger hair, skin, and nails.
- Melt-in-Your-Mouth Versatility: Just like conventional marshmallows, these healthy versions melt beautifully, making them ideal for stirring into hot cocoa, matcha, or dipping into your favorite melted chocolate for an extra special treat.
Love exploring homemade marshmallow recipes? Be sure to try my snickerdoodle marshmallows for another delightful variation!
The Secret to Vibrant Raspberry Flavor
To infuse these marshmallows with an irresistible, deep raspberry flavor without adding excessive liquid that could compromise the texture, we employ a clever combination of two types of raspberries: frozen and freeze-dried. Frozen raspberries provide a burst of fresh, tangy flavor, while freeze-dried raspberries offer a concentrated essence and a gorgeous natural color, ensuring a potent berry punch in every fluffy bite.
How to Make Fluffy Homemade Raspberry Marshmallows (The Easy Way!)
Creating these delightful treats at home is a rewarding process that requires just a few simple steps and readily available kitchen tools. You’ll be amazed at how quickly they come together.
Essential Tools for Marshmallow Making
Gather these basic kitchen essentials before you begin:
- Stand Mixer with Whisk Attachment: This is a crucial tool for achieving that characteristic fluffy, airy texture. While a hand mixer can work, a stand mixer makes the process effortless.
- Spatula: For scraping down the bowl and spreading the marshmallow mixture.
- Square Baking Dish (9×9 inches recommended): A 9×9 inch pan is ideal for thicker, more substantial marshmallows. If you prefer smaller, mini marshmallows, you can opt for a larger rectangular pan, which will yield thinner squares.
- Small Saucepan: For preparing the naturally sweetened syrup.
- Candy Thermometer (optional but recommended): A candy thermometer helps ensure your sugar mixture reaches the perfect temperature (between 220-240°F) for optimal marshmallow consistency. However, don’t worry if you don’t have one – I’ll share tips on how to achieve great results without it!
Wholesome Ingredients for Gut-Friendly Marshmallows
To create these incredibly delicious and healthy raspberry marshmallows, you’ll need just a handful of quality ingredients:
- Frozen Raspberries: Provides a fresh, tangy fruit base for the puree.
- Freeze-Dried Raspberries: Intensifies the raspberry flavor and color without adding extra liquid, crucial for marshmallow setting.
- Water (divided): Used for both the raspberry puree and the syrup mixture.
- Grass-fed Gelatin: This is the star ingredient for gut health! Not all gelatin is created equal, so opting for a high-quality, grass-fed gelatin ensures you reap its full beauty-boosting and gut-healing benefits. Brands like Further Foods are excellent choices, being pasture-raised, grass-fed, non-GMO, and gluten-free.
- Raw Honey or Maple Syrup: Your choice of natural sweetener. Both work beautifully to provide a delicate, nuanced sweetness without the need for corn syrup. You can even use a mix of the two!
- Vanilla Extract: A touch of vanilla enhances the overall flavor profile, complementing the bright raspberries.
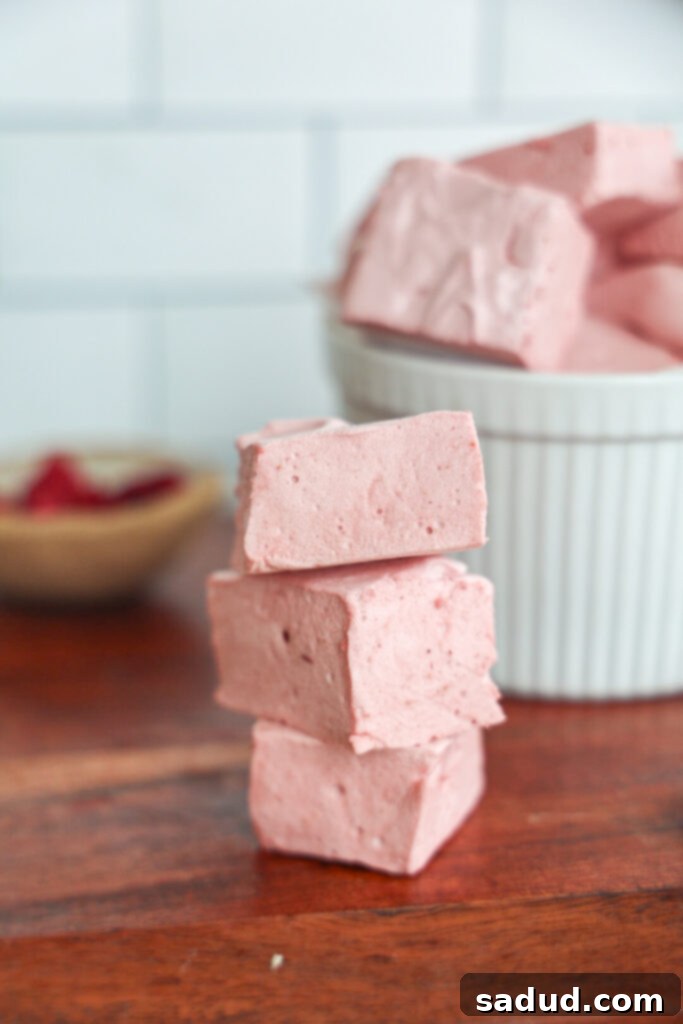
Step-by-Step Guide to Making Healthy Raspberry Marshmallows
- Prepare Your Pan: Begin by lining a 9×9 inch baking pan with parchment paper, leaving an overhang on the sides for easy removal. Alternatively, use a silicone pan. This step is crucial for preventing sticking, so generously spray the paper or silicone pan with a neutral spray oil.
- Create the Raspberry Puree: In a blender, combine 1/2 cup of water, both the frozen and freeze-dried raspberries. Blend until the mixture is completely smooth and uniform. To achieve a silky-smooth marshmallow, press this vibrant raspberry mixture through a fine-mesh strainer directly into the bowl of your stand mixer, removing all seeds. Add the vanilla extract and grass-fed gelatin to the strained puree. Give it a quick mix with a spoon or spatula and let it sit for a few minutes while you prepare the syrup. This allows the gelatin to “bloom.”
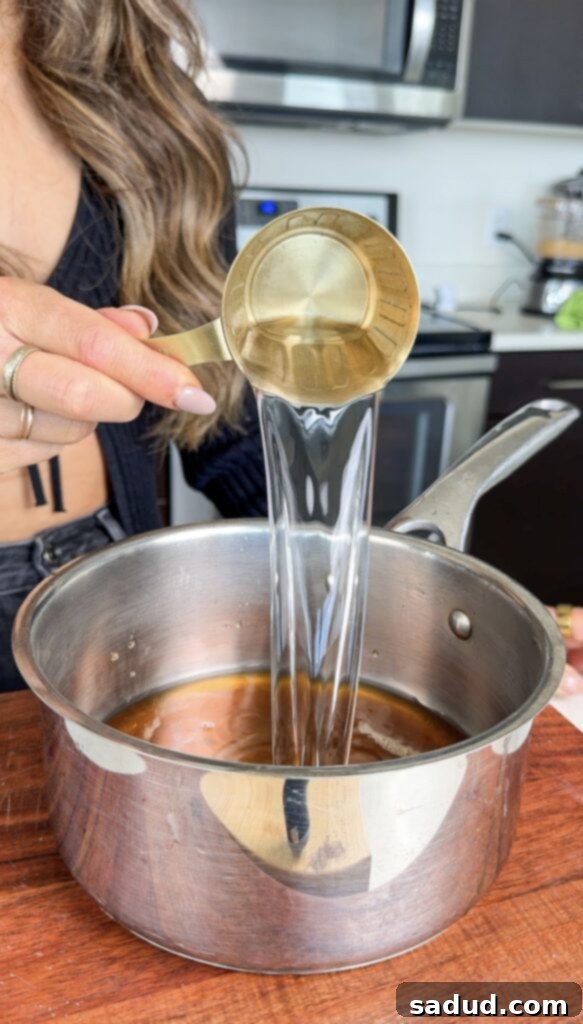
- Craft the Natural Syrup: In a small saucepan, combine the remaining water with your chosen natural sweetener (honey or maple syrup). Bring this mixture to a rolling boil over medium-high heat. Allow it to boil for approximately 10 minutes. If you are using a candy thermometer, aim for a temperature between 220-240°F (104-116°C). If you’re making marshmallows without a thermometer, simply boiling the mixture consistently for 10 minutes at a high heat is usually sufficient to reach the correct consistency.
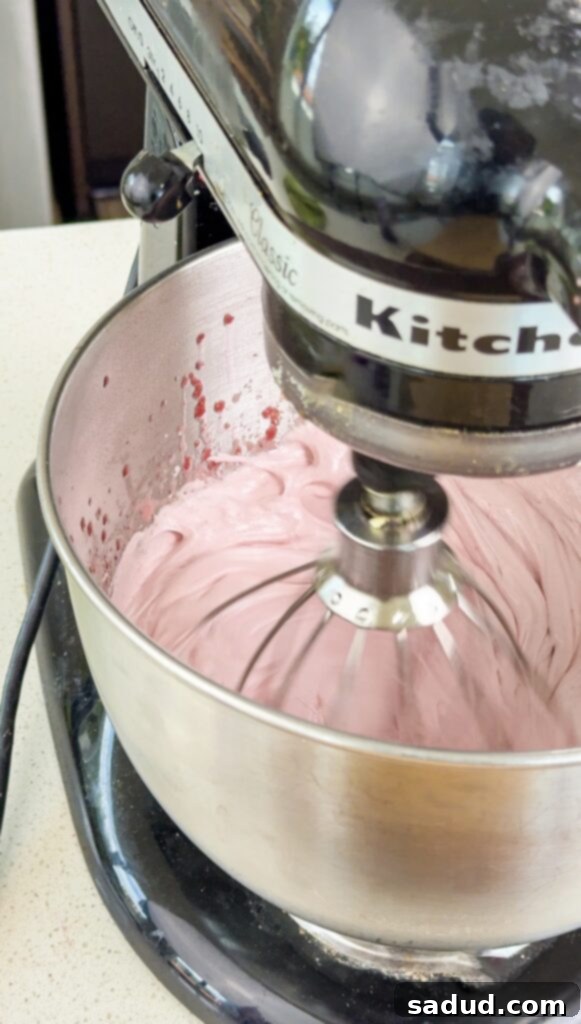
- Whip to Fluffy Perfection: Carefully remove the hot syrup from the heat. Attach the bowl containing the bloomed gelatin and raspberry mixture to your stand mixer, fitted with the whisk attachment. With the mixer running on low speed, slowly and steadily drizzle in the hot syrup mixture. Once all the syrup is added, increase the mixer speed to high. Whip the mixture continuously until it triples in size, becoming incredibly thick, fluffy, and opaque. This typically takes about 5 minutes. The mixture should form stiff peaks when you lift the whisk and cling to it, but still be pourable. Be careful not to over-whip, as it can become too firm and difficult to spread (some playfully refer to this as “marshmallow brains”!).
- Transfer and Smooth: Once the marshmallow mixture reaches its ideal fluffy consistency, use your spatula to quickly transfer it into your prepared pan. To get a smooth, even layer, you can press it down firmly with the spatula. For an even easier approach, lightly wet your hands with water and gently press and smooth the top surface of the marshmallow mixture.
- Set and Slice: Cover the pan loosely with plastic wrap or another piece of parchment paper and allow the marshmallows to set at room temperature for 30-60 minutes. They should be firm to the touch. Once set, carefully lift the parchment paper (or invert the silicone pan) to remove the slab of marshmallow. Use scissors (my preferred method for easy, clean cuts) or a sharp, oiled knife to cut the marshmallow into your desired shapes and sizes.
-
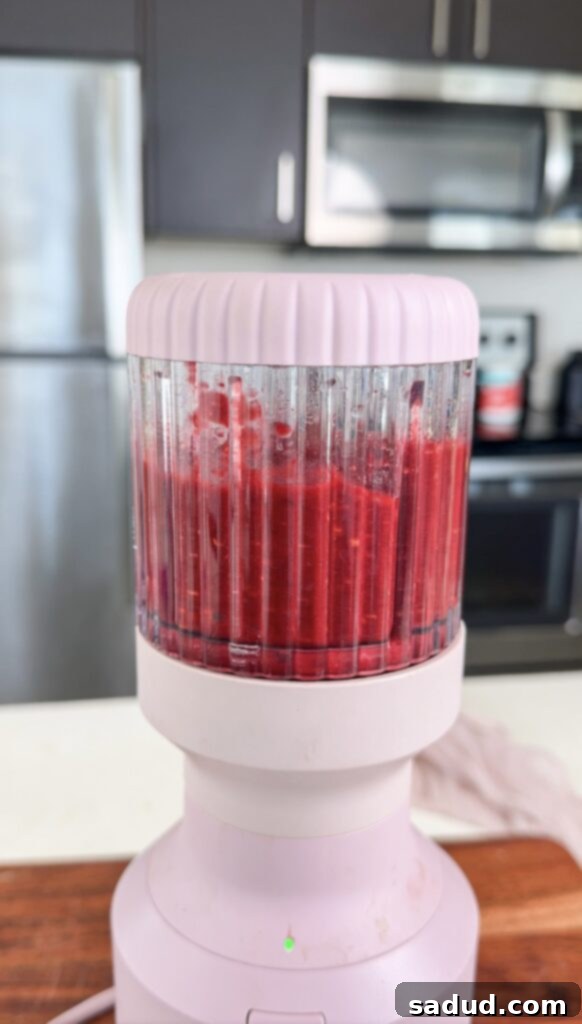
Blending raspberries for the puree. -
Whipping the marshmallow mixture. -
Marshmallows set in the pan, ready for cutting.
Expert Tips for Perfect Homemade Marshmallows
- The Easiest Way to Cut Marshmallows: While a knife works, I’ve found that sharp kitchen scissors make cutting marshmallows incredibly easy and neat. Lightly oiling the blades will prevent sticking.
- Making Marshmallows Without a Candy Thermometer: Don’t have a thermometer? No problem! The key is to boil the syrup mixture vigorously for at least 10 minutes. This duration is generally enough to reach the necessary temperature (around 220-240°F or 104-116°C) for the marshmallows to set properly. Watch for a thickening syrup and a rolling boil.
- Avoid Over-Mixing: This is crucial! Stop whipping the marshmallow mixture once it has tripled in size and forms stiff, glossy peaks when you lift the whisk. If you beat it for too long, the mixture will become too stiff, challenging to spread, and might develop a rubbery, undesirable texture.
- Can You Make Vegan Marshmallows? Absolutely! While this recipe uses gelatin, you can create delicious vegan marshmallows using agar-agar powder as a substitute. For a fantastic vegan option, check out this vegan marshmallow recipe.
- Roasting Paleo Marshmallows: Yes, these healthy homemade marshmallows roast beautifully! They’ll achieve that classic golden-brown, gooey exterior just like traditional marshmallows, making them perfect for s’mores.
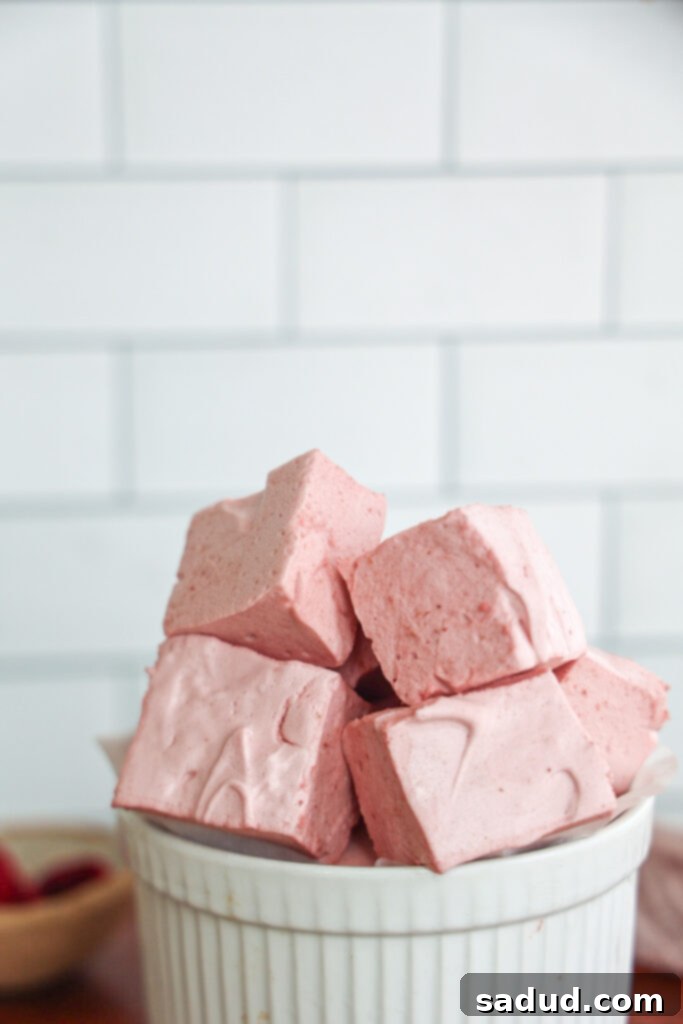
Creative Ways to Enjoy Your Healthy Raspberry Marshmallows
These versatile treats are perfect for more than just snacking! Here are some delightful ideas:
- Warm Beverage Companion: Float them in your favorite hot cocoa, coffee, or even a soothing cup of matcha. Raspberry and matcha are an unexpectedly delicious combination!
- Elevated Dessert Additions: Use them to make gourmet rice crispy treats (like snickerdoodle rice crispy treats!), or add them to chocolate chip cookies before baking for a gooey surprise.
- Chocolate Dipped Delights: Dip them in melted dark chocolate or white chocolate and let them set in the freezer for a decadent, yet still healthier, sweet snack.
- Gifting & Party Favors: Package them in pretty treat boxes or cellophane bags for a thoughtful DIY birthday or Christmas gift, or as unique party favors.
- Marshmallow Pops: Thread them onto lollipop or cake-pop sticks for a fun, easy-to-eat marshmallow pop that’s perfect for parties.
- S’mores Reinvented: While delicious on their own, these marshmallows make incredible s’mores. Pair them with your favorite dark chocolate and graham crackers for a paleo-friendly twist on a classic campfire treat.
Storage Tips for Freshness
To keep your homemade raspberry marshmallows fresh and fluffy, store them in an airtight container at room temperature. They will retain their delightful texture and flavor for up to 5 days. For longer storage, you can lightly dust them with arrowroot powder or tapioca starch to prevent sticking, then store them in the refrigerator for up to 2 weeks, or freeze for up to 2-3 months. Just be sure they are completely thawed before enjoying.
More Healthy Desserts to Explore
If you love these healthy homemade marshmallows, be sure to check out these other wholesome and delicious dessert recipes:
- Gut-Healthy Homemade Fruit Gummies
- Raw Vegan Cinnamon Rolls (Erewhon Copycat!)
- Strawberry Frozen Yogurt Bites
- Strawberry Shortcake Ice Cream Bars (Vegan, Paleo)
- Dairy-Free Homemade Ice Cream Sandwiches
- Strawberry Almond Joy Bites
Healthy Raspberry Marshmallows Recipe
These fluffy, pillowy healthy homemade raspberry marshmallows are a dream come true for anyone seeking a naturally sweetened, corn syrup-free treat. Quick to make and requiring just a few wholesome ingredients, they are paleo-friendly and perfect for snacking, s’mores, or topping hot beverages.
- Prep Time: 15 mins
- Total Time: 15 mins (plus setting time)
- Course: Dessert, Snack
- Cuisine: American
- Servings: 26 marshmallows
- Keyword: easy healthy snacks, gut health gummies, gut healthy recipes, healthy dessert, paleo desserts, refined sugar free dessert
Ingredients
Raspberry Puree
- 1/2 cup frozen raspberries
- 1/2 cup freeze-dried raspberries
- 1/4 cup grass-fed gelatin
- 1 1/2 tsp vanilla extract
- 1/2 cup water (for puree)
Syrup Mixture
- 1/2 cup water (for syrup)
- 1 cup honey or maple syrup
Instructions
- Line a 9×9 inch pan with parchment paper or use a silicone pan. Spray the paper or pan generously with spray oil to prevent sticking.
- In a blender, combine 1/2 cup water, frozen raspberries, and freeze-dried raspberries. Blend until smooth. Press the mixture through a strainer into the bowl of your stand mixer to remove seeds. Add vanilla extract and gelatin. Mix briefly and let it sit.
- In a small pot, combine 1/2 cup water and honey or maple syrup. Bring to a boil and let it boil for about 10 minutes. If using a candy thermometer, aim for 220-240°F (104-116°C). If not, boiling for 10 minutes at high heat is usually sufficient.
- Remove the pot from heat. With the stand mixer on low speed, slowly drizzle the hot syrup mixture into the raspberry-gelatin mixture. Once incorporated, increase speed to high and whip until the mixture triples in size and becomes very thick and fluffy (about 2-3 minutes). Avoid over-whipping.
- Quickly pour the marshmallow mixture into the prepared pan. Use a spatula or wet hands to firmly press and smooth the top.
- Cover the pan and let it sit at room temperature for 30-60 minutes, or until firm. Cut into marshmallows using oiled scissors or a sharp knife.
Notes
- Don’t over-mix! Stop mixing once the marshmallows have tripled in size and form stiff peaks. Over-mixing can make them difficult to spread and rubbery.
- Tips for cutting marshmallows: Using oiled scissors is often easier than a knife for clean cuts.
- Making marshmallows without a candy thermometer: Boiling the syrup for at least 10 minutes at a high heat should get it to the correct temperature range (around 220-240°F or 104-116°C).
