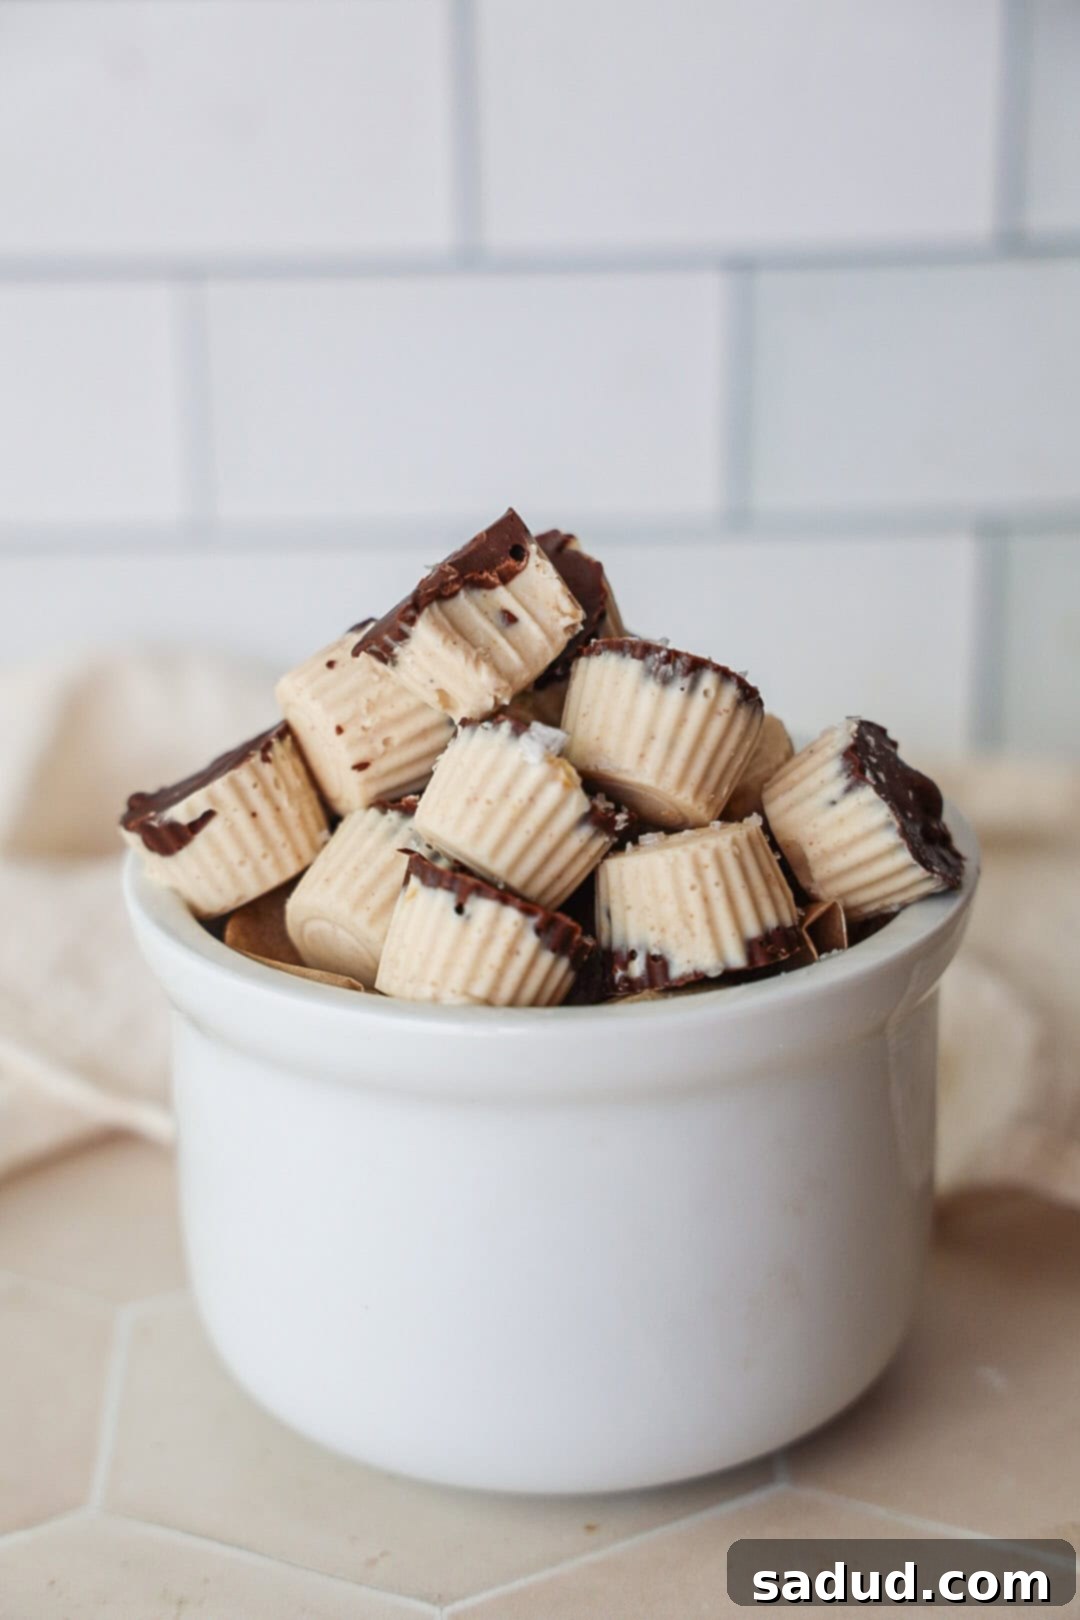
Decadent & Healthy Frozen Yogurt Bites: The Easy, Kid-Friendly Snack You’ll Crave (Dairy-Free & Vegan Options!)
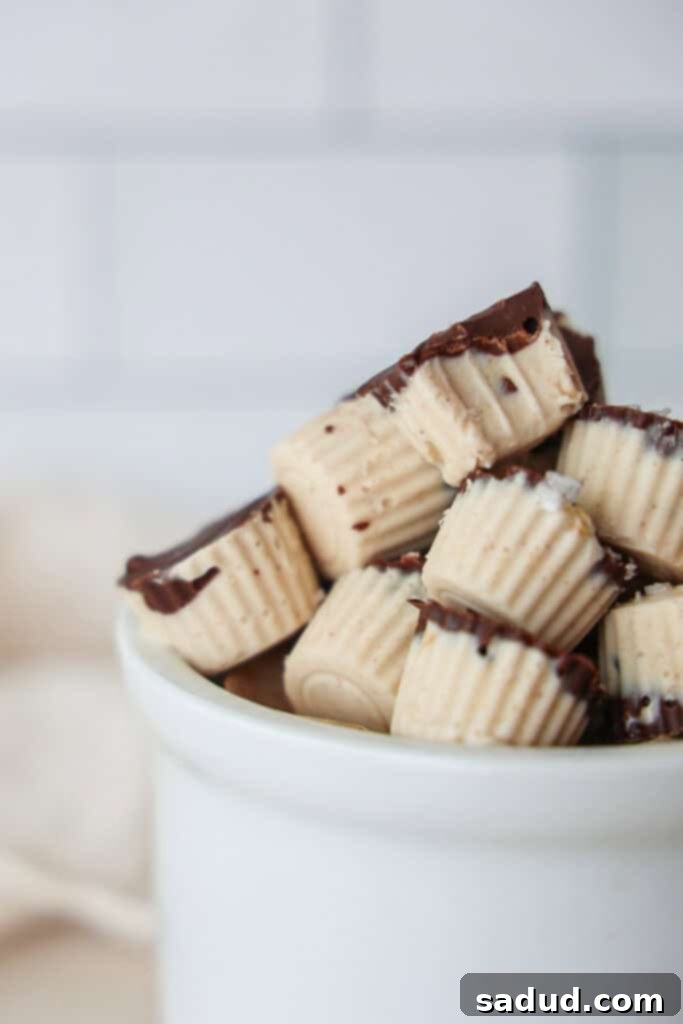
The internet has been captivated by the viral sensation of frozen yogurt bark, but for us, these **easy frozen yogurt bites** truly steal the spotlight! Imagine ultra-creamy, chocolate-topped morsels that are not only simple to whip up but also boast a significantly **lower sugar content**. These delightful bites are the ultimate **healthy snack** or treat, perfectly **kid and toddler friendly**, making them a guilt-free indulgence for the entire family. Whether you prefer the richness of Greek yogurt or need a **vegan, dairy-free option** using coconut yogurt, this recipe has you covered. Plus, they are naturally gluten-free and refined sugar-free, catering to a variety of dietary needs!
While videos of the viral frozen yogurt bark have certainly taken the internet by storm, praised for its ease and nutritious appeal, I’ve been secretly perfecting these delightful little bites for months. And honestly, I can’t get enough of them! Close your eyes, and you might just believe you’re savoring those beloved DIBS ice cream bites, but with a much healthier twist. They offer all the satisfying crunch of chocolate and the creamy coolness of frozen yogurt, all in one perfectly portioned, easy-to-handle bite.
Are you one of those people who believes a meal isn’t complete without a little something sweet? I certainly am! These frozen yogurt bites are absolutely ideal for that post-lunch or dinner craving. They require minimal effort to prepare, yet they are incredibly pleasing to the eye – little bursts of color and texture. Their poppable, bite-sized nature makes them incredibly fun to eat for both adults and little ones. If you’re feeling a bit more adventurous and love fruity flavors, be sure to try my strawberry frozen yogurt bites, lusciously coated in white chocolate for another delightful variation!
One of the absolute best features of these adorable frozen yogurt bites is their incredible versatility. The possibilities for customization are endless! You can effortlessly create a variety of flavors: mix in fresh berries and chocolate chips for a classic combination, add nutrient-dense goji berries or finely chopped dates for a chewy texture, or even top them with sliced fruit and a sprinkle of granola for a wholesome, breakfast-appropriate version. If you opt for thick Greek yogurt, your bites will naturally be packed with protein, making them an excellent post-workout snack or a satisfying treat. For those using coconut yogurt and desiring an extra protein boost, simply stir in a scoop of your favorite protein powder into the yogurt mixture before freezing – it’s that easy to tailor them to your nutritional goals!
While these make a perfectly refreshing treat on a hot spring or summer day, their creamy, chocolatey goodness is so irresistible that we find ourselves enjoying them all year round. They’re a fantastic way to satisfy a sweet tooth without the guilt, any season!
Why You’ll Love These Easy Frozen Yogurt Bites
- Made with Minimal Ingredients: You’ll be amazed at how few ingredients are needed to create such a delicious and satisfying treat. This makes them accessible, budget-friendly, and perfect for when you need a quick snack without a trip to the grocery store.
- Come Together in One Bowl: Say goodbye to excessive cleanup! The yogurt mixture is prepared in a single bowl, simplifying the process and making these bites an ideal fuss-free recipe for busy days.
- Nourishing, Healthy Snack or Treat: Unlike many store-bought desserts, these frozen yogurt bites are packed with wholesome ingredients. They offer a good source of protein (especially with Greek yogurt or added powder), healthy fats from nut butter, and natural sweetness, making them a smart choice for your body.
- Kid & Toddler Friendly & Approved! 😉: Their small, poppable size makes them perfect for little hands and mouths. Kids absolutely adore these chocolate-covered delights, and parents love that they’re a healthier alternative to sugary candies and ice creams.
- Can Be Meal-Prepped: Make a big batch at the beginning of the week, and you’ll have healthy snacks ready to grab from the freezer whenever a craving strikes. This saves time and ensures you always have a nutritious option on hand.
- Store Well in the Freezer: These bites maintain their quality beautifully in the freezer for up to two months, offering long-lasting convenience without compromising taste or texture.
- Incredibly Versatile – Mix Them Up, So You Never Get Bored! With endless possibilities for toppings and mix-ins, you can create a new flavor experience every time you make them. Keep your taste buds excited with seasonal fruits, different nuts, or various chocolate types.
- Naturally Gluten and Refined Sugar-Free: These bites are inherently free from gluten and processed sugars, making them suitable for those with dietary restrictions or anyone looking to reduce their intake of artificial ingredients.
- Can Be Made Vegan/Dairy-Free: By simply choosing a thick coconut yogurt, you can easily adapt this recipe to be completely plant-based, ensuring everyone can enjoy this delightful treat.
- Make a Great High Protein Snack: Whether you use protein-rich Greek yogurt or add a scoop of your favorite protein powder to your dairy-free option, these bites are excellent for boosting your protein intake, contributing to satiety and muscle health.
How to Make Frozen Yogurt Bites: A Simple Guide
Equipment You’ll Need
- Mixing Bowl: A medium to large mixing bowl is all you need for combining your yogurt base ingredients.
- Spatula: Essential for mixing everything thoroughly and scraping down the sides of the bowl.
- Mold: The right mold is key to achieving perfectly shaped bites.
- This is the mold I use! It features multiple cavities, allowing you to make a generous batch of bites in one go. Its silicone design ensures easy release once frozen.
- This mold is another great option that offers even more cavities, maximizing your yield per pan.
- Alternatively, you can use a mini cupcake tin for slightly larger, more substantial bites, or even a basic ice cube tray for a more rustic, varied shape. The key is to have individual compartments to ensure easy freezing and portion control.
Key Ingredients for the Perfect Bite
- Yogurt: The foundation of these bites! It’s absolutely crucial to use a **thick, full-fat yogurt** to achieve that rich, creamy texture and ensure the bites set up properly without becoming icy. Both thick Greek yogurt (for a high-protein option) or a robust coconut yogurt (for vegan/dairy-free) work wonderfully. Brands like CocoJune and Culina are highly recommended for their amazing taste and ideal consistency in coconut yogurt.
- Almond Butter or Cashew Butter: This ingredient is a game-changer! Adding a smooth nut butter is essential for preventing the yogurt bites from developing an undesirable “icy” texture in the freezer. It contributes significantly to an even thicker, ultra-creamy, and smoother bite. While peanut butter can also be used, be mindful that its distinct flavor will alter the overall taste of the bites (delicious, but different!). For a **nut-free option**, sunflower butter works as a fantastic alternative, providing similar texture benefits.
- Maple Syrup or Honey: We use just a touch of natural sweetener to enhance the flavor profile of the bites without overwhelming them. Maple syrup offers a subtle, earthy sweetness, while honey adds a floral note. Adjust the amount to your personal preference, adding a little more if you prefer a sweeter treat.
- Protein Powder (Optional): This is entirely up to you and your dietary goals! If you’re using Greek yogurt, which is already naturally high in protein, you might want to omit it. However, if you’re making a dairy-free version with coconut yogurt and want to boost its protein content, stirring in a scoop of your favorite protein powder is an excellent way to do so. I personally love Macro Mike salted caramel protein in these – it makes them taste incredibly decadent, almost like a dessert! You can even use my code “amb-dani” for a discount.
- Sea Salt & Vanilla Extract: Don’t skip these! A good pinch of sea salt (Maldon or Celtic salt adds a lovely complexity) balances the sweetness and brings out the flavors of all the other ingredients. Vanilla extract adds a warm, aromatic depth that completes the taste experience.
- Chocolate Chips or Chopped Chocolate (for coating): The outer shell of these bites. Use your favorite quality chocolate for the best results.
- Coconut Oil (for chocolate coating): A small amount of coconut oil helps thin out the melted chocolate, creating a smooth, glossy, and easily dippable coating that hardens perfectly when chilled, giving that satisfying snap.
-

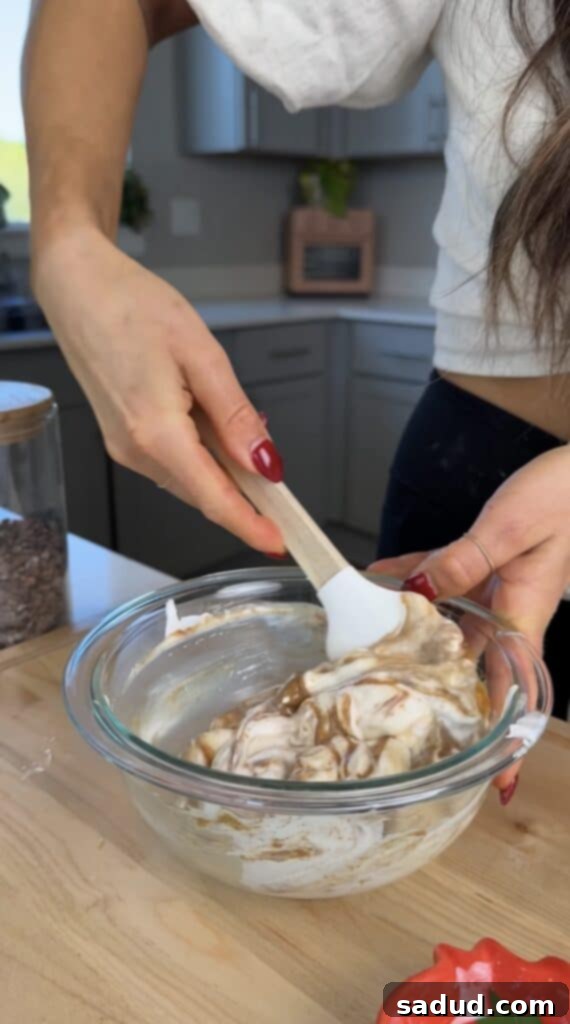
Prepare your creamy yogurt mixture in a single bowl for minimal mess. -

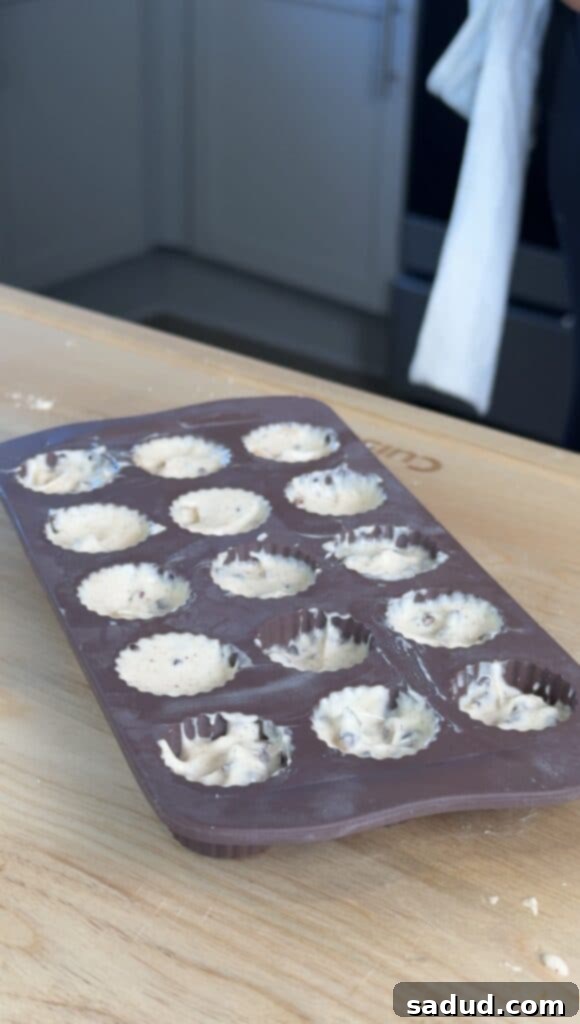
Fill your molds and top with a layer of delicious melted chocolate. -

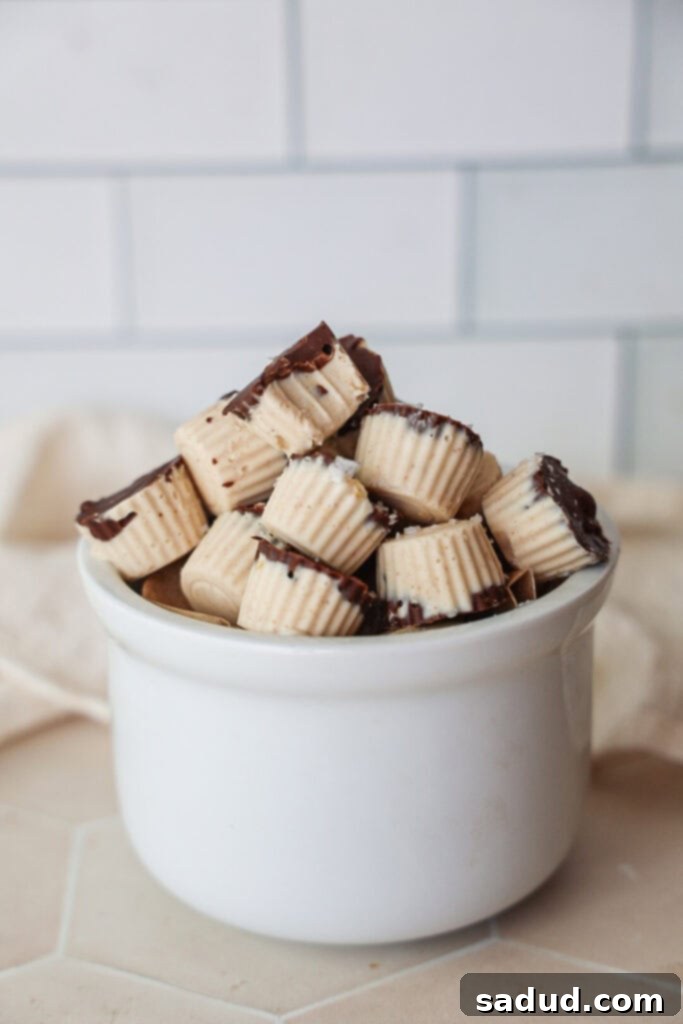
Enjoy your perfectly crafted, healthy frozen yogurt bites!
Steps to Make Your Delicious Frozen Yogurt Bites
- Mix Together the Frozen Yogurt Mixture: In your chosen mixing bowl, combine the thick yogurt (Greek or coconut), almond or cashew butter, maple syrup (or honey), optional protein powder, a generous pinch of sea salt, and vanilla extract. Whisk all the ingredients together vigorously until the mixture is completely smooth, thick, and wonderfully creamy. Don’t be shy – give it a taste and adjust the sweetness or saltiness as needed to suit your palate.
- Divide It Amongst Your Mold: Carefully spoon or pipe the creamy yogurt mixture into each cavity of your silicone mold (or mini cupcake tin/ice cube tray). Fill each crevice approximately two-thirds of the way full, leaving room for the chocolate topping. For a neater finish, a piping bag with the corner snipped off can make this step even easier.
- Melt the Chocolate: In a small, microwave-safe bowl, combine your chocolate chips (or chopped chocolate) and coconut oil. You can melt this mixture using either the double-boiler method (placing the bowl over a pot of simmering water) or in the microwave. If using the microwave, heat in short 30-second increments, stirring thoroughly after each interval, until the chocolate is completely smooth, glossy, and free of any lumps. The coconut oil ensures a thin, pourable, and ultimately snappable chocolate coating.
- Add a Little Chocolate Coating: Once your chocolate is perfectly melted and smooth, spoon or drizzle a thin layer over the top of each yogurt bite in the mold, filling the remaining one-third of each crevice. You can gently tap the mold on the counter a few times to help the chocolate spread evenly and release any air bubbles.
- Freeze! This step requires a bit of patience, but it’s crucial. Place the filled mold into the freezer and allow the bites to freeze completely for a minimum of 3-4 hours. Resist the urge to remove them sooner, as they need to be fully set to pop out cleanly. Once frozen solid, carefully remove them from the molds. Store your finished frozen yogurt bites in an airtight container in the freezer for up to two months. For the absolute creamiest texture, let them sit out for just a few minutes before enjoying – this allows them to soften slightly and become even more decadent.
FAQ’S, Tips, & Tricks for Perfect Frozen Yogurt Bites
- Do you have to add coconut oil to the chocolate? Yes, it’s highly recommended! The coconut oil plays a vital role in creating a beautifully smooth and thin chocolate coating. Without it, the chocolate can be too thick and prone to cracking, making it difficult to spread neatly and giving it a less appealing texture when frozen. It ensures that satisfying snap!
- What yogurt makes the creamiest frozen yogurt? The secret to truly creamy frozen yogurt bites lies in using a **thick, full-fat yogurt**. Yogurts with a higher fat content will yield a far superior, richer, and creamier texture, significantly reducing the chance of an icy bite. My top recommendations are full-fat Greek yogurt or a high-quality, thick coconut yogurt. Avoid thin or low-fat yogurts, as they tend to become much icier in the freezer.
- How long do frozen yogurt bites last? When stored properly in an airtight container, these delicious bites will happily last in your freezer for a month or even up to two months! They’re perfect for meal prepping healthy snacks in advance. For the absolute best and creamiest eating experience, I always recommend letting them sit out at room temperature for a few minutes before indulging. This allows them to soften slightly, bringing out their creamy texture even more.
- Be patient! This is perhaps the most important tip. Allowing the bites to freeze completely is non-negotiable. If you try to remove them from your mold before they are fully set and solid (which typically takes 3-4 hours, or even longer depending on your freezer and bite size), you’ll end up with a messy, ruined batch. Patience truly is a virtue here, leading to perfectly formed, easy-to-release treats.
- For easier release: If you find your bites are sticking, run the bottom of the silicone mold under warm water for just a few seconds (be careful not to melt the chocolate) or gently twist and flex the mold.
- Precision filling: For a super clean look, consider using a small spoon or even a pastry bag to fill the molds evenly. This is especially helpful if your molds have intricate shapes.
Different Frozen Yogurt Flavors and Creative Variations
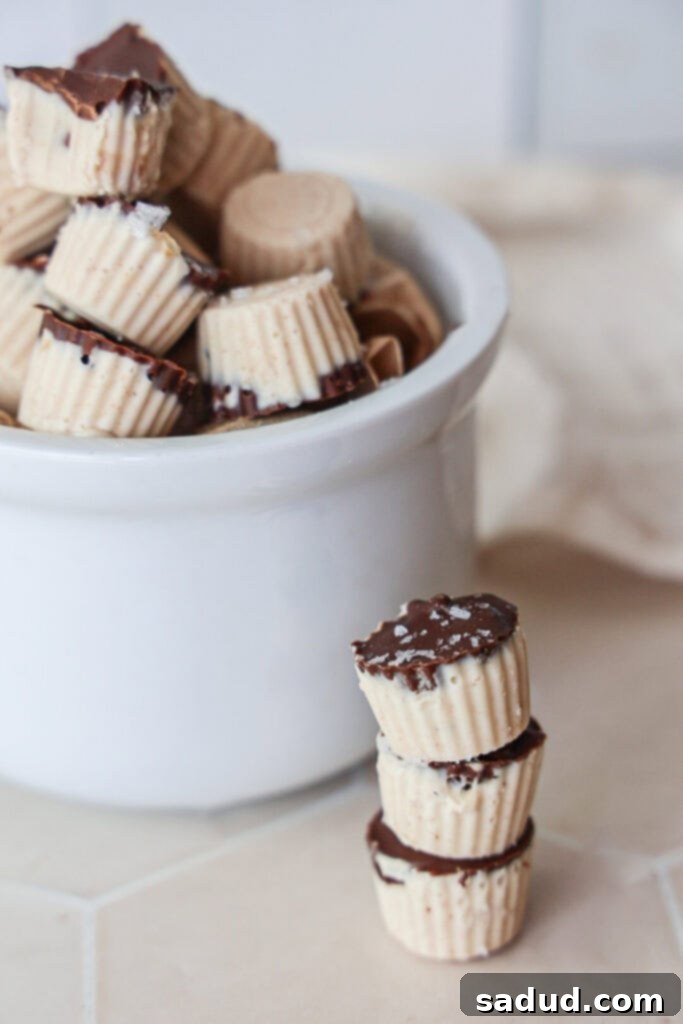
The beauty of these frozen yogurt bites lies in their adaptability. Get creative and customize them to your heart’s content!
- Fun with Sprinkles: For a festive and kid-friendly touch, sprinkle some colorful sprinkles over the wet chocolate coating before freezing. It adds an extra pop of color and a playful crunch!
- Breakfast Vibe: Stir in a handful of fresh mixed berries (like blueberries, raspberries, or chopped strawberries) and a sprinkle of your favorite granola into the yogurt mixture. Top with chocolate, or leave plain for a wholesome, on-the-go breakfast bite.
- Trail-Mix Inspired: For a hearty and satisfying snack, mix in mini chocolate chips, dried cranberries, raisins, or goji berries, along with chopped nuts like pecans or walnuts. This combination offers a delightful blend of textures and flavors.
- Citrus Burst: Add some finely grated lemon or orange zest to the yogurt mixture for a bright, refreshing flavor. A few drops of citrus extract can also amplify the taste.
- Tropical Delight: Mix in finely diced mango or pineapple into the yogurt, and for an exotic twist, use white chocolate for the coating.
- Spiced Sensation: A pinch of cinnamon or cardamom in the yogurt mixture can add a warm, comforting depth, especially lovely for a fall or winter treat.
- Peanut Butter Lover’s Dream: If you adore peanut butter, use it as your nut butter (as noted above, it will dominate the flavor). You can even swirl a little extra melted peanut butter into the yogurt or drizzle it over the chocolate coating.
More Healthy Snacks to Try
- Healthy Almond Joys (5 ingredients!)
- Dilly Ice Cream Bars
- No Bake Cosmic Protein Brownies
- Healthy Ice Cream/Frozen Yogurt
- Healthy Carrot Cake Truffles
- No Bake Samoa Cookies
- 2 Ingredient Rolo’s
- Healthy Vegan Snickers
- Chocolate Covered Yogurt Bite Clusters
If you give these incredible frozen yogurt bites a try, it would truly mean the world to me if you left a review below! And don’t forget to tag me on Instagram @danishealthyeats with your beautiful creations. Happy snacking! x

Easy Frozen Yogurt Bites (Dairy-Free Option)
Pin Recipe
15 minutes
2 hours
2 hours 15 minutes
Breakfast, Dessert, Snack
American
18 mini bites
Ingredients
Yogurt Bites
- 1 cup THICK greek yogurt or coconut yogurt *see notes for brand recommendations and why thick yogurt is essential
- 3 tbsp cashew butter or almond butter *see notes for nut-free or other substitution options
- 3 tbsp maple syrup *You can add another tbsp if a sweeter bite is desired.
- 3 tbsp of your favorite protein powder *totally optional! Omit if using Greek yogurt or if you don’t love your protein powder.
- 1 tsp vanilla extract
- gooooood pinch of sea salt *I love maldon or celtic salt for enhanced flavor.
- handful of cacao nibs *optional. Can always add in other mix-ins like berries or nuts; cacao nibs are packed with antioxidants.
Chocolate Coating
- 3/4 cup chocolate chips or chopped chocolate
- 1/2 tbsp coconut oil
Instructions
-
Prepare the Yogurt Mixture: Combine the yogurt, nut butter, sweetener, optional protein powder, sea salt, and vanilla extract in a large bowl. Whisk until the mixture is completely smooth, thick, and creamy. Taste and adjust sweetness or salt as needed.
-
Fill Your Molds: Divide the prepared yogurt mixture evenly among the cavities of your chosen mold. Fill each cavity about 2/3 of the way full, leaving space for the chocolate topping.
-
Melt and Add Chocolate: In a small bowl, combine the chocolate chips and coconut oil. Melt using a double-boiler method or in the microwave (30-second intervals, stirring well between each) until completely smooth. Spoon or drizzle a layer of the melted chocolate over the top of each yogurt bite, filling the remaining 1/3 of the cavity.
-
Freeze and Store: Transfer the molds to the freezer and freeze for 3-4 hours, or until the bites are completely solid. Carefully remove the frozen bites from the molds. Store them in an airtight container in the freezer for up to two months. For the creamiest texture, let the bites thaw for a few minutes before enjoying.
Notes
Nut Butter Substitutions: For a **nut-free option**, sunflower seed butter is a fantastic substitute that maintains the creamy texture. If you use peanut butter, note that it has a stronger flavor profile than cashew or almond butter, so your bites will have a distinct peanut butter taste – which is still incredibly delicious!
coconut yogurt, coconut yogurt bites, dairy free frozen yogurt, frozen yogurt, frozen yogurt bites, frozen yogurt recipe, greek yogurt, high protein snacks, kid friendly snacks, toddler snacks, vegan frozen yogurt
