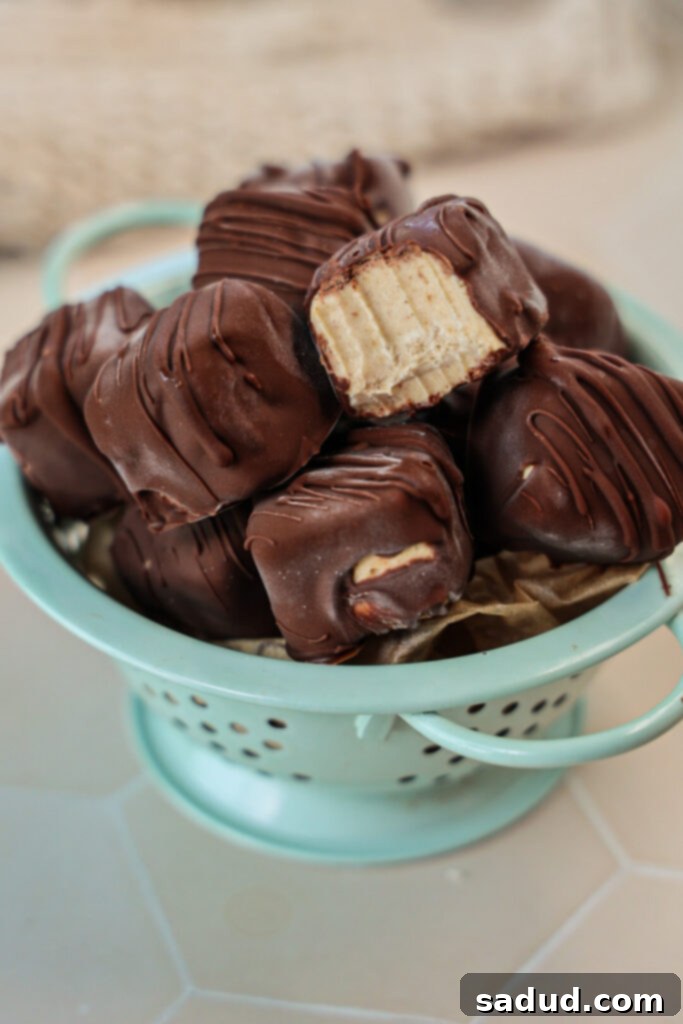
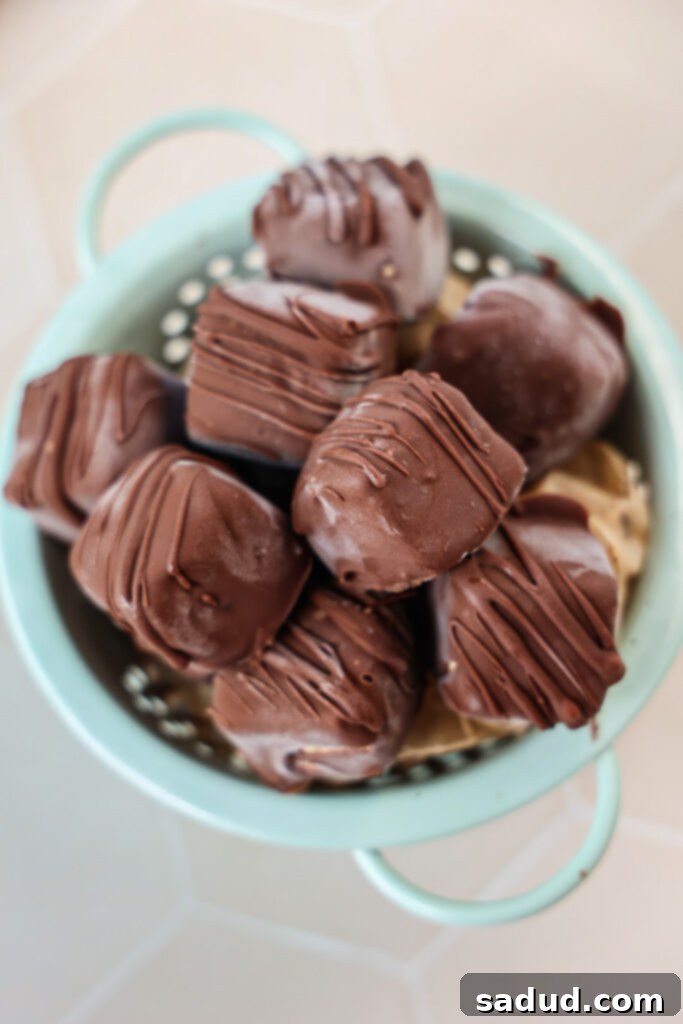
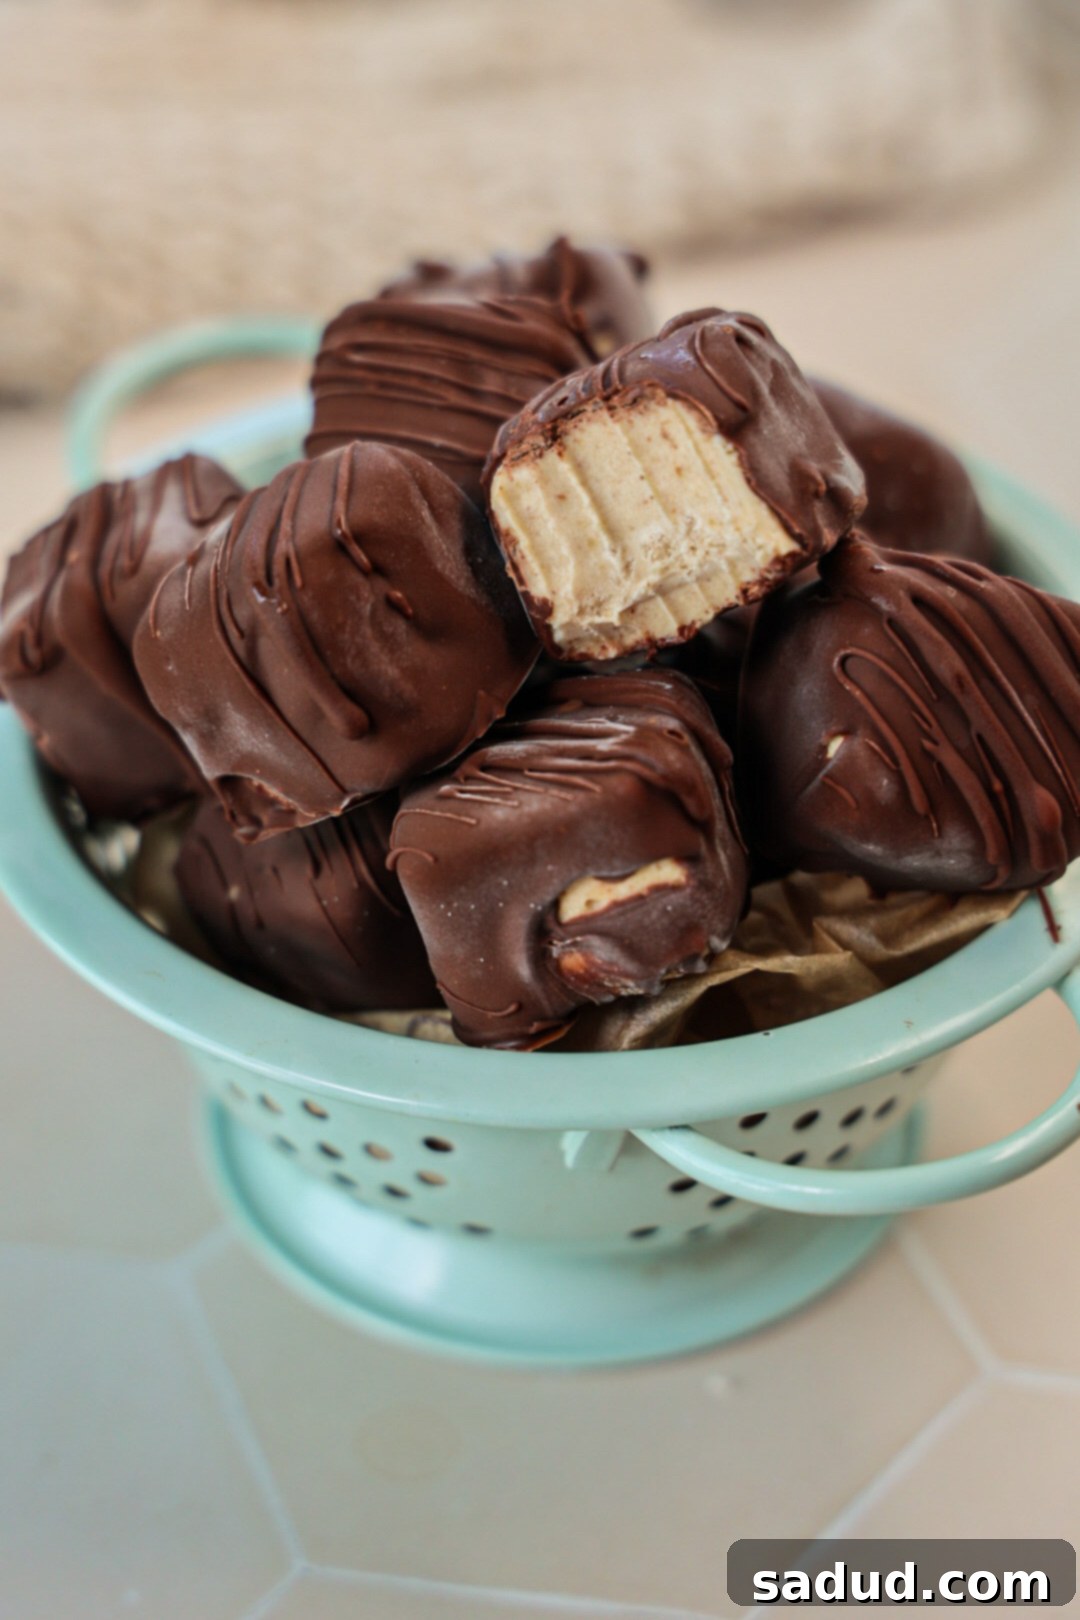
Indulge Guilt-Free: The Ultimate Guide to Healthy, Vegan Protein Ice Cream Bites (Gluten & Refined Sugar-Free)
Are you searching for a delightful treat that satisfies your sweet tooth without derailing your health goals? Look no further! These creamy, dreamy protein ice cream bites are the perfect solution. Crafted with whole food ingredients, they are not only incredibly delicious but also completely vegan, gluten-free, and free from refined sugars. Whether you need a refreshing post-workout snack, a guilt-free dessert, or just a little something sweet to get you through the day, these bites are an absolute game-changer. Get ready to experience pure frozen bliss!

Key Ingredients & Smart Substitutions for Your Protein Ice Cream Bites
Creating these heavenly protein ice cream bites is simpler than you might think, especially when you understand the role each ingredient plays. We’ll dive into the core components and explore some fantastic substitutions to fit your dietary needs and taste preferences, ensuring every bite is perfectly tailored for you.
Protein Powder (Optional, but Highly Recommended!)
While optional, incorporating protein powder into this recipe is a brilliant move. It not only boosts the nutritional value, making these bites ideal for muscle recovery after a workout, but also contributes to the incredible creaminess and flavor. I personally adore using Truvani peanut butter protein for a rich, nutty depth that complements the other ingredients beautifully. For those interested, you can use the code “DANI” for a discount on their entire site. If peanut butter isn’t your preference, vanilla or chocolate protein powders work wonderfully too, allowing for endless flavor variations. When choosing a protein powder, consider plant-based options like pea, rice, or a blended protein to keep the recipe vegan, and always opt for one with minimal added sugars to maintain its healthy profile.
Milk: The Foundation of Creaminess
For an unparalleled creamy texture that truly mimics traditional ice cream, I highly recommend using full-fat canned coconut milk. Its richness and smooth consistency are unmatched, providing a luxurious base for our bites. However, flexibility is key! Any milk will work, but for the best results, aim for a creamier option. Unsweetened almond milk, oat milk, or cashew milk are all excellent dairy-free alternatives. Just be aware that leaner milks might result in a slightly icier texture, so adjust expectations accordingly. If using a thinner milk, you might want to slightly reduce the overall liquid amount or add a bit more nut butter to maintain density.
Natural Sweetness: Maple Syrup & Alternatives
Maple syrup is my go-to sweetener for these protein ice cream bites. Its distinct flavor and natural origin make it a perfect fit for a whole food recipe. It provides just the right amount of sweetness without being overpowering. If maple syrup isn’t readily available or you prefer a different profile, there are great alternatives. Honey can be used for a similar sweetness, though it would make the recipe non-vegan. For a strictly sugar-free option, monk fruit sweetener is an excellent choice, but be mindful of the conversion ratio as it’s significantly sweeter than maple syrup. You could also experiment with agave nectar or date syrup for alternative natural sweetness.
Nut Butters: Flavor and Texture Powerhouses
The choice of nut butter significantly impacts both the flavor and creaminess of your protein ice cream bites. Cashew butter is my top recommendation because it offers the most neutral and ice cream-like flavor, allowing the other ingredients to shine. Its smooth, rich consistency is ideal for creating that classic ice cream mouthfeel. However, feel free to get creative:
- Almond butter: Provides a slightly nuttier flavor and works wonderfully.
- Sunflower butter: An excellent nut-free option, offering a distinct but delicious taste for those with allergies.
- Peanut butter: If you’re a fan of peanut butter ice cream, this is your go-to! It delivers an amazing, bold flavor profile.
Ensure you use a creamy, drippy nut butter rather than a dry, crumbly one for the best results.
Thick Coconut Yogurt: For a Hint of Tang and Extra Creaminess
A secret ingredient for ultimate creaminess and a slight tang that balances the sweetness is thick coconut yogurt. Its richness contributes immensely to the desired ice cream consistency. I particularly love the brand CocoJune for its quality and texture. If coconut yogurt isn’t accessible or you prefer another option, you can also use a thick Greek yogurt (if dairy is not a concern) or another rich plant-based yogurt like a thick cashew or oat yogurt. The key here is “thick”—the thicker the yogurt, the creamier your bites will be. Avoid watery yogurts, as they can lead to an icy final product.
Chocolate Chips: The Perfect Coating
No ice cream bite is complete without a decadent chocolate coating! To keep these bites refined sugar-free, I opt for Hu Kitchen chocolate chips. Their quality and ingredients align perfectly with the healthy ethos of this recipe. You can use code: danishealthyeats for a discount on their site. Alternatively, you can use any high-quality dark chocolate chips, sugar-free chocolate chips, or even cacao nibs for an extra bitter crunch. The chocolate coating not only adds a delightful crunch and flavor but also helps to hold the bites together, creating a perfectly portable treat.

How to Make These Irresistible Protein Ice Cream Bites
Making these delightful treats is incredibly straightforward, requiring just a few simple steps. The magic primarily happens in your blender and freezer, making it an ideal recipe for even beginner cooks.
- Blend All Ingredients Until Smooth: The first and most crucial step is to combine all the ice cream bite ingredients (cashew butter, maple syrup, yogurt, milk, protein powder, vanilla extract, and sea salt) in a high-powered blender. Begin with the specified amount of milk (1/2 cup), but be prepared to add a little more (up to 1/4 cup extra) if your mixture is excessively thick. A high-powered blender ensures a perfectly smooth, creamy, and lump-free batter, which is essential for that luxurious ice cream texture. Blend until there are no visible chunks and the mixture is uniform. Don’t forget to pause and scrape down the sides of the blender a few times to ensure everything is incorporated. At this stage, it’s also a great opportunity to taste and adjust the sweetness or flavorings as you like – perhaps a little more vanilla or an extra pinch of salt to enhance the profile.
- Pour into Molds and Freeze: Once your batter is impeccably smooth, carefully pour it into your chosen molds. Standard ice cube trays work perfectly, resulting in classic cube-shaped bites. For different aesthetics, you could use mini cupcake tins (which will produce charming round bites), silicone molds of various shapes, or even small candy molds. Ensure you don’t overfill them to prevent spillage in the freezer. Place the filled molds into the freezer for at least 5-6 hours, but for the best, firmest results, leaving them overnight is highly recommended. This ensures they are completely solid and easy to handle in the next step.
- Prepare the Chocolate Coating: While your ice cream bites are freezing, or once they are fully firm, it’s time to prepare the luscious chocolate coating. Melt your chocolate chips or chunks in a microwave-safe bowl (in 30-second intervals, stirring in between) or over a double boiler. The goal is a smooth, glossy melted chocolate. If the chocolate seems too thick to easily coat the bites, add 1-2 teaspoons of melted coconut oil and stir well. The coconut oil will thin the chocolate slightly, making it much easier to achieve an even and thin coating, and it also helps the chocolate harden with a satisfying snap.
- Dip and Re-freeze for a Perfect Finish: Line a baking sheet with parchment paper; this will prevent the chocolate-coated bites from sticking. Carefully remove the frozen ice cream cubes from their molds. Working quickly, dip each bite into the melted chocolate, ensuring it’s fully coated. A fork or a toothpick can be helpful for this. Allow any excess chocolate to drip off, then place the coated bite onto the prepared parchment paper. Repeat with all the bites. Once coated, immediately return the baking sheet to the freezer for about 15-20 minutes. This quick freeze will allow the chocolate shell to harden completely, setting your beautiful, ready-to-eat protein ice cream bites!
Storage and Enjoyment Tips for Your Protein Ice Cream Bites
To keep your delicious protein ice cream bites fresh and tasting their best, proper storage is key. They are best stored in an air-tight container in the freezer. This prevents freezer burn, which can compromise both texture and flavor, and also keeps them from absorbing any undesirable odors from other items in your freezer. When stored correctly, these bites can last for up to 1-2 months, making them an excellent make-ahead treat for when cravings strike.
While they are wonderfully creamy straight from the freezer, their texture truly shines if you allow them to thaw for just a few minutes before enjoying. This short period out of the freezer softens them slightly, enhancing their luscious, melt-in-your-mouth quality and bringing out their full flavor profile. Just a minute or two at room temperature can make all the difference, transforming them into an even more indulgent experience.
More Healthy & Delicious Recipes You’ll Love
If you’ve fallen in love with these protein ice cream bites, you’re in for a treat! We have a collection of other healthy desserts and snacks that are equally delicious and satisfying, all designed with wholesome ingredients in mind:
- Healthy Frozen Yogurt Ice Cream Sandwiches: A nostalgic classic reinvented with better-for-you ingredients, perfect for a refreshing summer treat.
- Healthy Blueberry Crisp Ice Cream: Enjoy the comforting flavors of blueberry crisp in a cool, creamy ice cream form, without the guilt.
- Peanut Butter Cup Nice Cream (Low Carb, No Banana): A fantastic option for those seeking a low-carb, banana-free “nice cream” that tastes just like your favorite peanut butter cup.
- Healthy Peanut Butter Cookie Dough Blizzard: Indulge in a rich, thick, and satisfying blizzard packed with wholesome peanut butter cookie dough pieces.

Protein Ice Cream Bites (Vegan, Paleo)
Pin Recipe
10 minutes
Appetizer, Dessert, Snack
American
10
-12 bites
Ingredients
Ice cream bites
-
1/2
cup
cashew butter
*Can sub any nut/seed butter -
1/3
cup
maple syrup -
1/3
cup
coconut yogurt or greek yogurt -
1/2
cup
milk, of choice
*more as needed -
1/4
cup
of your favorite protein powder
* can omit -
1 1/2
tsp
vanilla extract & pinch of sea salt
Coating
-
1 1/3
cups
chocolate chips or chunks -
2
tsp
coconut oil, melted
*if needed to help thin the chocolate
Instructions
-
Blend all of the ice cream bite ingredients in a high-powered blender until smooth, starting with 1/2 cup milk. If your mixture is super thick, you can add 1/4 cup extra milk. Taste & adjust as you’d like (more vanilla, sweetener, etc).
-
Pour into an ice cube tray or mold & freeze for 5-6 hours or overnight.
-
Once completely frozen, melt the chocolate in a bowl. If your chocolate is super thick, you may need to thin it out with some coconut oil. This will make the bites easier to coat.
-
Line a cookie sheet with parchment paper. Remove the cubes from the mold. Quickly dunk each one & place on the tray. Return to the freezer for 20 mins until chocolate has hardened.
-
These are best if you leave them out for a couple minutes to thaw before enjoying!
Notes
dibs ice cream, healthy ice cream, healthy snack, high protein, high protein snacks, ice cream bites, protein ice cream, vegan ice cream
These protein ice cream bites are more than just a treat; they’re a testament to how delicious and satisfying healthy eating can be. With their creamy texture, perfect sweetness, and impressive nutritional profile, they’re sure to become a staple in your freezer. Enjoy the process of creating them and savor every single bite!
